A few months ago I posted my writeup on the Front Bumper. If you want to know why I picked up this bumper, go read the first section of that post. I’ll follow roughly the same format here.
Please note that there are literally hundreds of hi-res photos on this post. It will take a while to fully load
Things you should probably know up front
Let me start off by saying that I am much, much less impressed by this bumper than I was by the front bumper. From the unclear (or, in some cases, flat out wrong) instructions to the nuts and bolts included, there was a whole lot of frustration here that wasn’t the case with the front bumper. It became obvious as I went along that this bumper and the instructions were really designed with the 1996 and earlier models–even though it’s advertised for all years and most of the promotional pictures are of a 97+ sporting this bumper.
I had a lot of fitment issues and I’m not the only one.
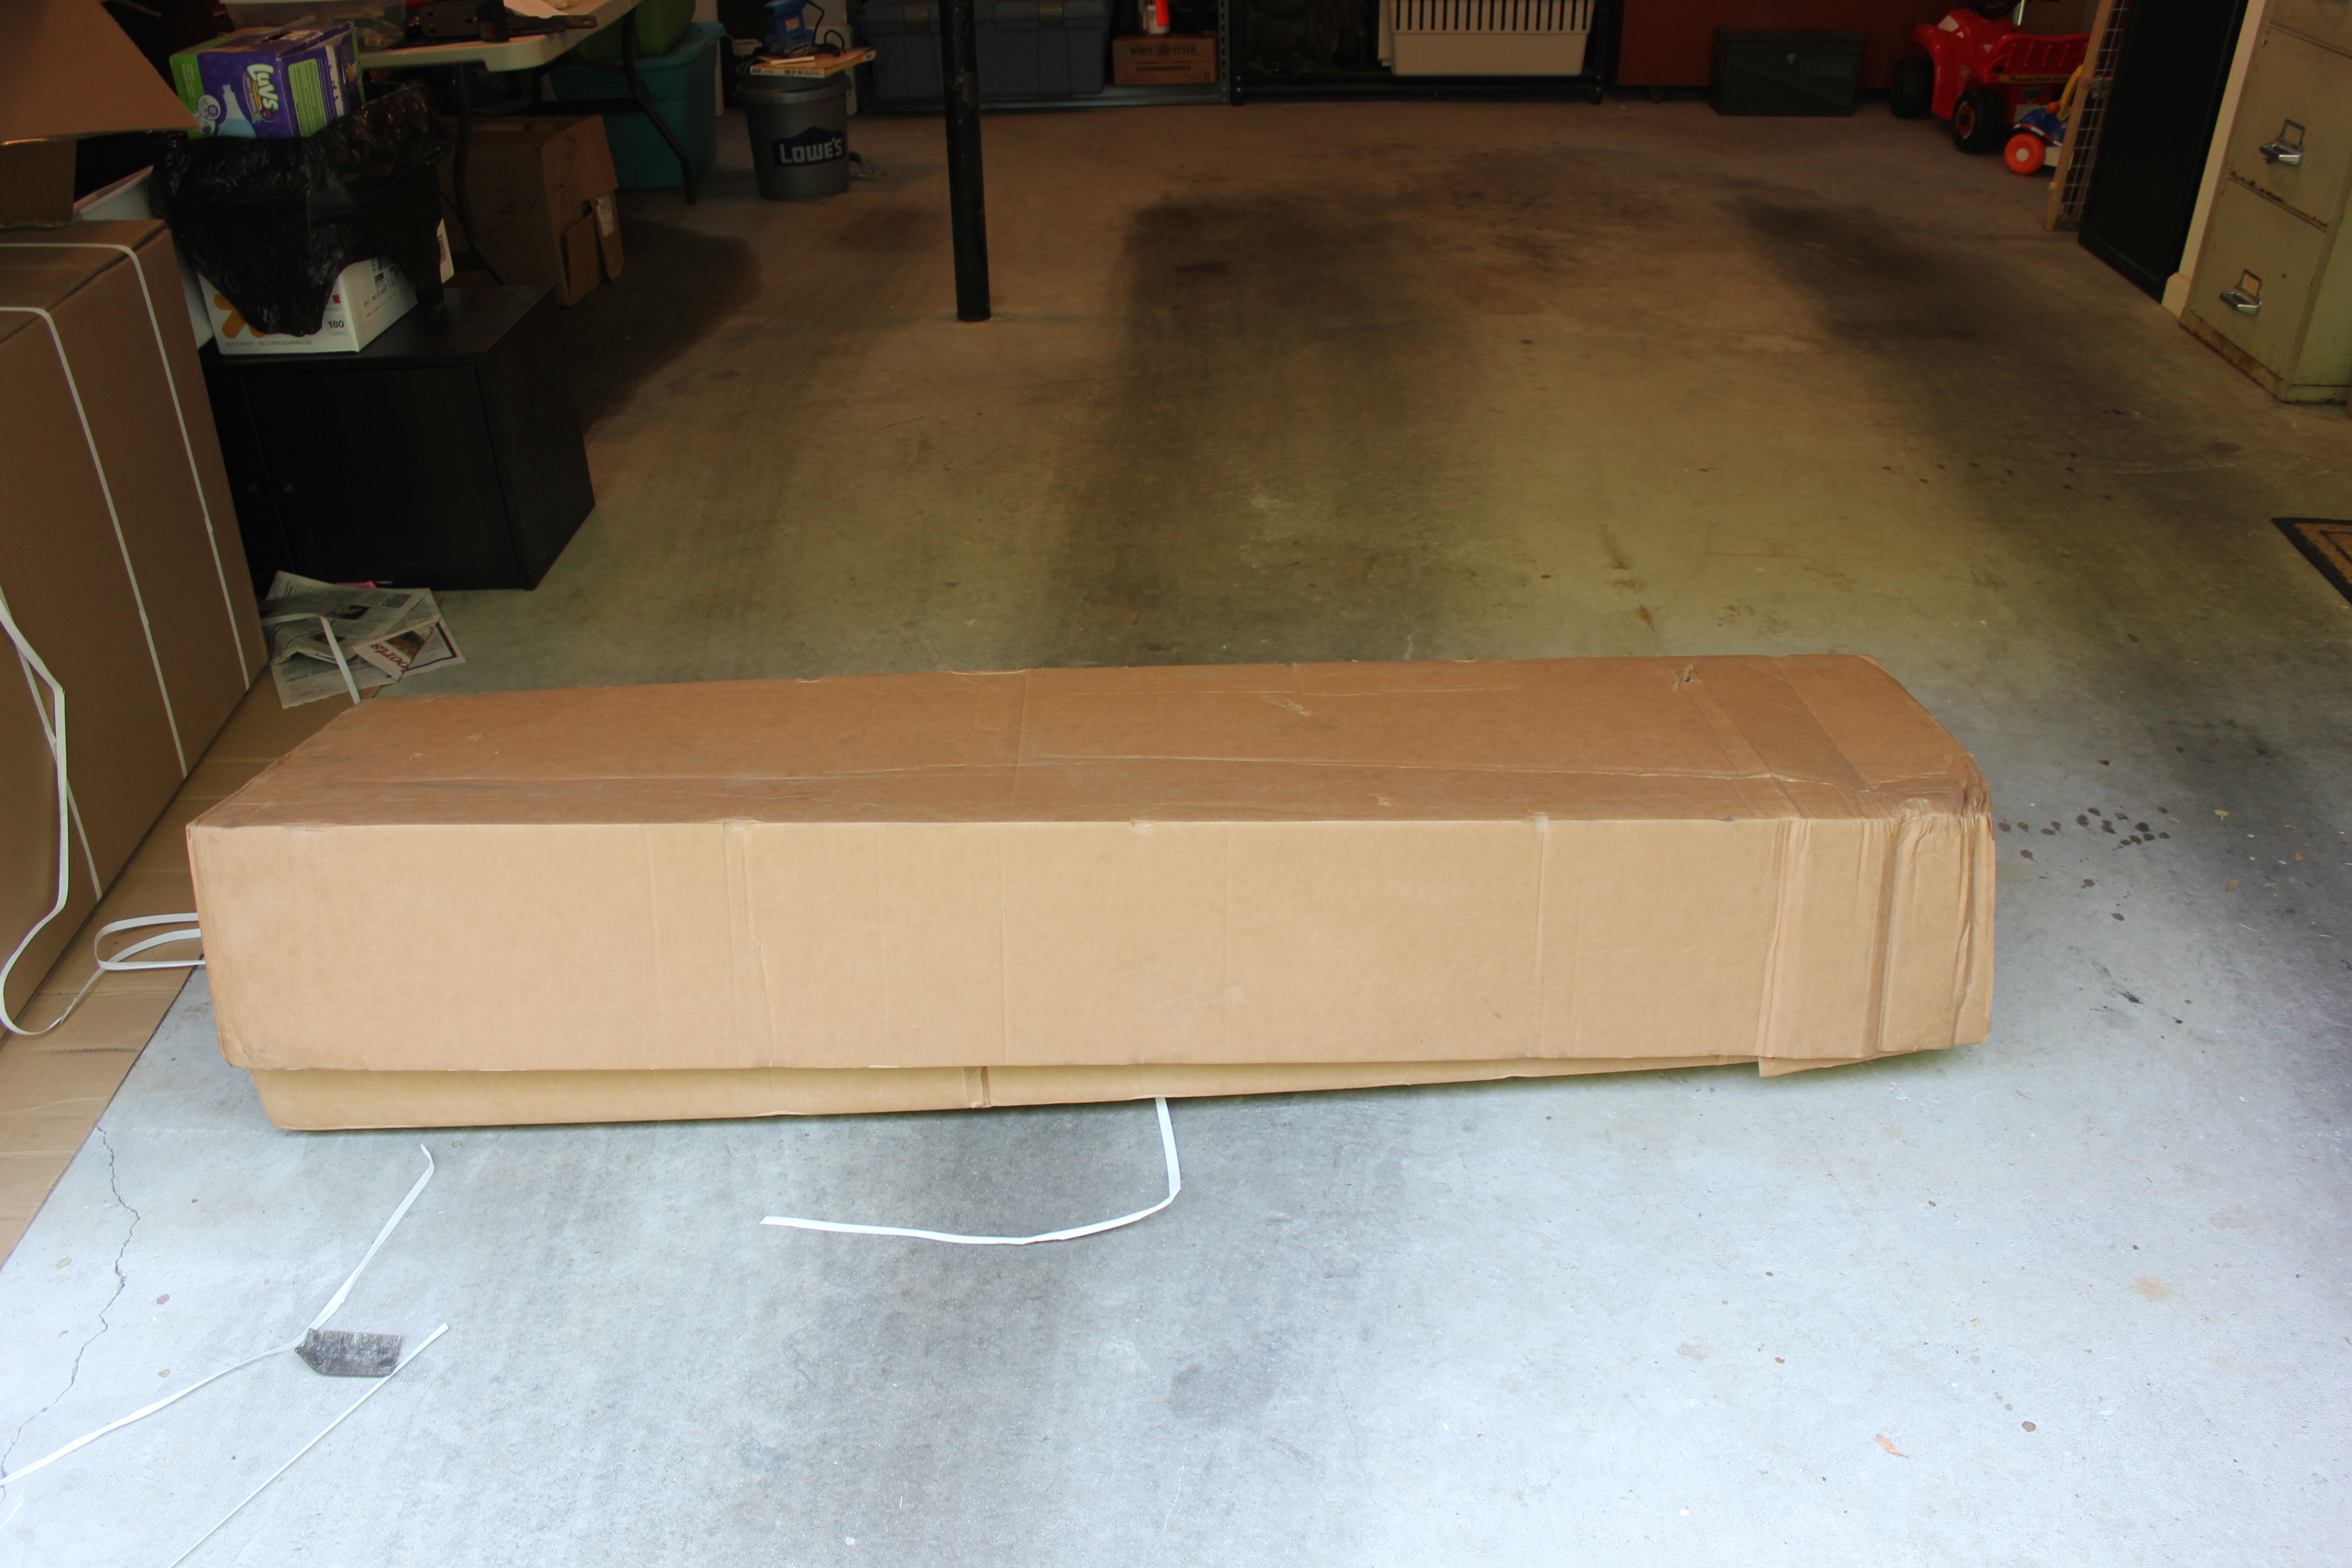
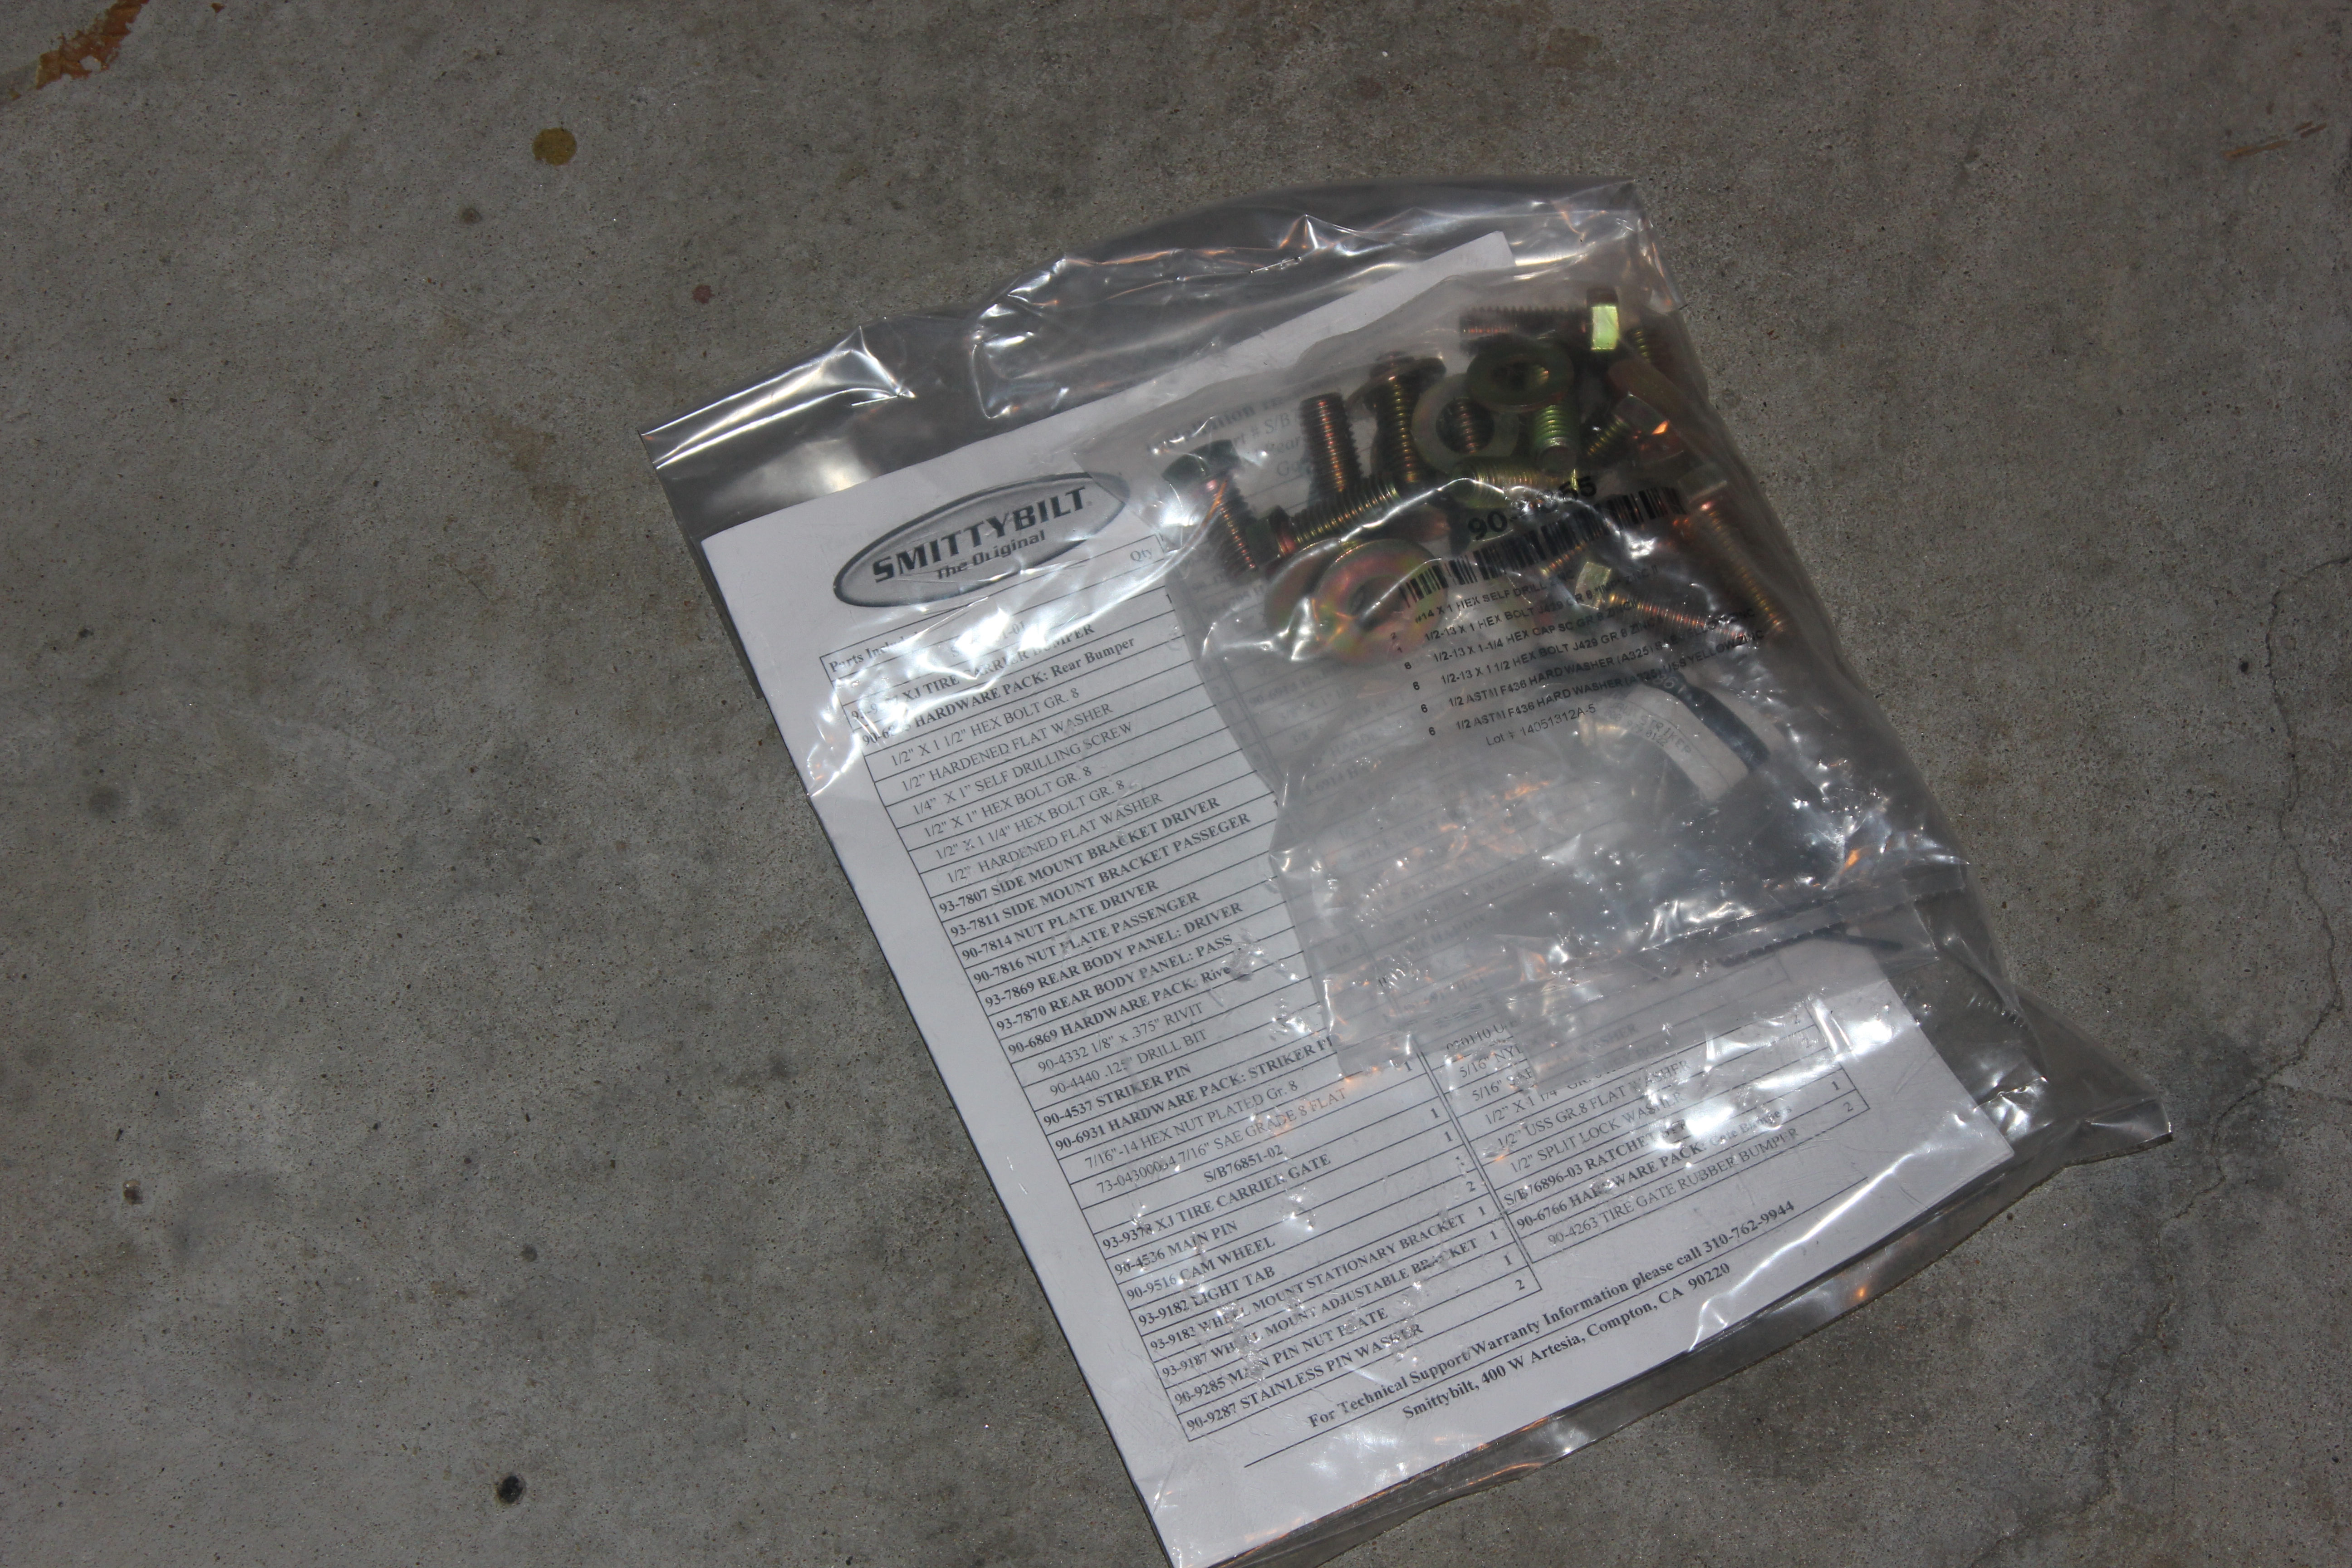
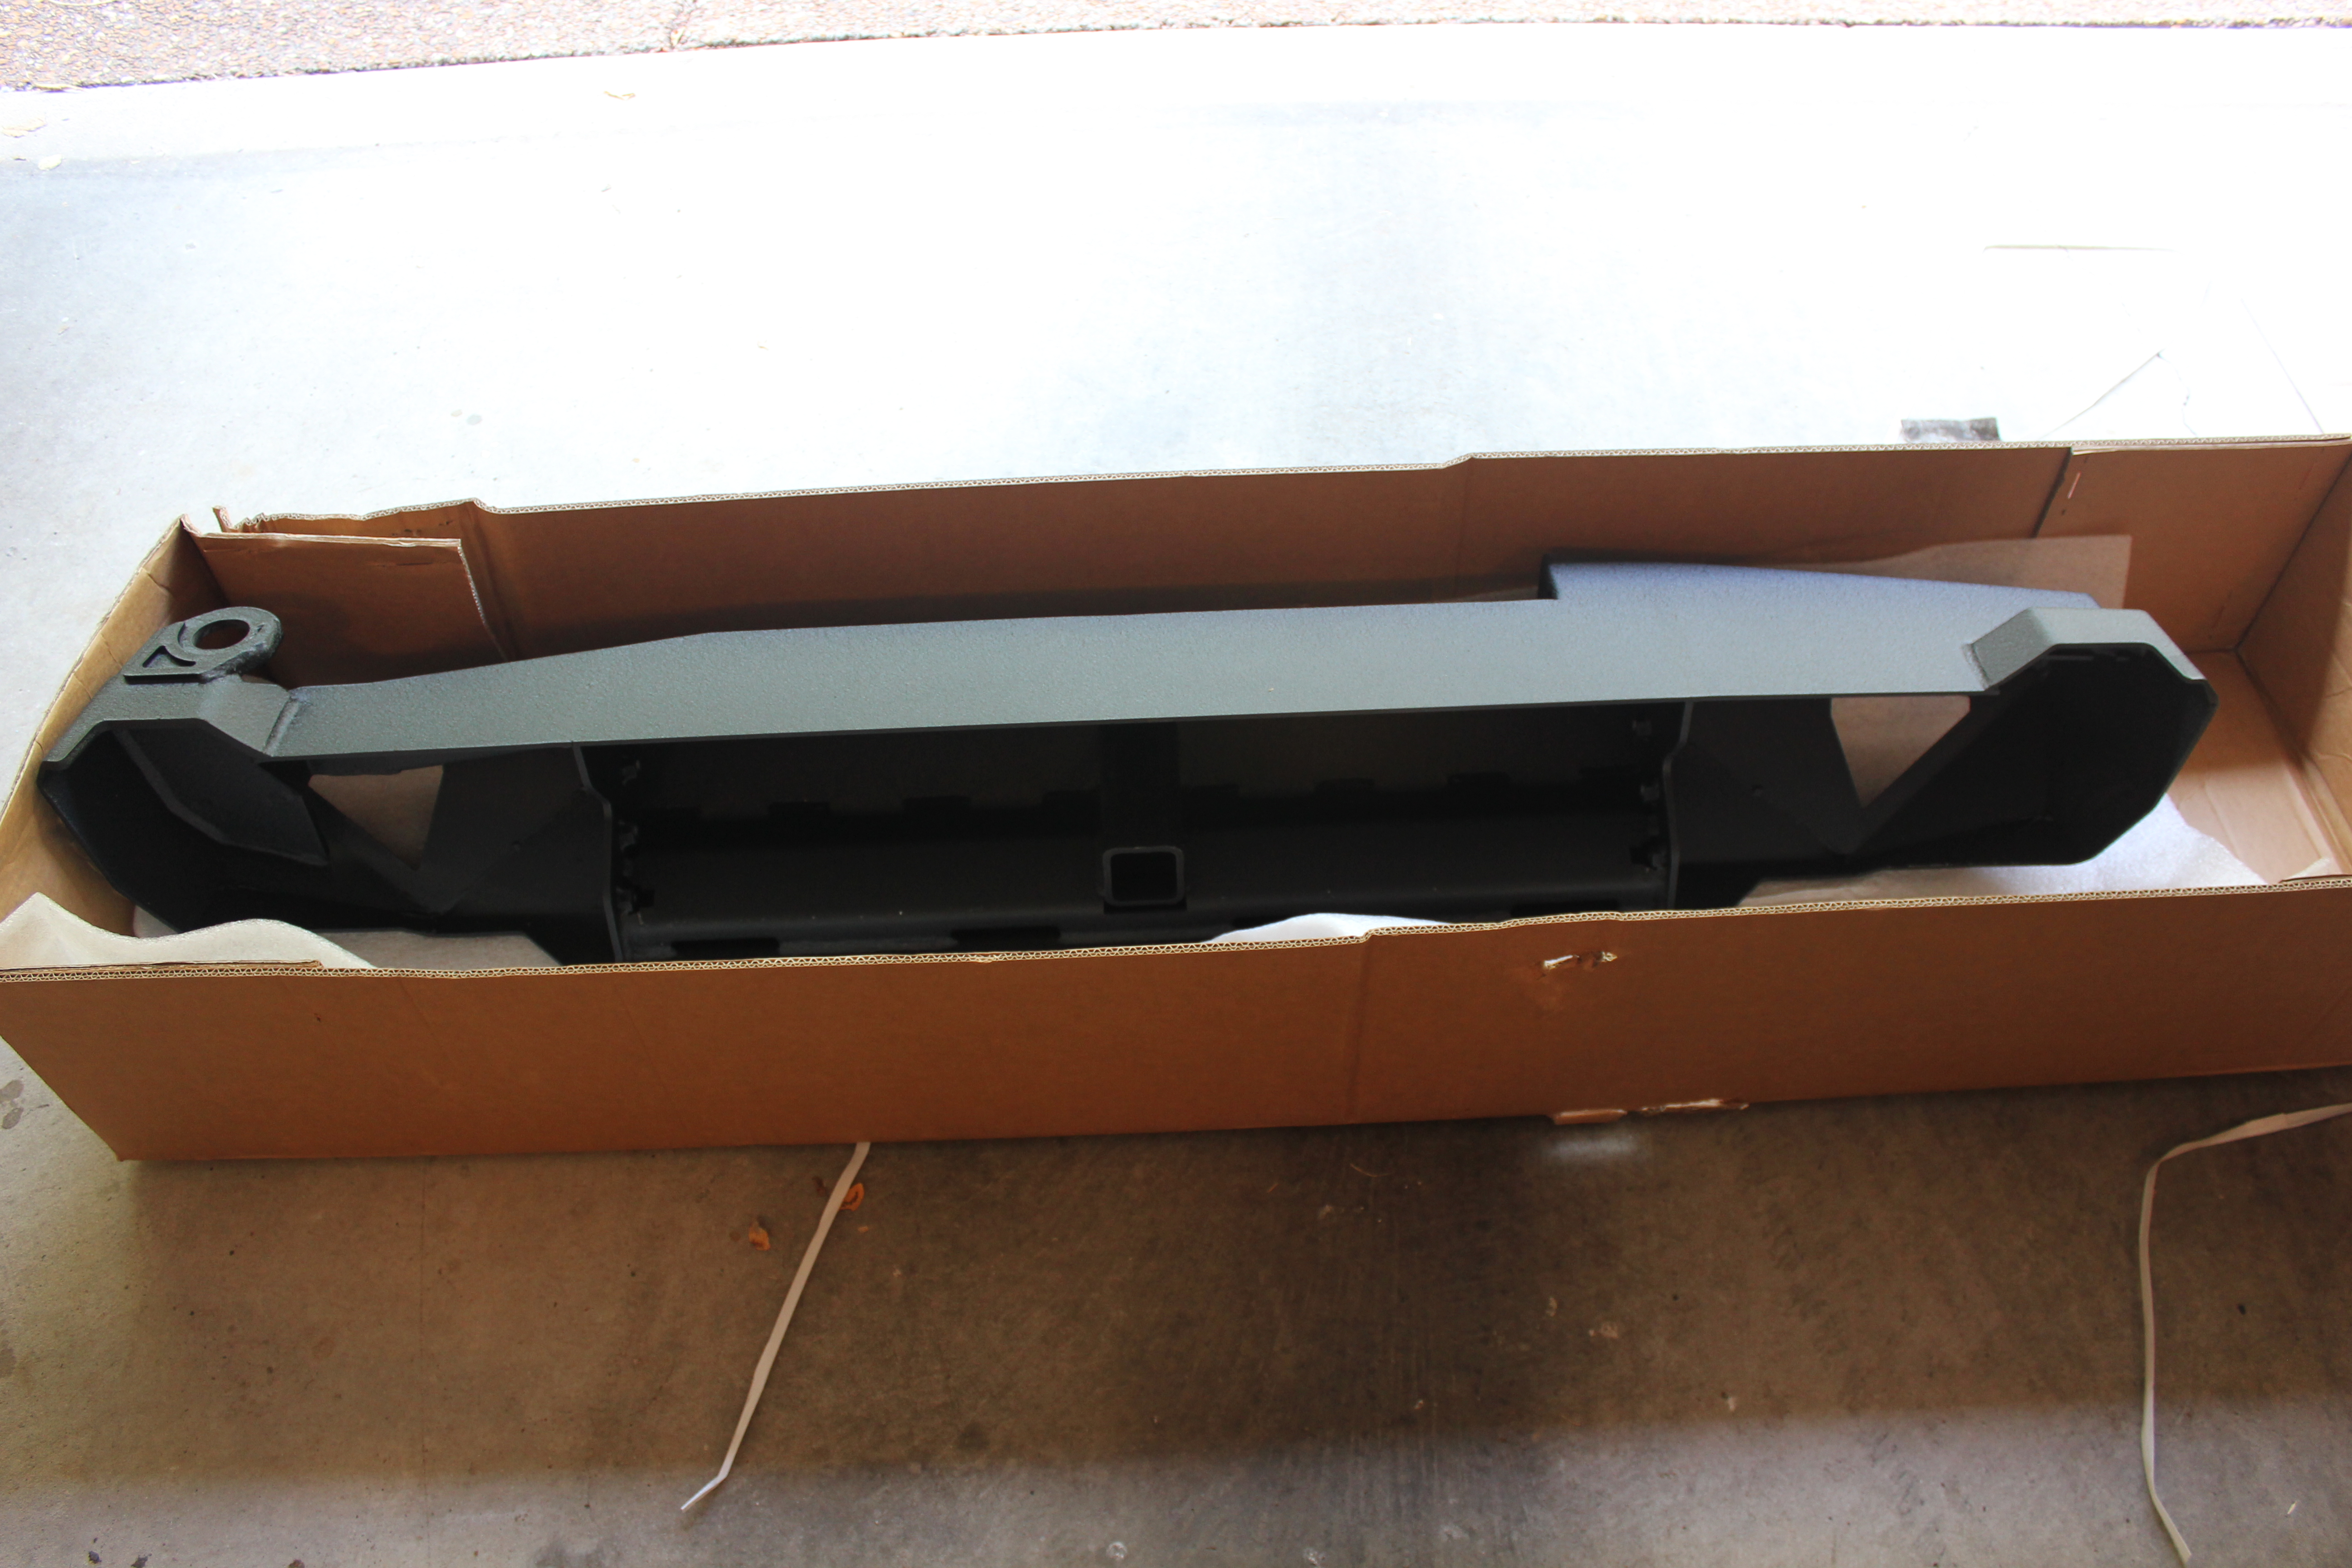
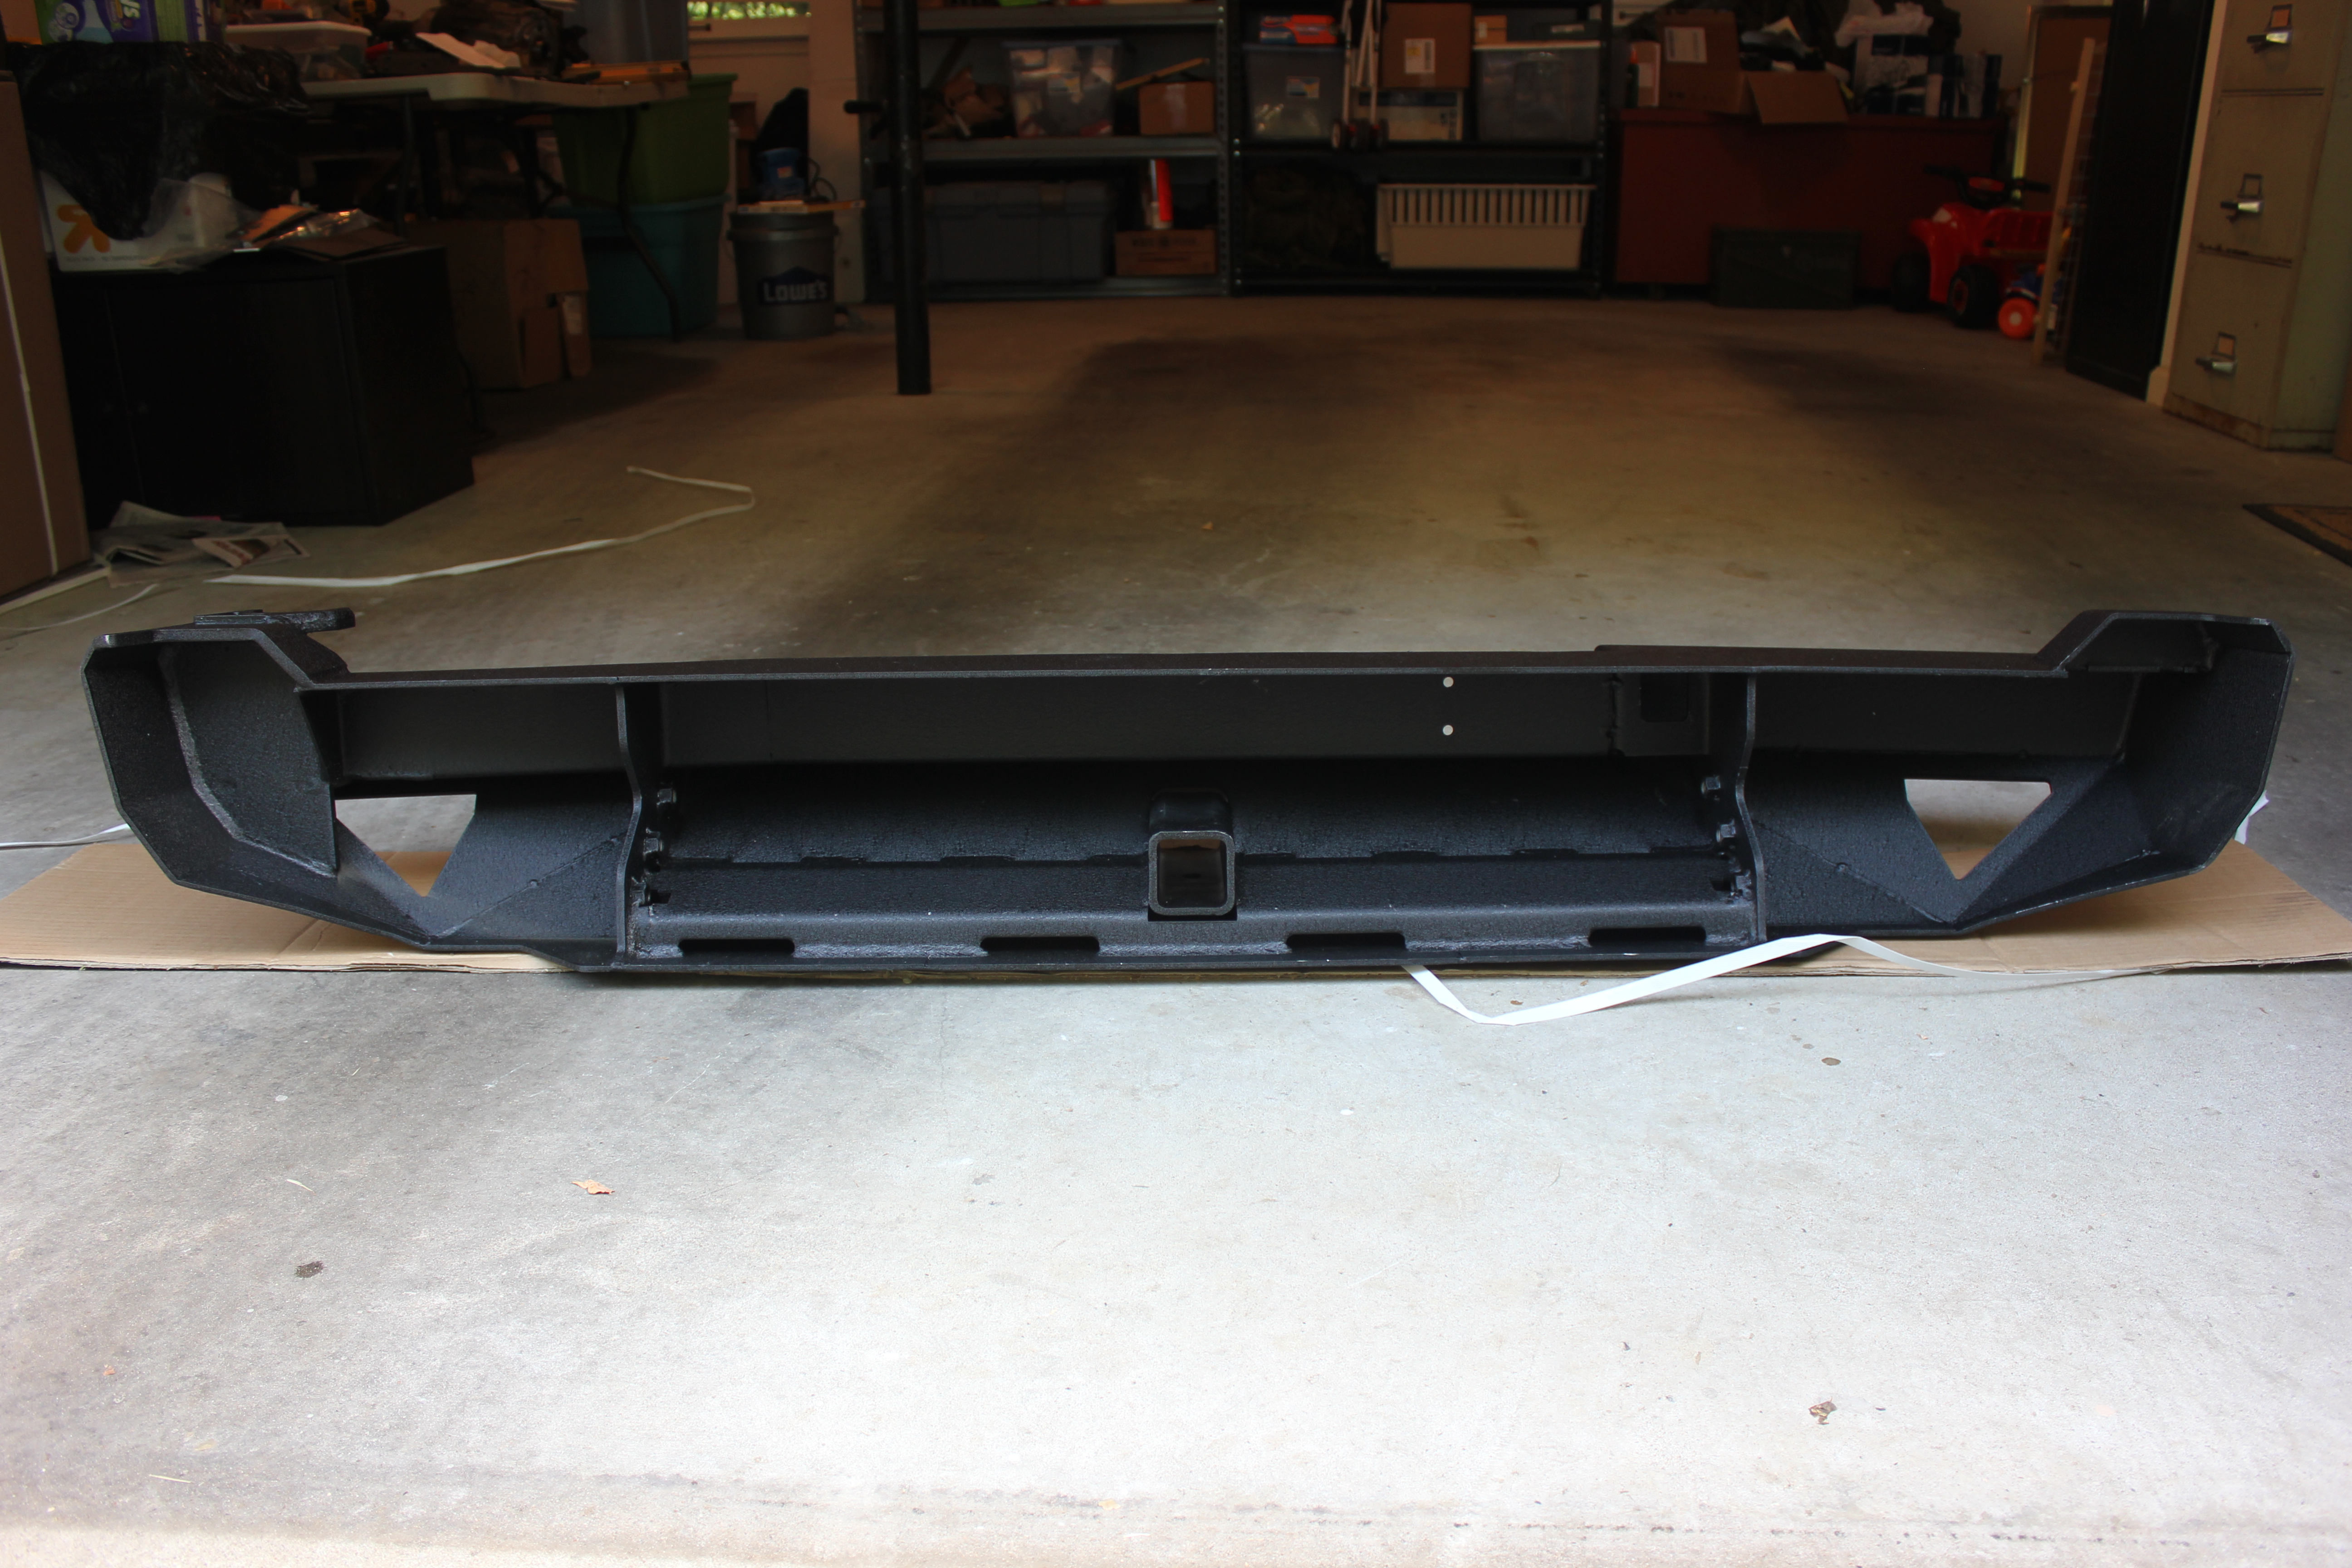
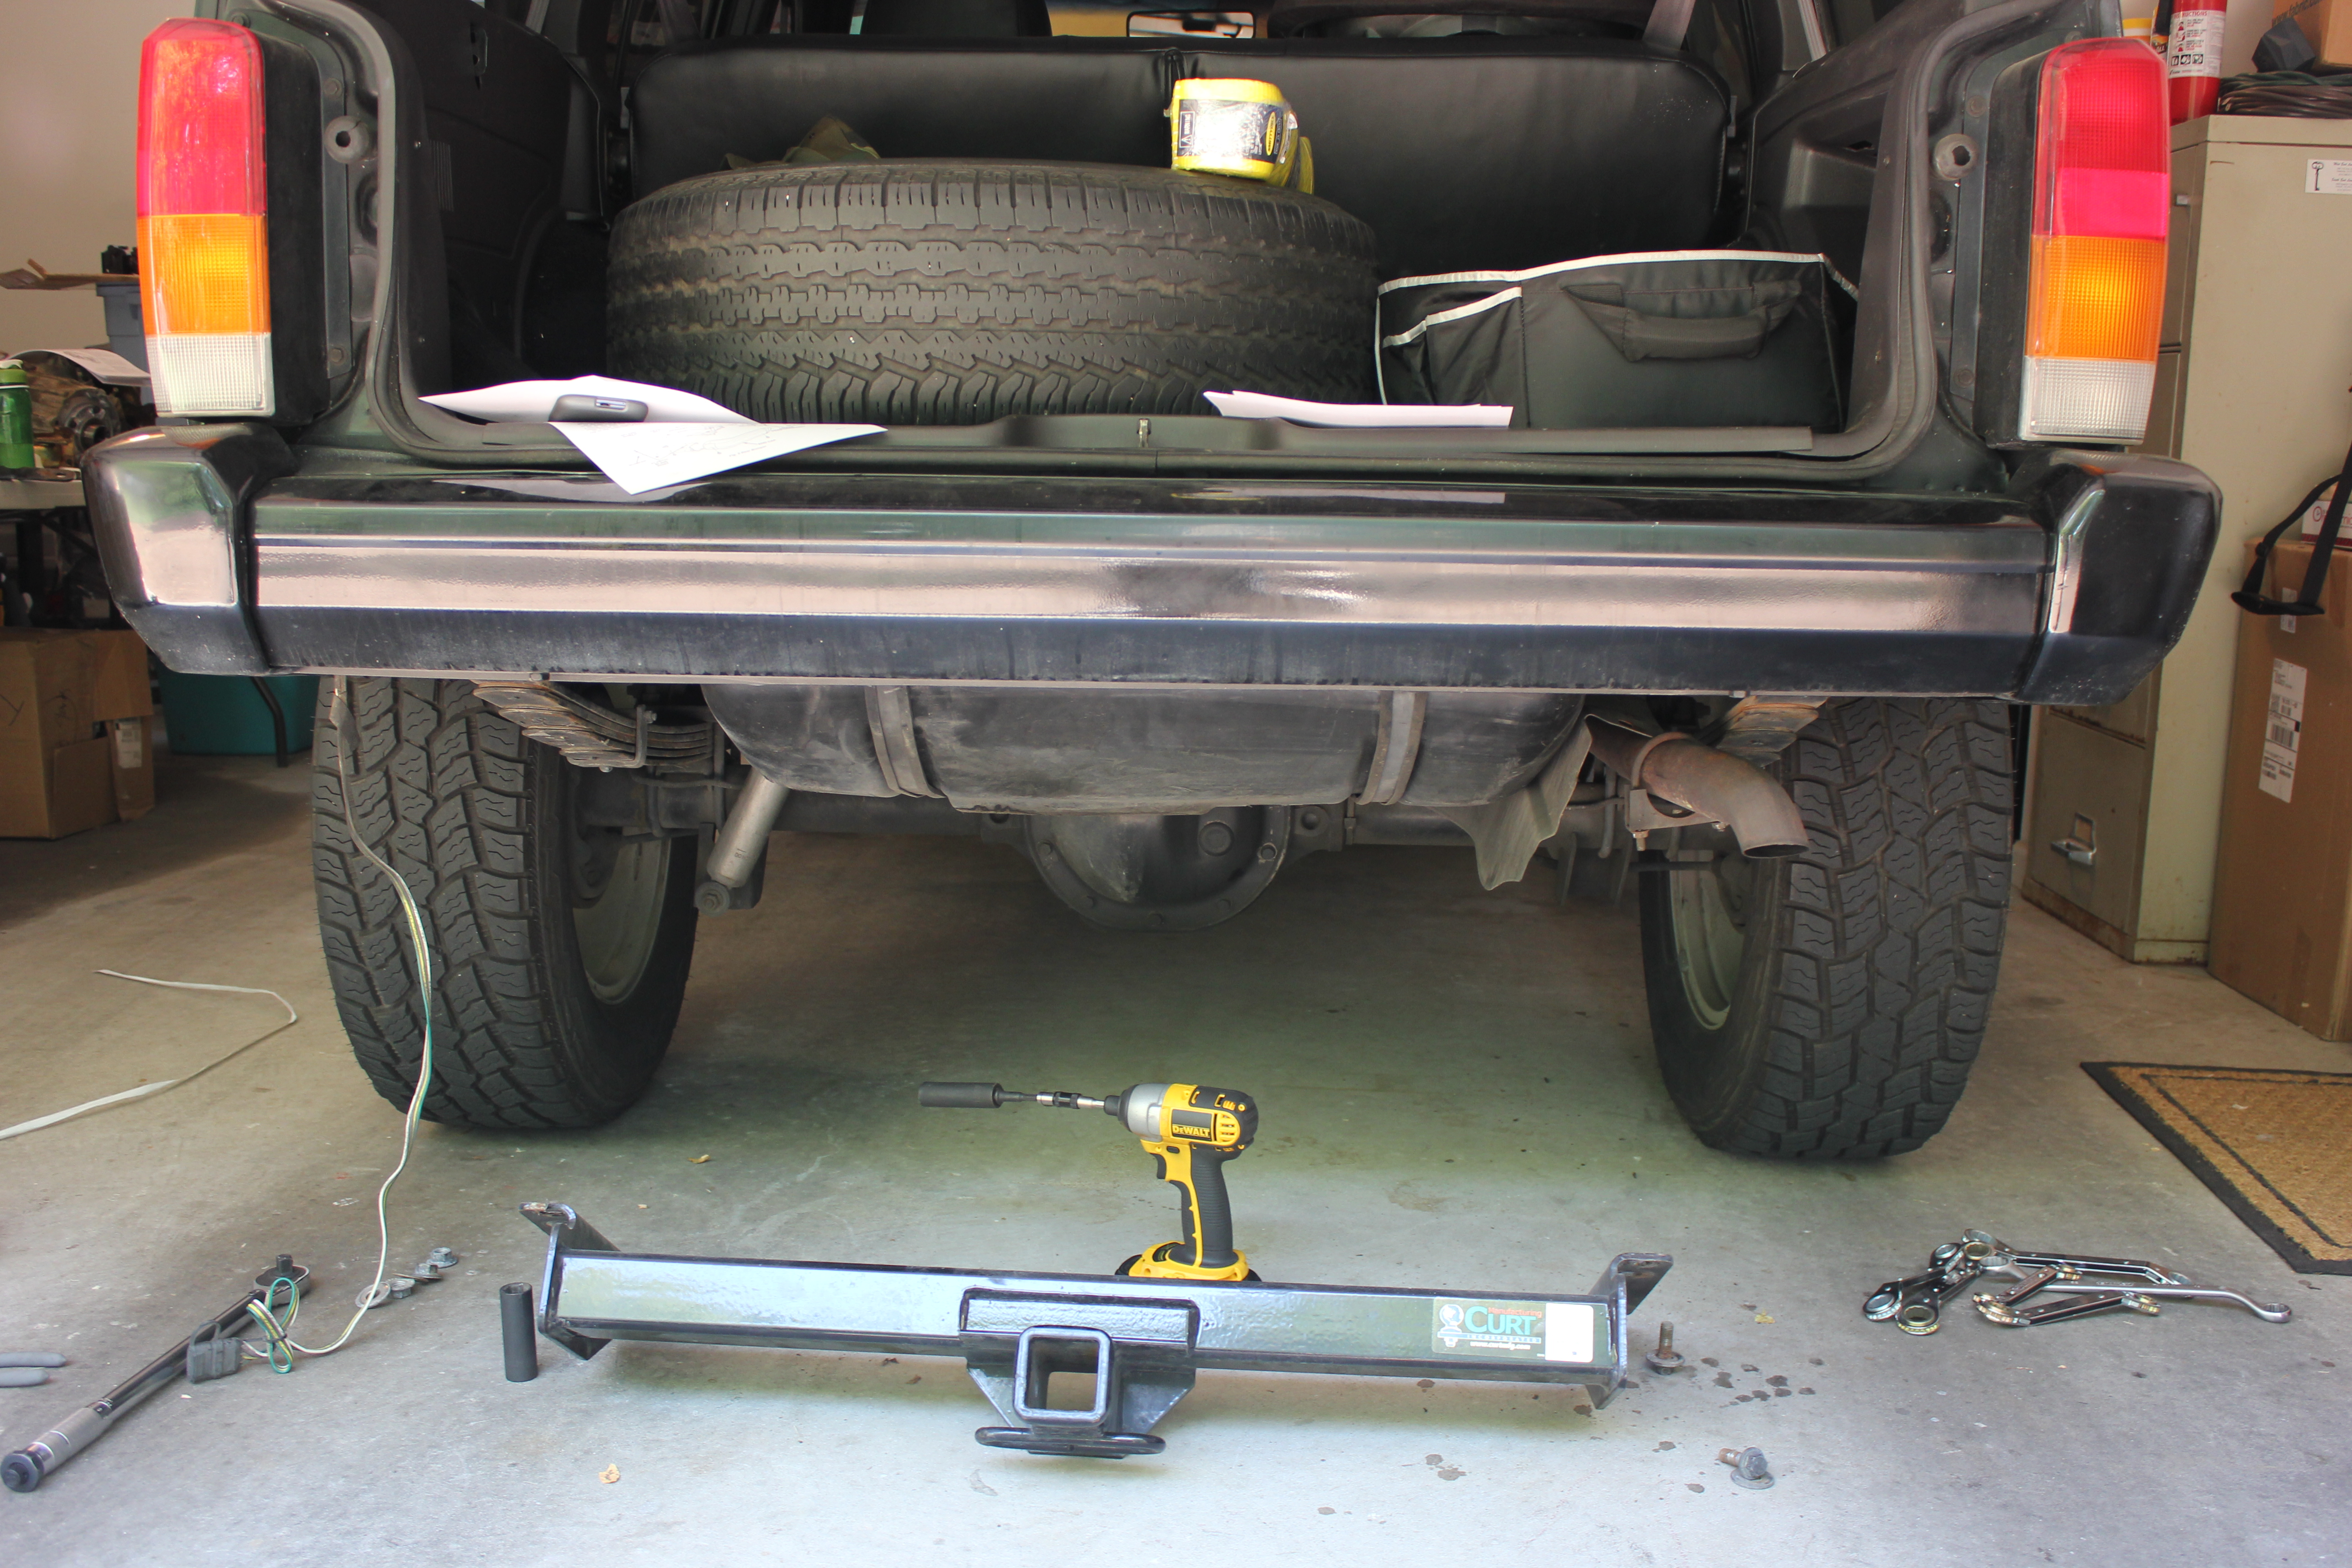
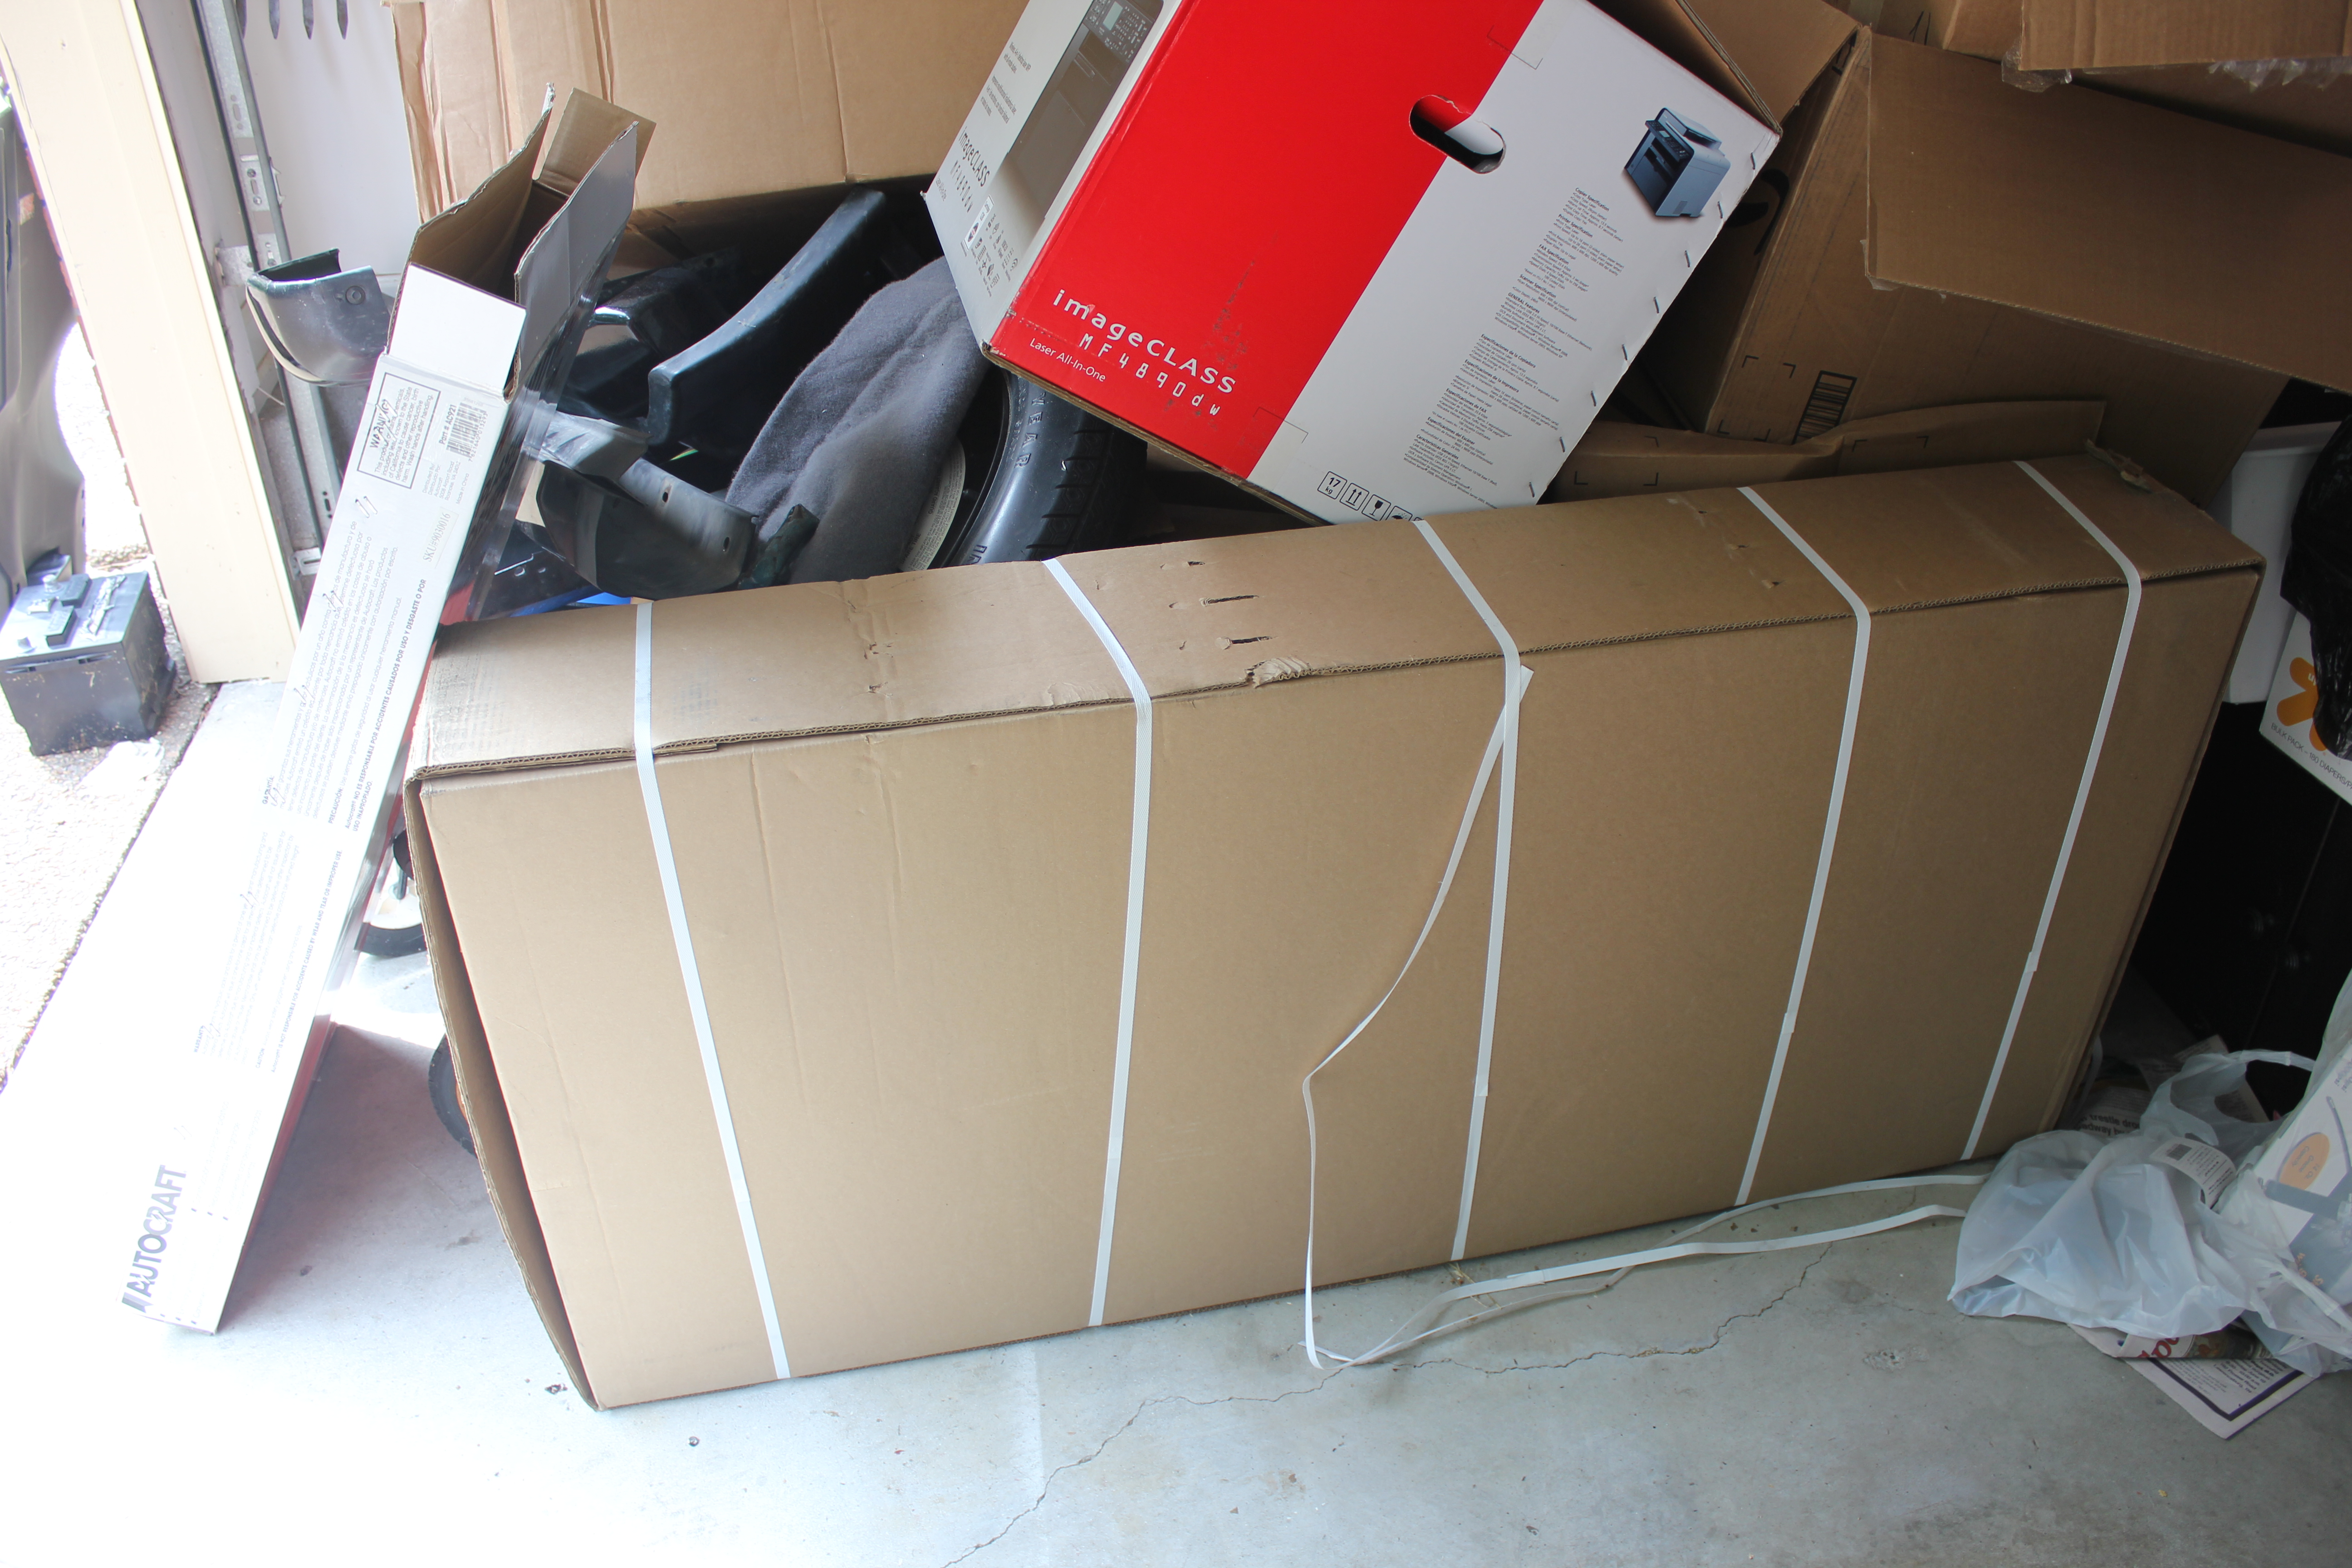
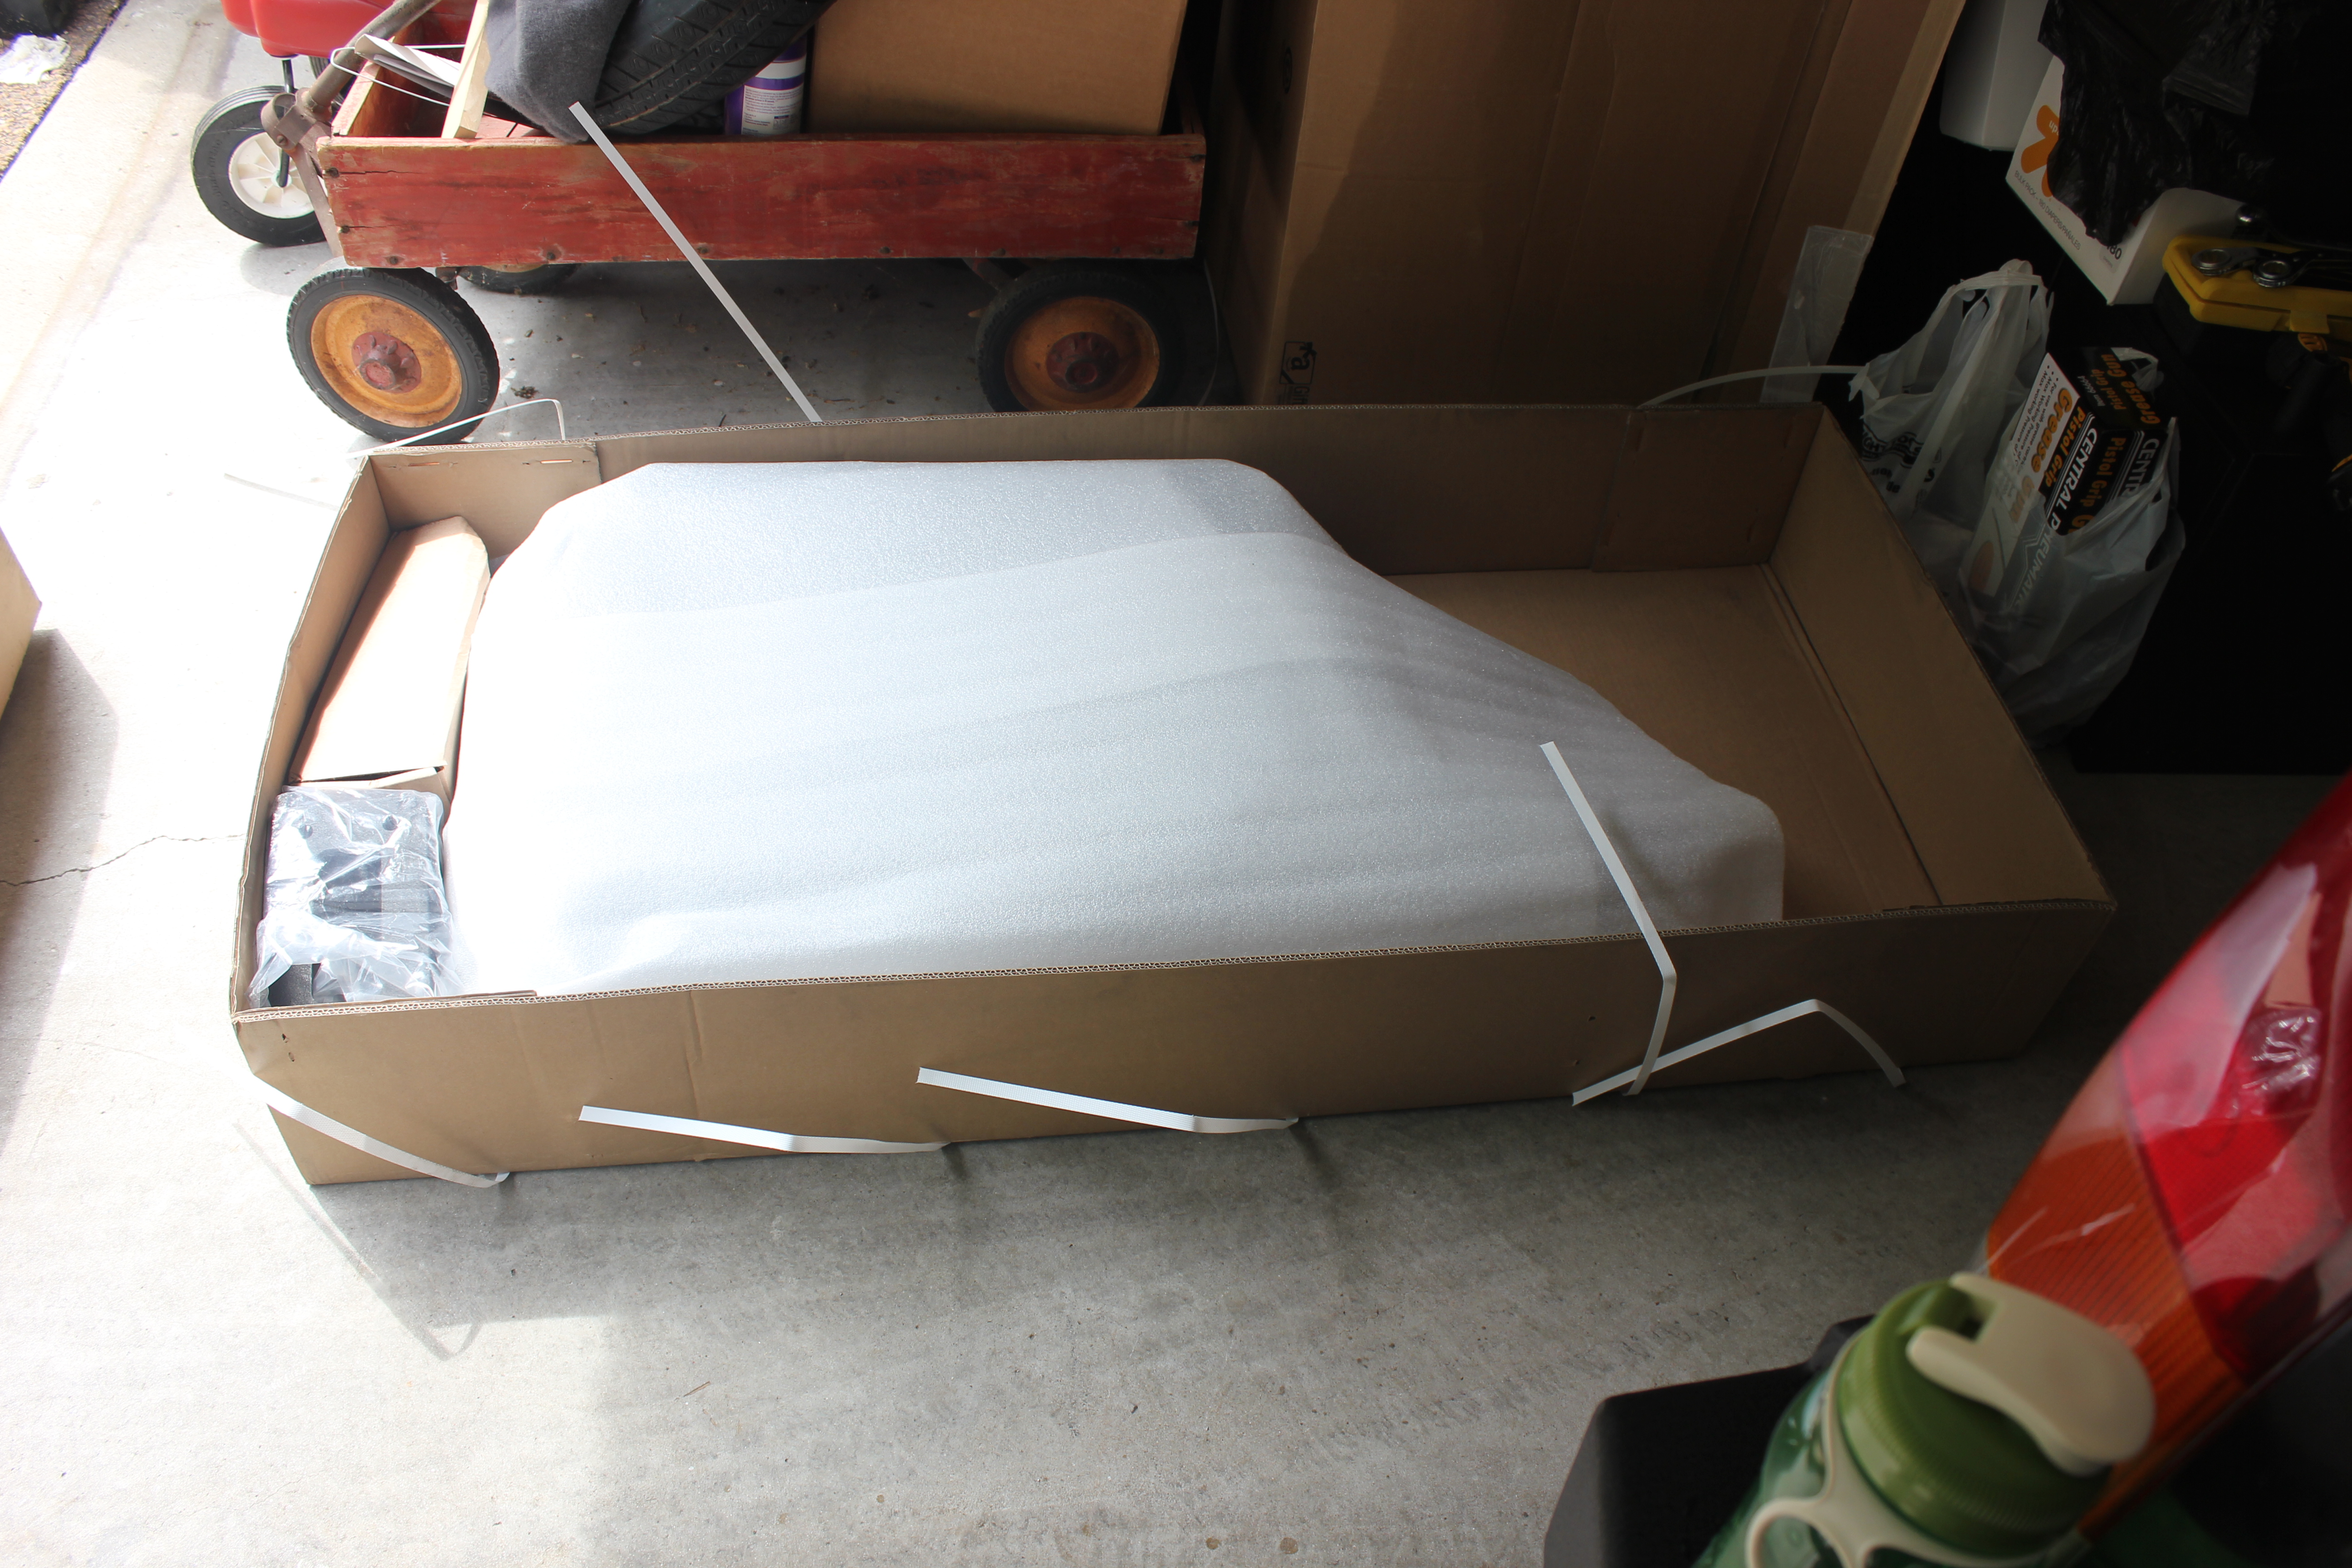
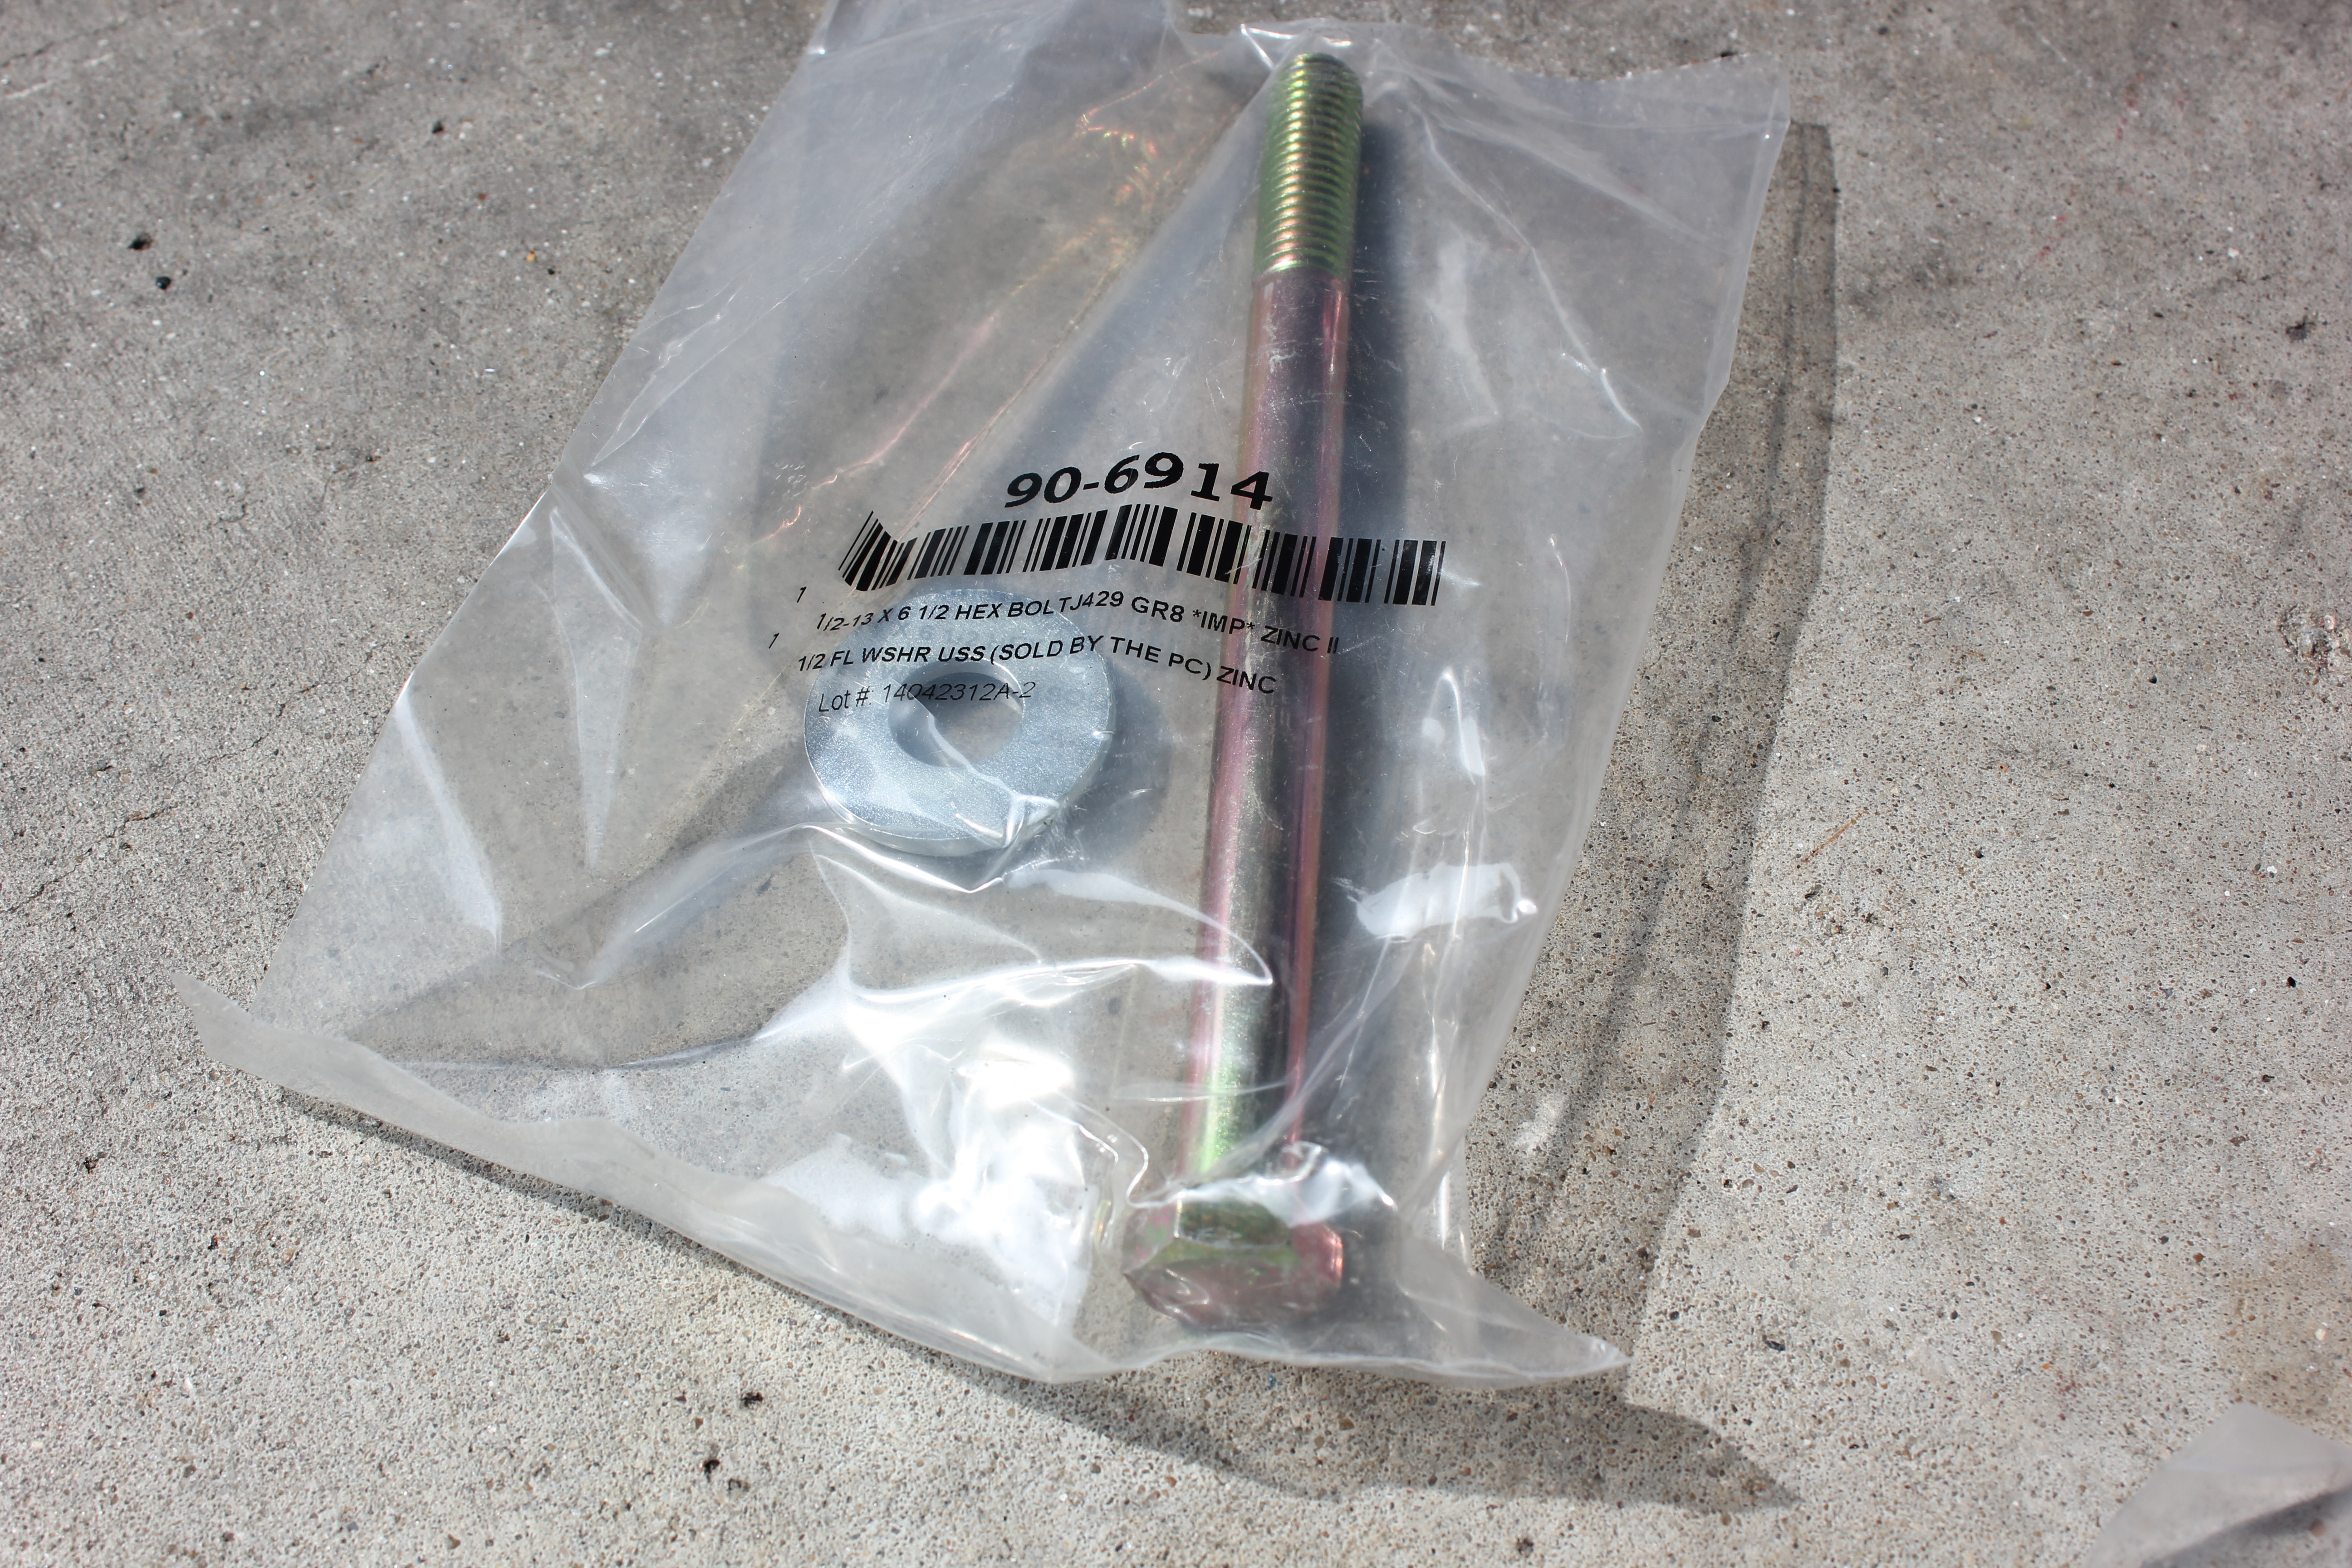
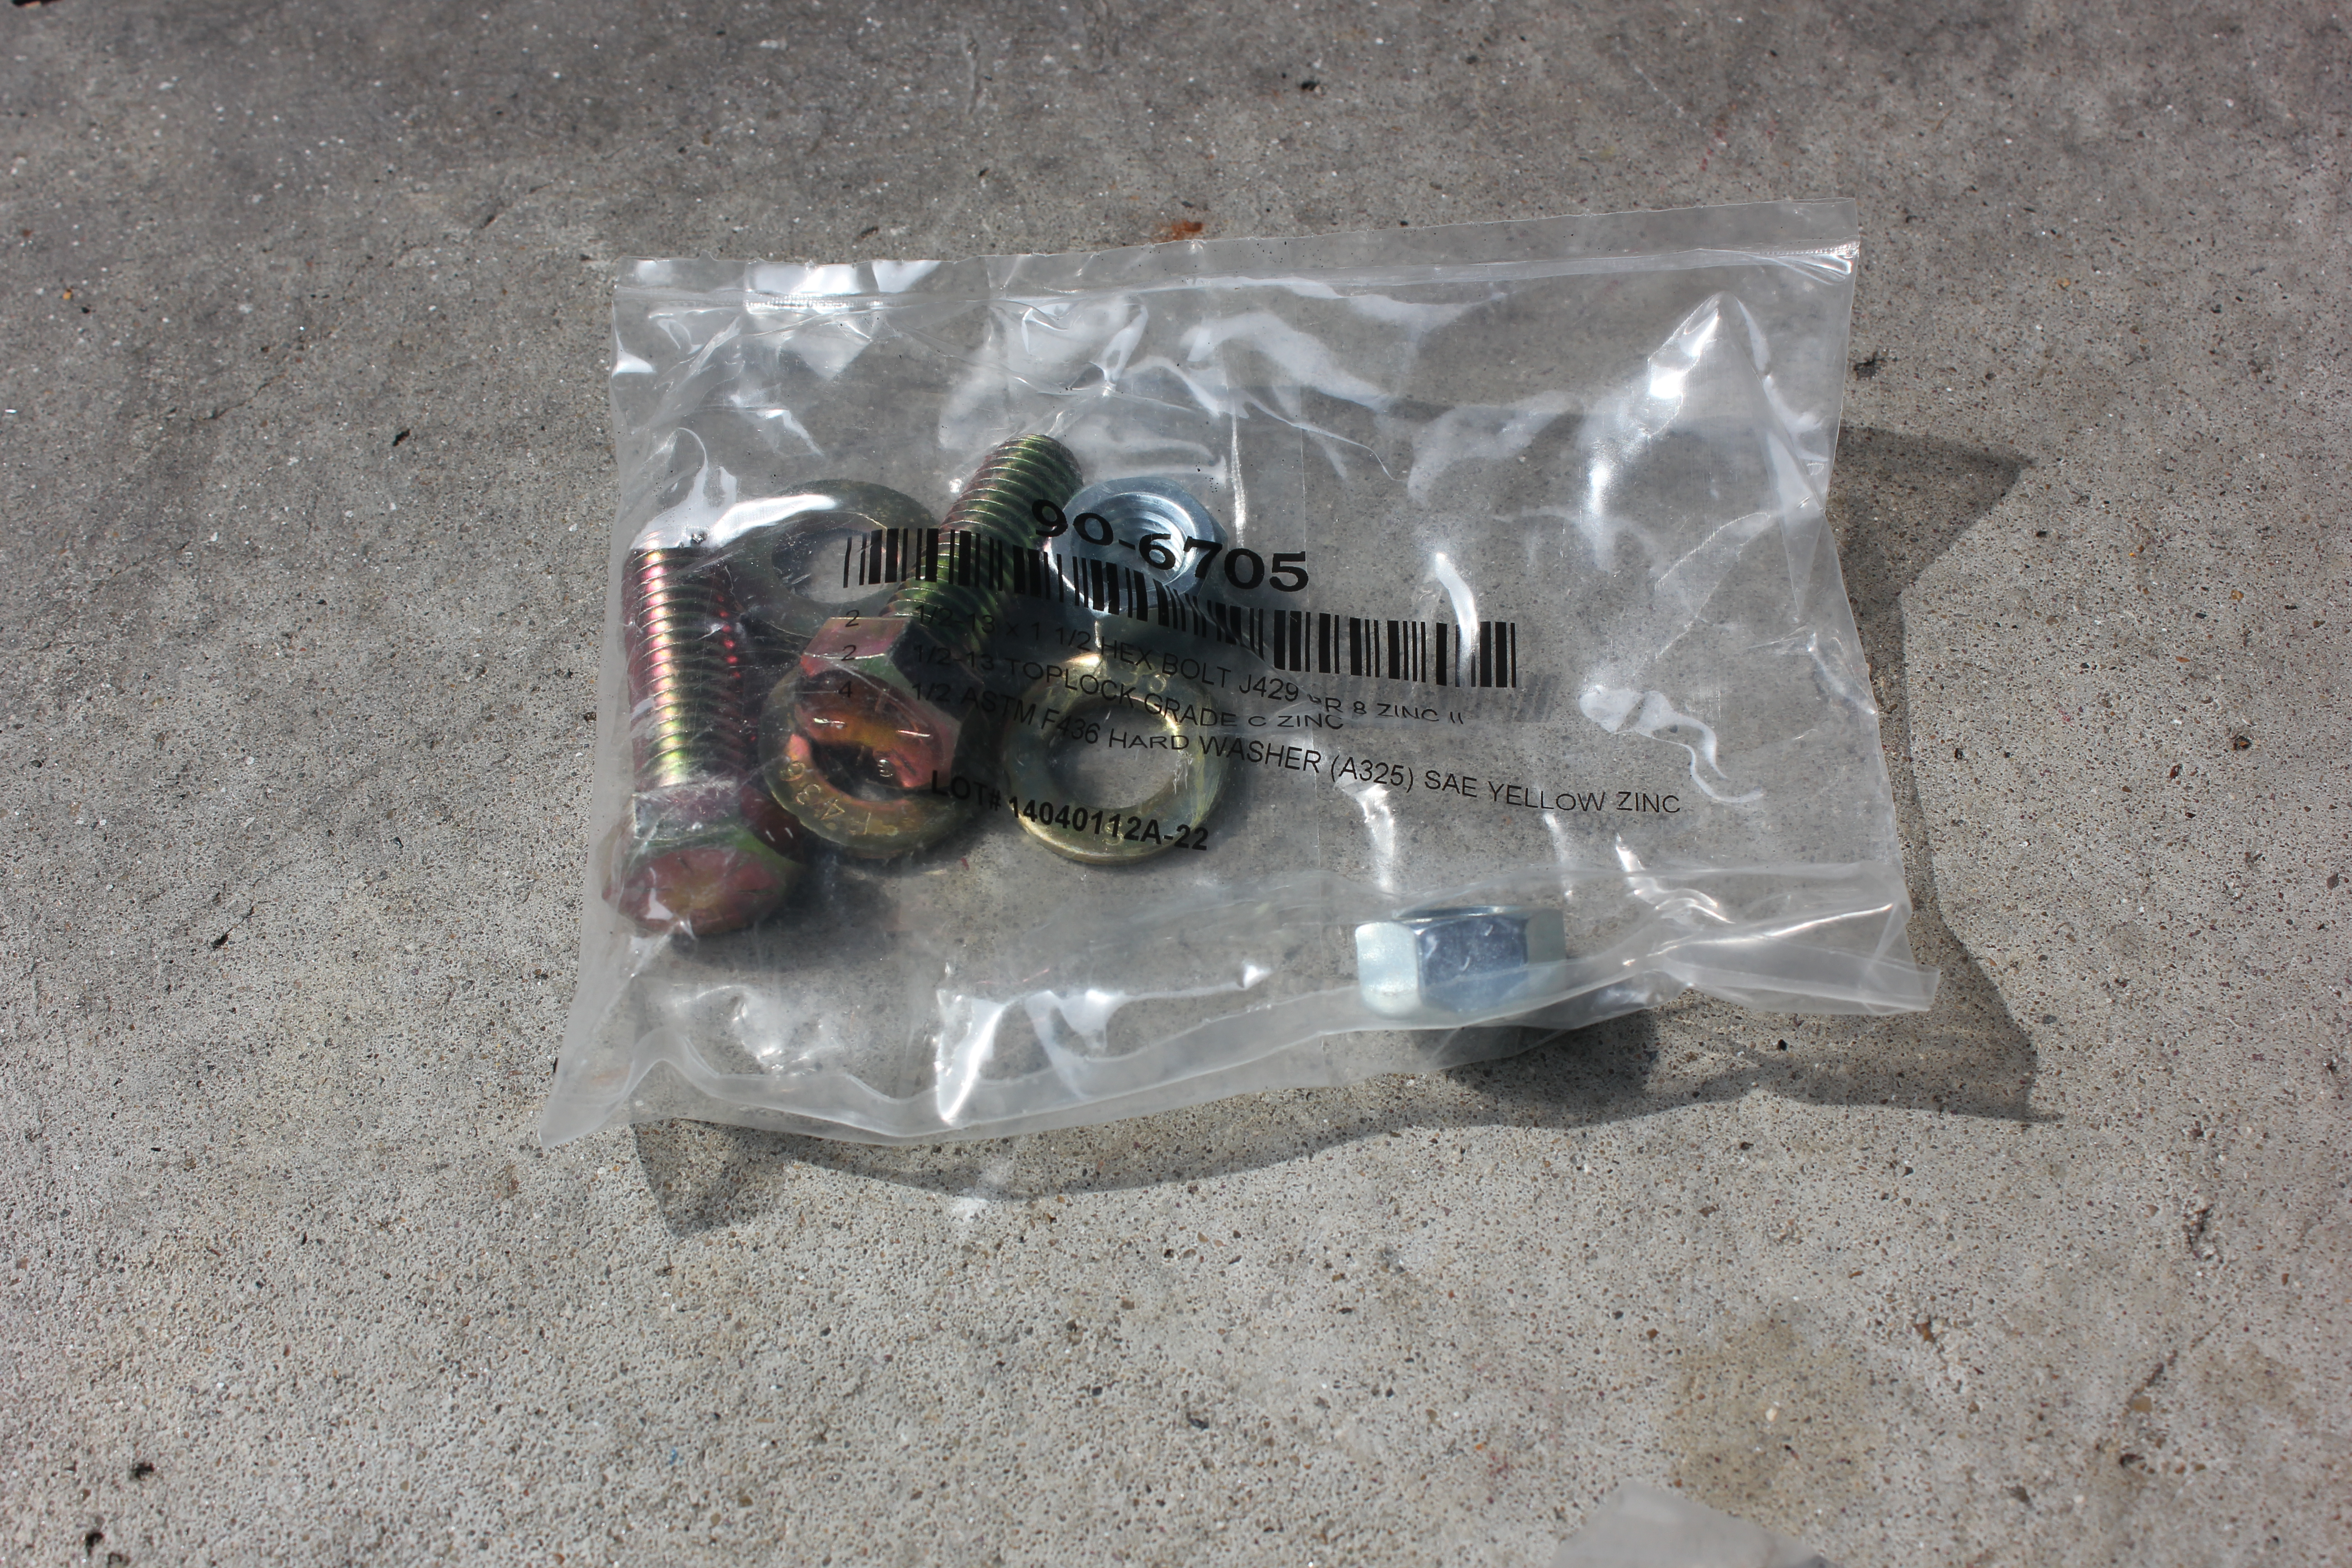
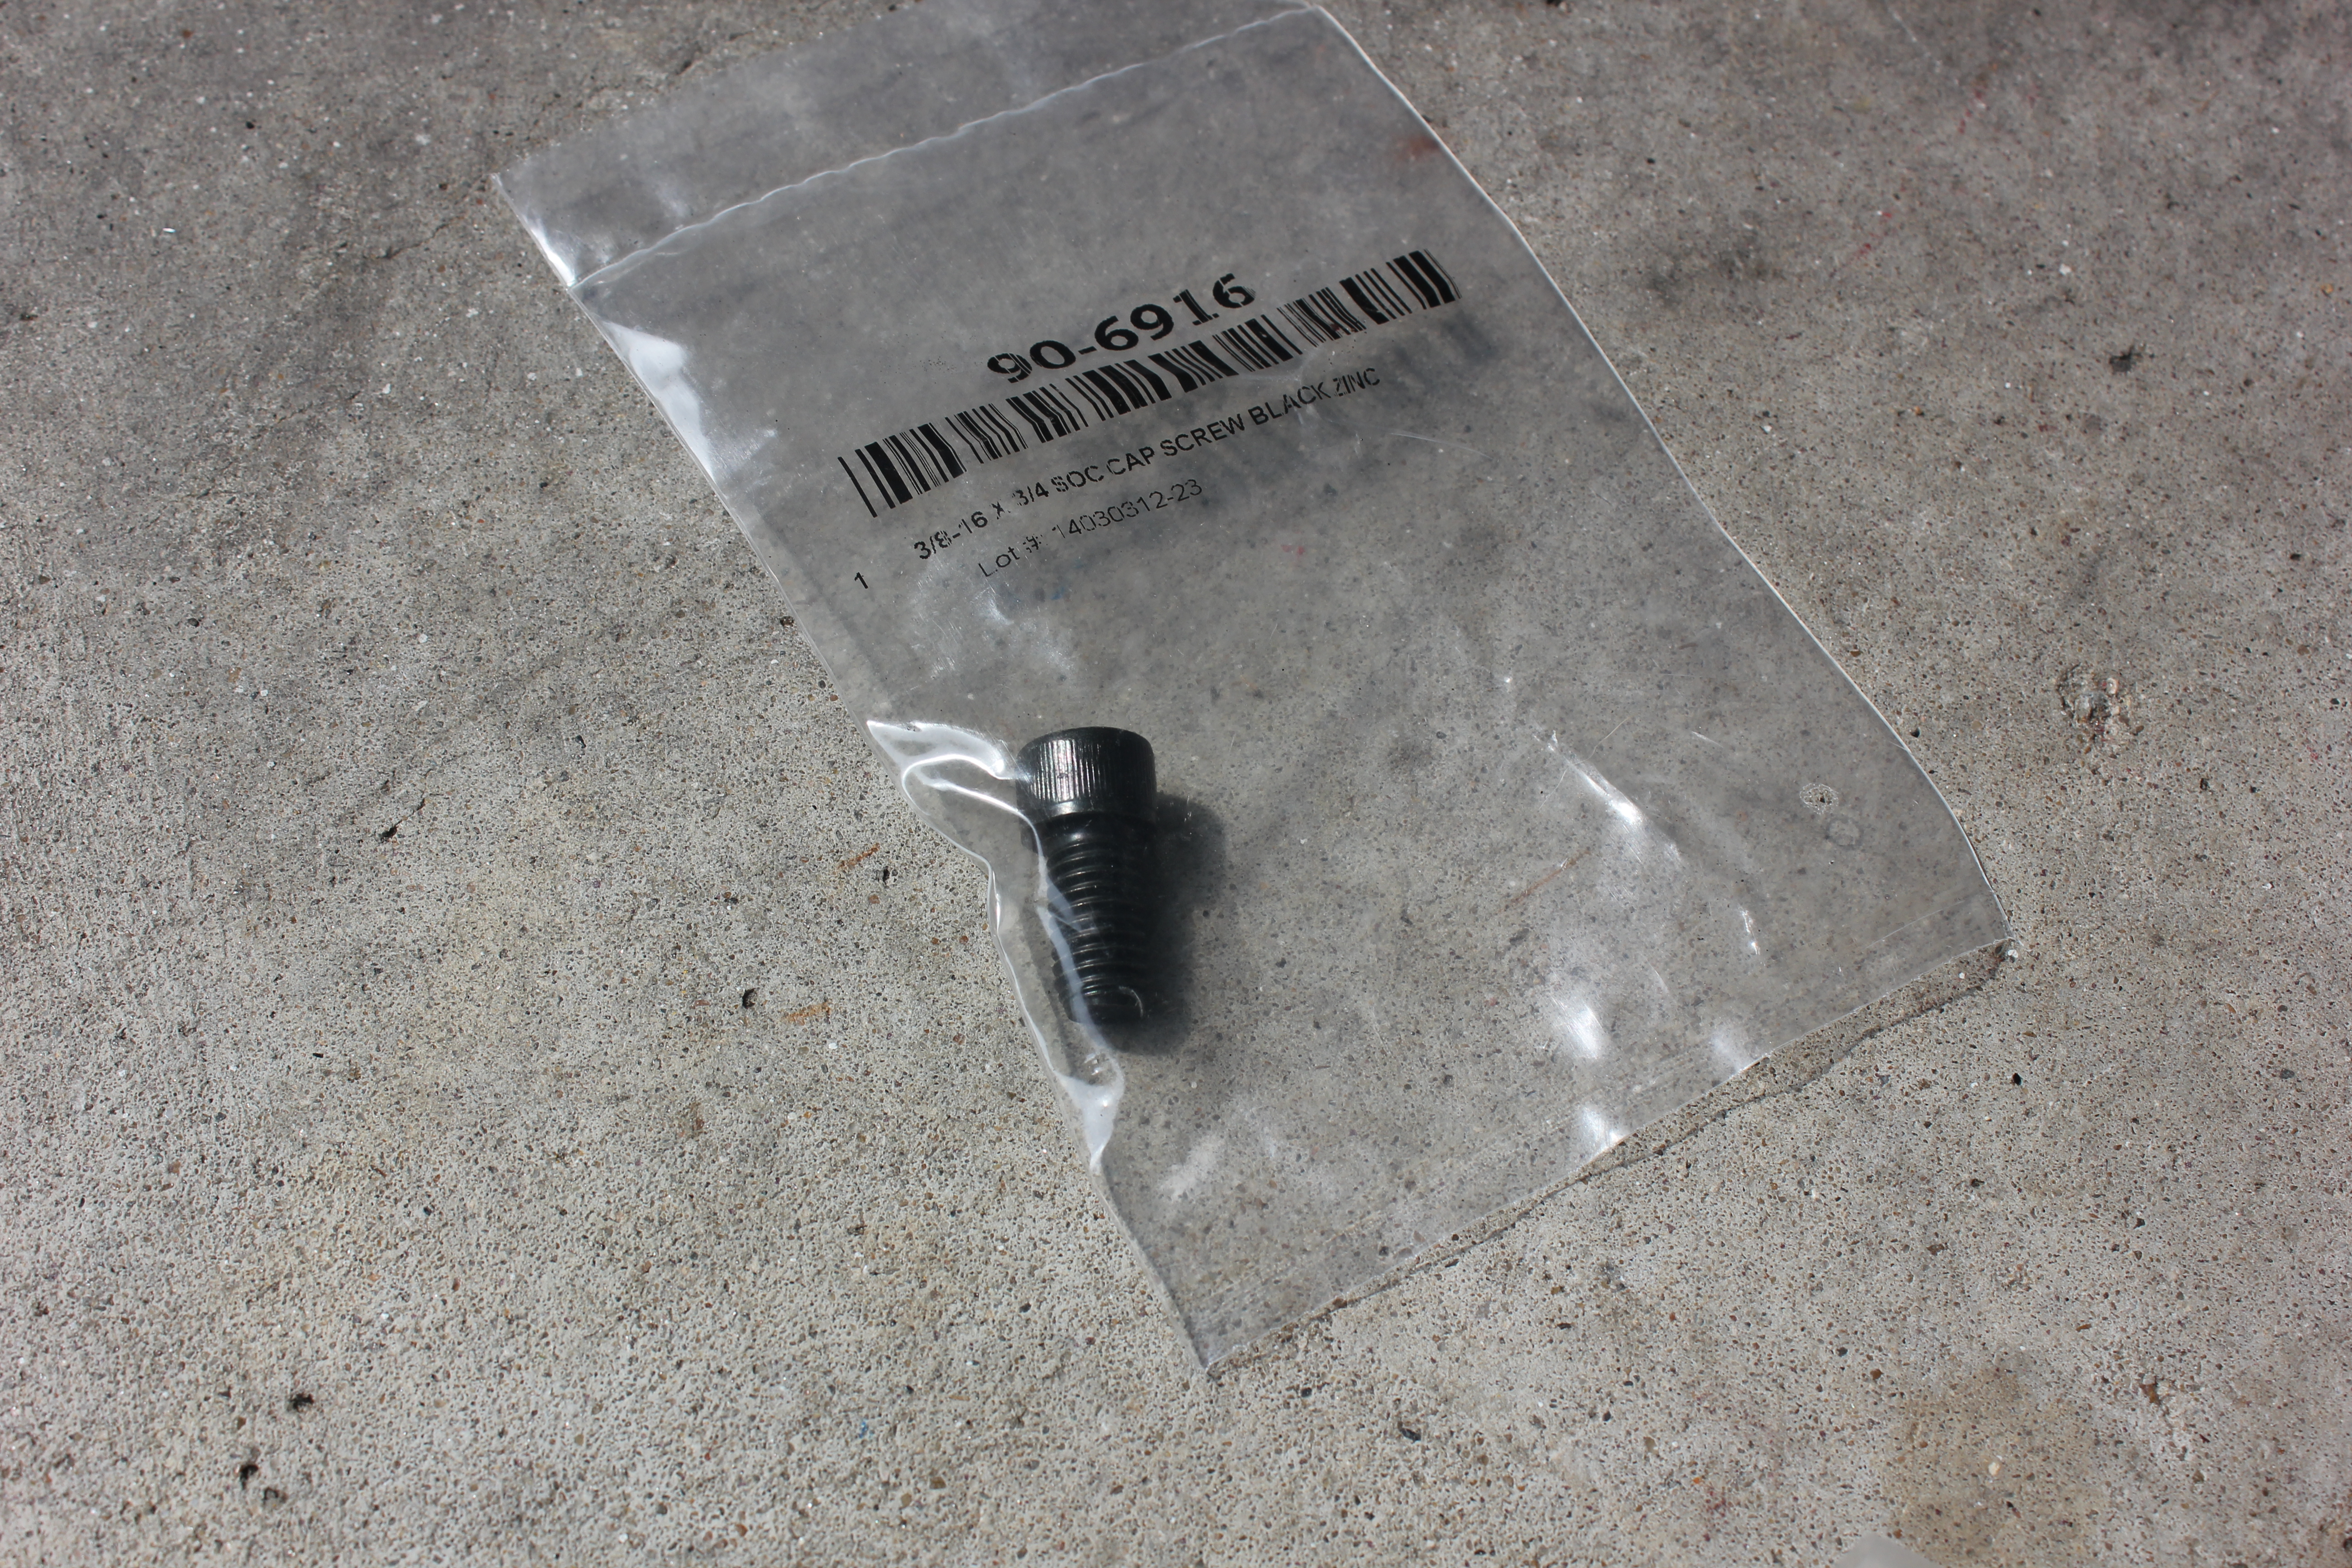
The bumper comes in two boxes. Well, the bumper comes in one box and the tire carrier comes in the other. The tire carrier box is probably twice as long as it needs to be to actually hold all the stuff. The boxes are too large to fit in a Cherokee, so you will need a larger vehicle if they aren’t delivered to your house. Also the bumper is much heavier than the front, and most of the weight is on the passenger side to accommodate the hinge for the tire carrier. The bumper box measures 73″ x 19 1/2″ x 12″ and the tire carrier box measures 59 1/2″ x 28 1/2″ x 9″:
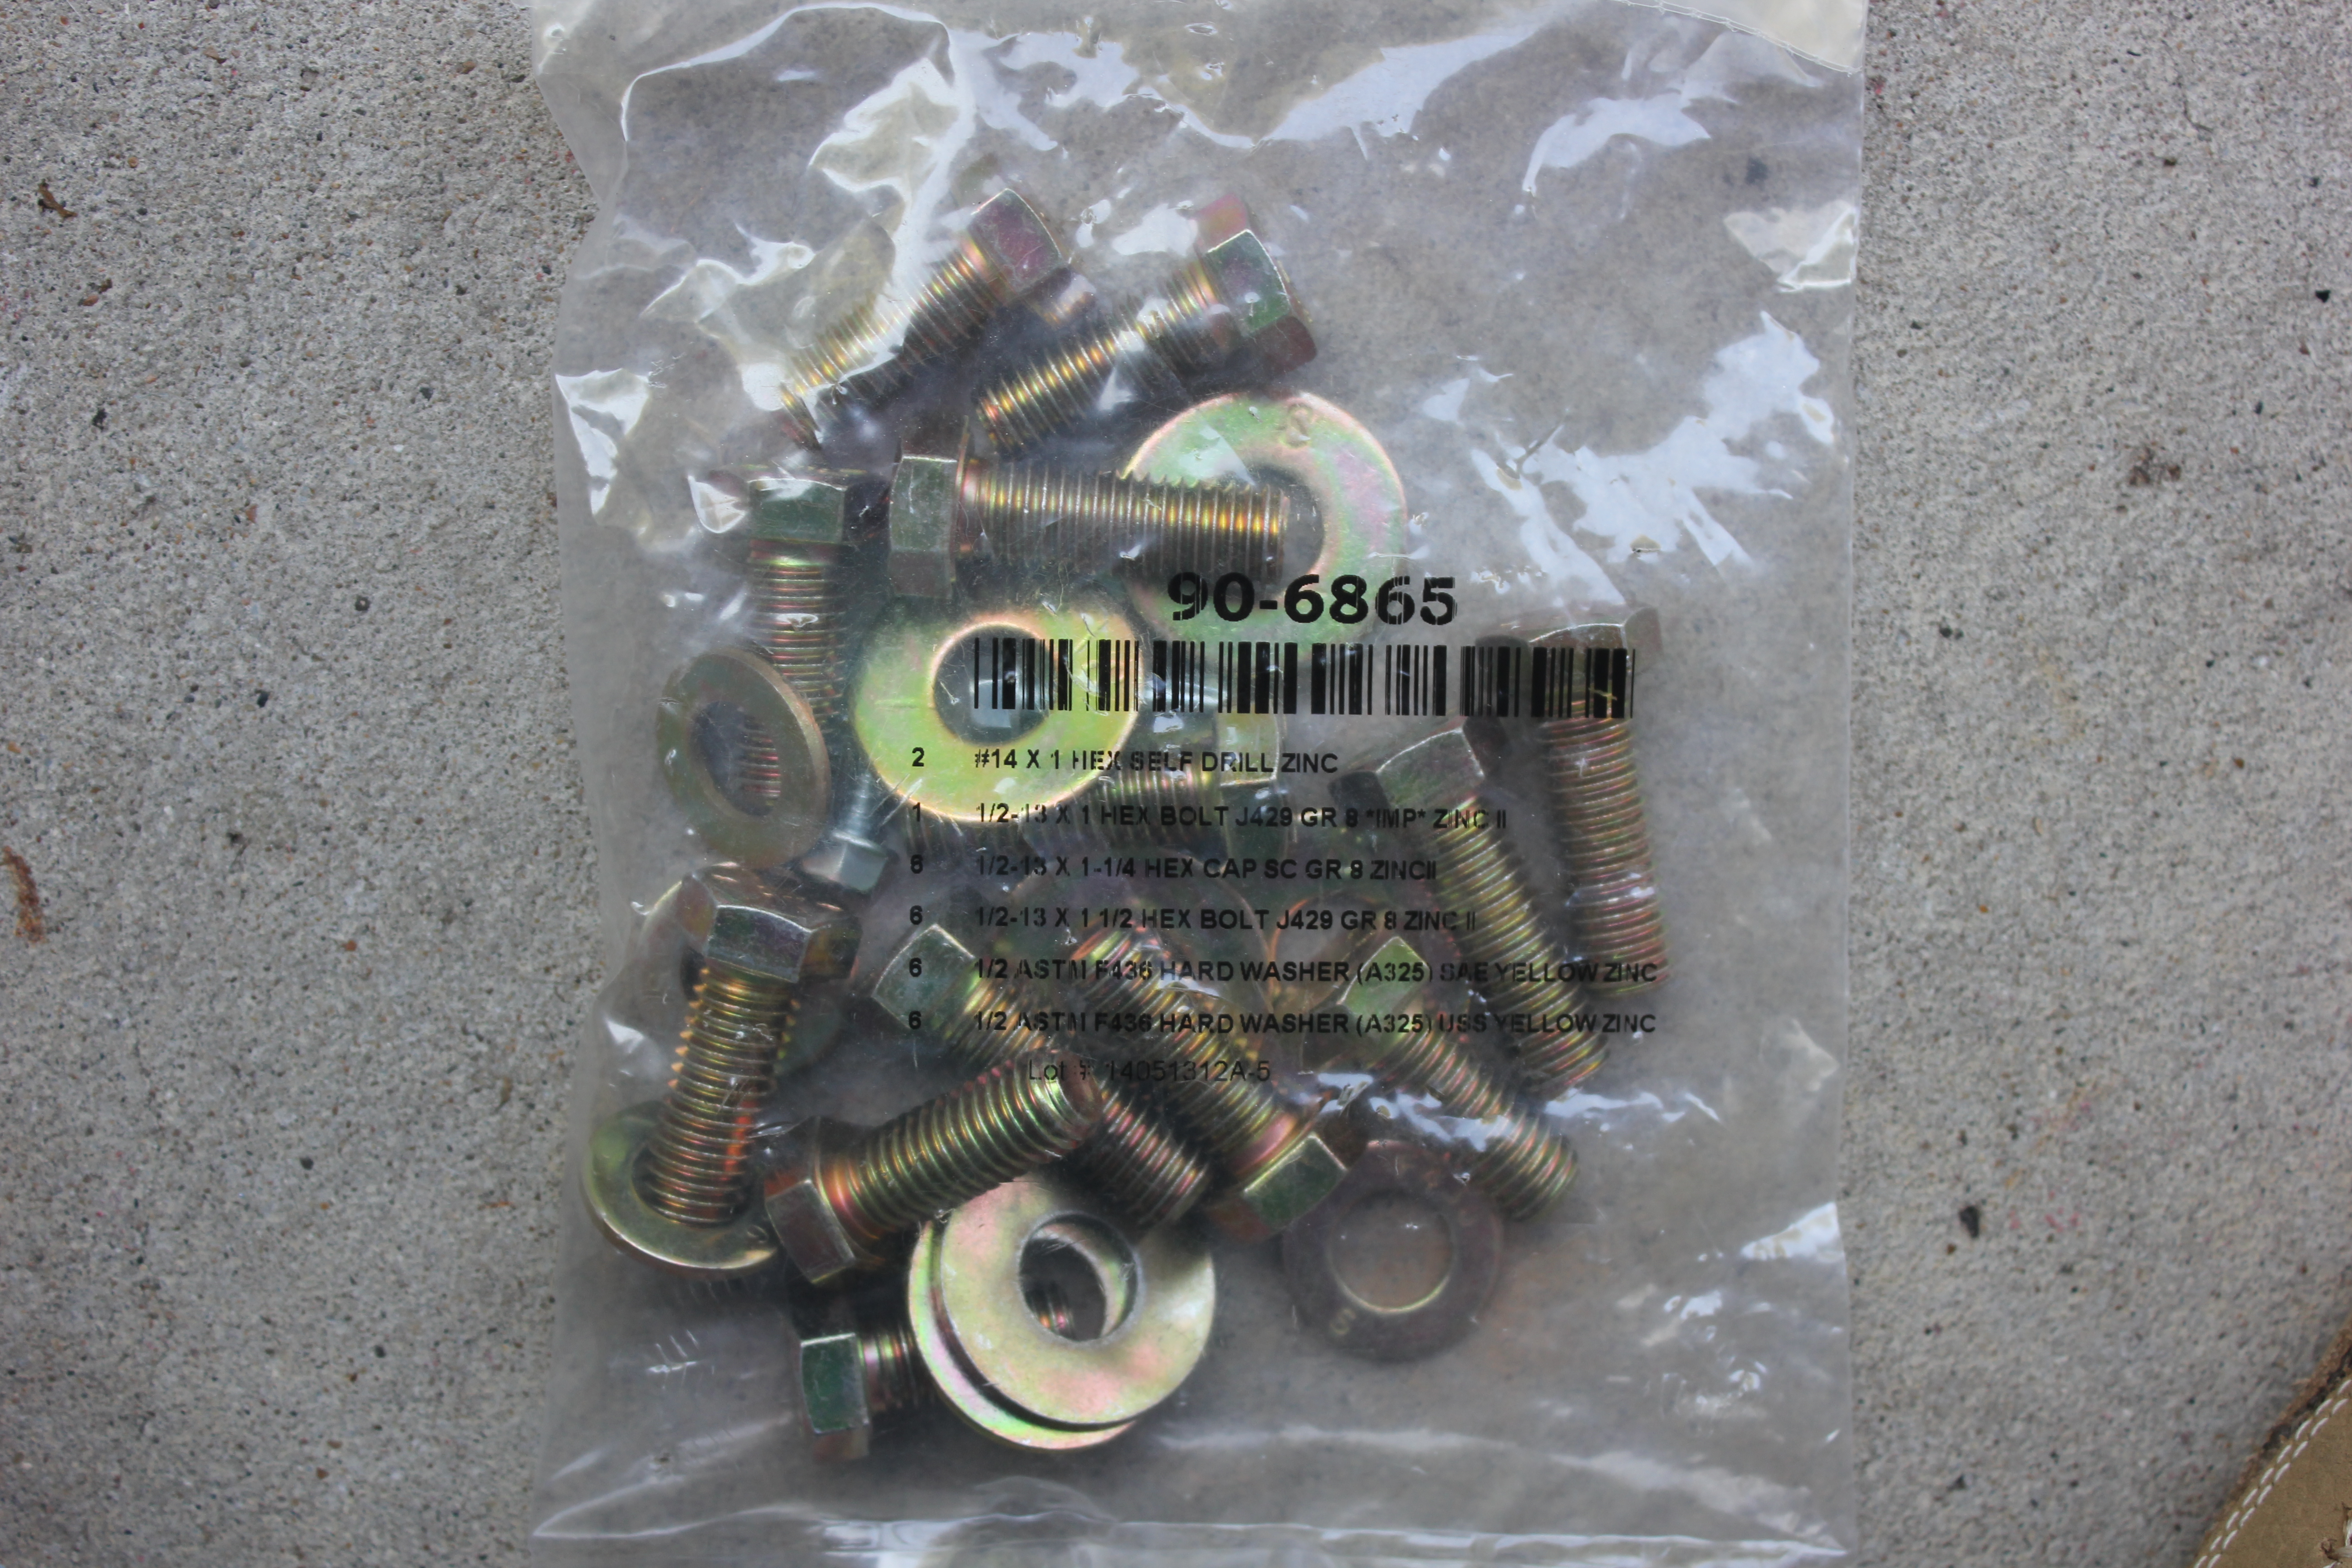
You need a torque wrench, and not just to properly torque the bolts. The hardware that ships with the bumper is very, very tight. Like 40+ ft/lbs to tighten them before they even get close to being all the way in. All of the nuts and bolts included are like this. I had a DeWalt DC825B 1/4-Inch 18-Volt Cordless Impact Driver and it couldn’t keep up. I brought out an air powered impact hammer after that and it couldn’t keep up, either.
If you’ve been thinking about replacing your muffler, this would be a good time to do that. The tailpipe seriously hampers your ability to get to the bolts on the passenger side bracket, so if you can remove your old muffler it will make things a whole lot easier.
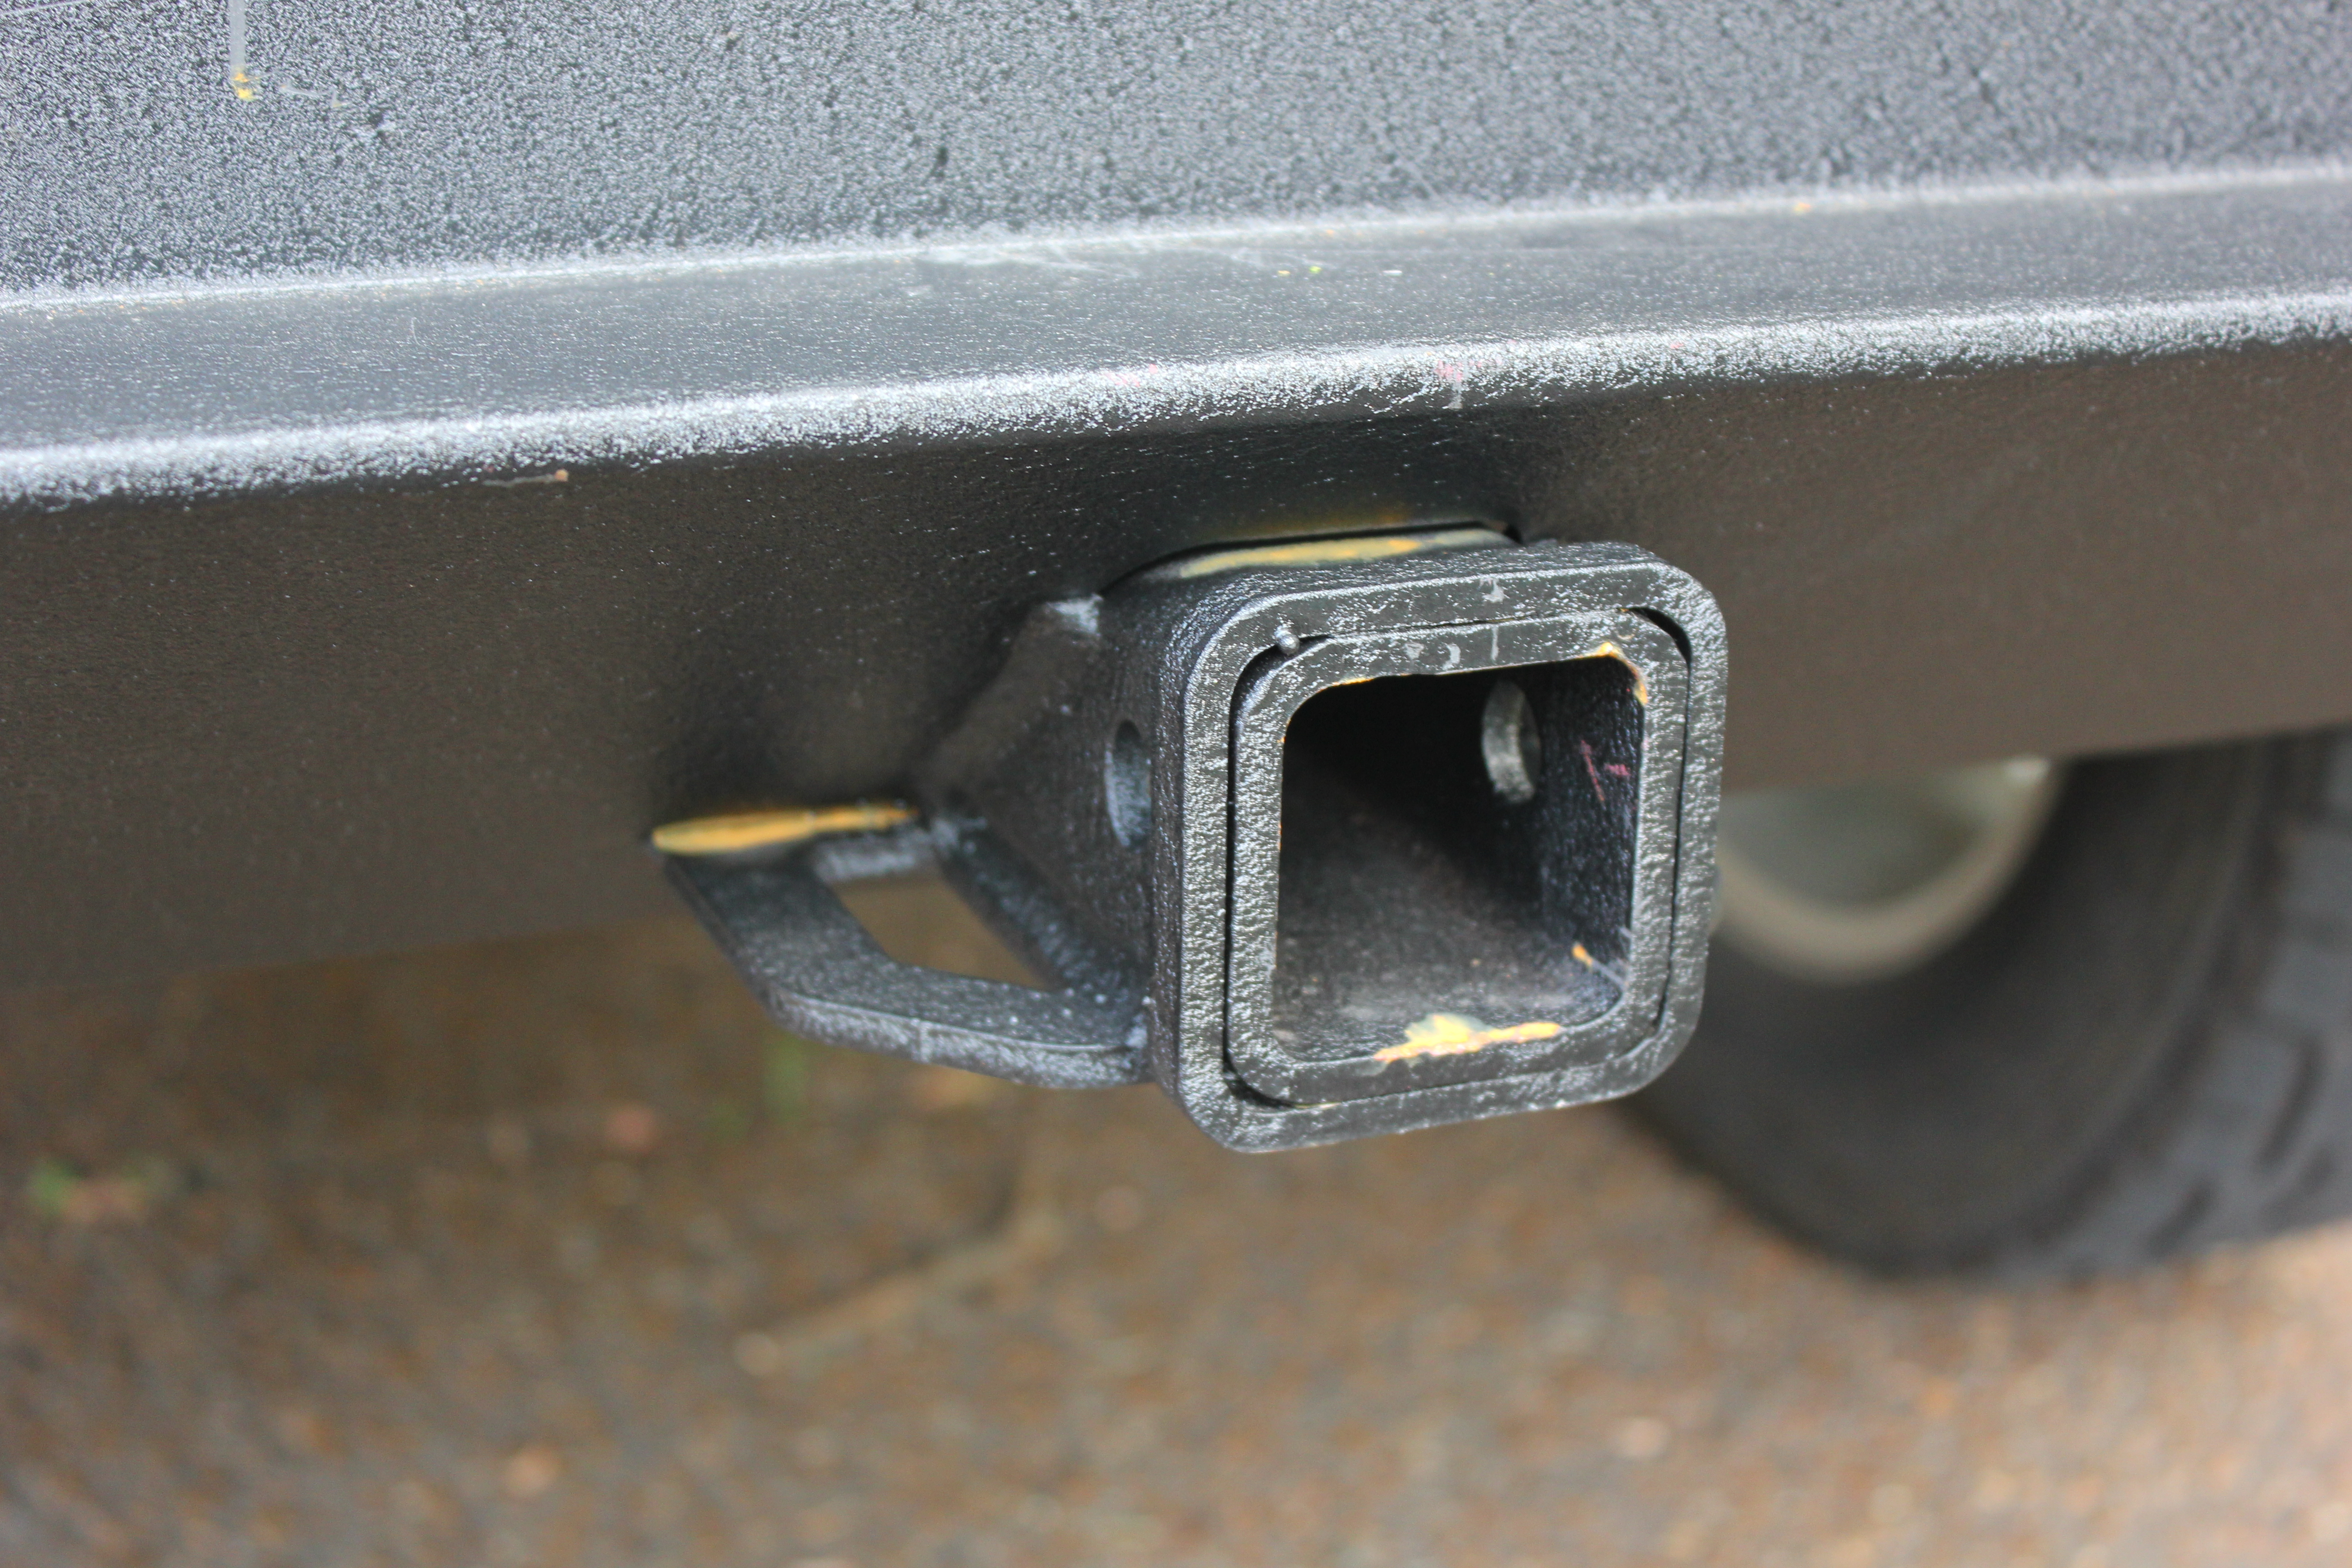
If you have a hitch, you’ll need to remove it. Oh and I hope you never actually used your hitch for towing, because lots of people report that the receiver is out of spec. Mine was, too.
If you have a gas tank skid, say goodbye to it because it’s not compatible with the brackets for this bumper.
Speaking of the brackets….you’re very likely going to need to take a grinder to them. So go get one if you don’t have one already.
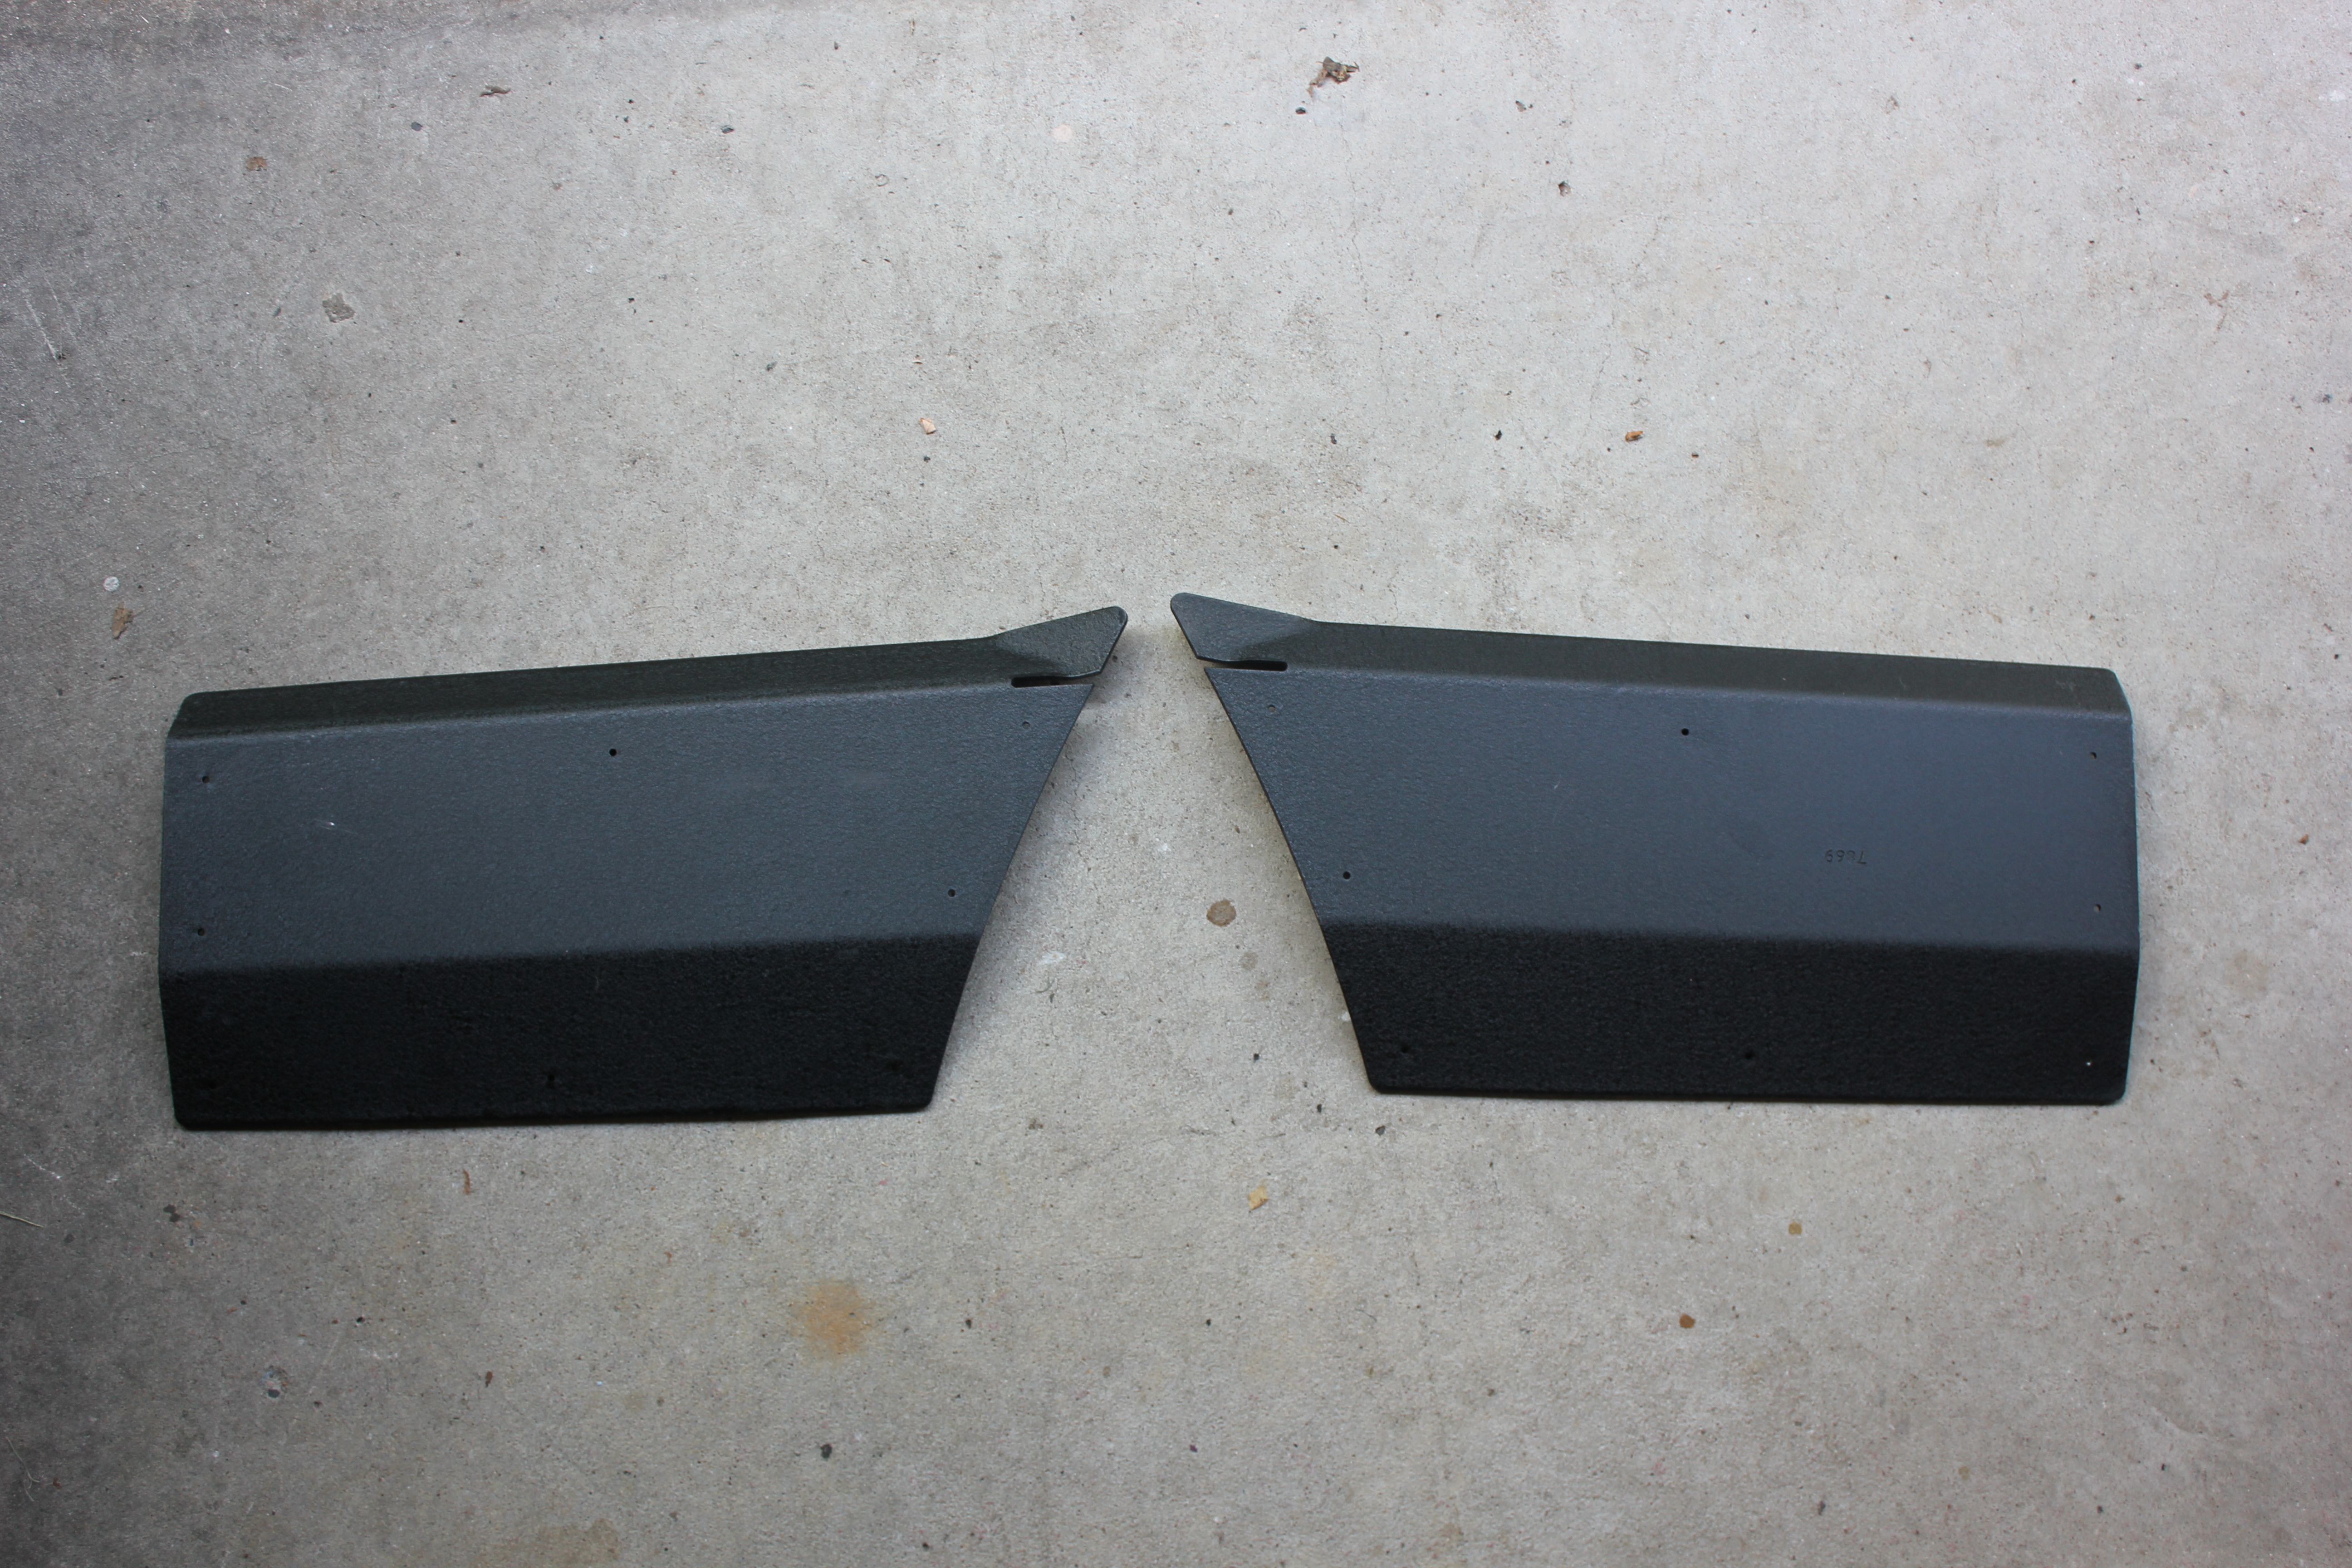
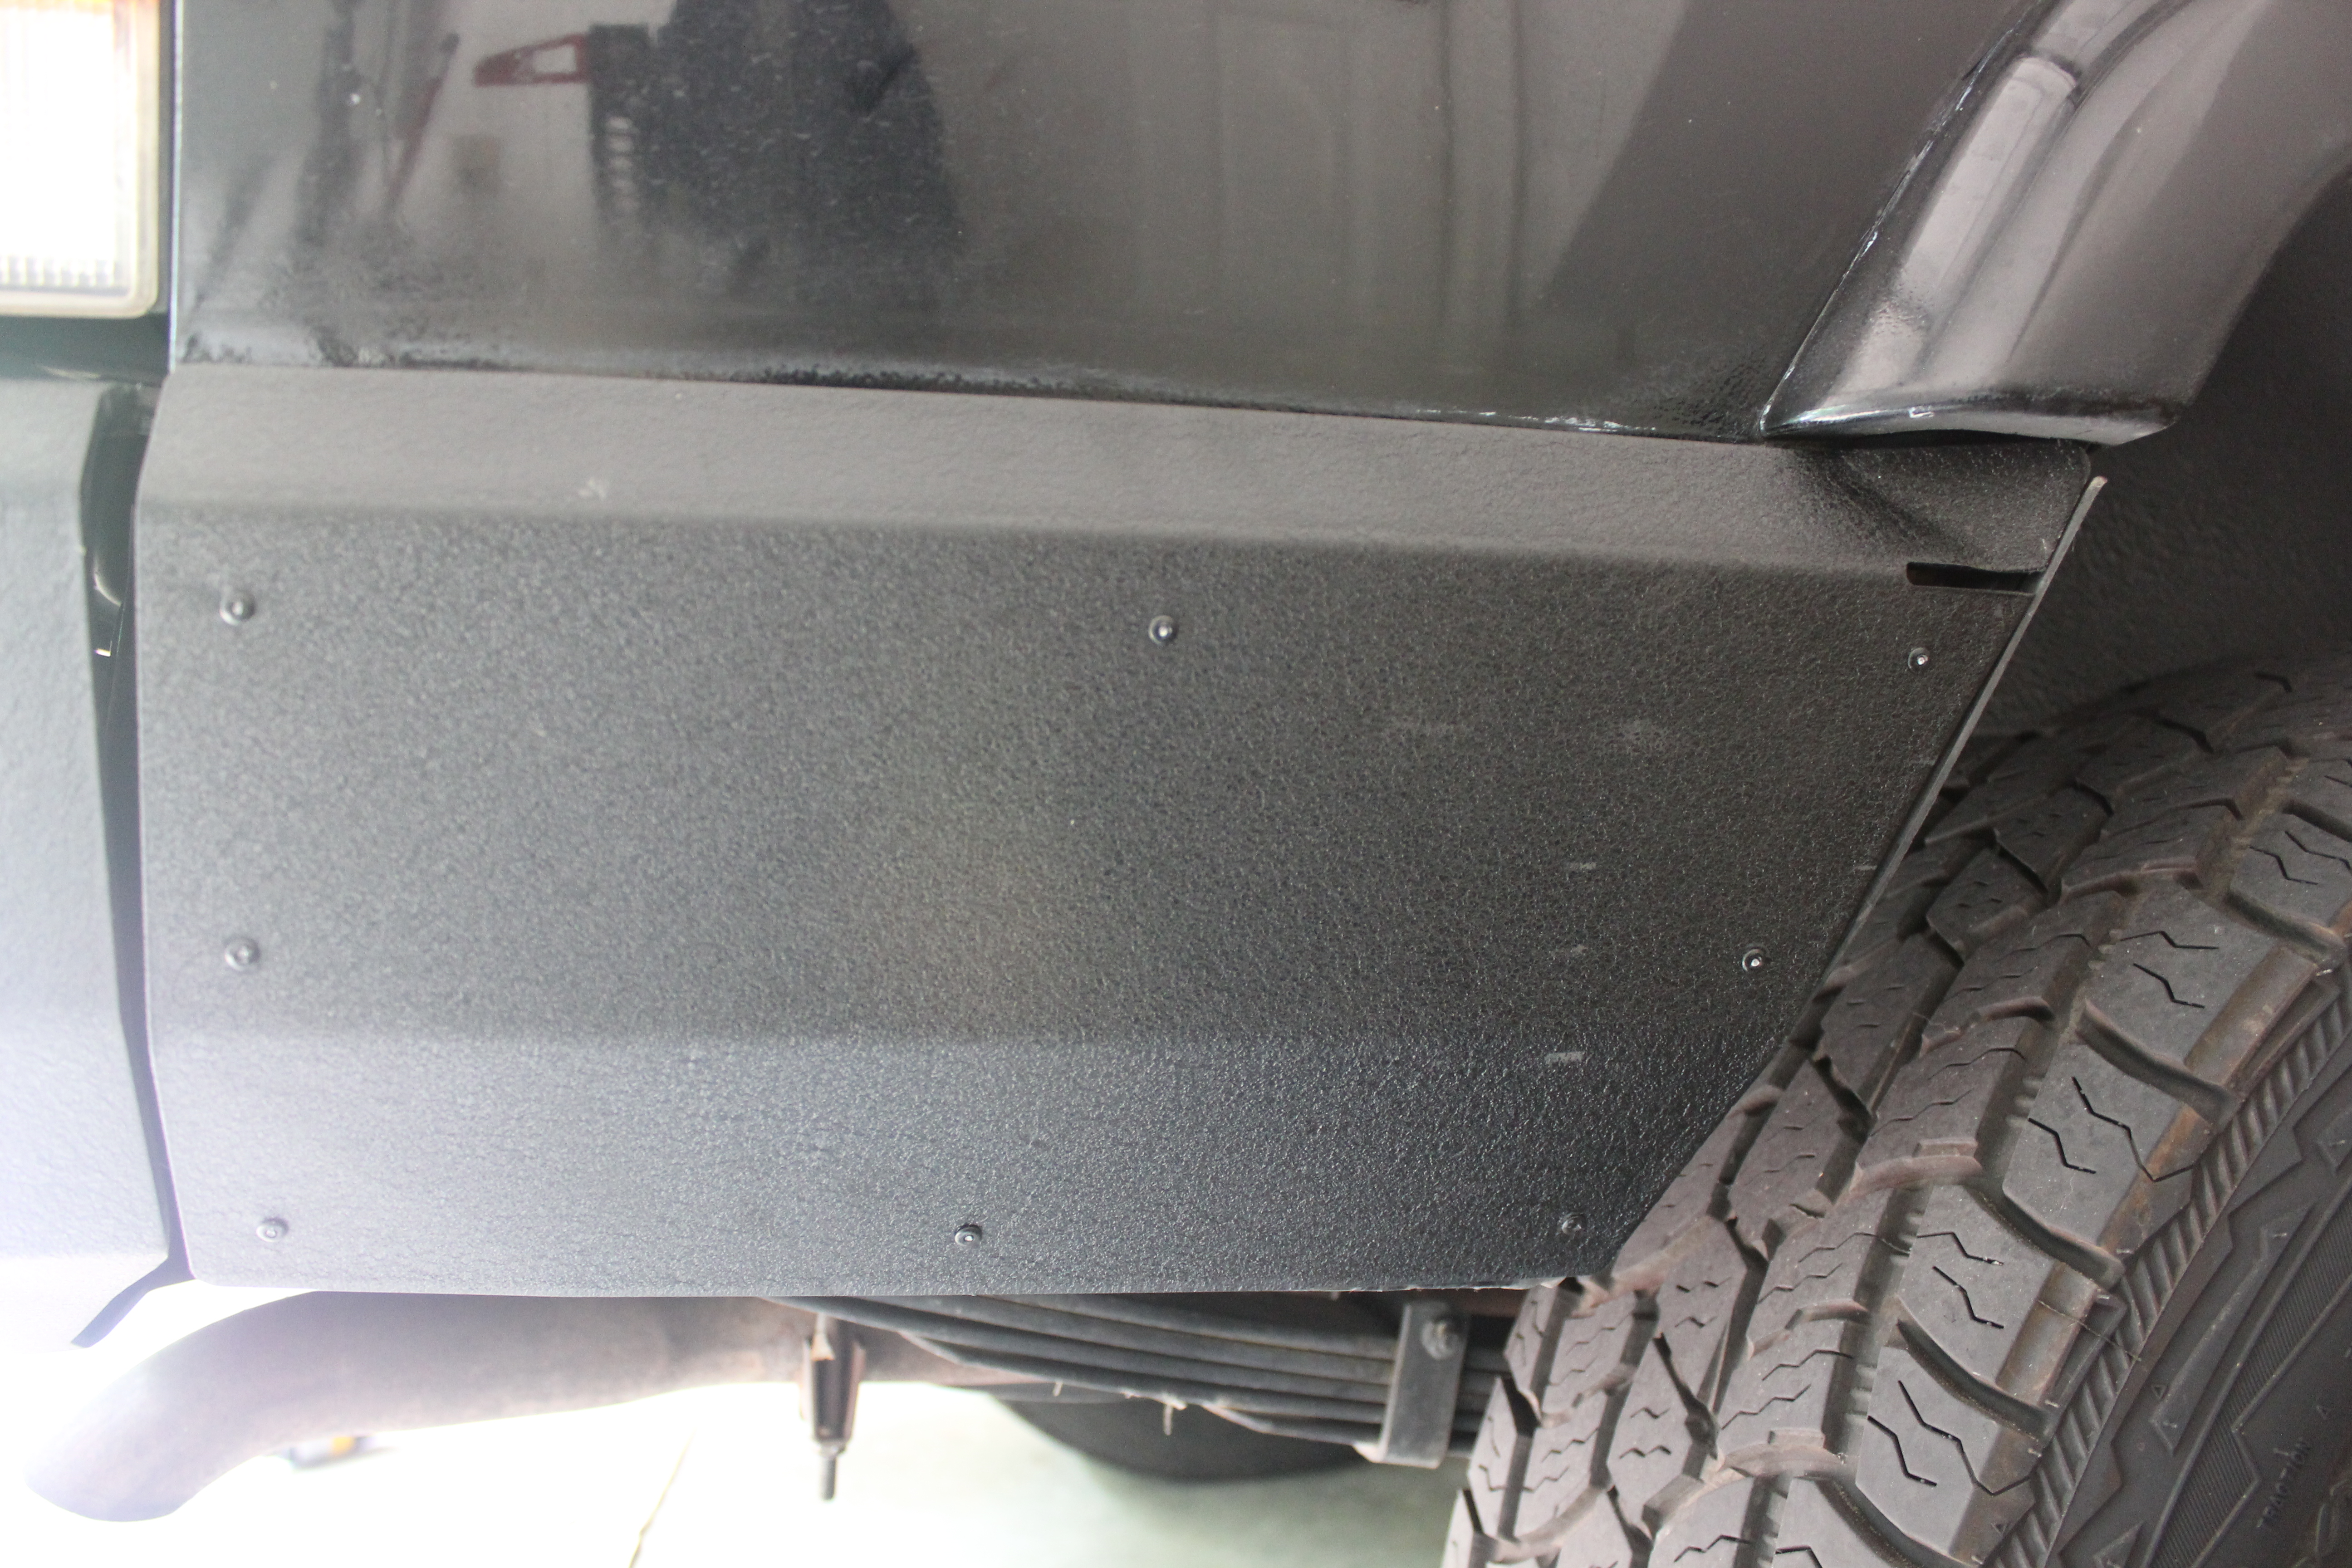
Rear quarter armor is included. This replaces your bumper end caps. Earlier versions of the bumper may not have included it, but mine did. You will need a rivet gun to install it. On my 98, the frontmost rivet holes were too far forward to actually connect with the rear quarter sheetmetal.
You will need to relocate the license plate yourself. No bracket is included. I used this one because it was cheap and I needed one with a light to comply with state laws.
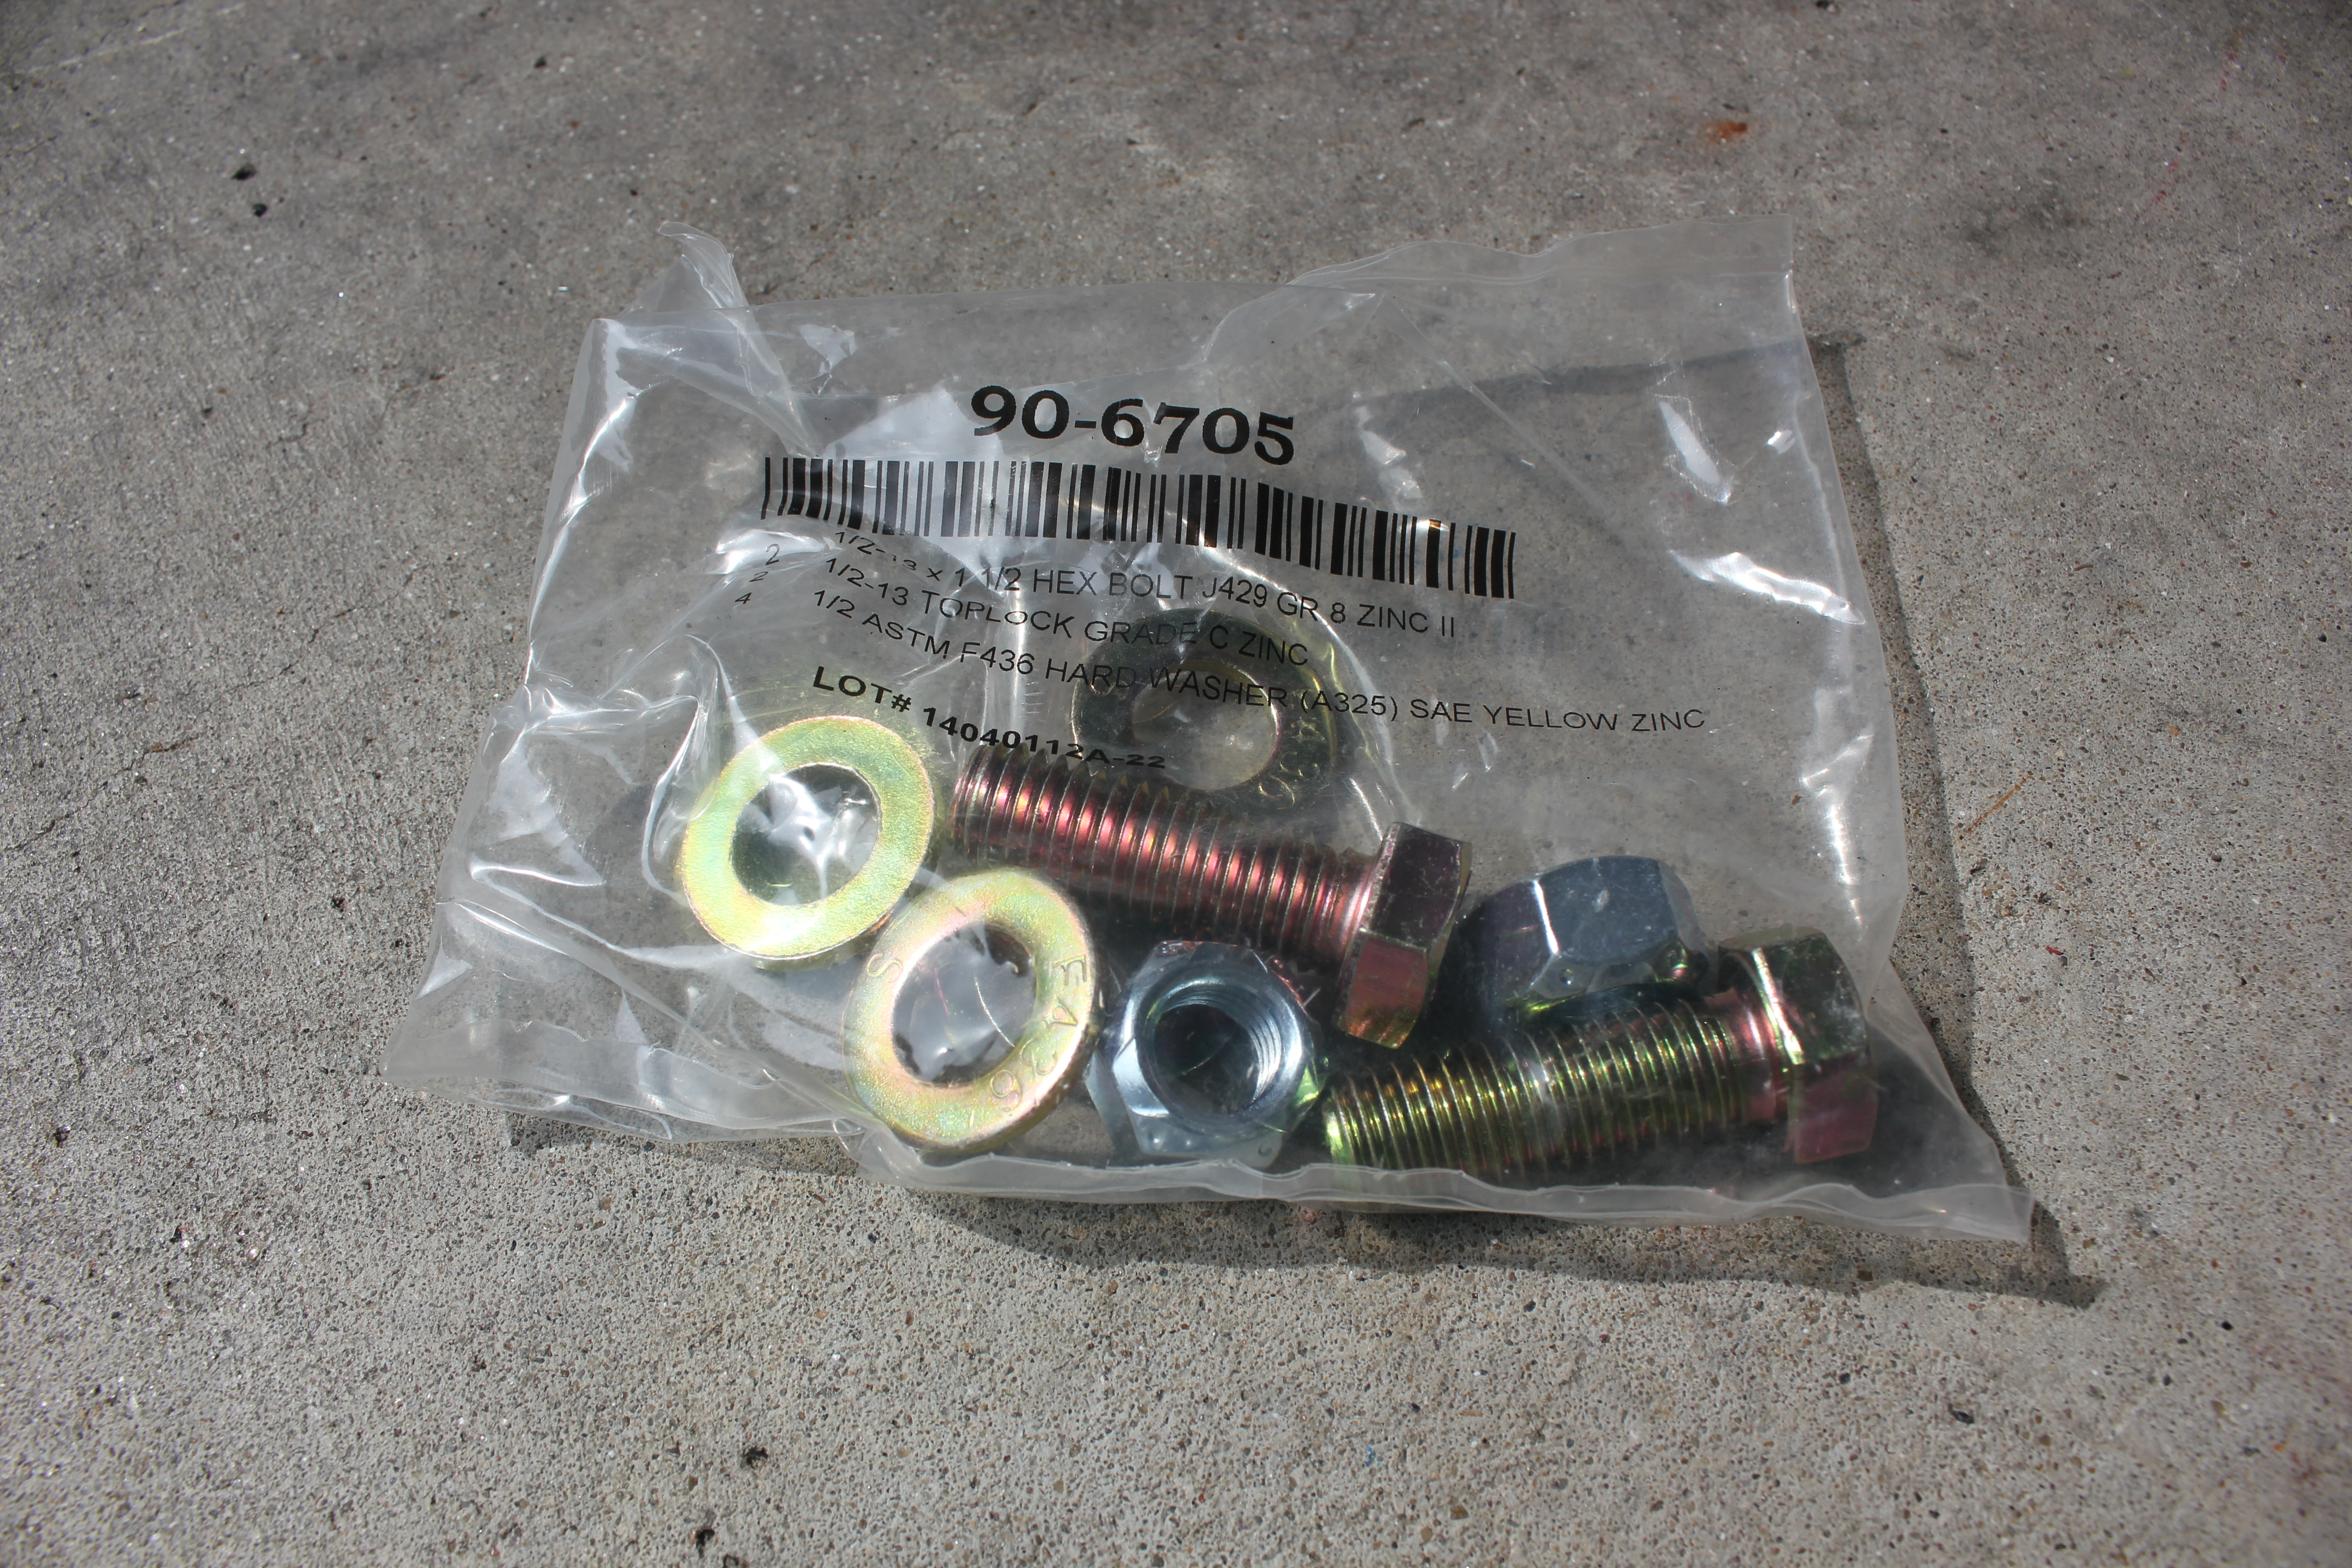
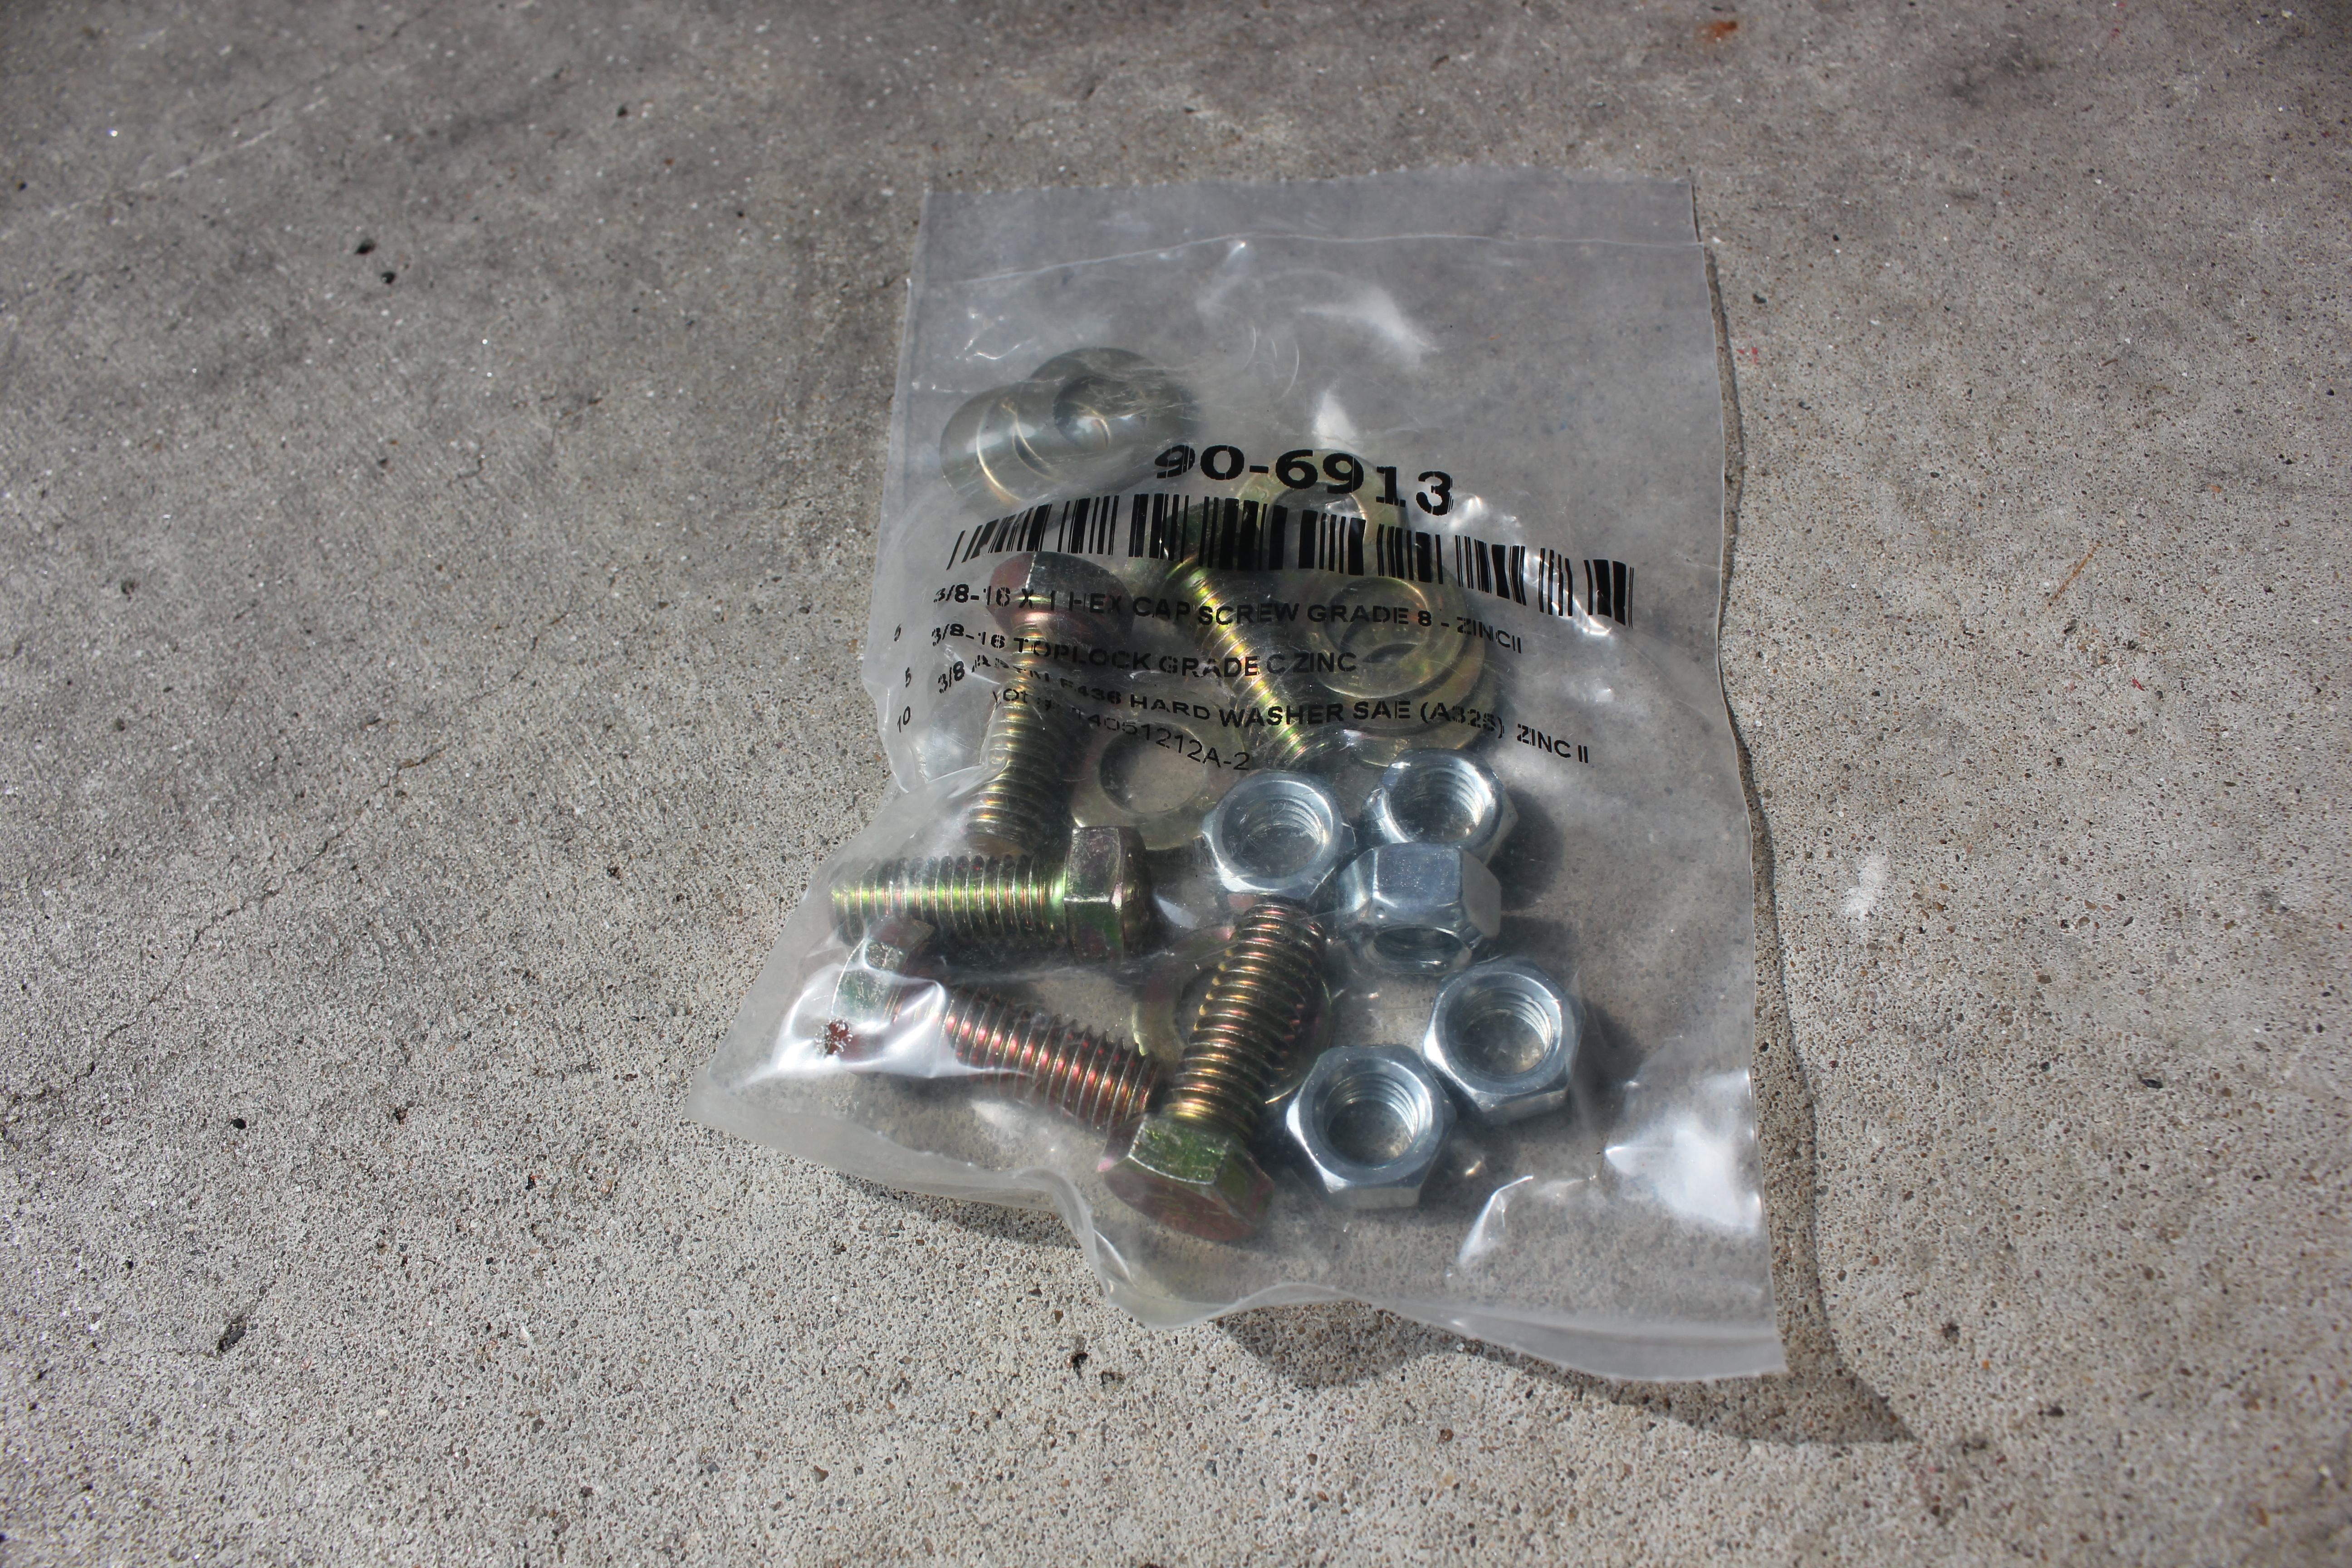
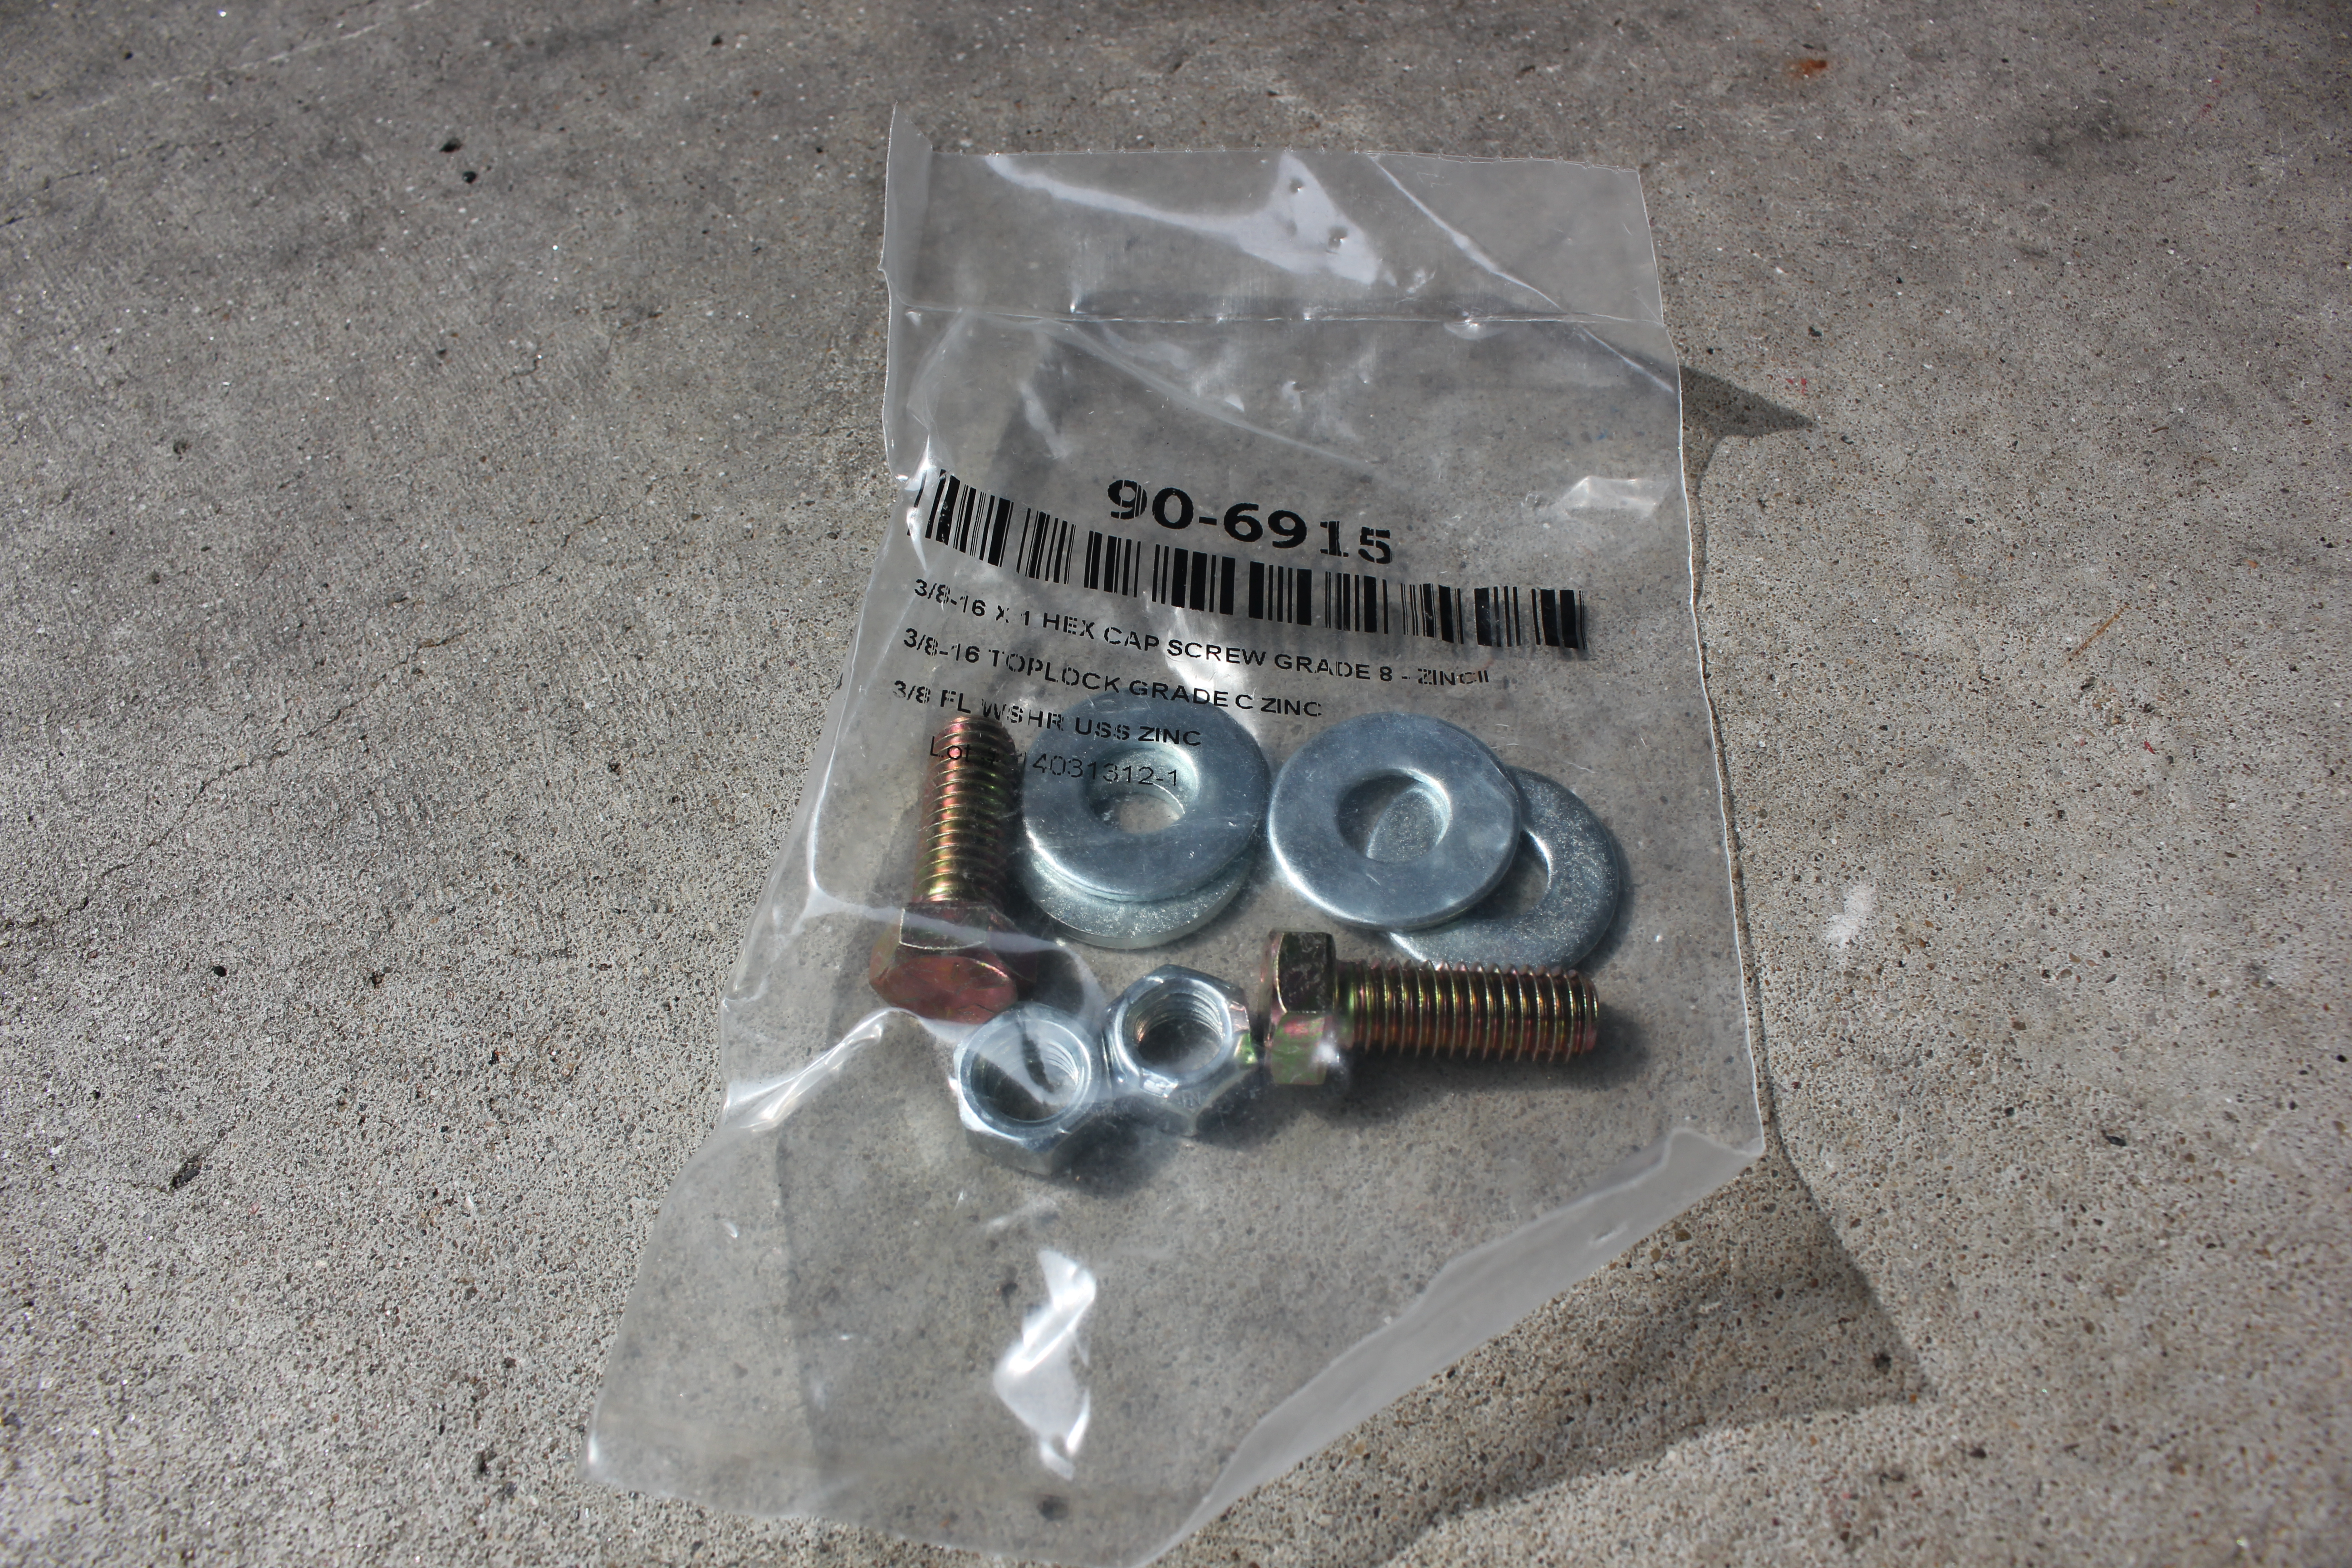
Tools I used:
Stanley 97-126 11 Piece 1/2-Inch Drive Metric Deep Impact Socket Set
Stanley 97-125 11 Piece 1/2-Inch Drive SAE Deep Impact Socket Set
3/8-Inch Drive Ratchet
DeWalt DC825B 1/4-Inch 18-Volt Cordless Impact Driver
ratcheting box wrenches
DeWalt Pivoting Bit Holder
3/8 Drive Wobble Extensions
1/2″ Drive Click Stop Torque Wrench
DeWalt 18V 1/2″ Cordless XRP Drill
XJ Field Service Manual
Stanley Snips
DEWALT DW2547Ir 1/4-Inch Hex Shank To 1/2-Inch Socket Adaptor
Hand Riveter
4 1/2″ Angle Grinder
Craftsman 1/2 Impact Wrench
Rust-Oleum Flat Black Spray Paint
There are over 200 pictures and a few videos in this post, so click below to load the rest of this post…
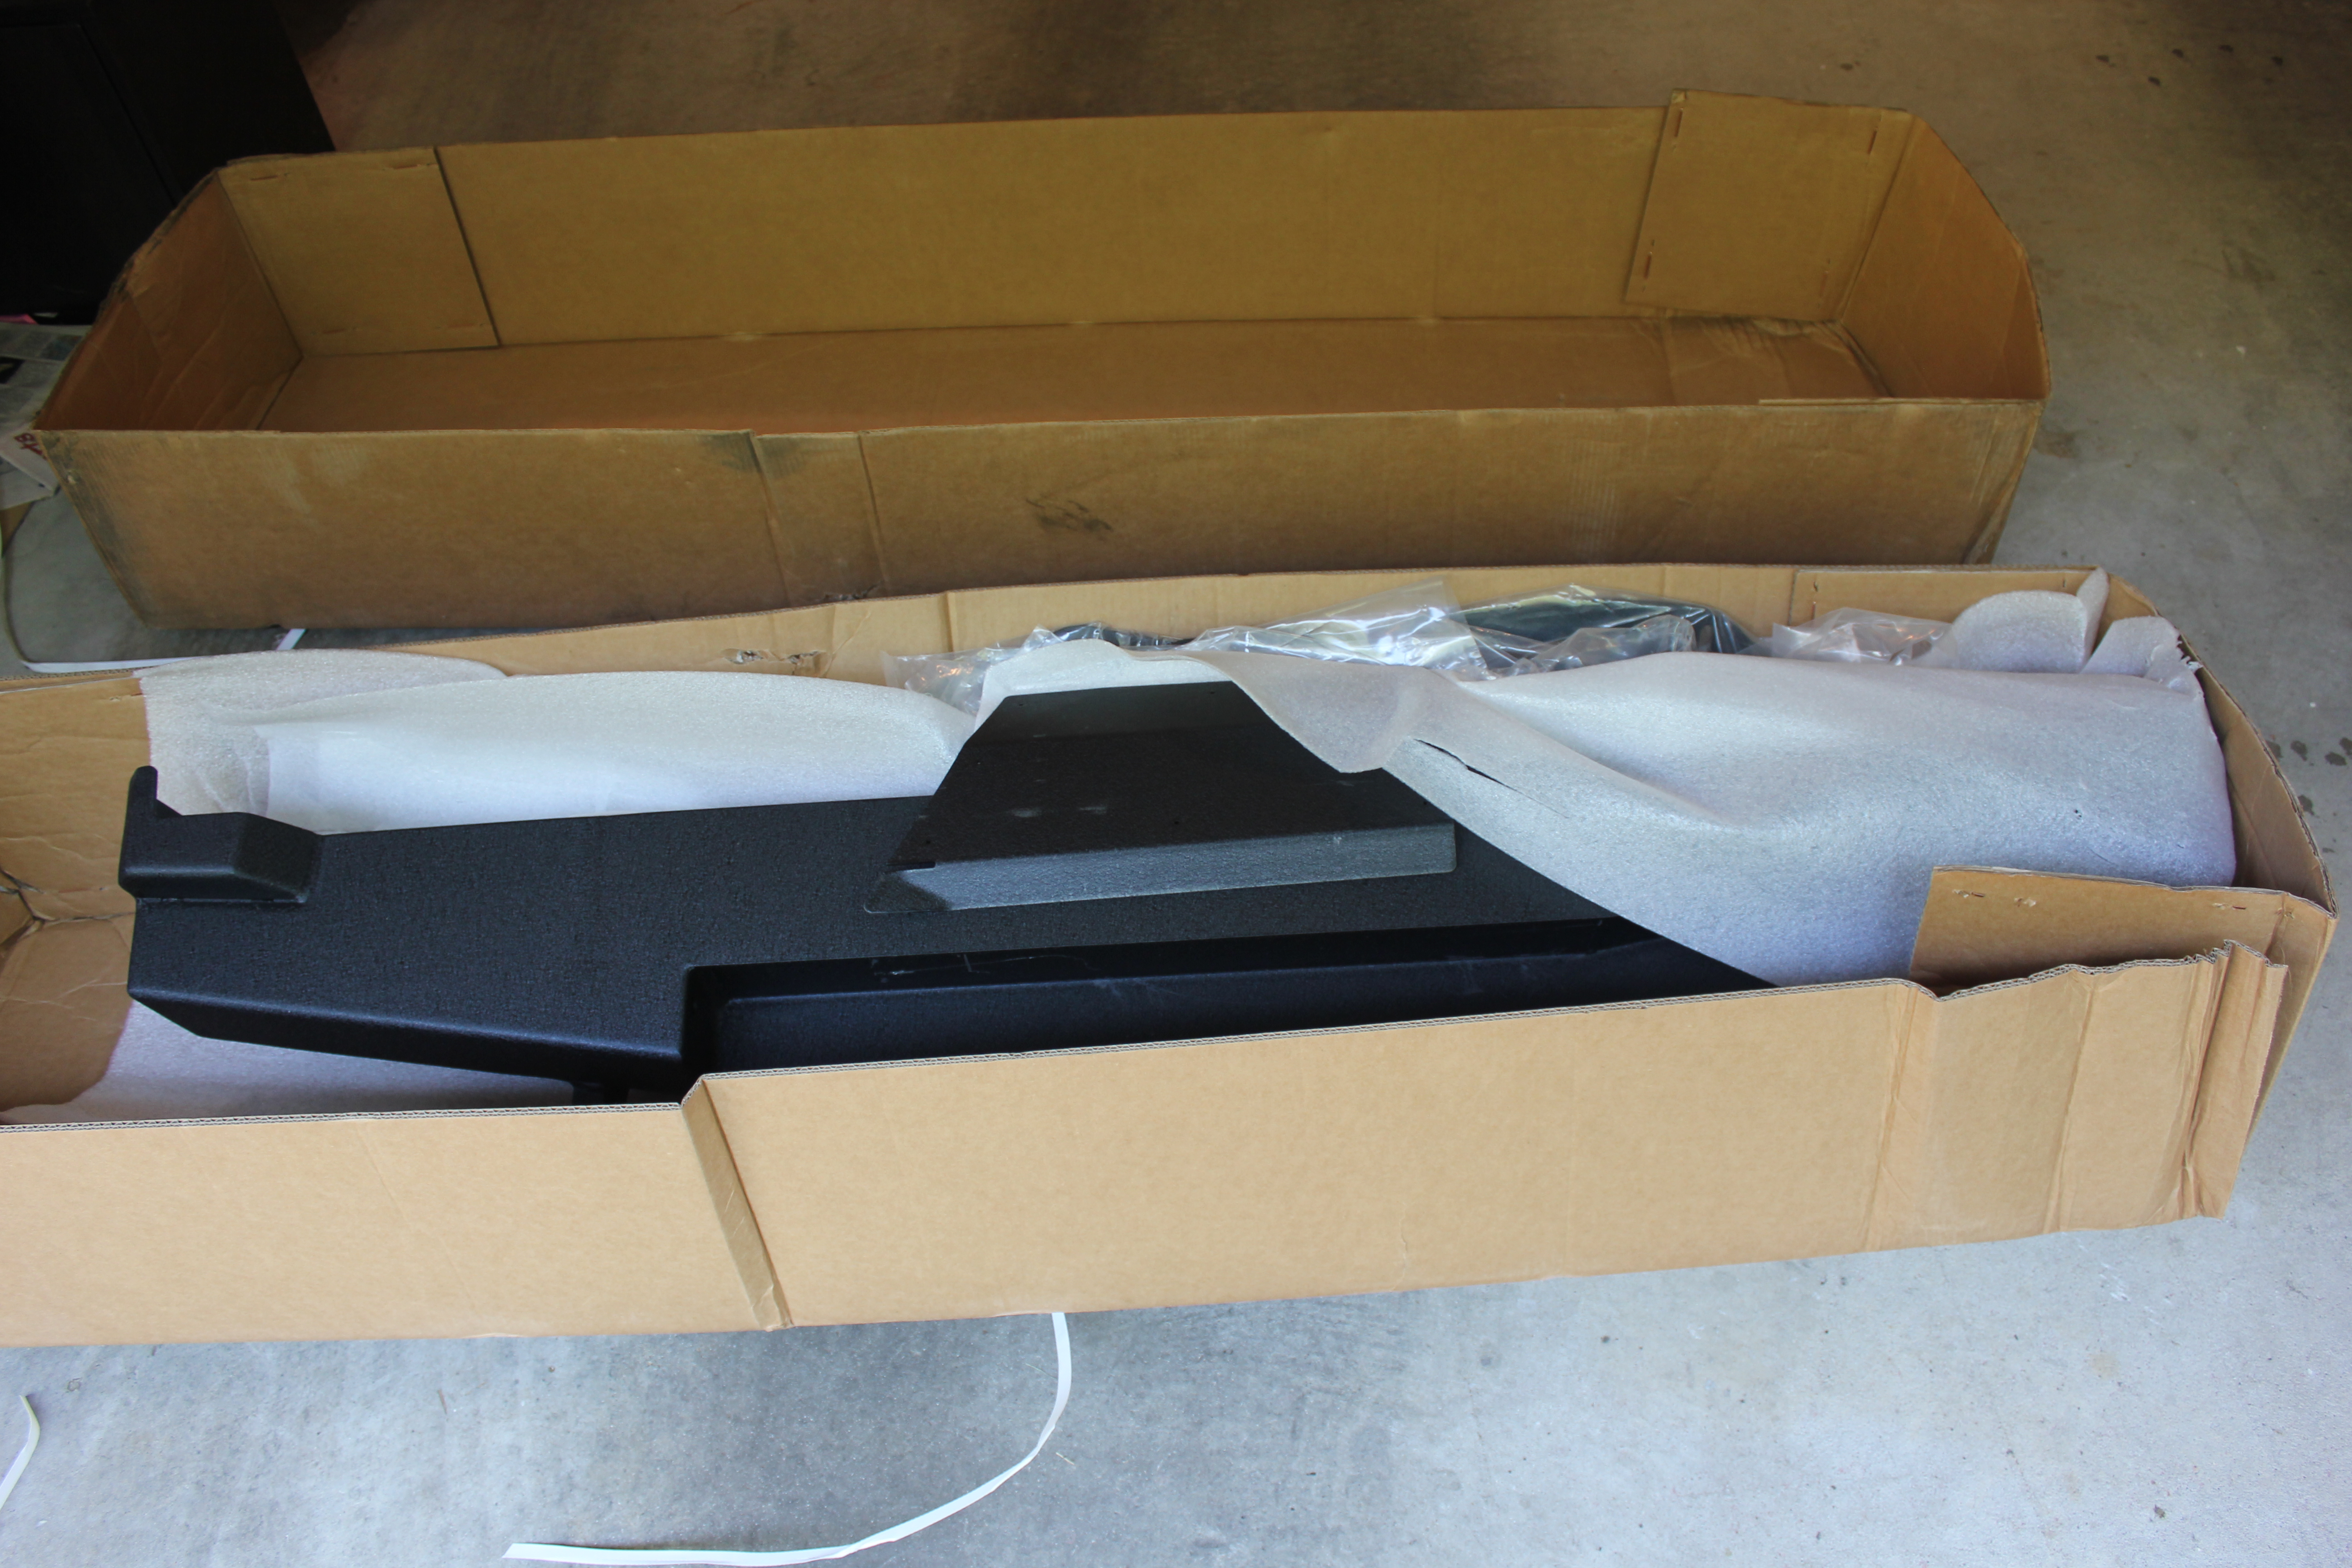
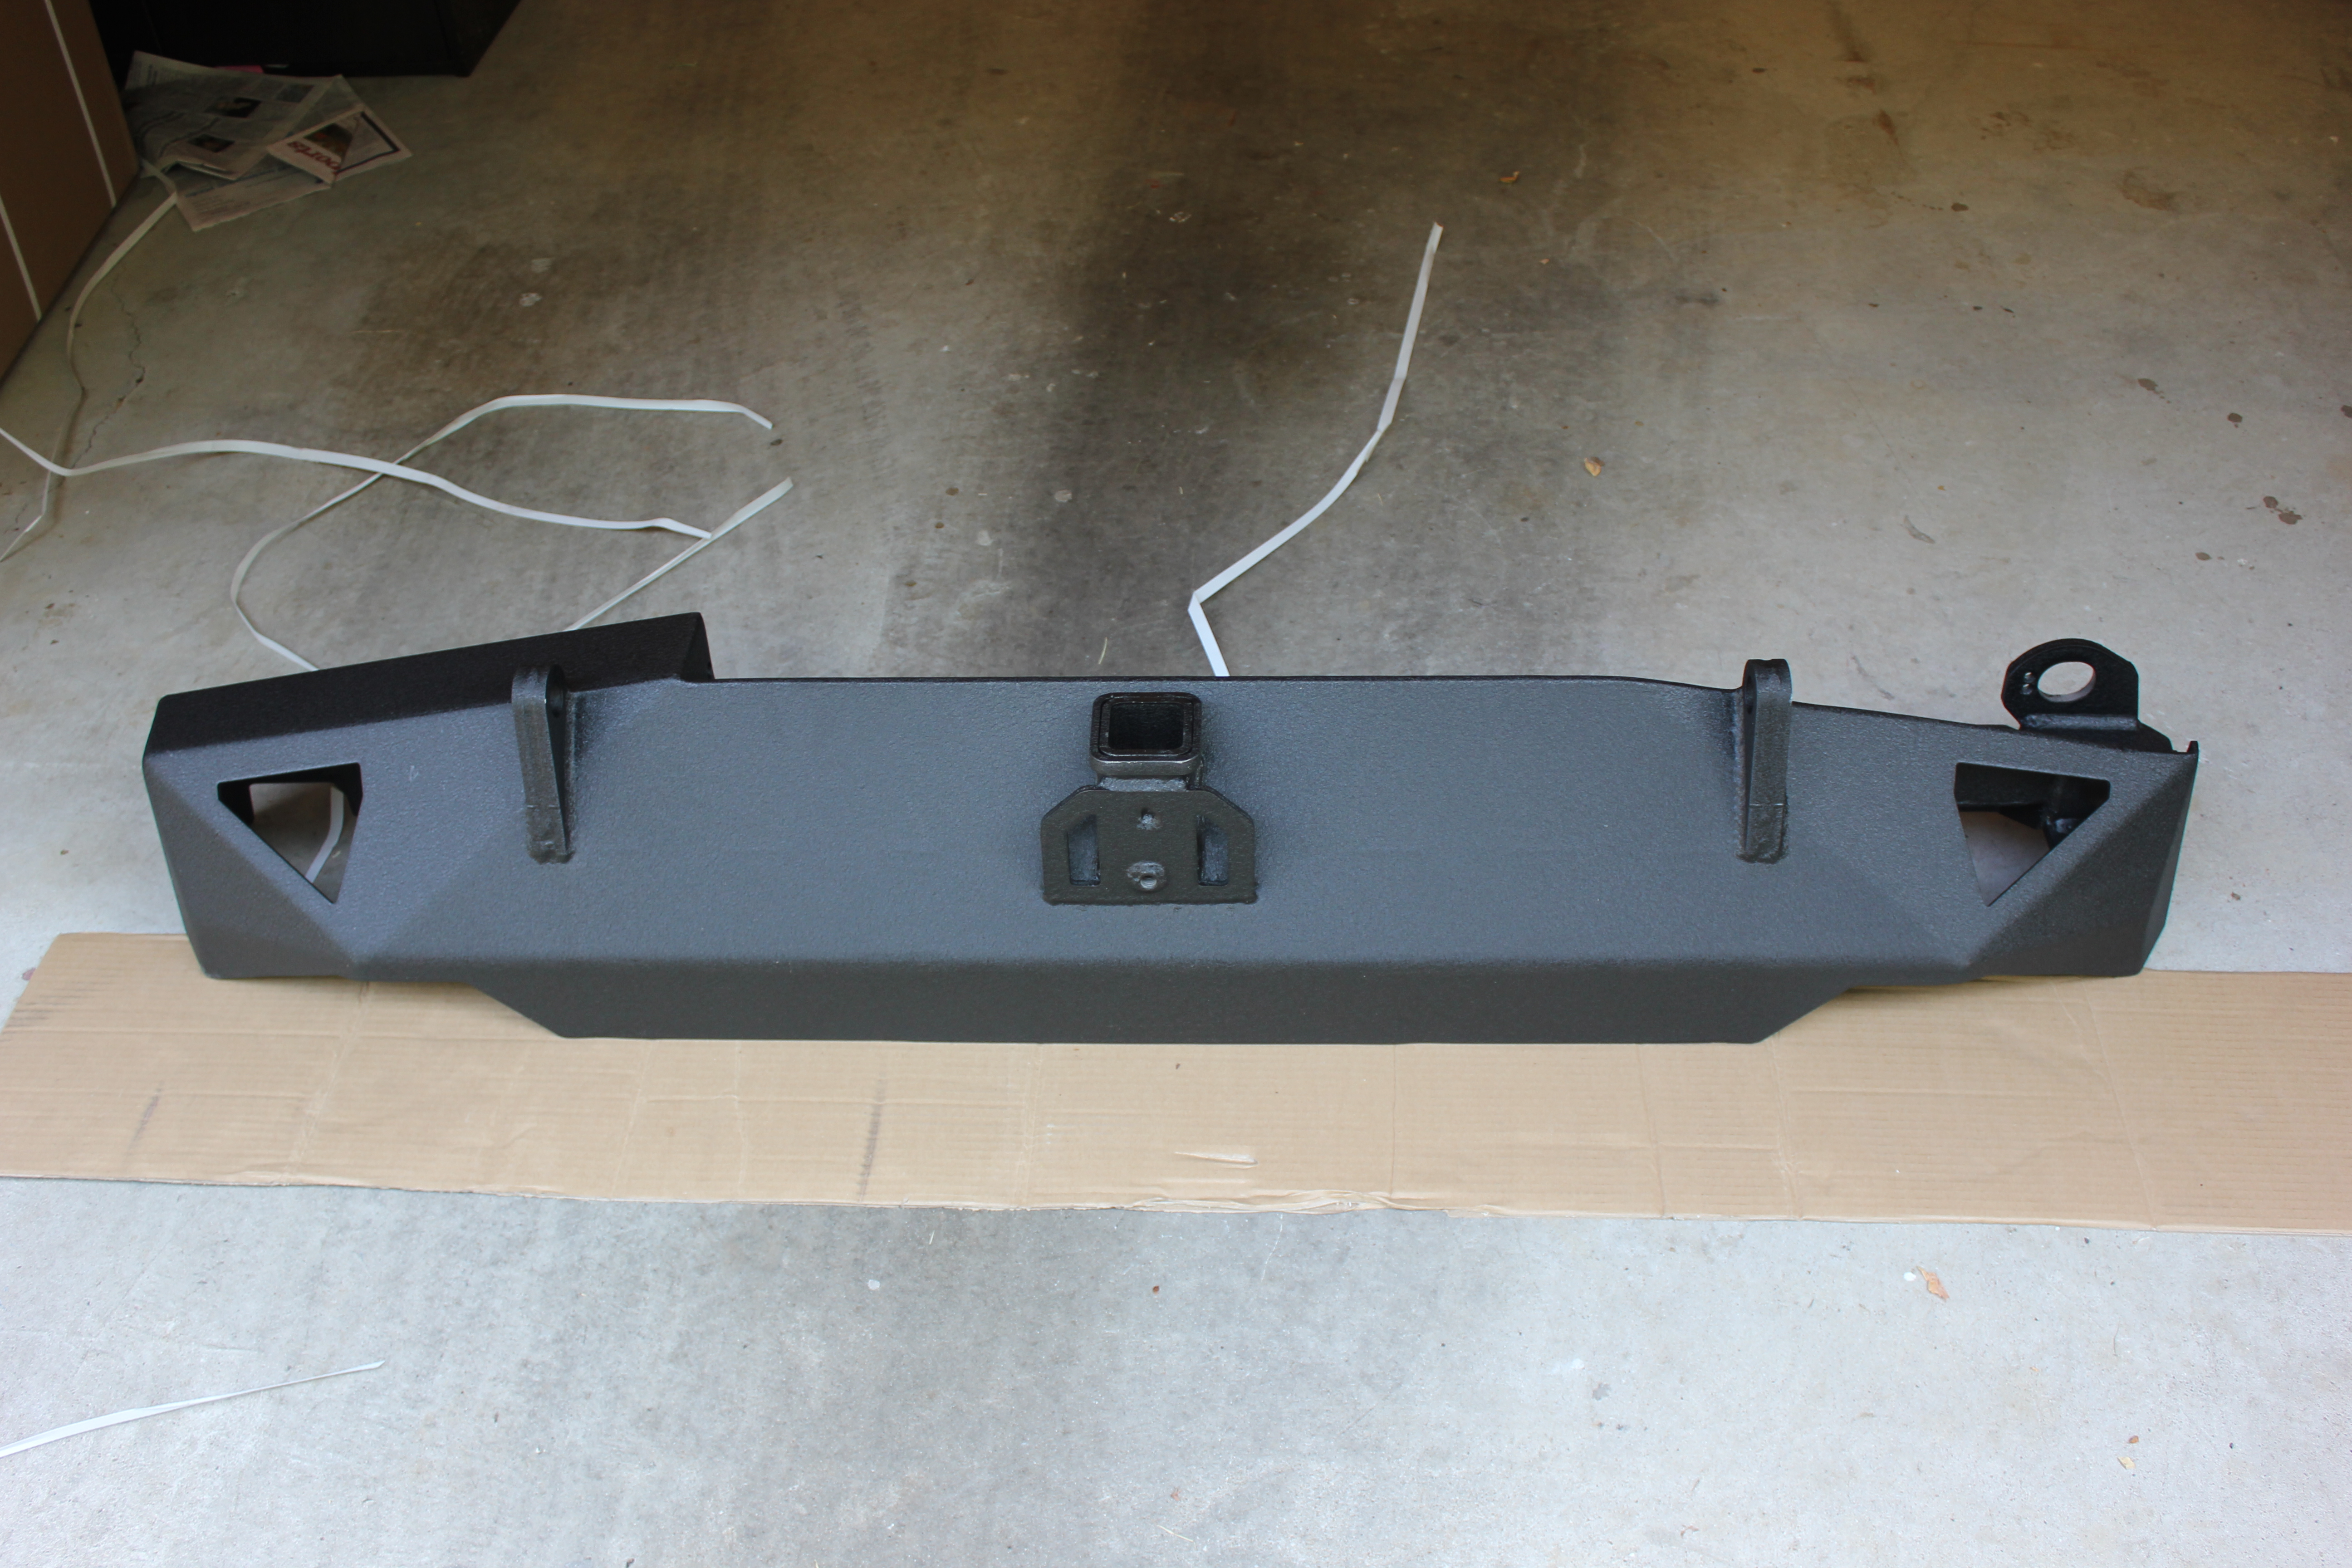
The Unboxening (Bumper)
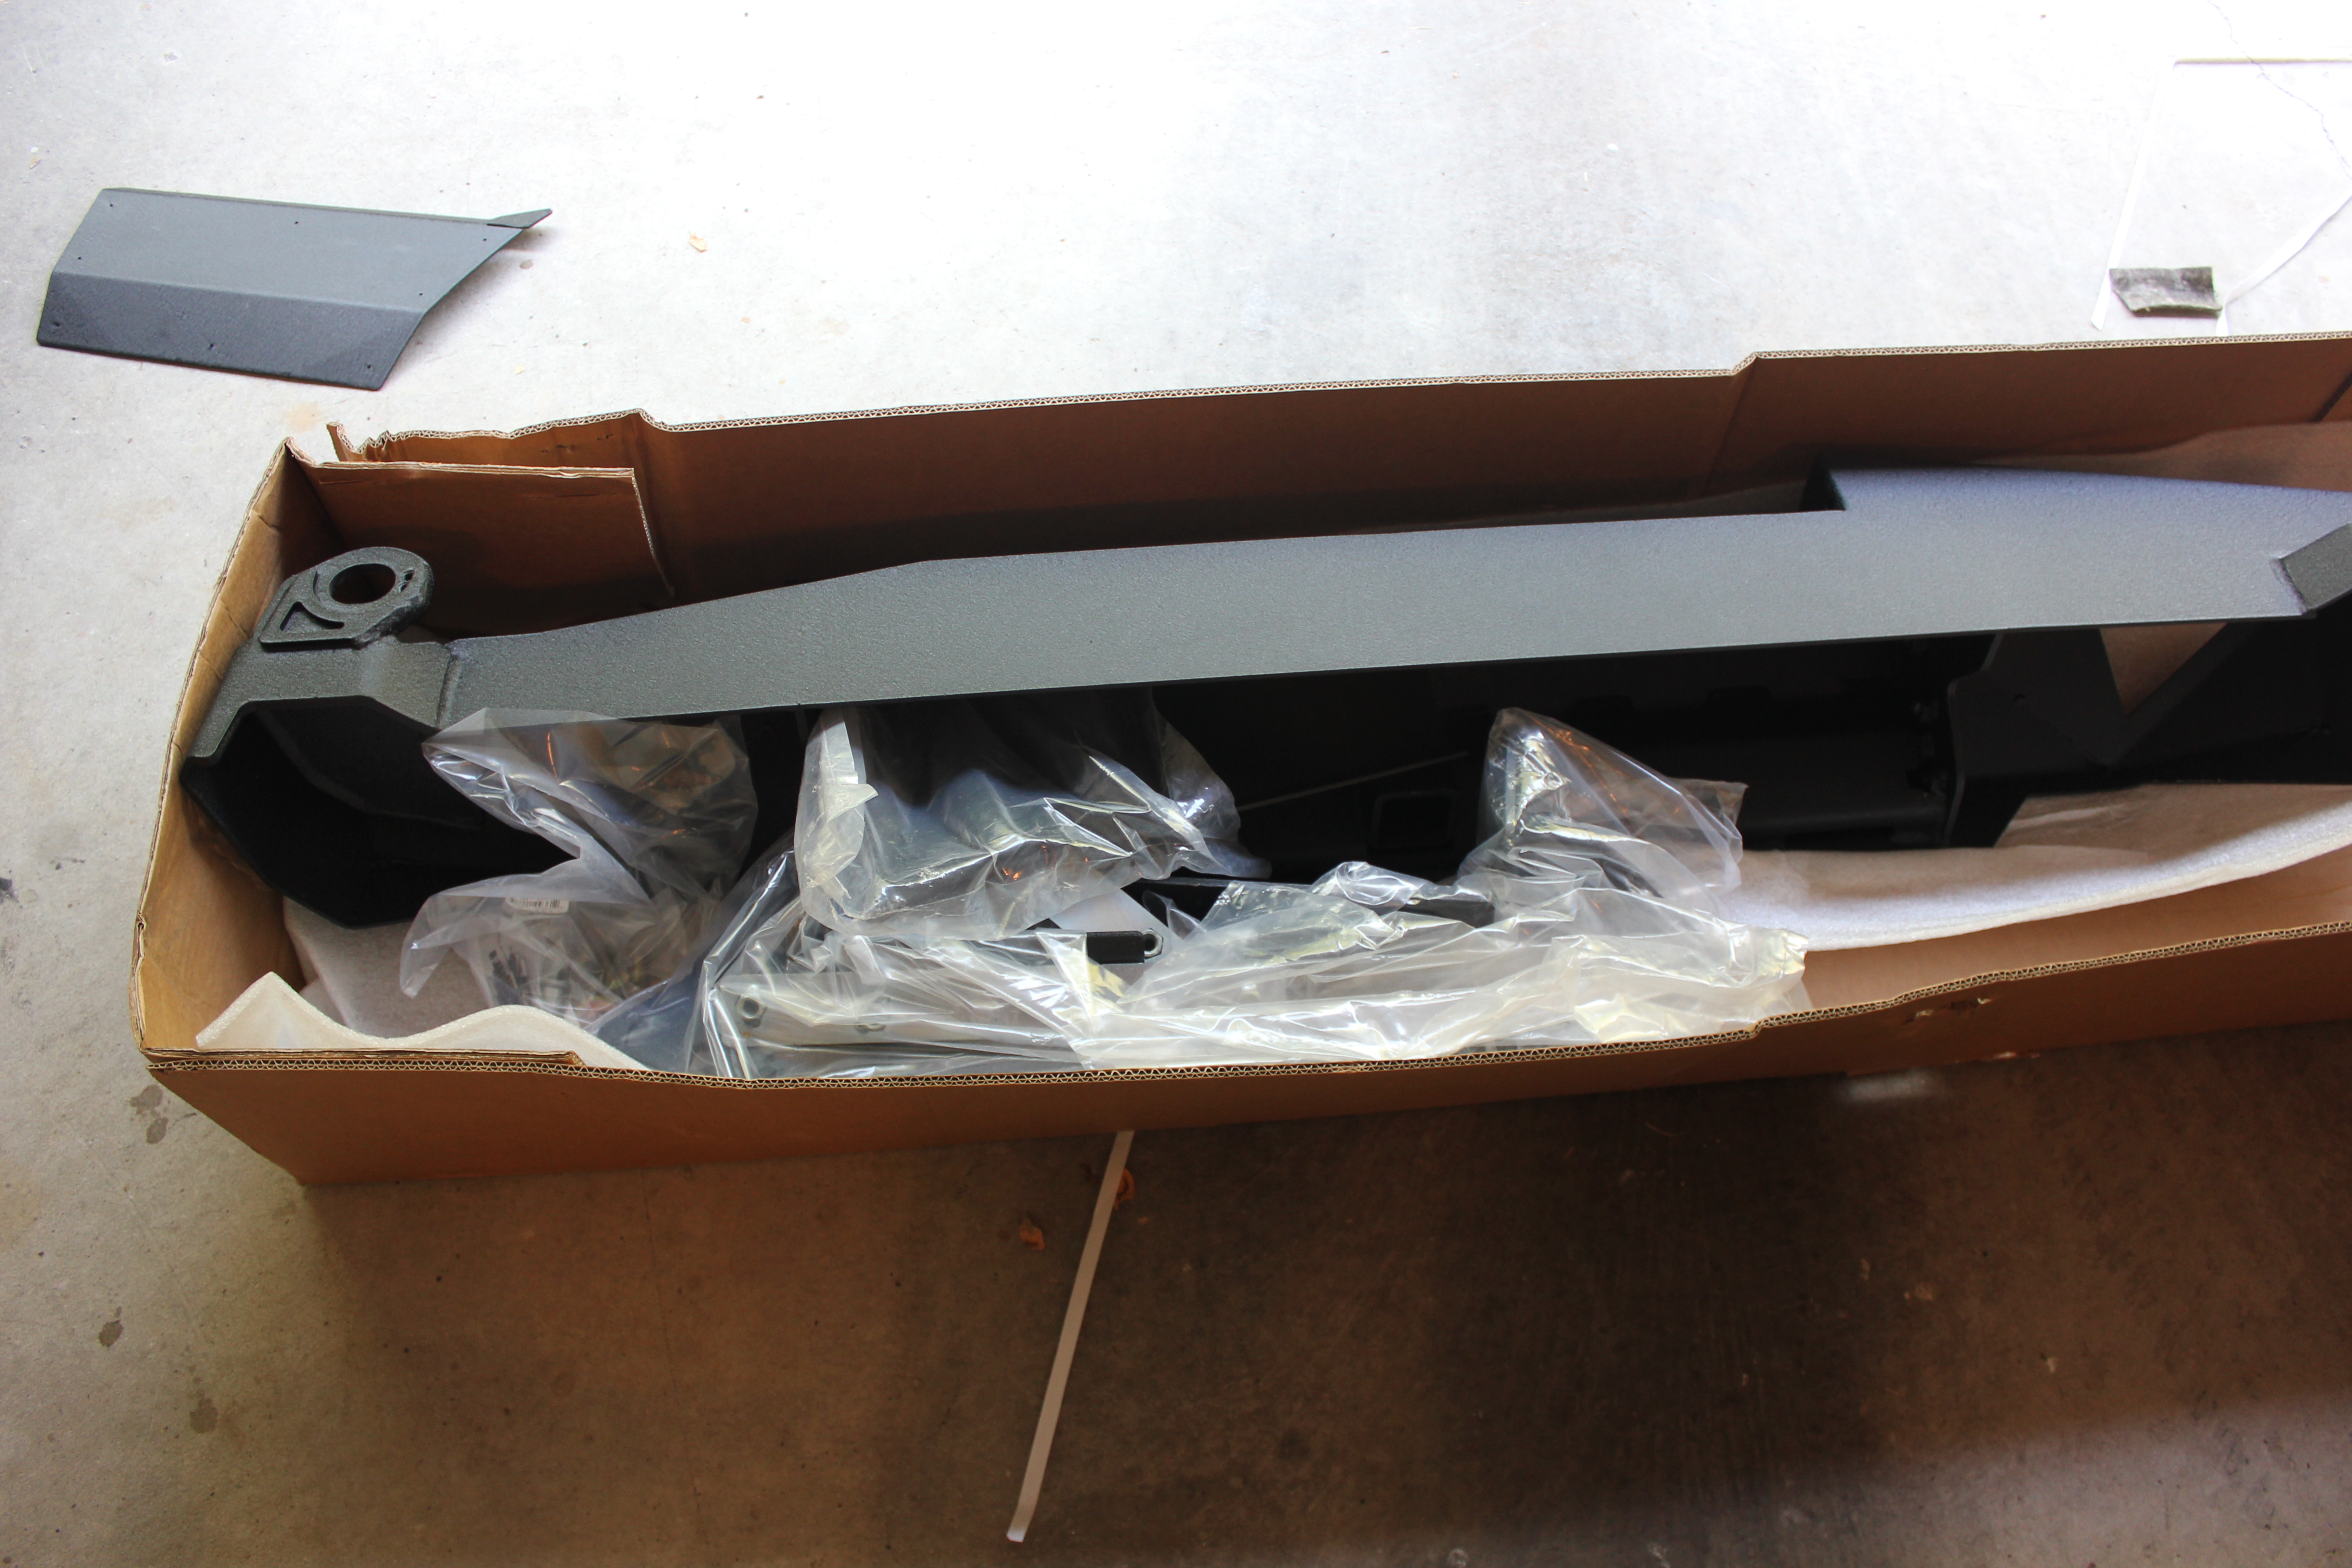

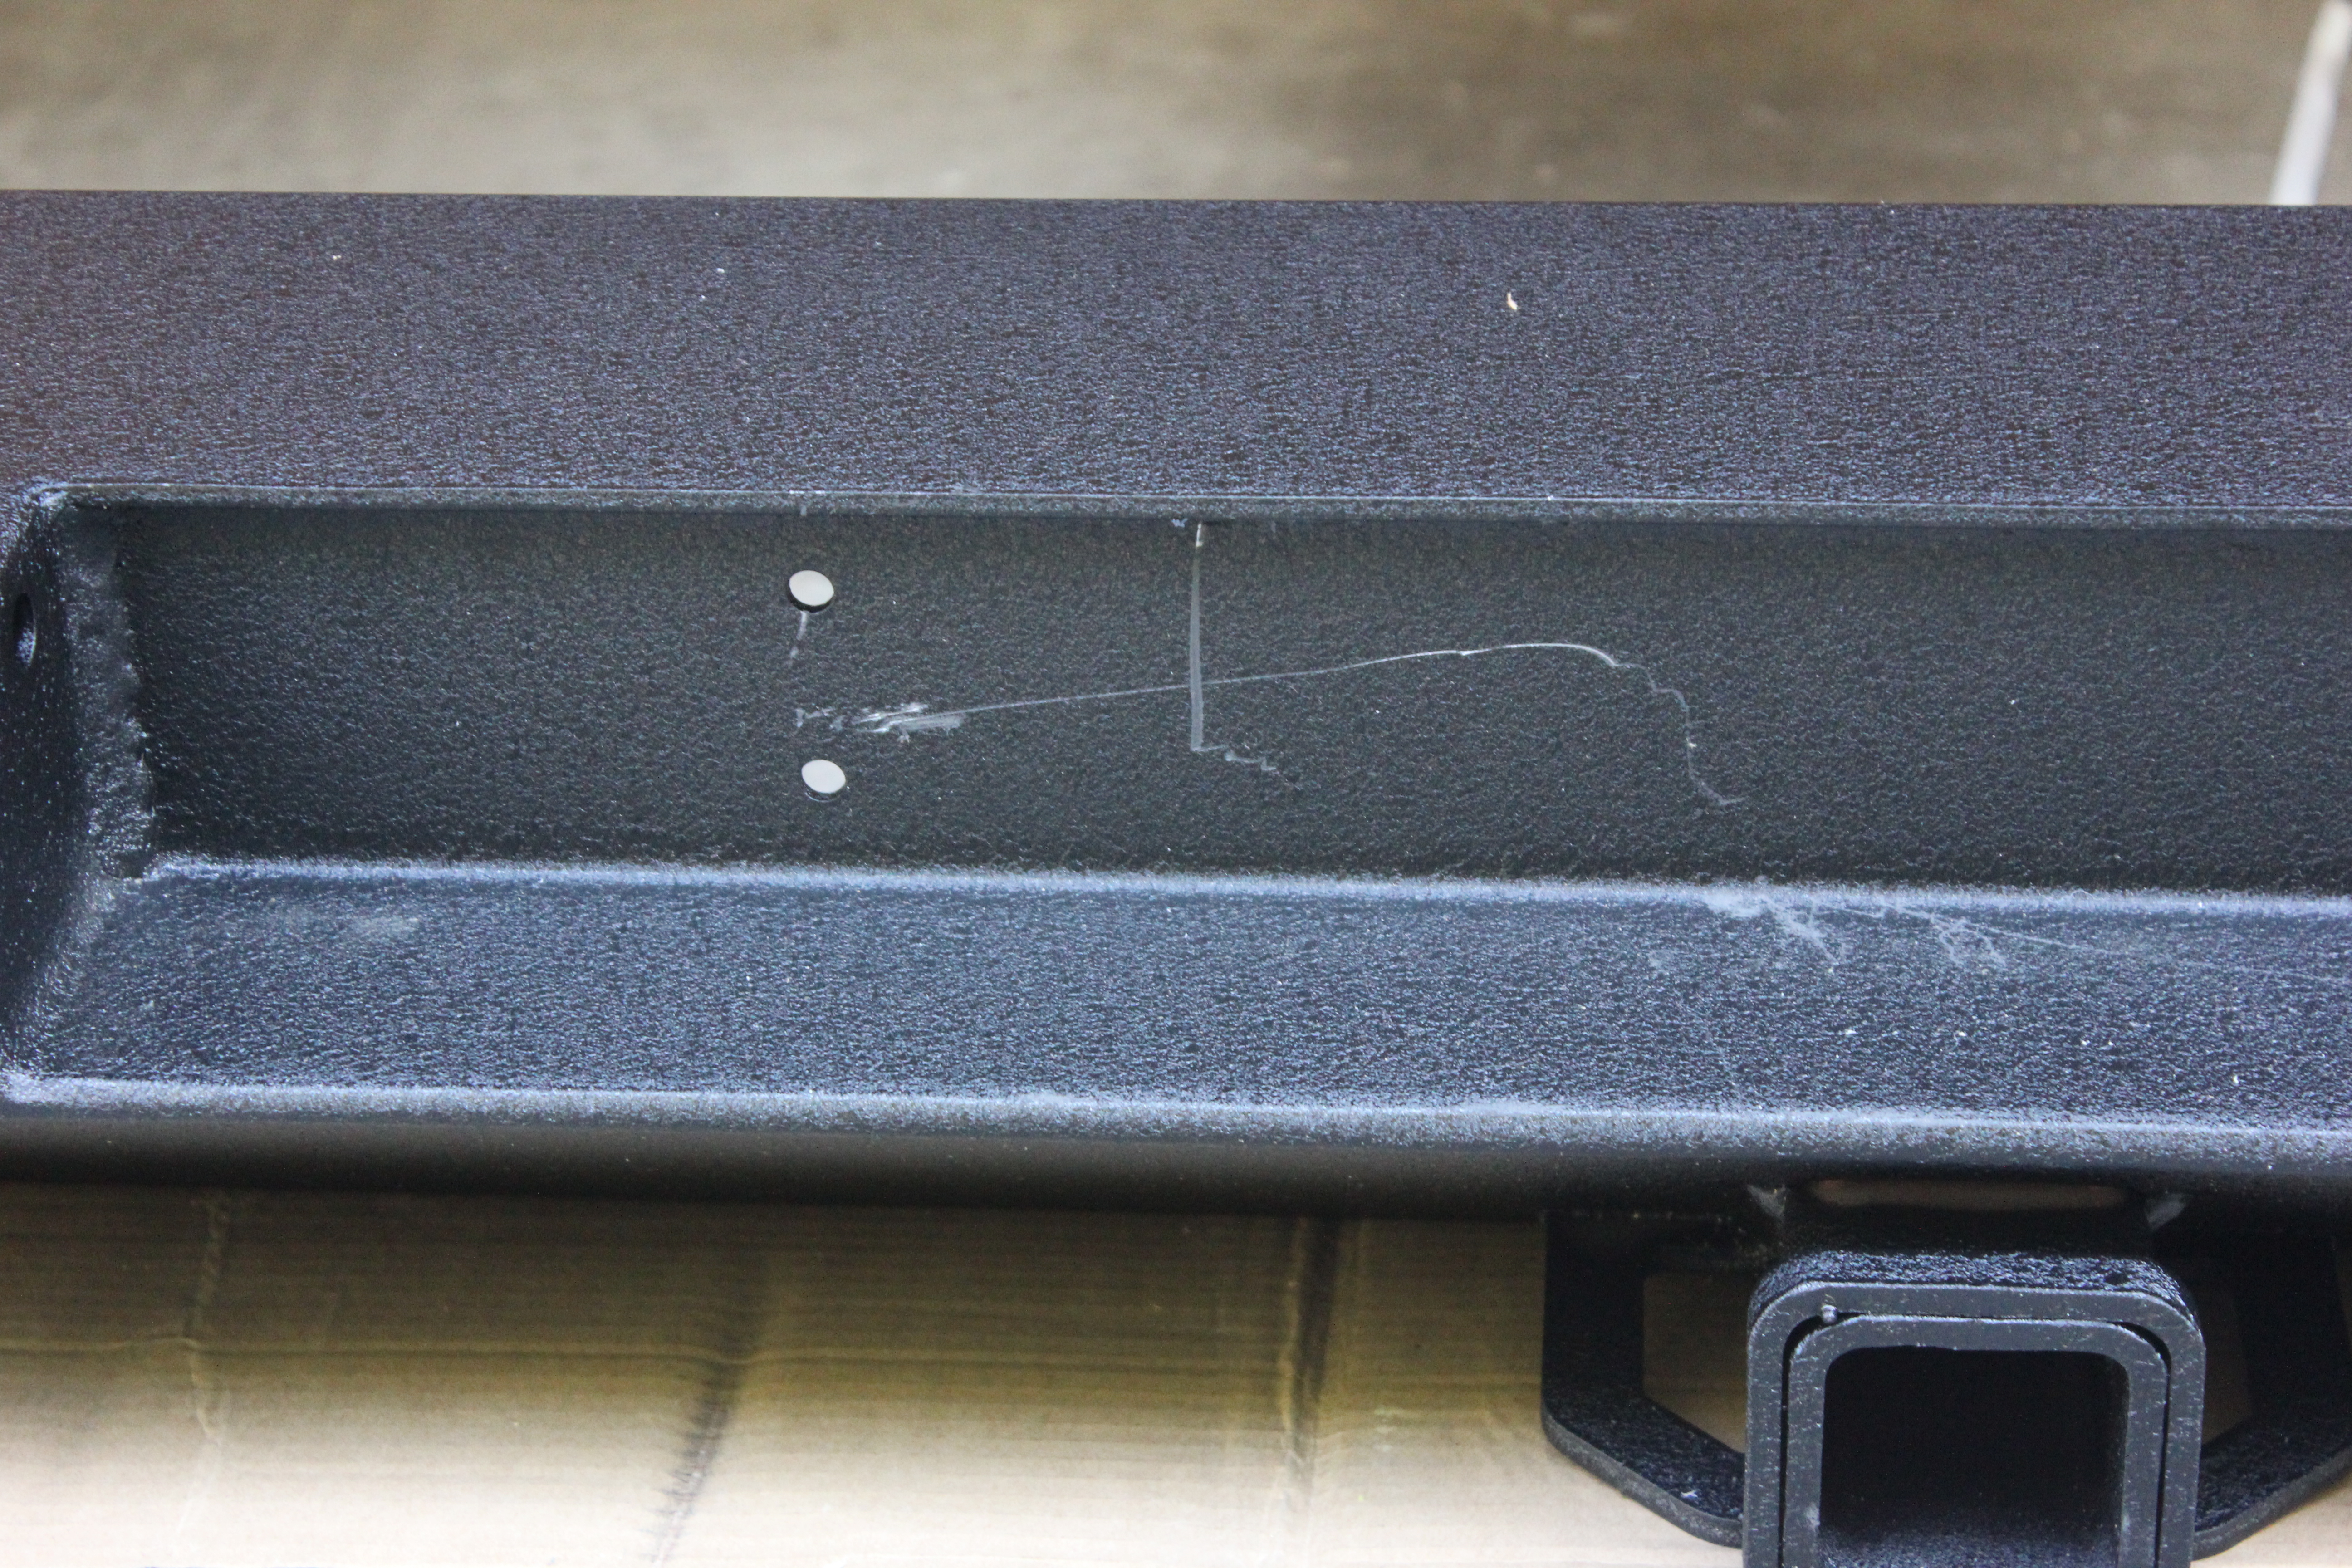
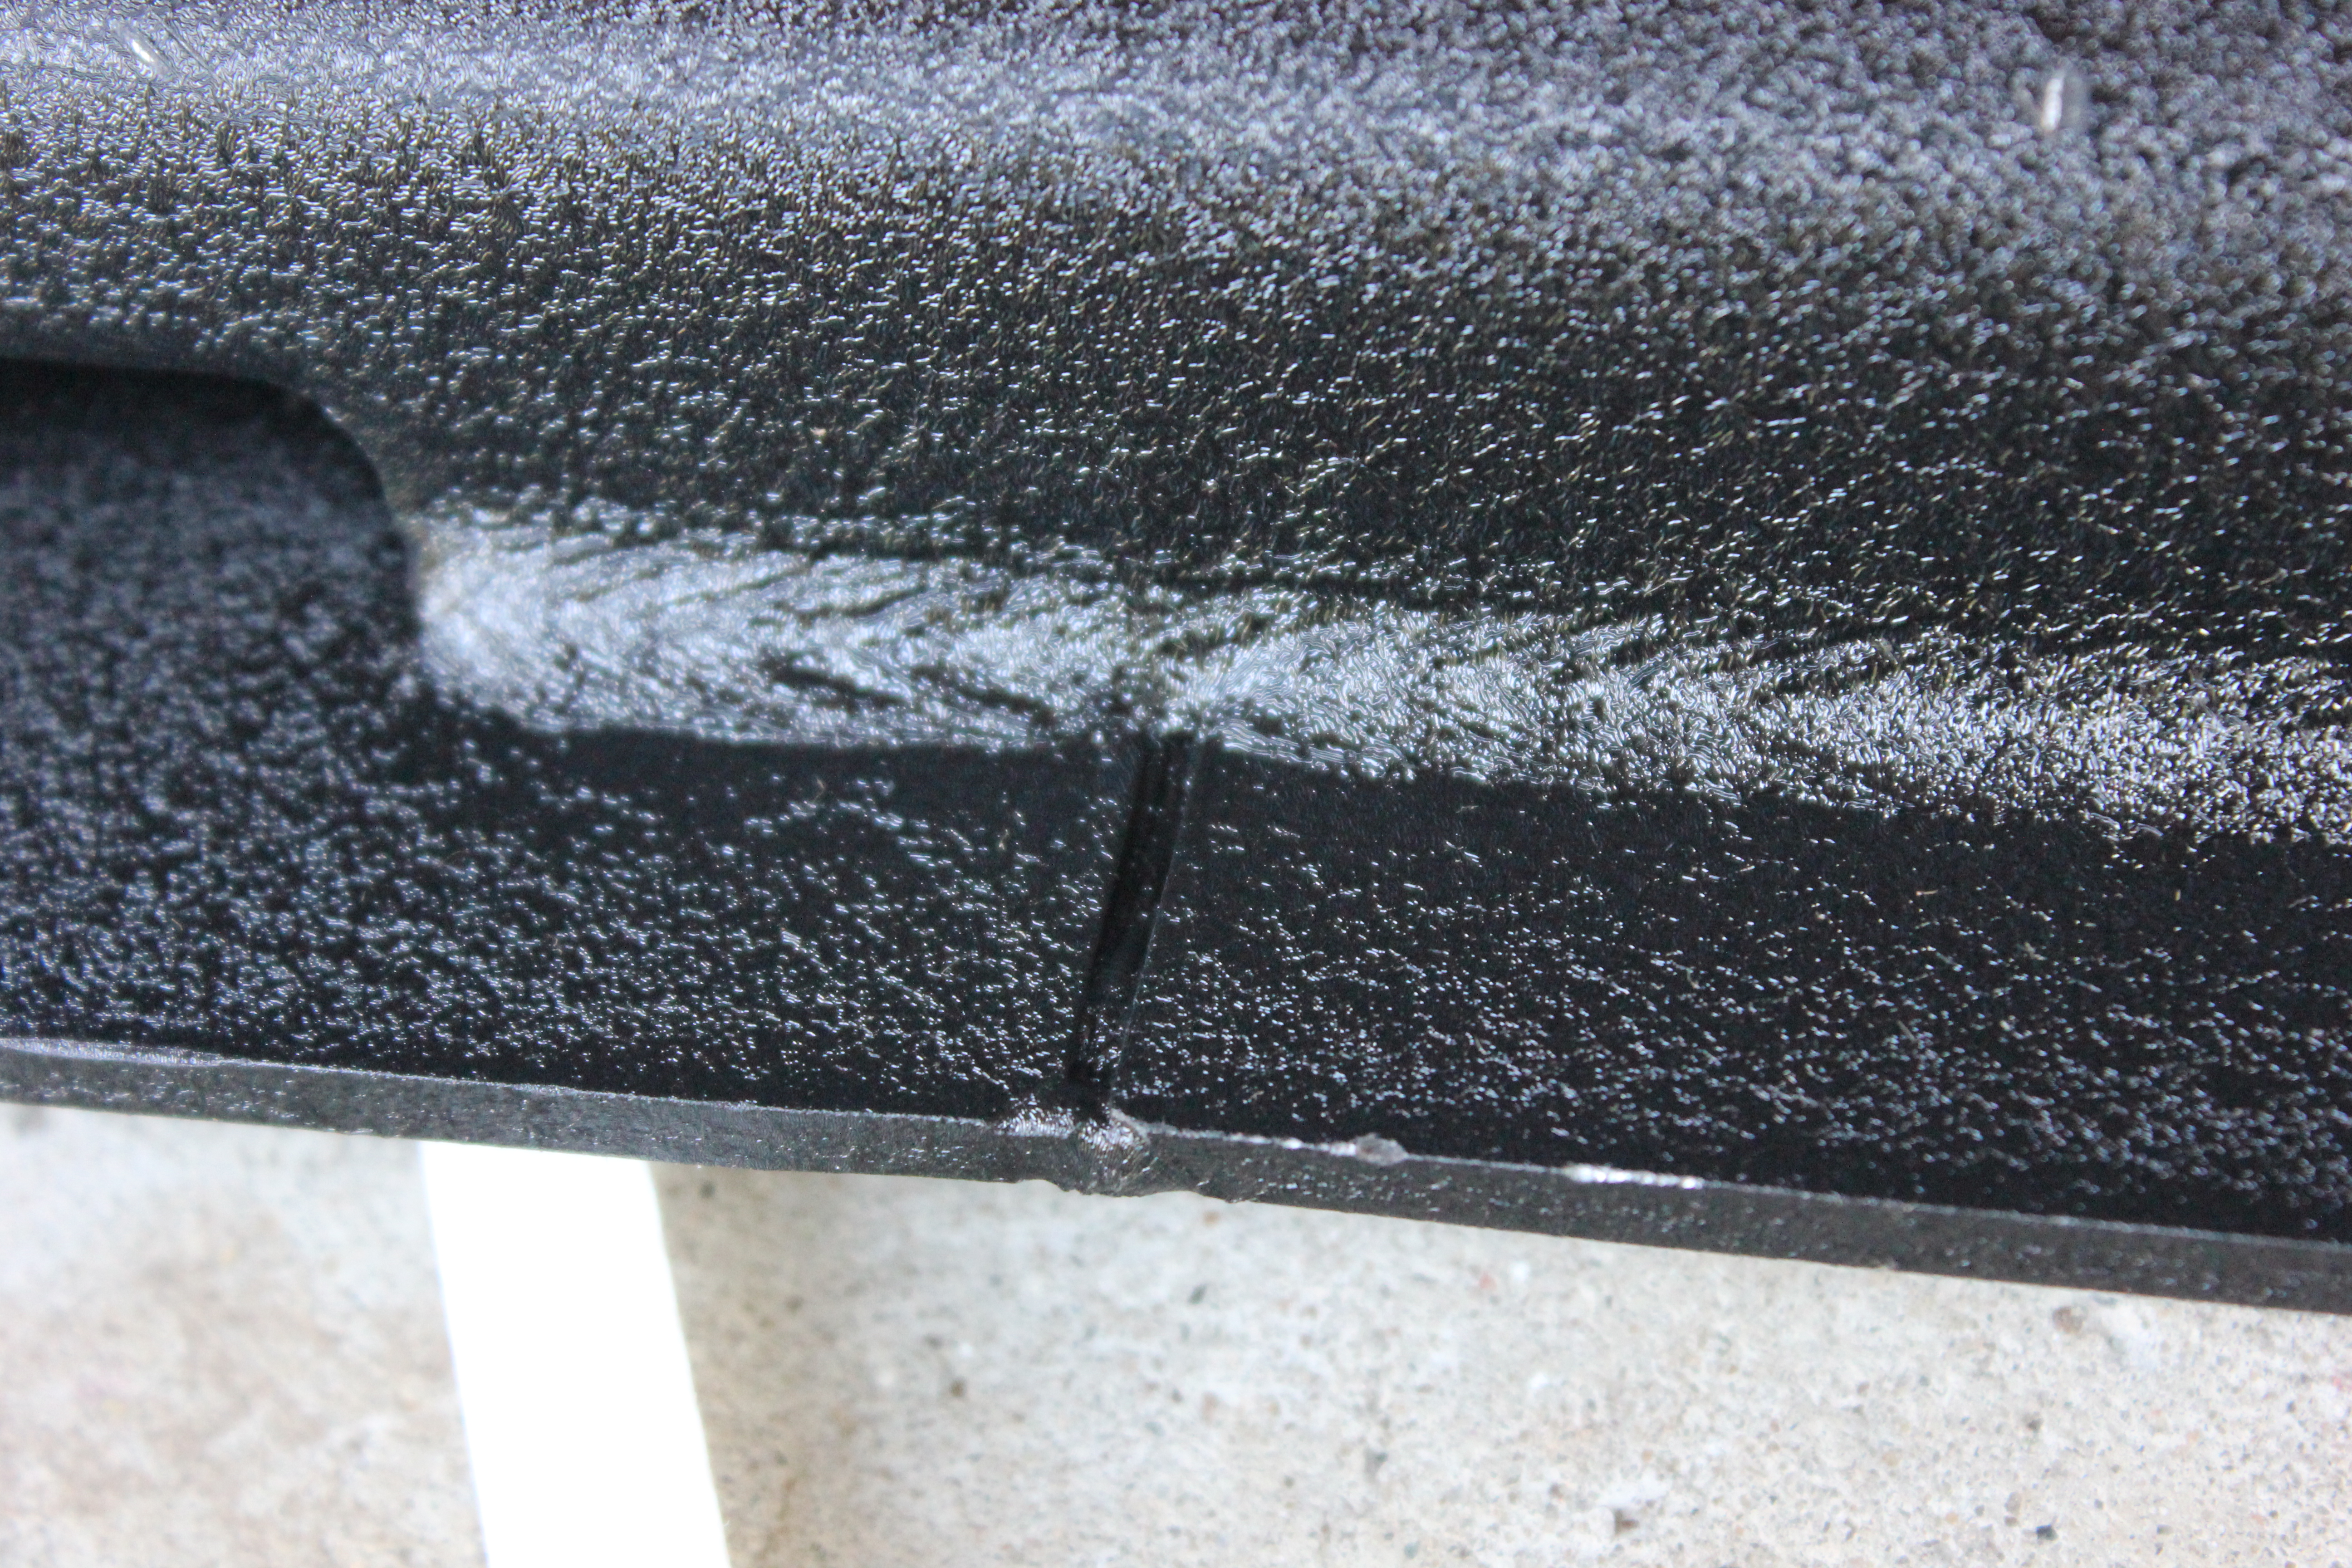
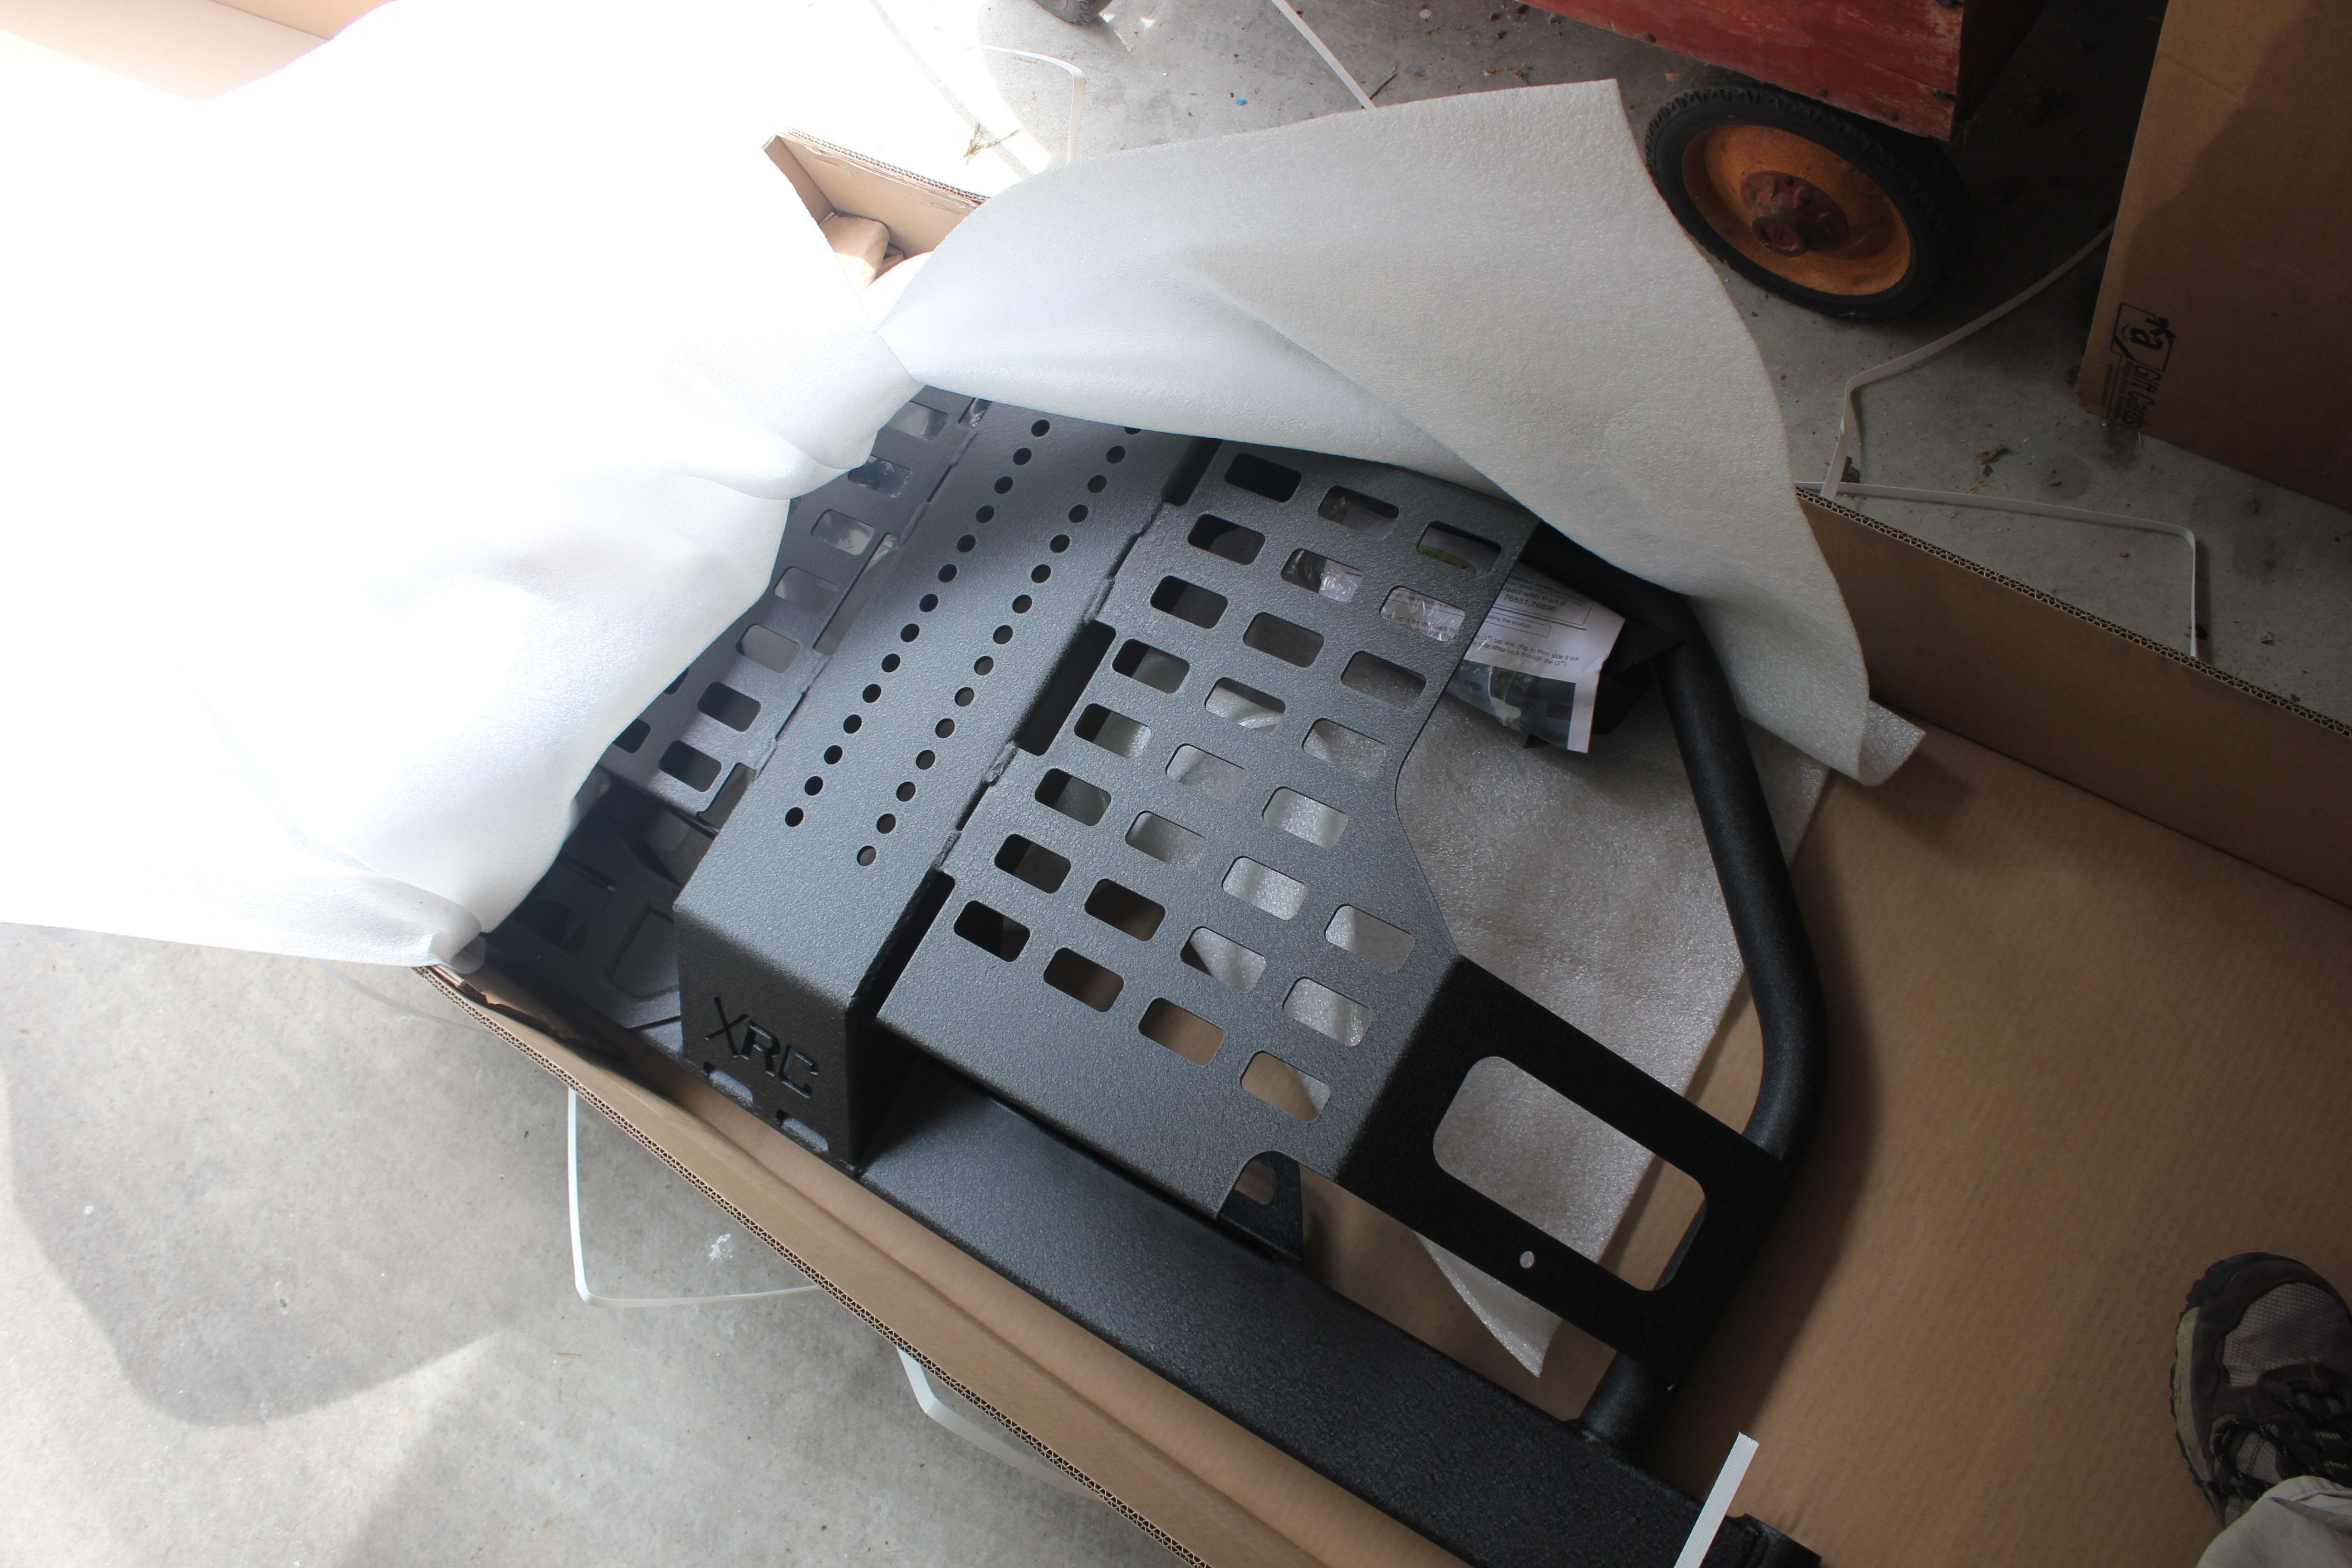
If you click on that picture above, you can see that during shipping something–probably the bumper brackets–scratched the $%&^ out of the bumper, removing some of the finish. This will be fixed later.
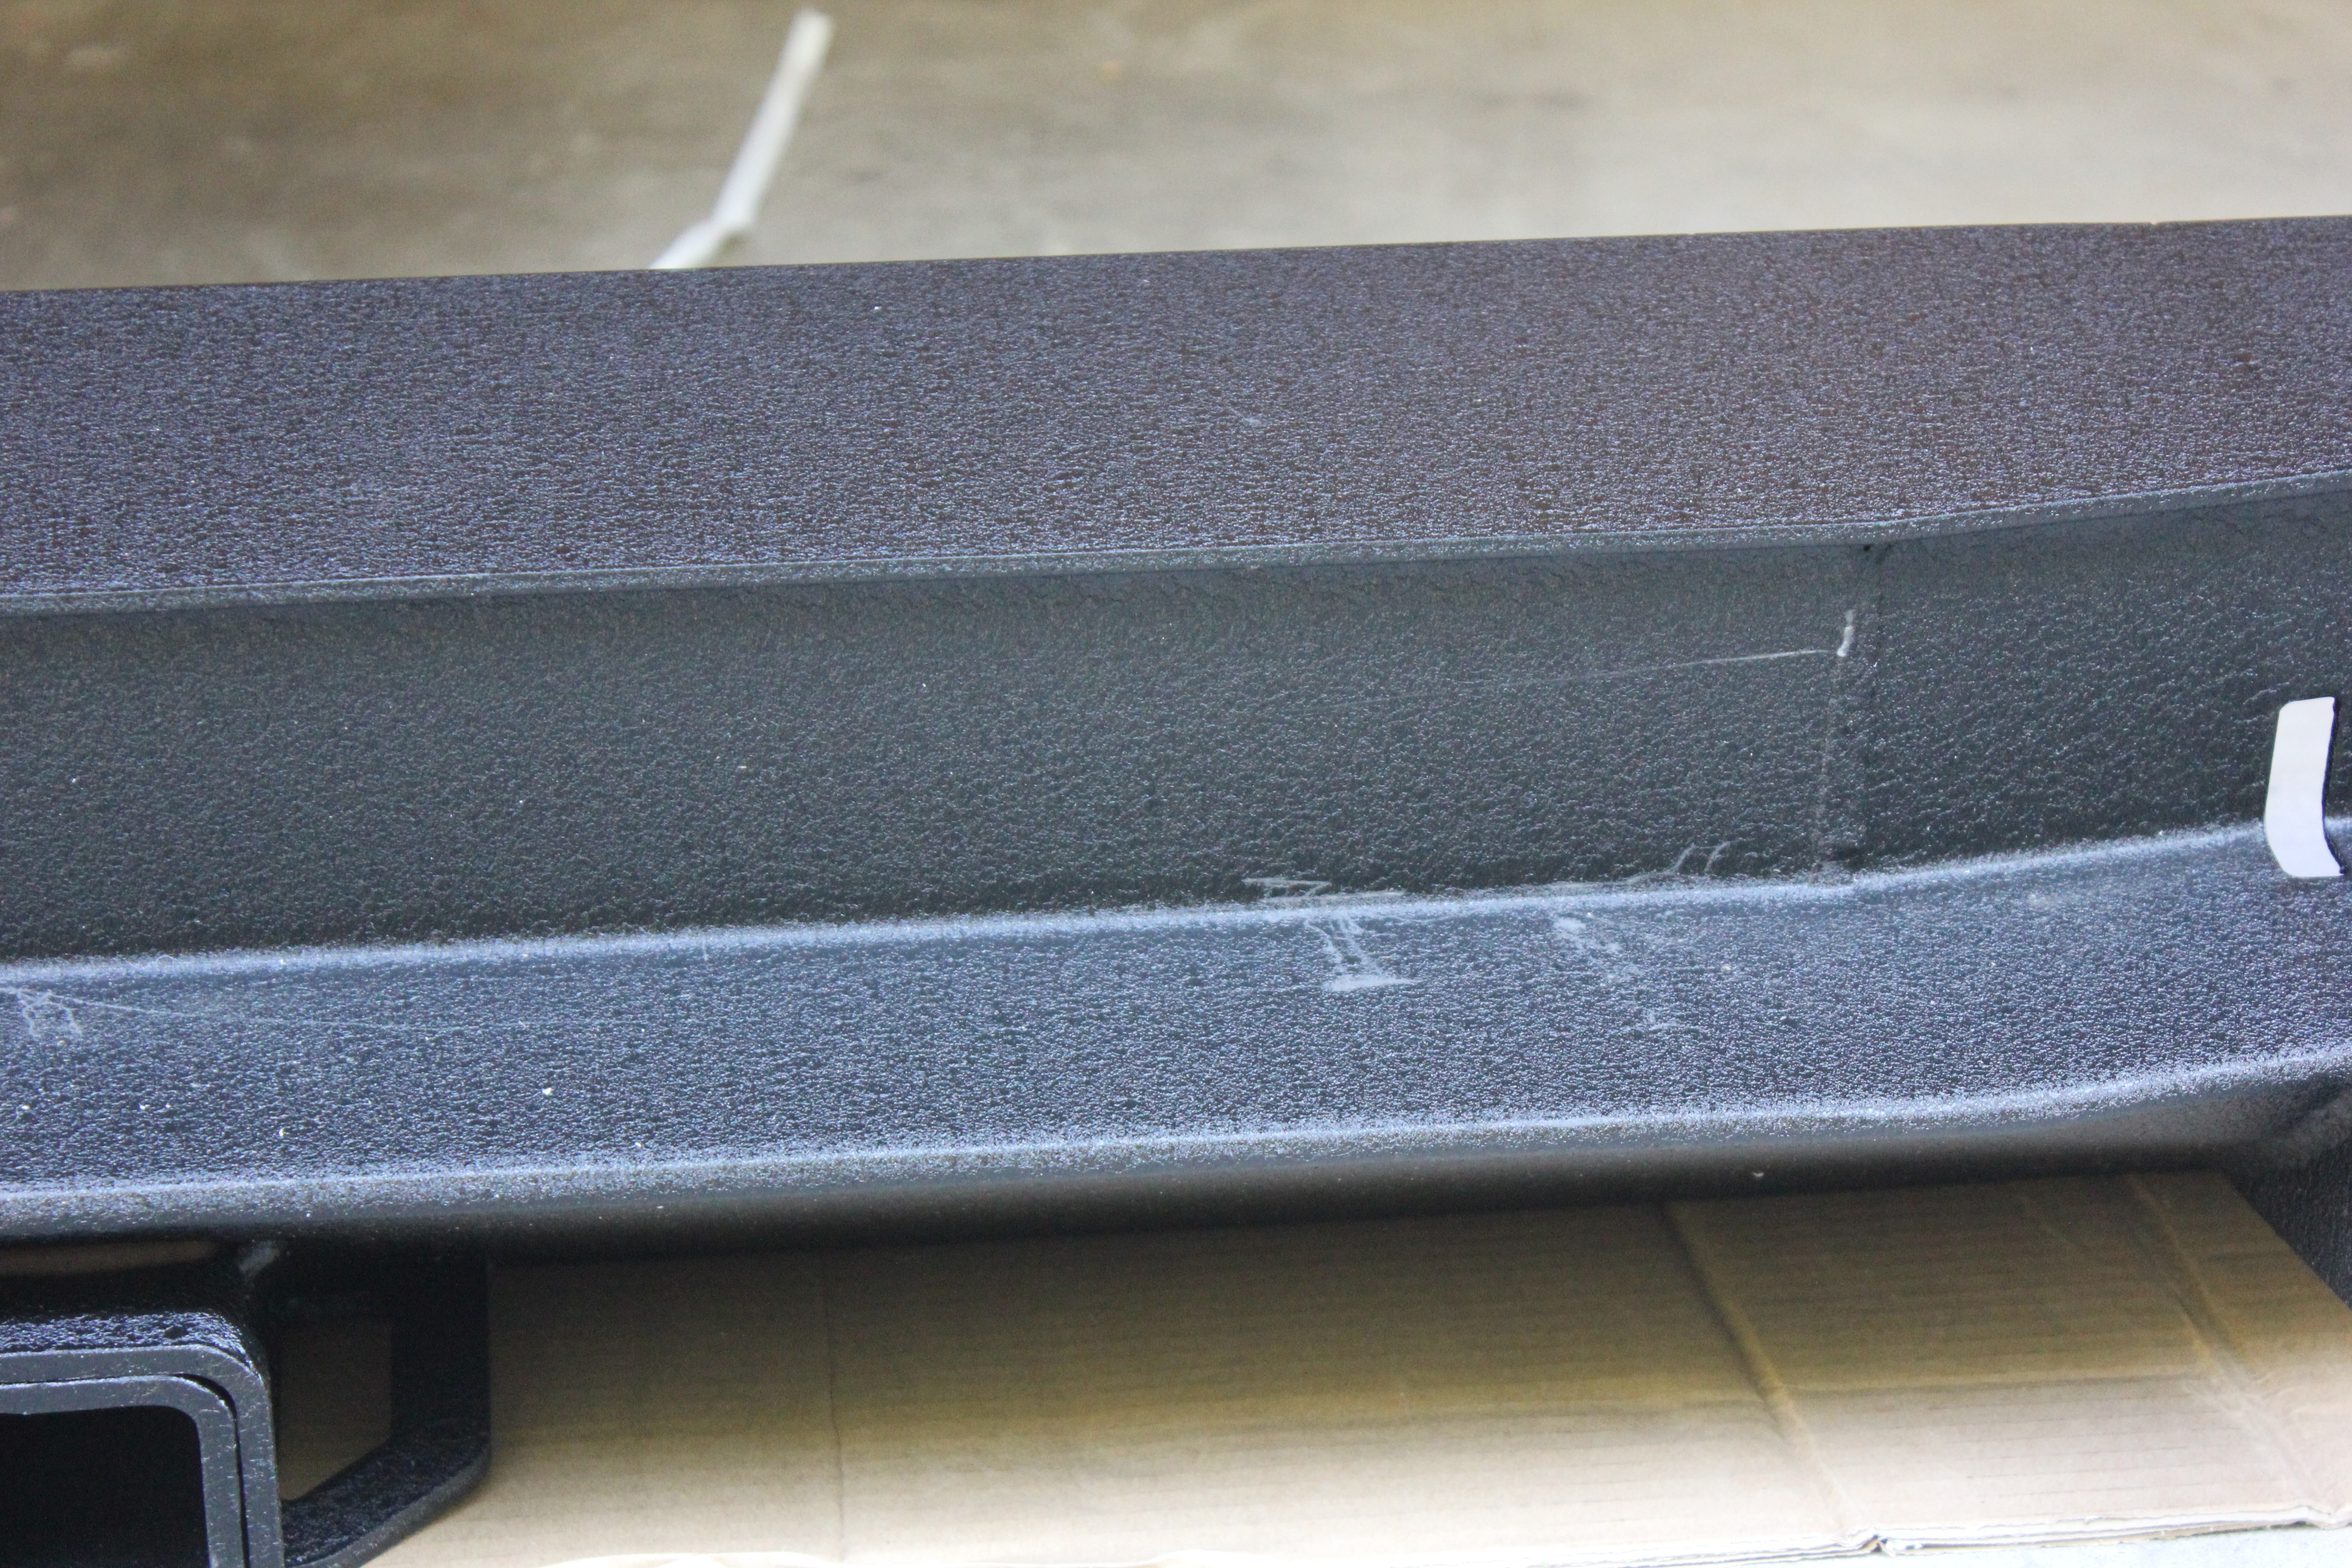
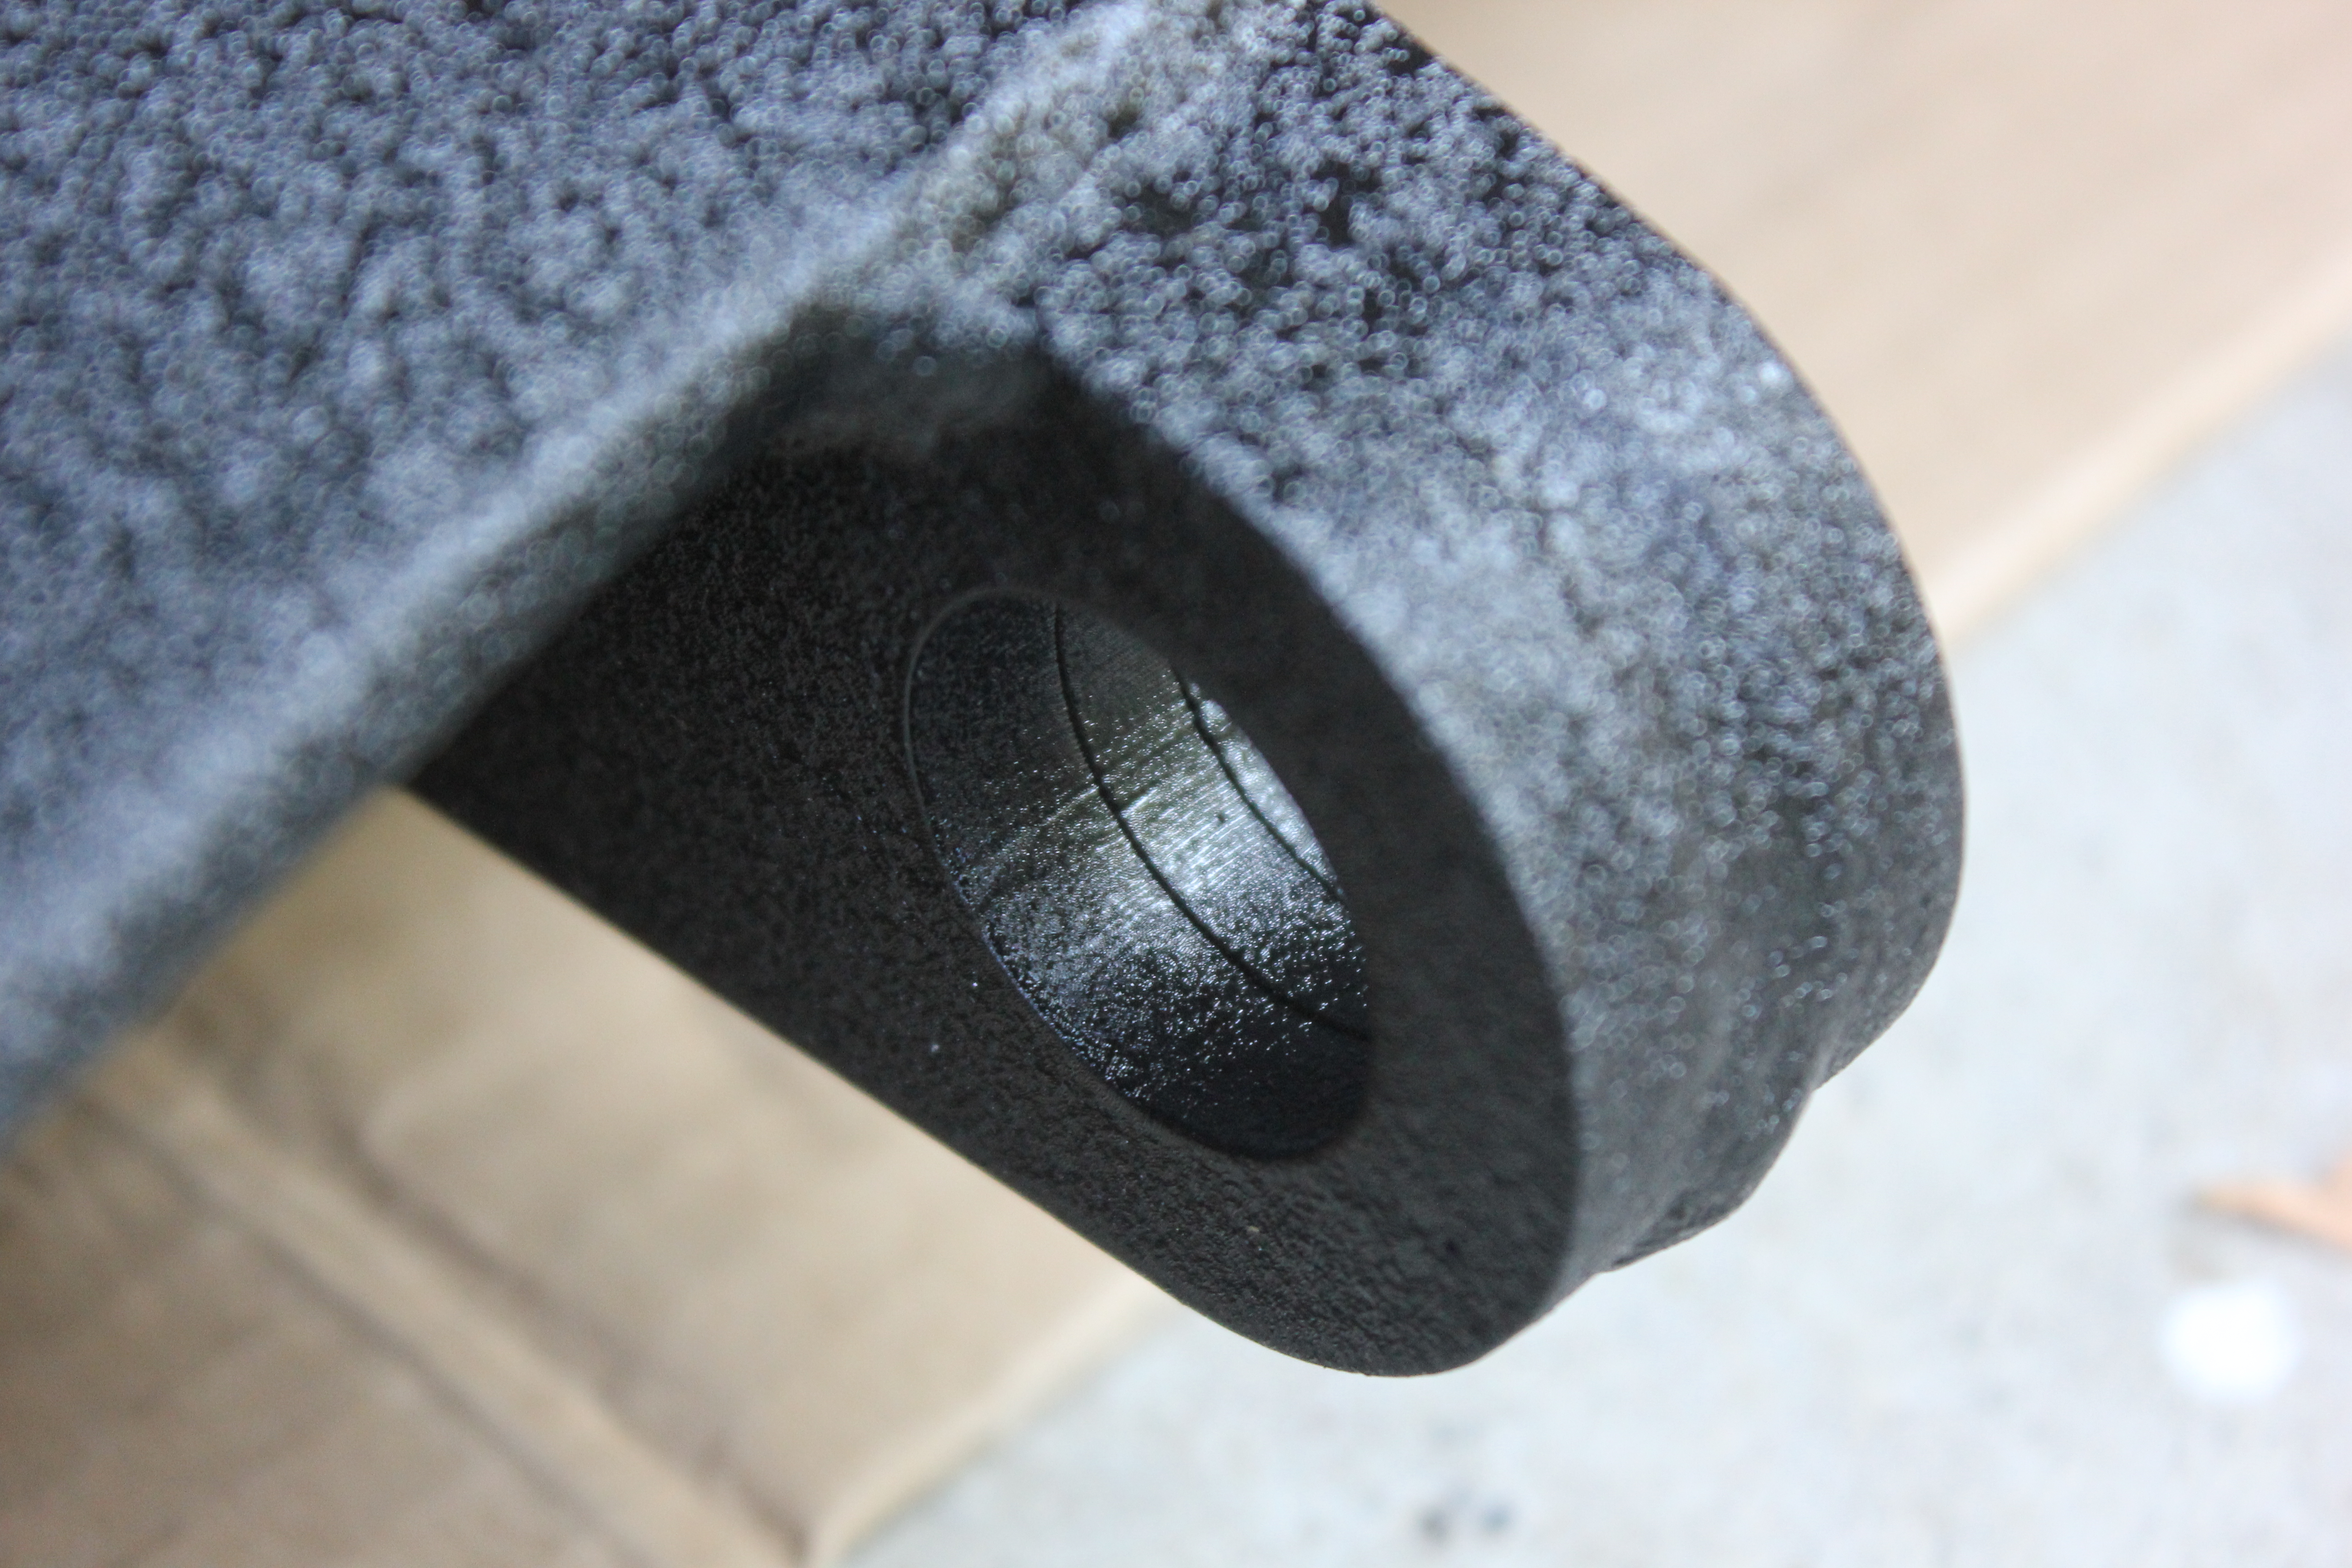
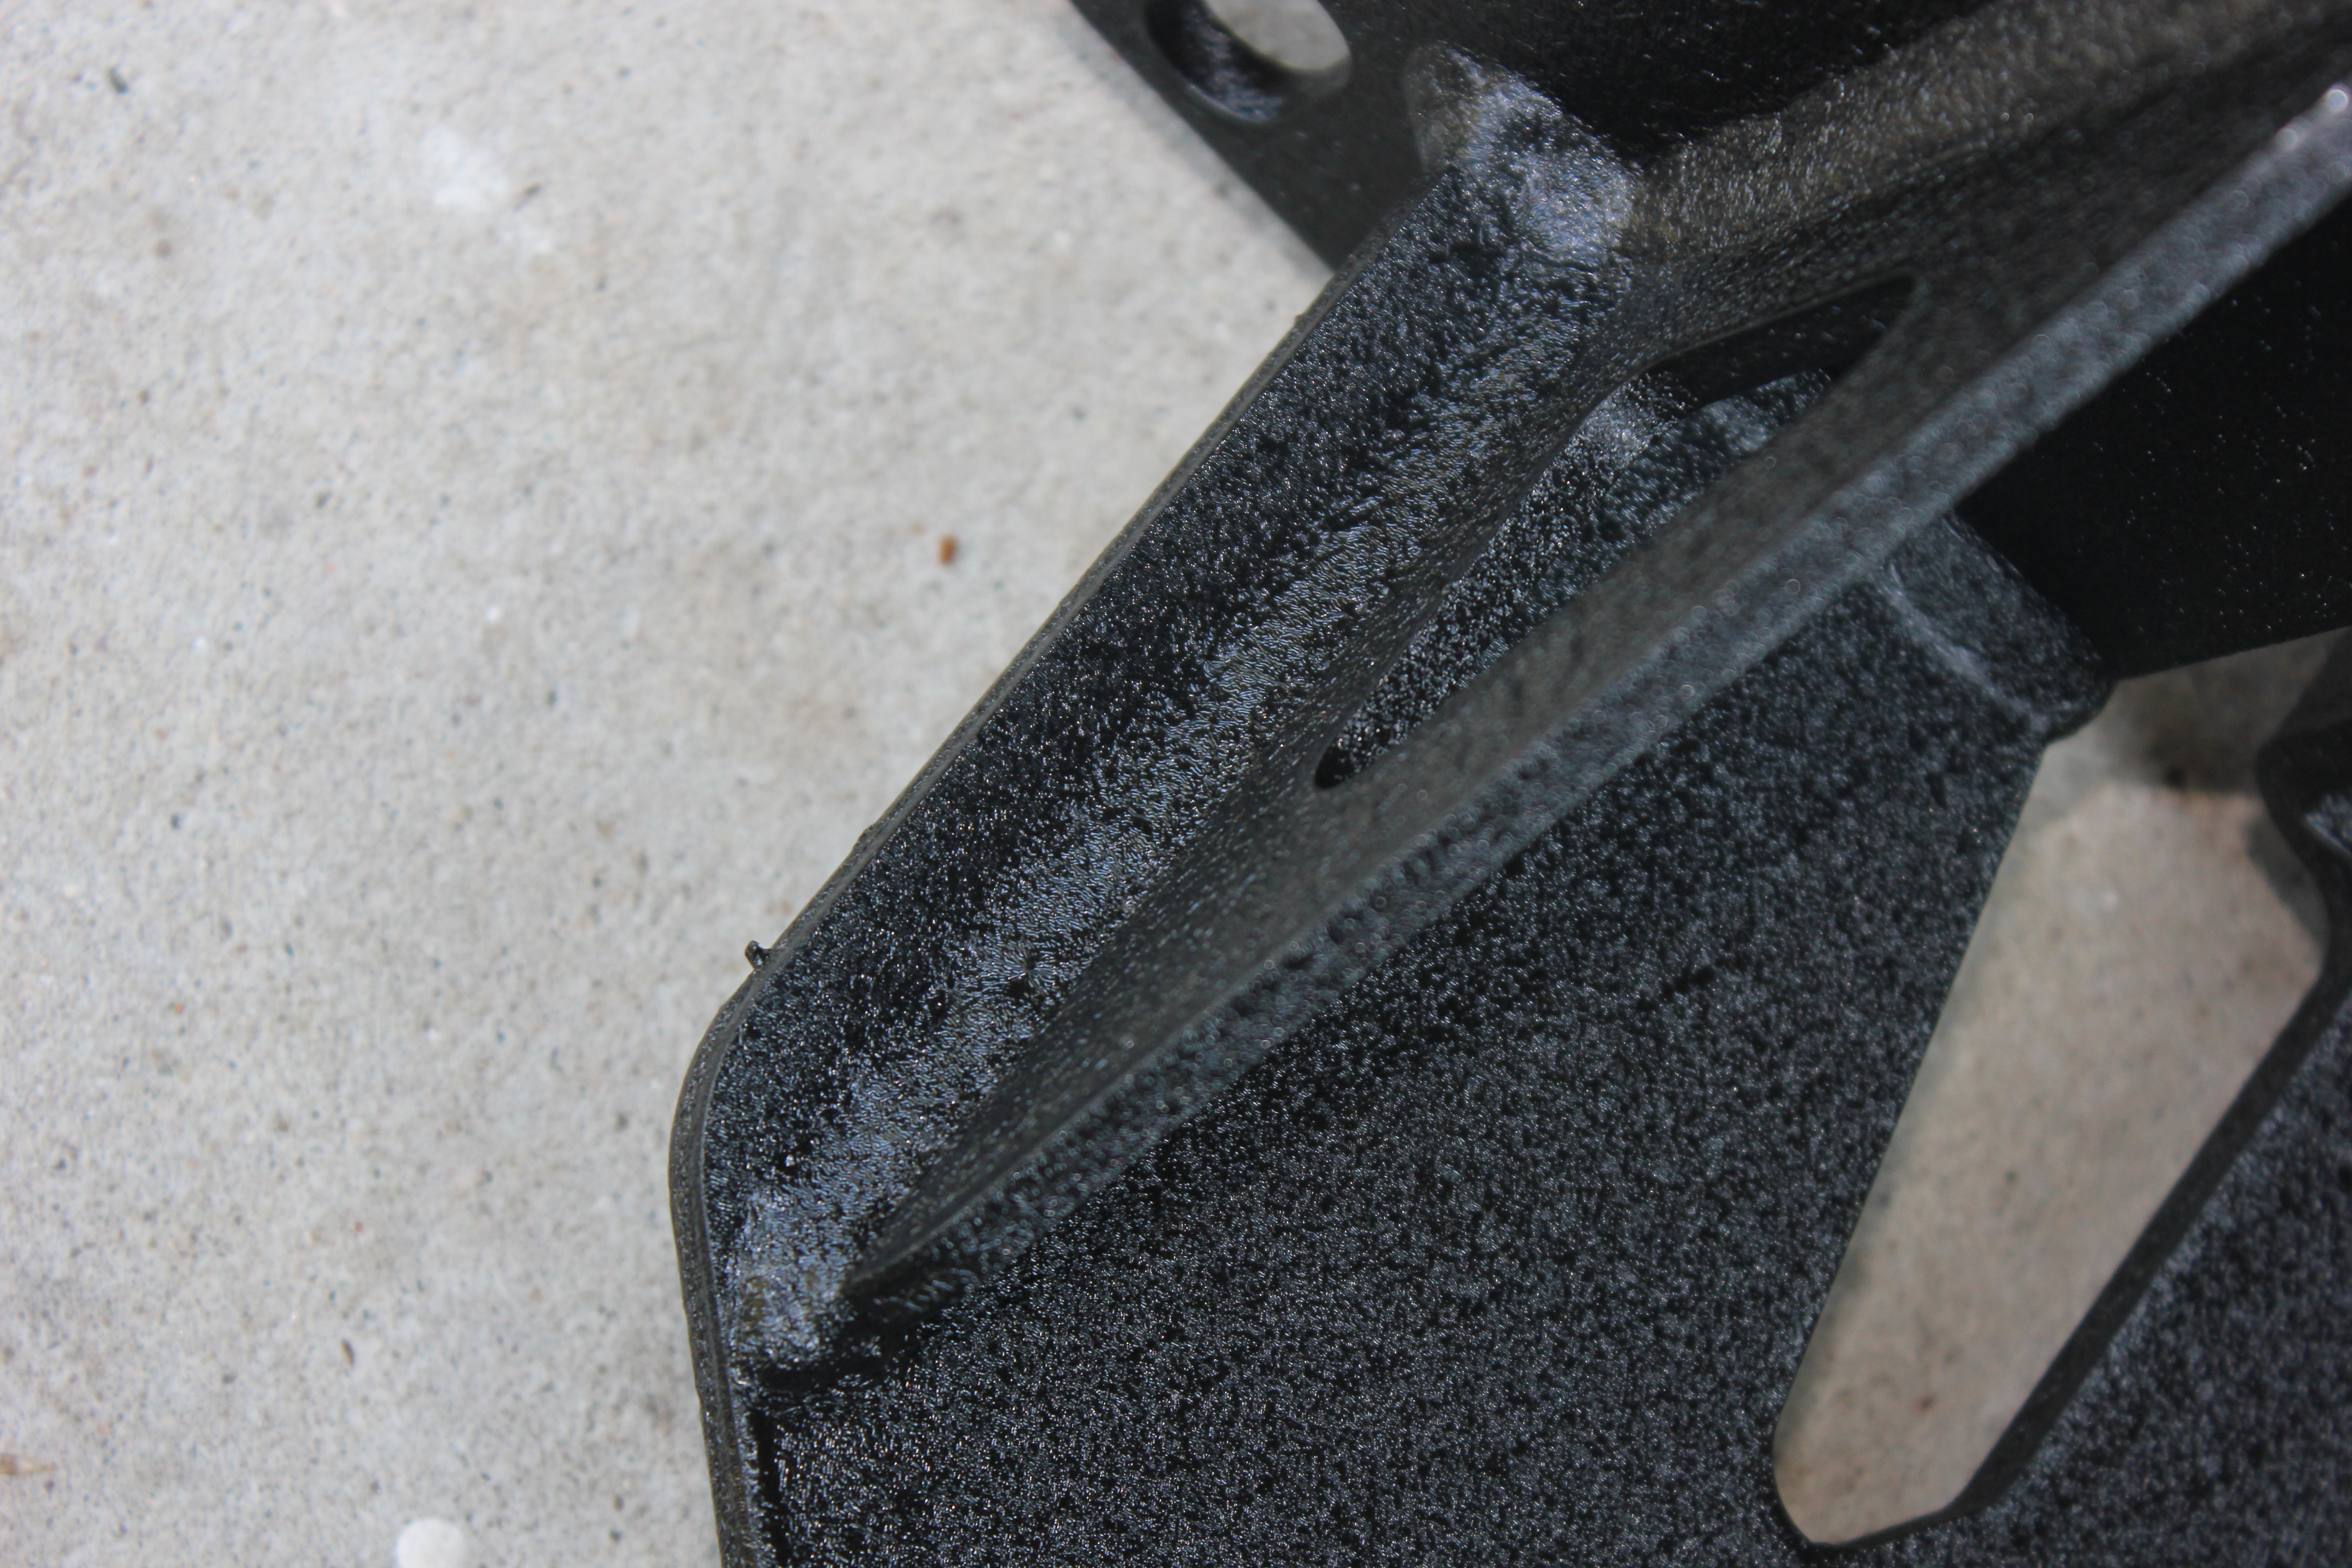
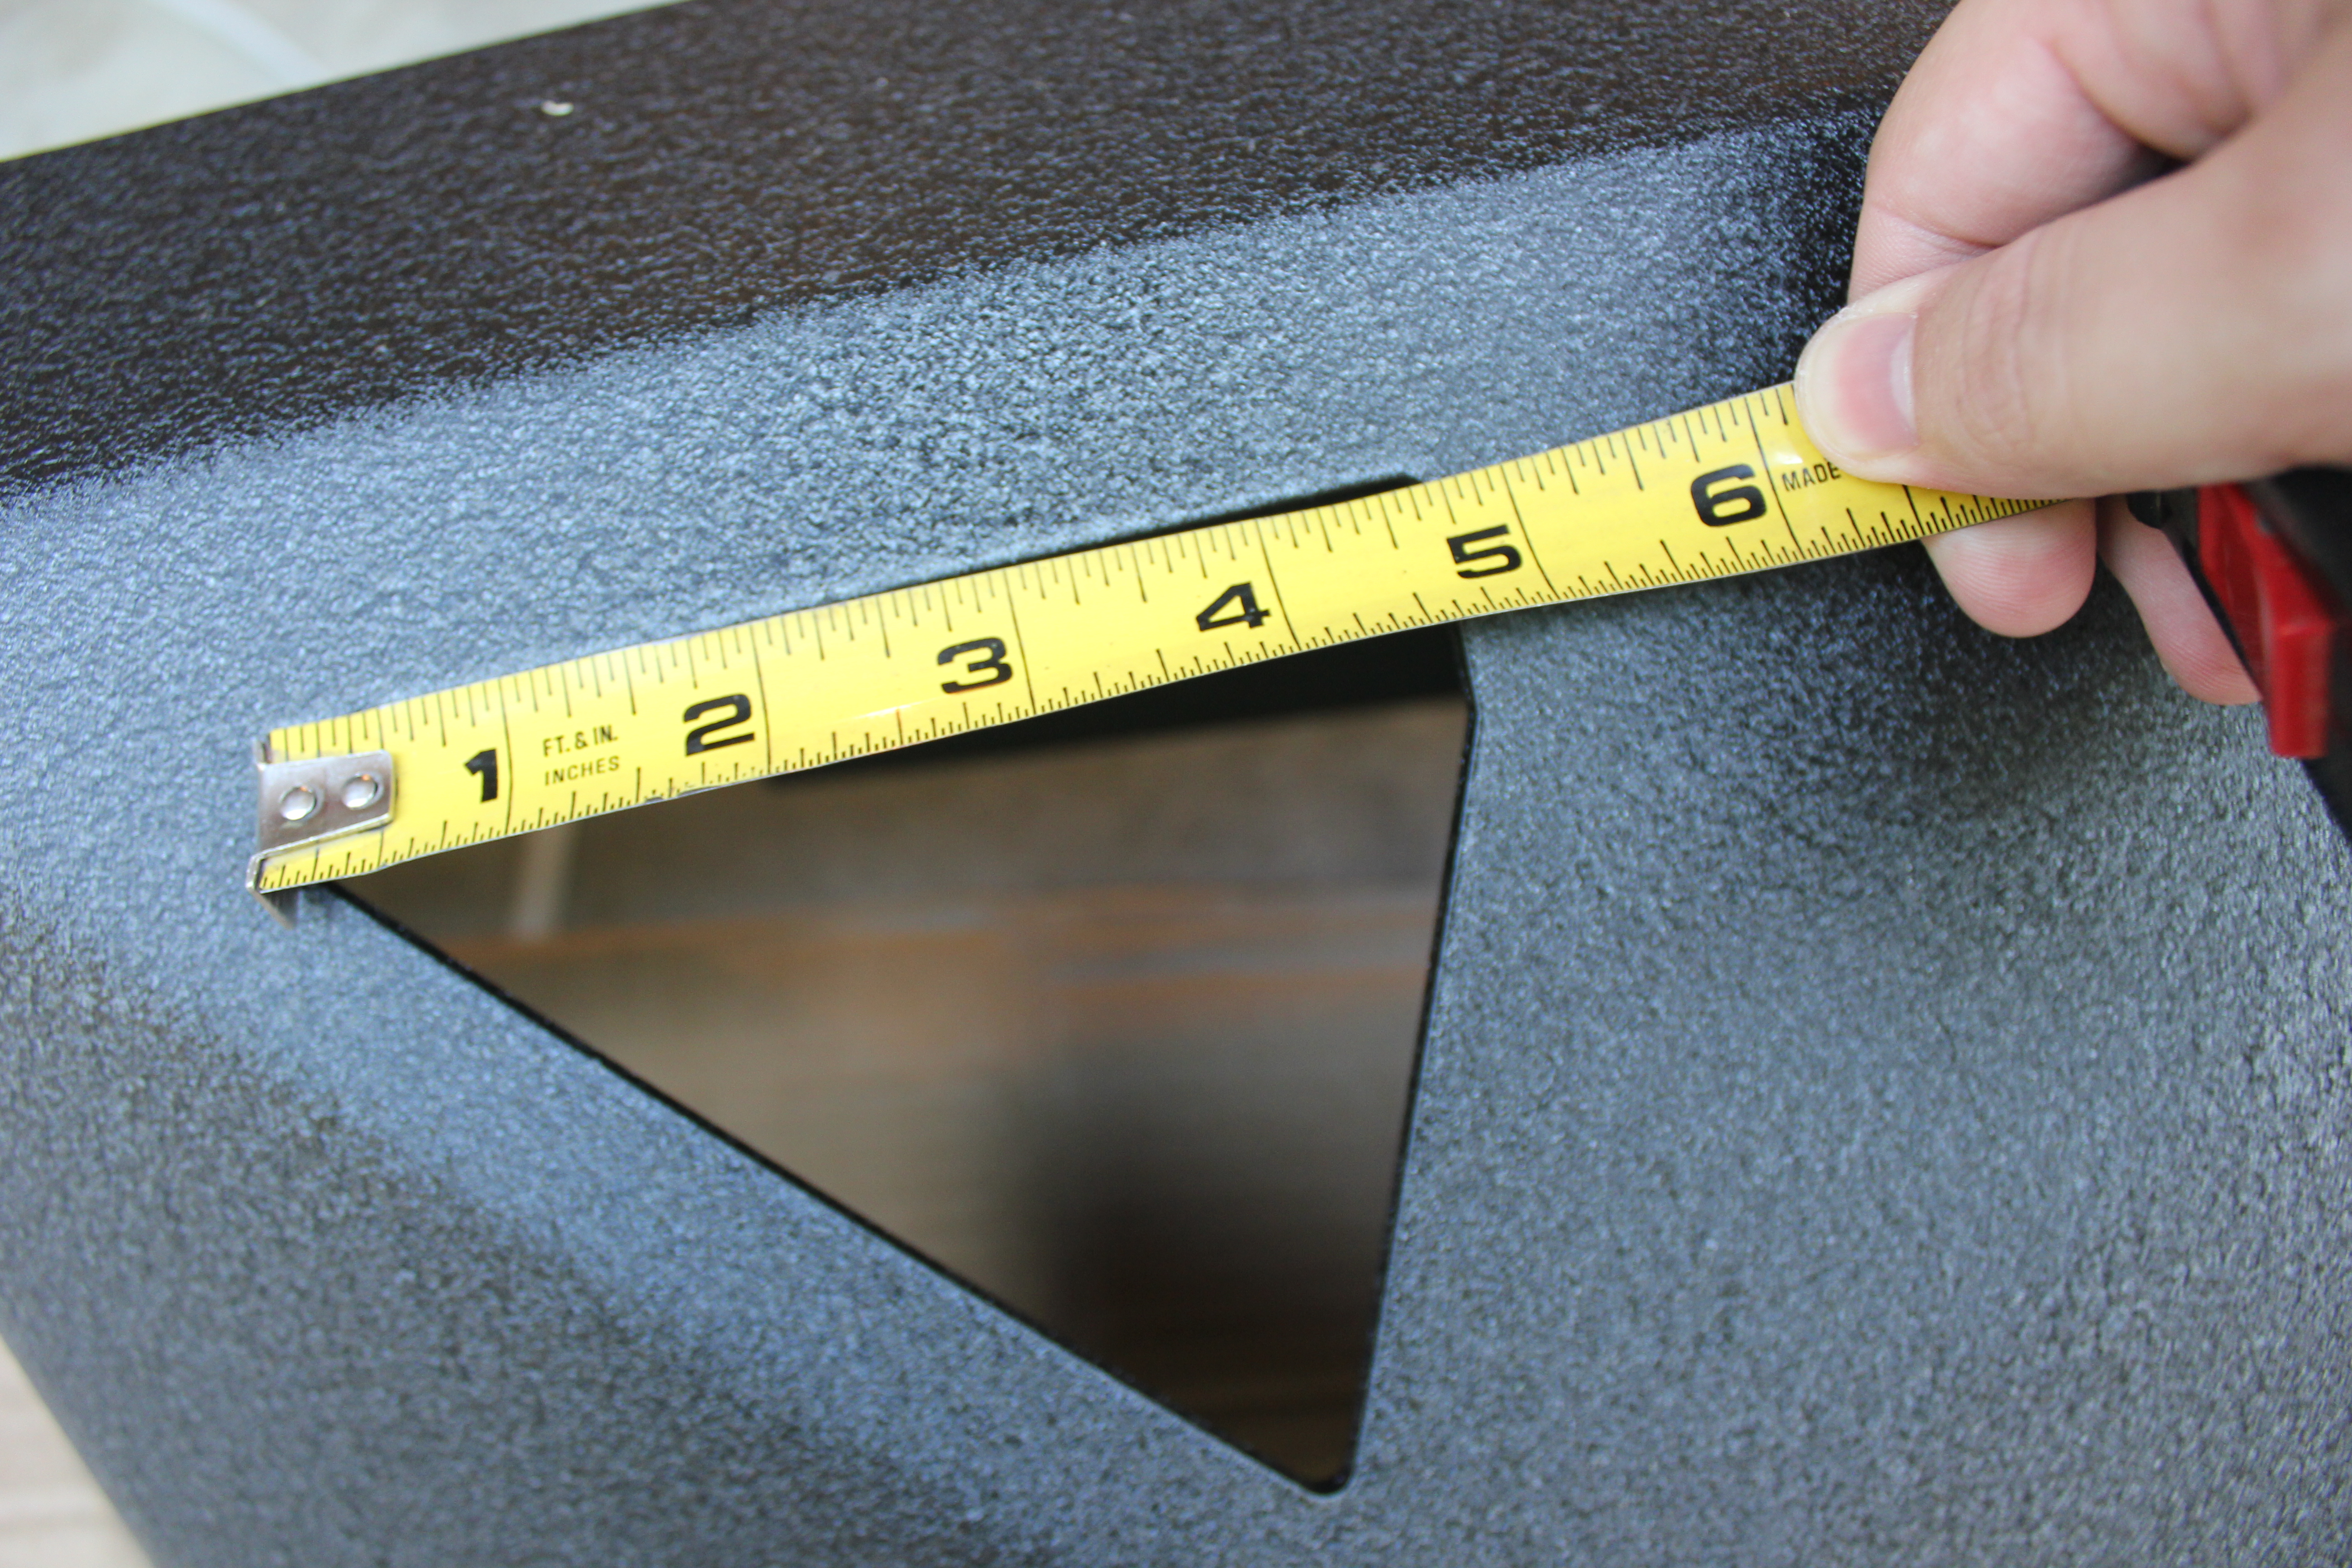
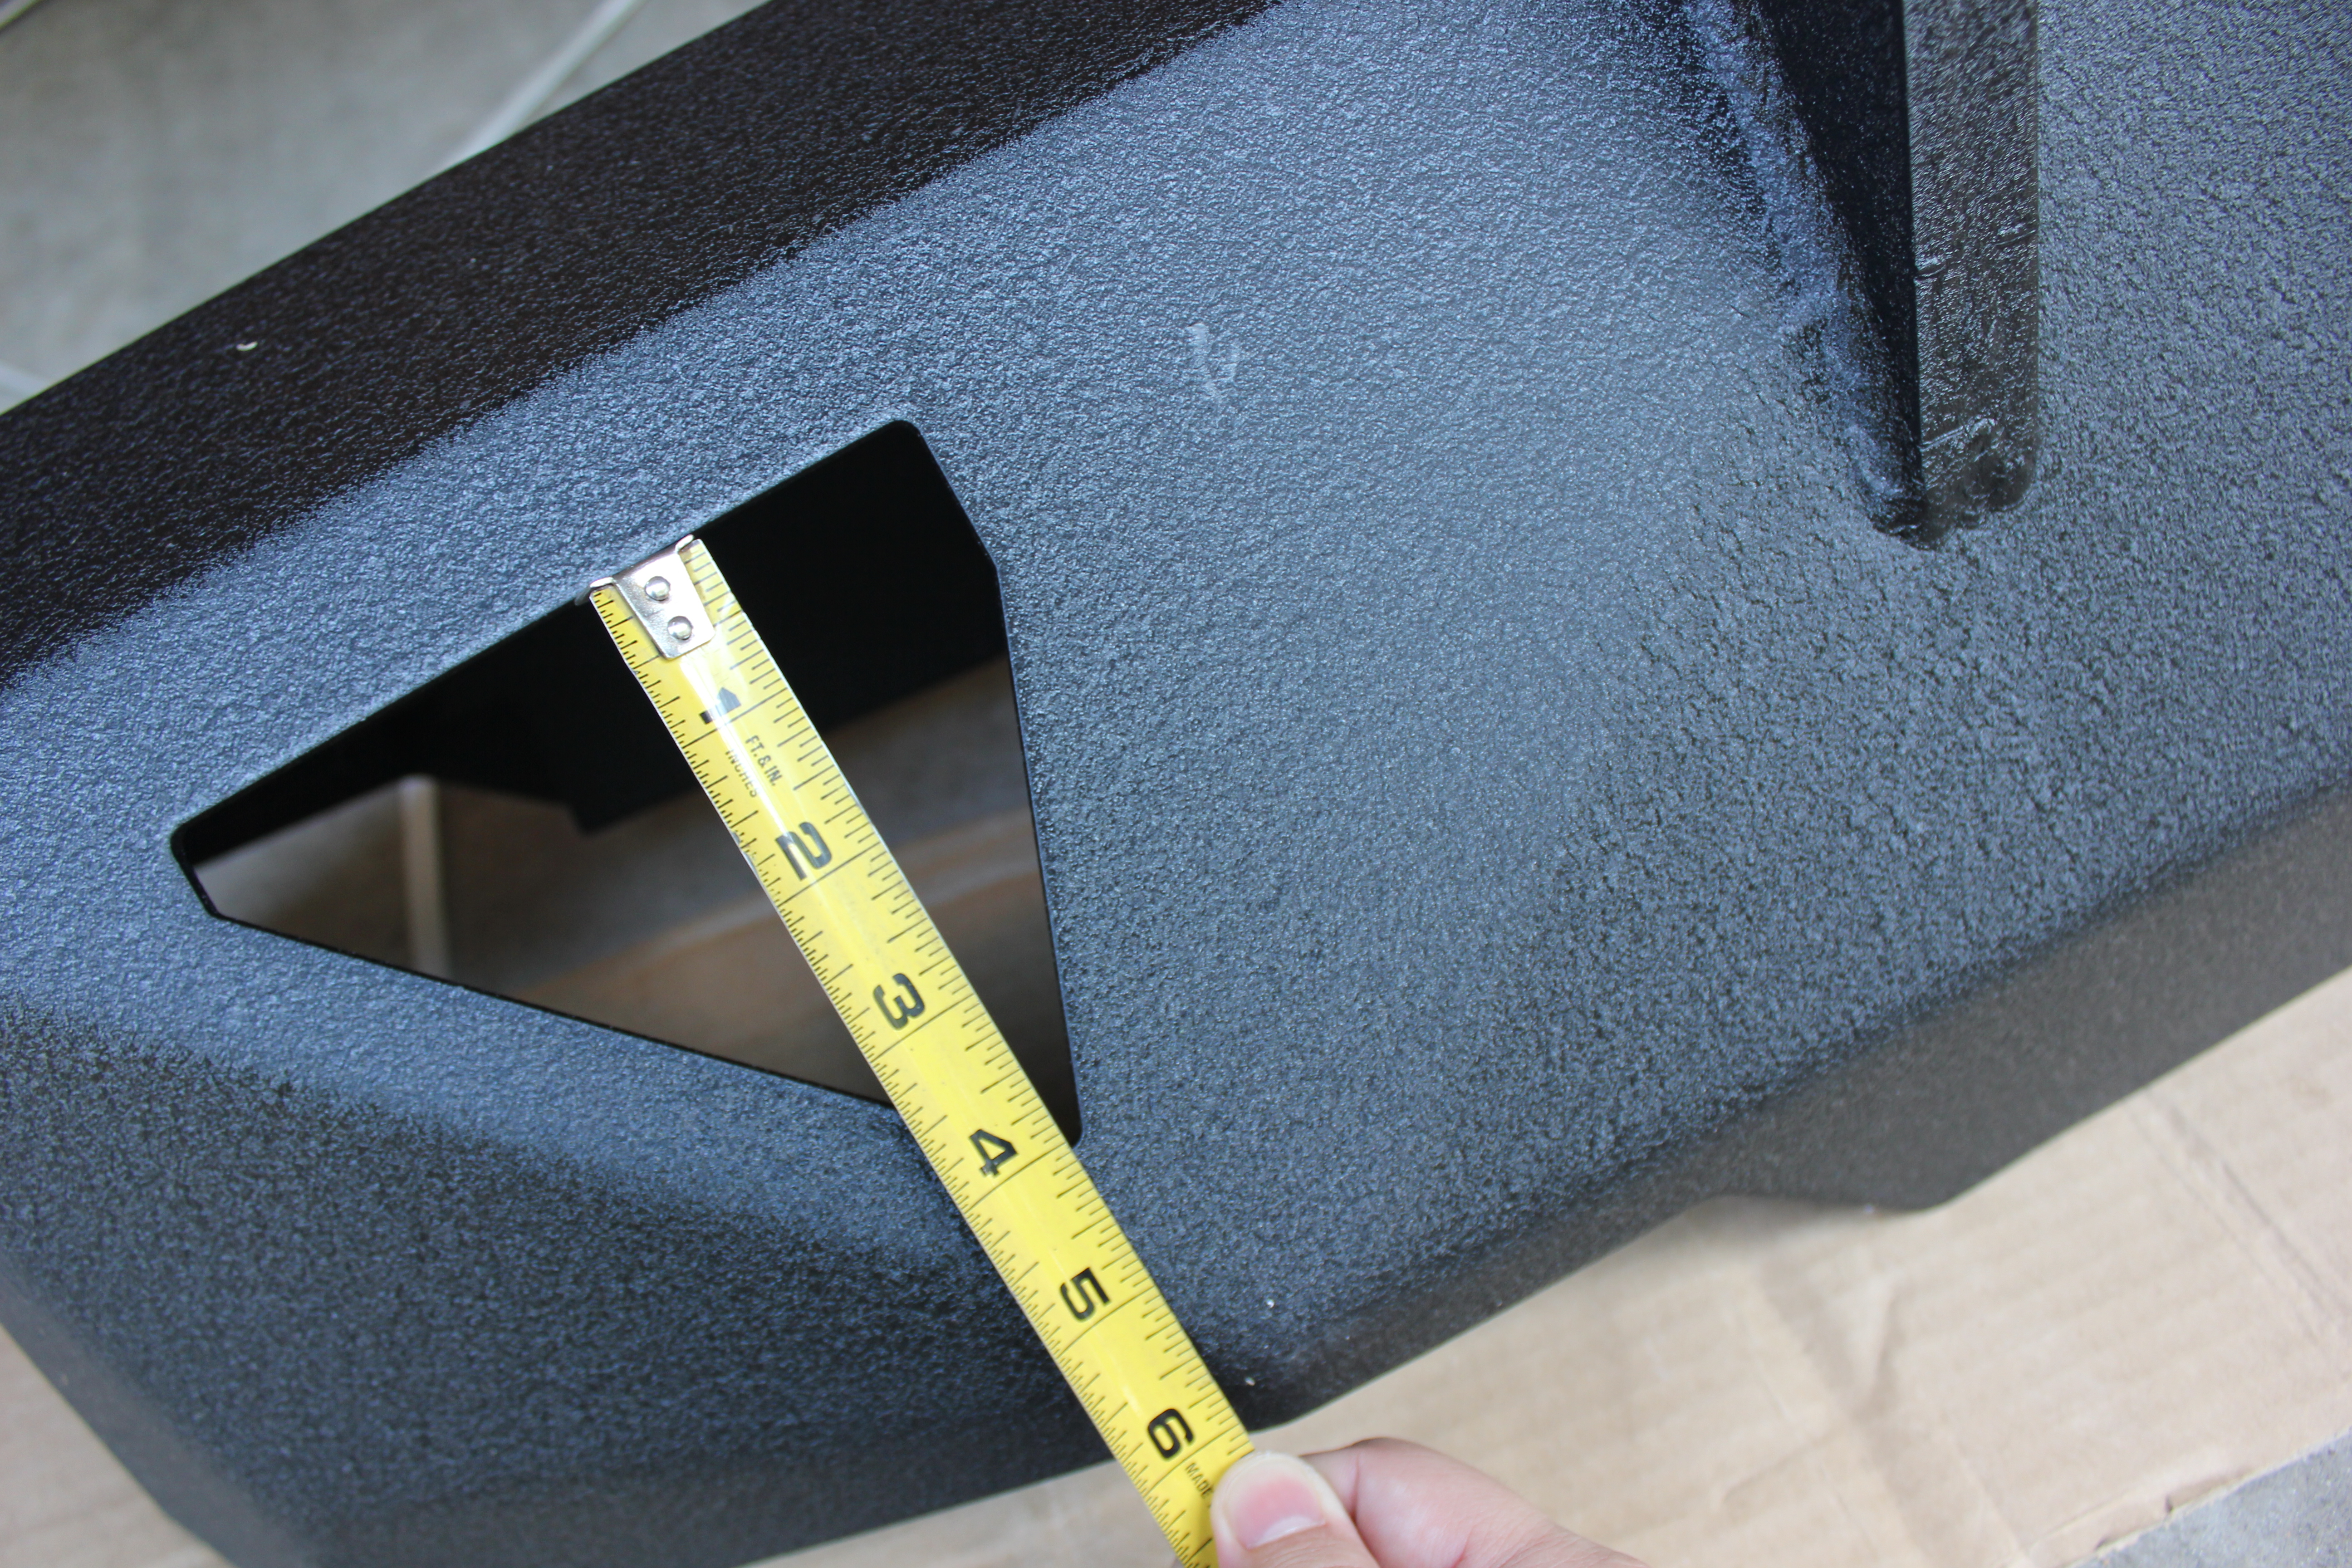
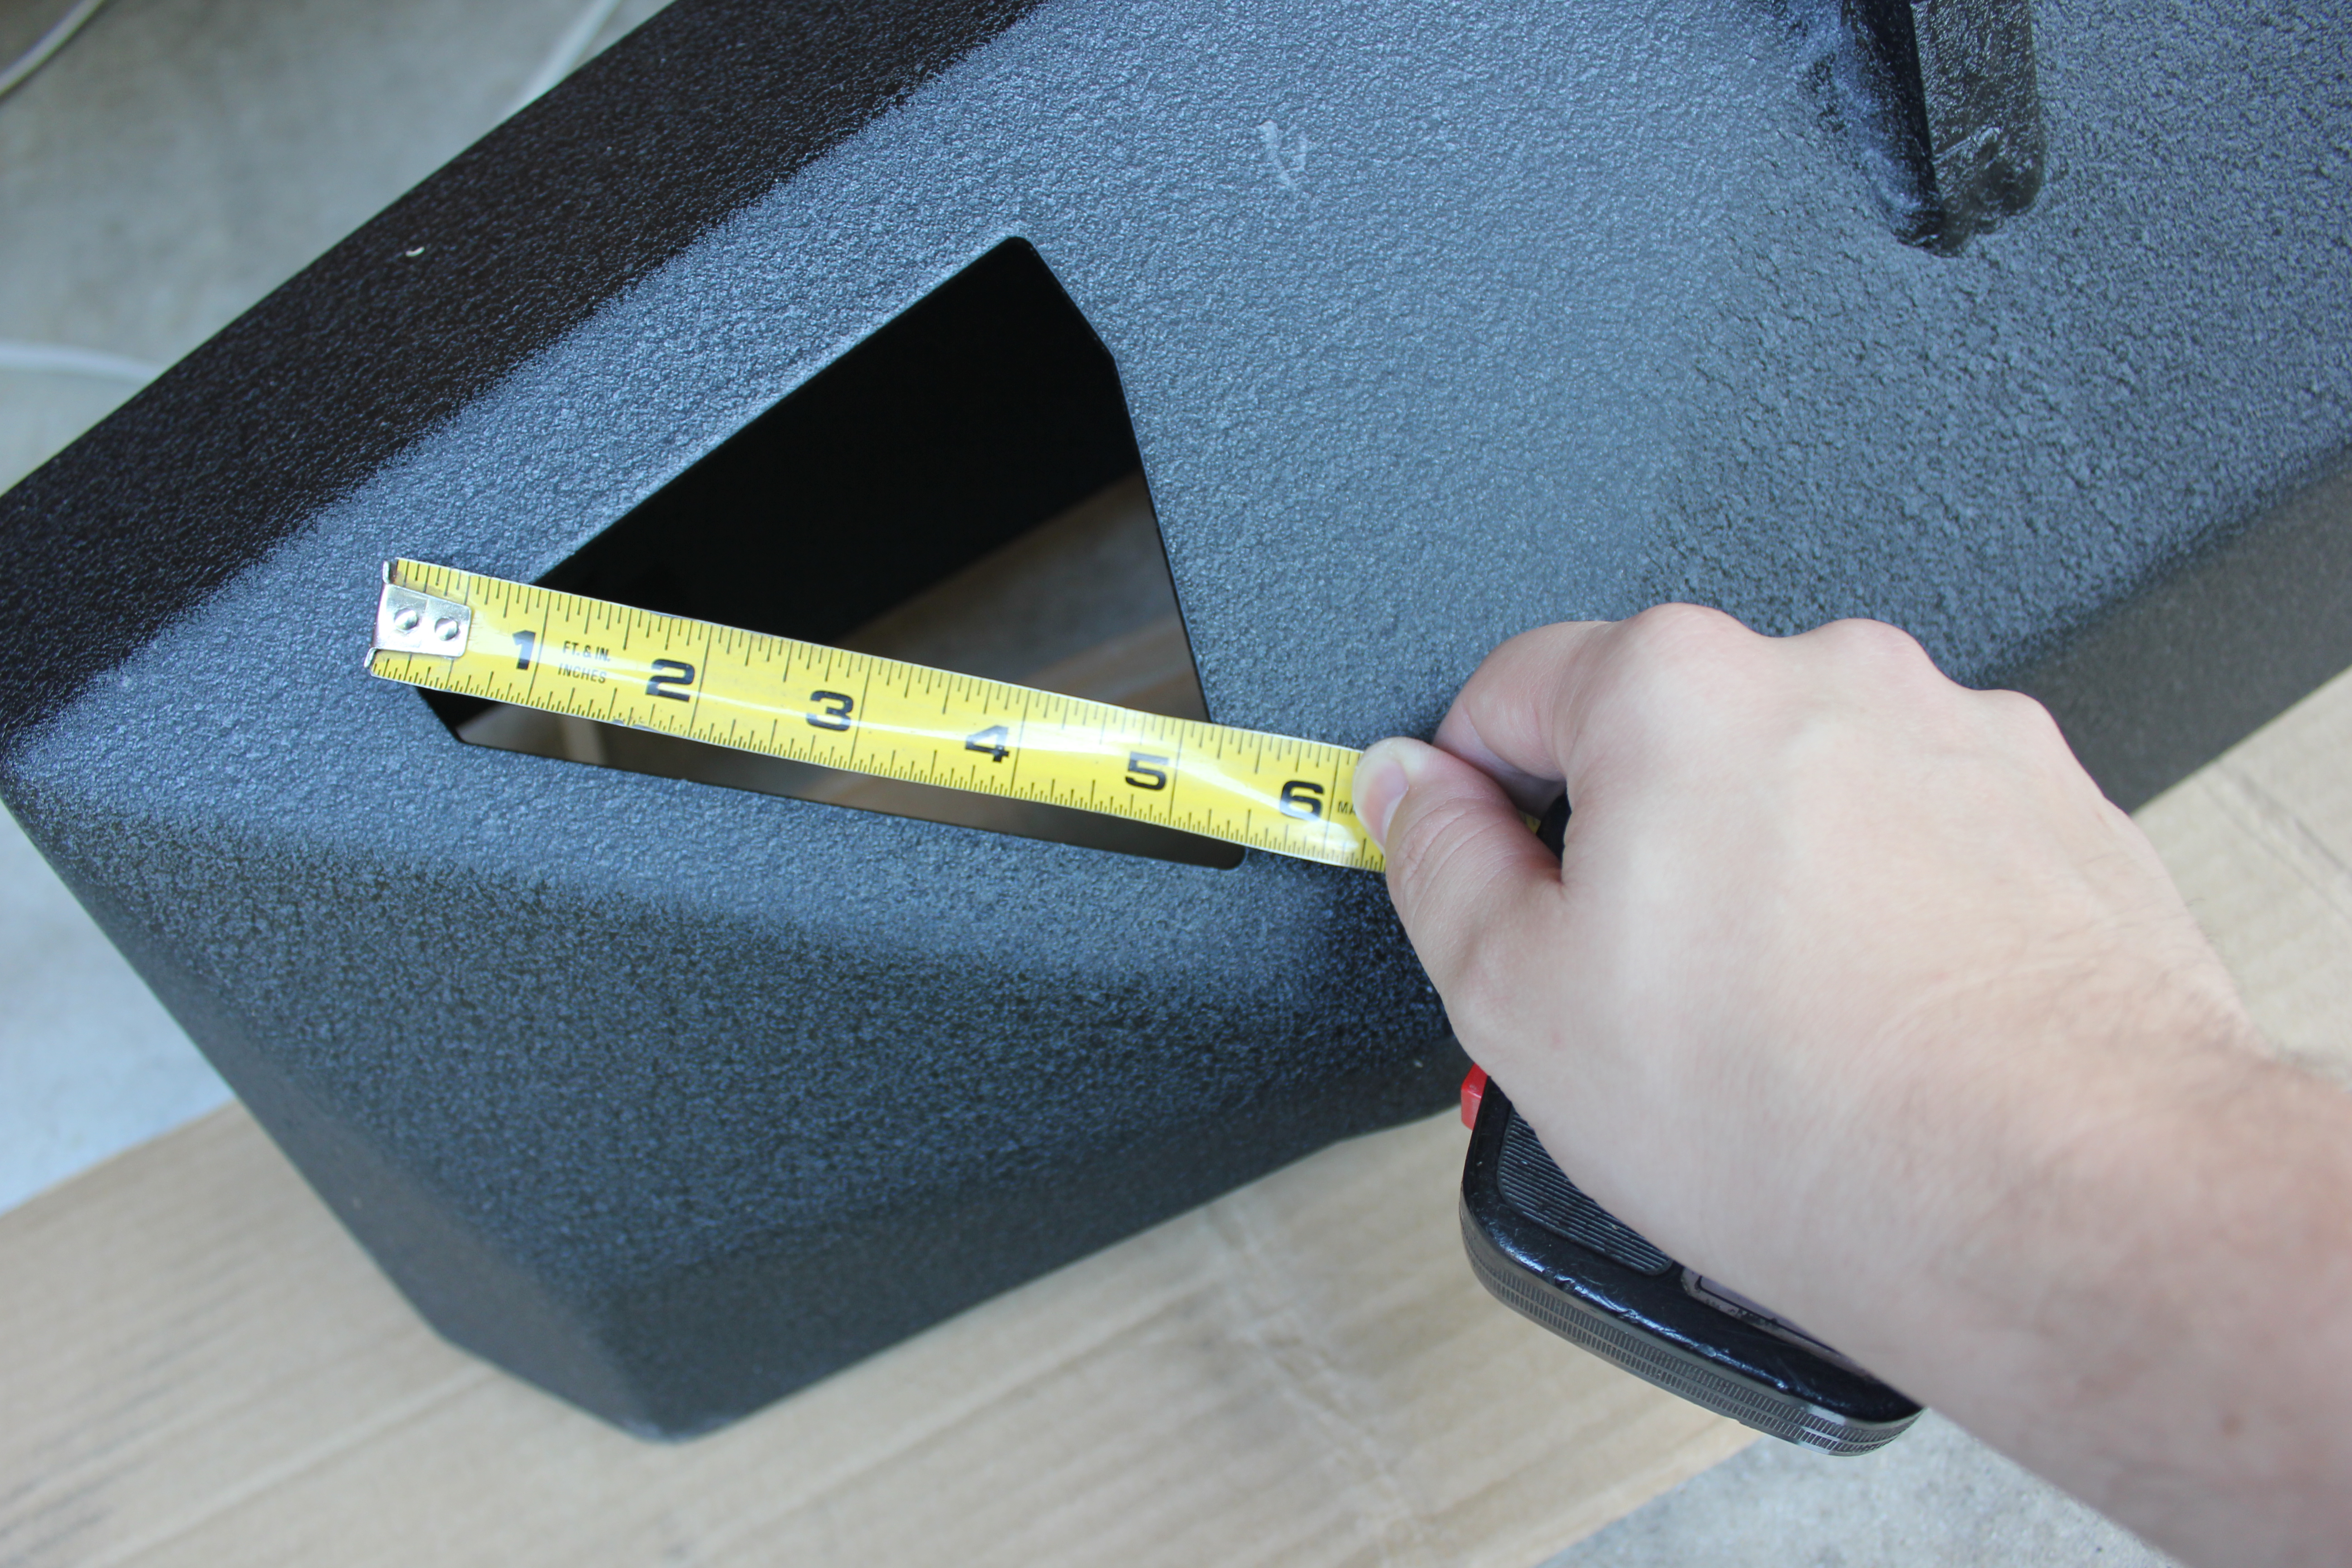
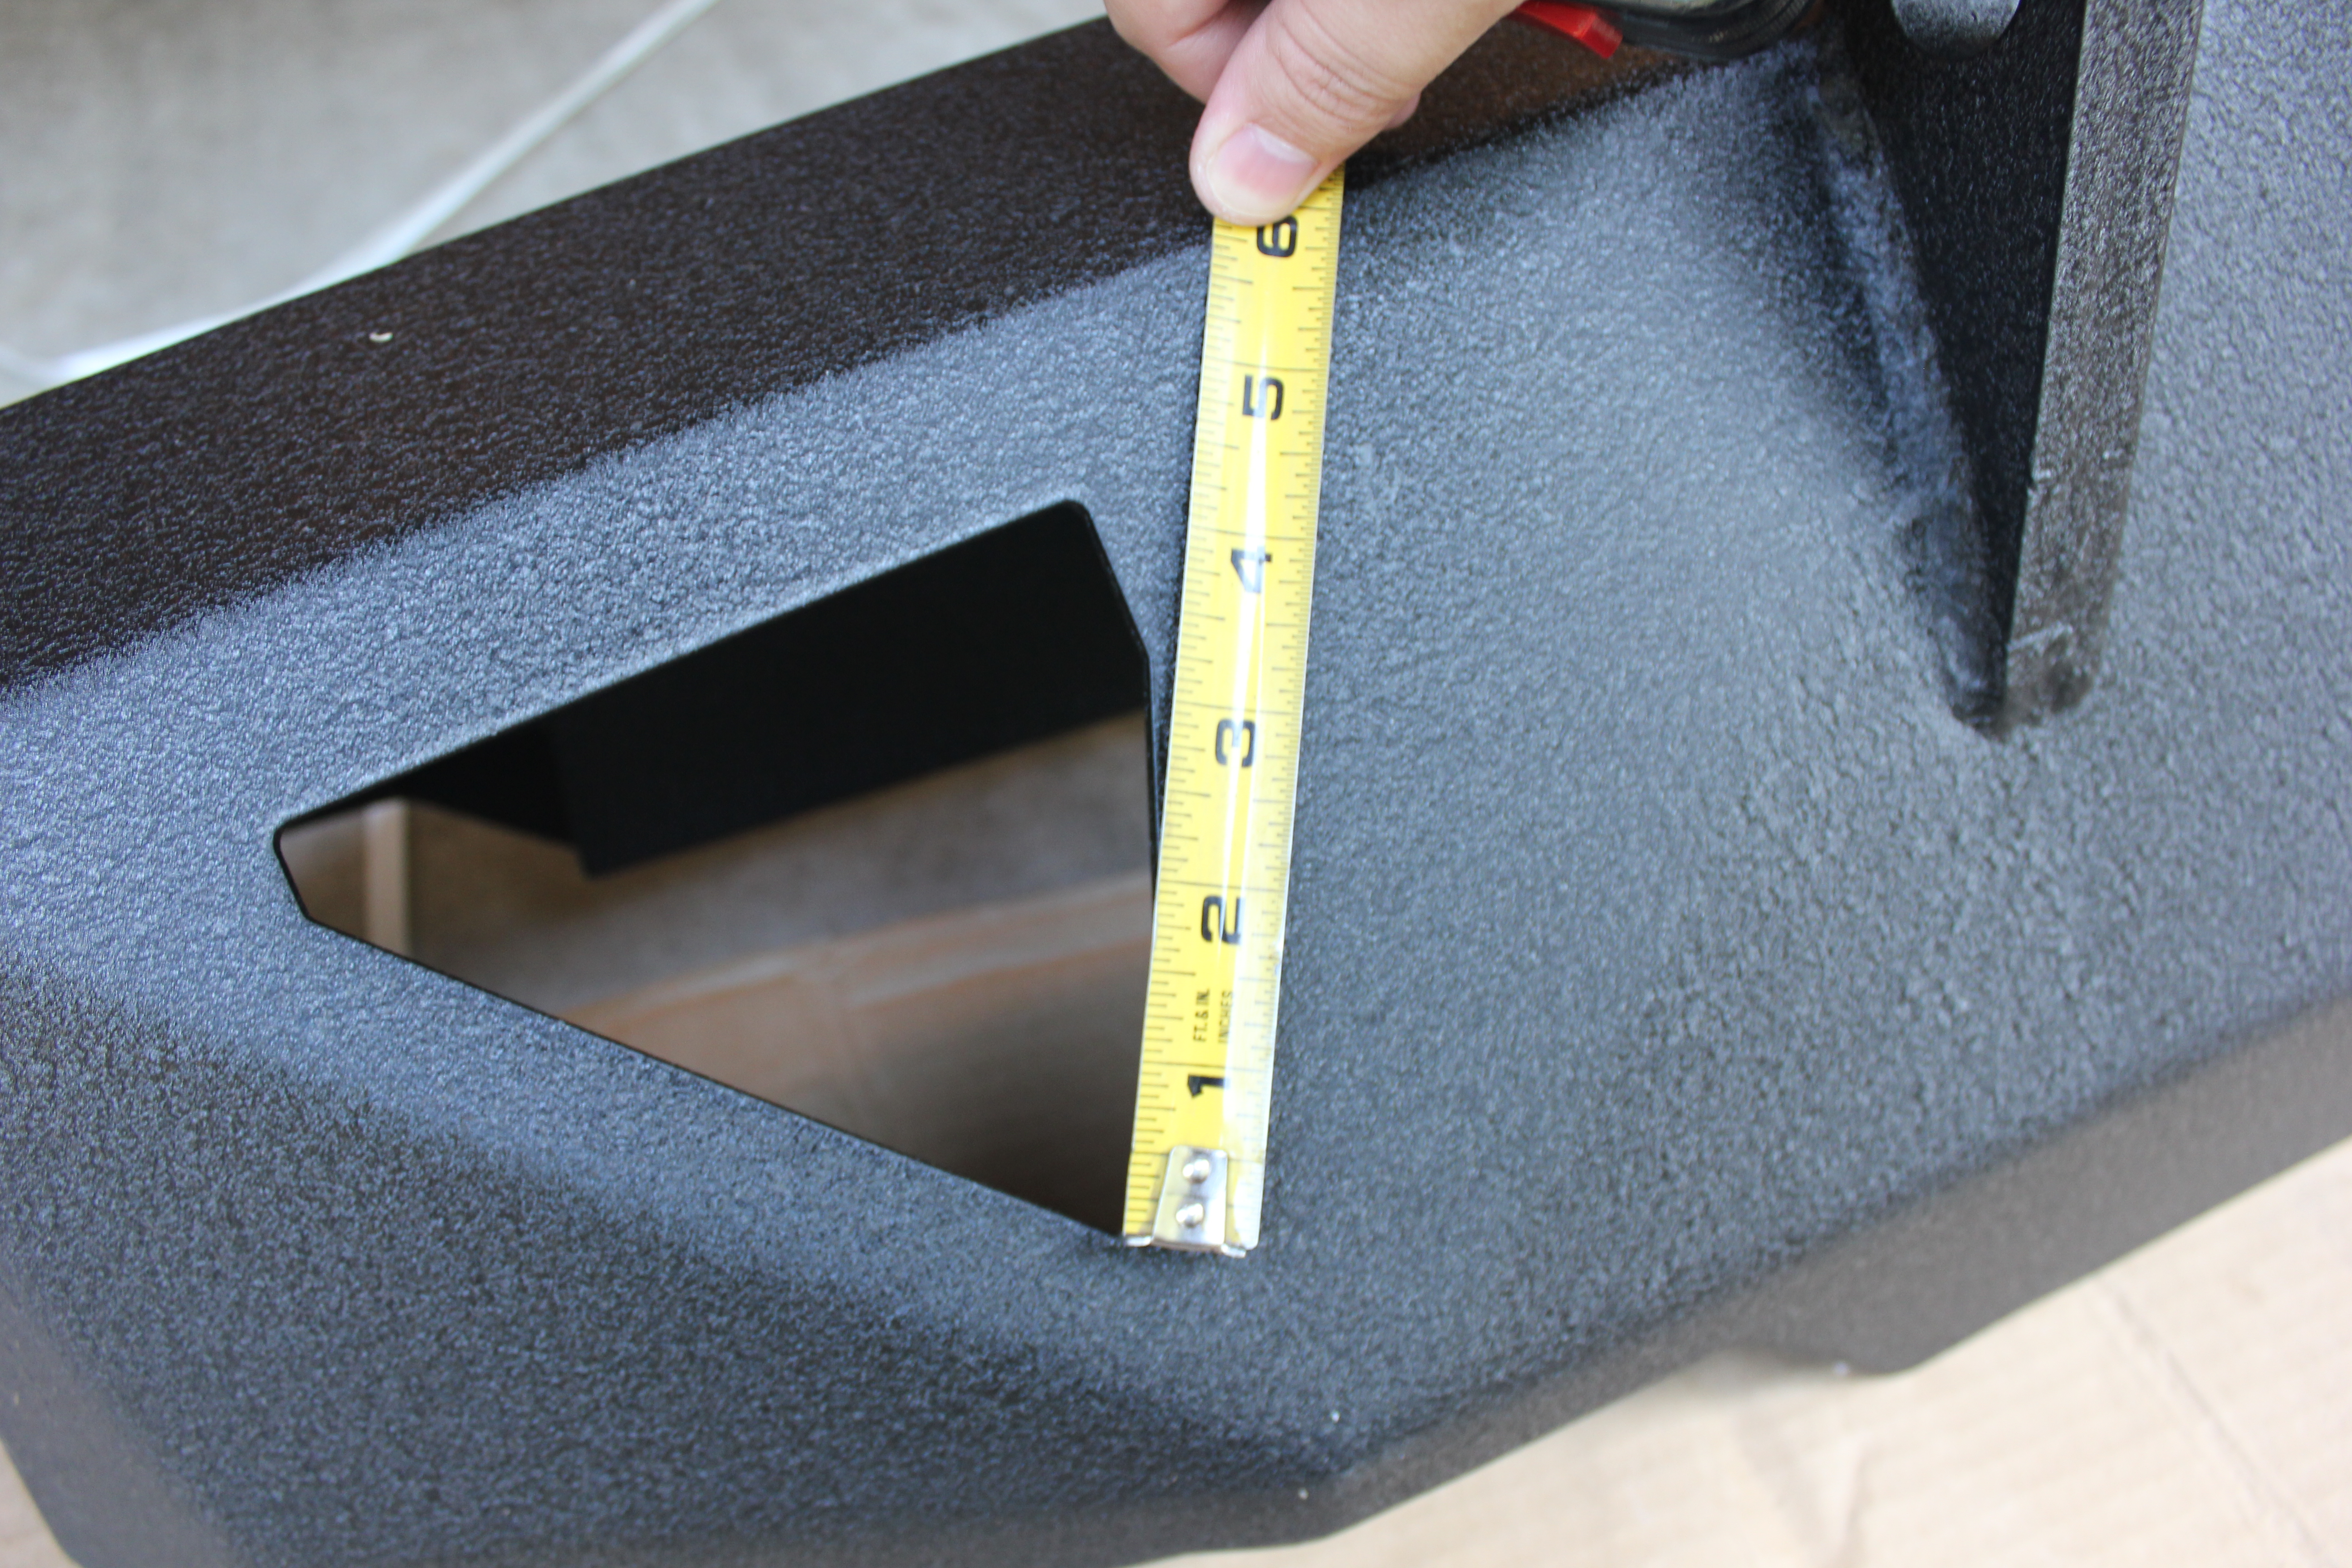
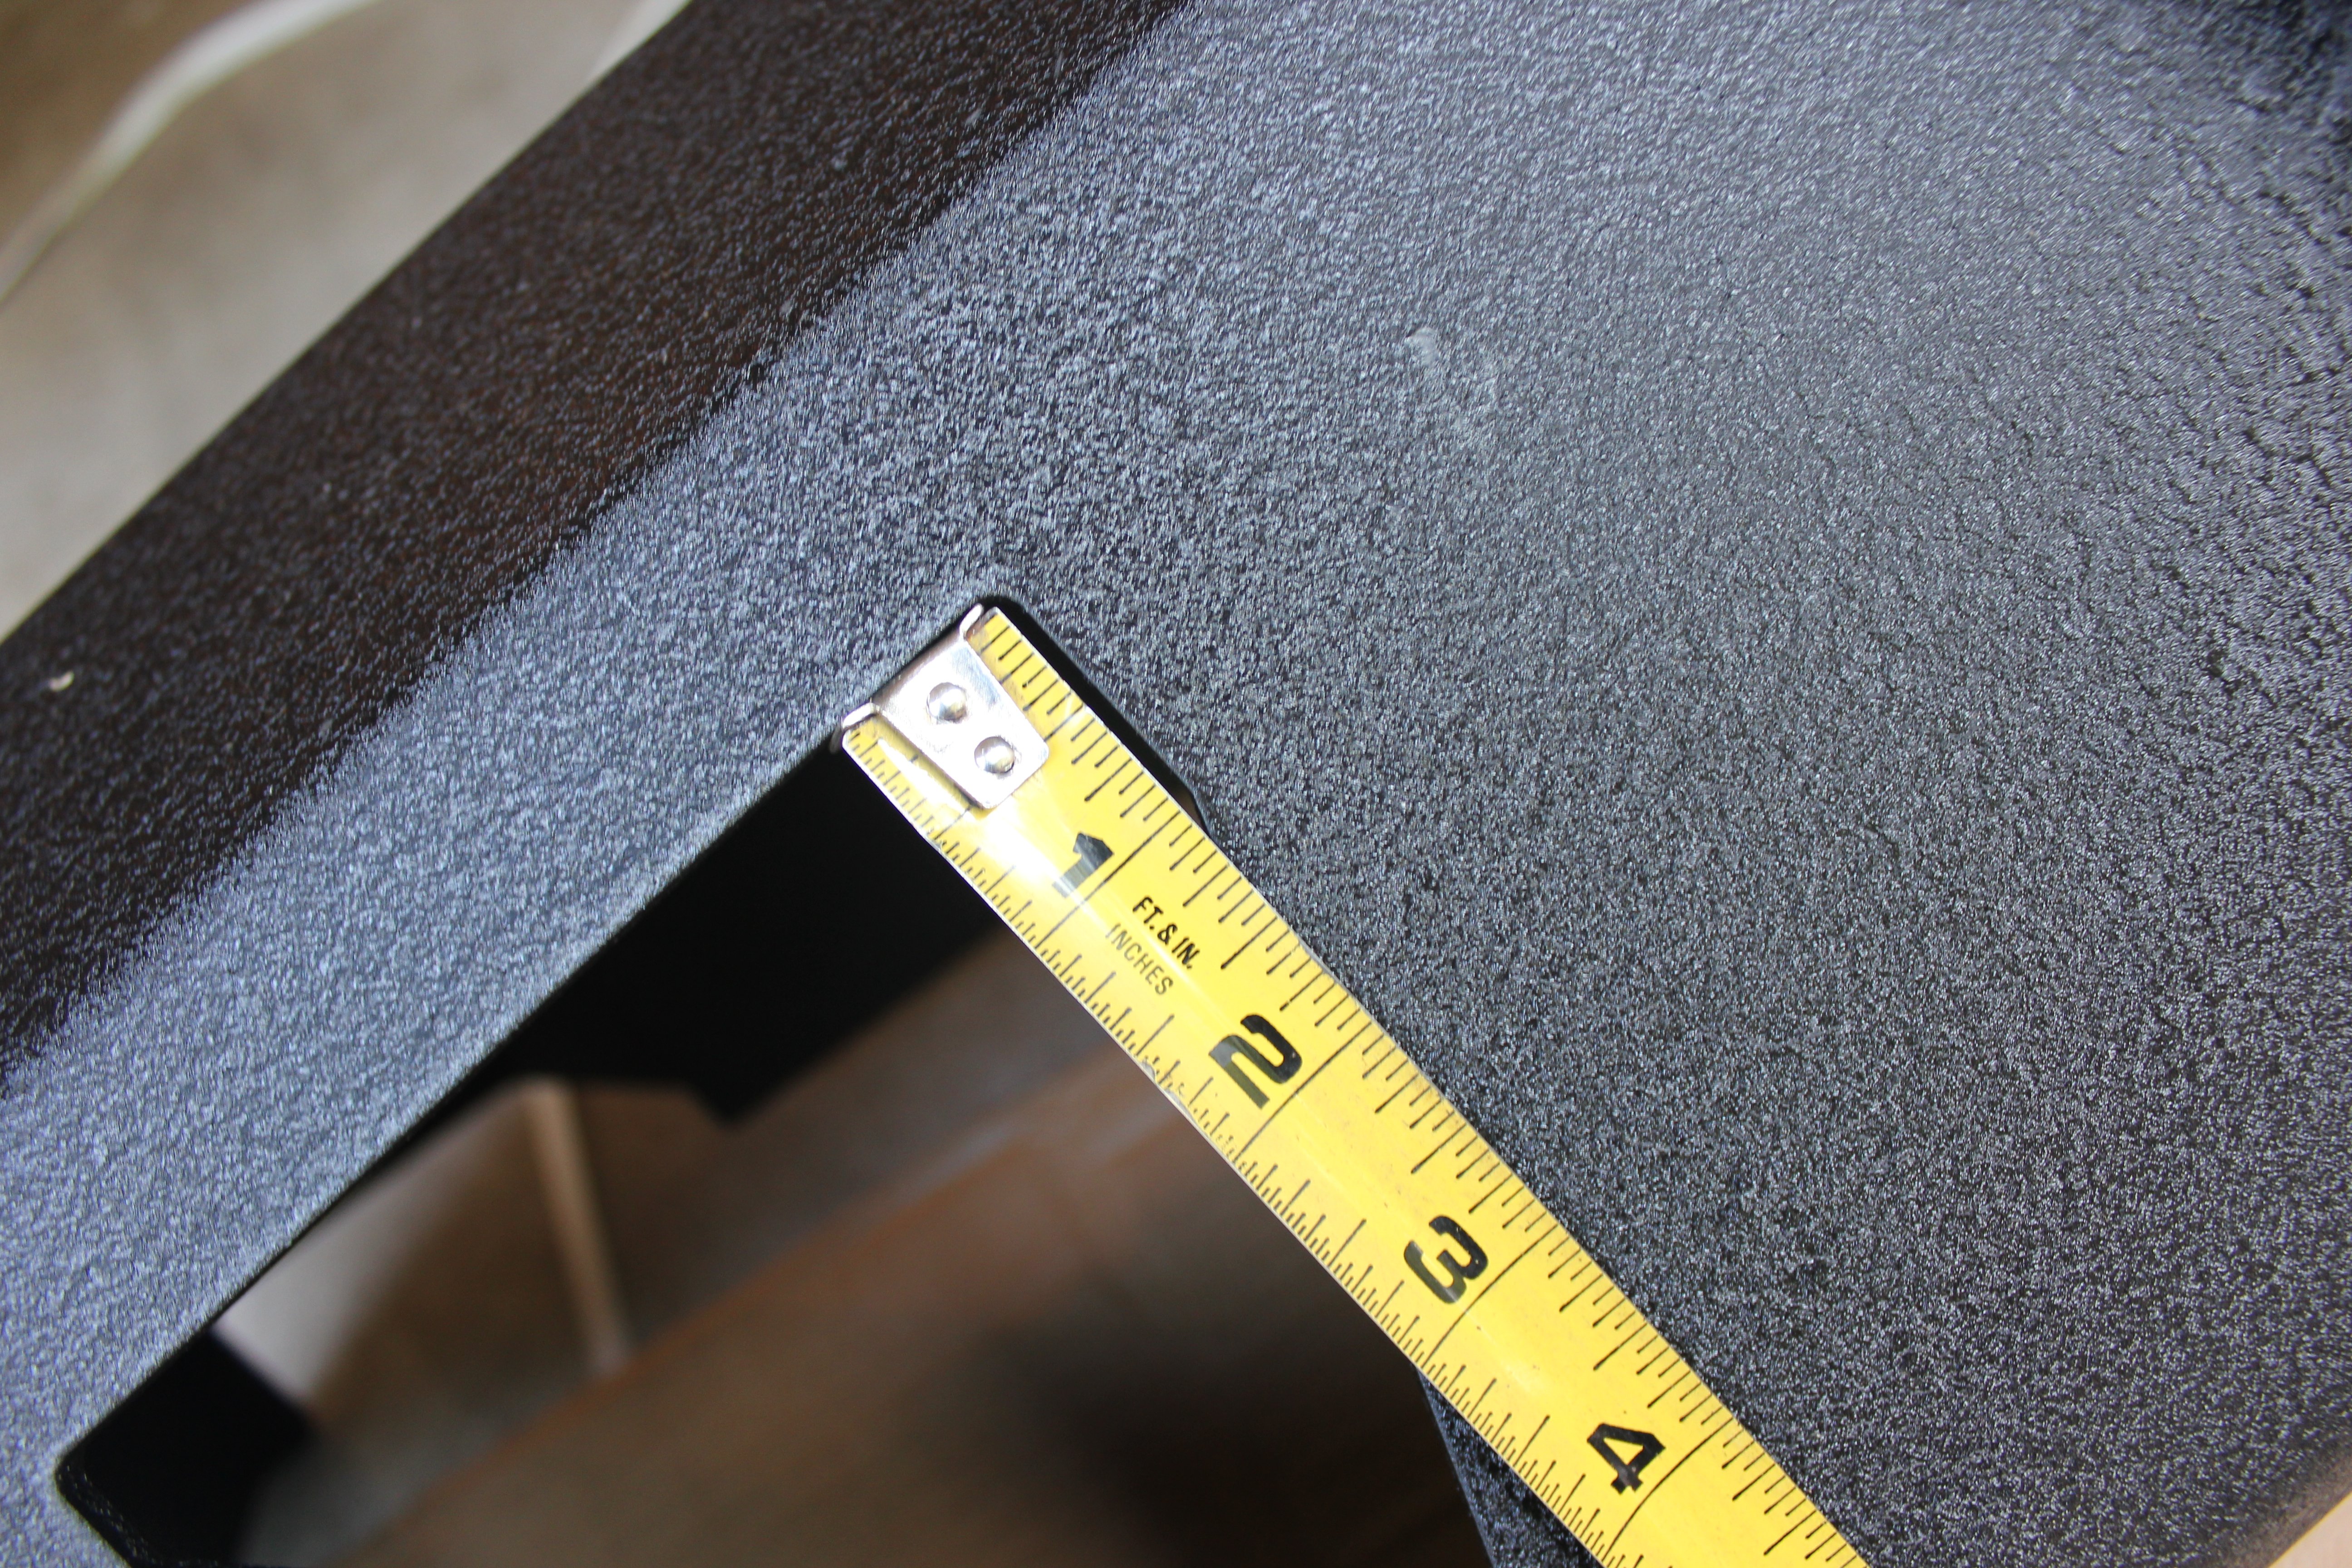
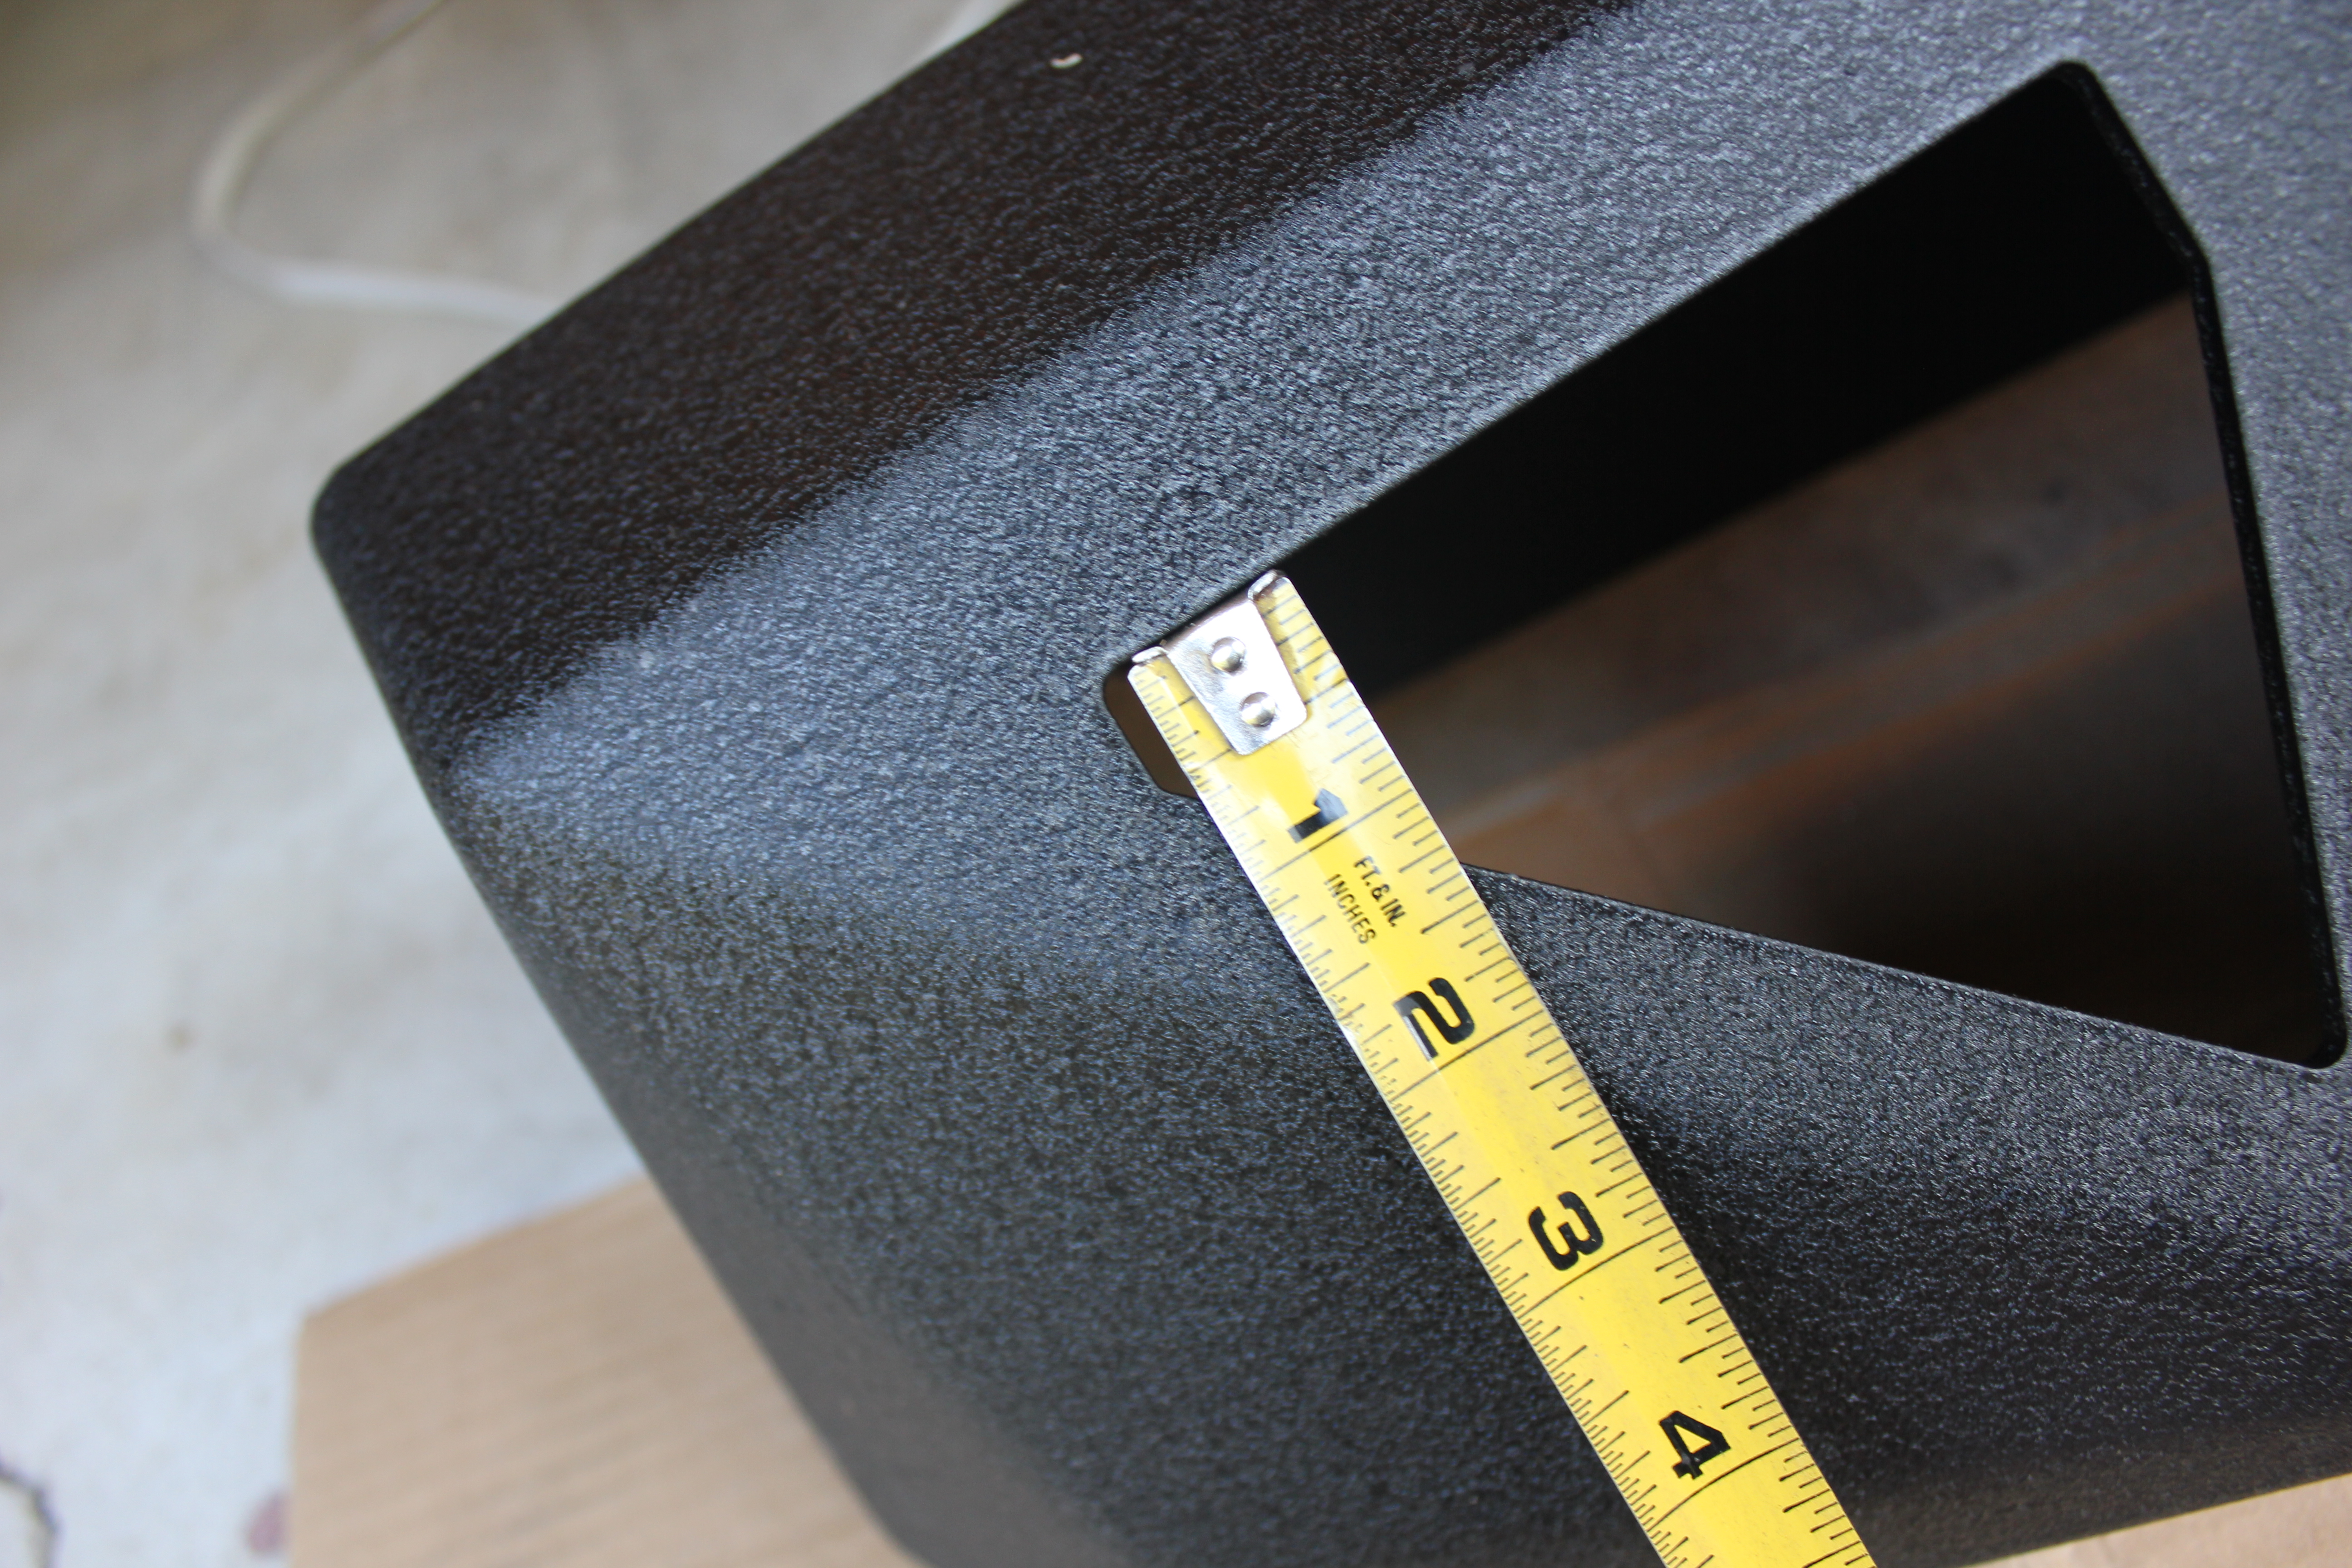
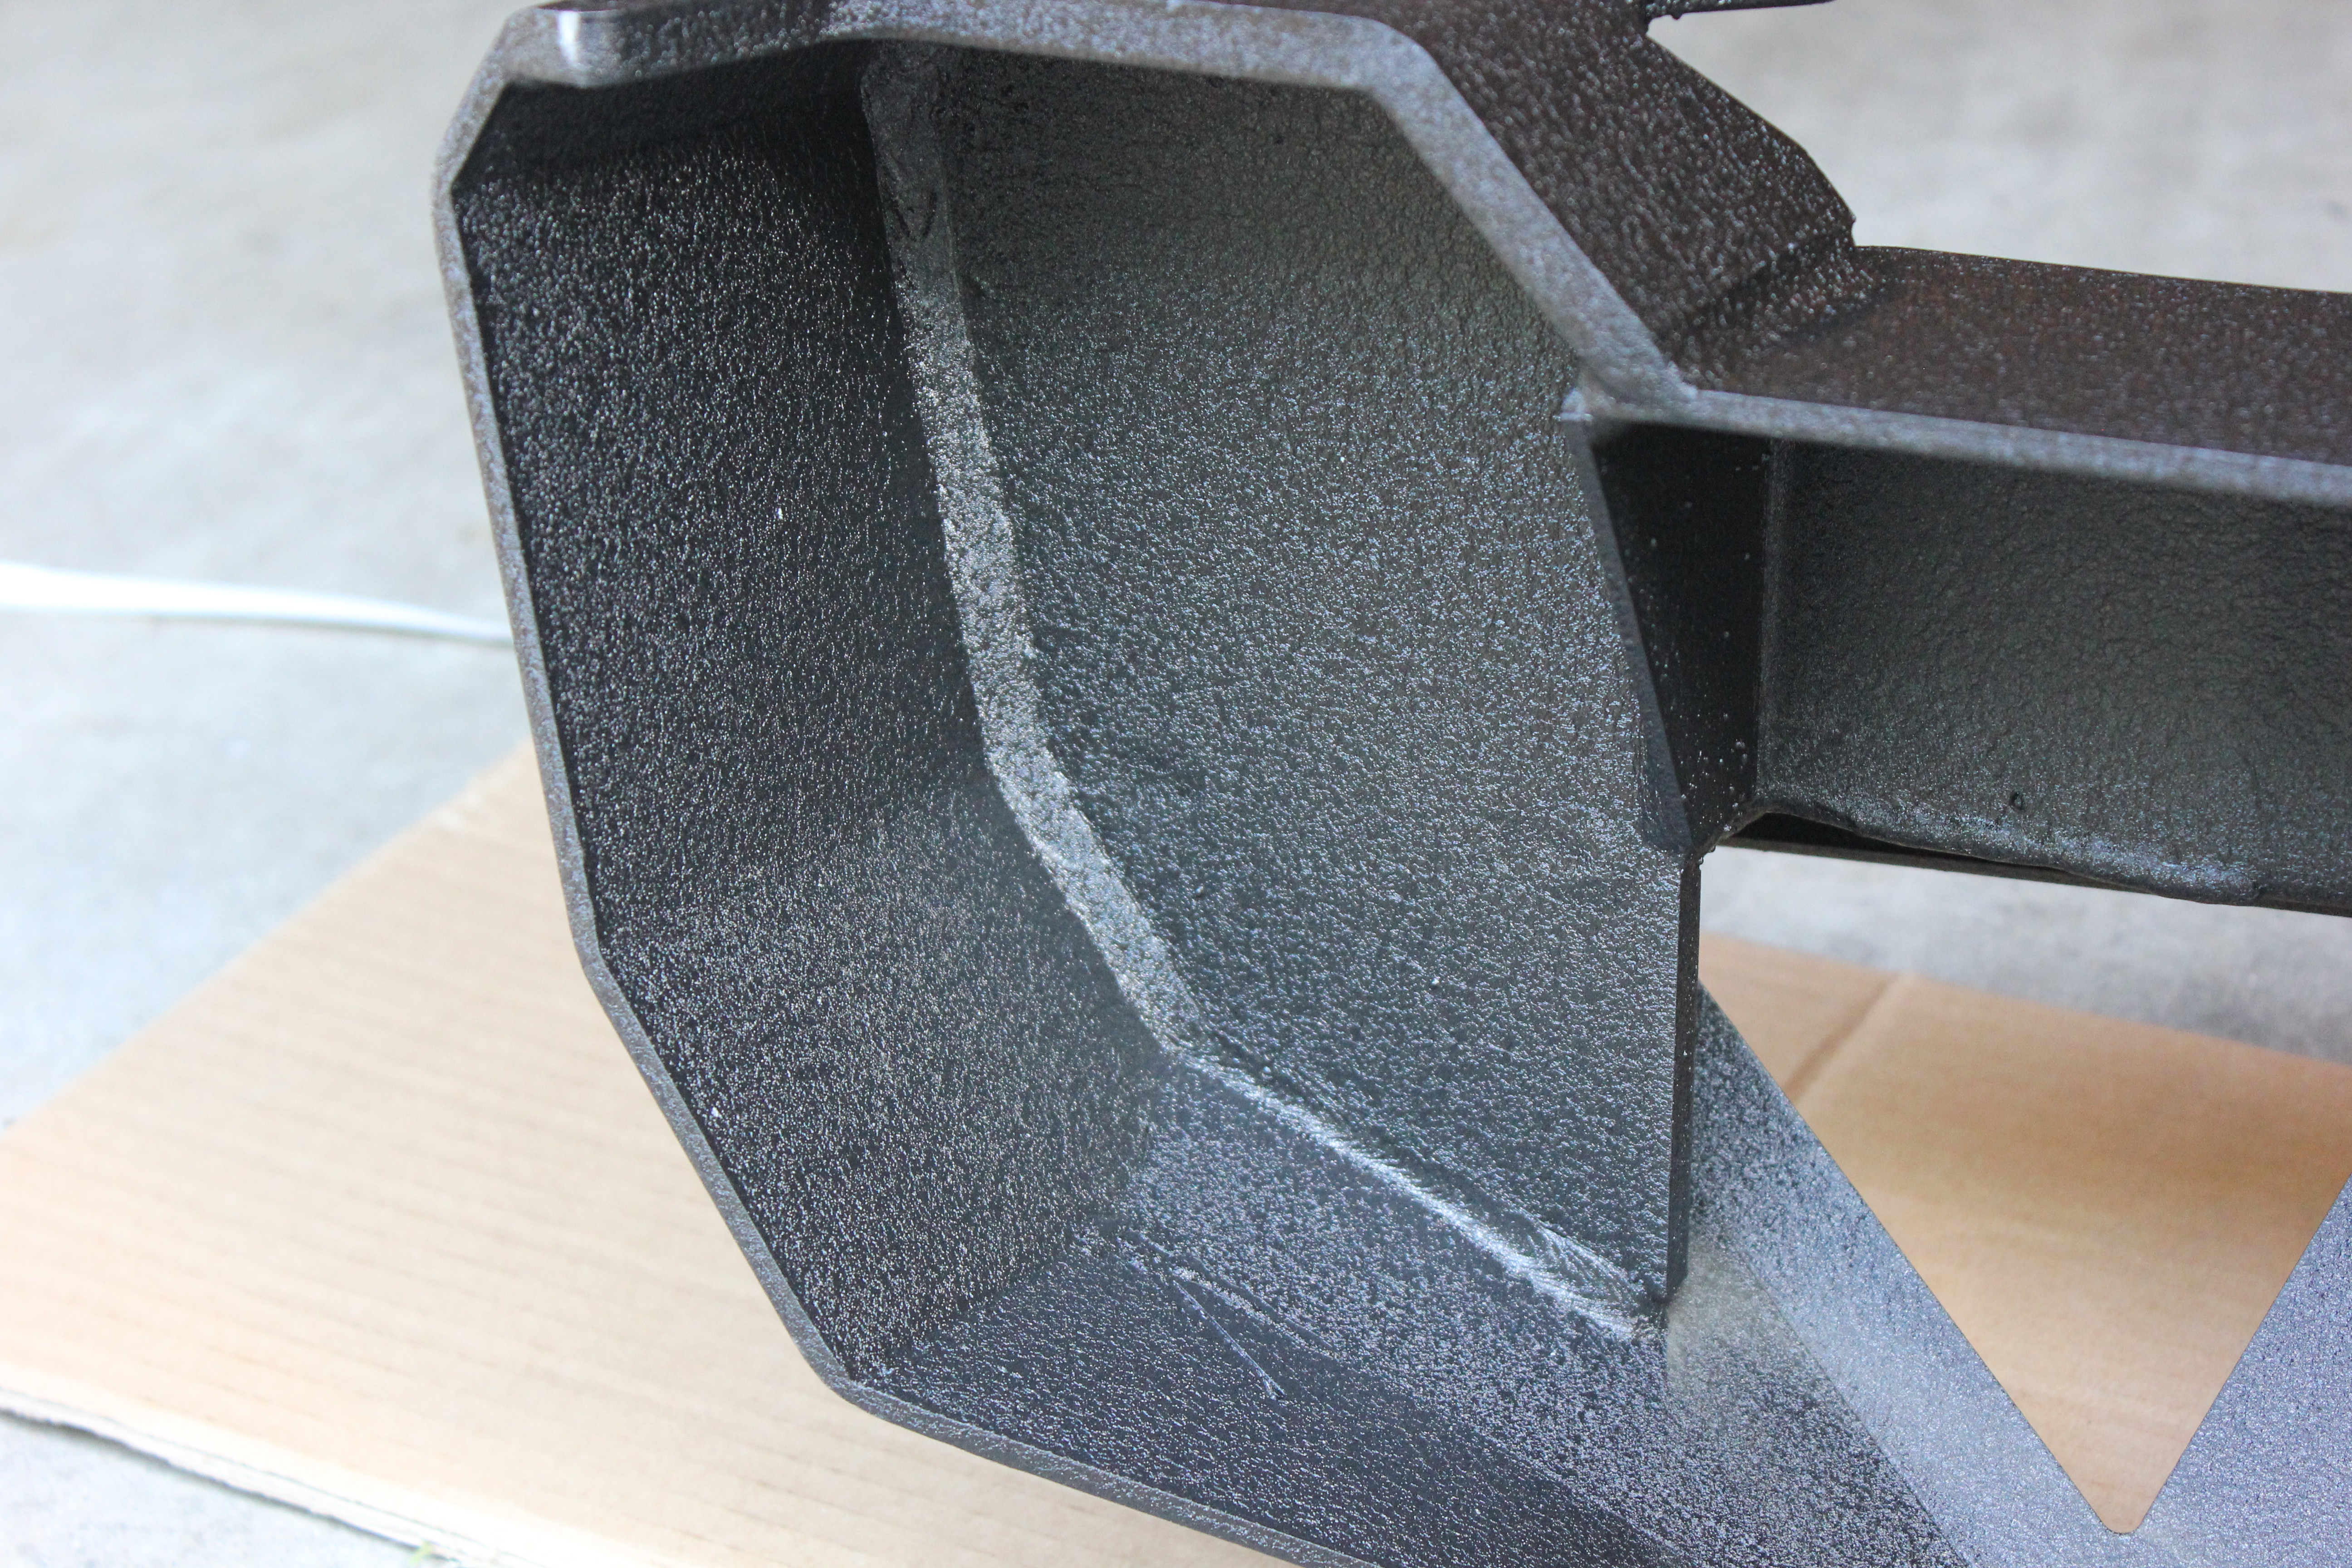
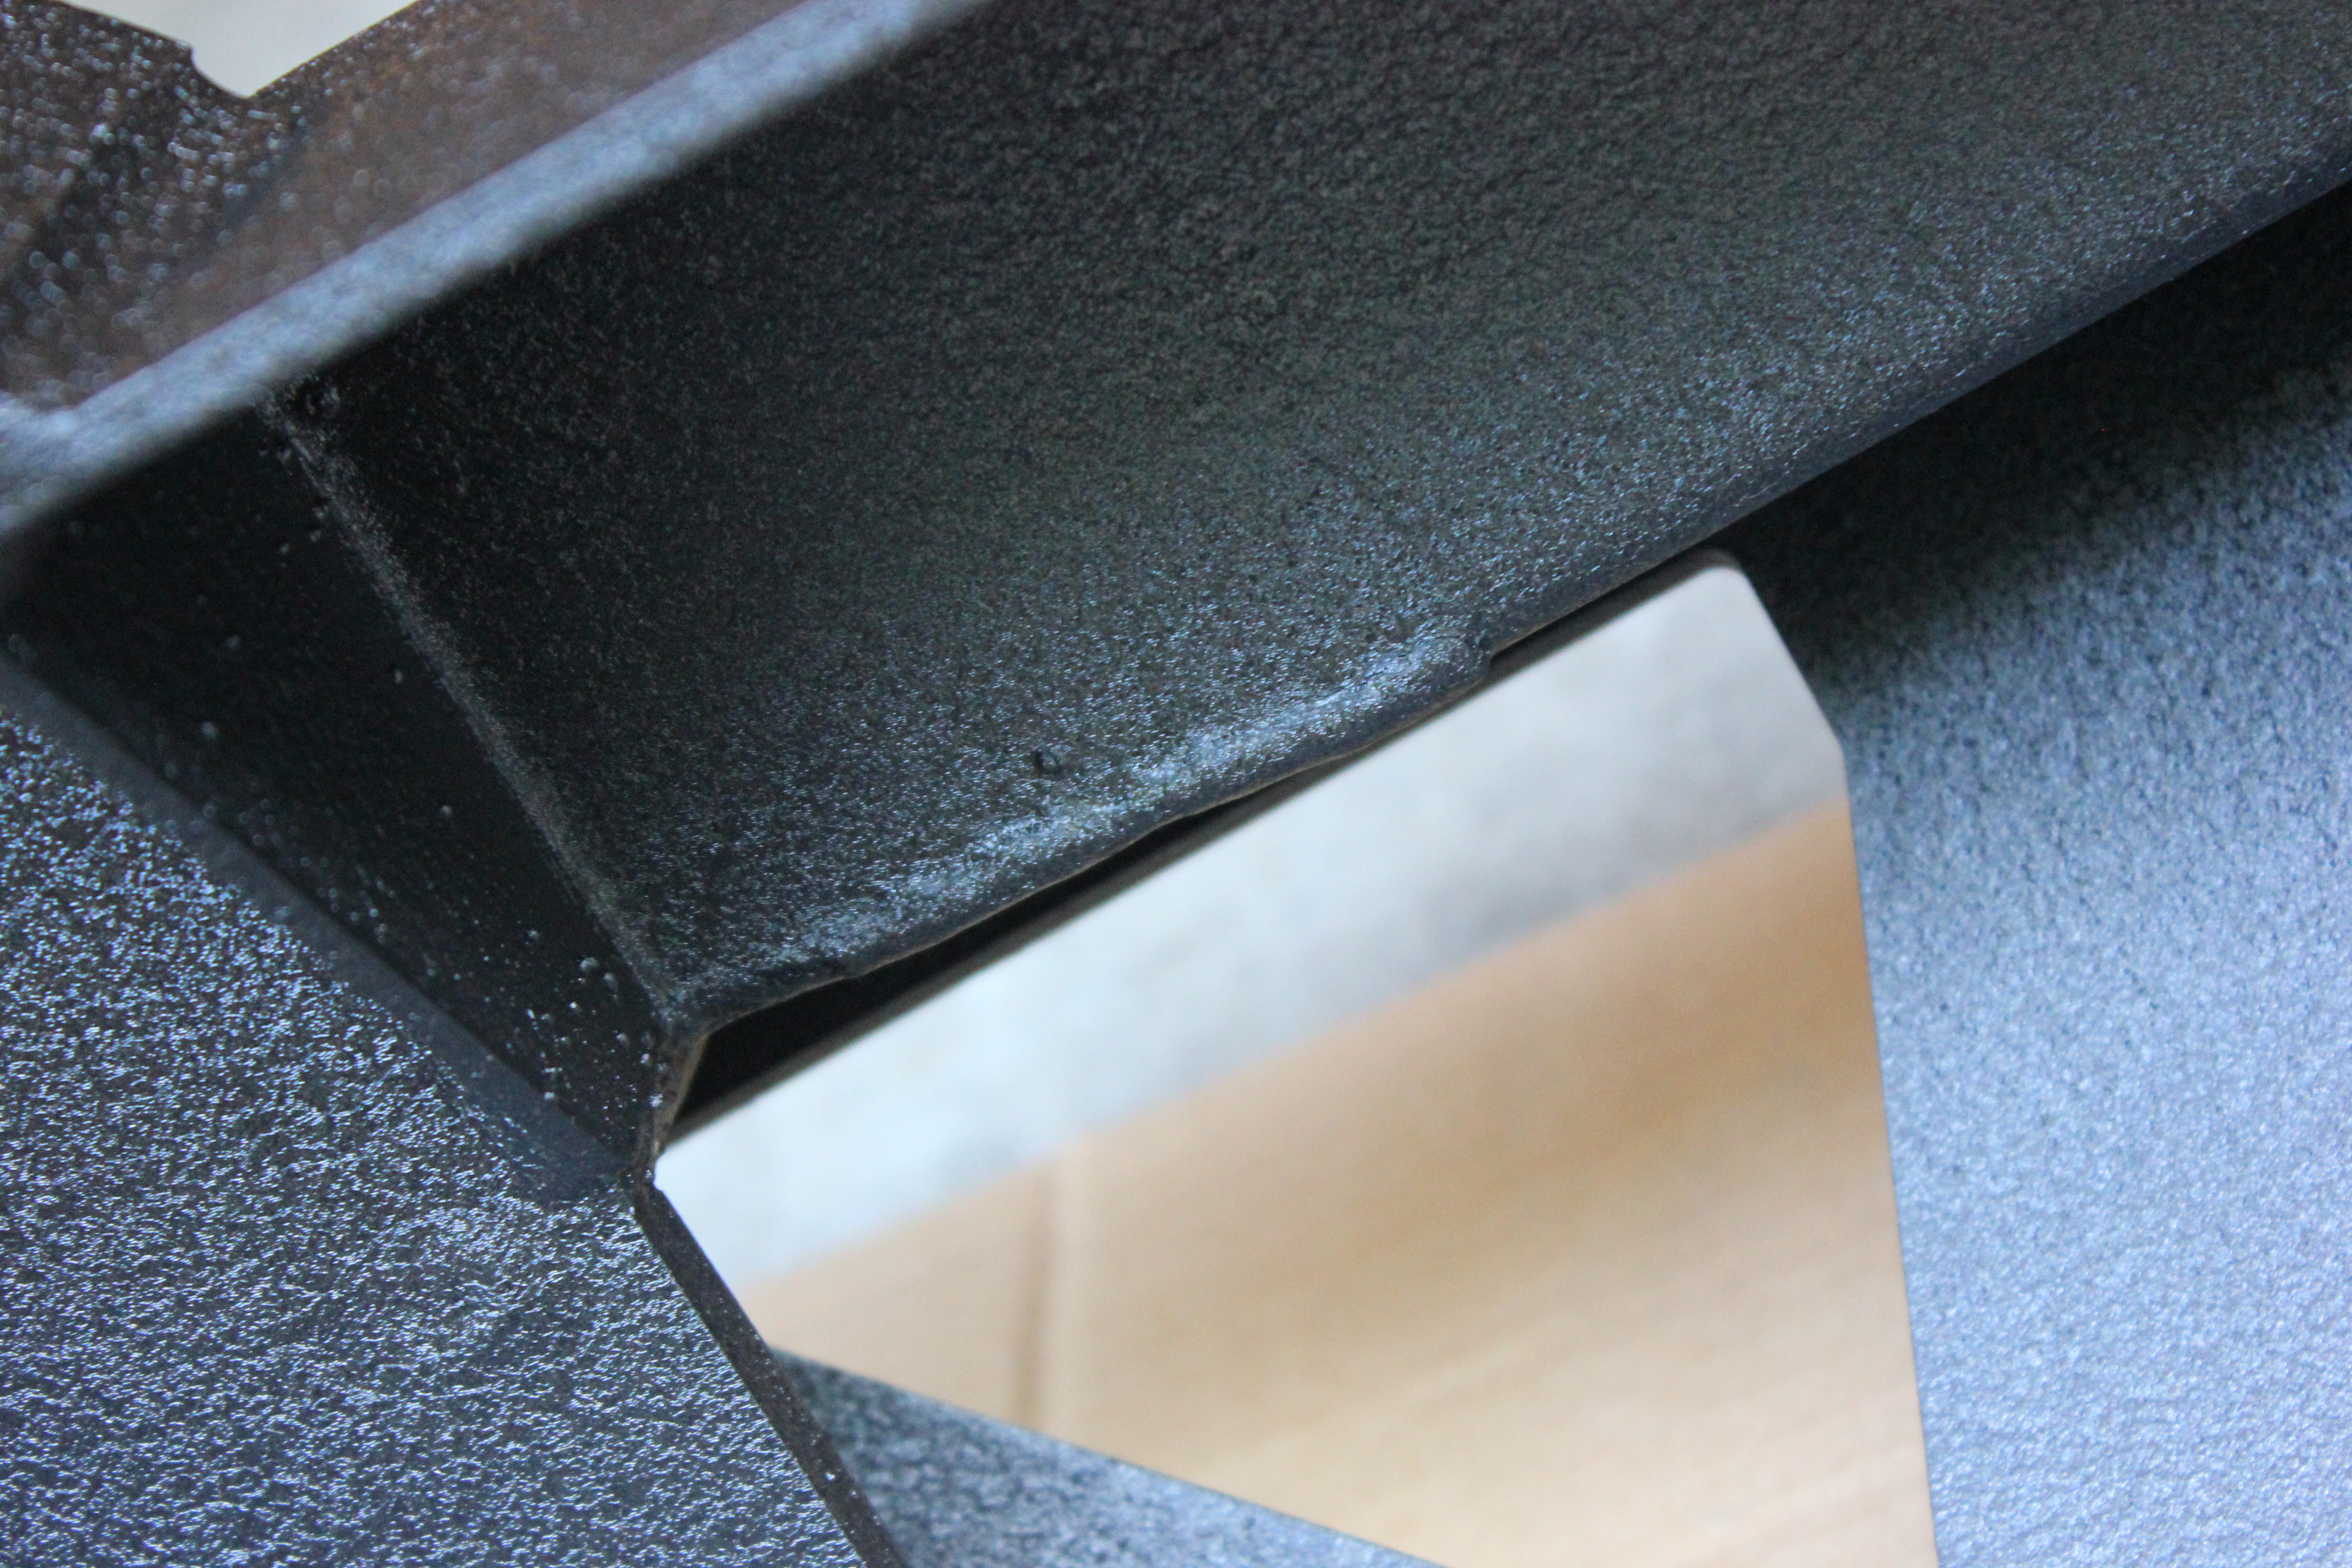
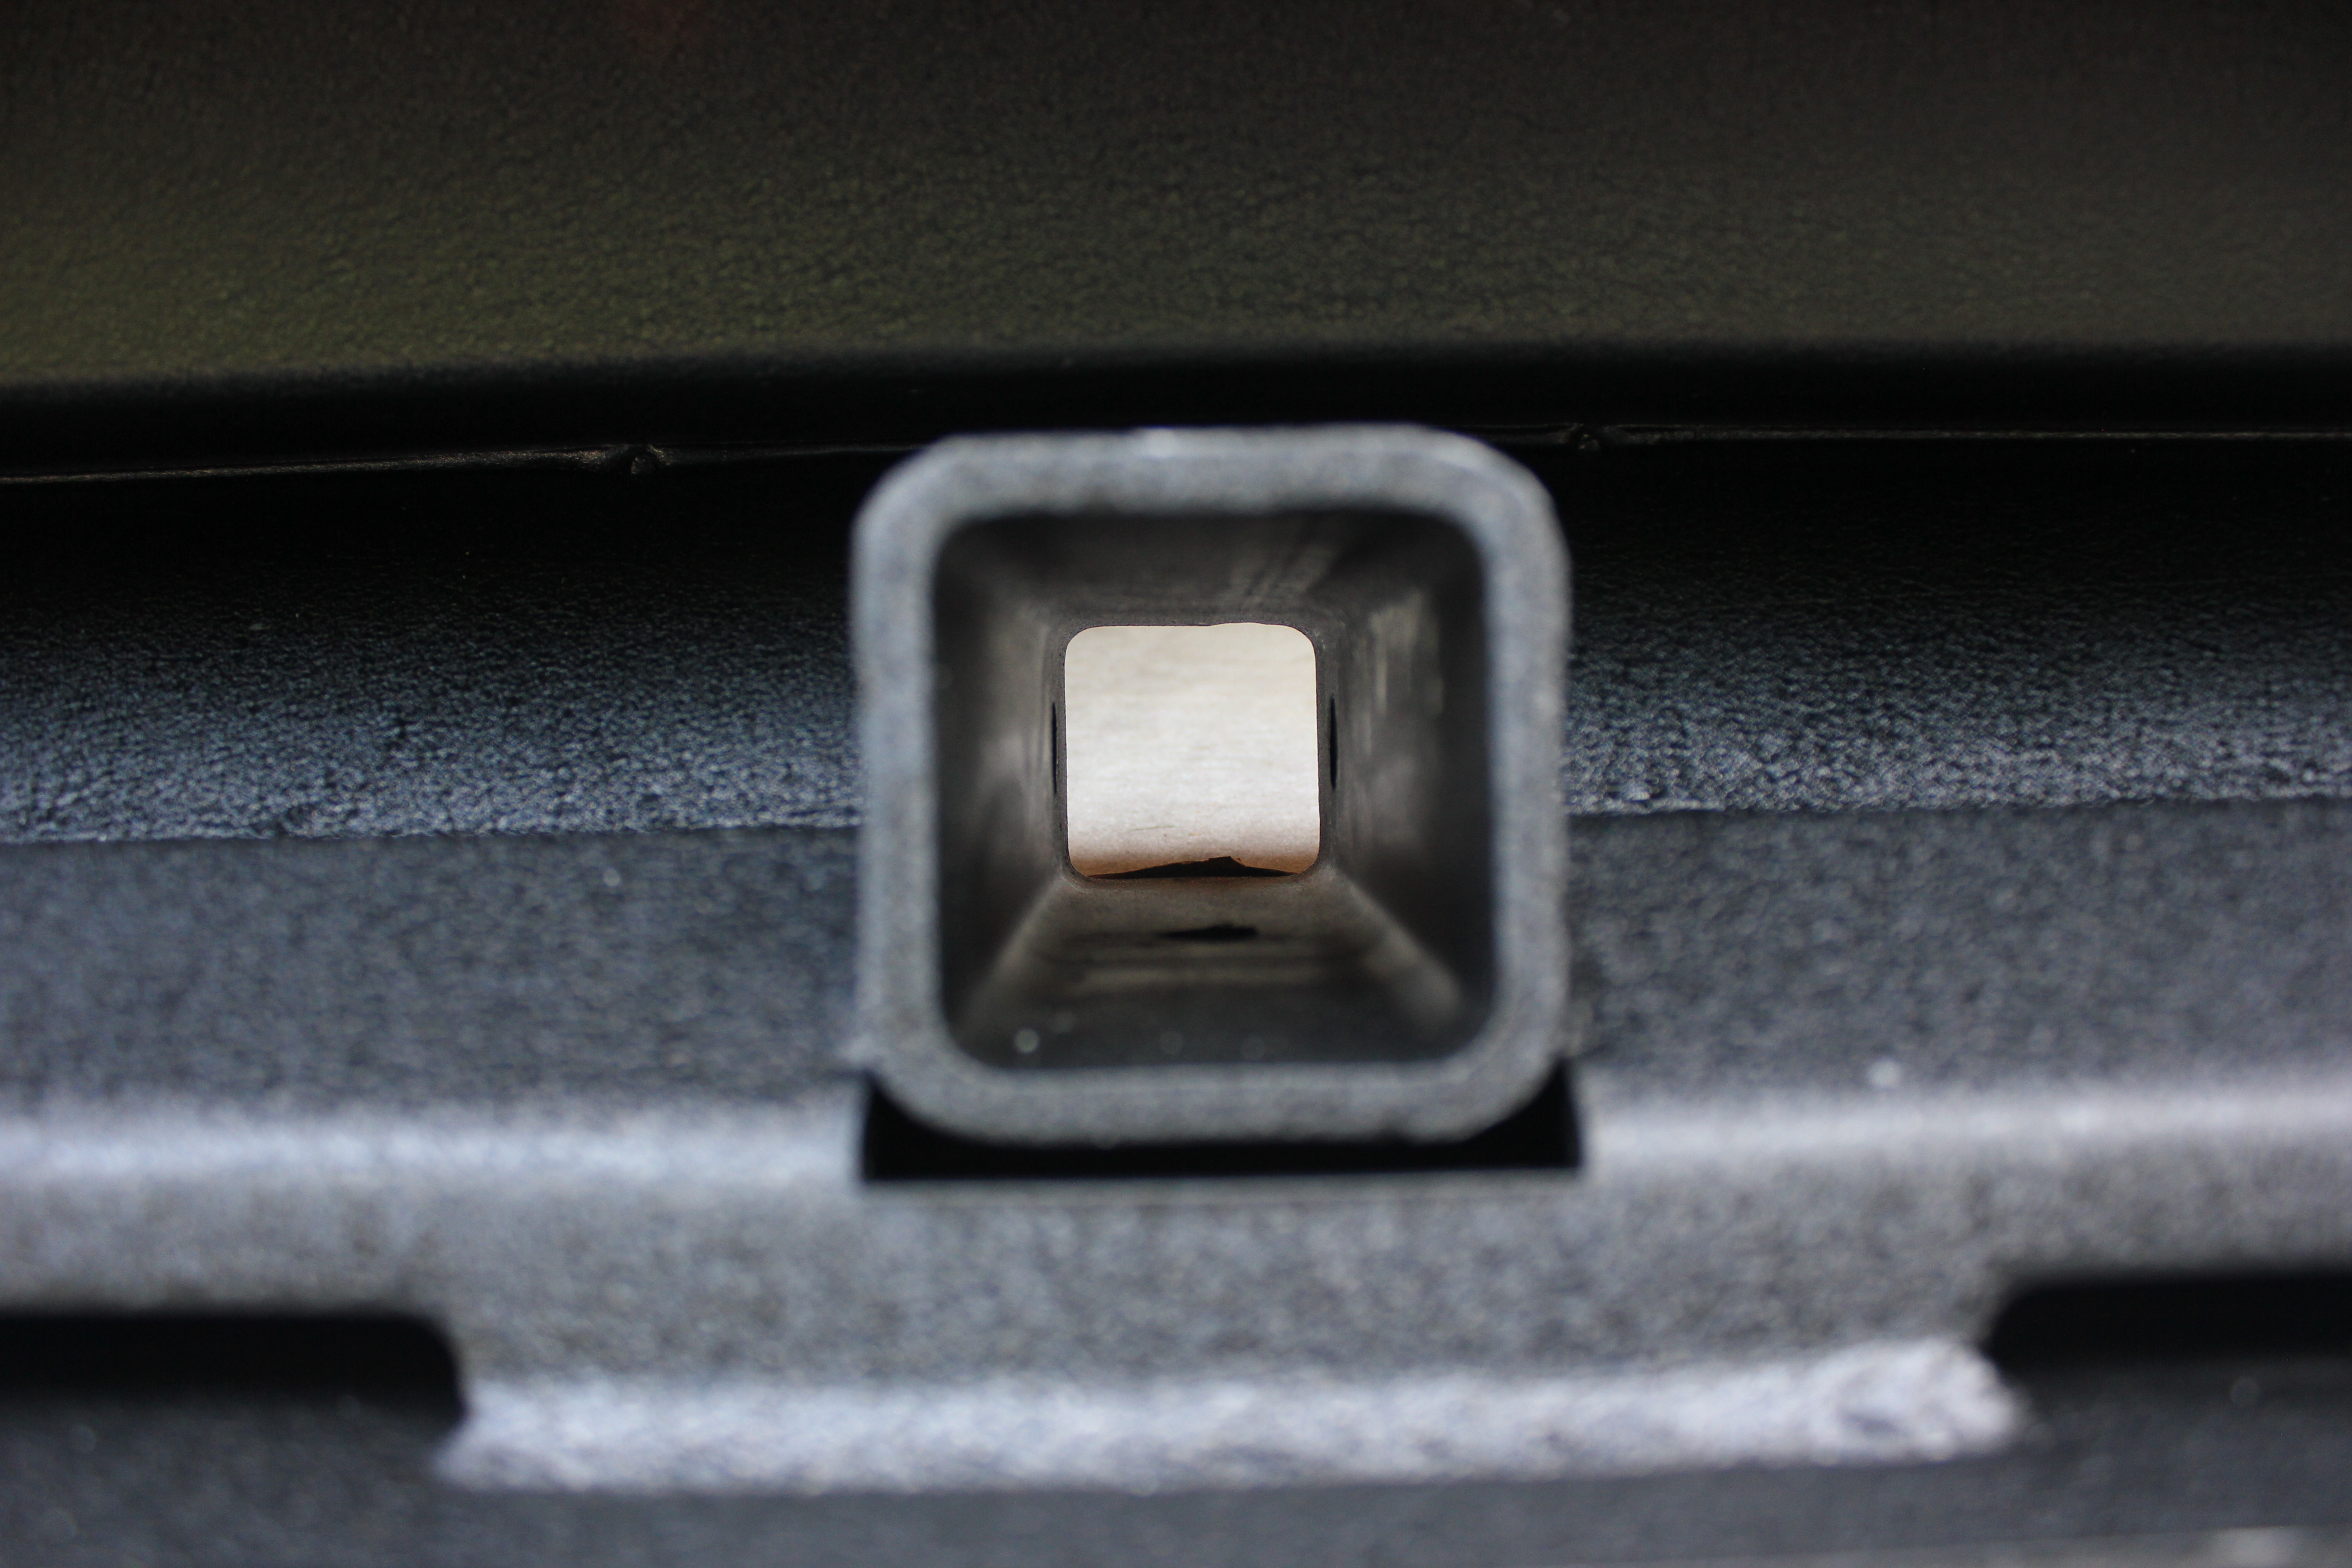
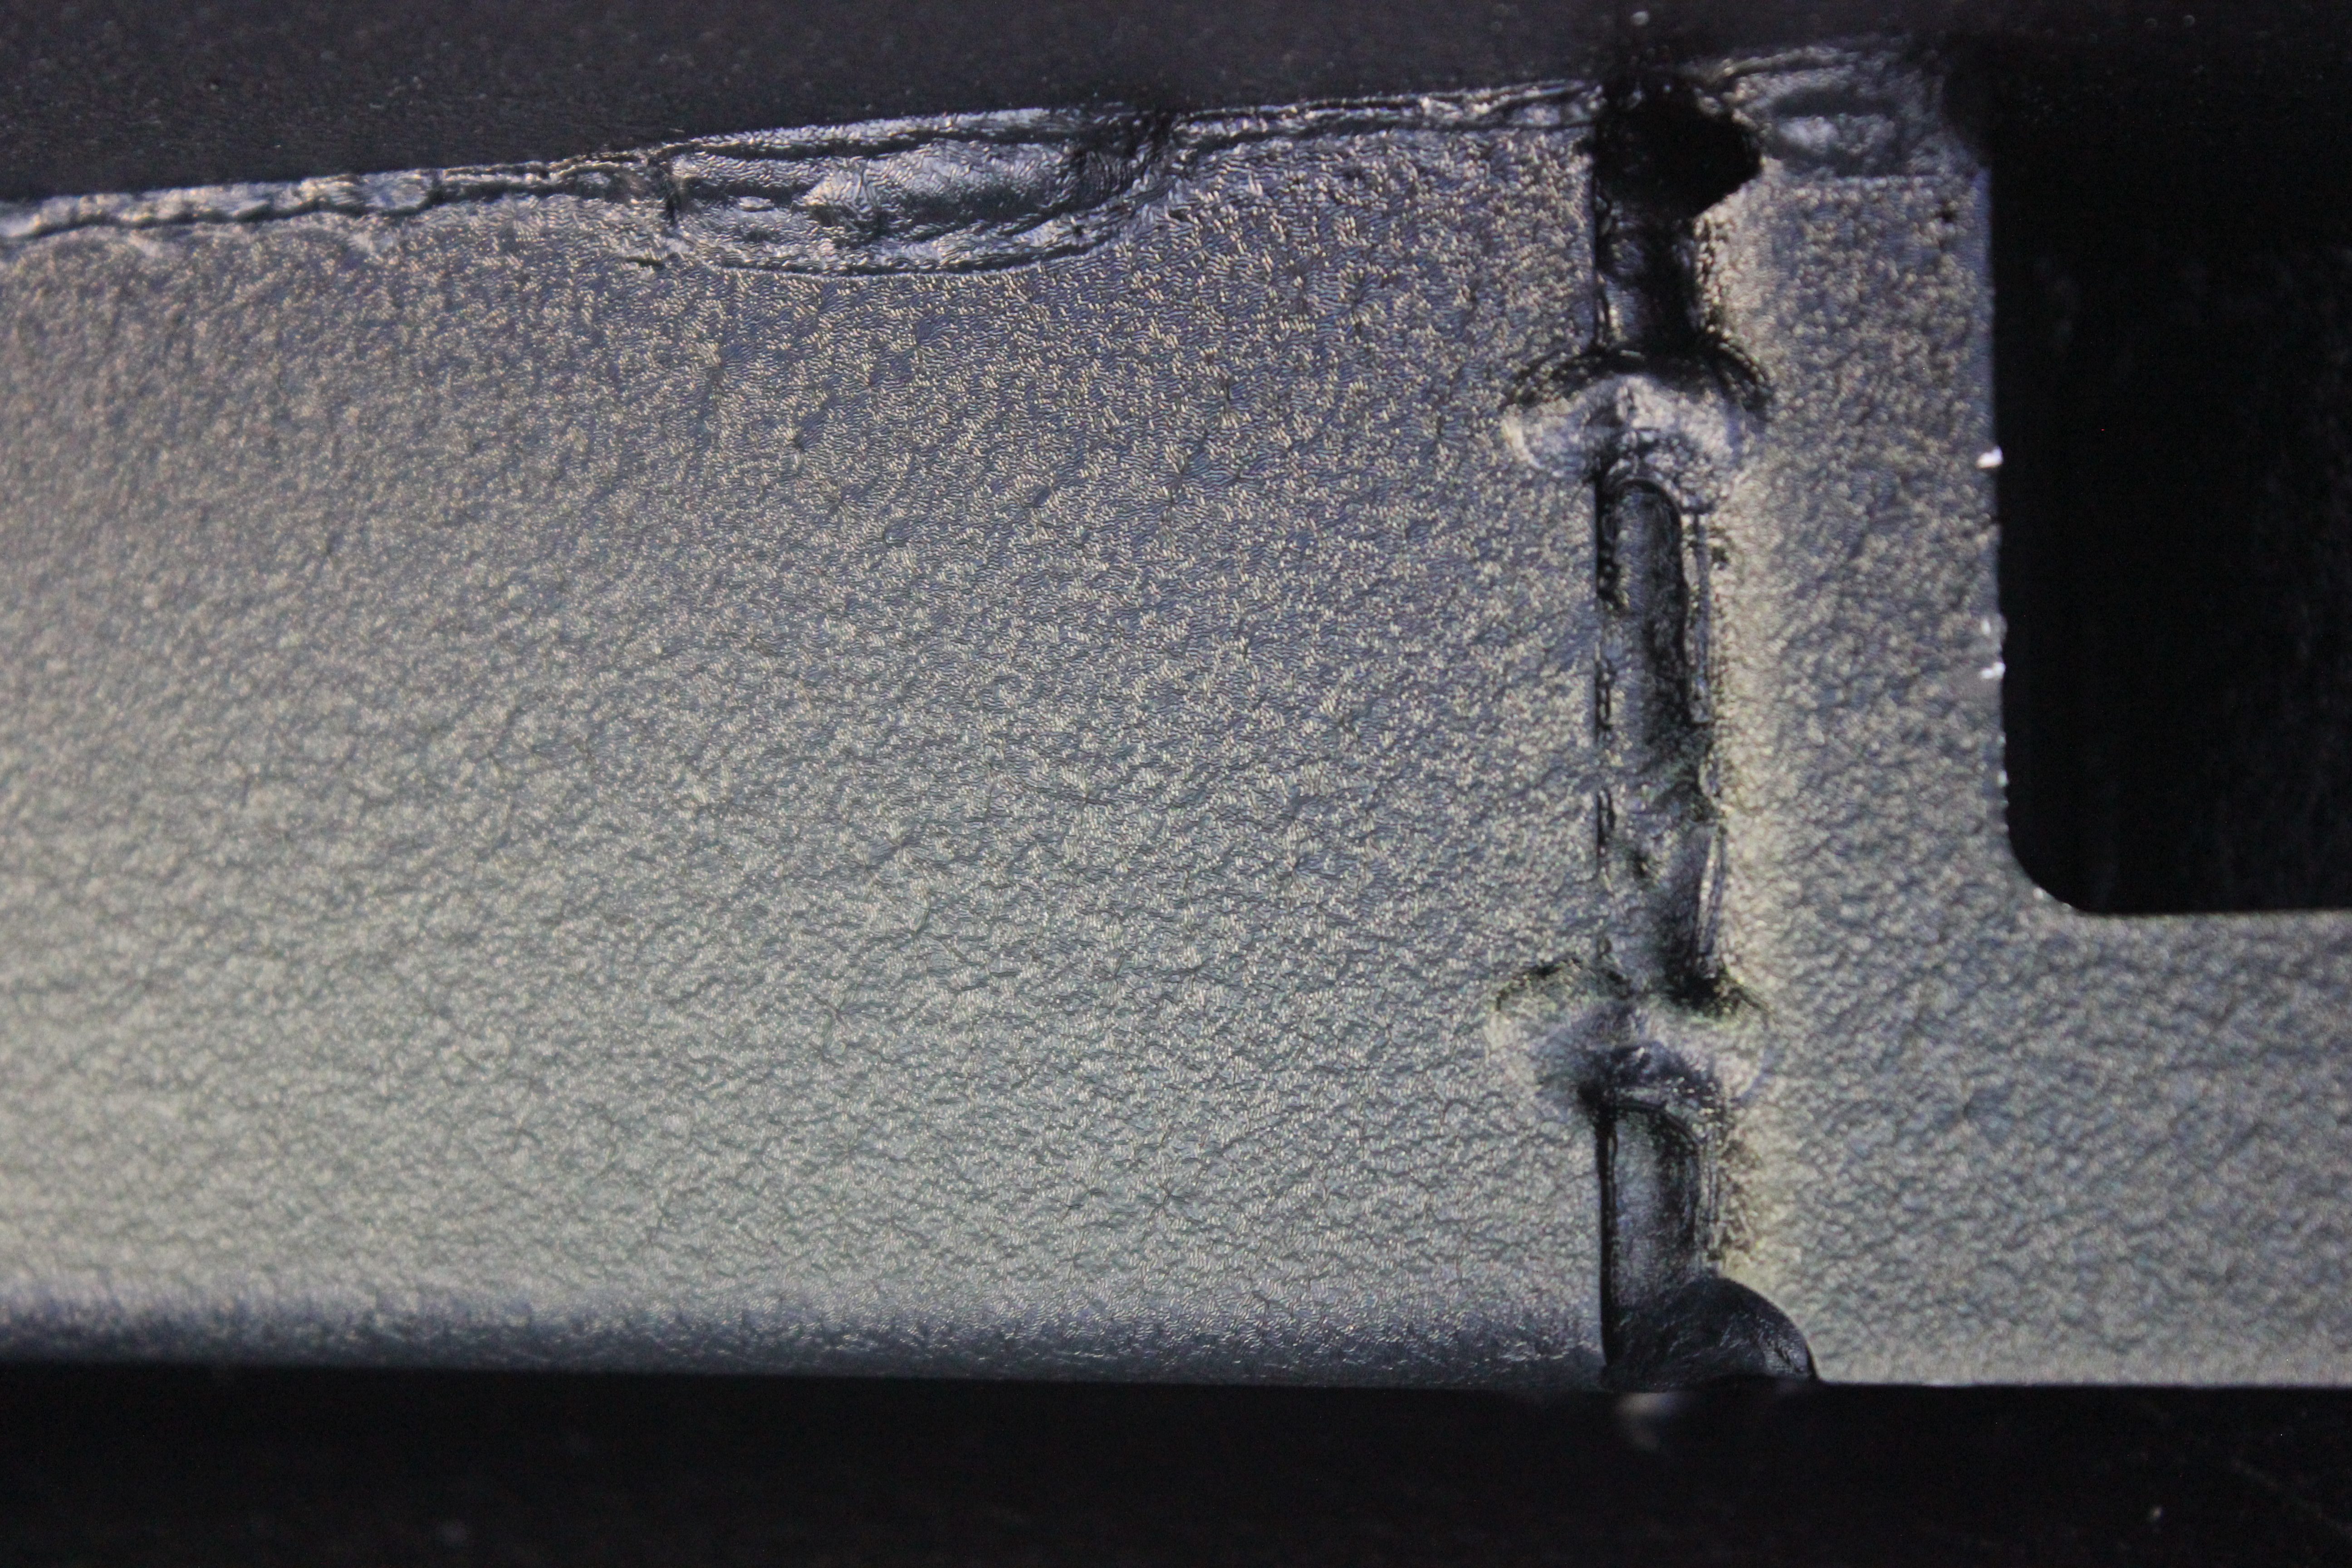
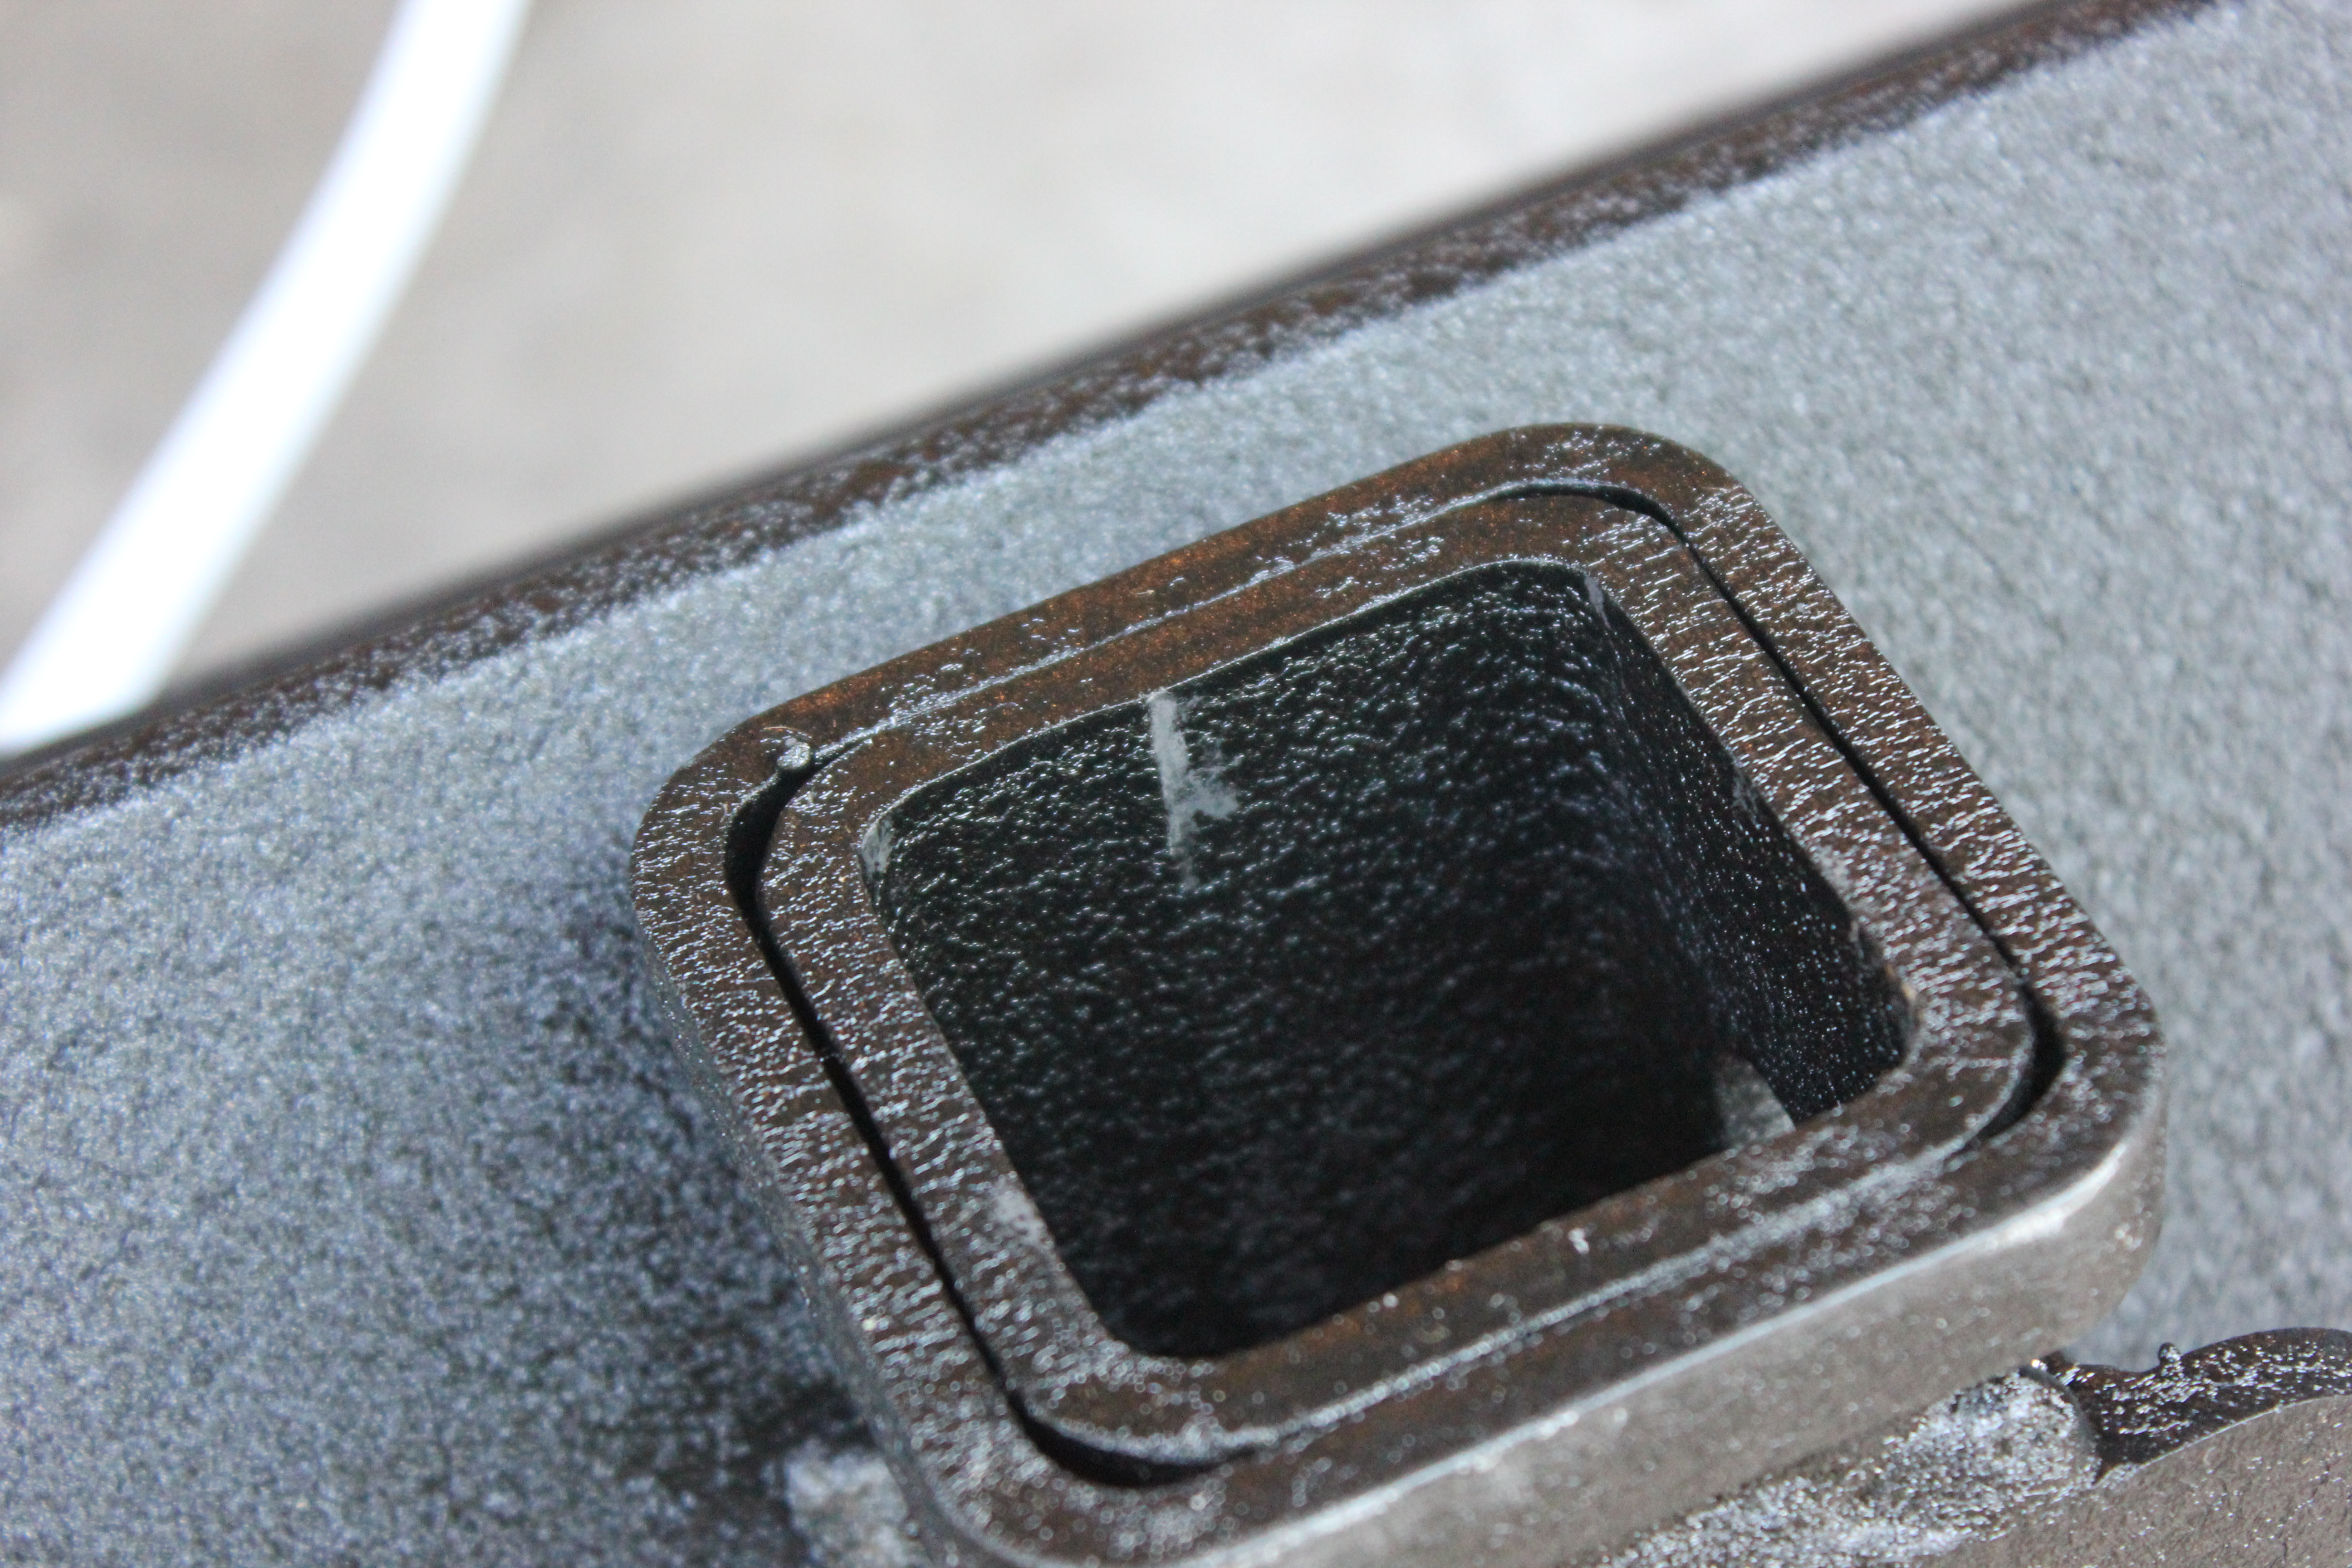
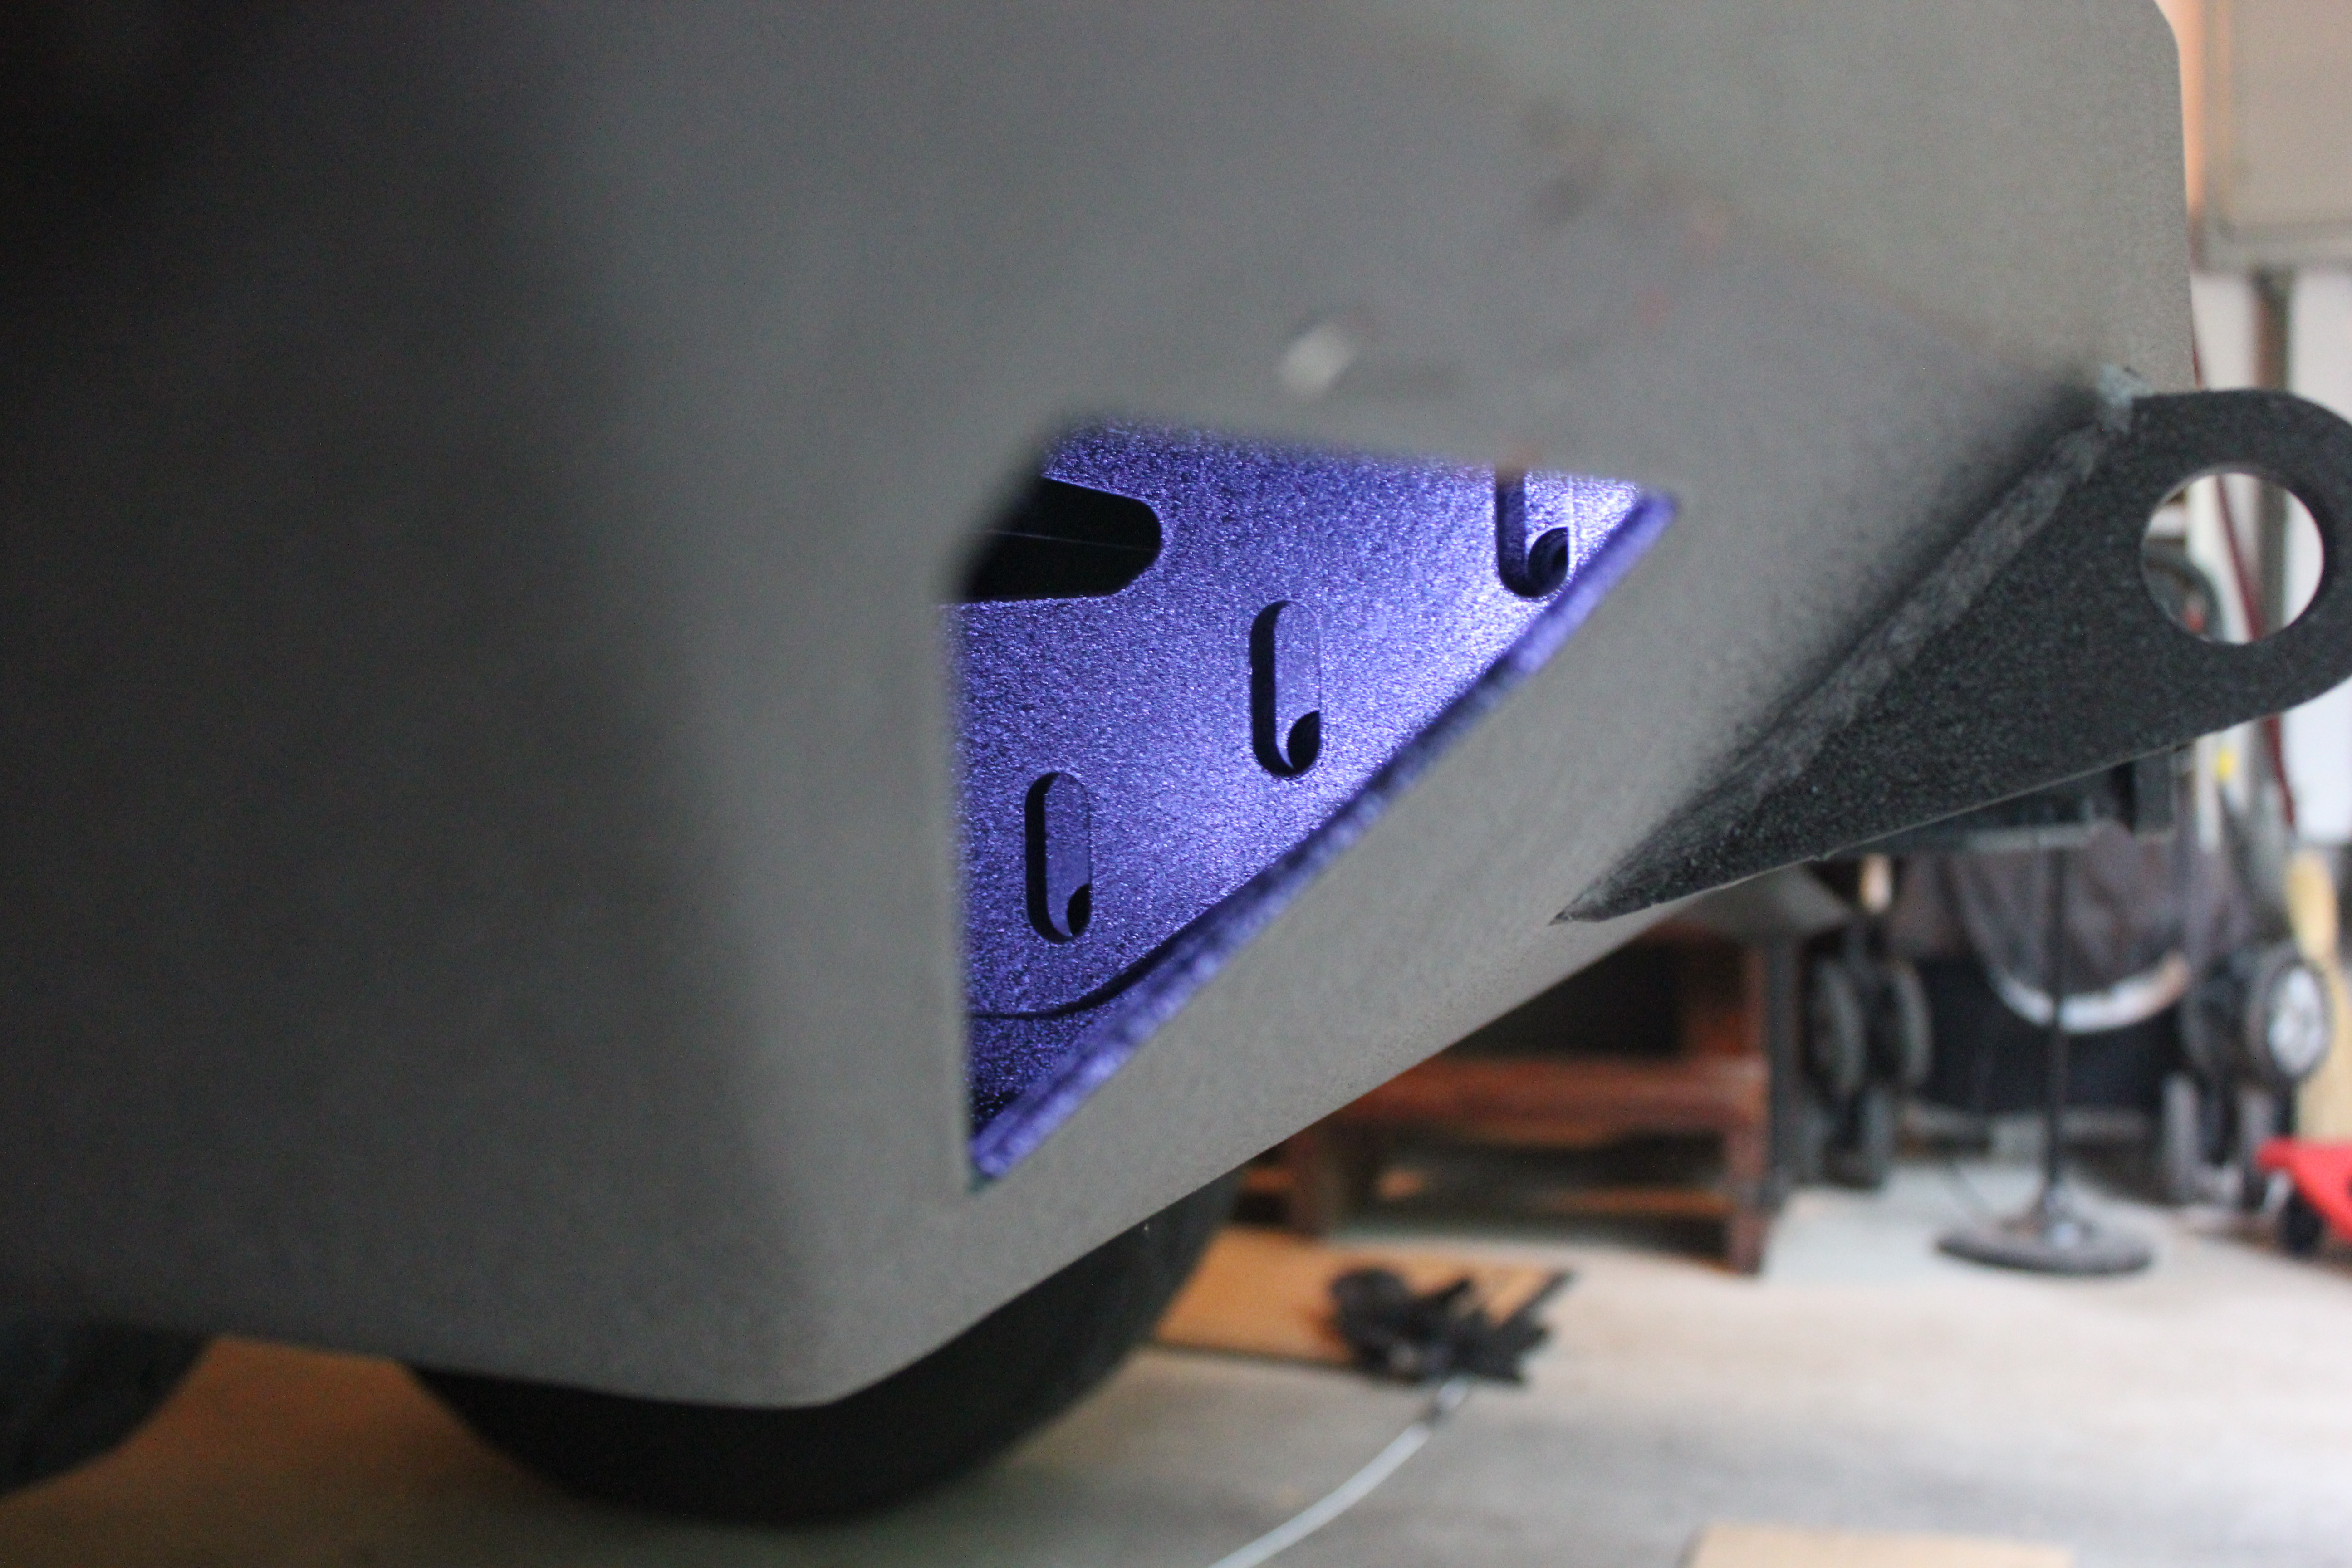
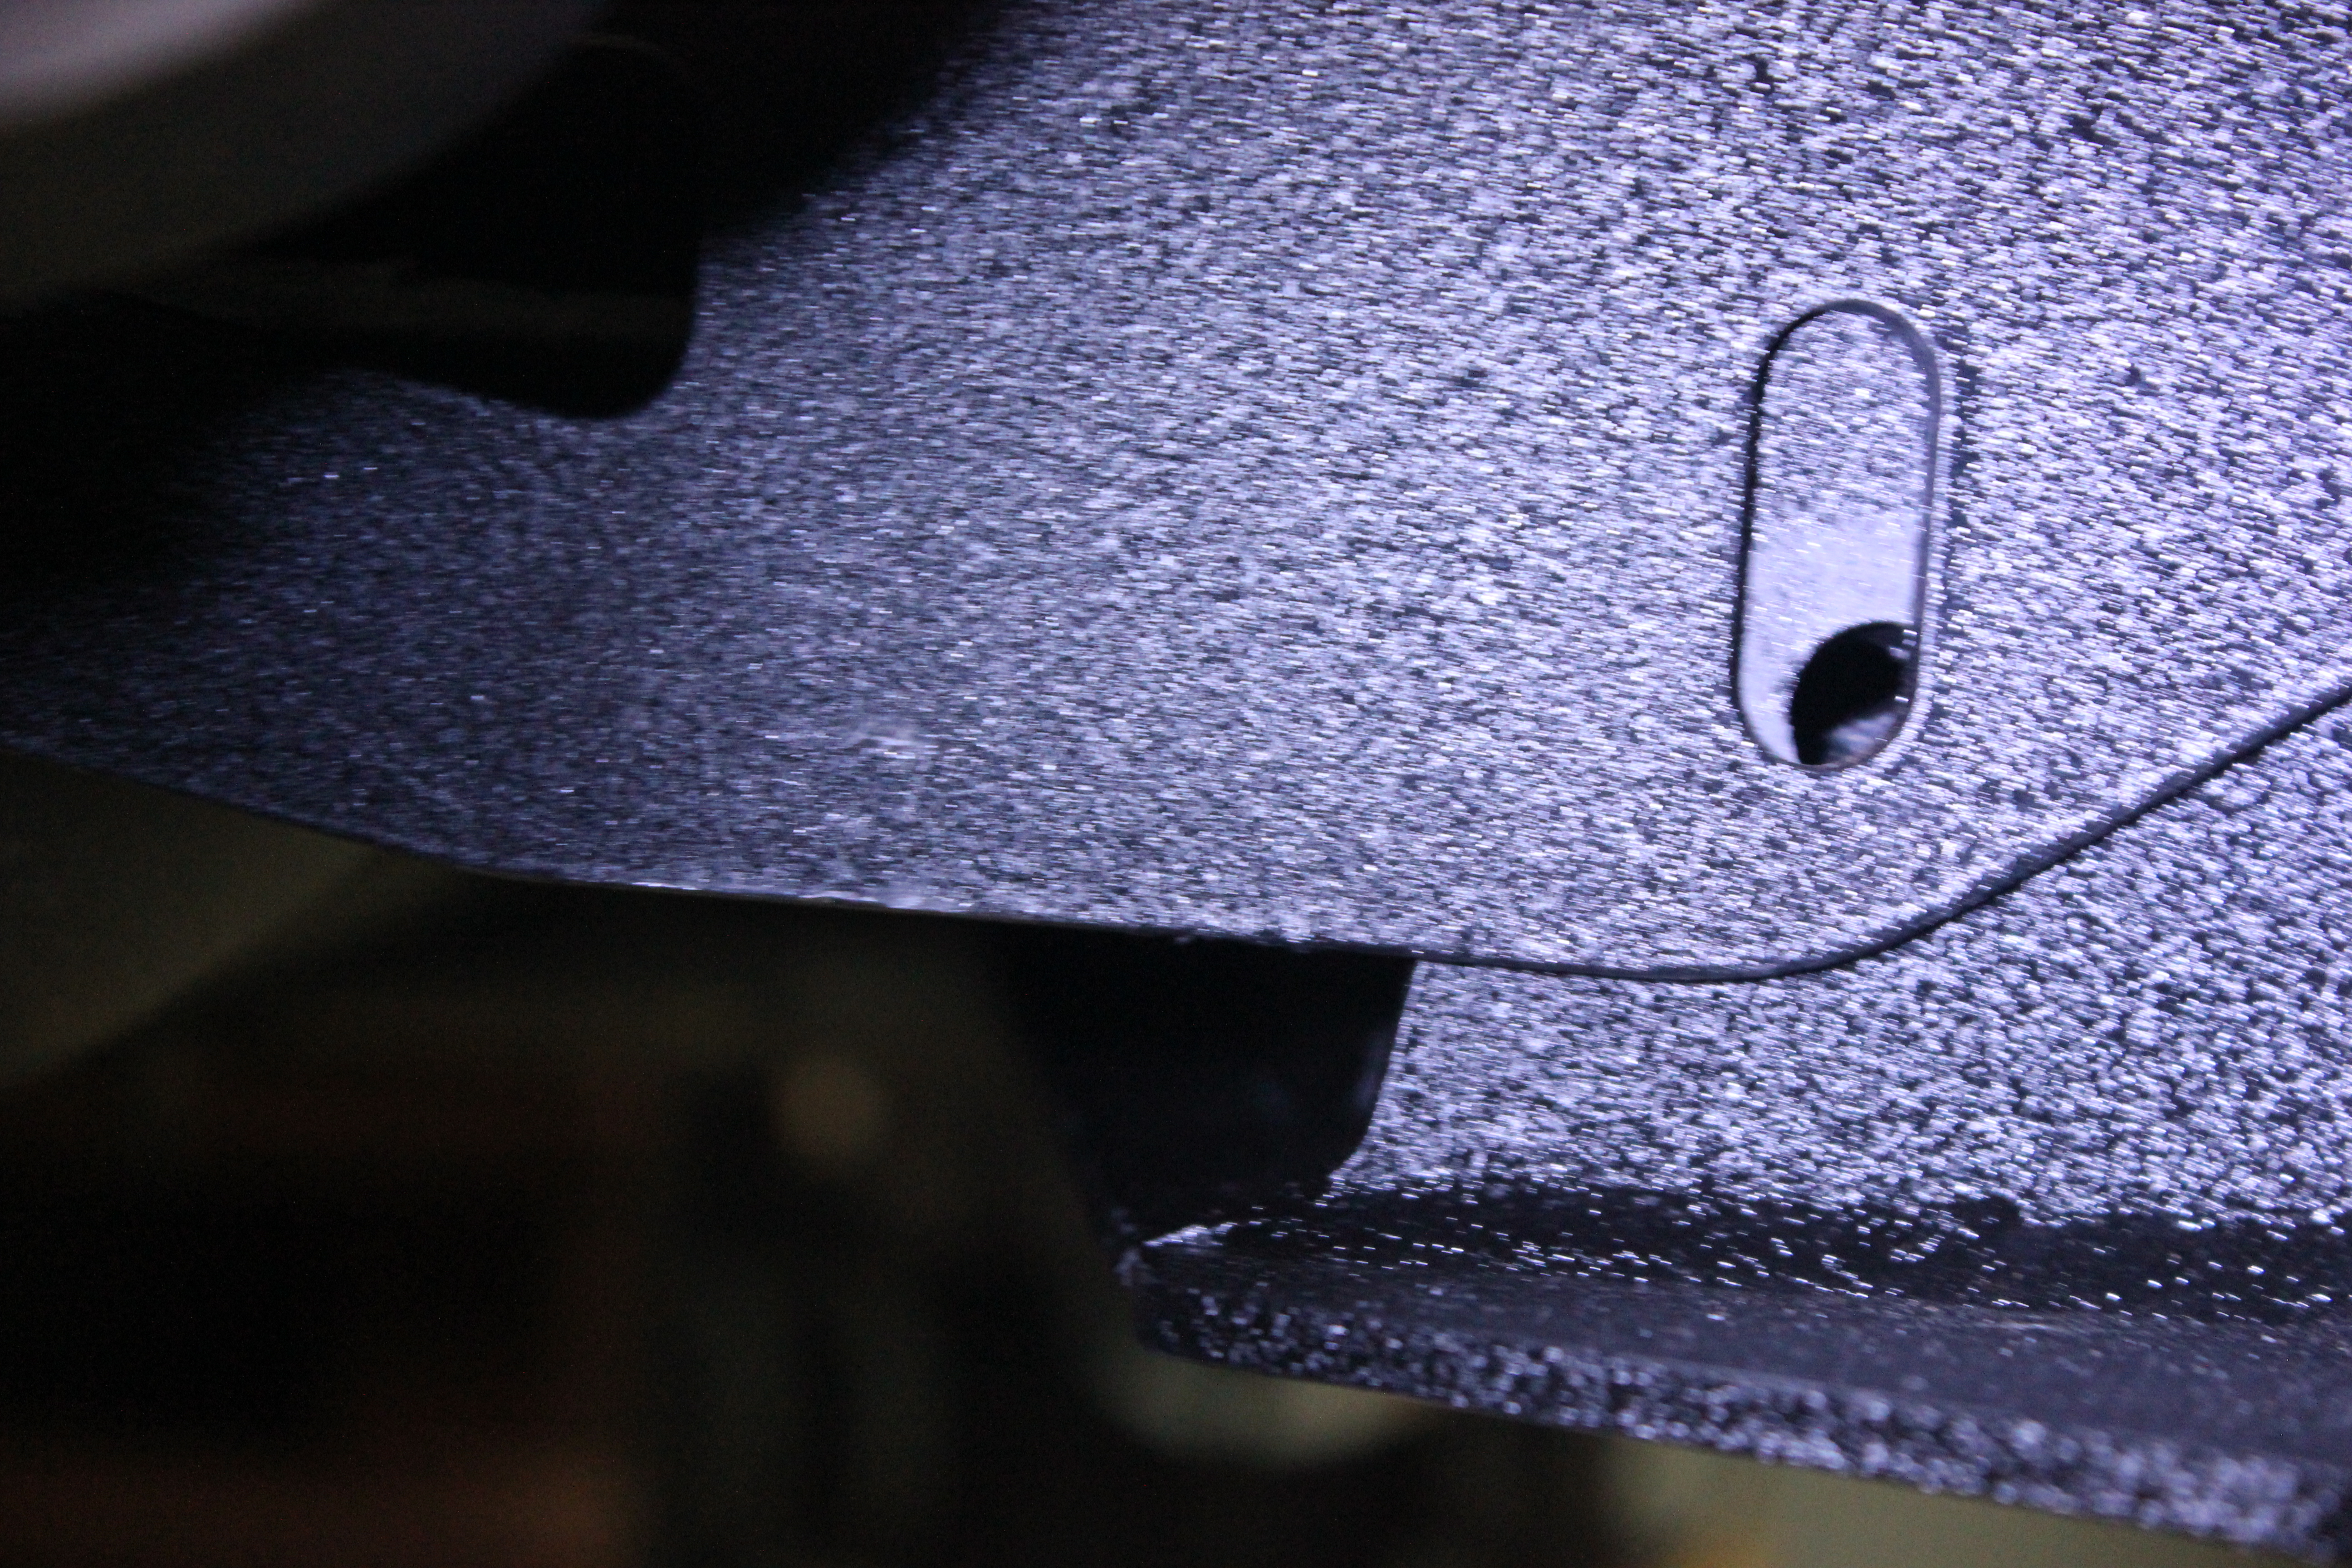
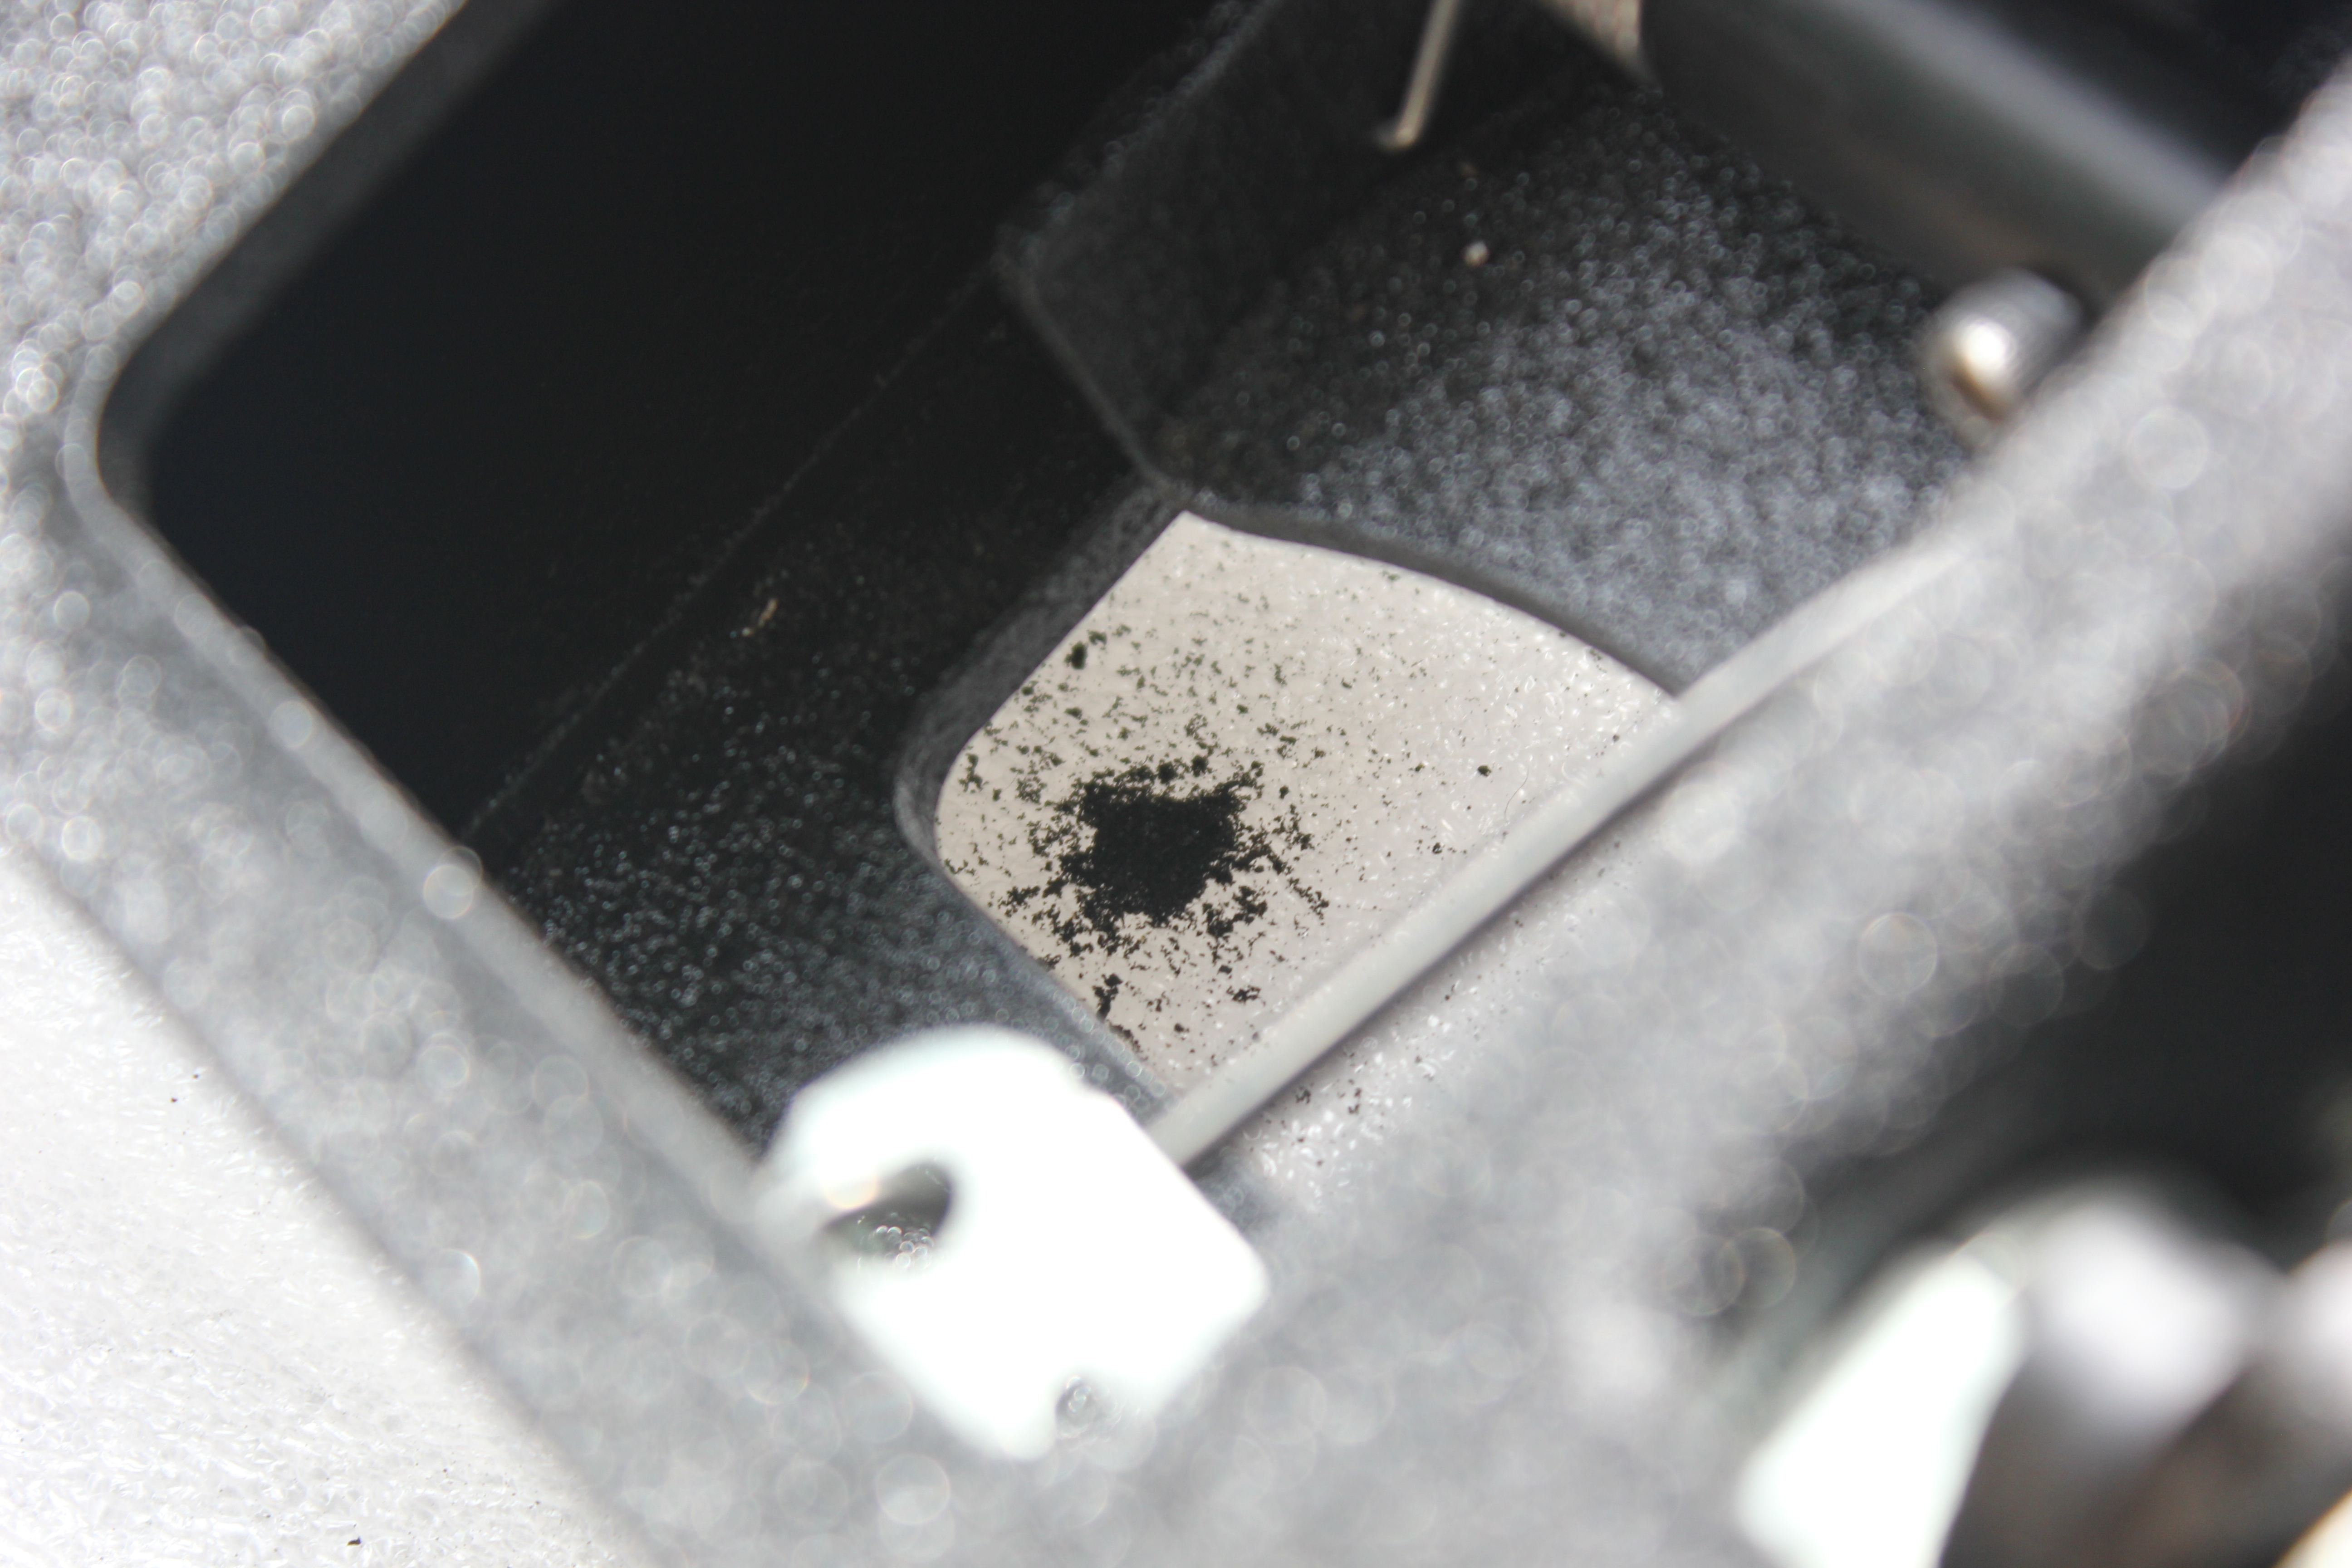
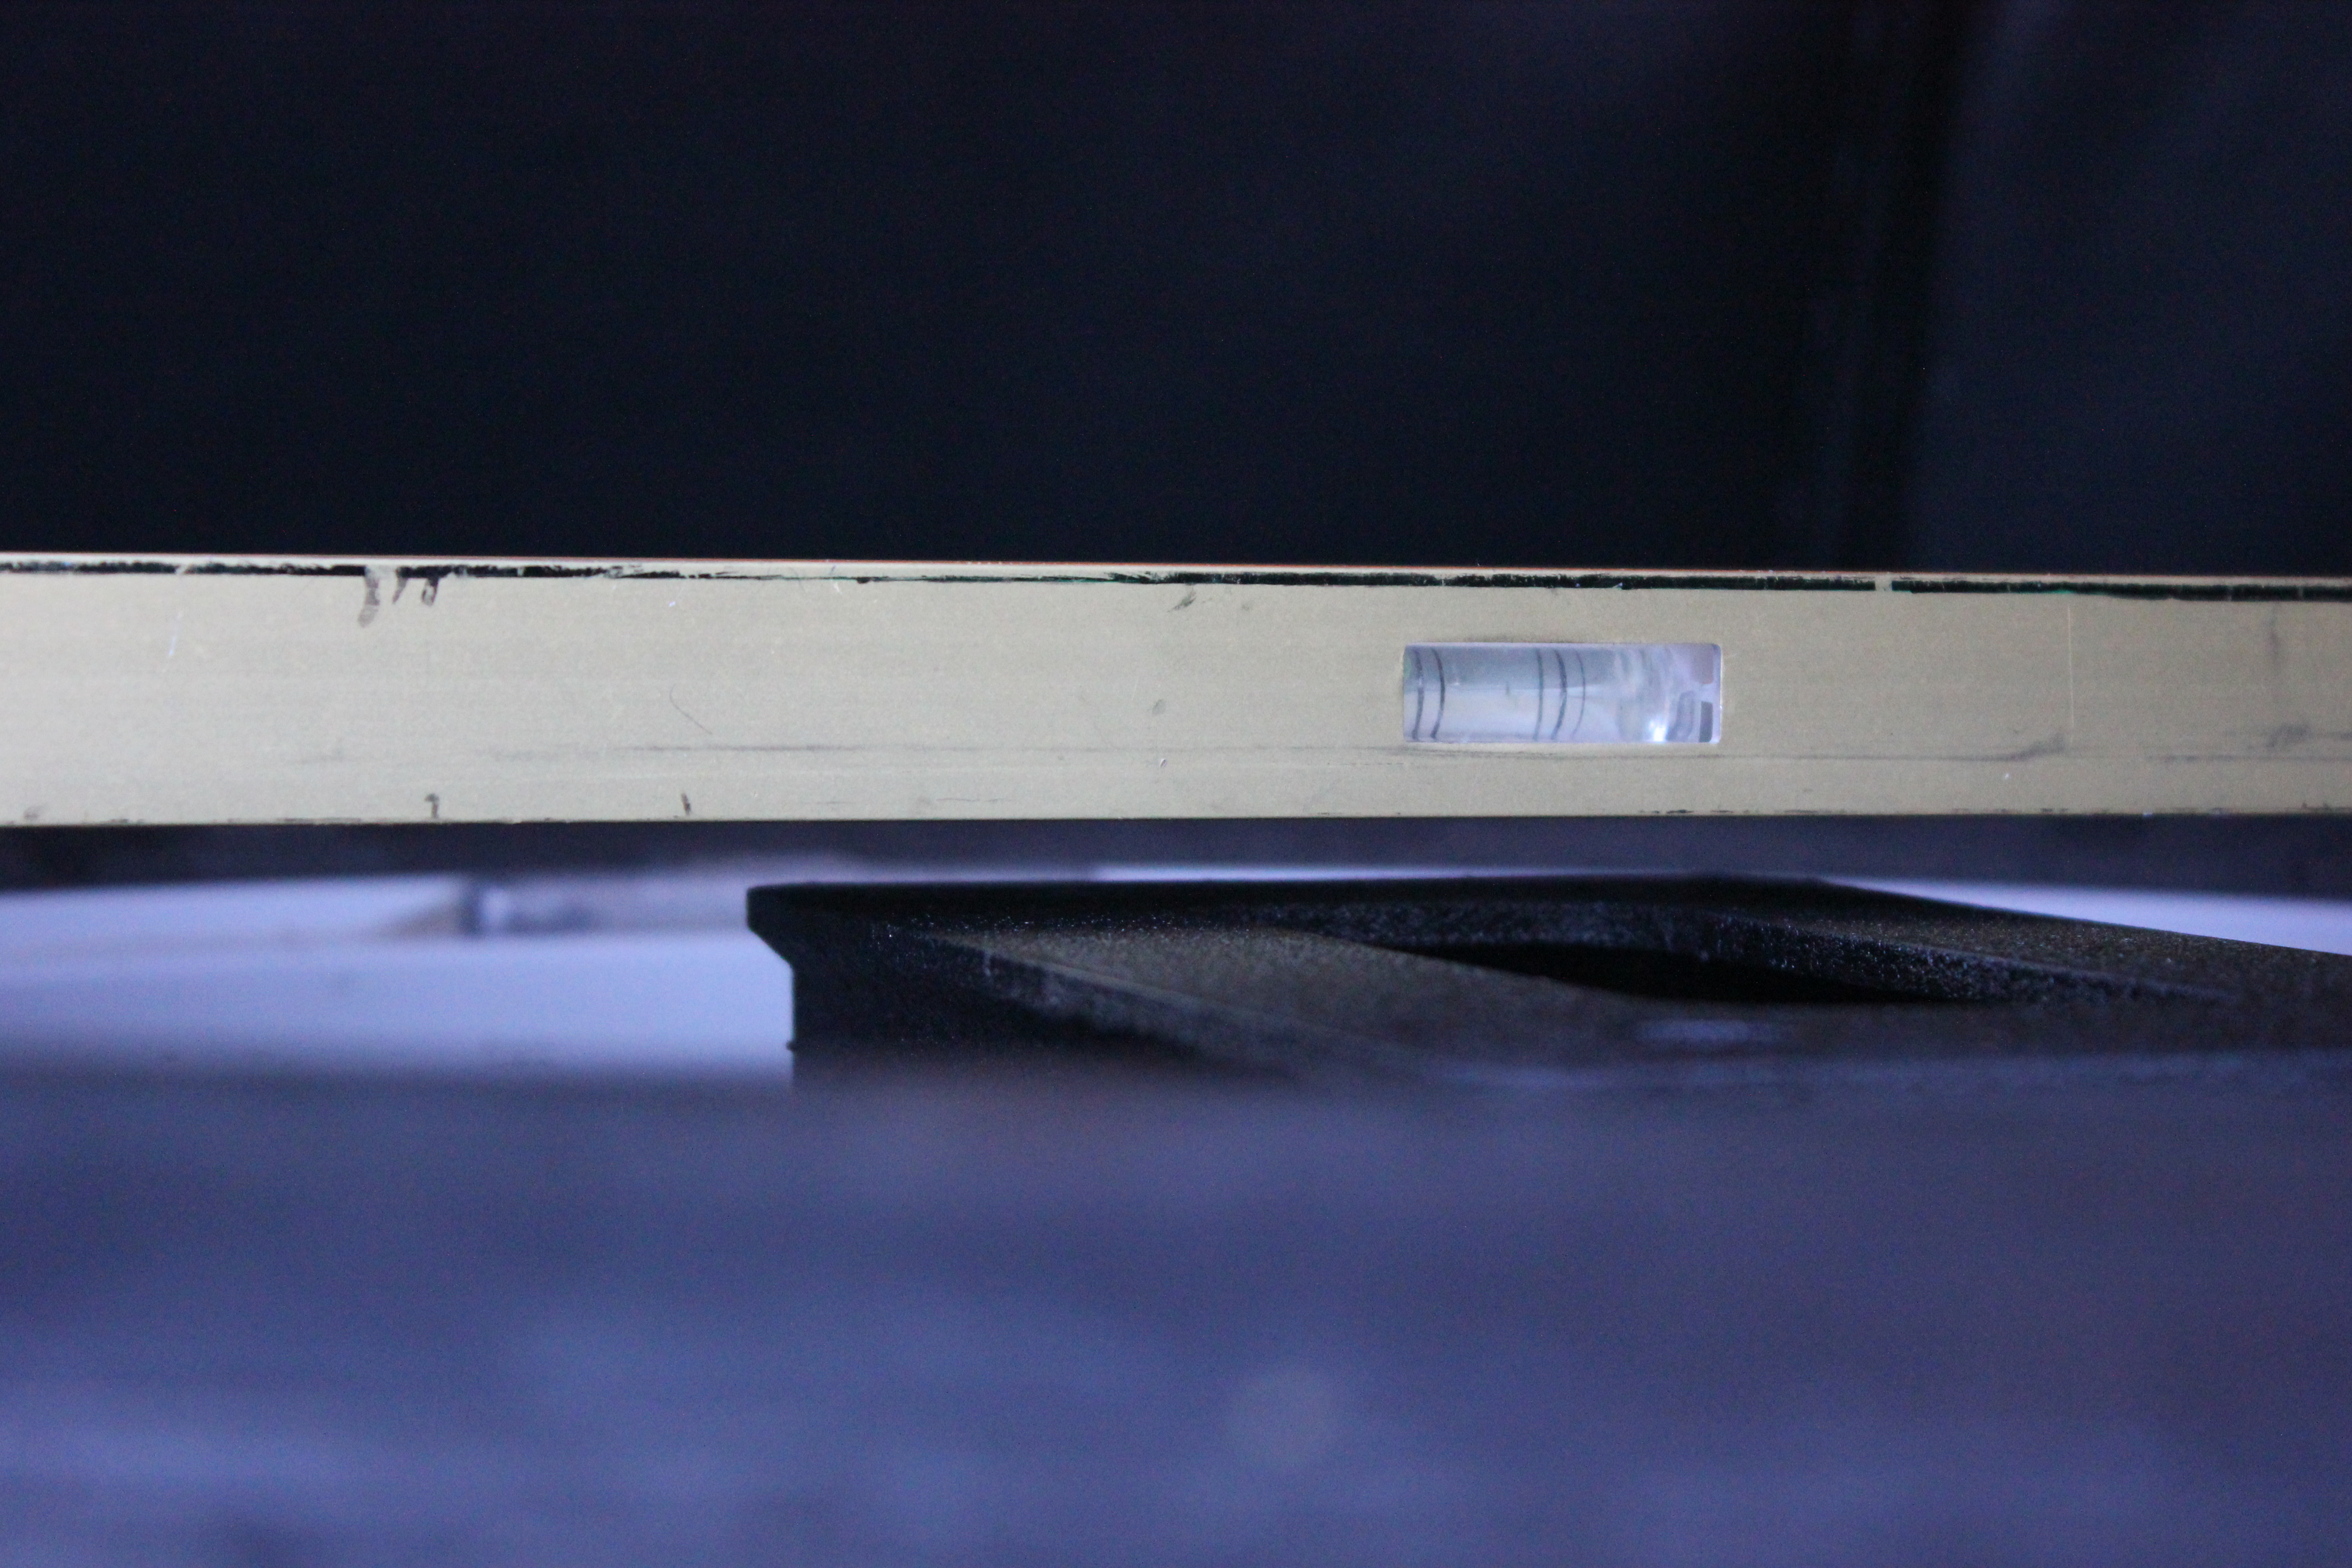
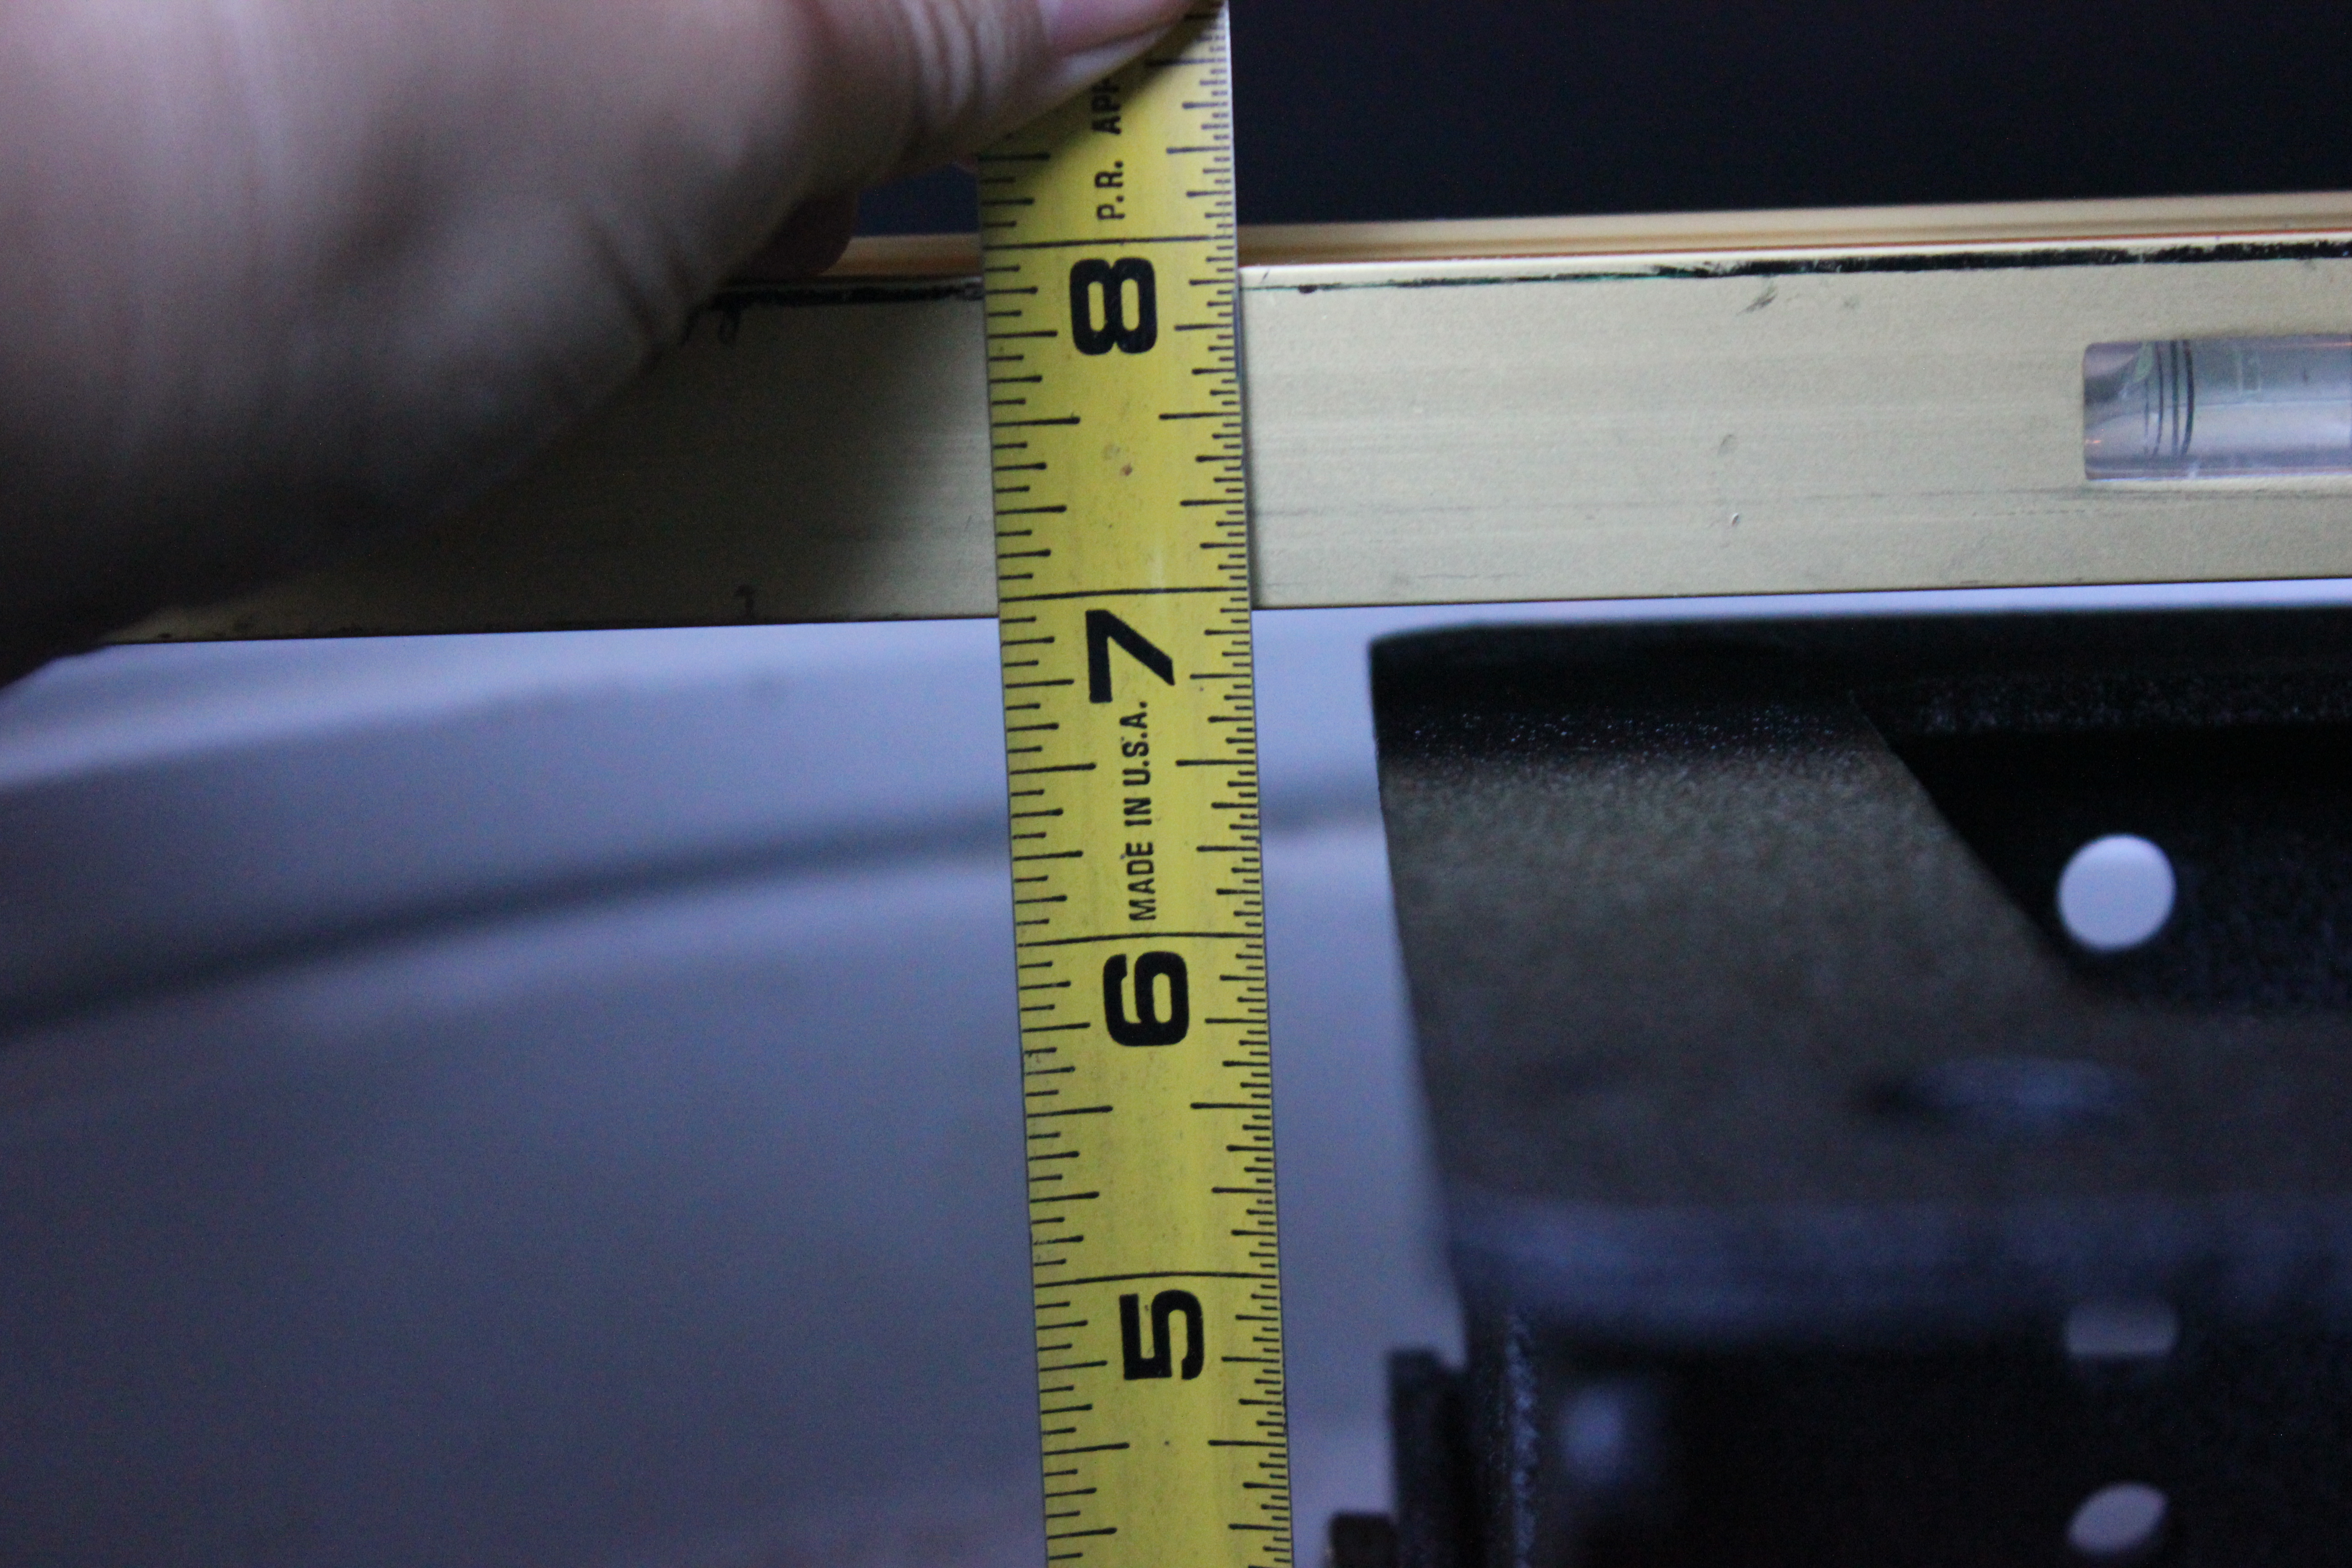
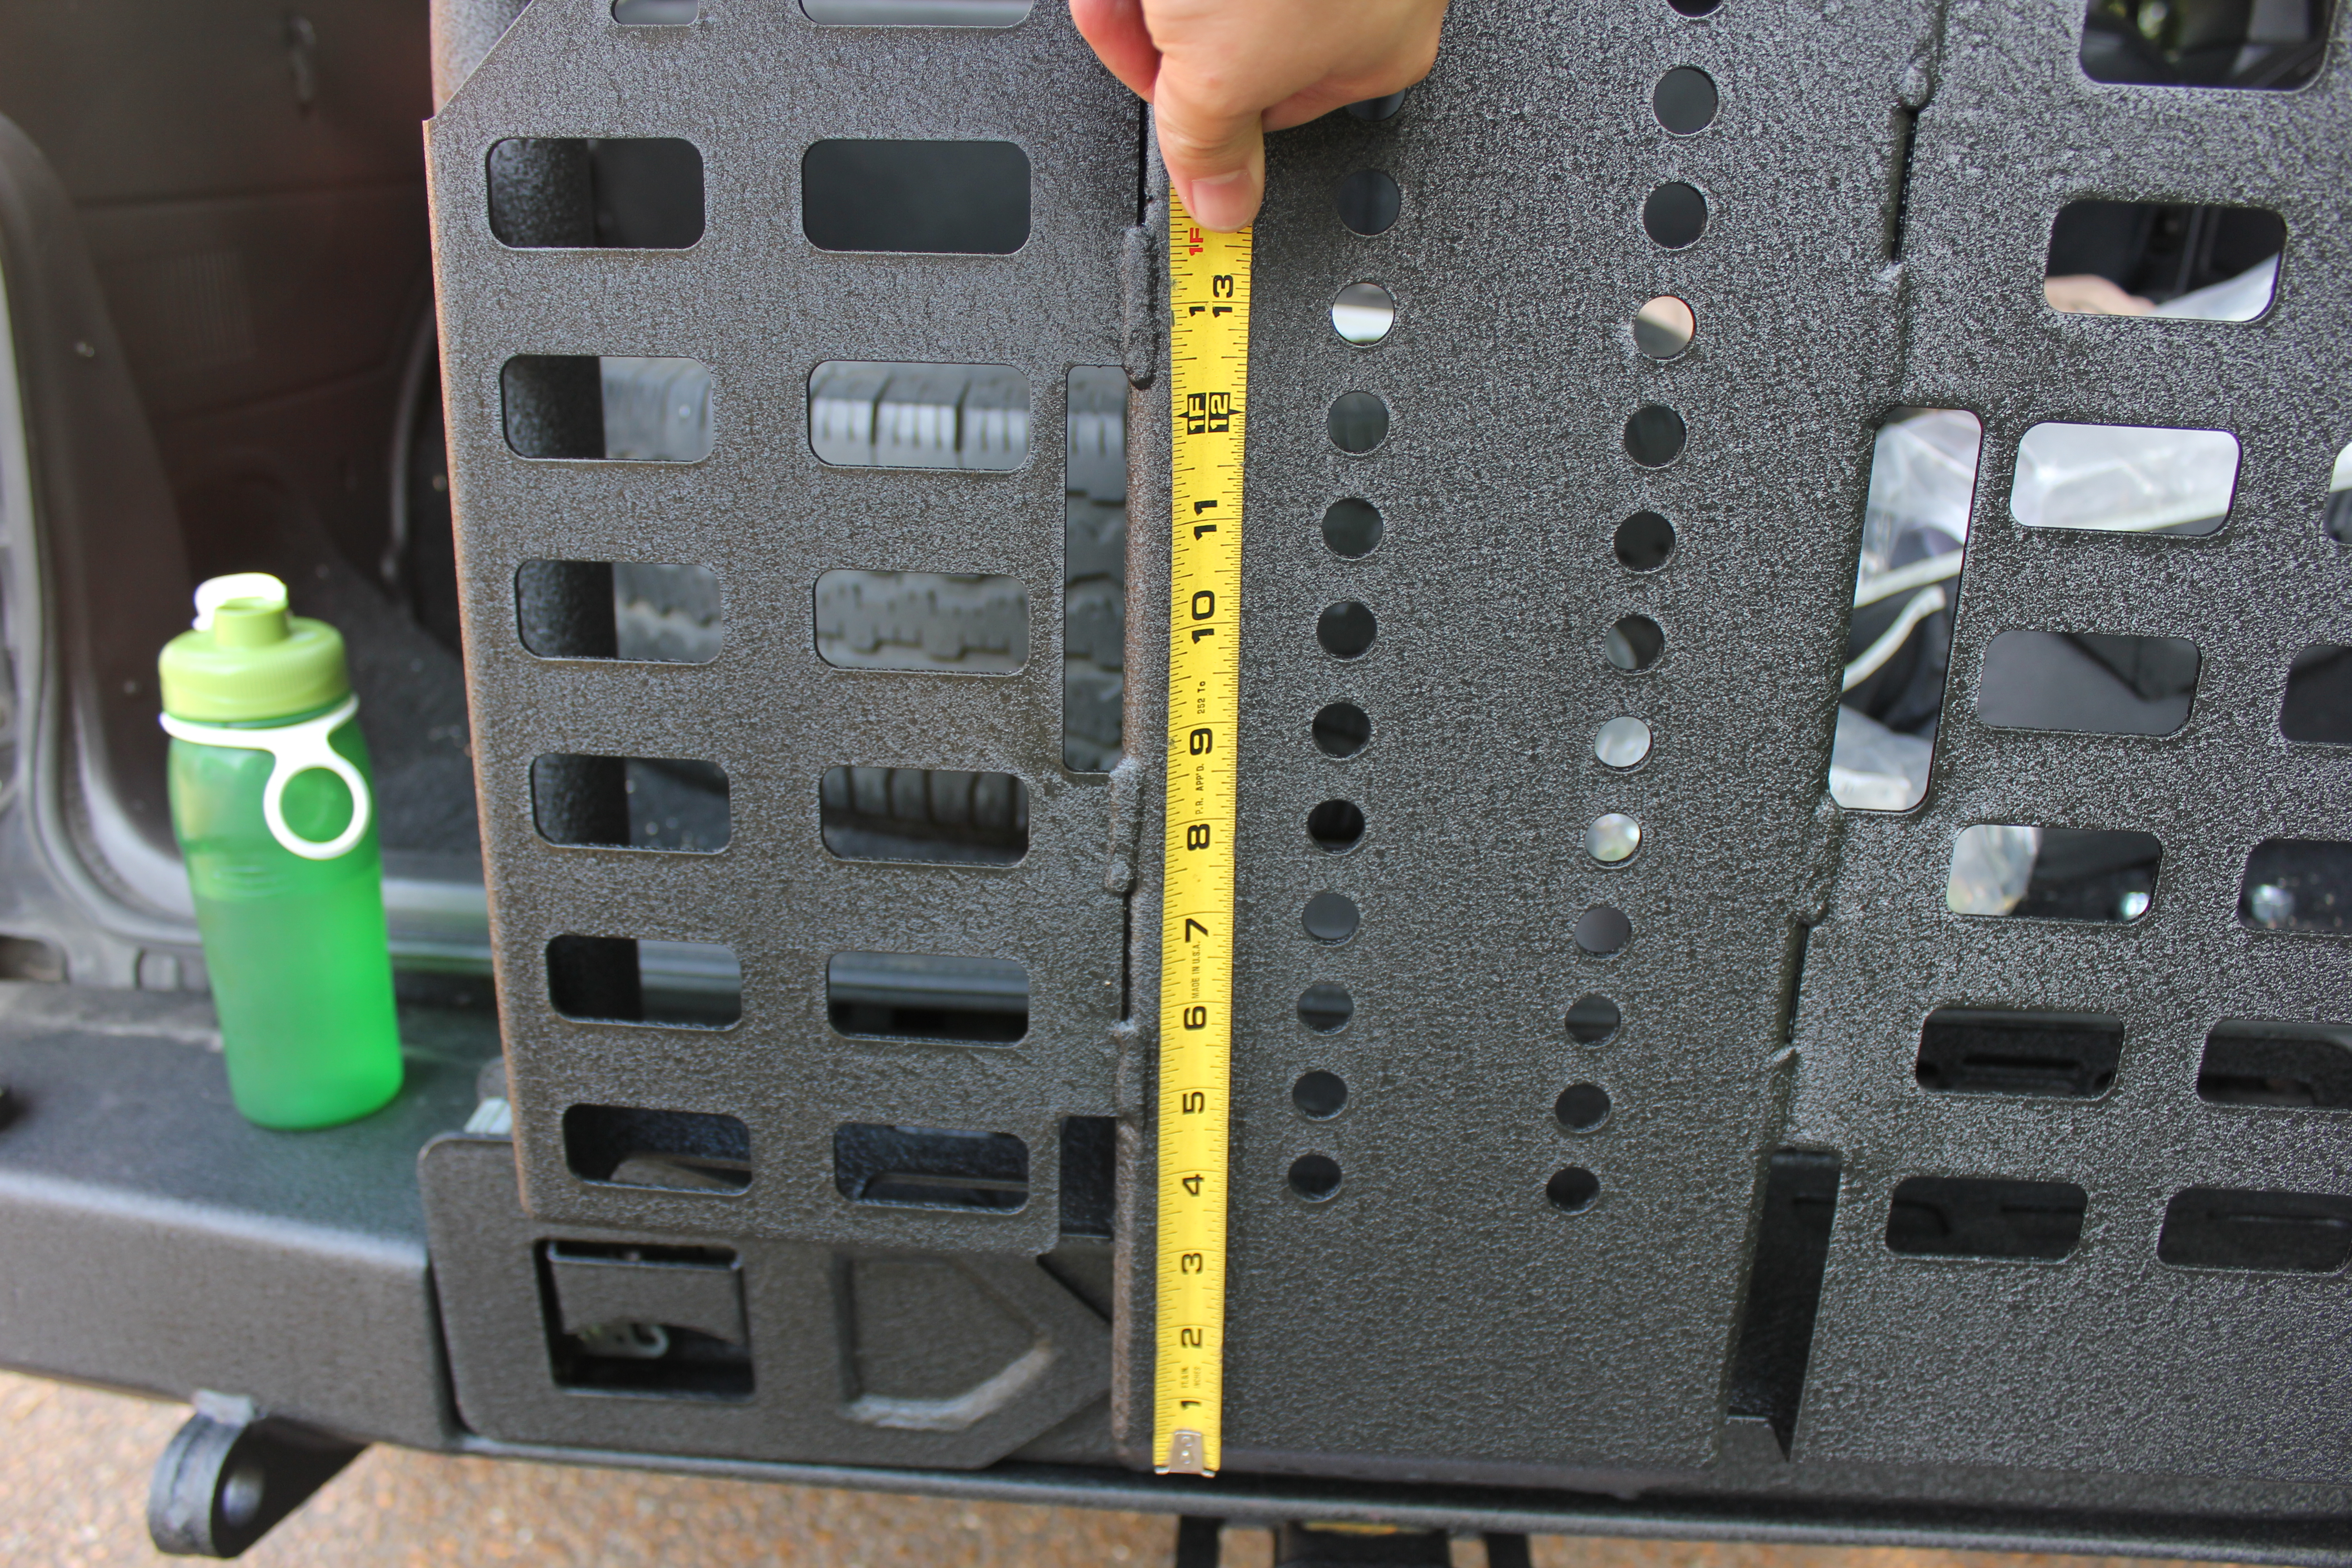
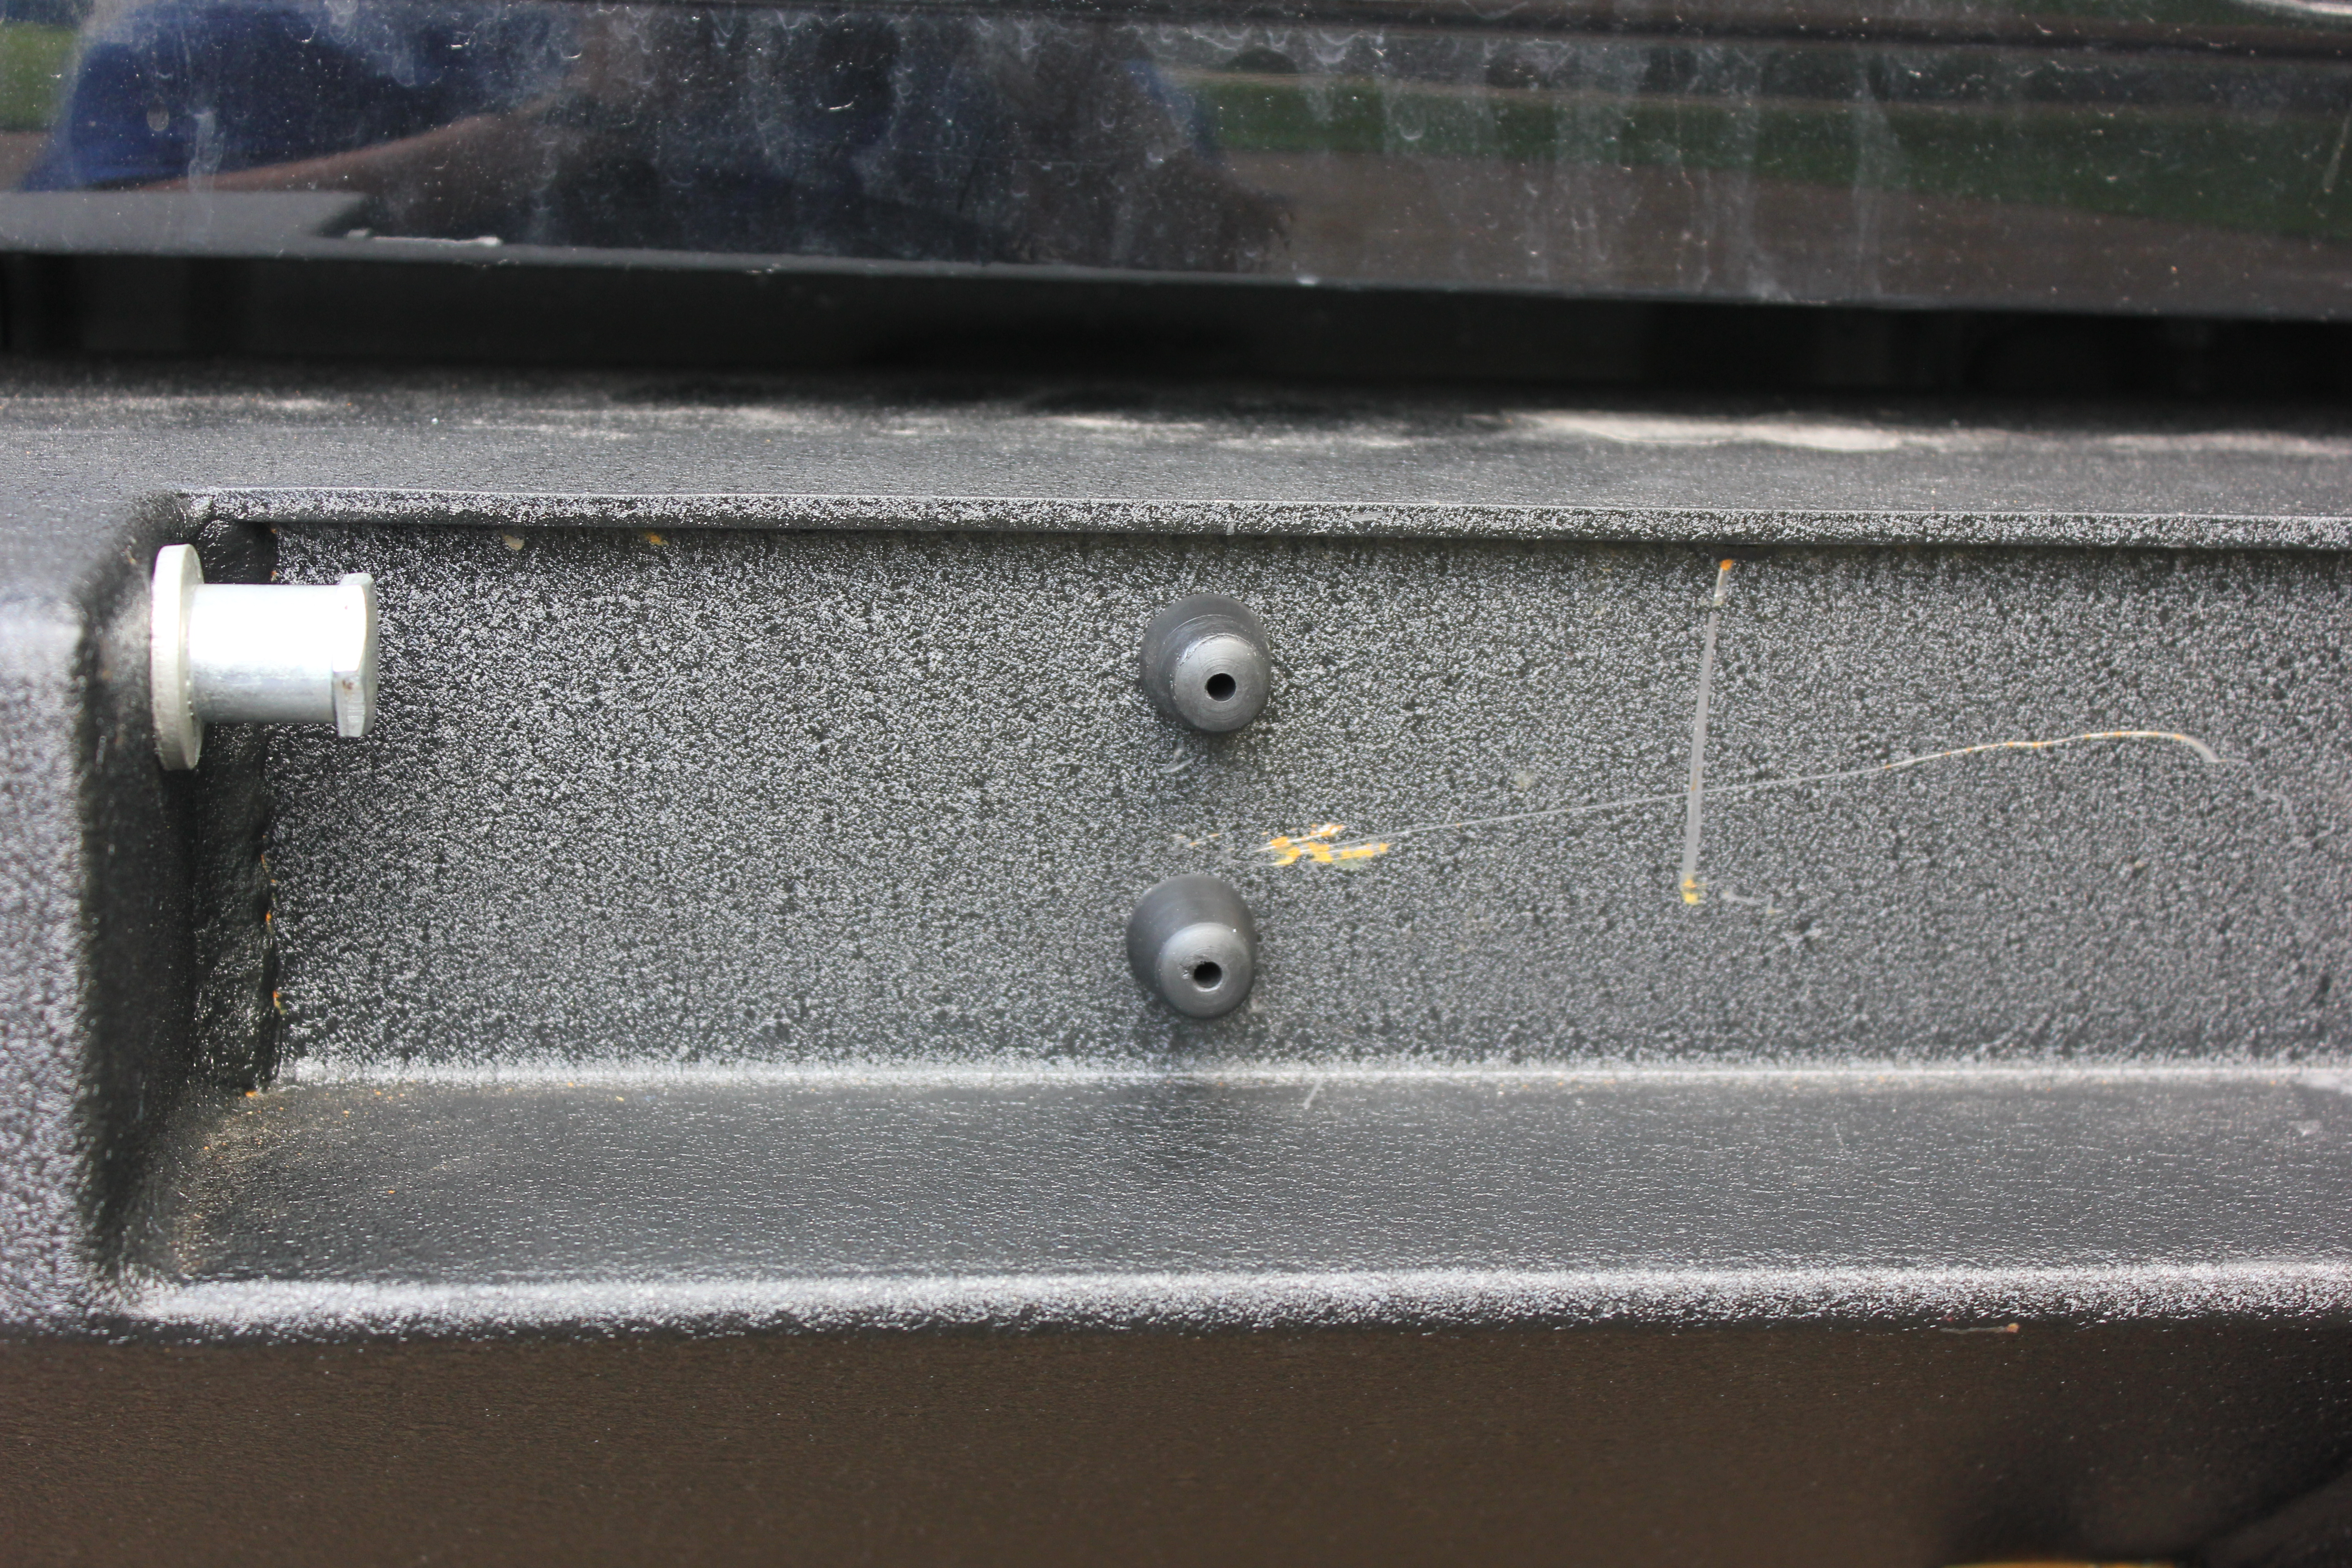
Here are some shots of the speed holes, or whatever they are. I think they’re actually there to make it easier to tighten the bolts that attach the bumper to the bumper brackets. I’ve added the measurements just in case you’re interested.
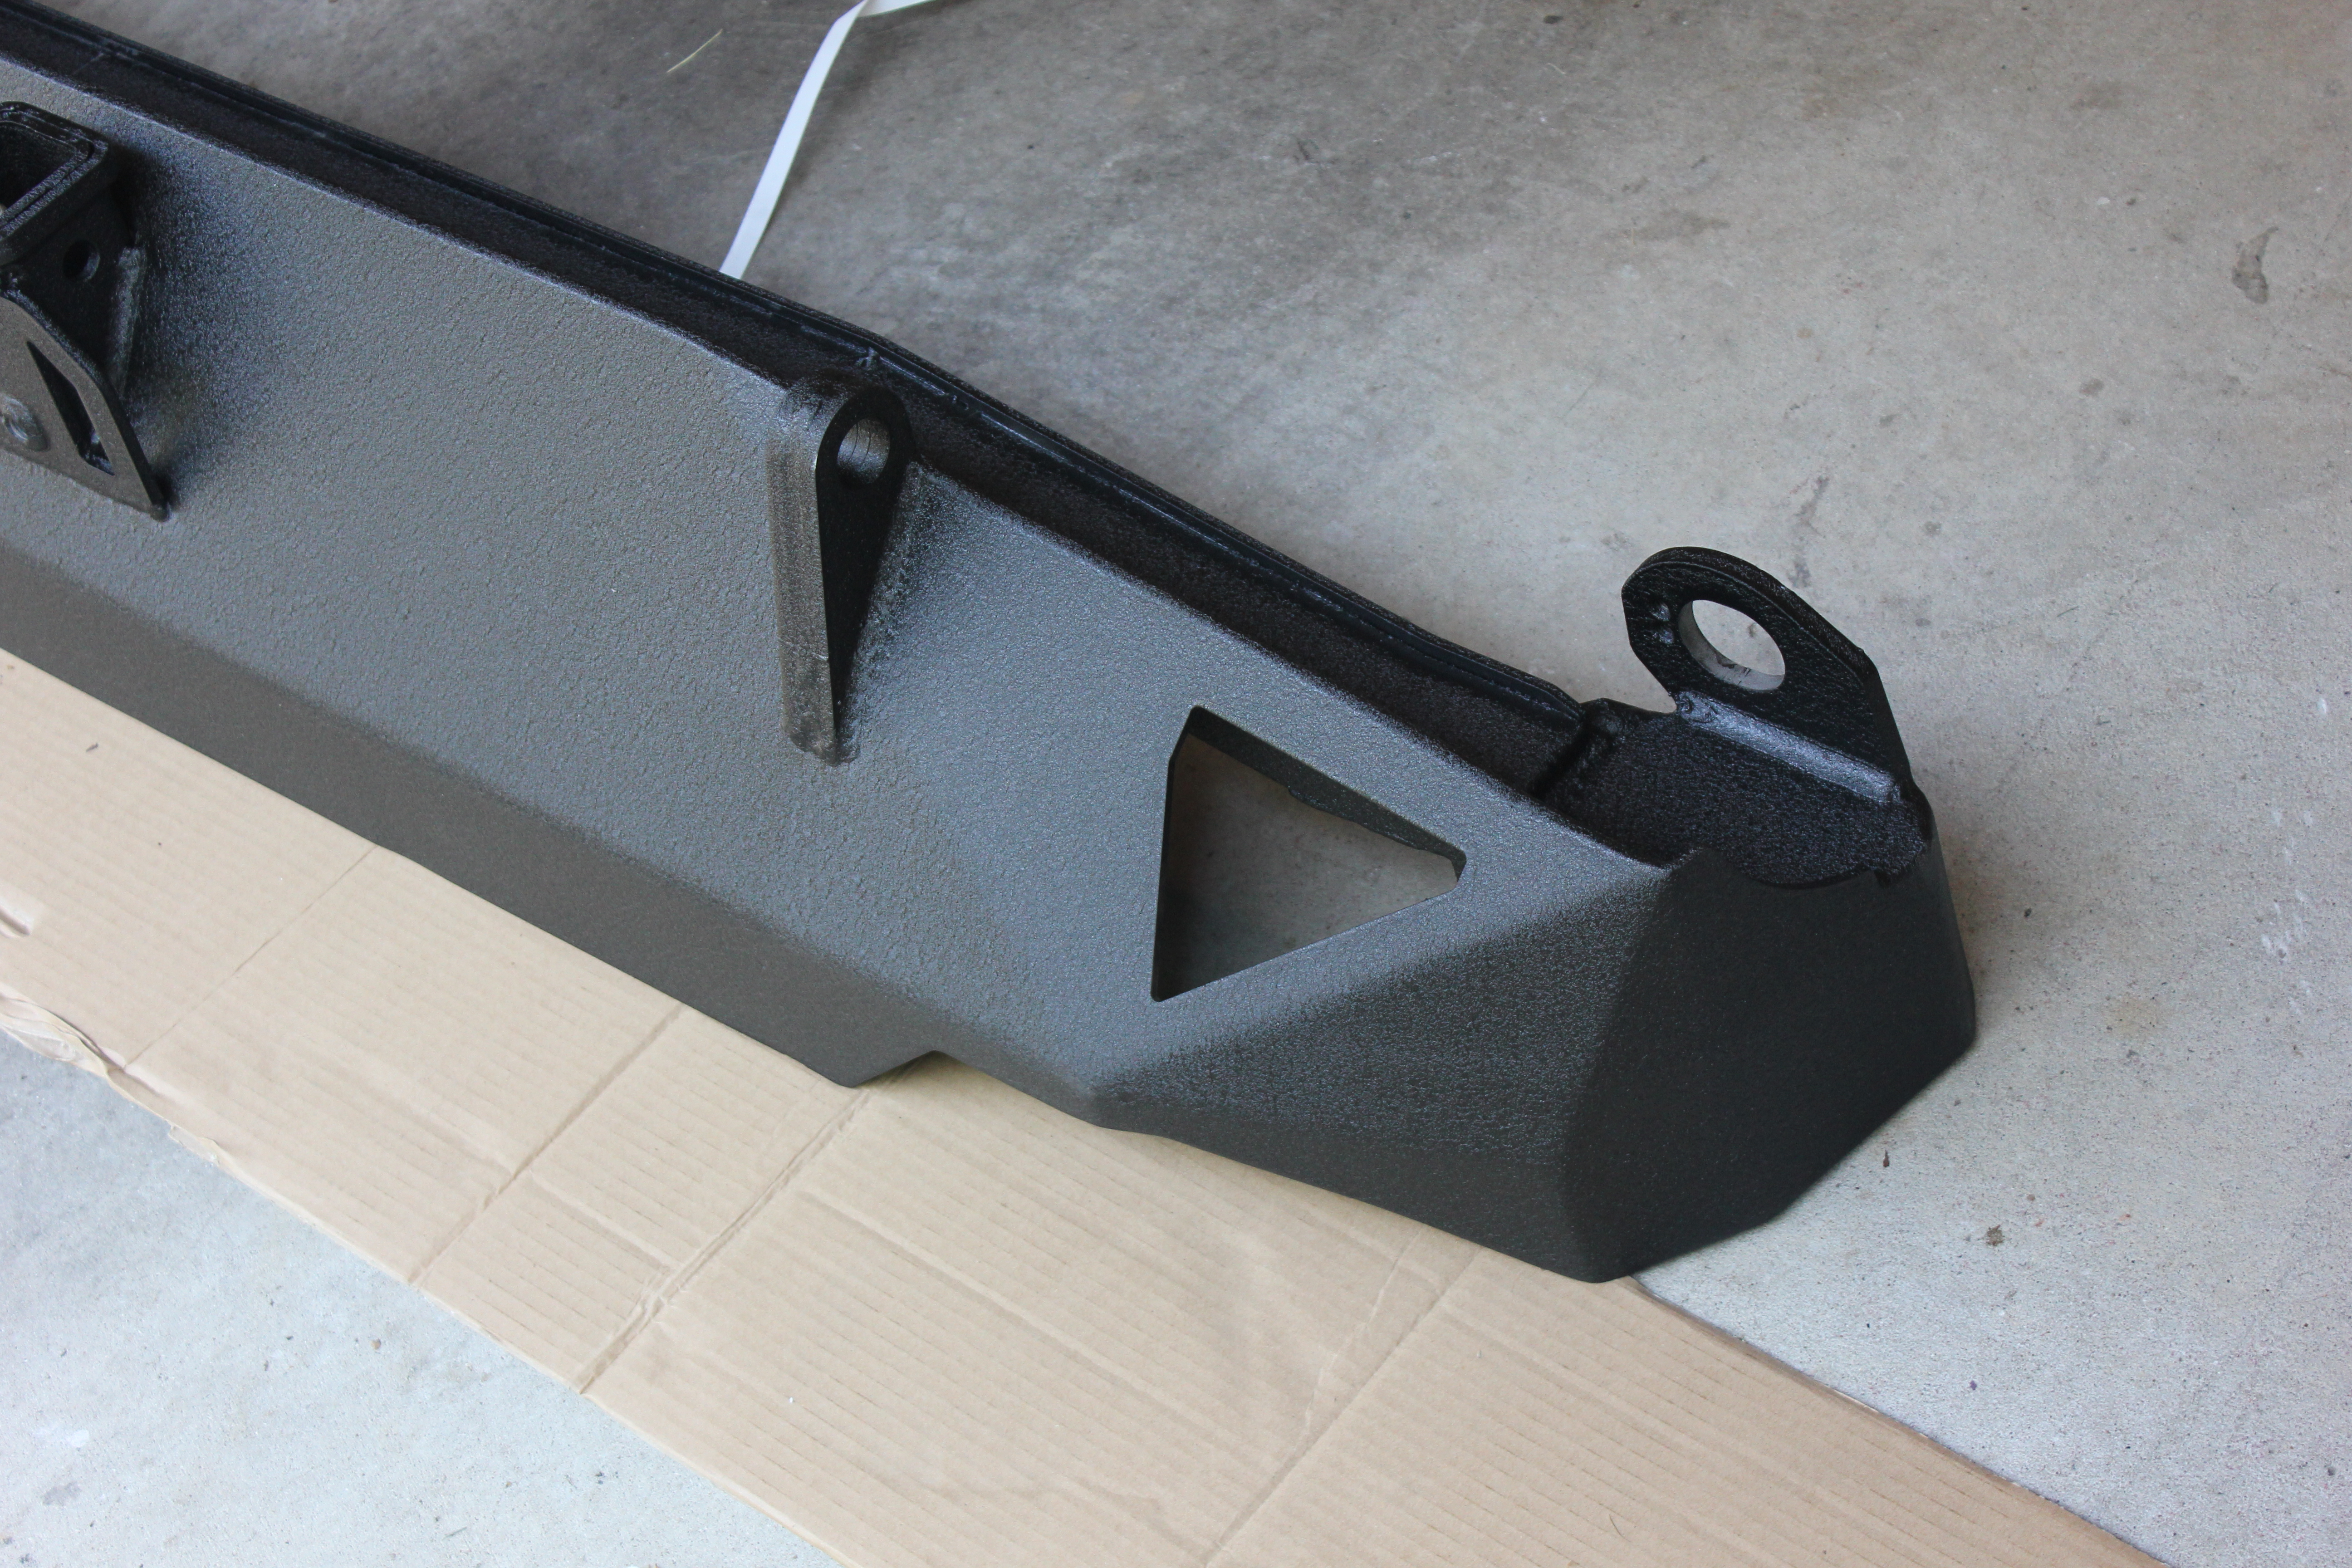

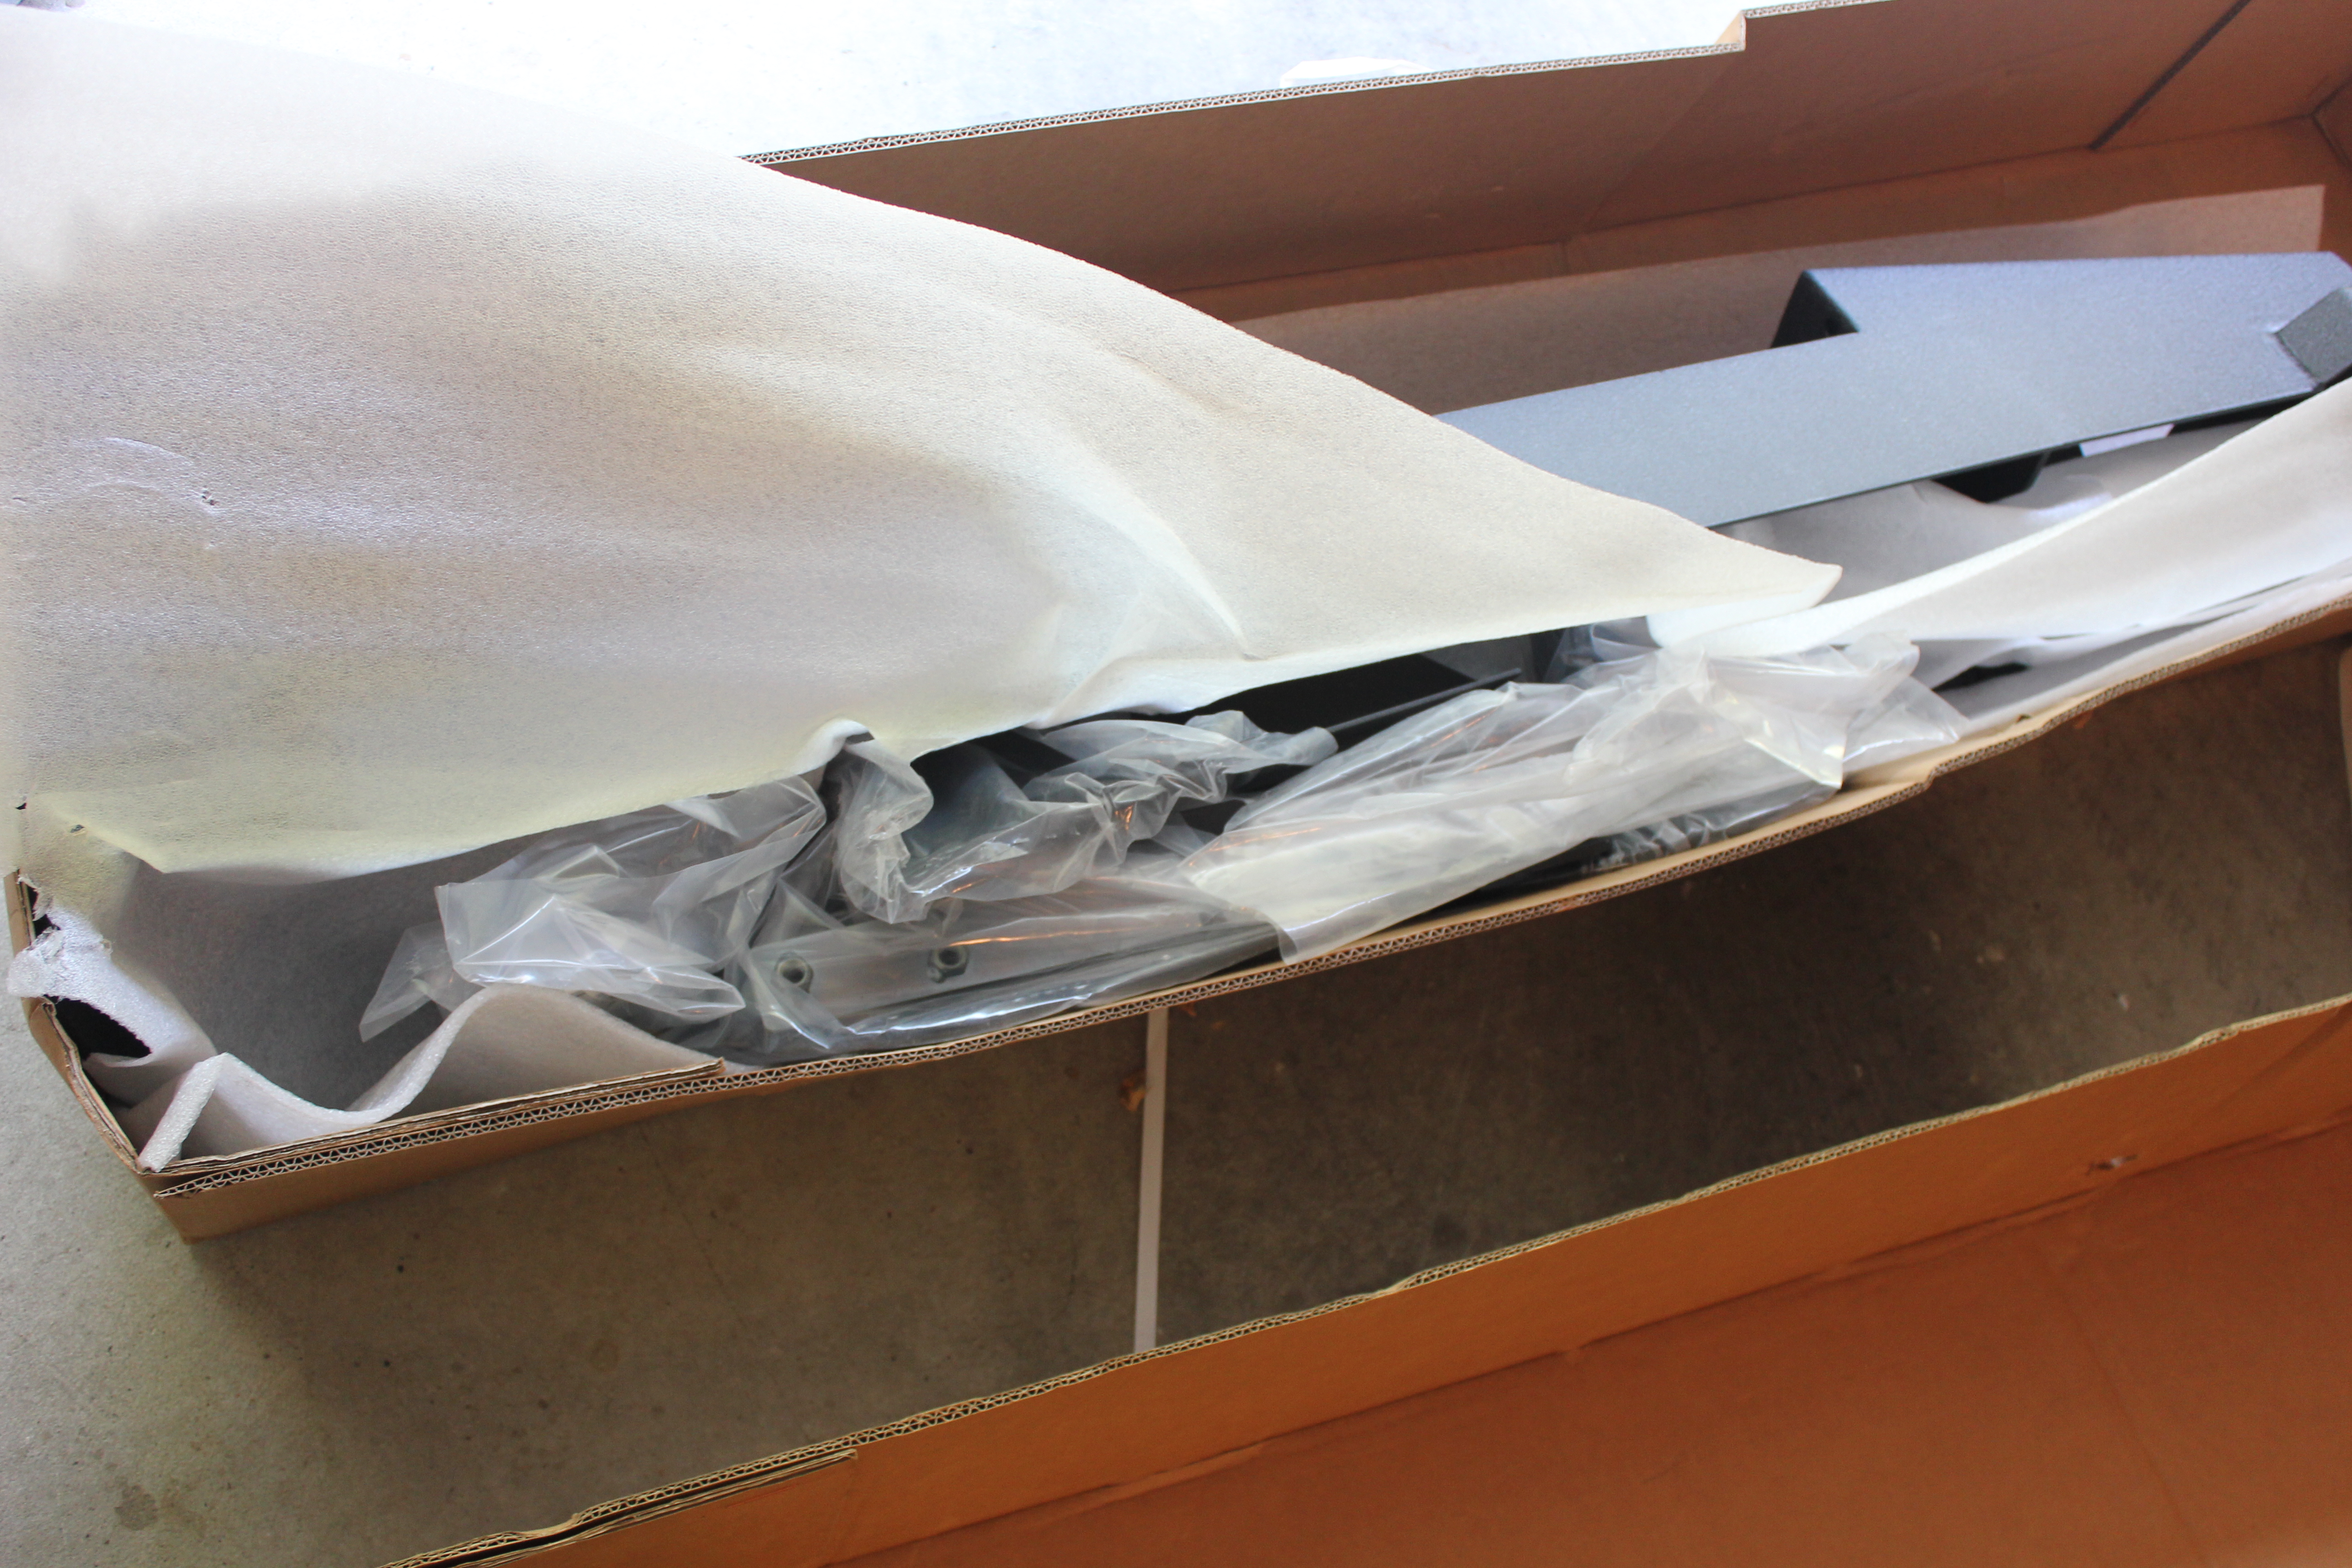
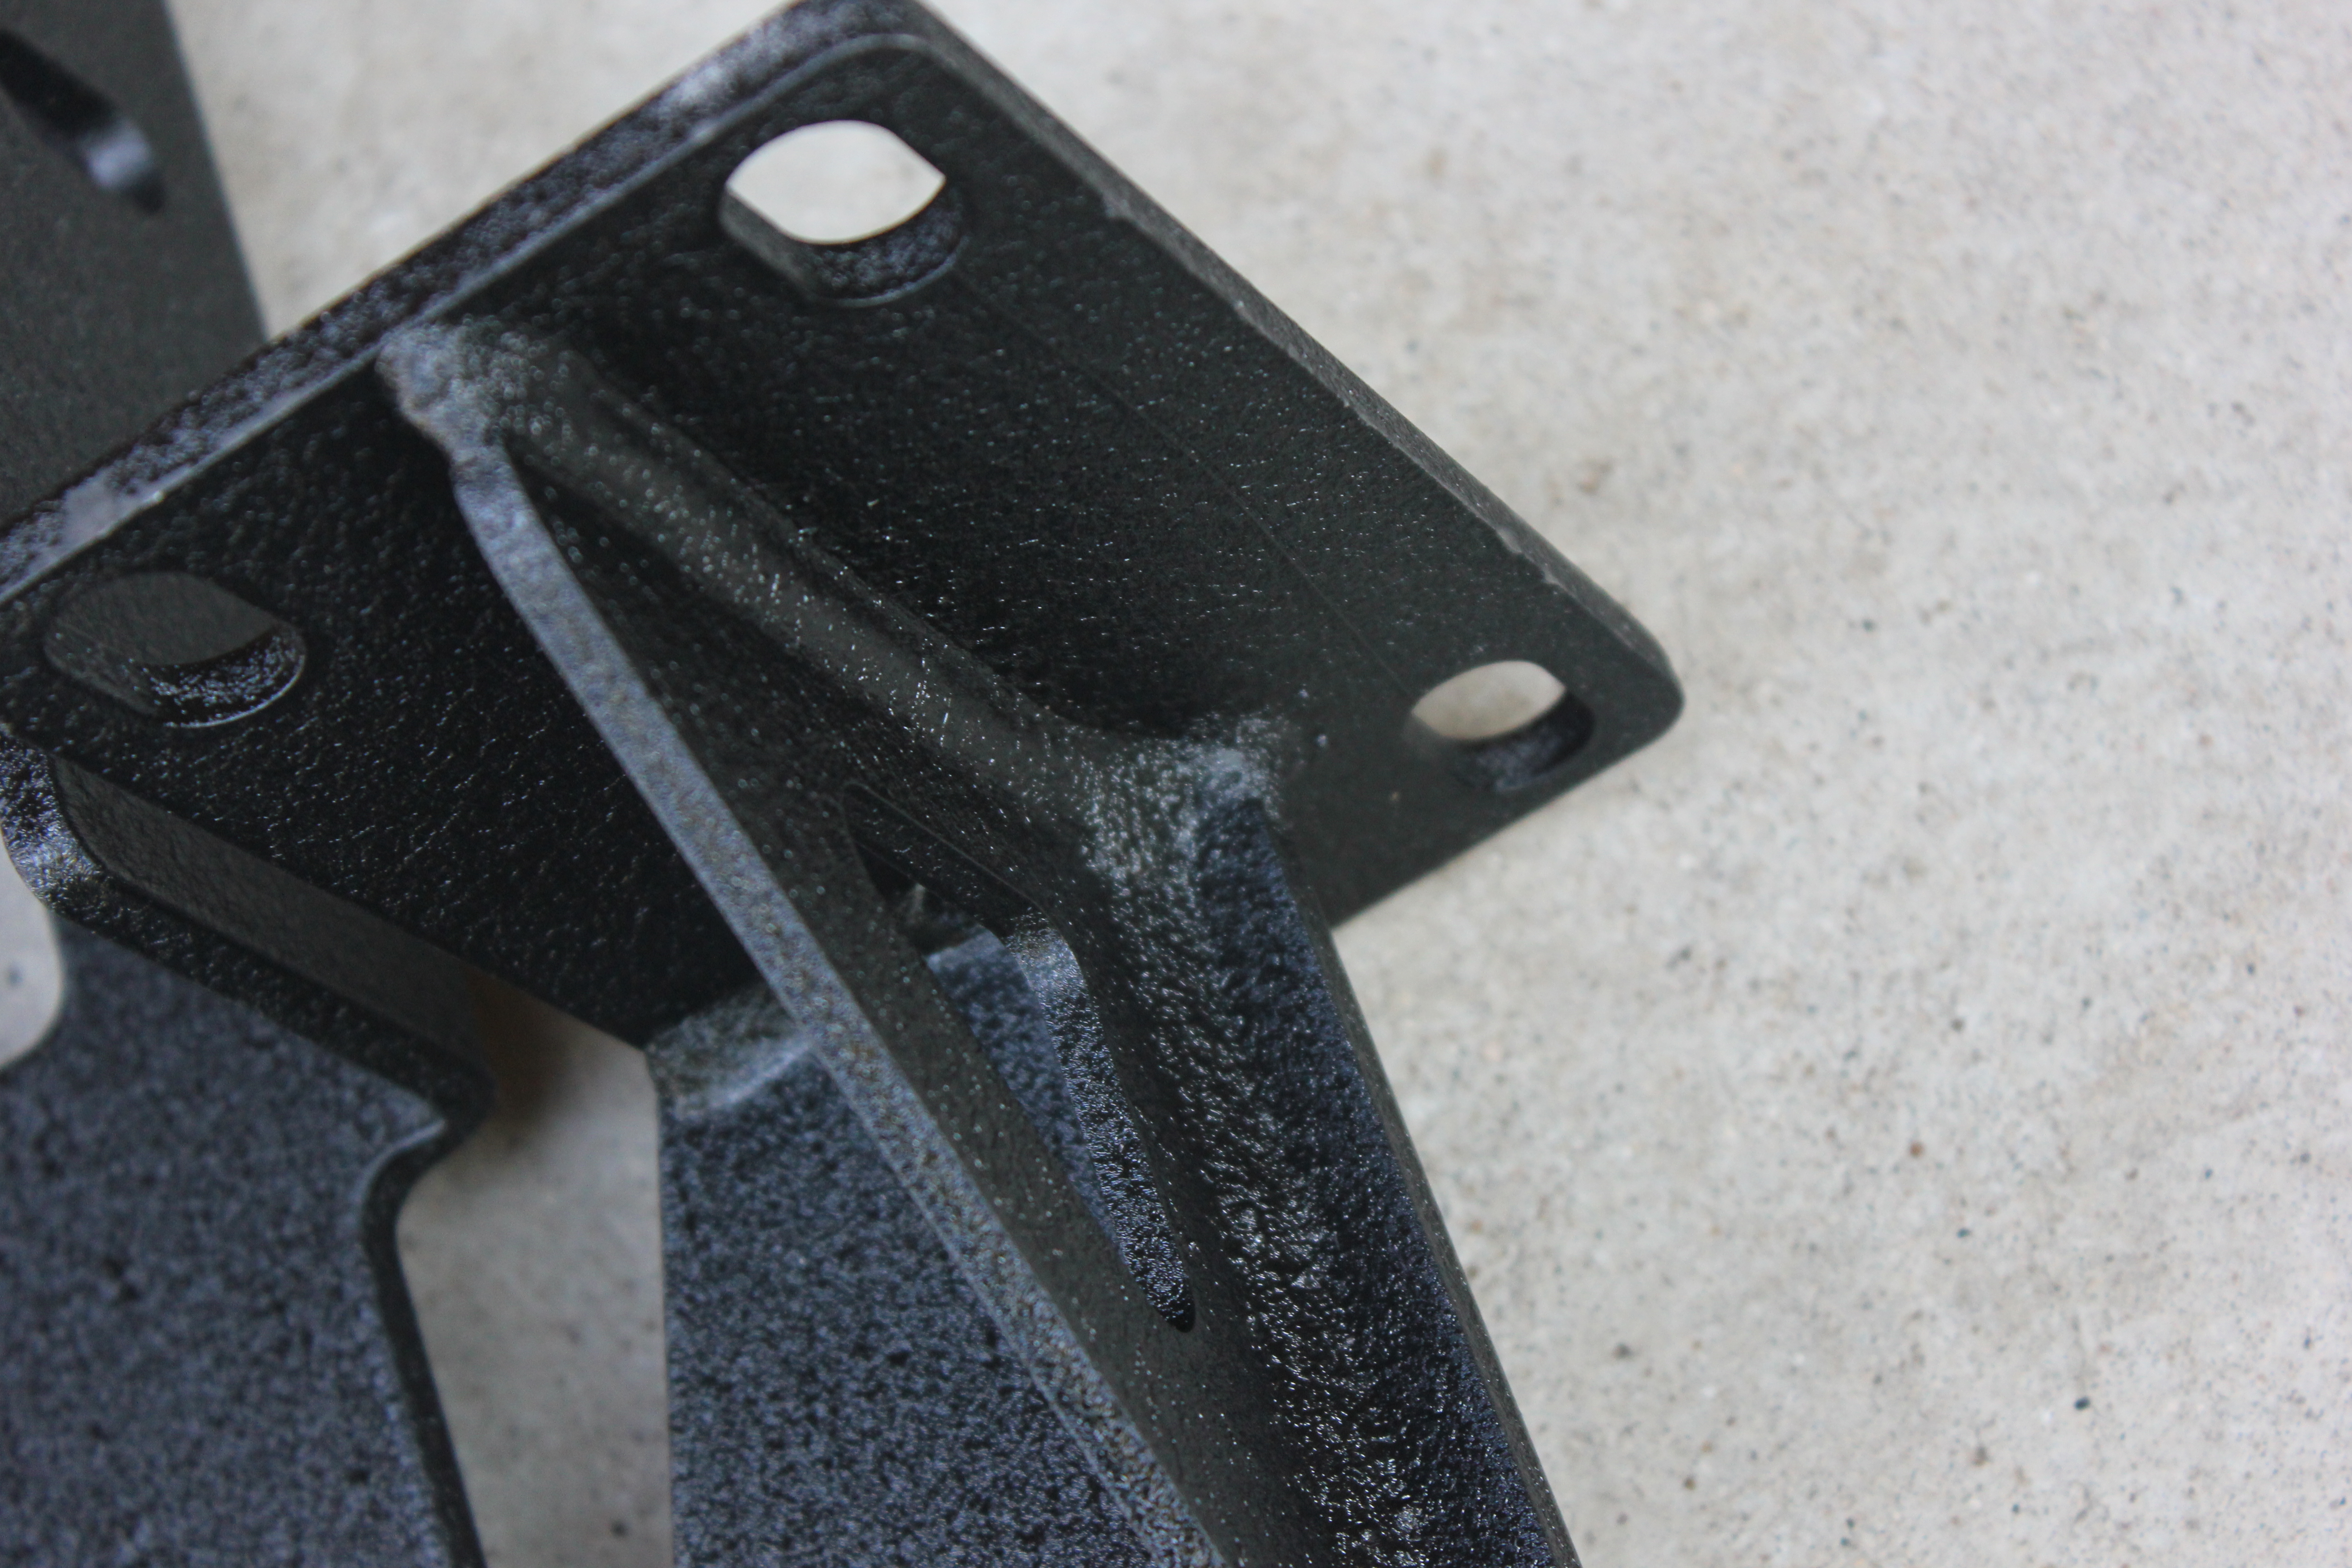
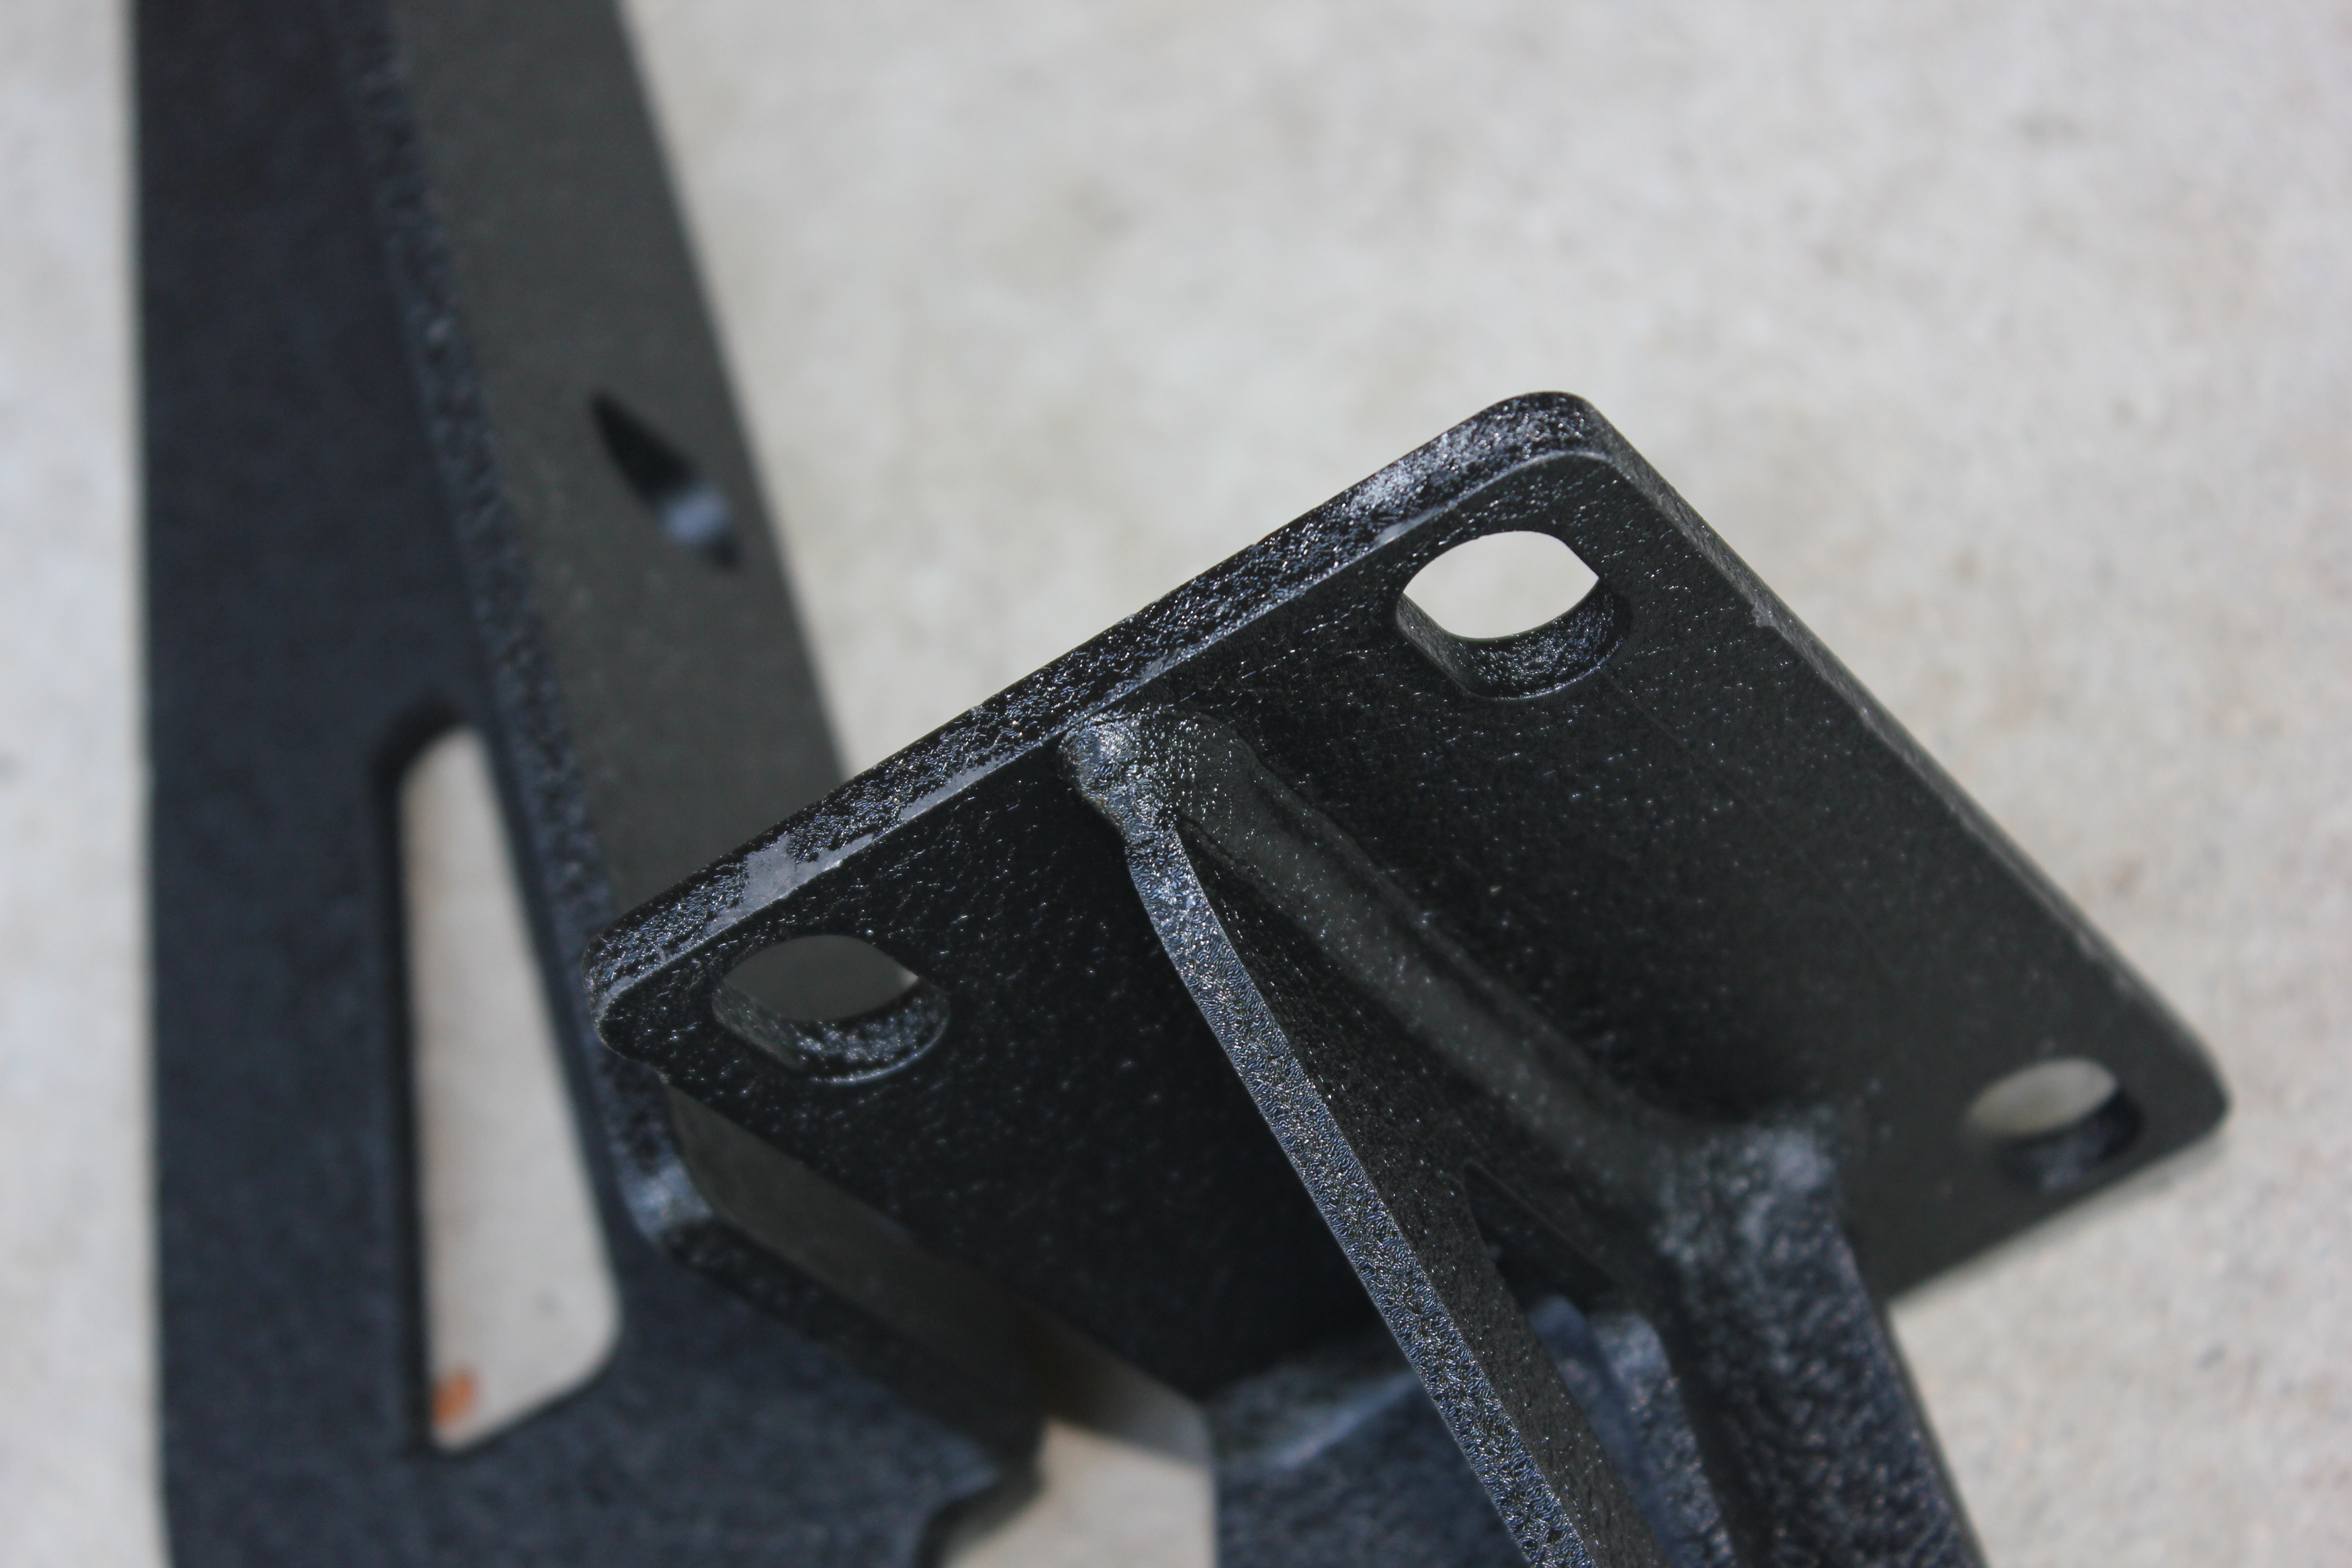
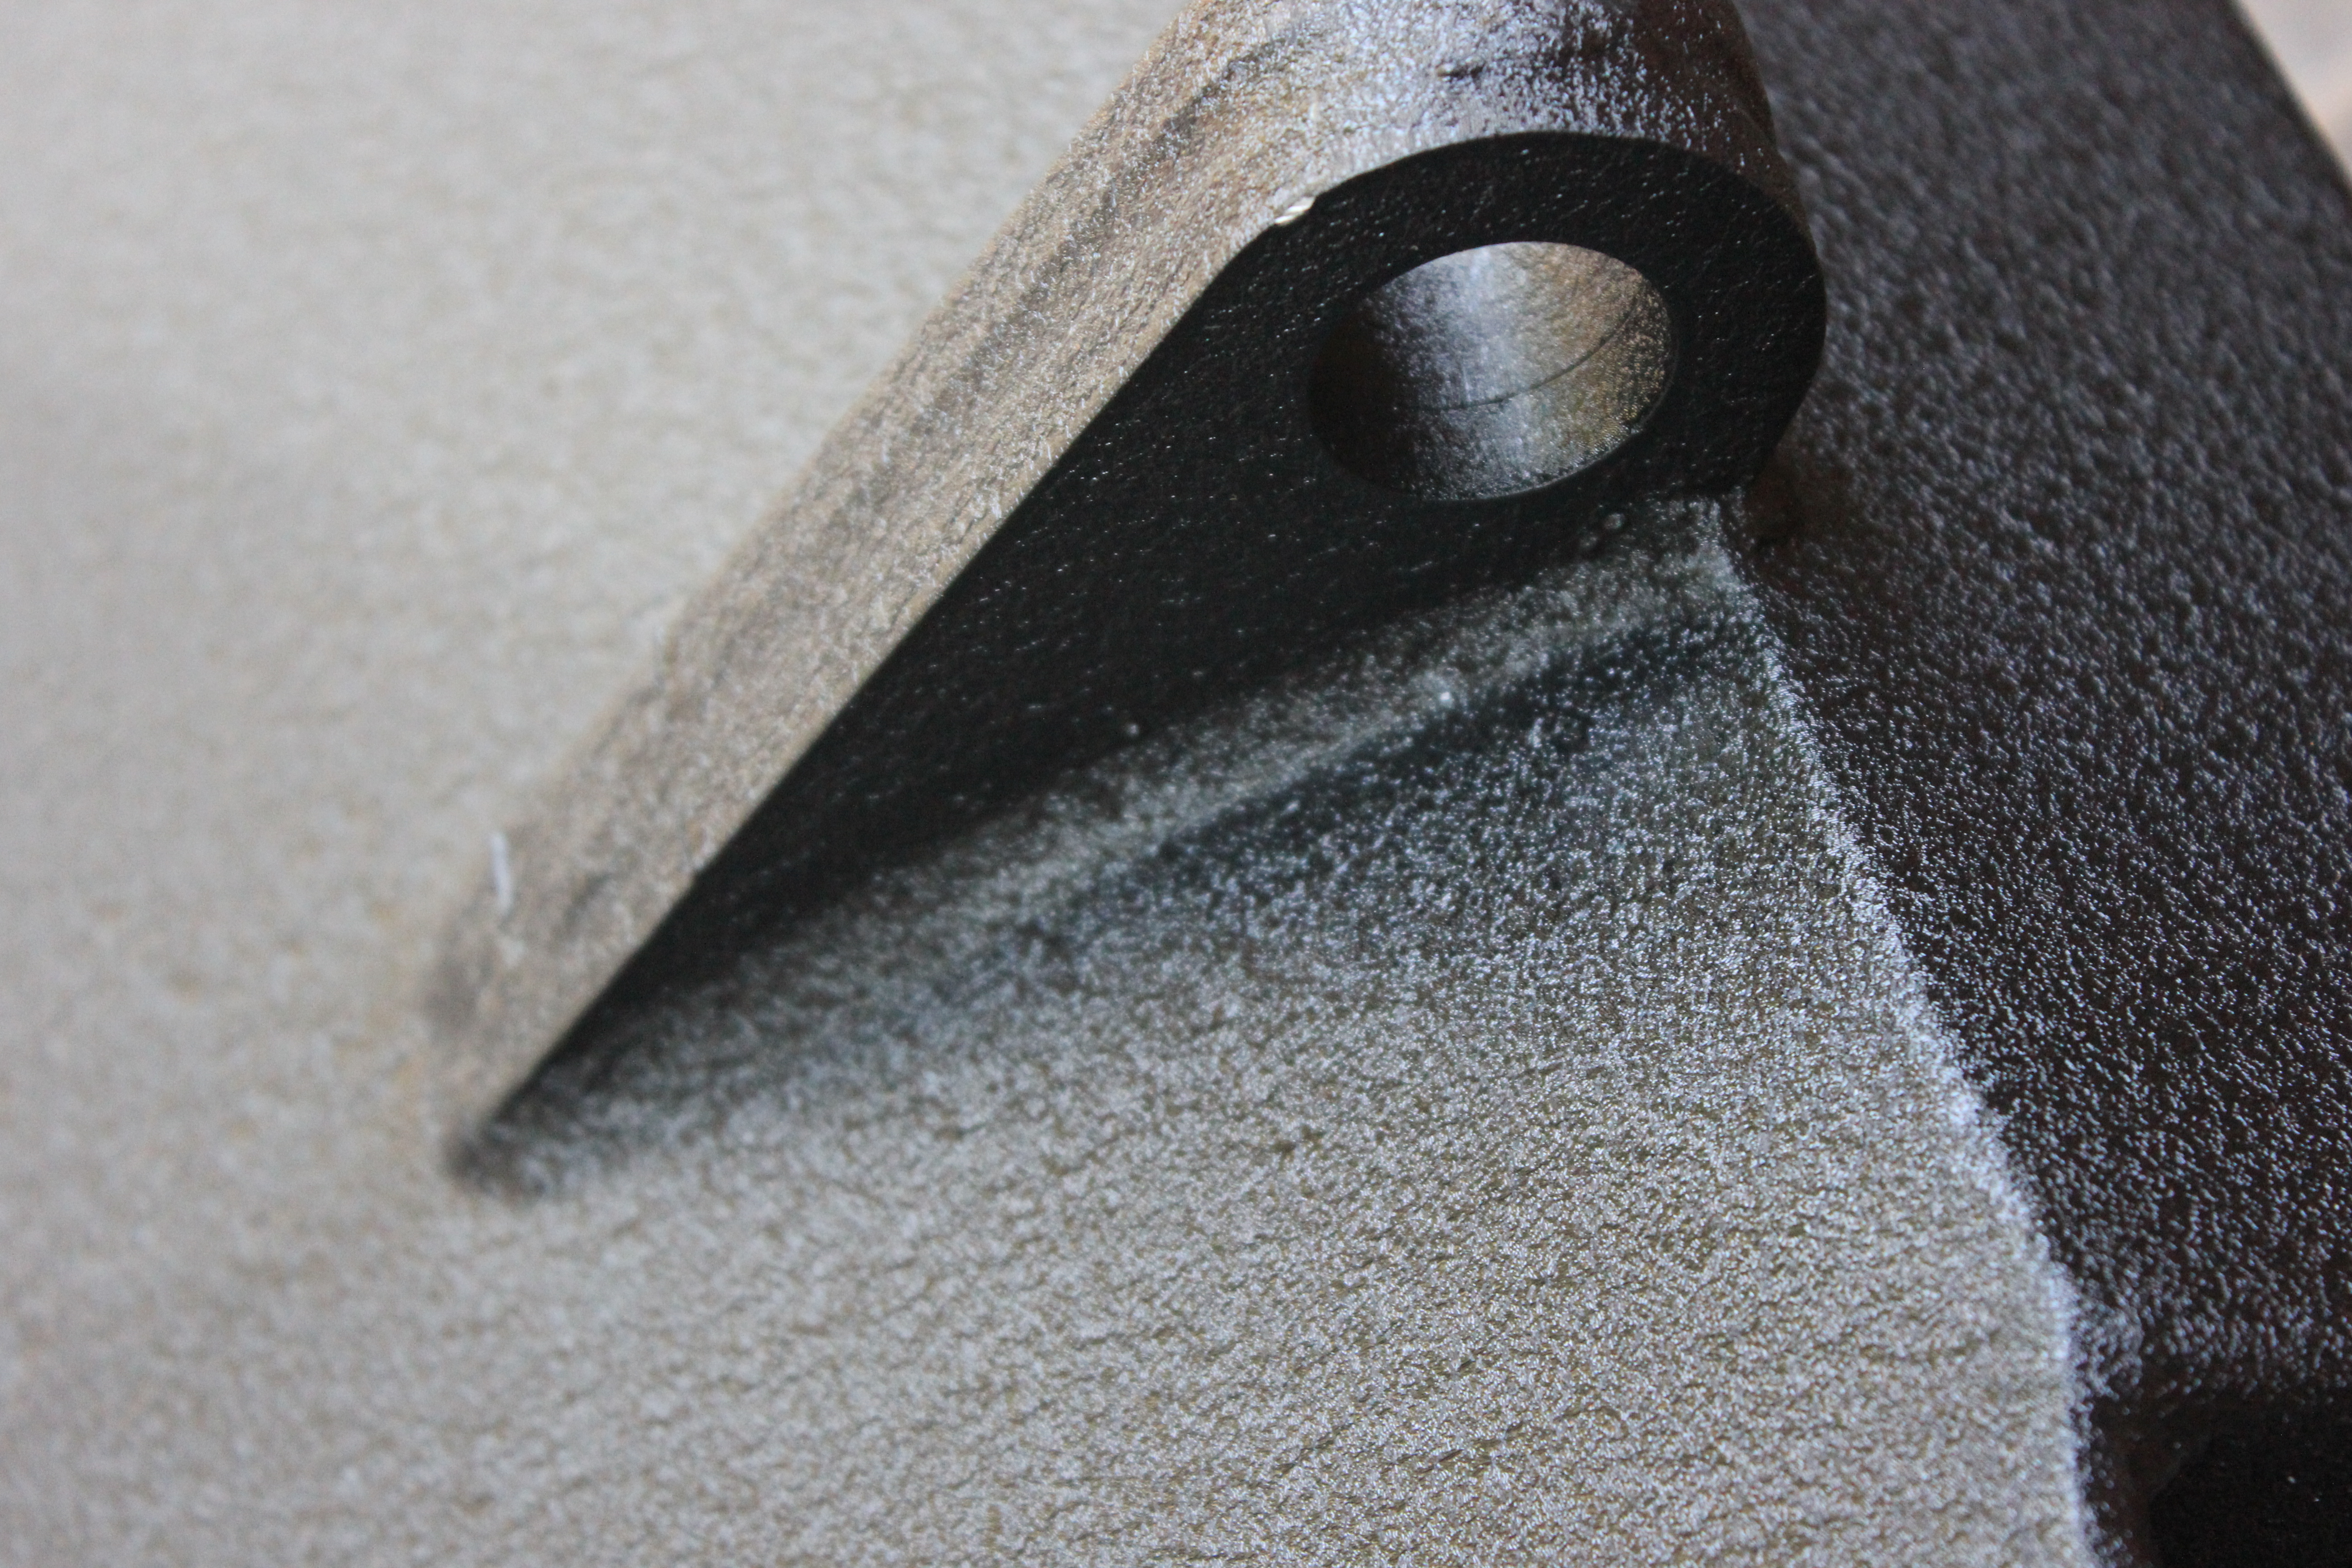
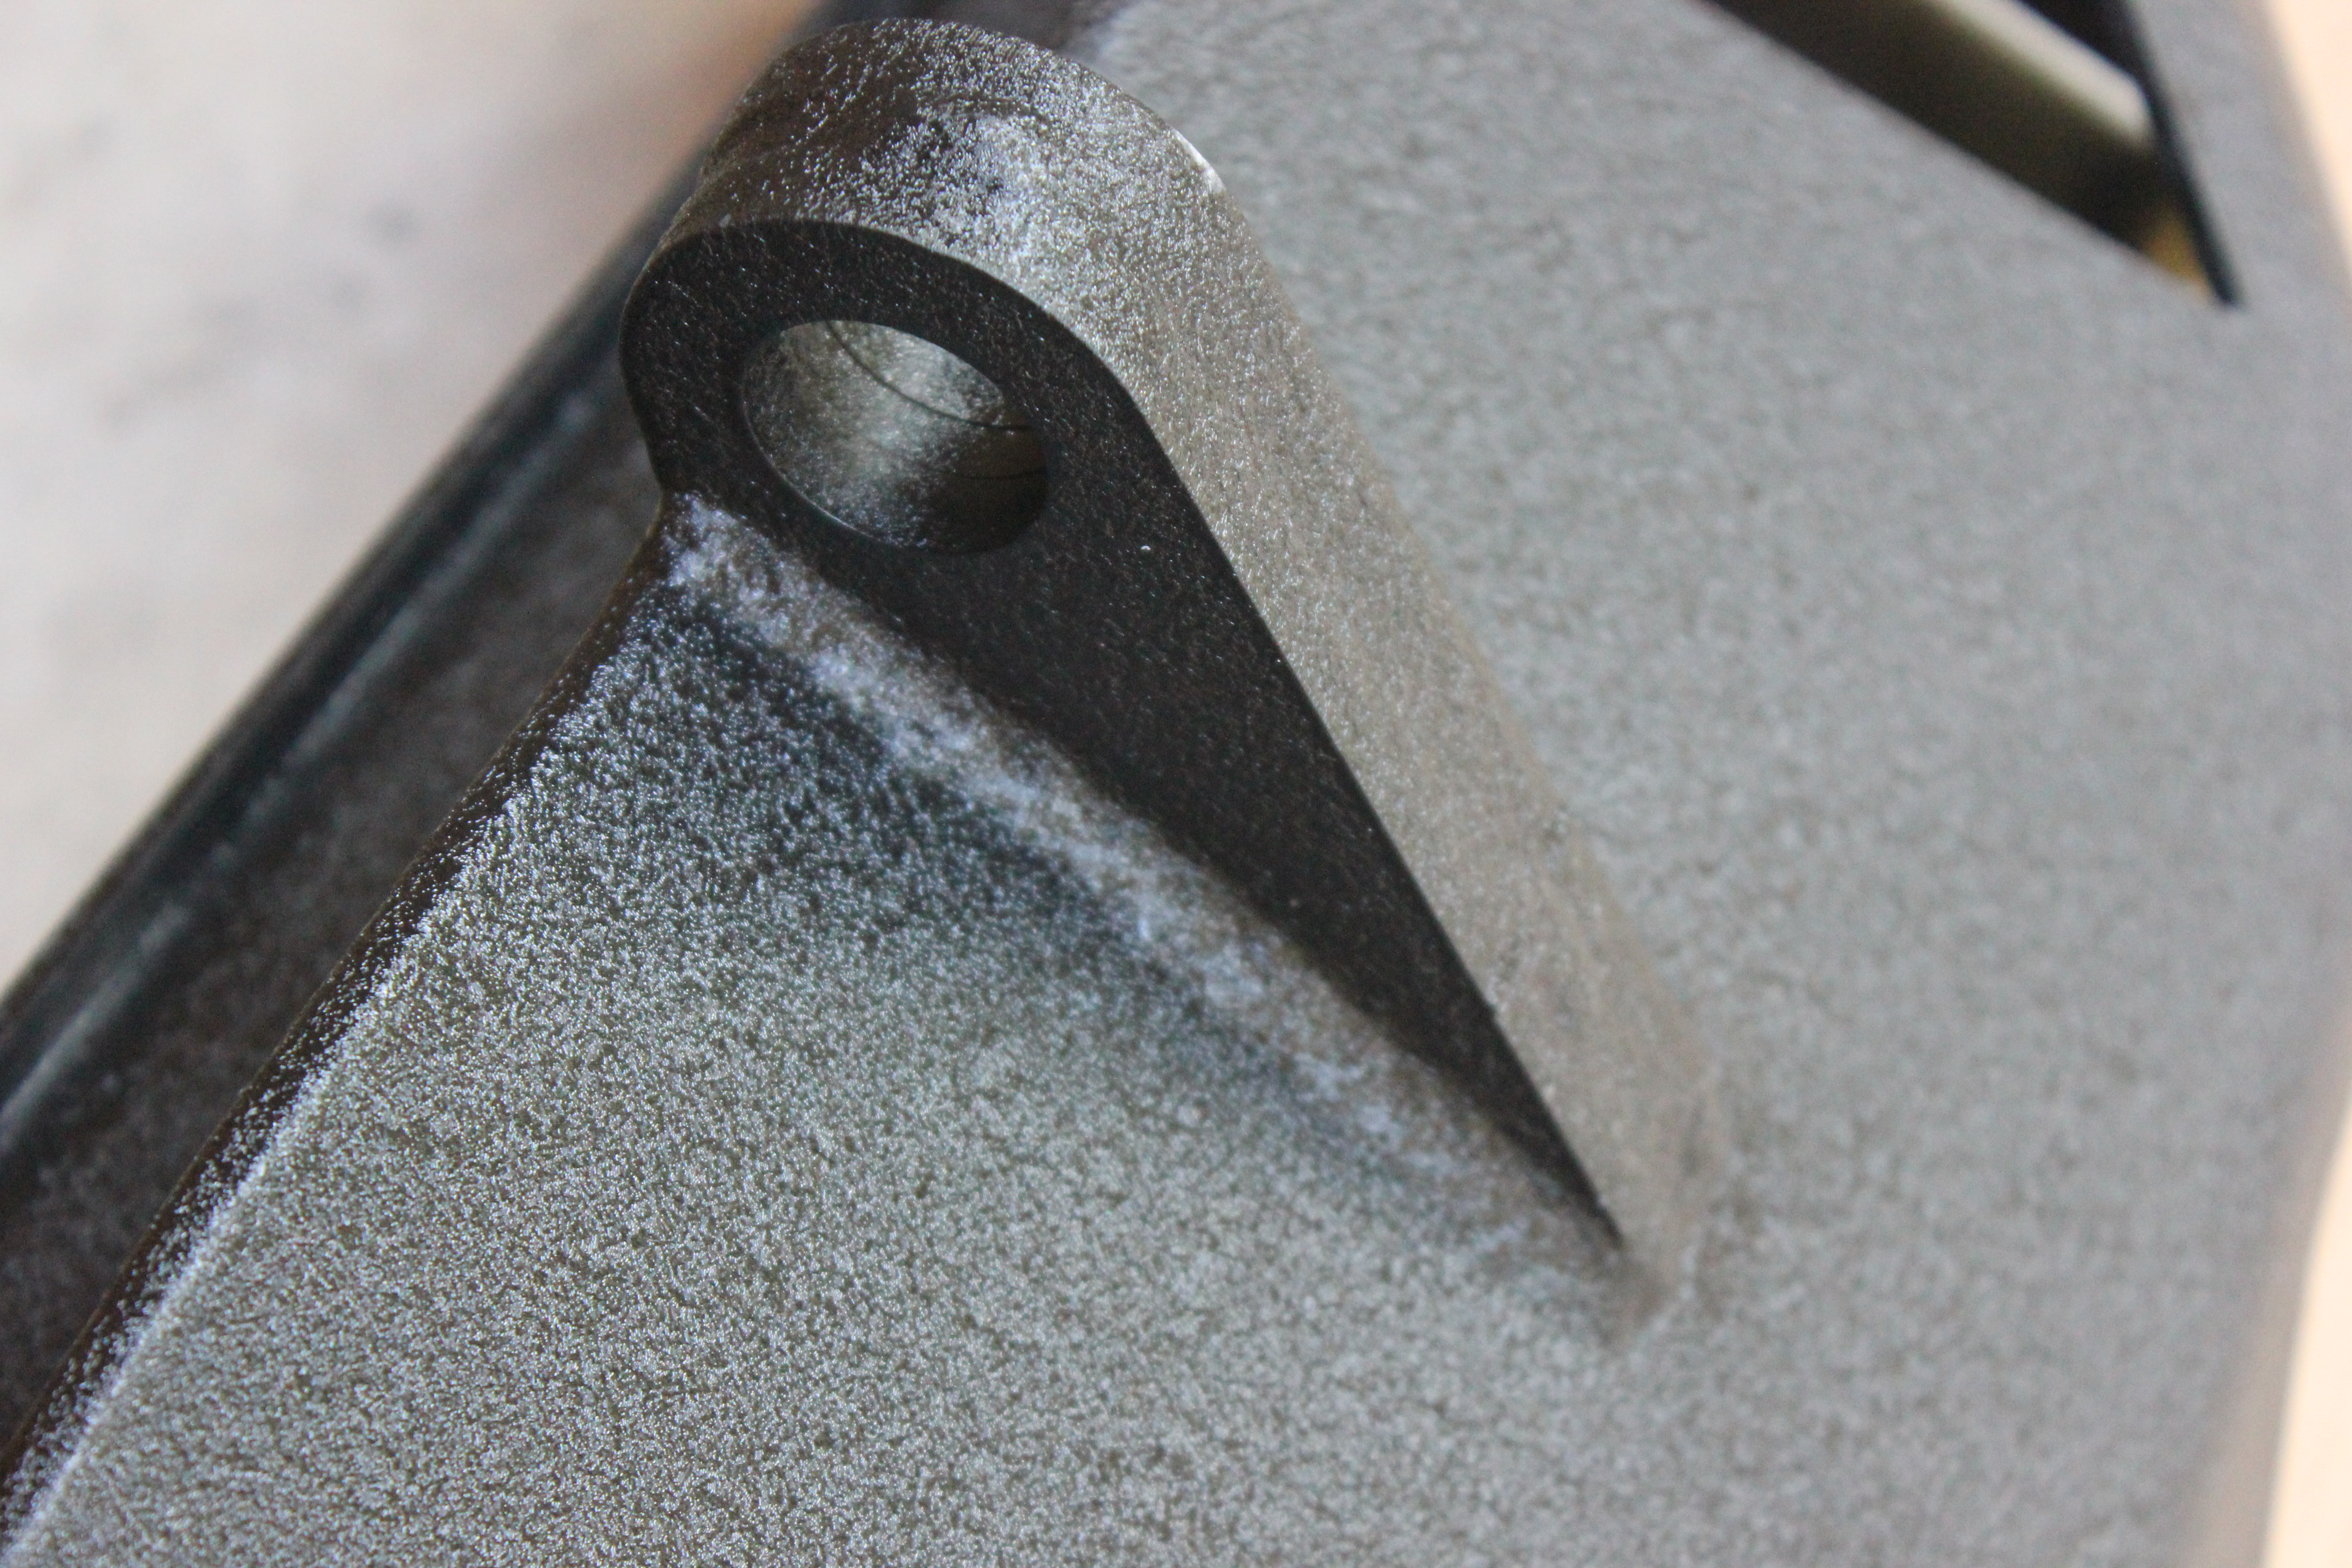
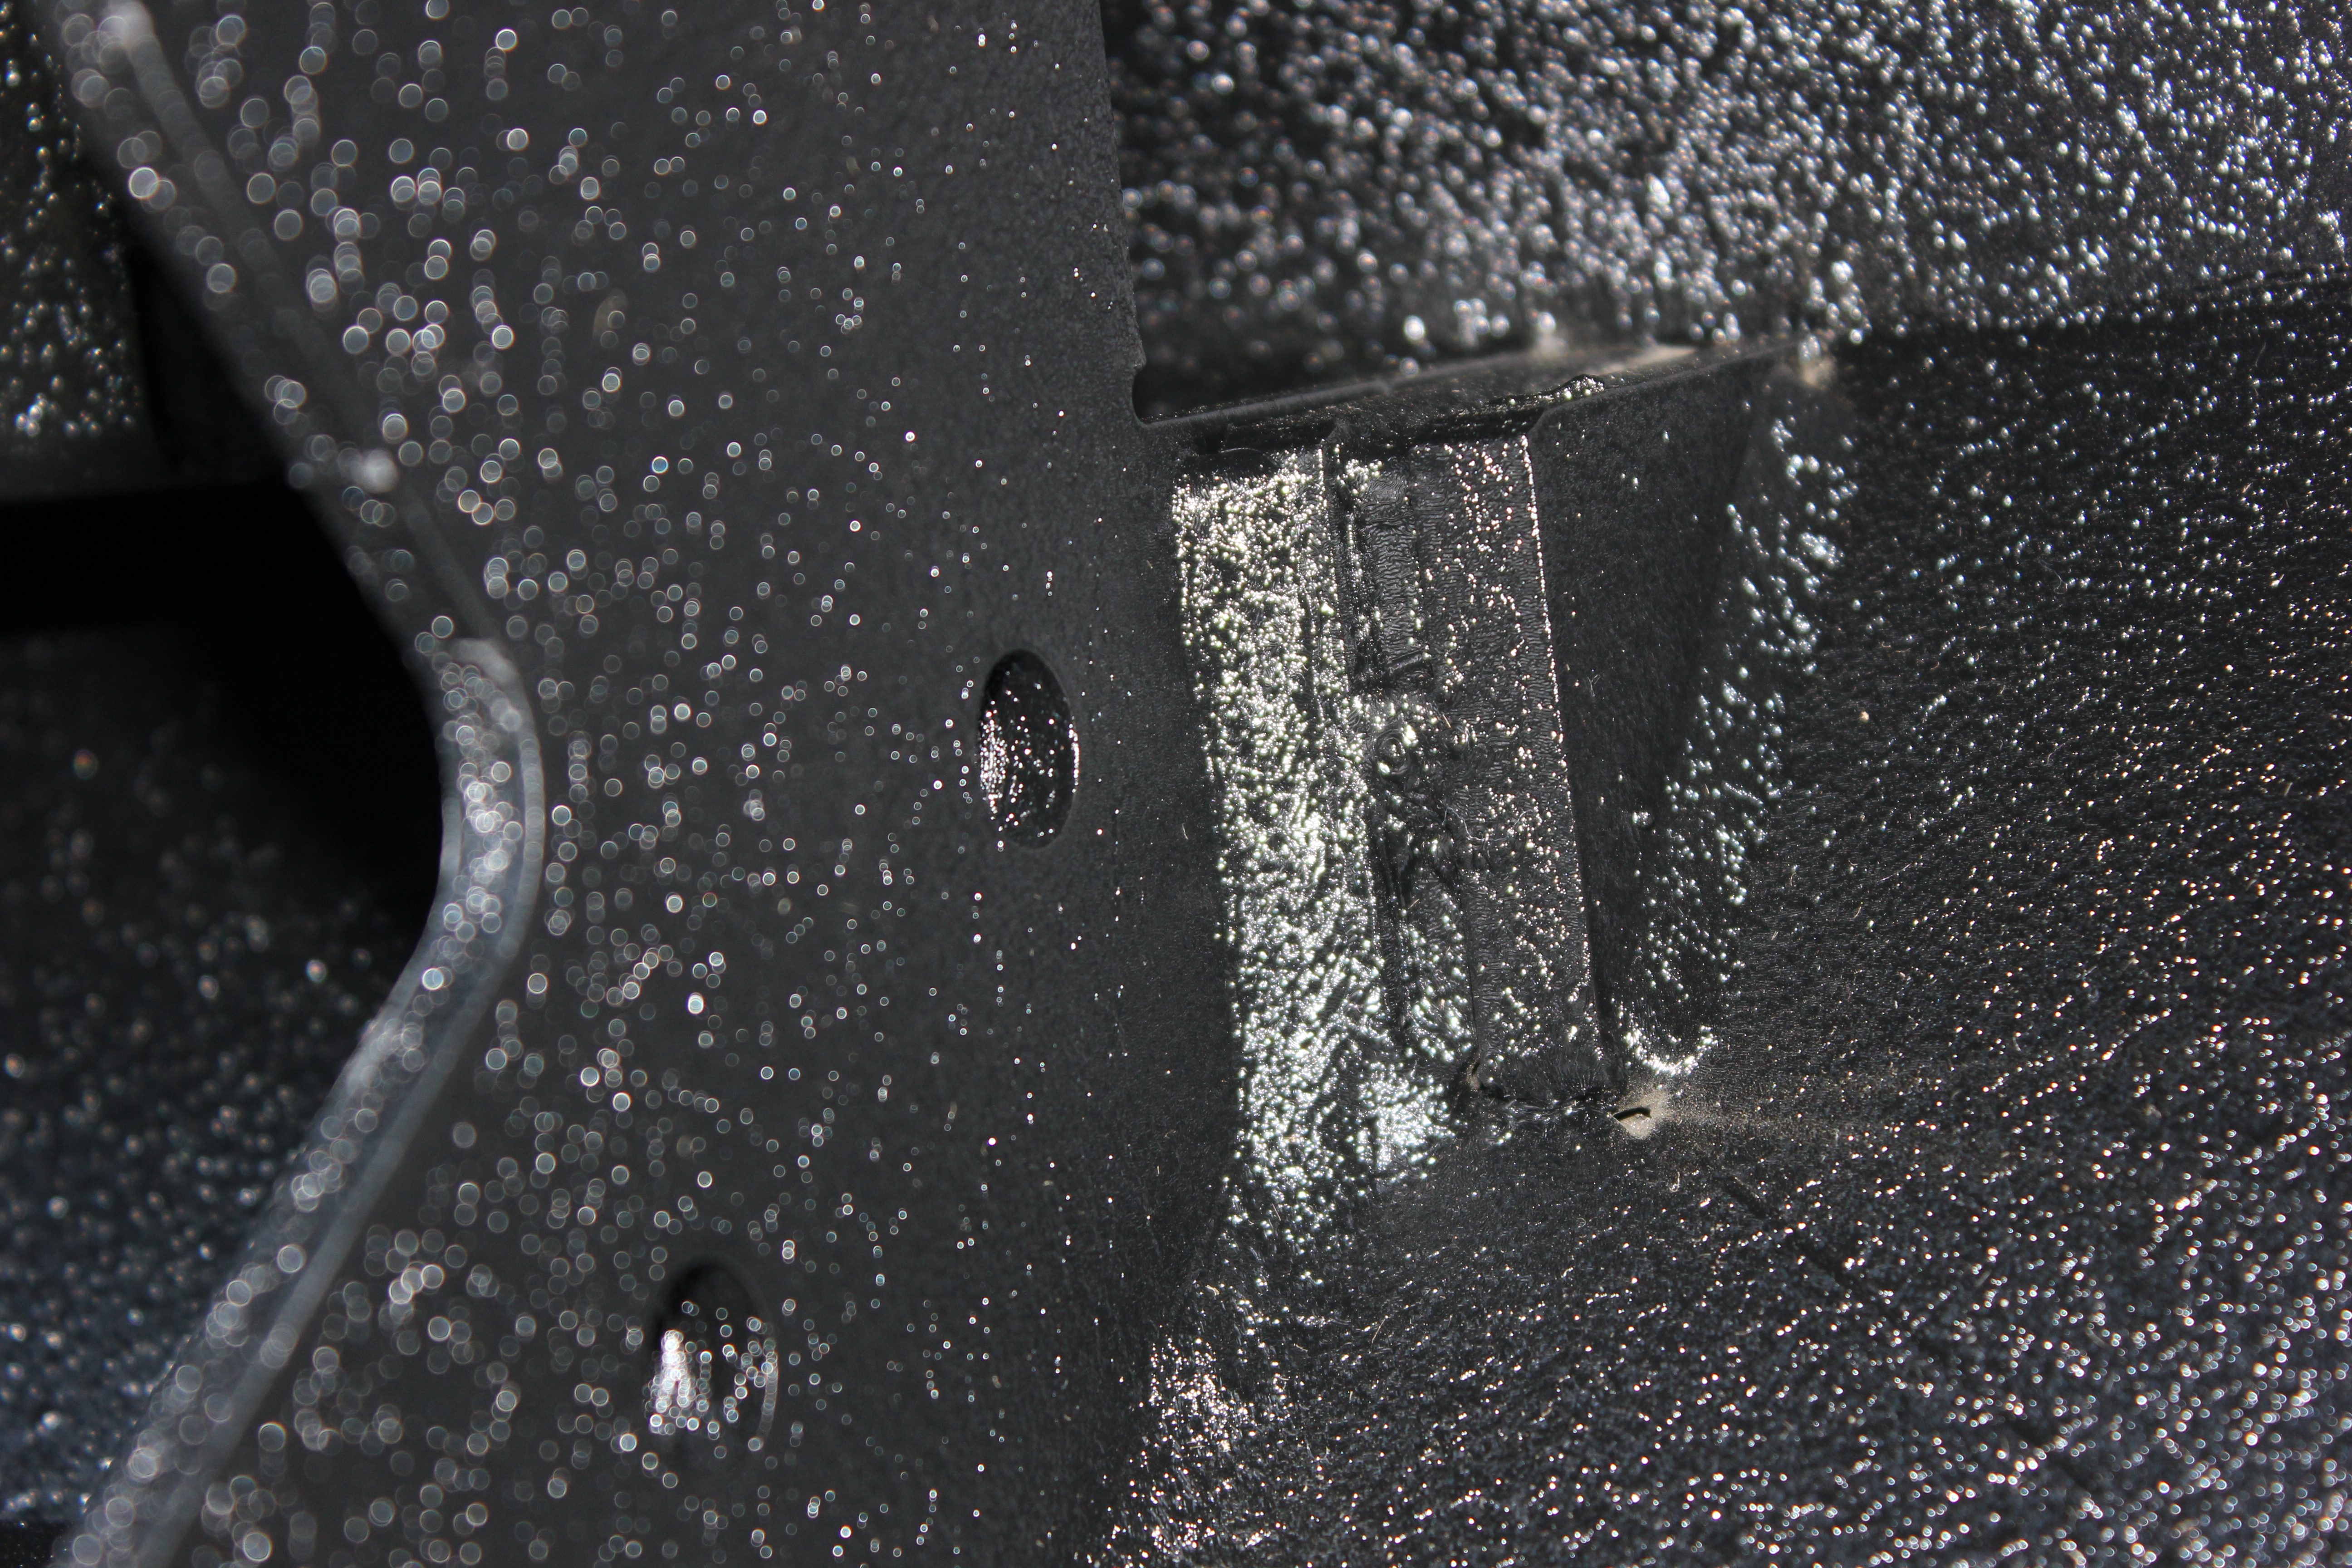
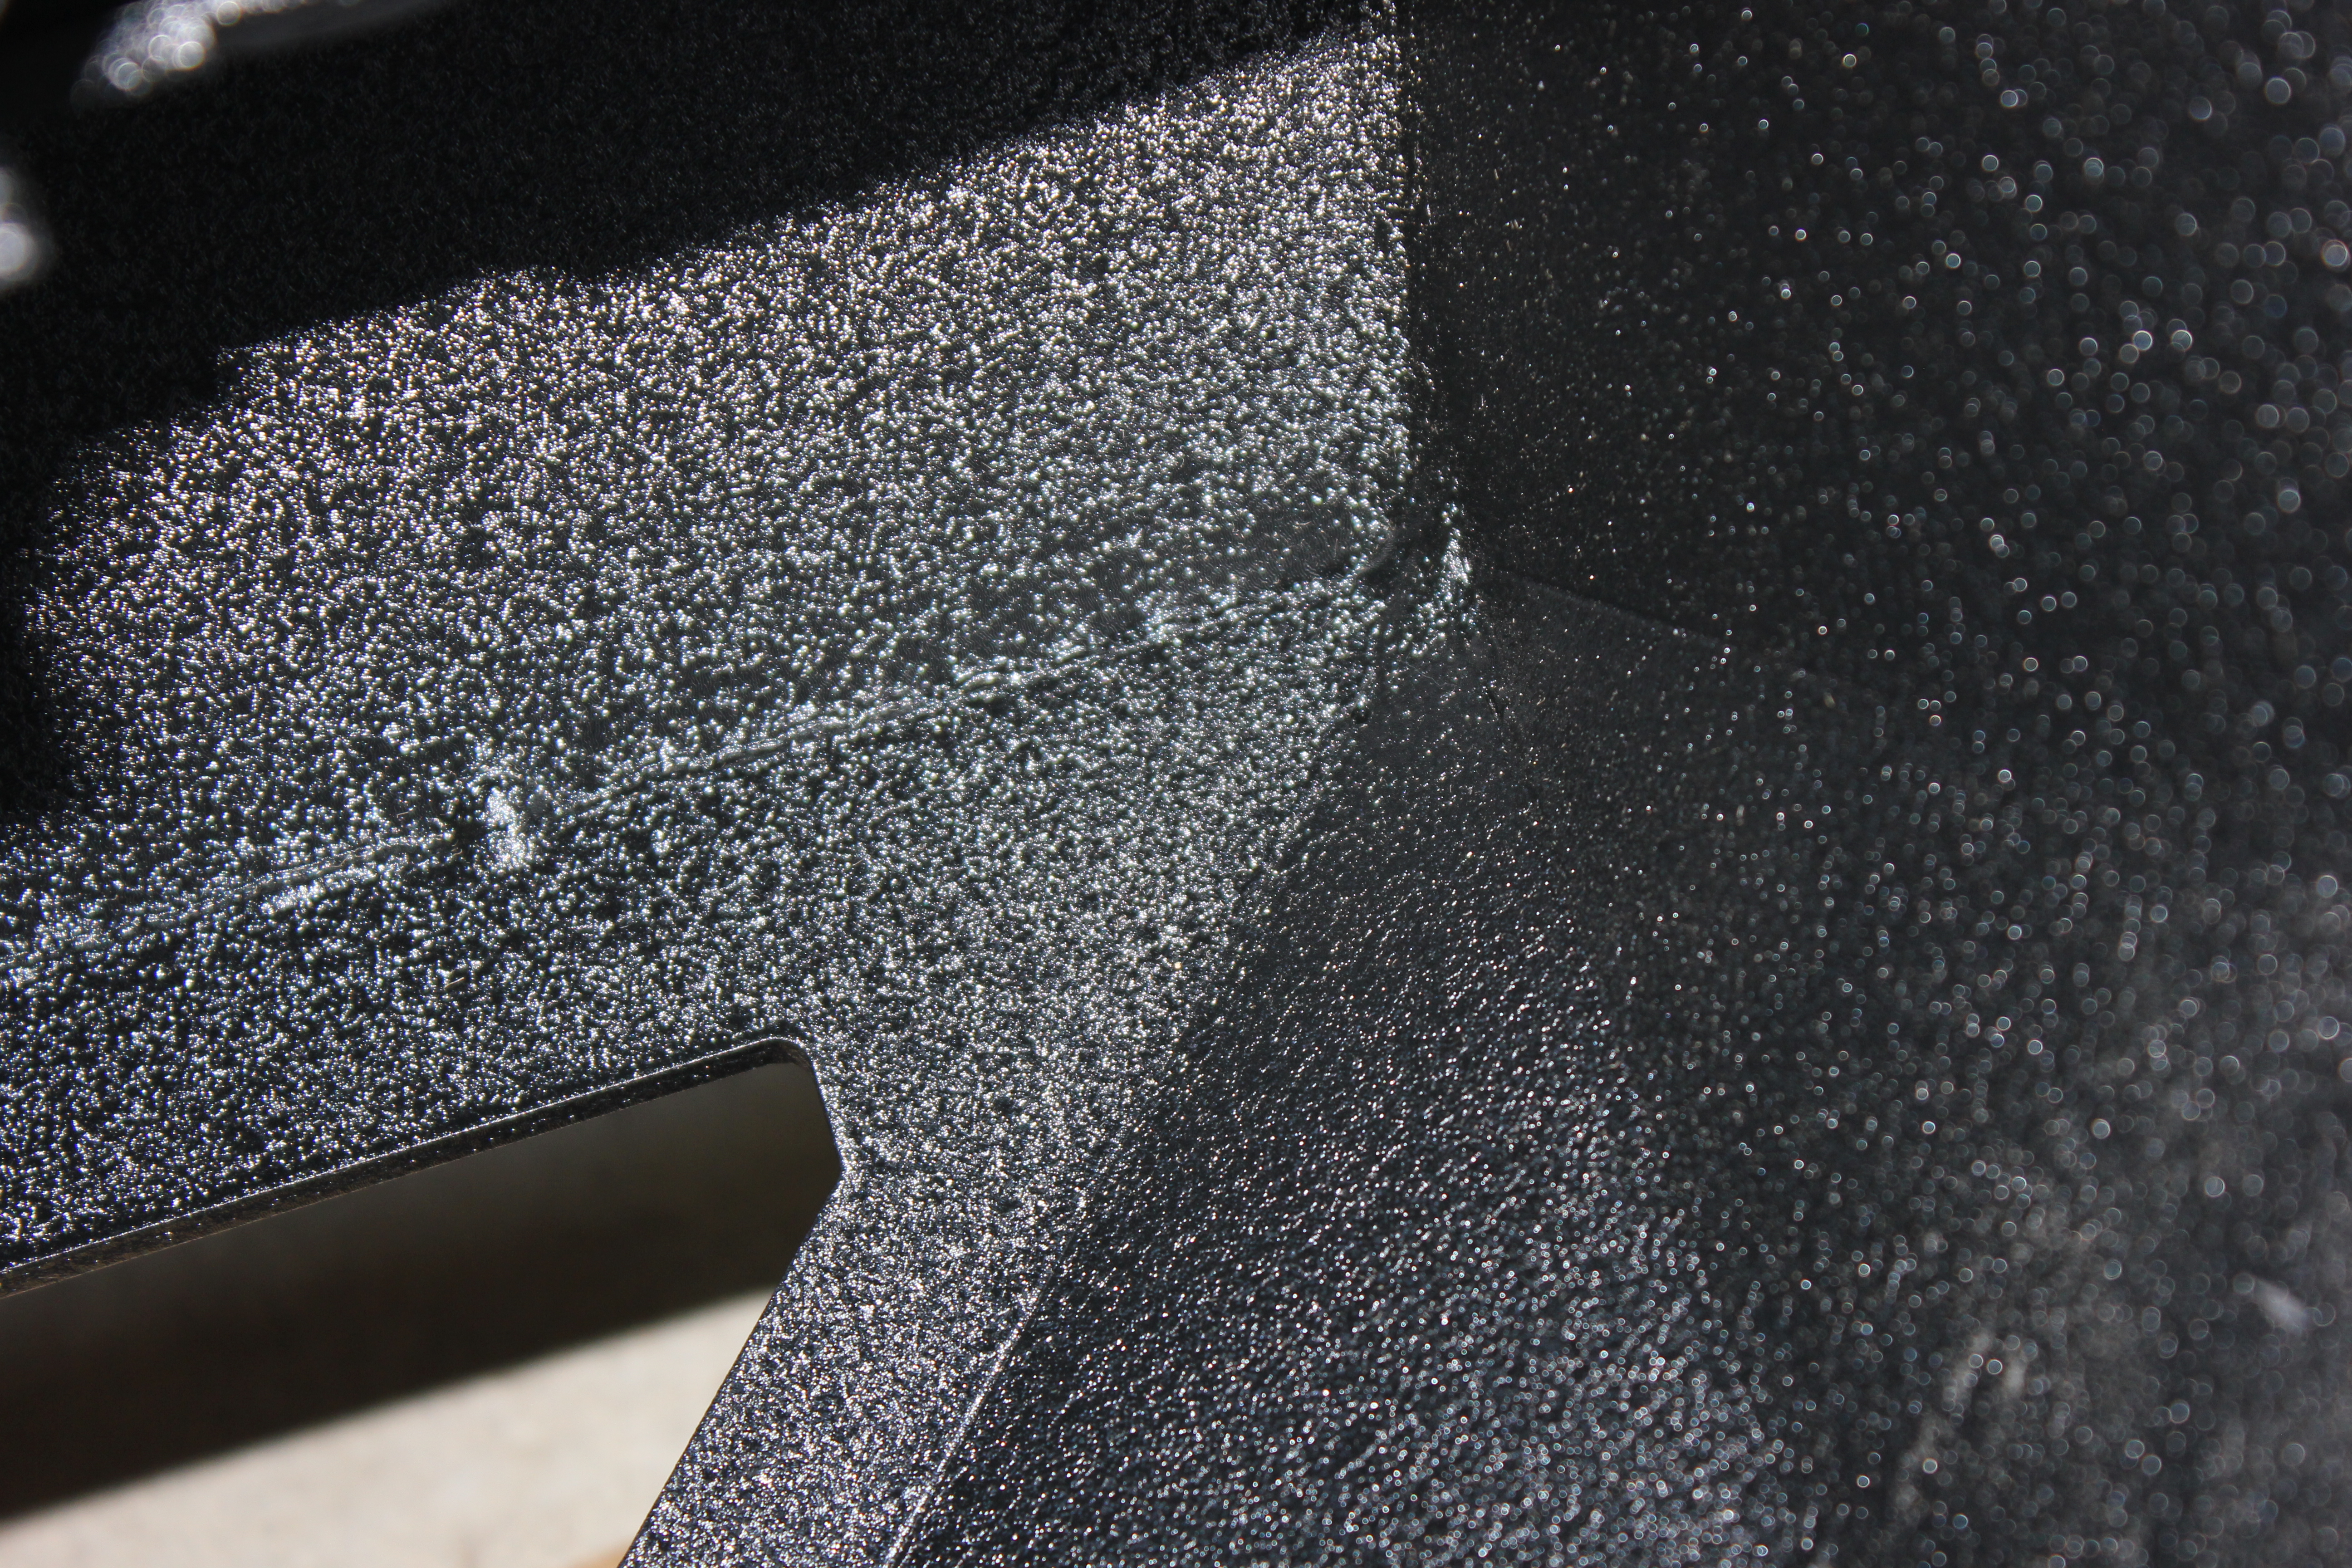
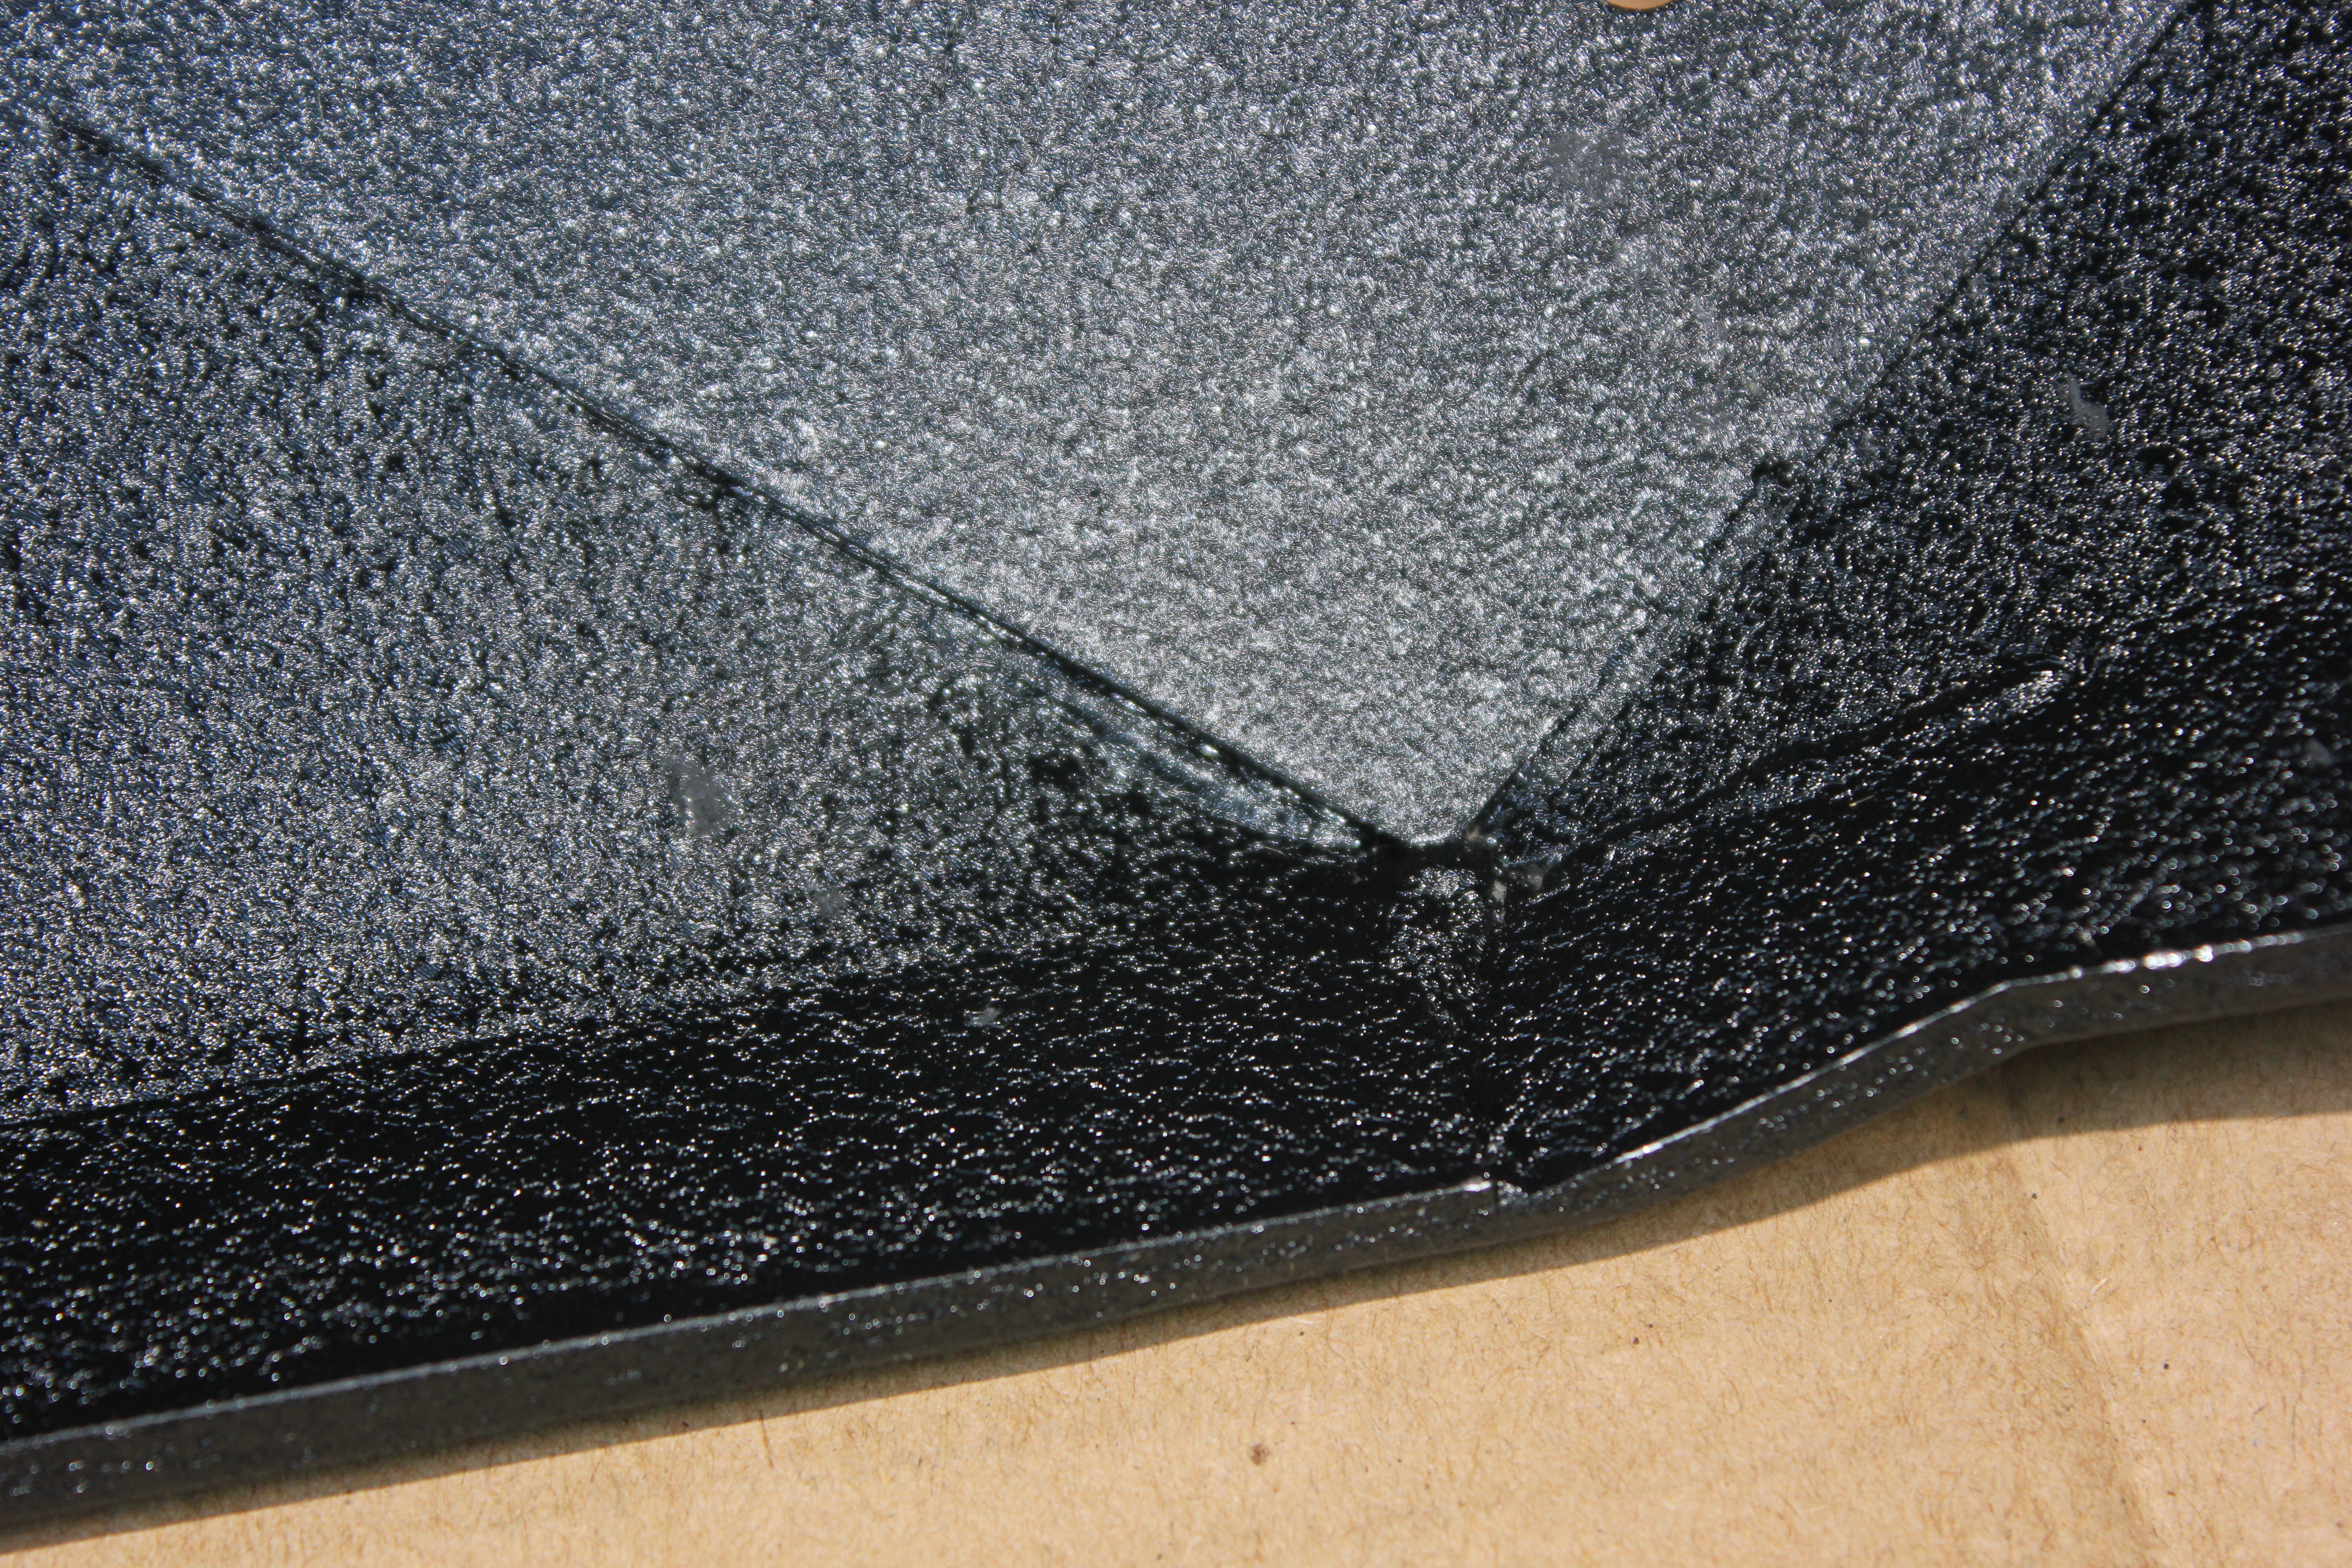
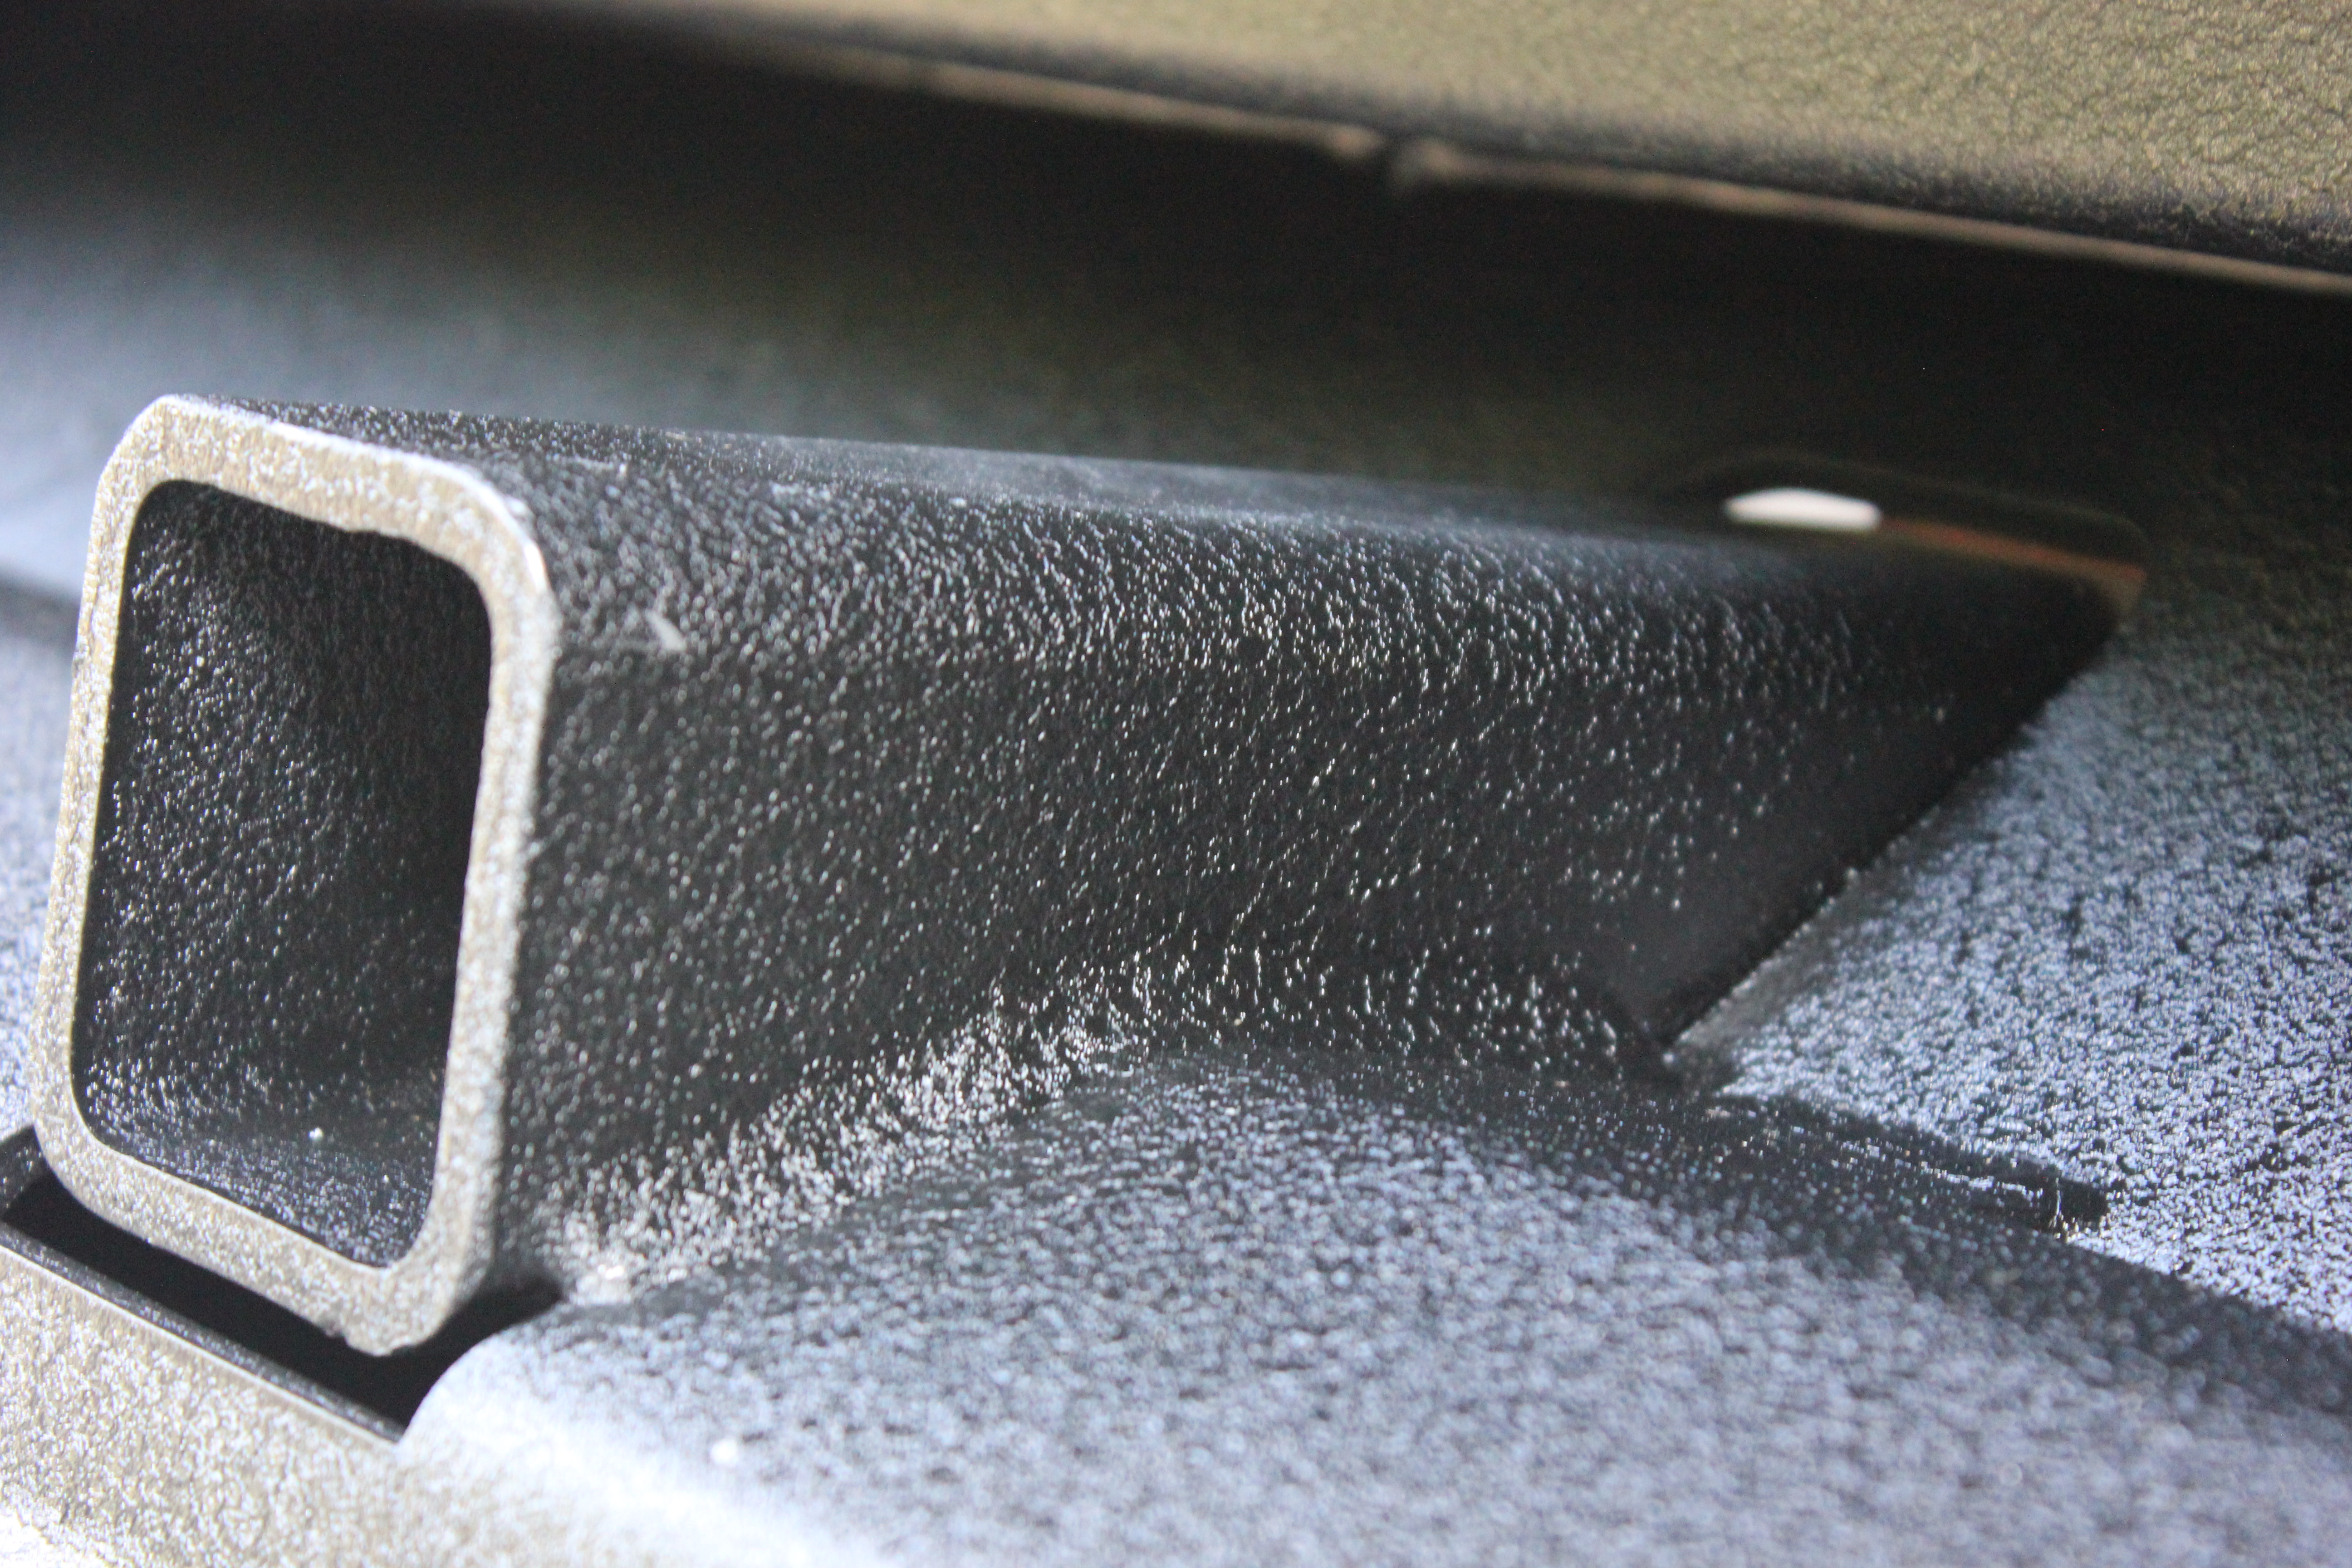
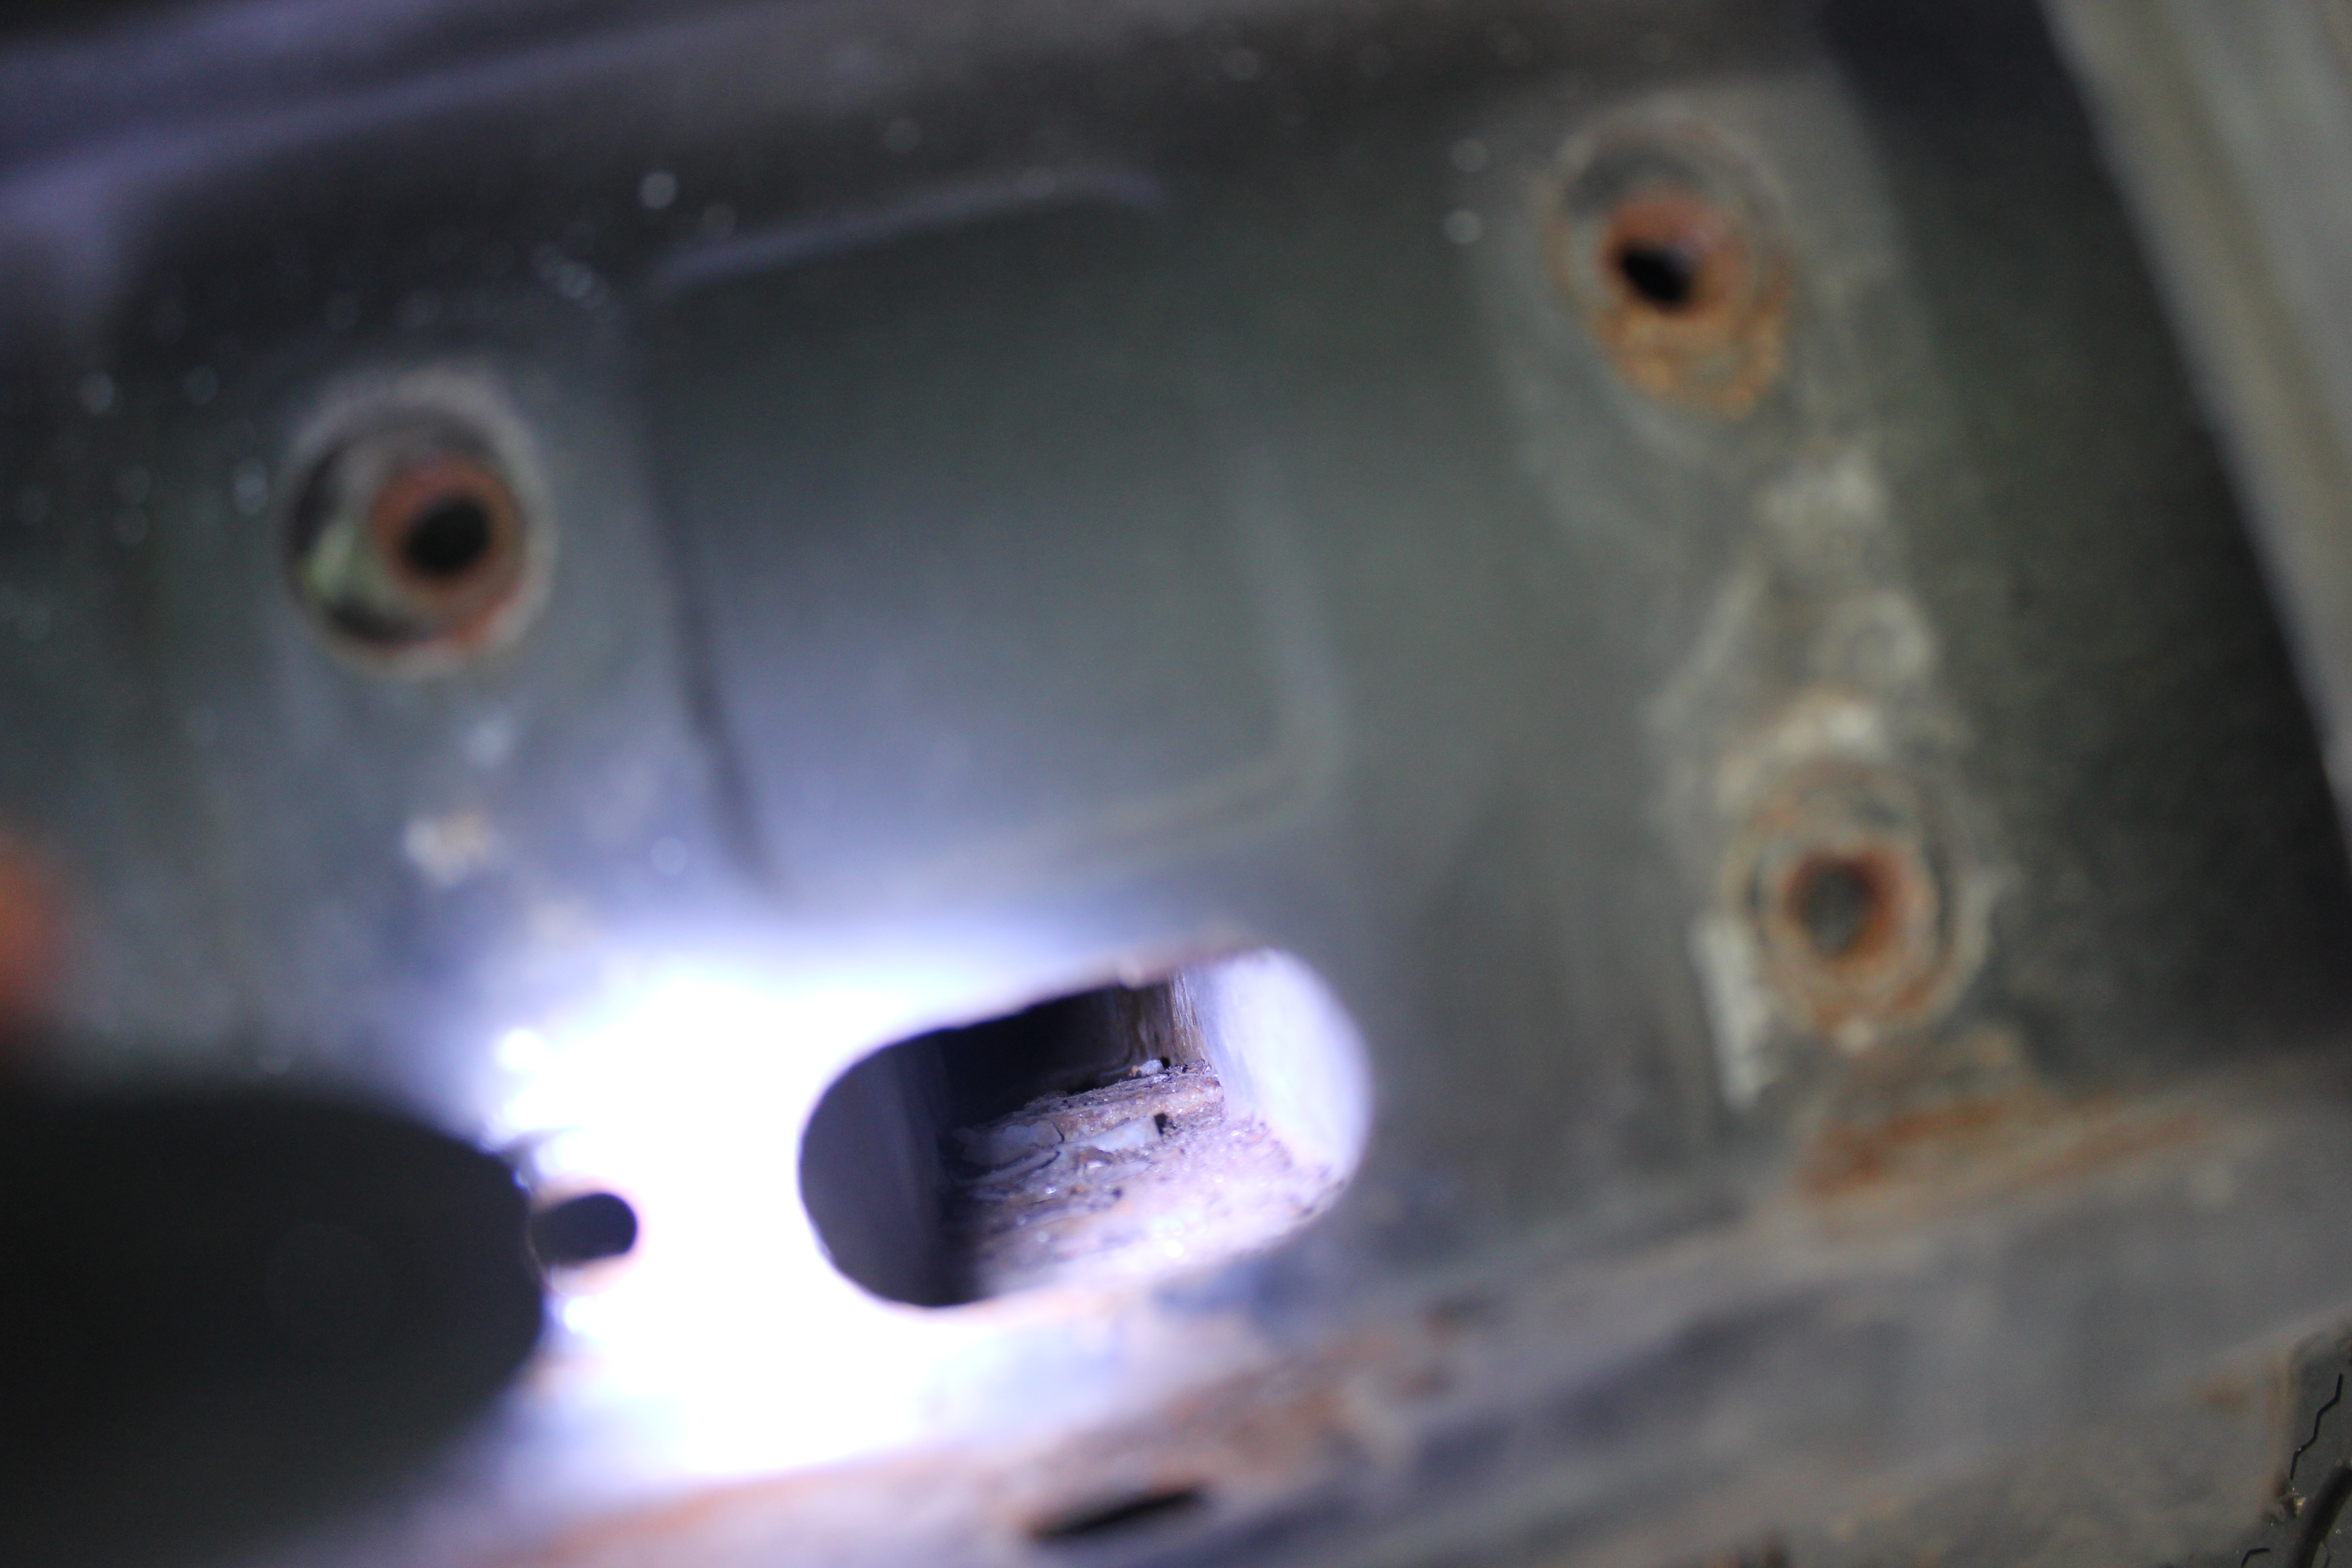
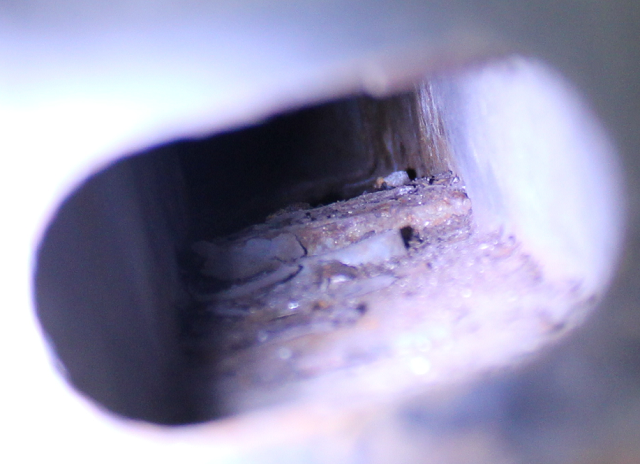
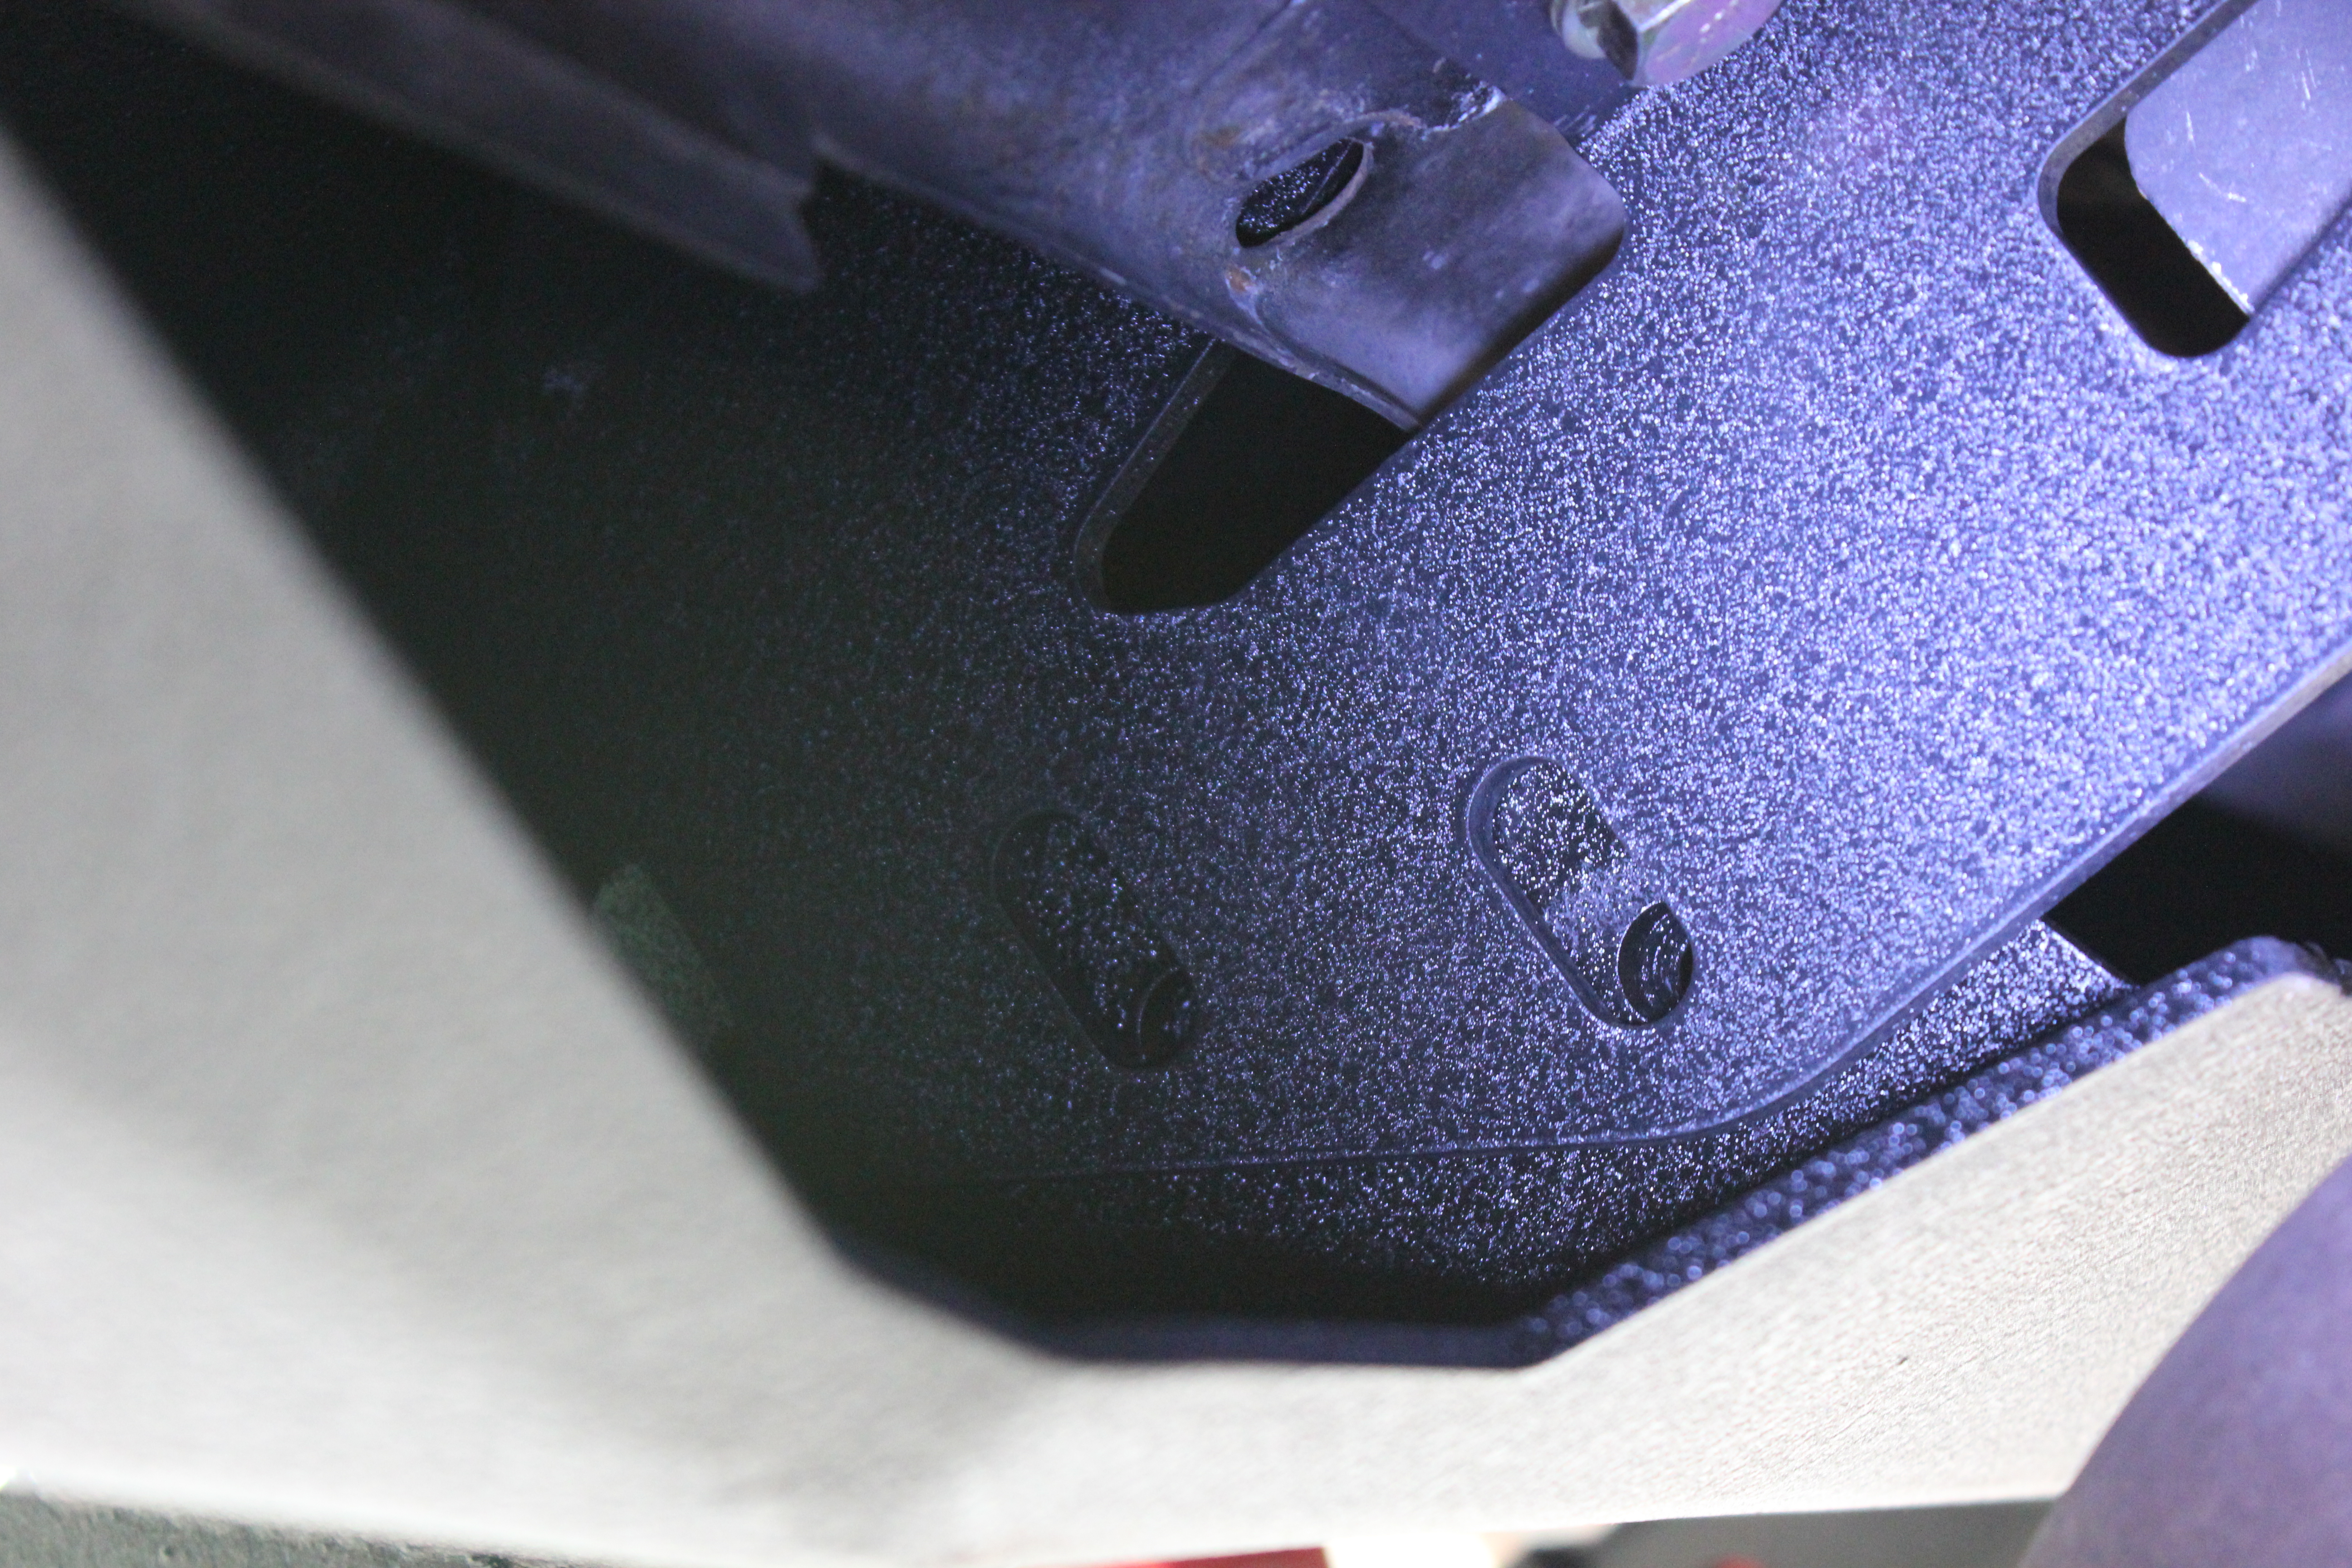
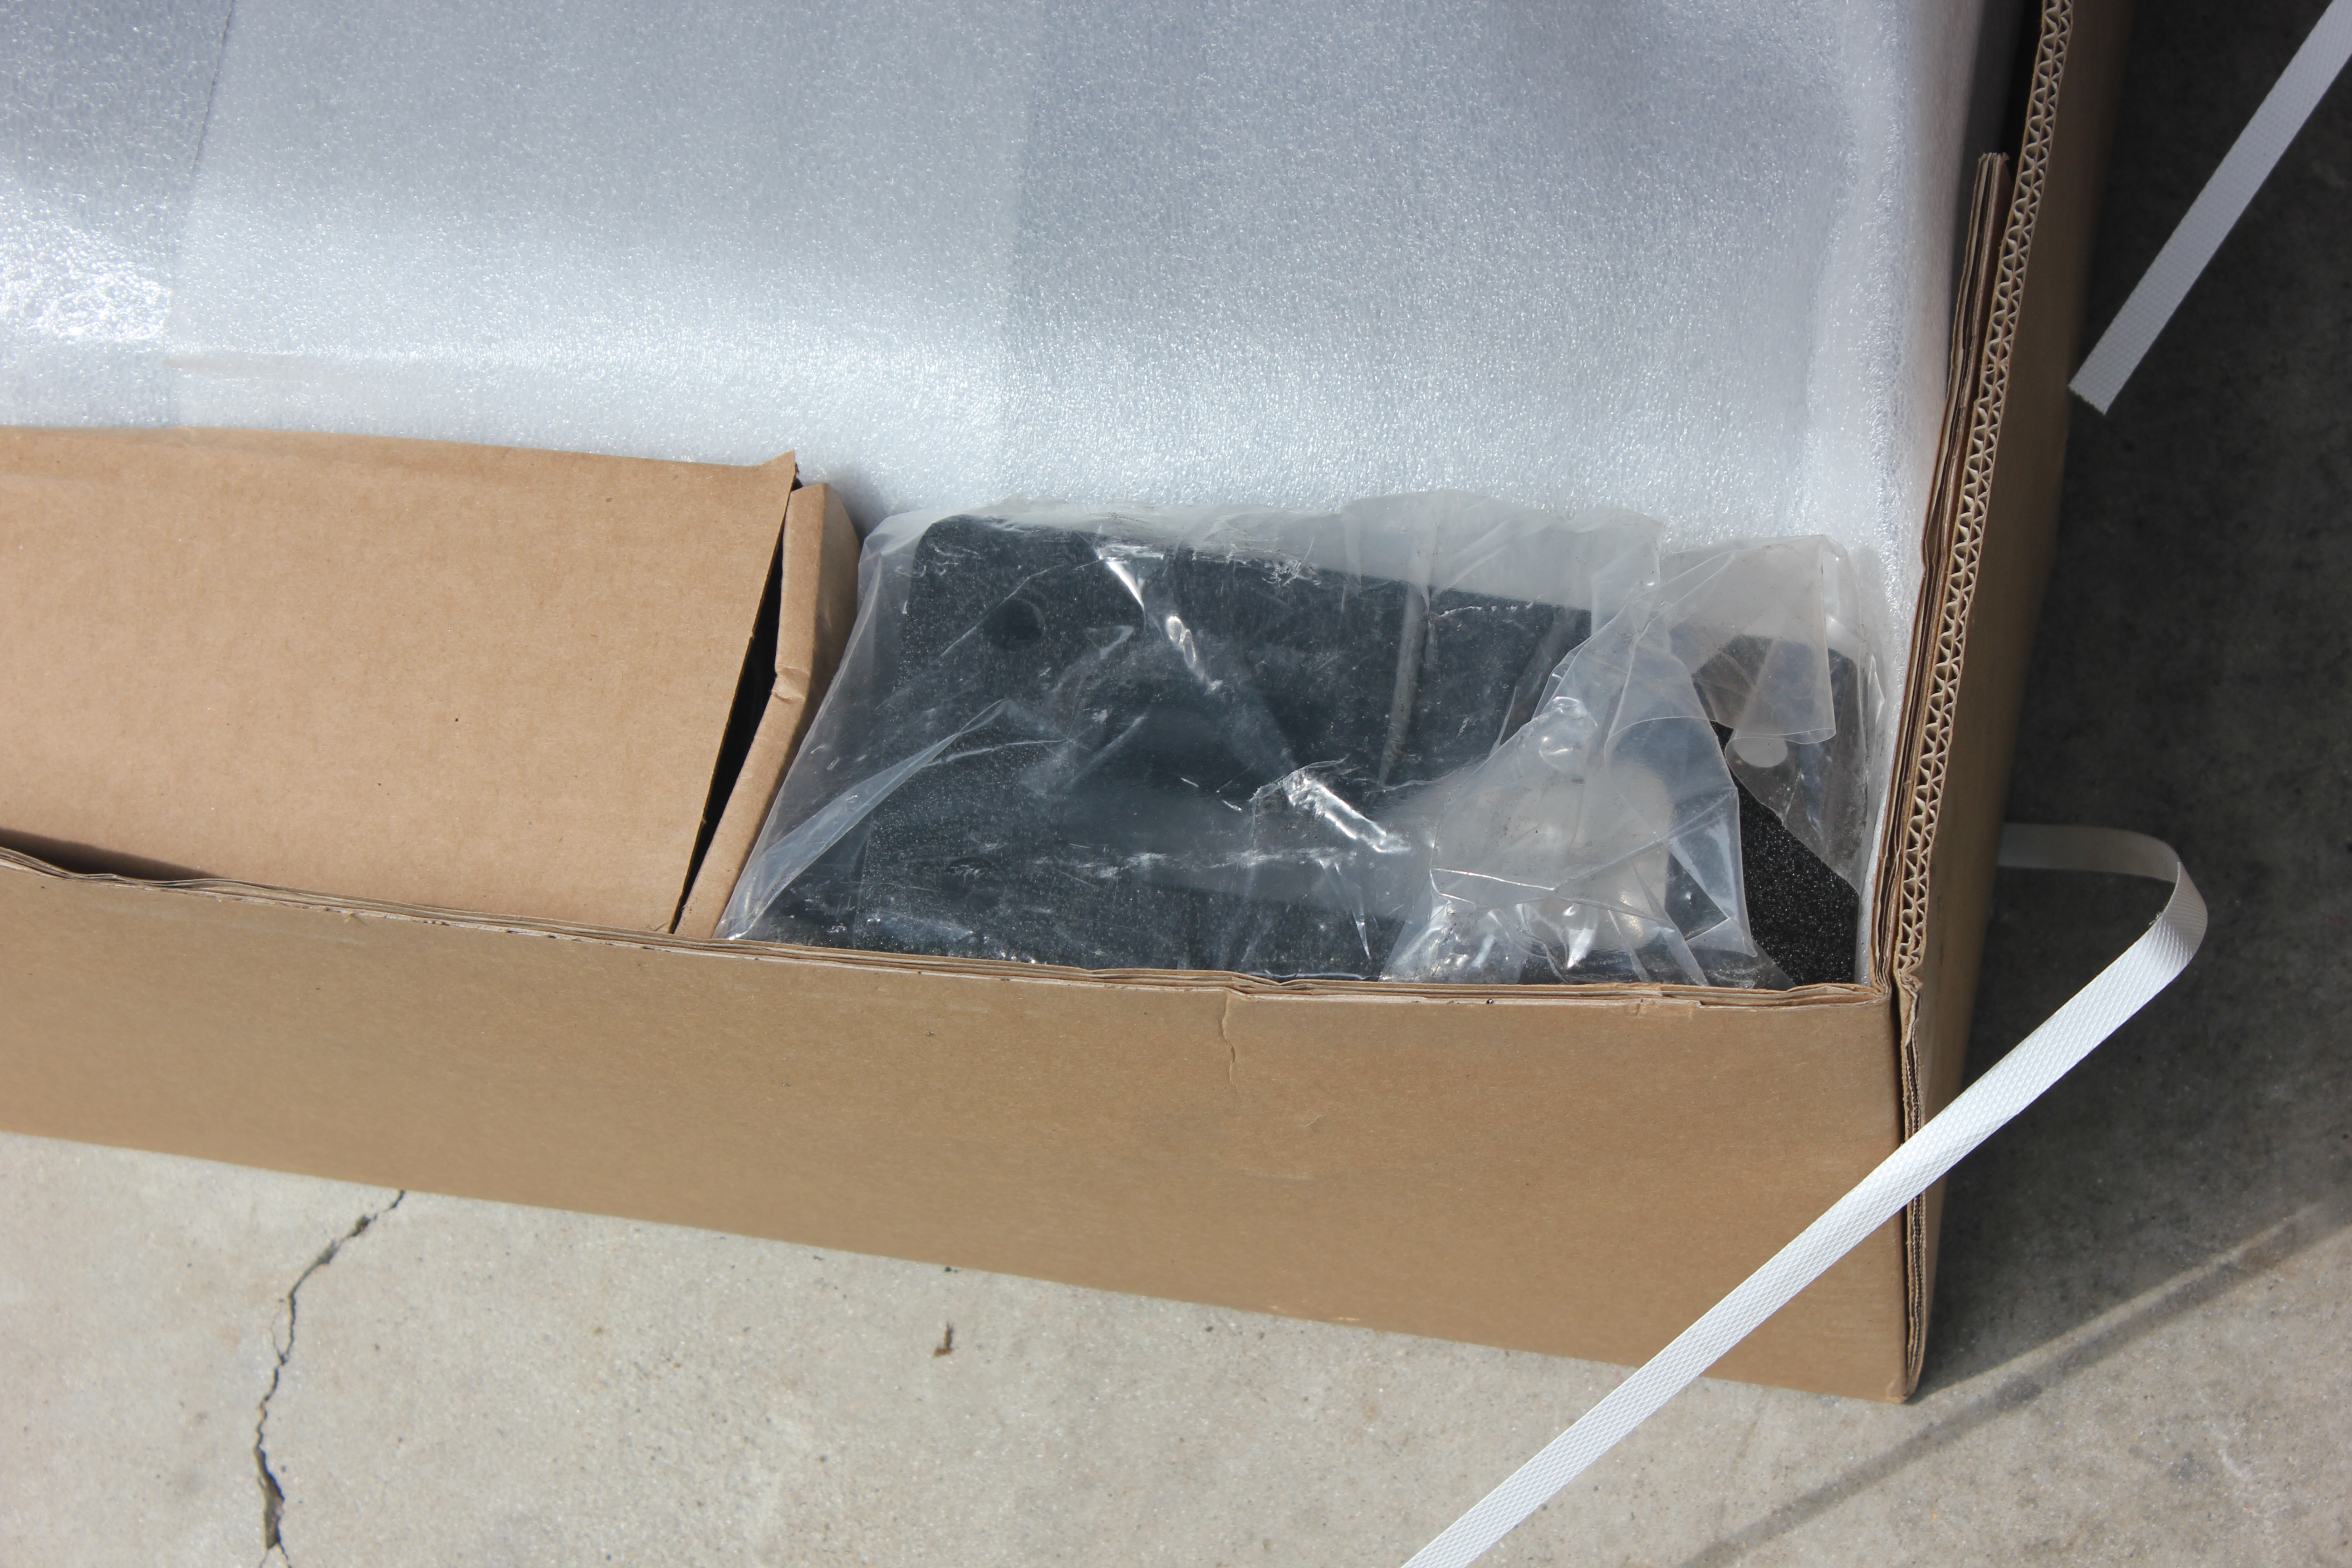
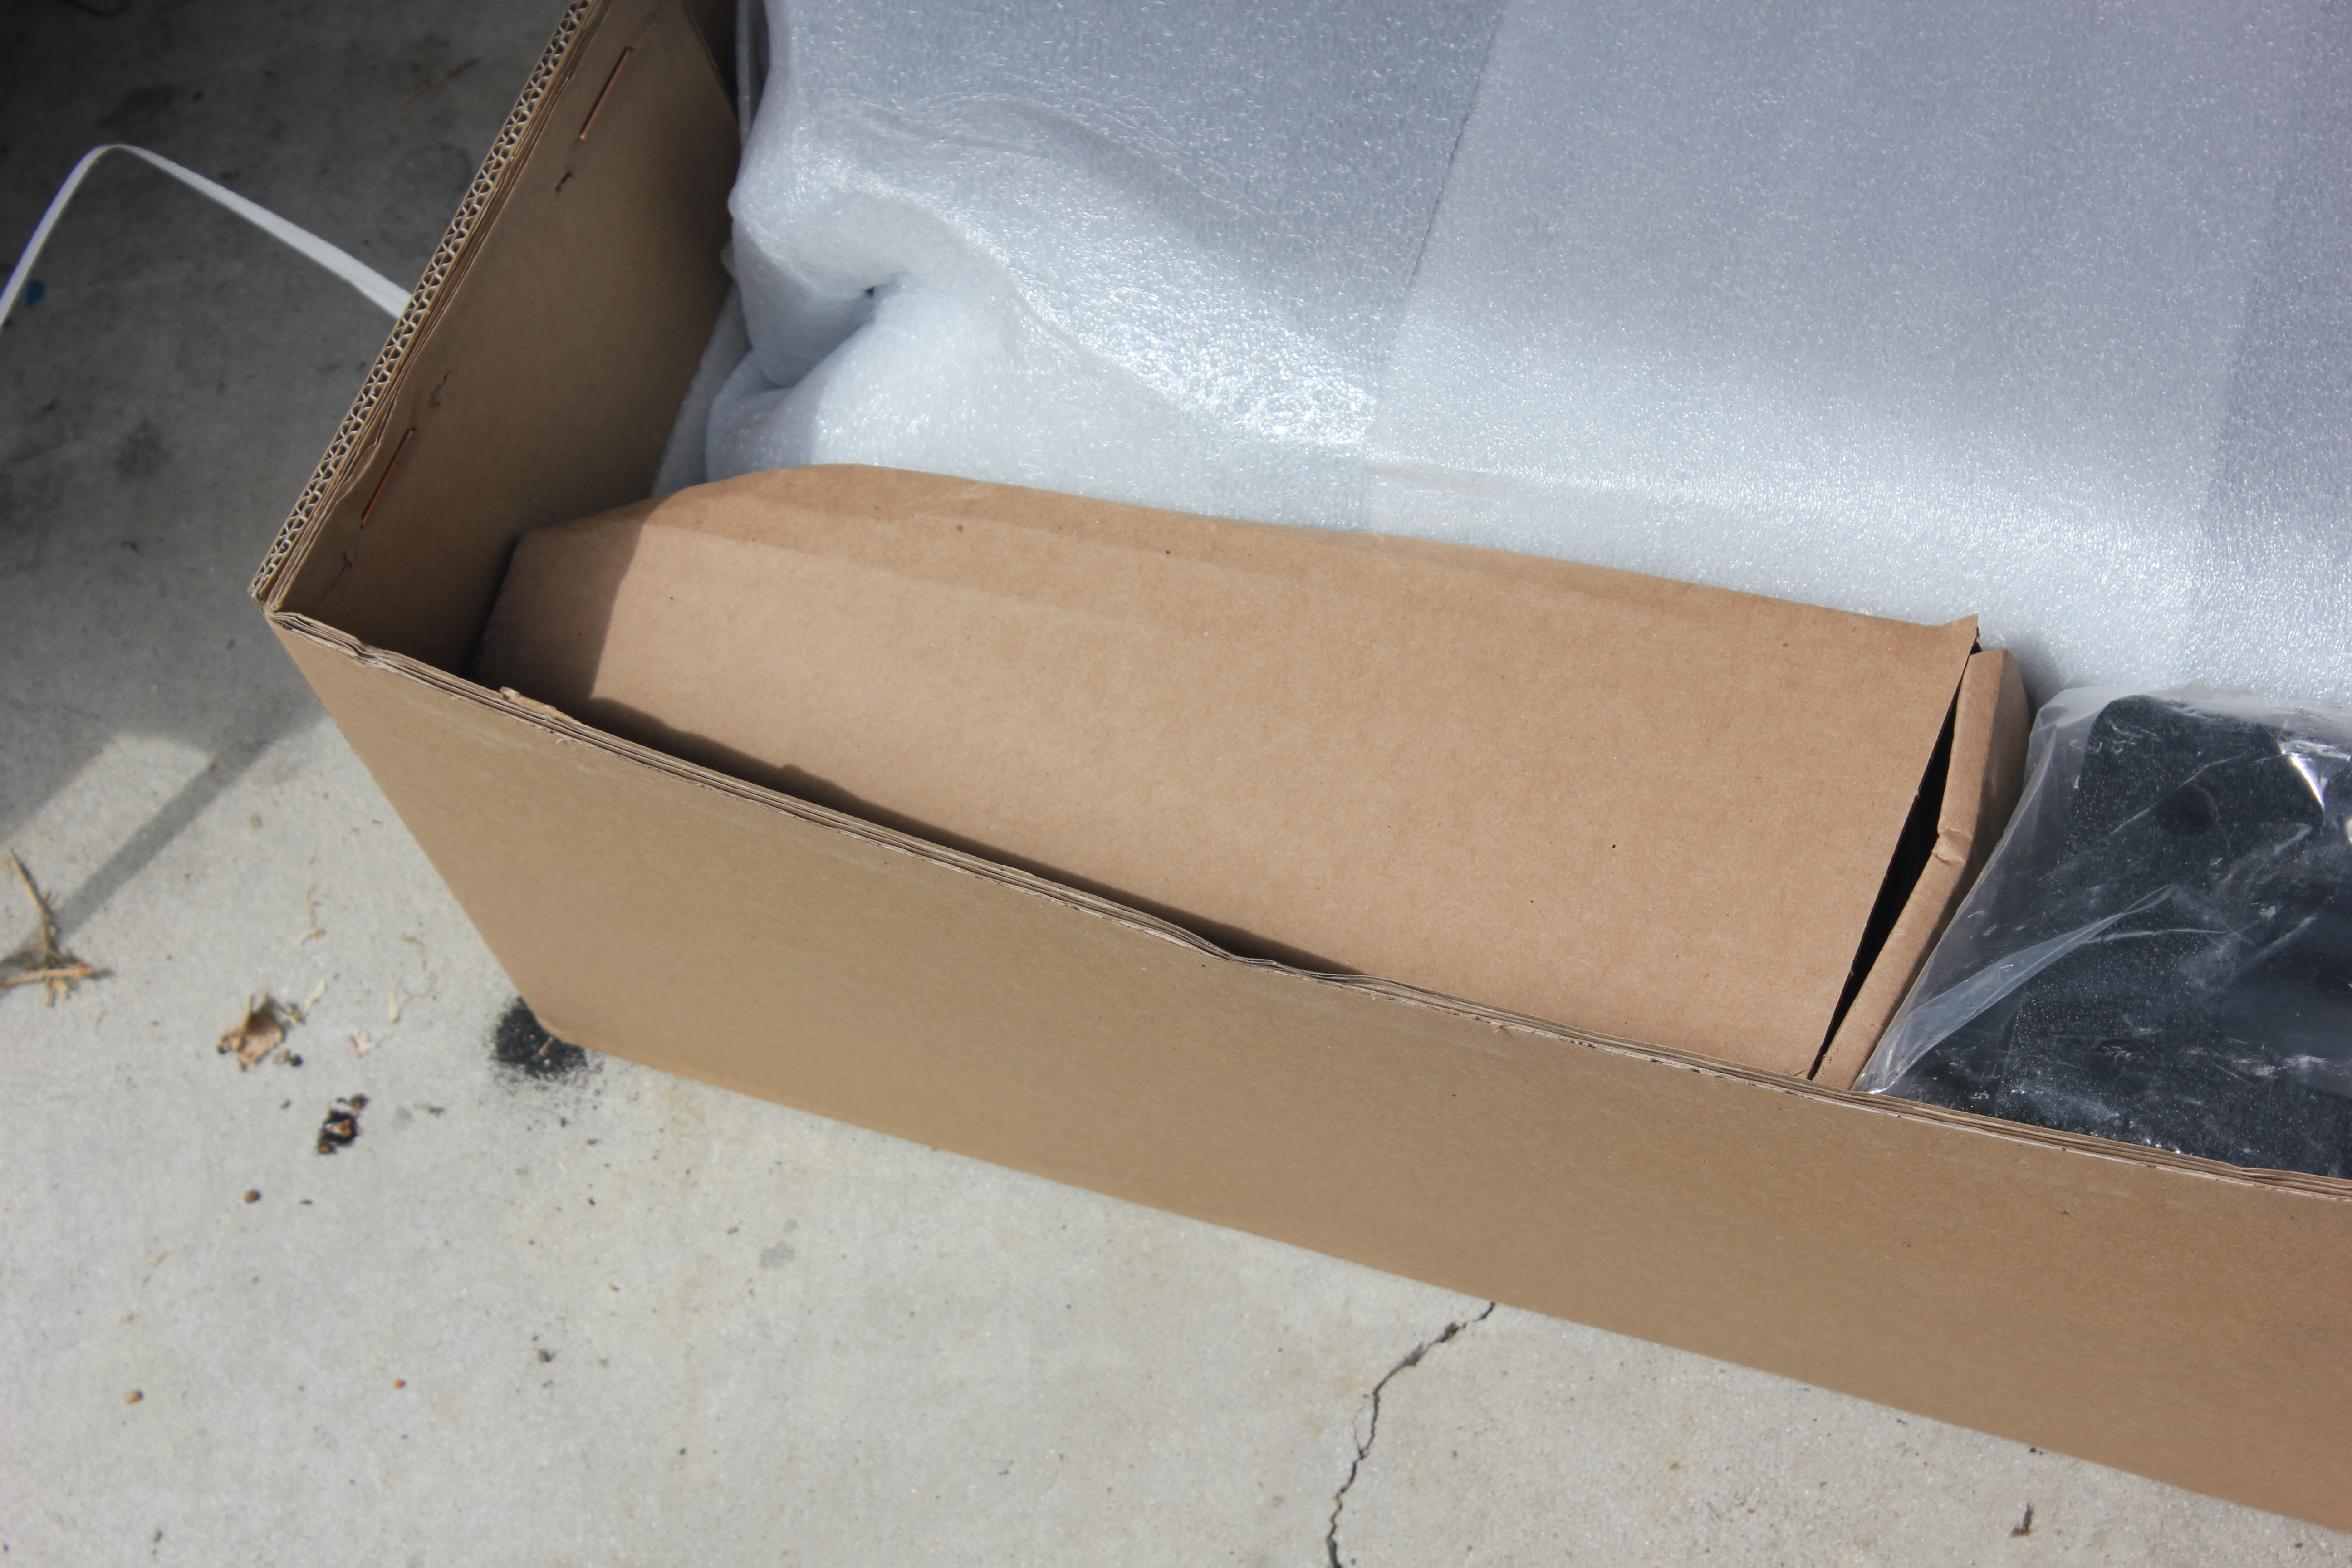
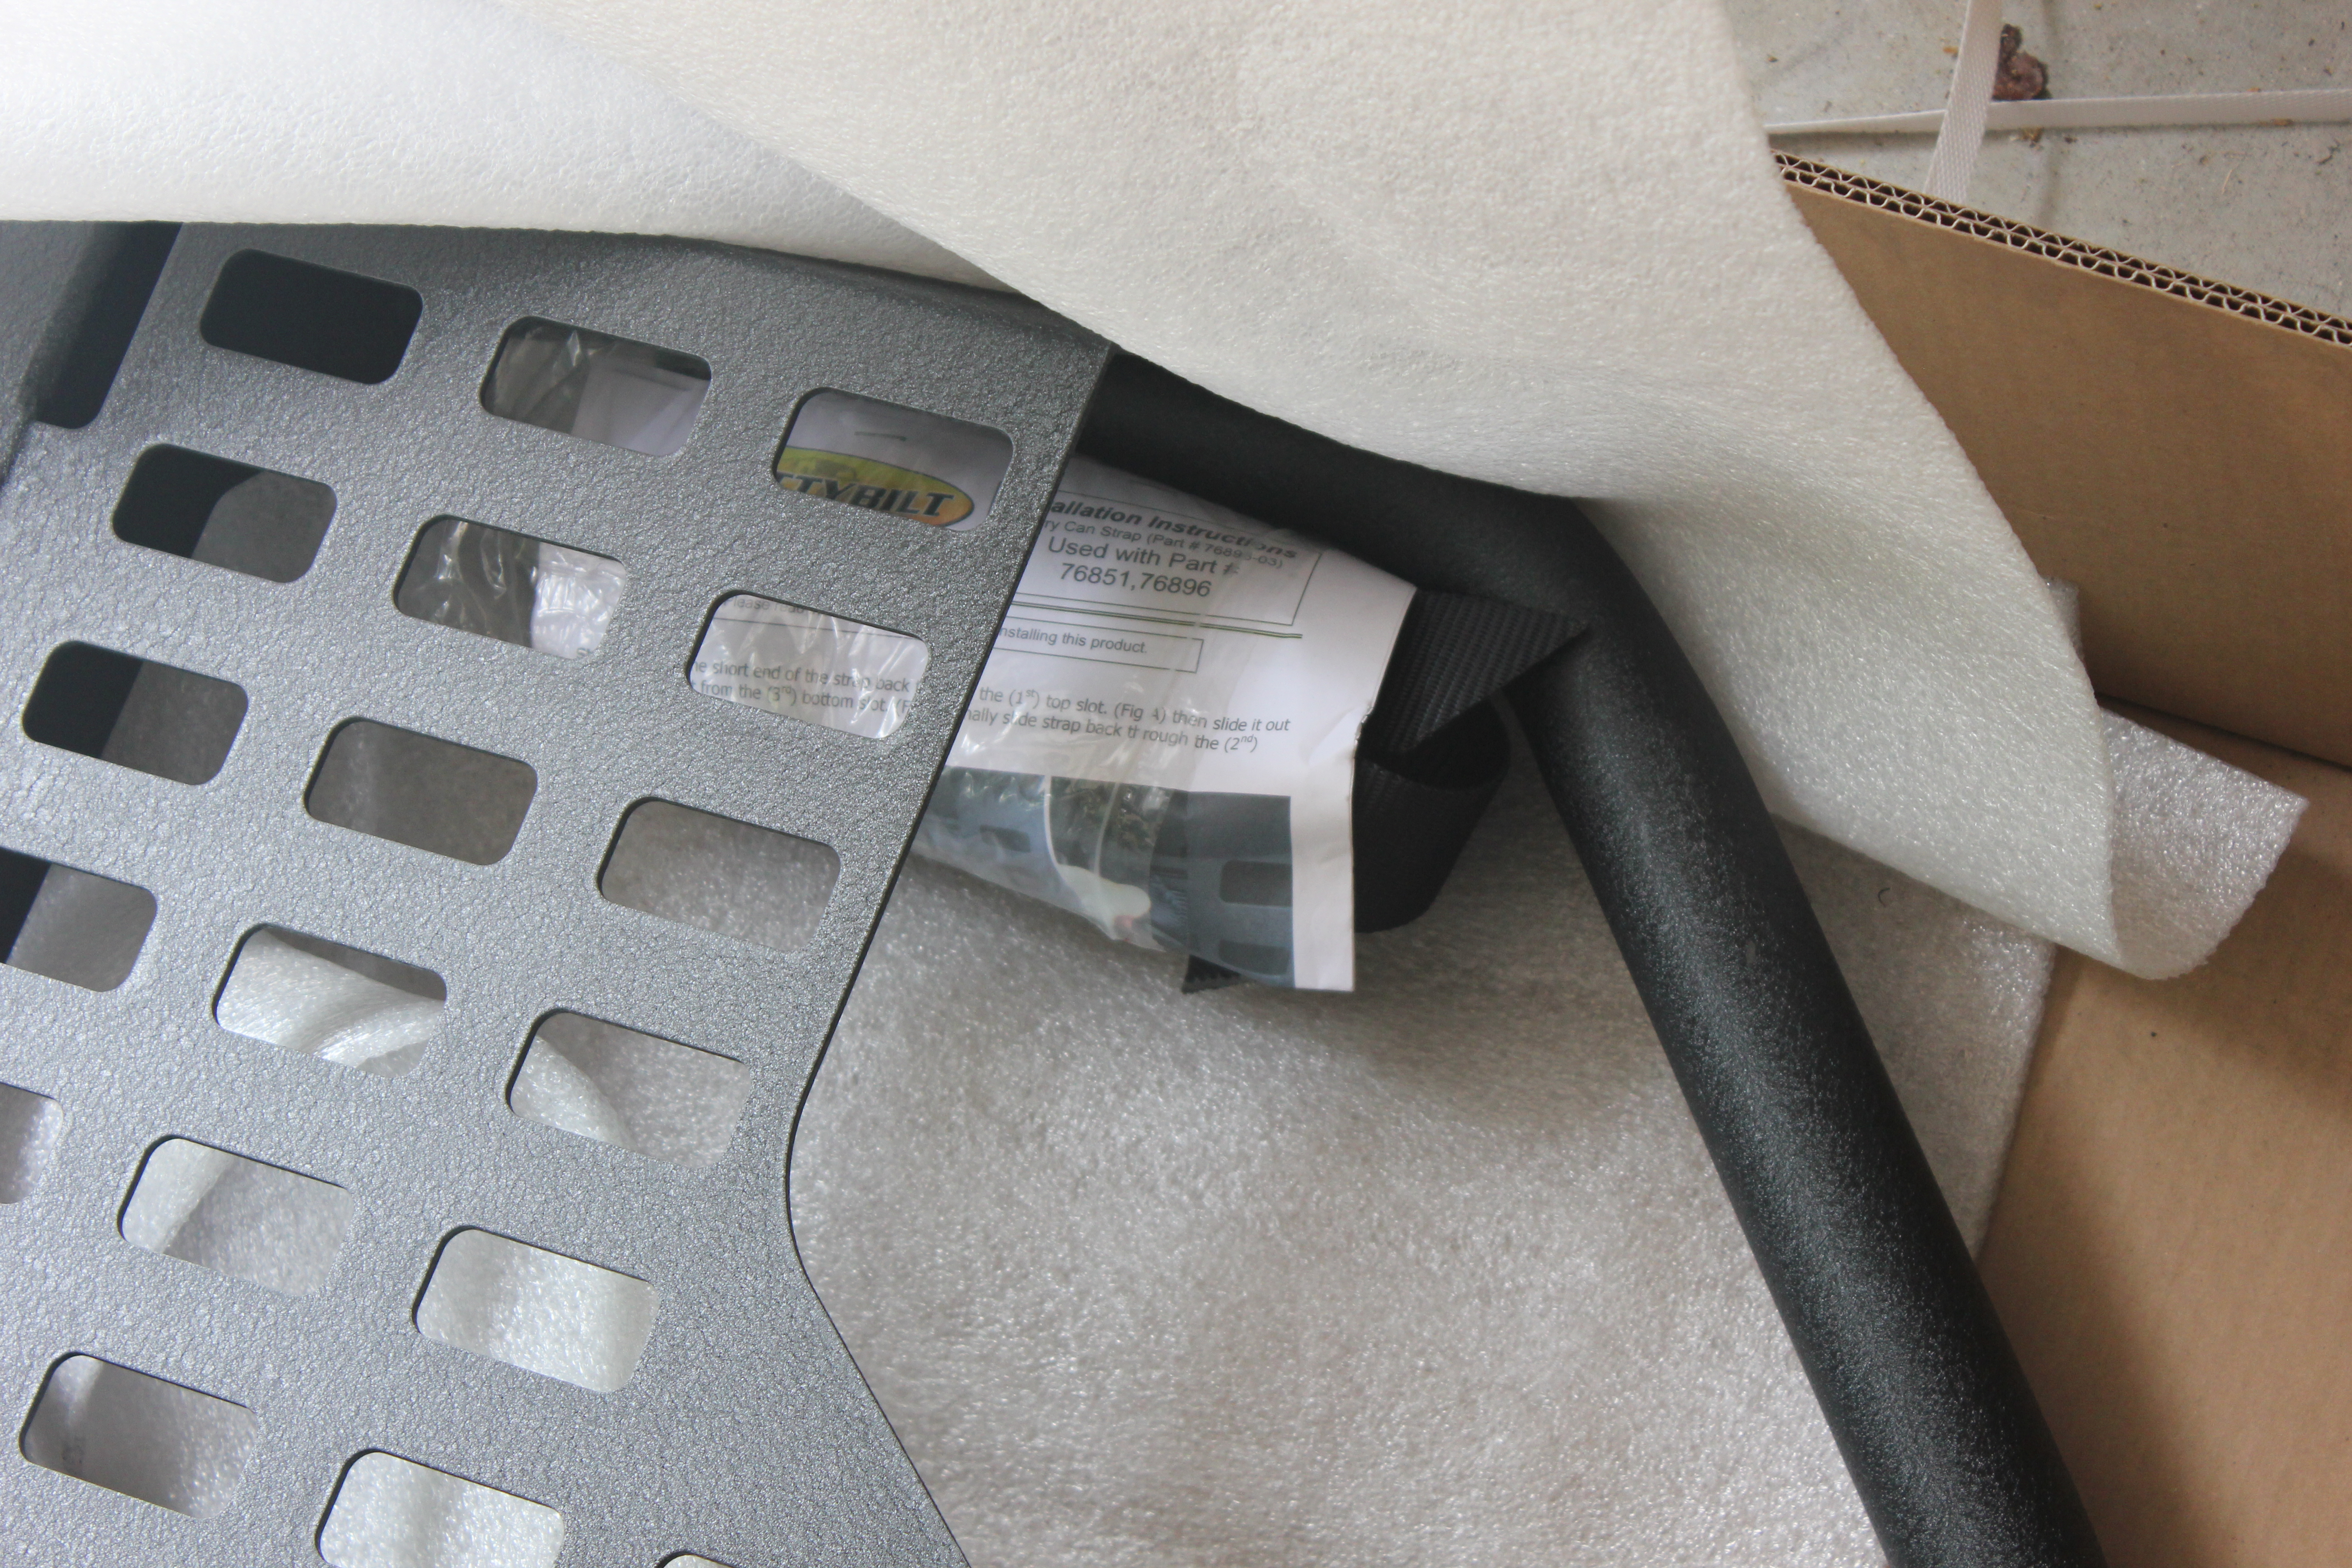
Now for some shots of the interior of the bumper. This is the part that you don’t see once it’s attached, but you might want to have a look-see before you go buy one.
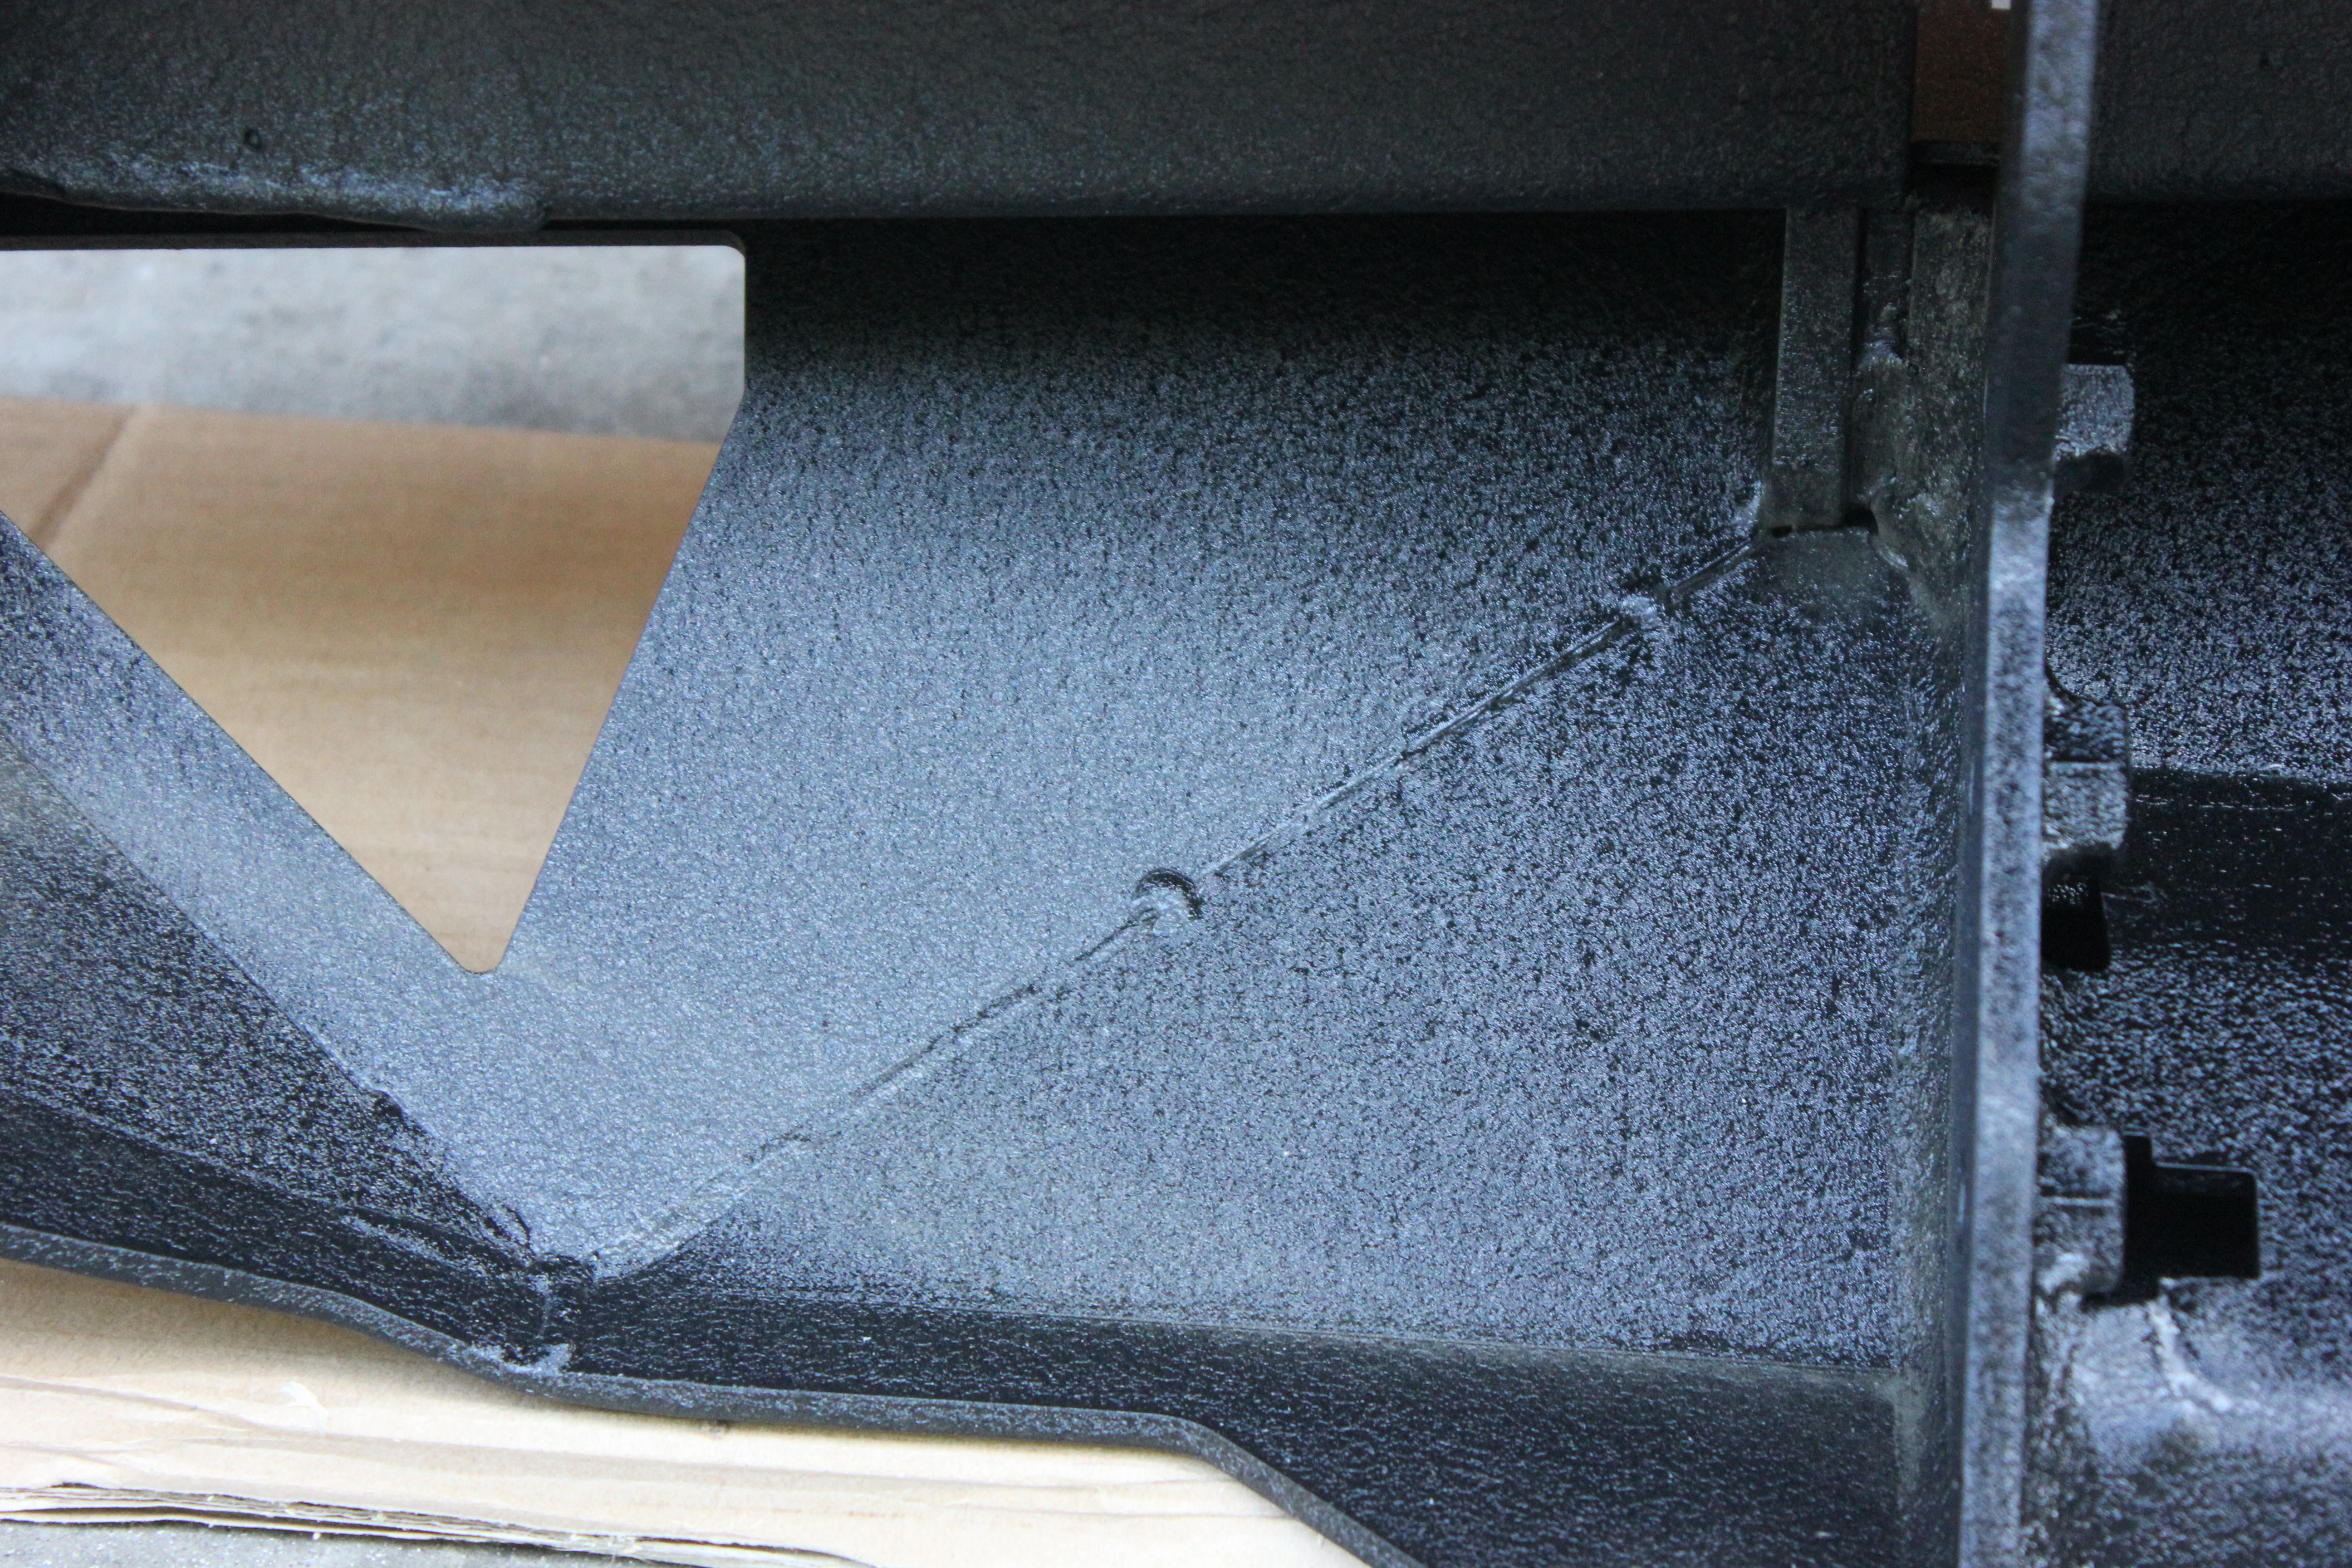
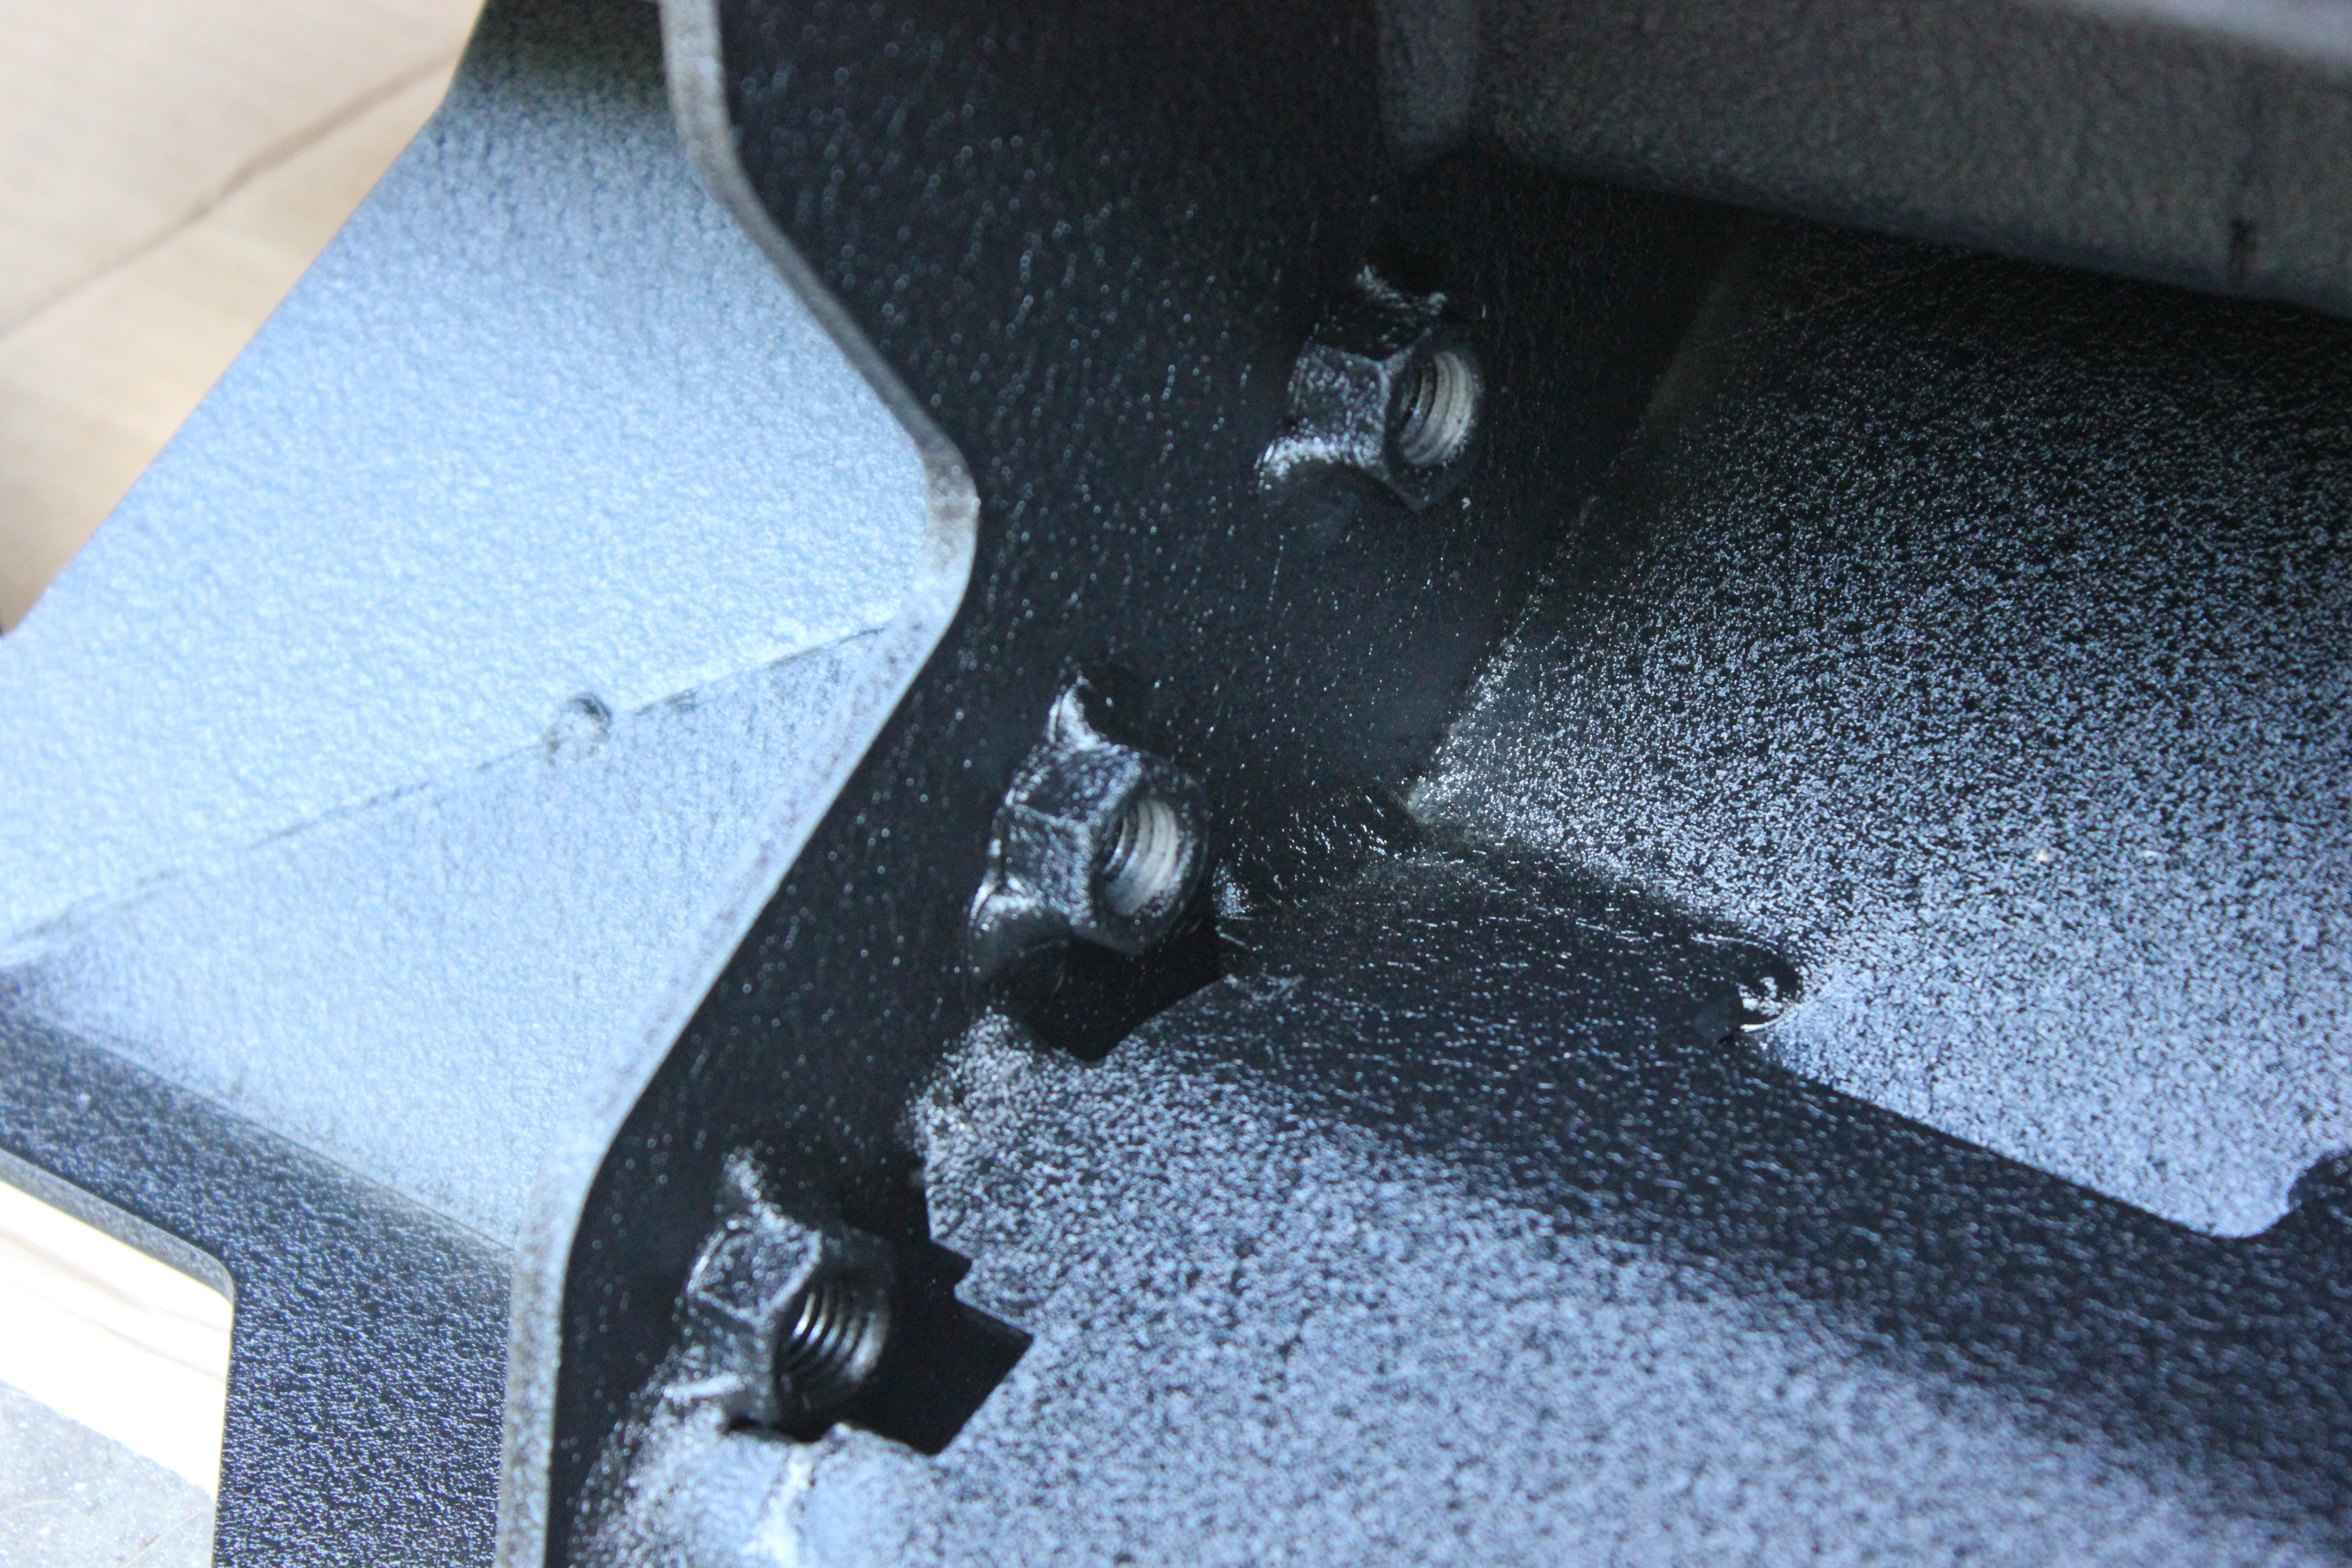


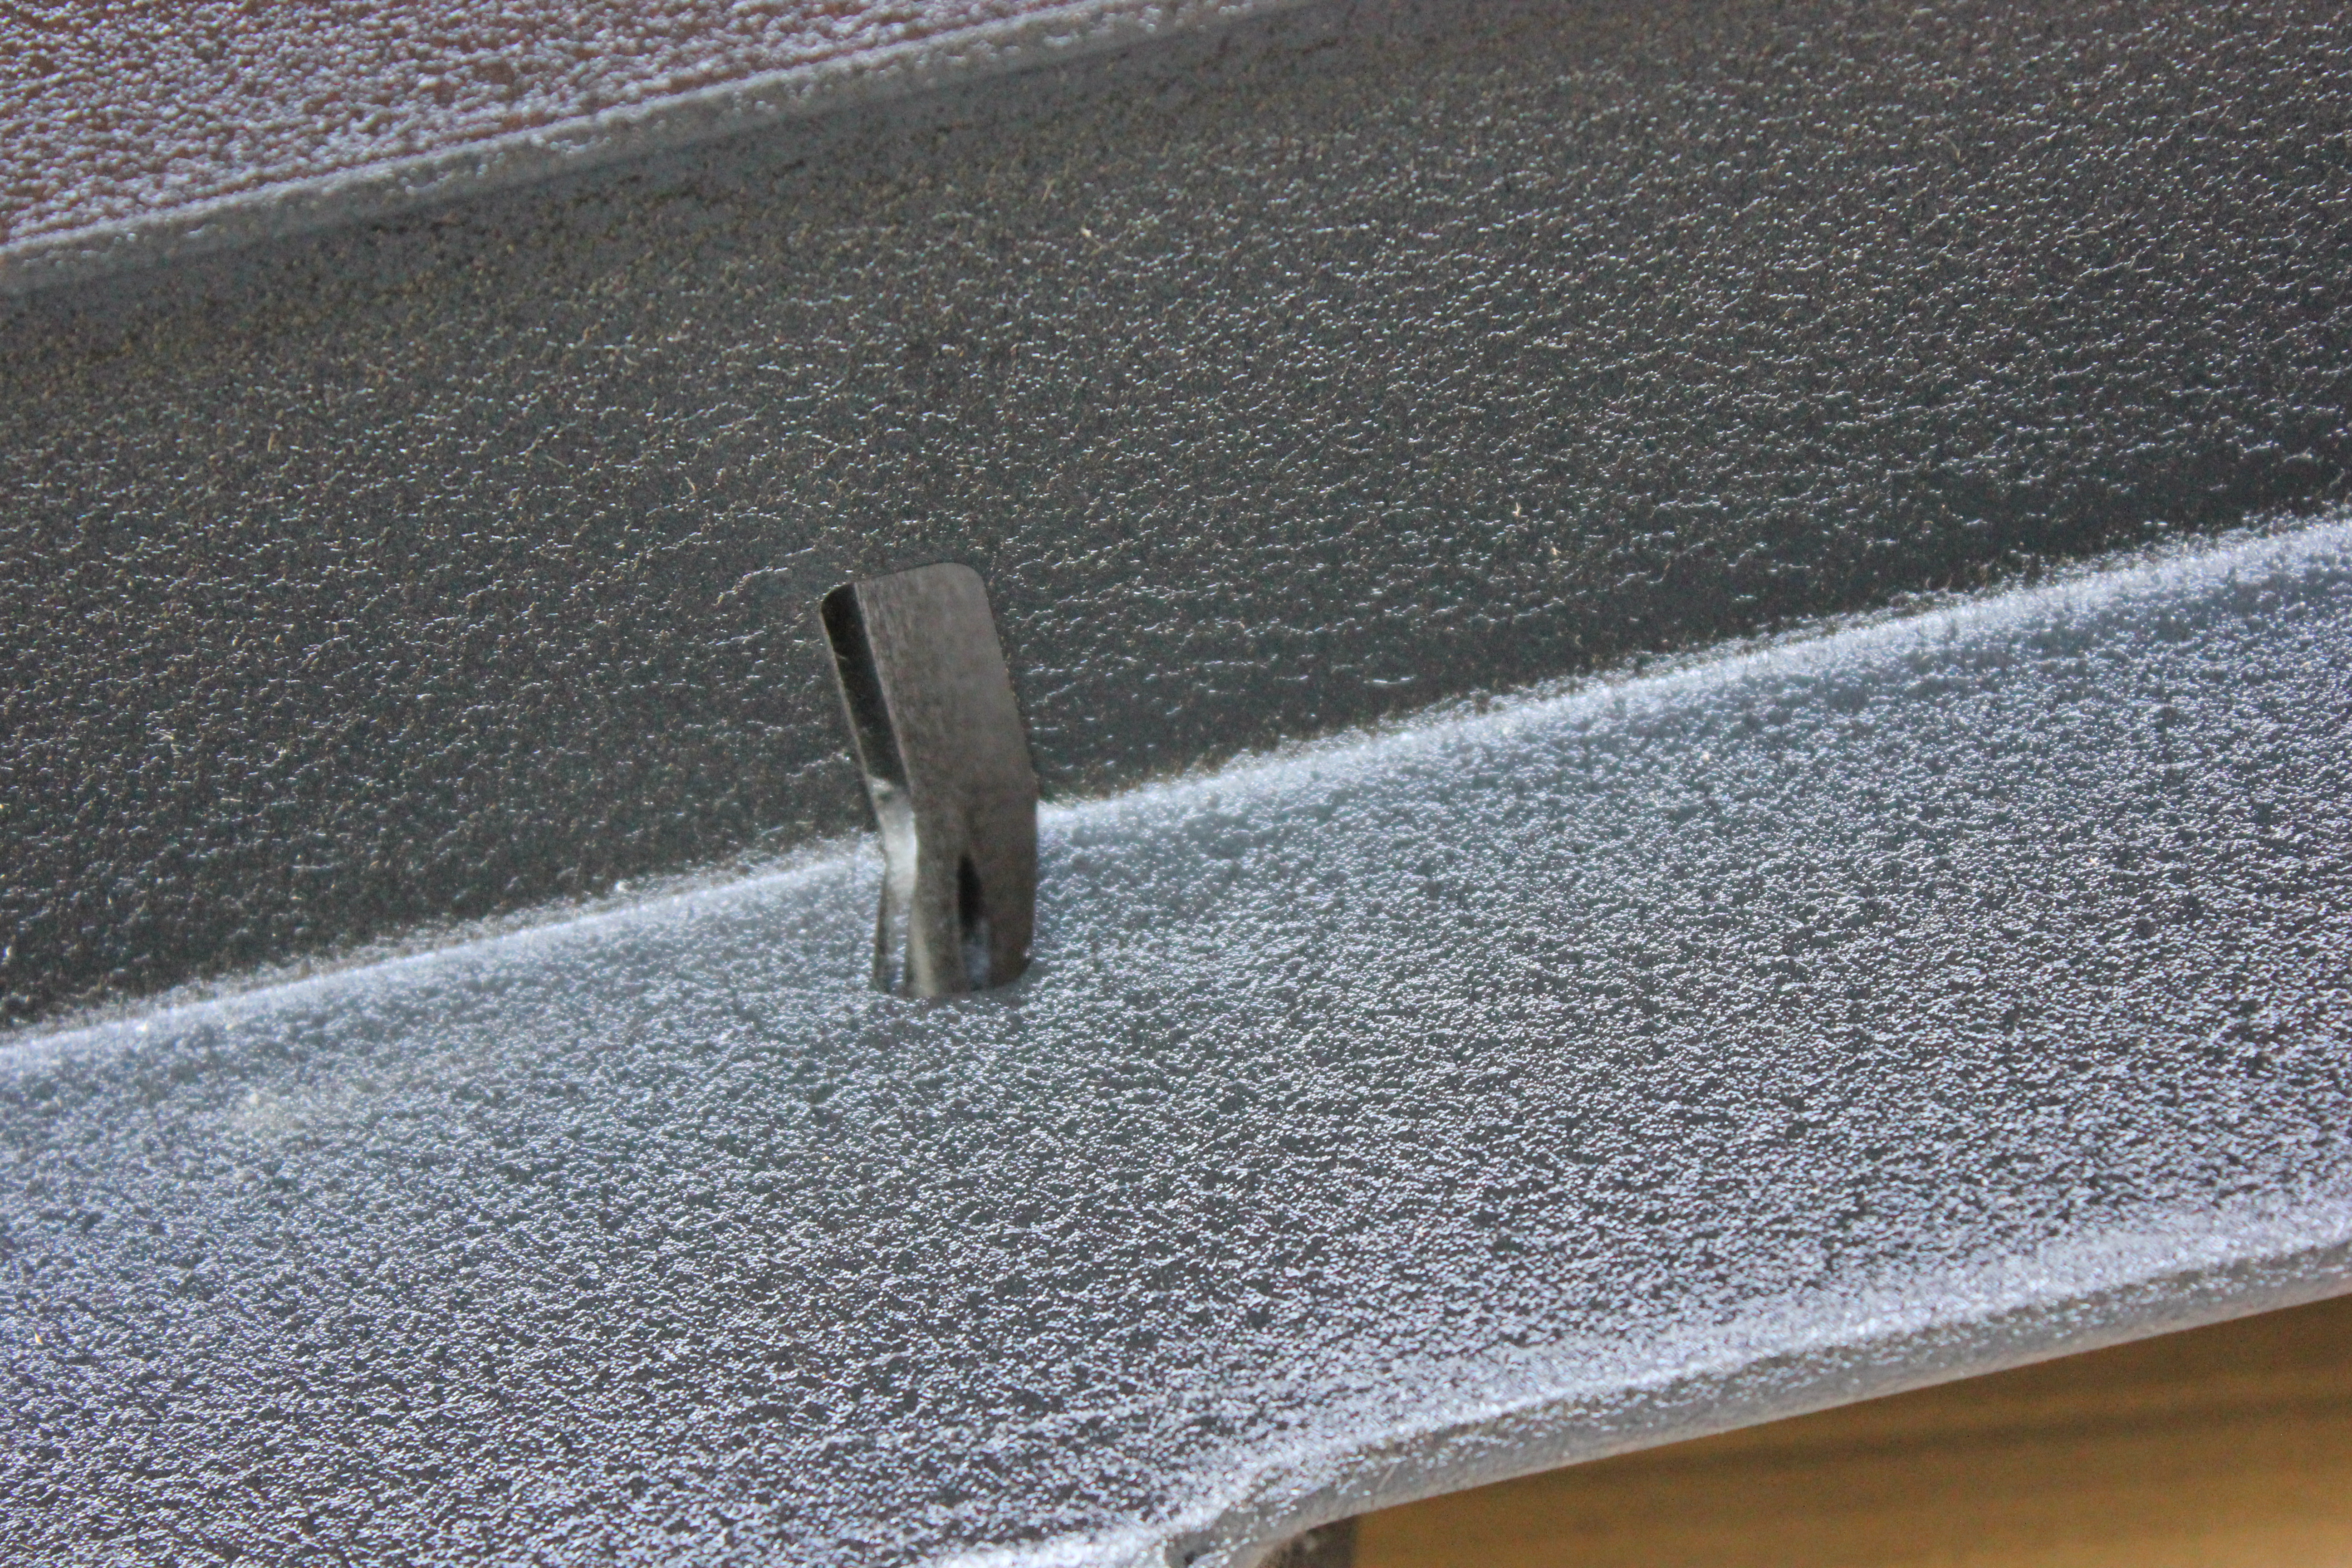
Also, there are a couple of nutstrips provided. One of mine was bent to hell, but a hammer fixed that

Let’s talk about that hitch receiver
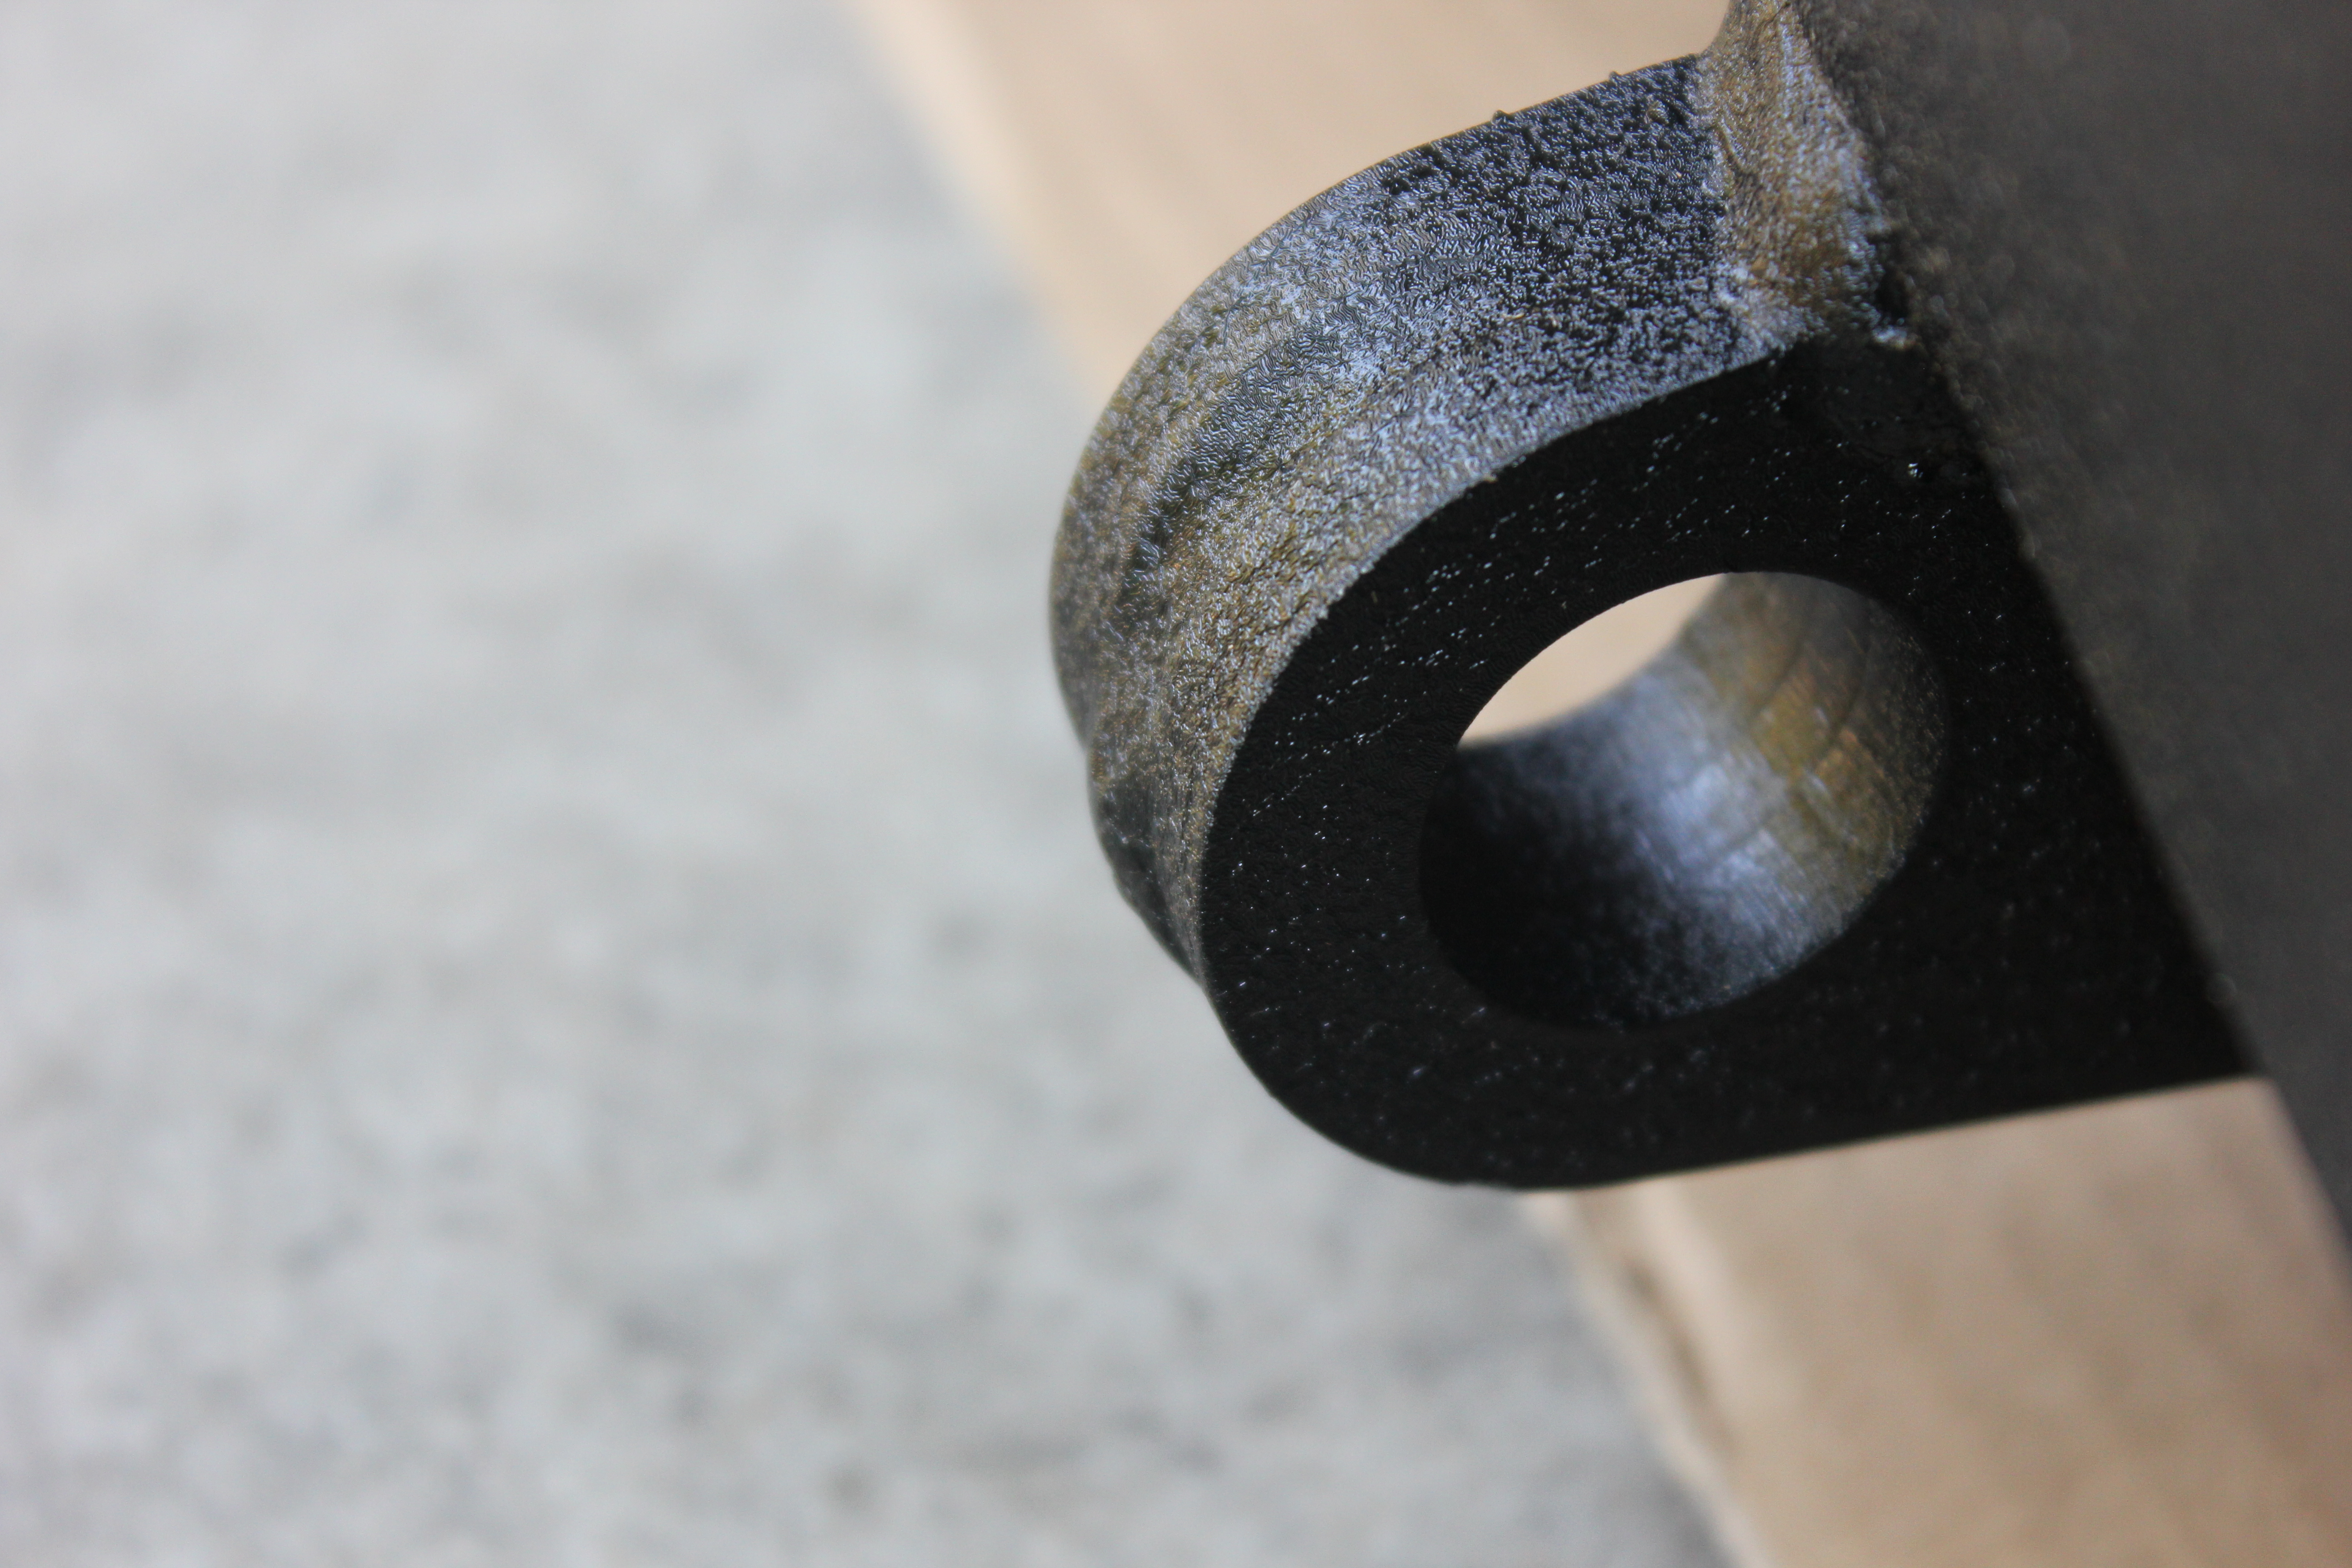
So, I’d read that it might be out of spec. Guess what? Mine was. Here is a picture I took of the receiver during the unboxing:
And then, while it was sitting there I grabbed a D-Ring receiver hitch and, well, this happened:


Just something to be aware of.
Removing your old stuff
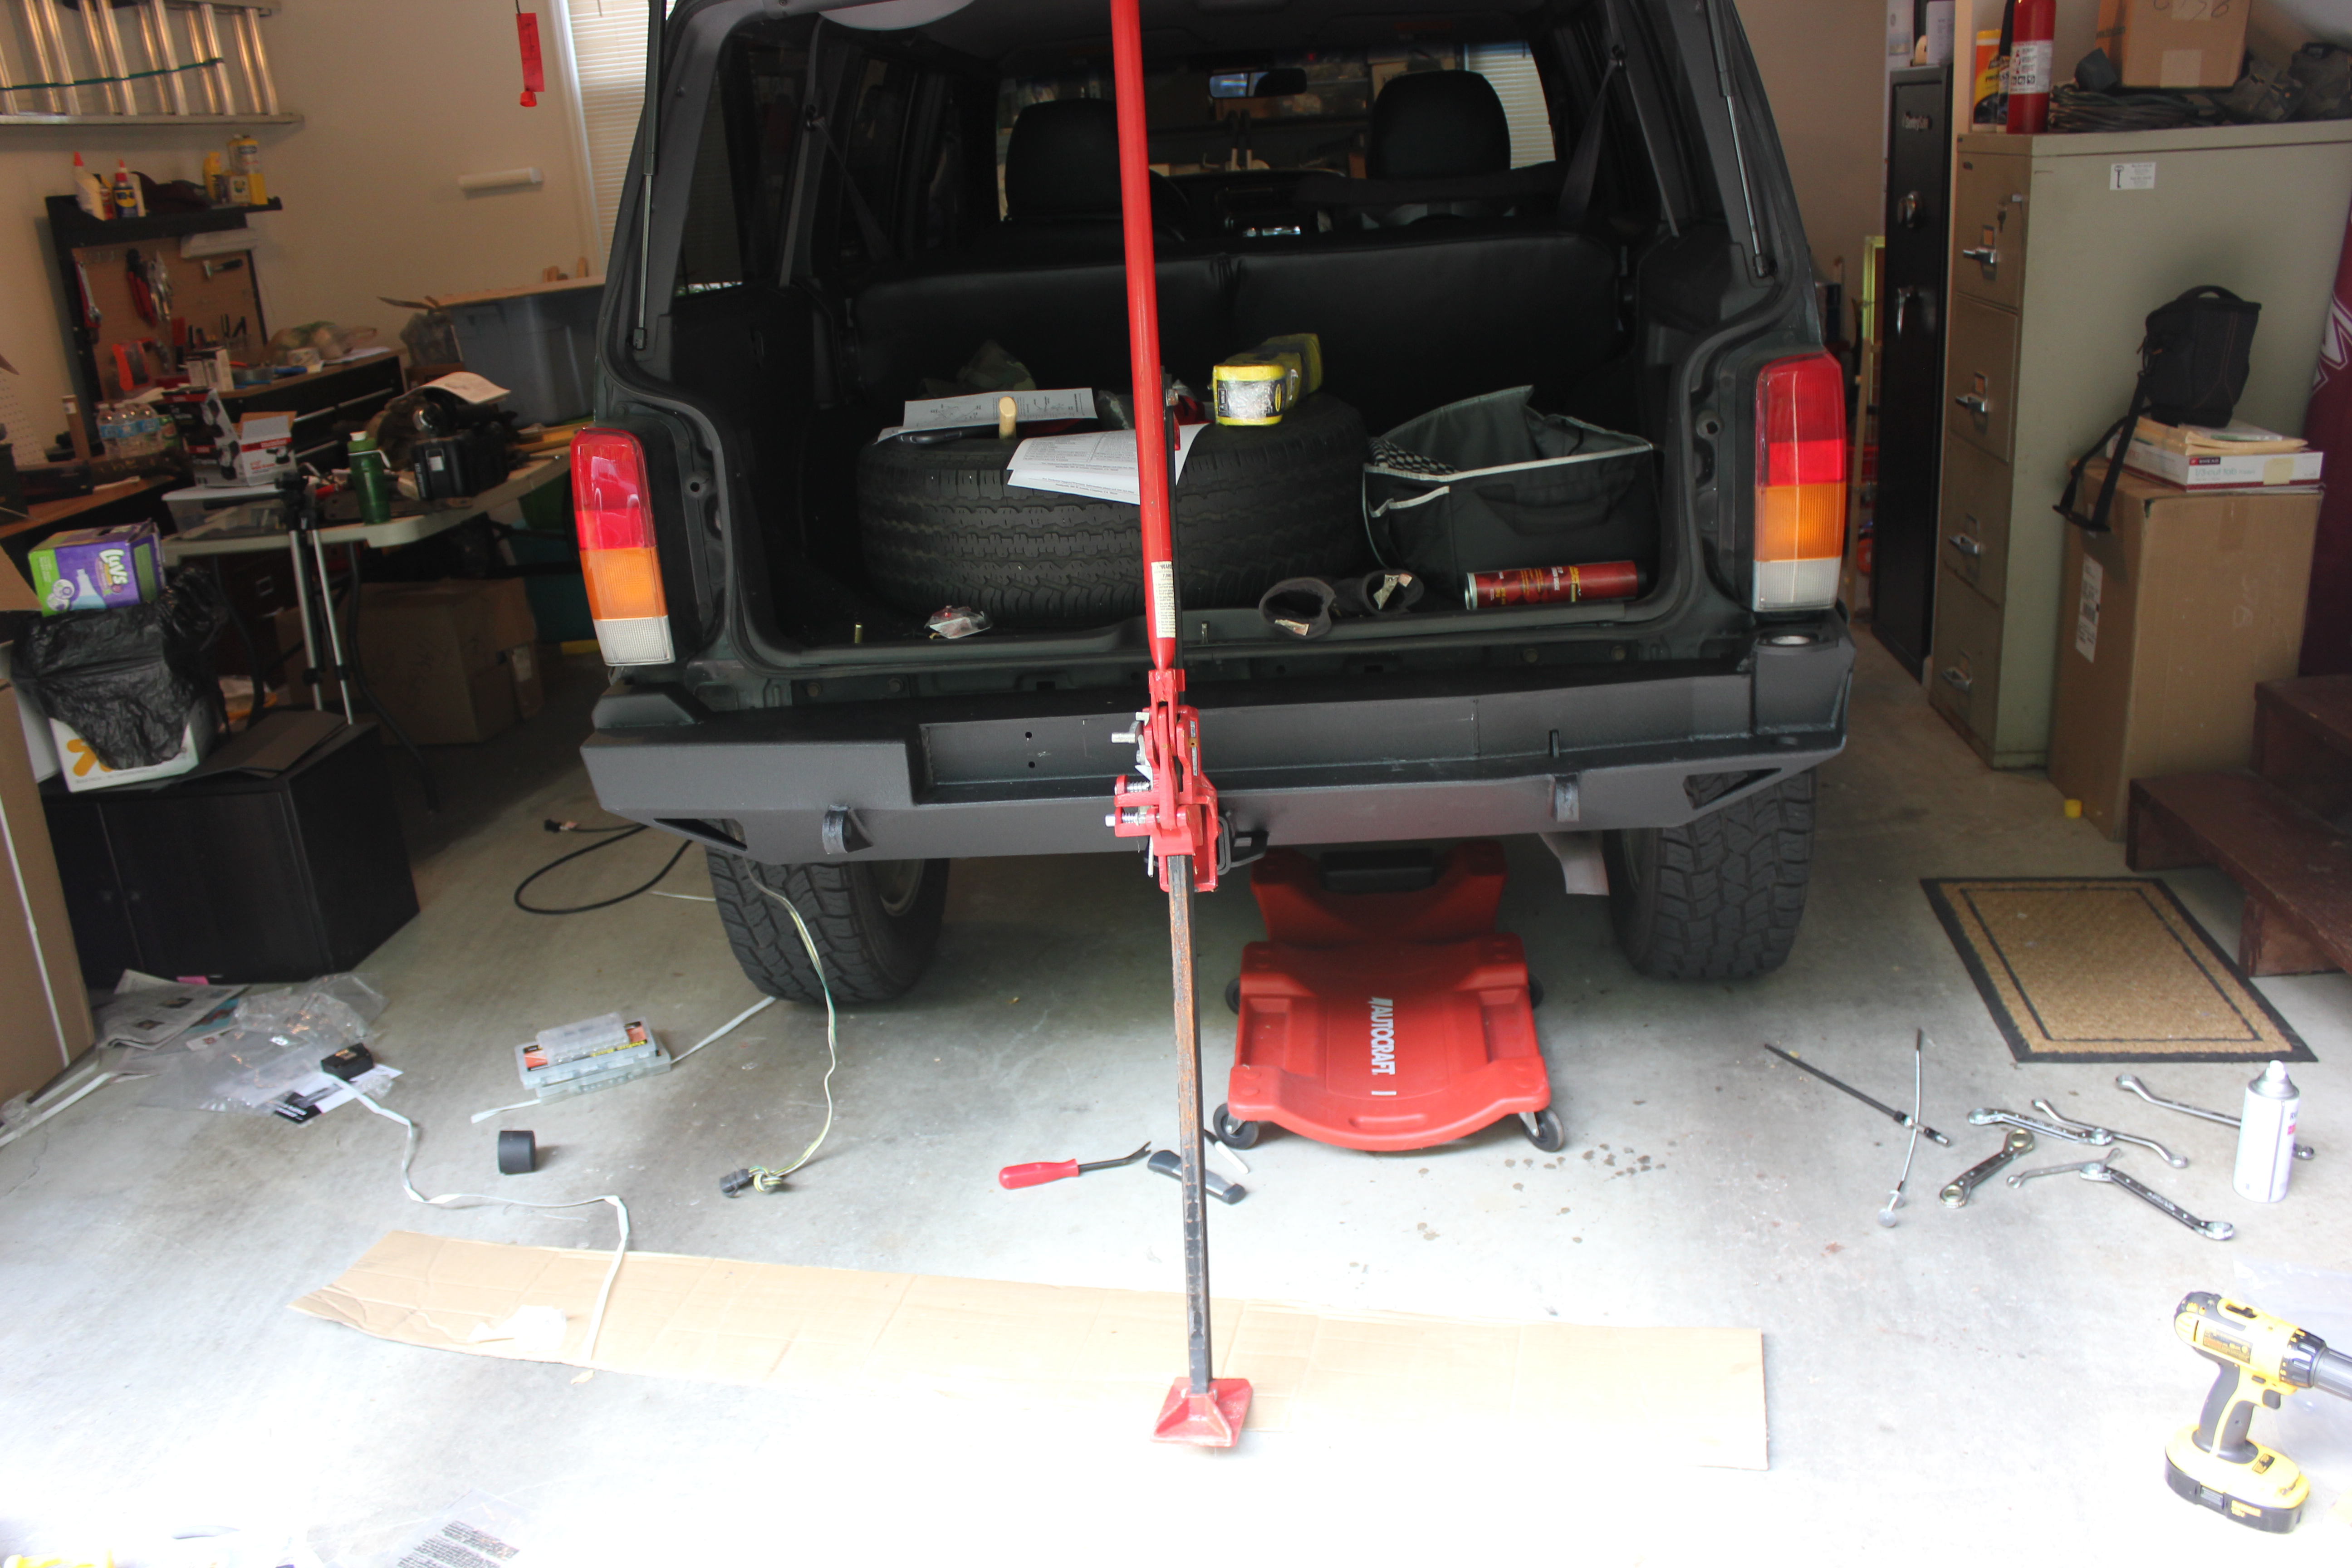
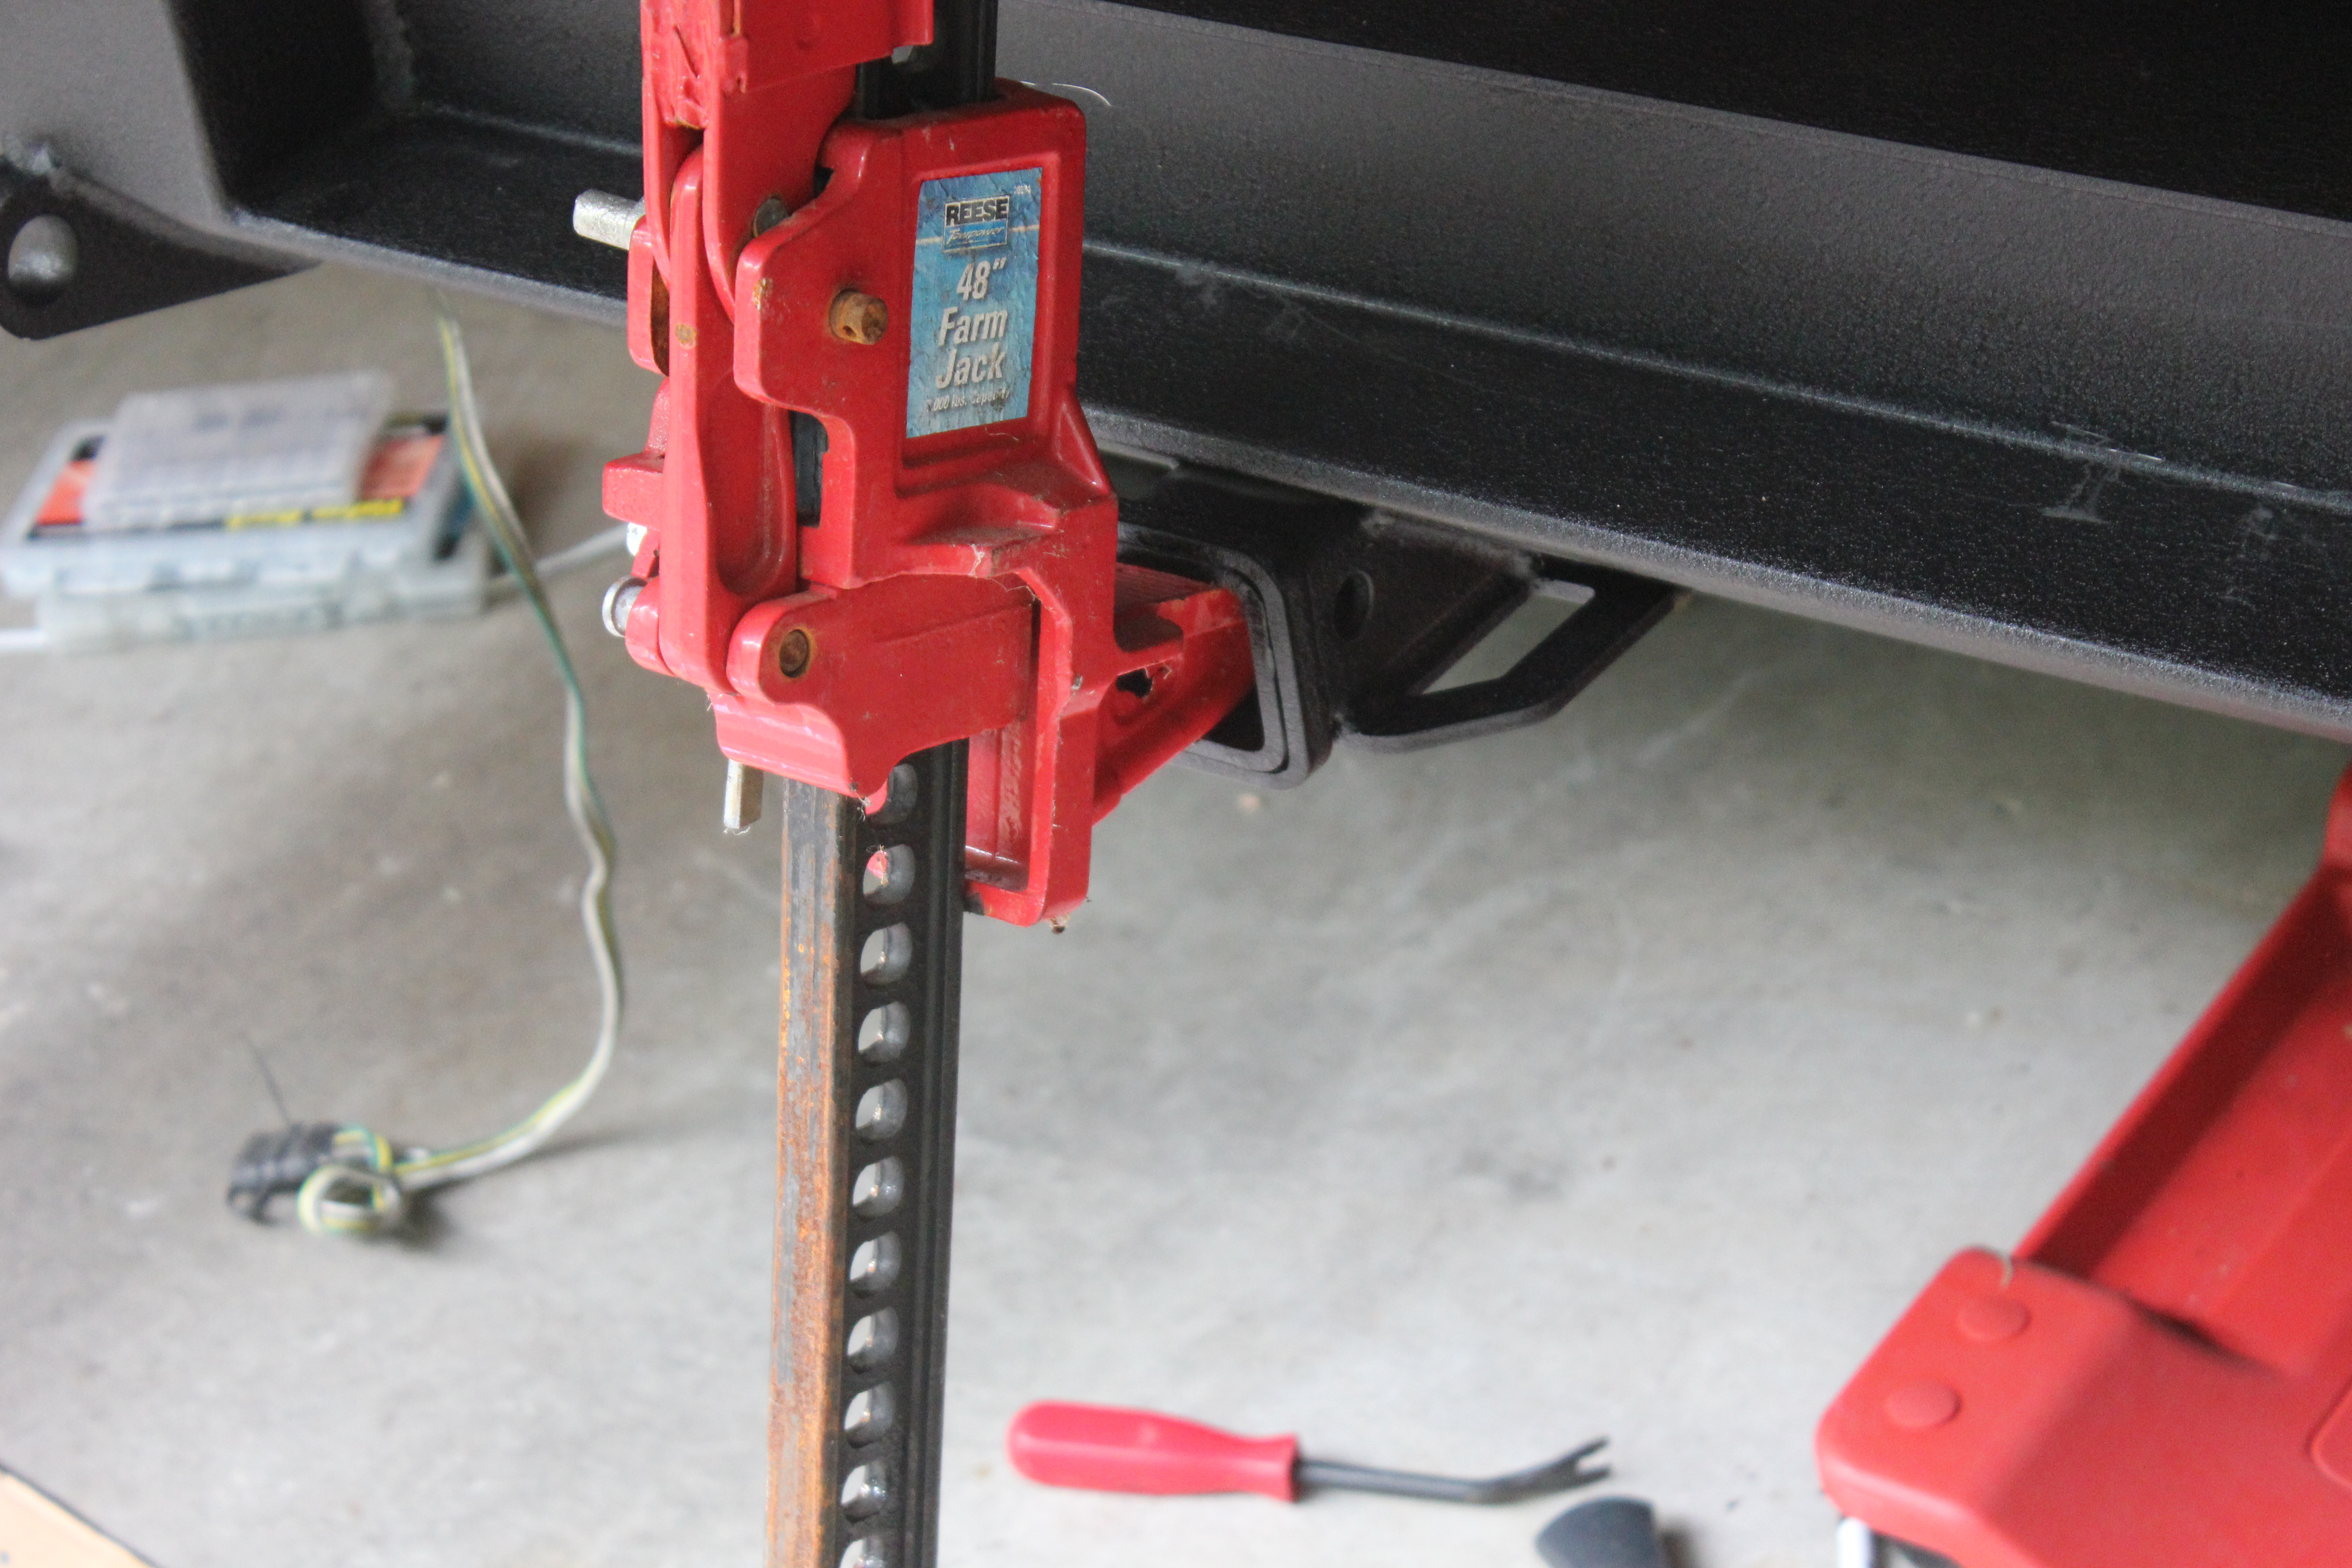
So if you have a hitch (and you should because you might die if you don’t and you’re rear-ended, so sayeth the federal government) you have to remove that first. It’s pretty easy.
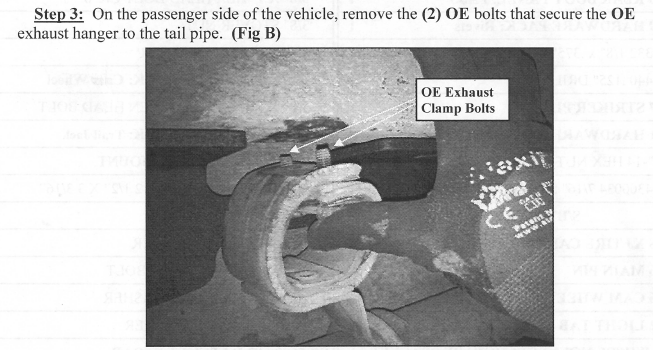
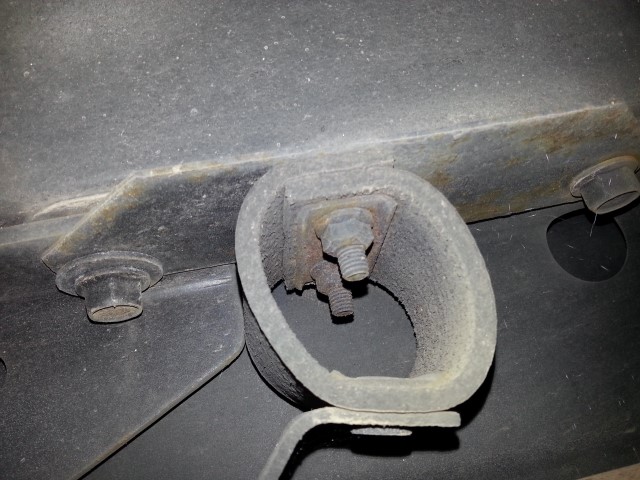
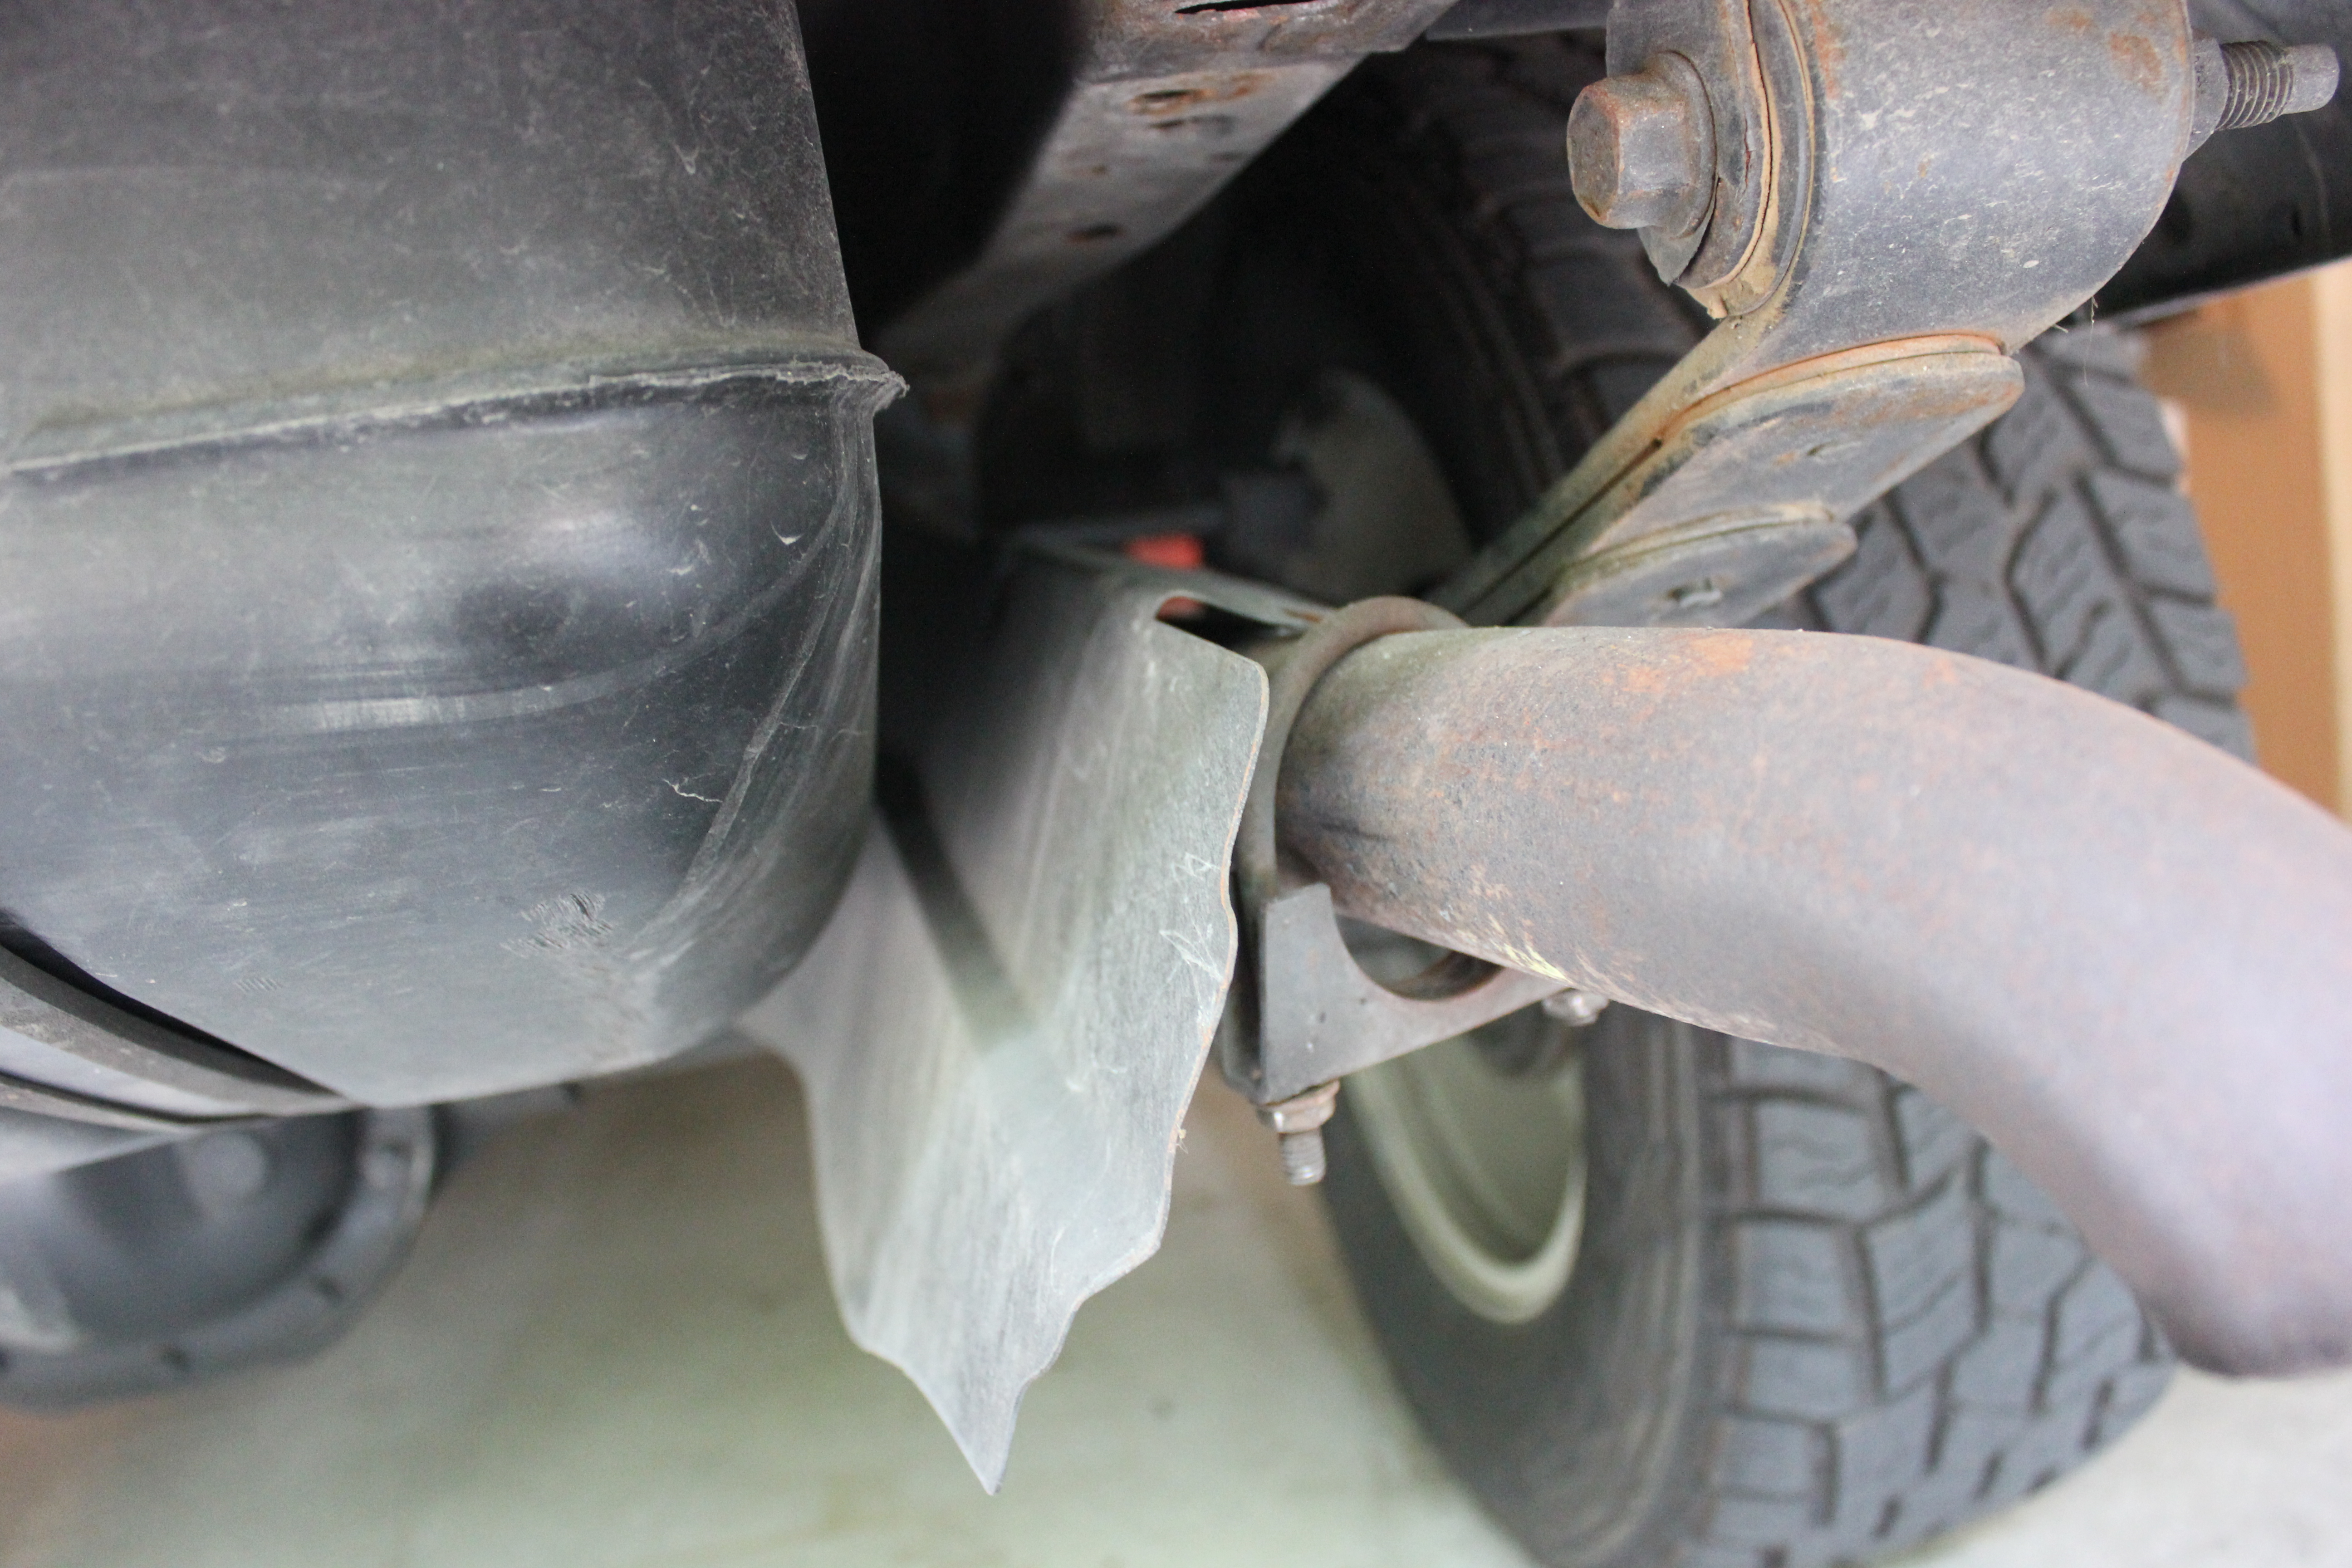
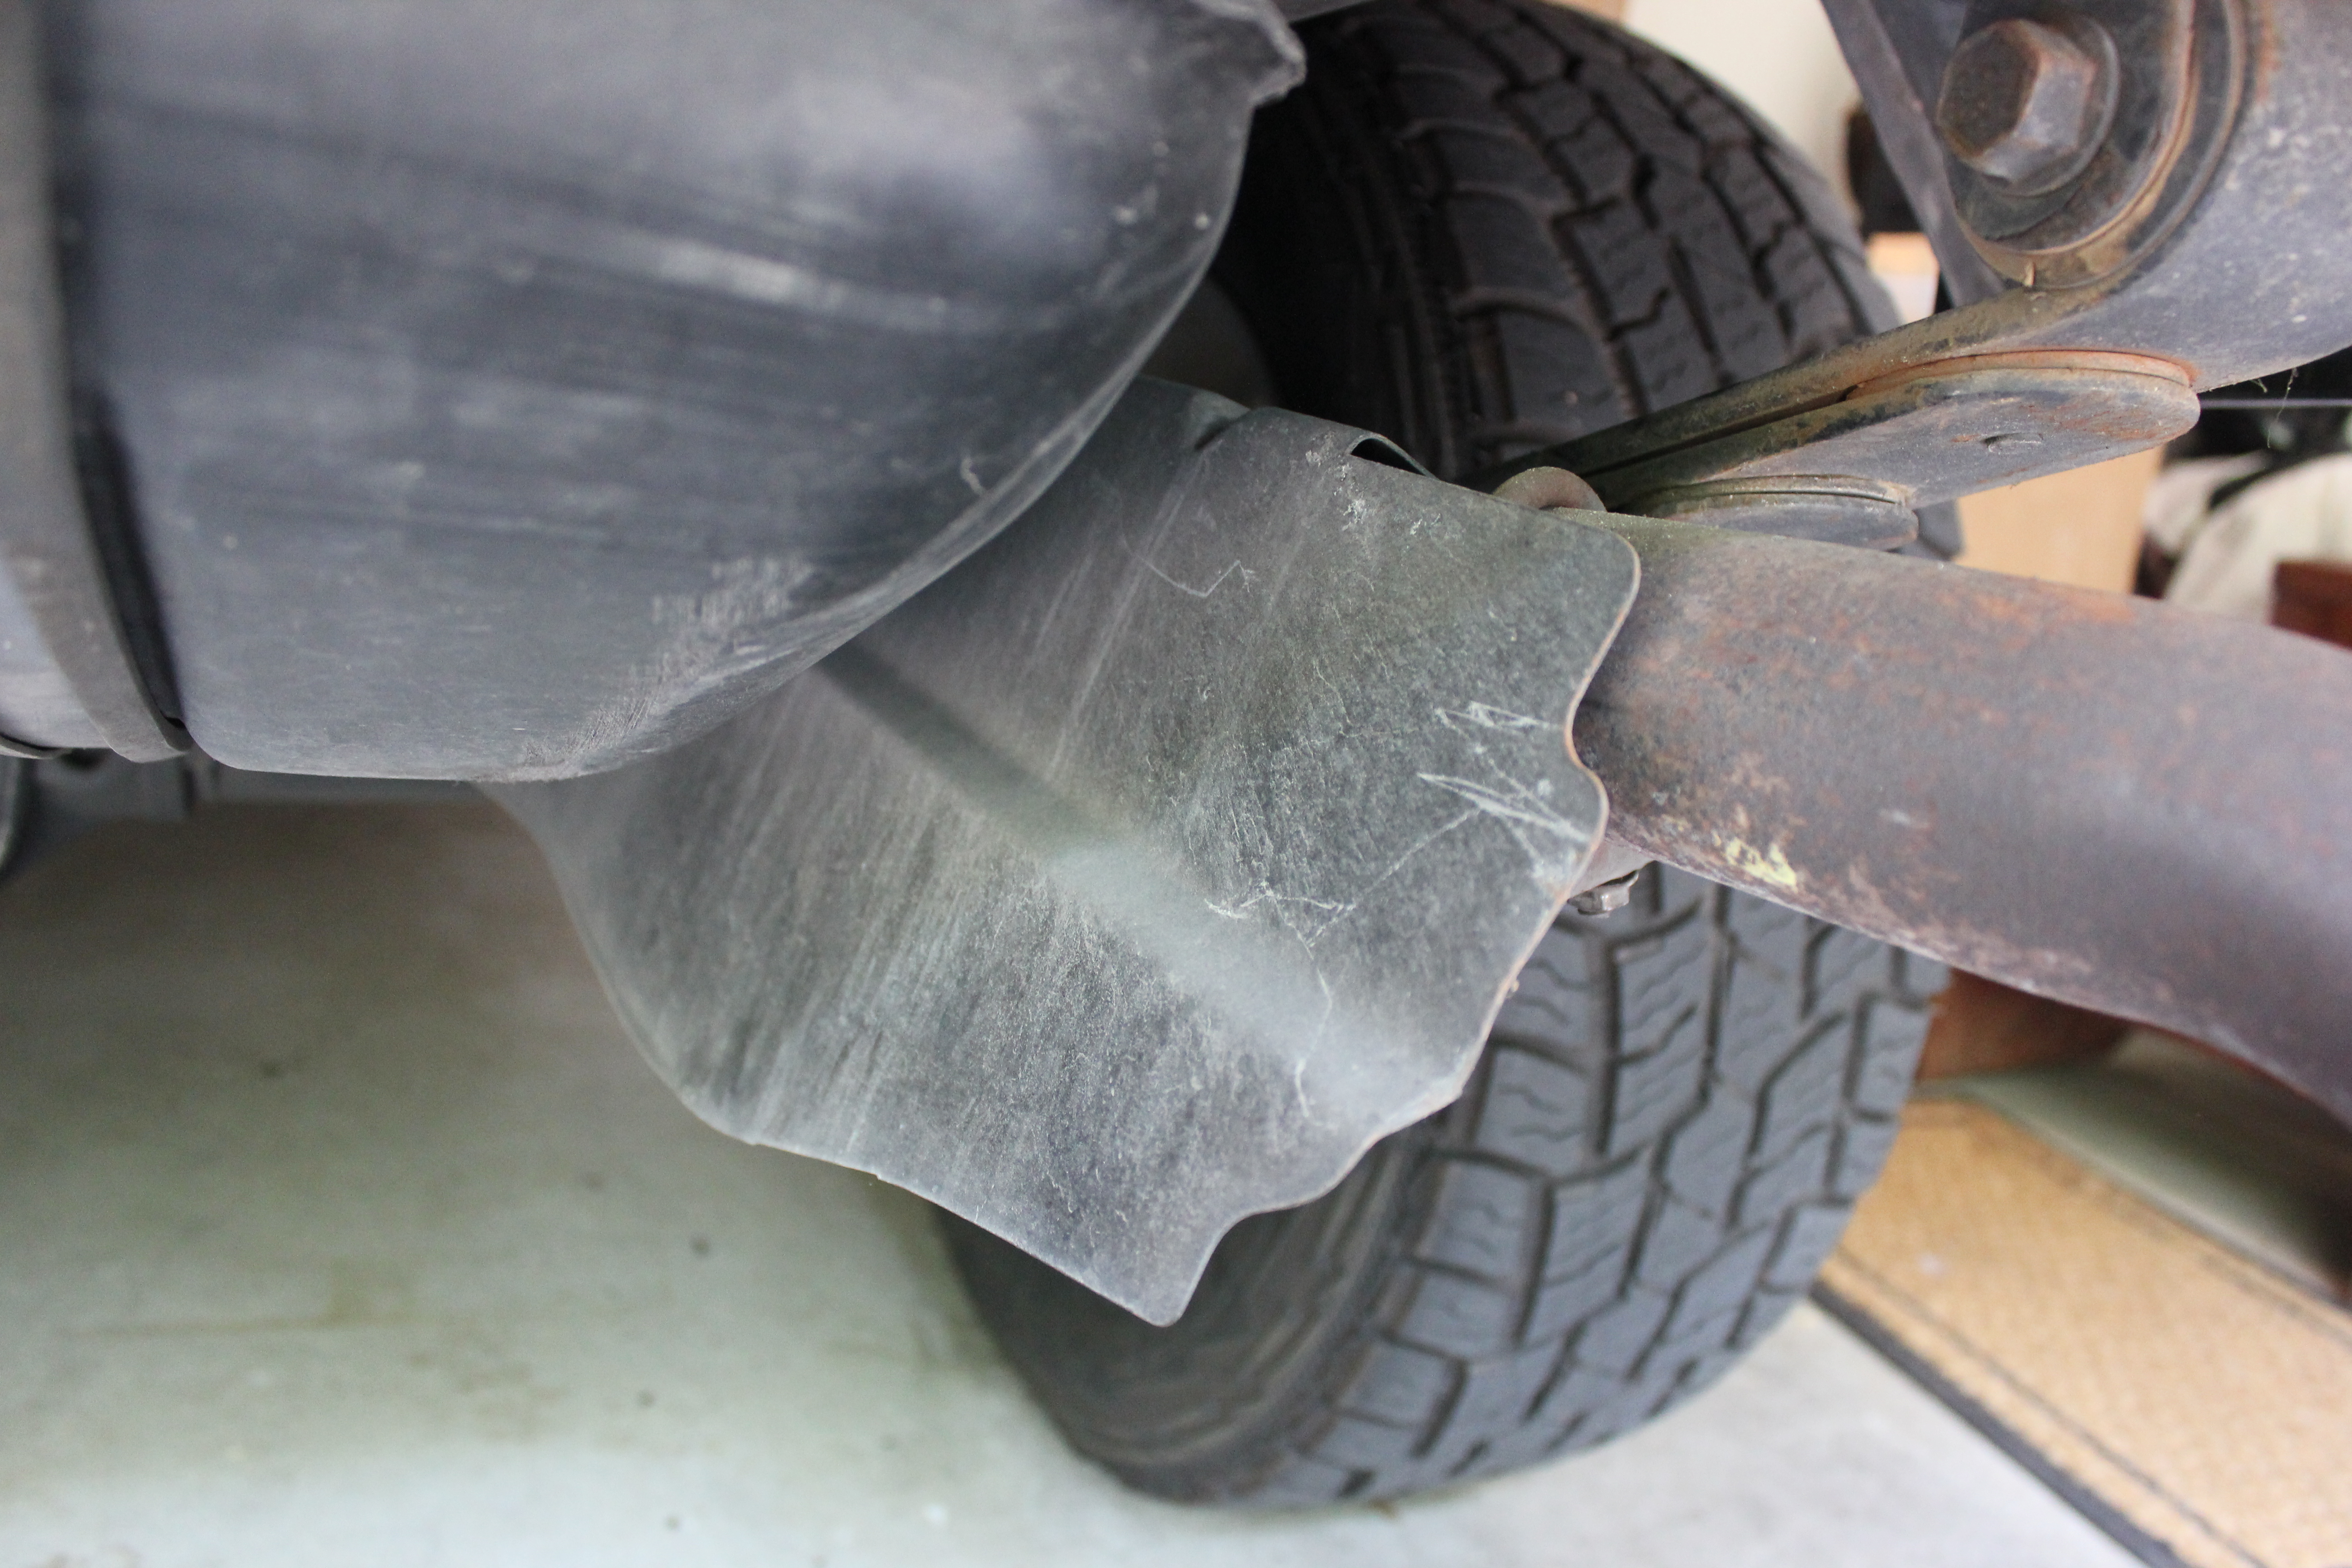
The first thing you want to do, though, is take the tailpipe off the hangar by removing this u-bolt (it’s attached to the tailpipe):
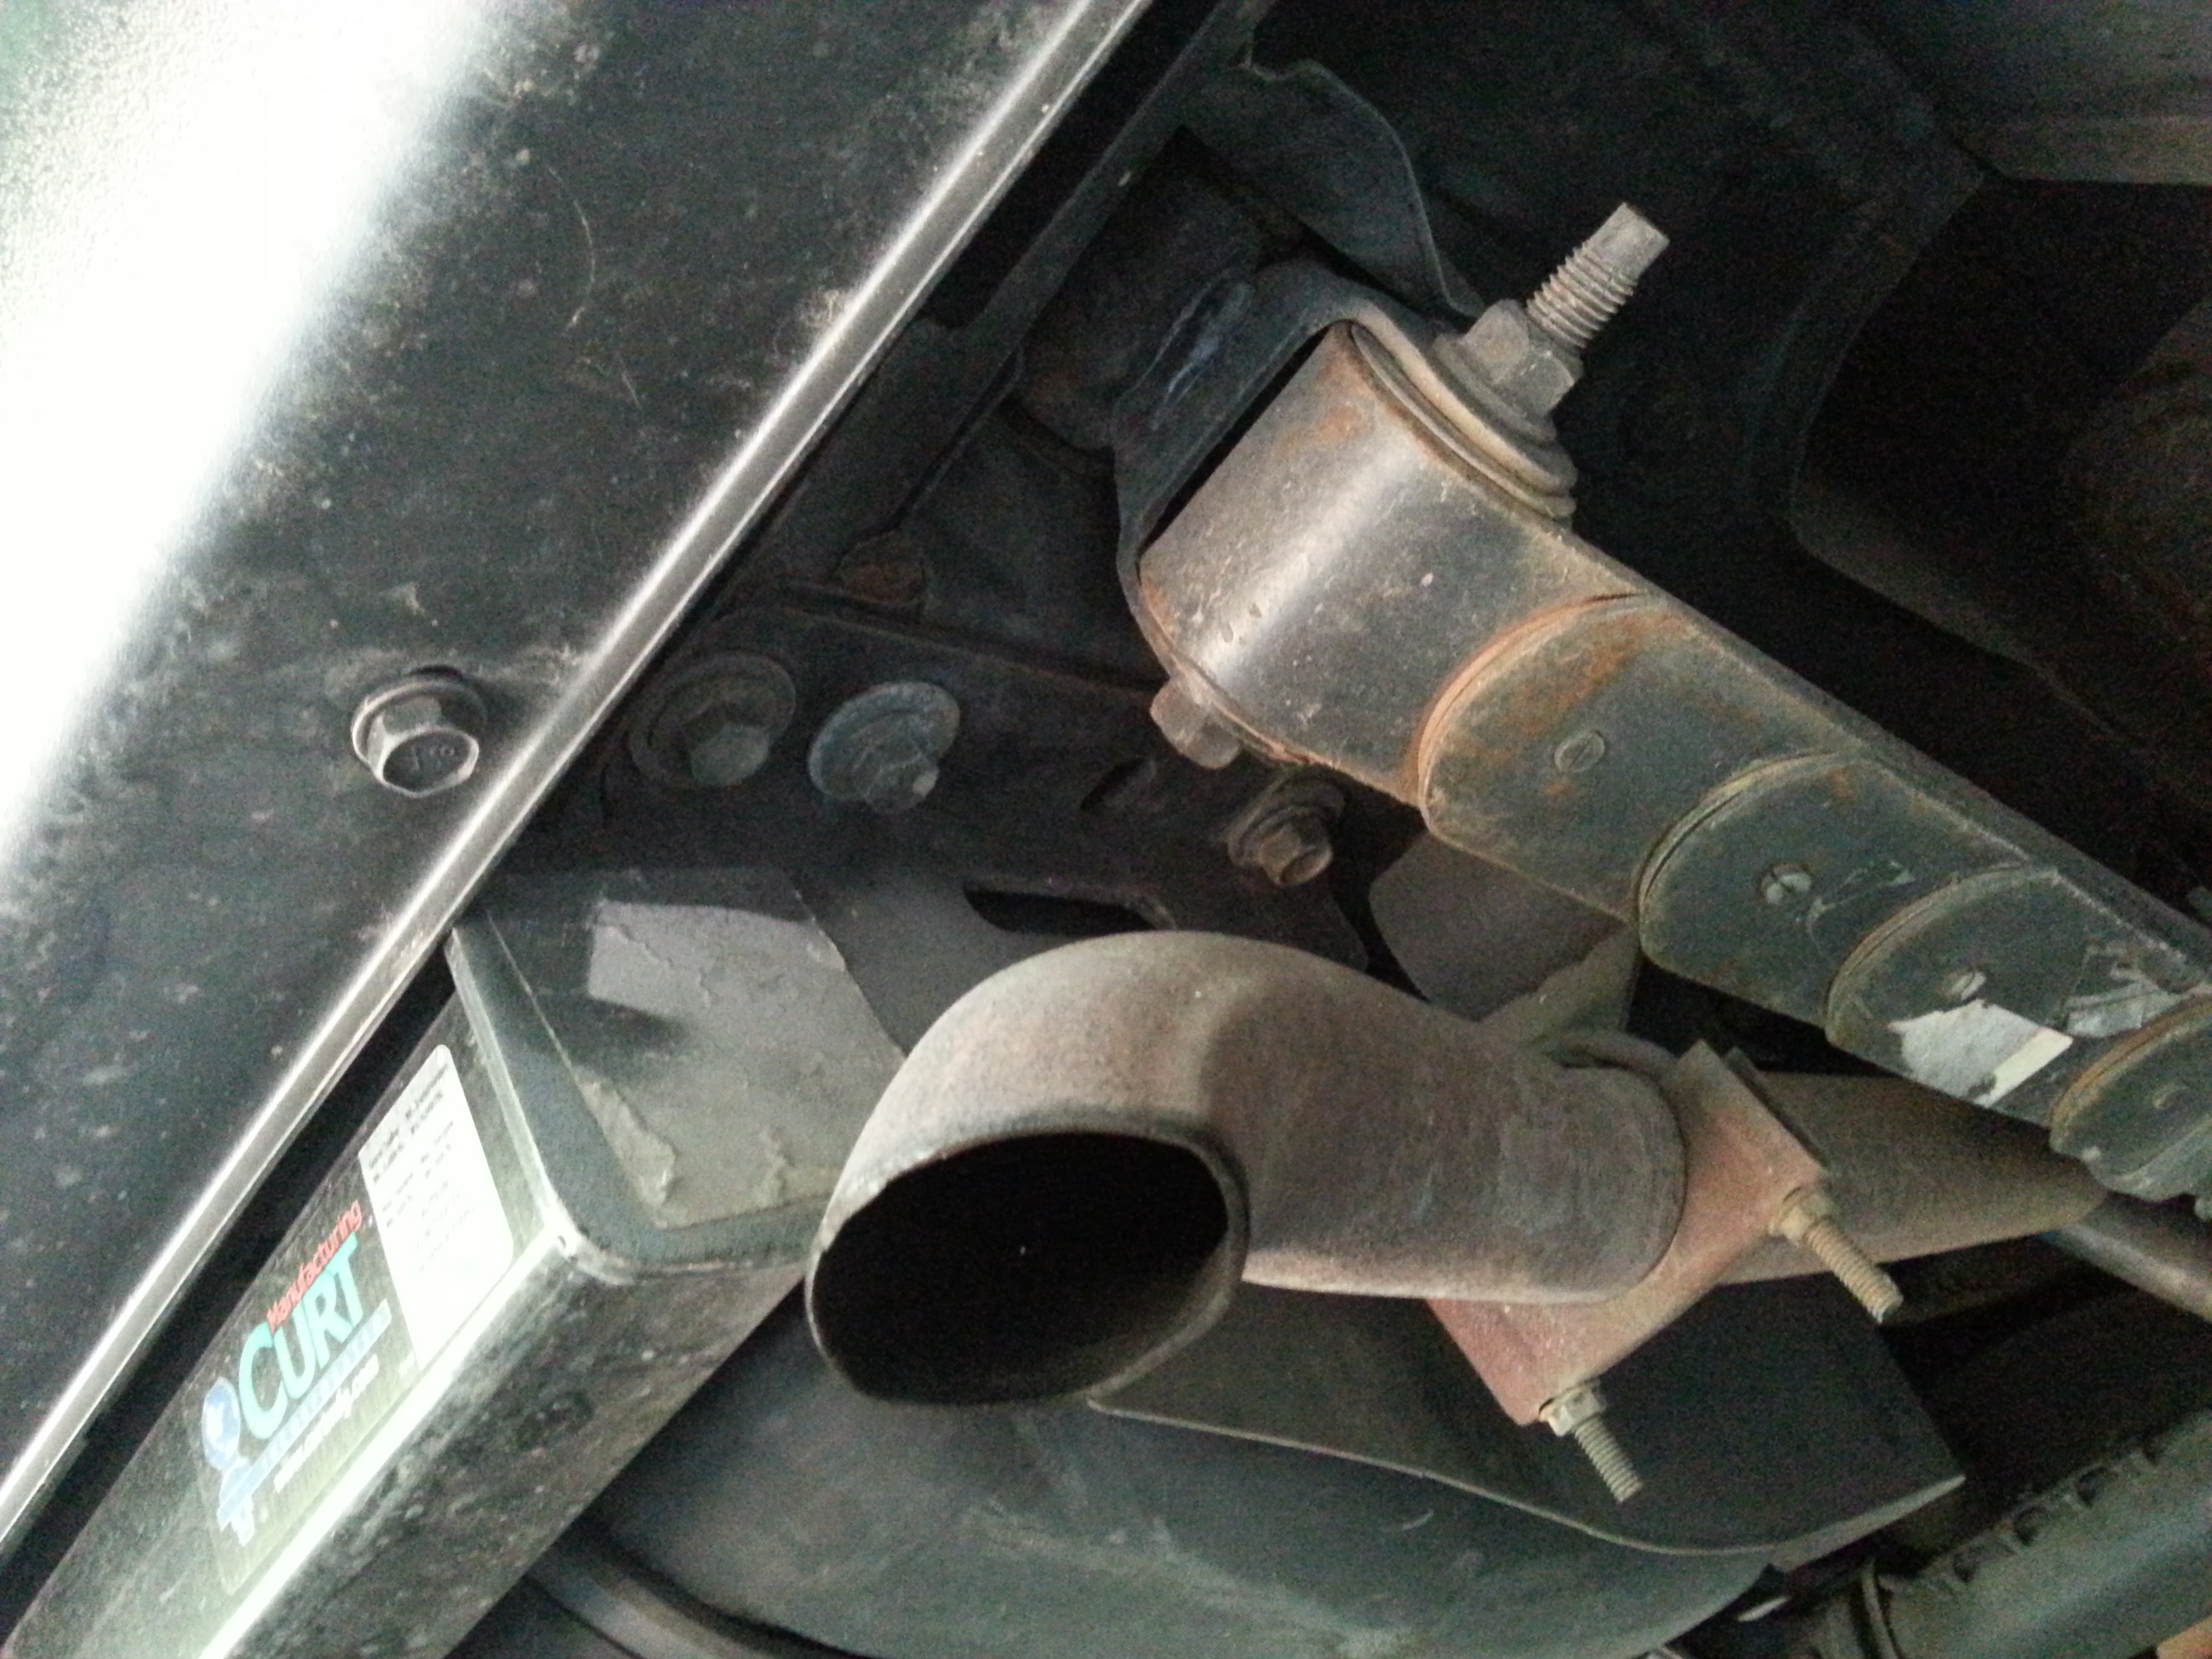
Trust me, it will make things a whole lot easier. Also, I mentioned earlier that it would make things even easier if you were to remove the tailpipe altogether, but my stuff is welded and I didn’t want to cut it.
There are probably four bolts on either side of the receiver. Take out the three closest to the front of the vehicle out first, then take out the last two bolts carefully. The hitch will drop out of place and break your nose. Well, only if you’re not careful.
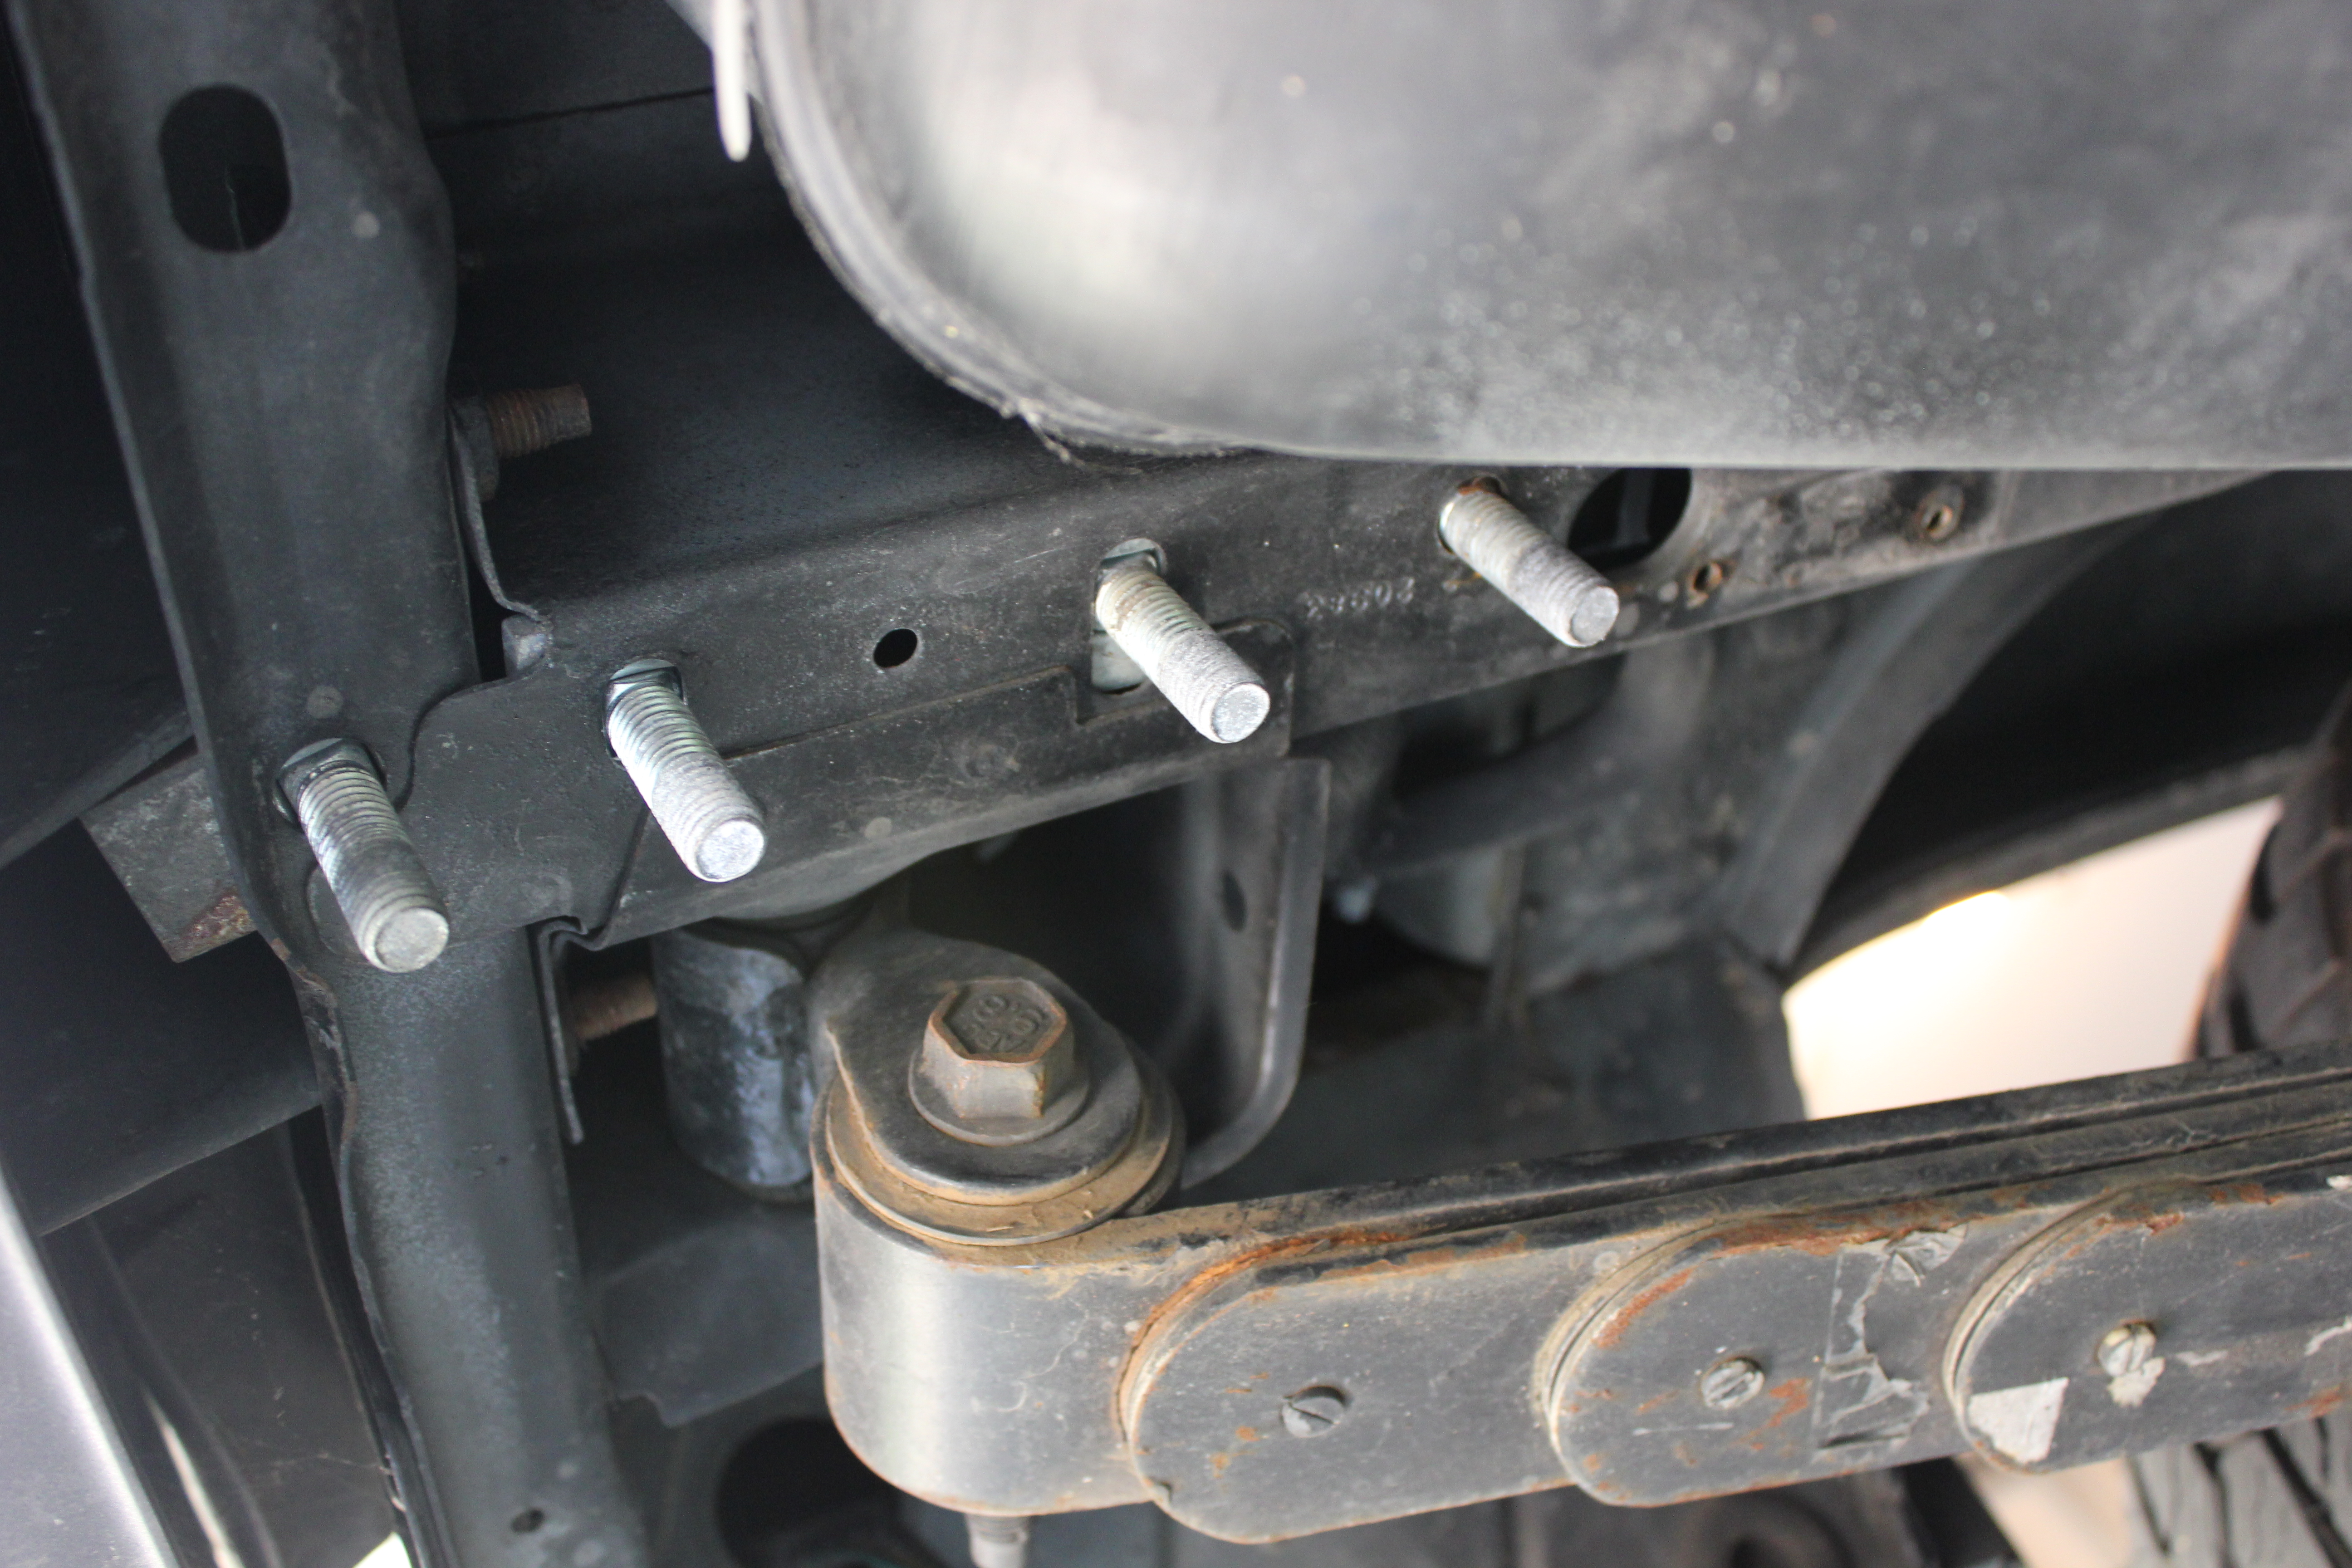
I said there are probably four bolts on either side, because the normal way of installing a hitch is to use nutstrips inside each frame rail. In my case, one of the bolts on the passenger side had apparently broken off during installation so I only had three there as you can see in the above picture (they’re just above the tailpipe in that picture, and you can see the missing one). On the driver side, there were bolts hanging down through the frame rail:
I’ll talk about that in a minute.
Now, the instructions say that Step 1 is to remove the bumper, but I didn’t do that first. I actually had to do steps 2 and 3 while removing the old hitch.
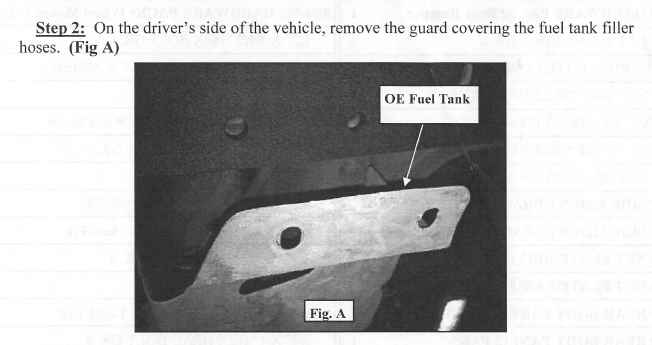
Here is a better picture of what they are talking about:
The bottom of both pictures is the driver’s side of the vehicle, and the left side is the rear of the vehicle. As you can see, my filler hose guard is slightly covering the hitch, so I had to take it off before I could take off the hitch. there are four screws: The two you see here, and two closer to the top of the guard.
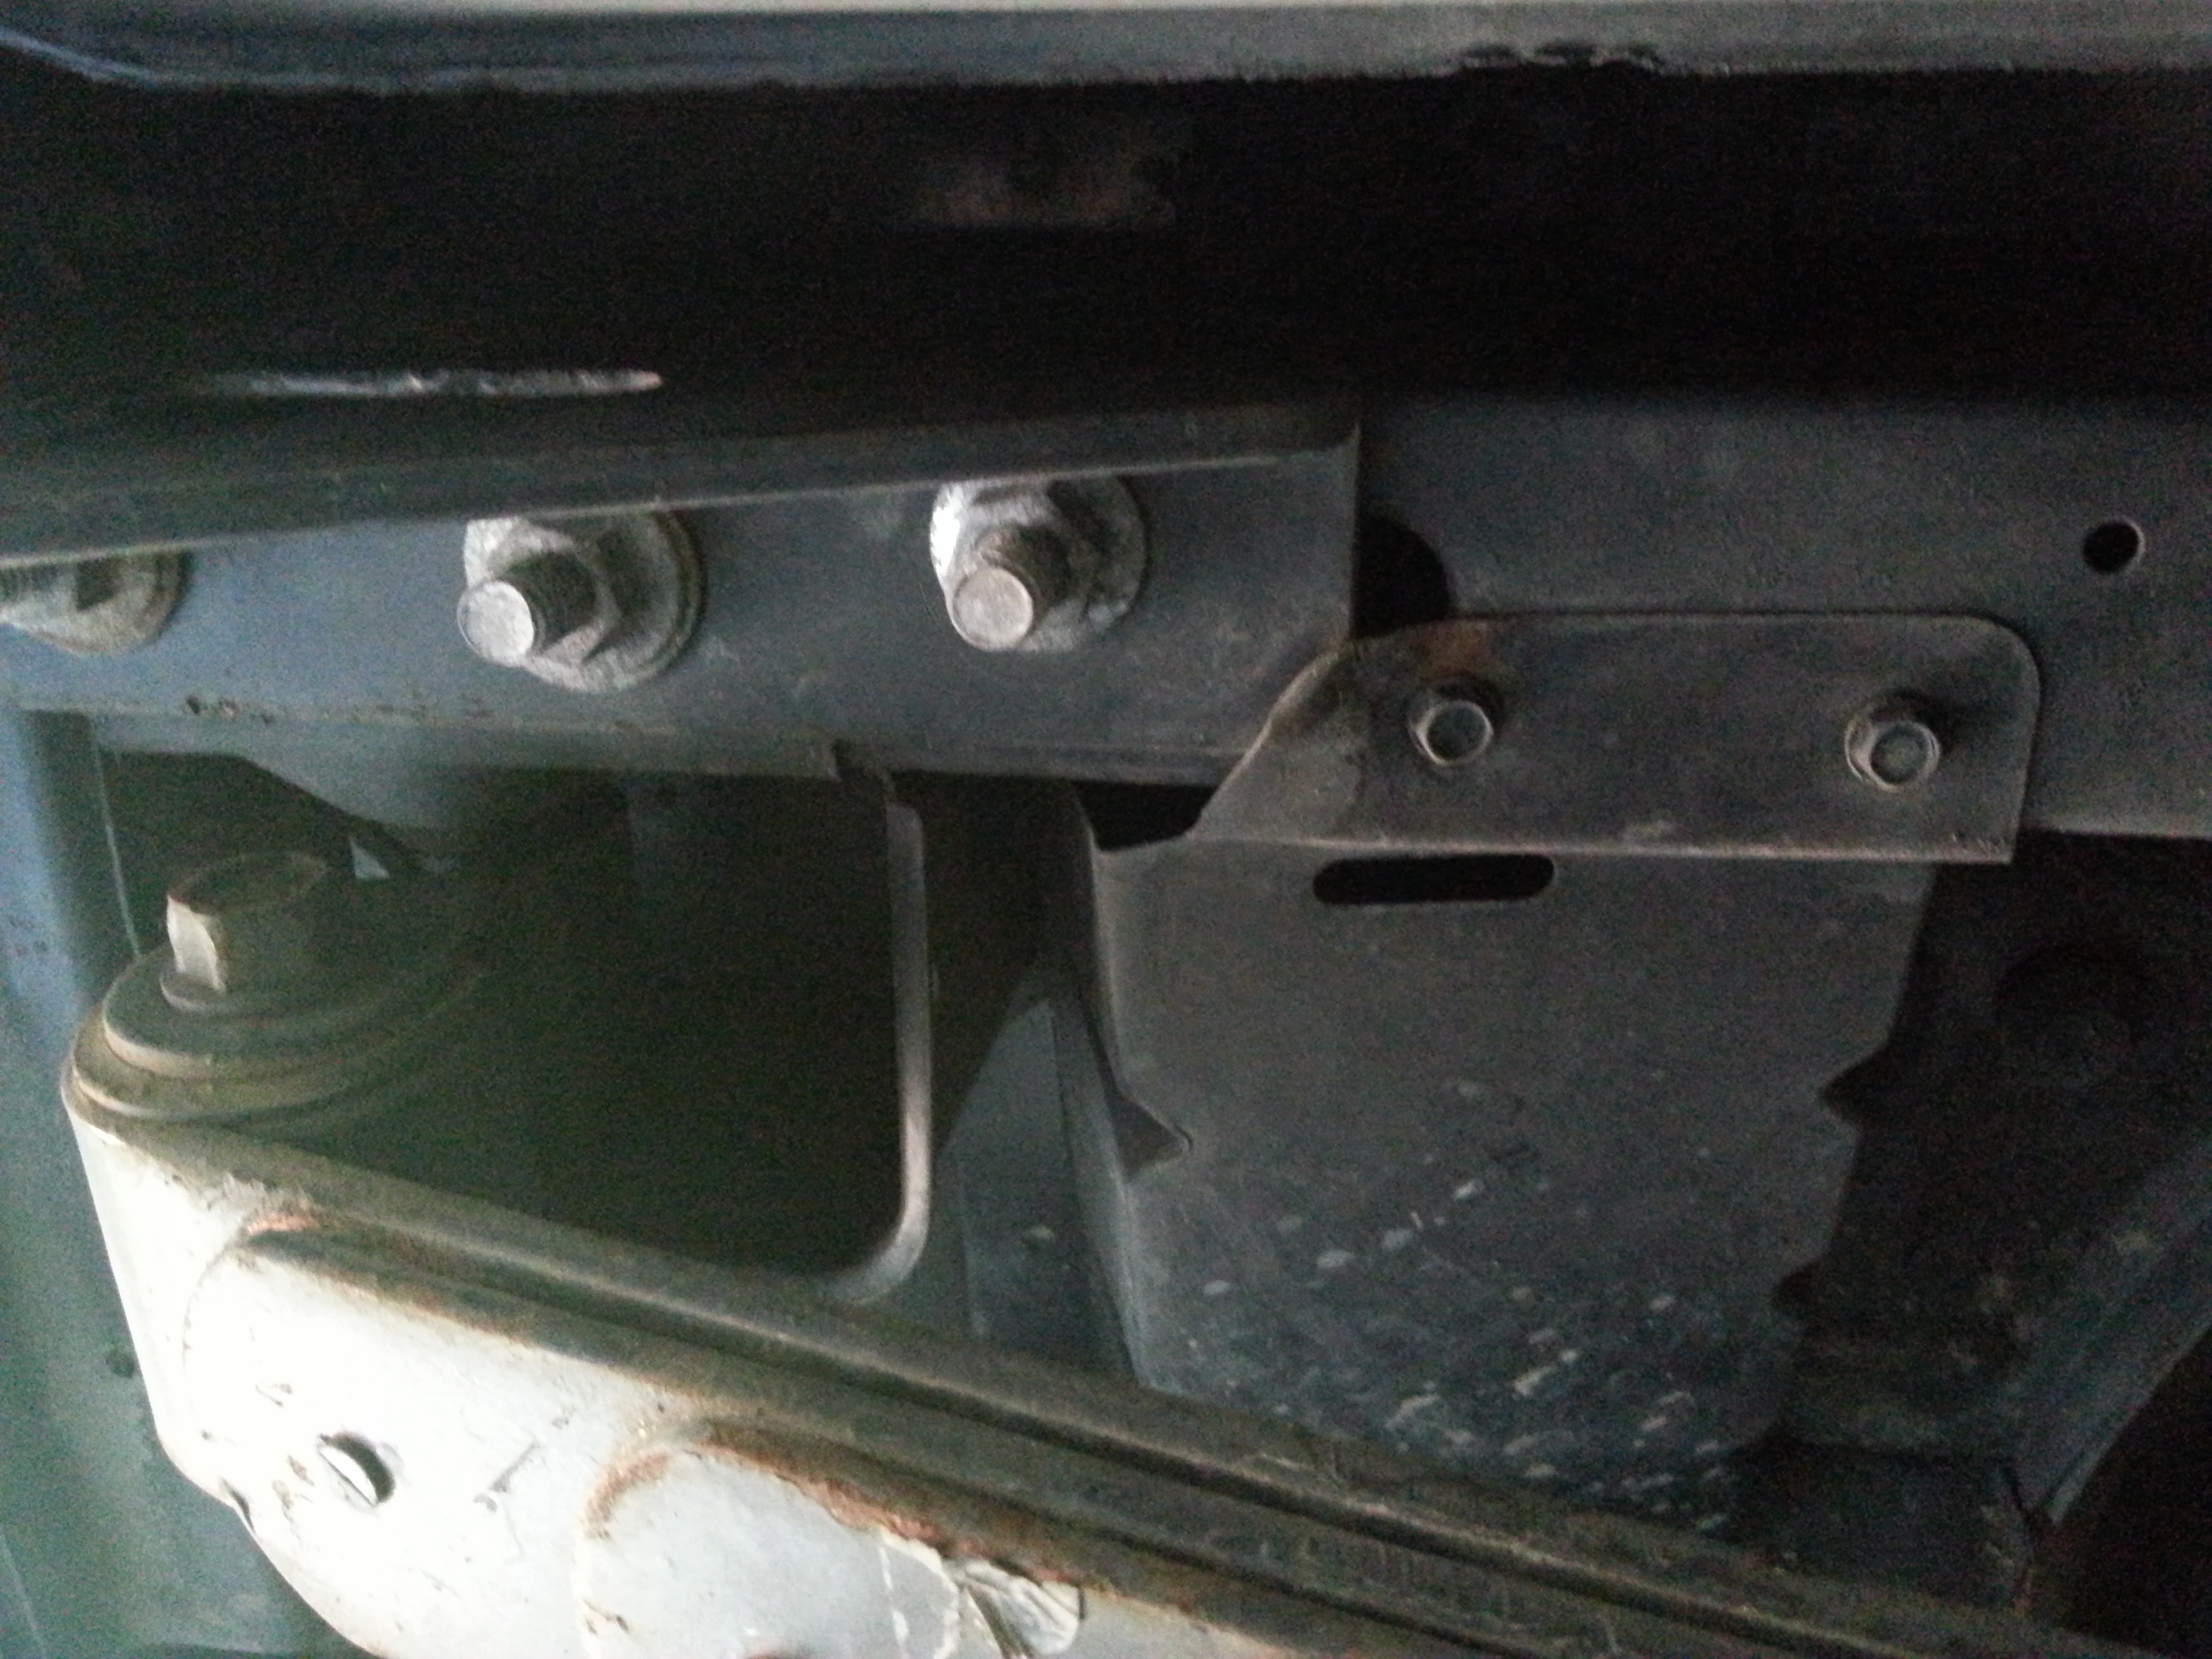
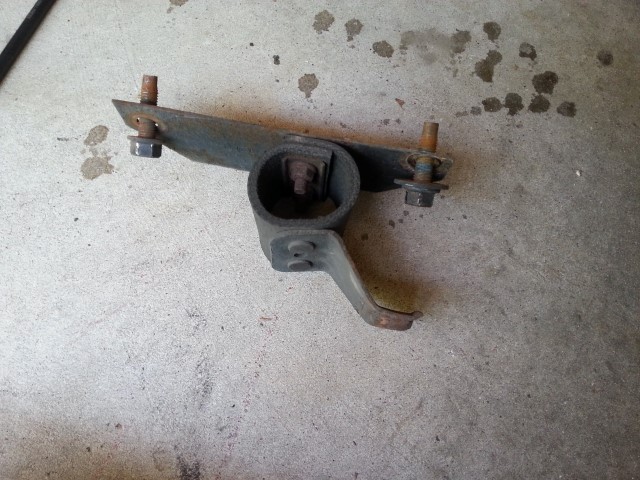
Here is the first indication that the instructions are going to be not entirely accurate for 97+ XJs. My exhaust hangar doesn’t bolt into the frame rail like that. It looks like this:

The exhaust hangar is bolted to a bracket, and the bracket is bolted to the unibody frame rail.
That bracket is covering the passenger side of the tow hitch, so before I could remove the tow hitch I had to take this off.
So after doing steps 2 and 3, I was able to take off the hitch. Yay!
Oh I should probably also mention the gas tank heat shield. On mine, the heat shield was sandwiched between the passenger side frame rail and the hitch. Once I took the hitch off, it looked like this:
Now, you can leave it there, or you can completely remove it by taking off the last nut that’s holding it in place. That nut is on the bolt that holds the gas tank strap. I was a little afraid that removing that nut would drop the tank, but it doesn’t. There’s another nut above that which is the one that actually holds the strap. If you removed your exhaust, you probably should remove this heat shield to make things easier.
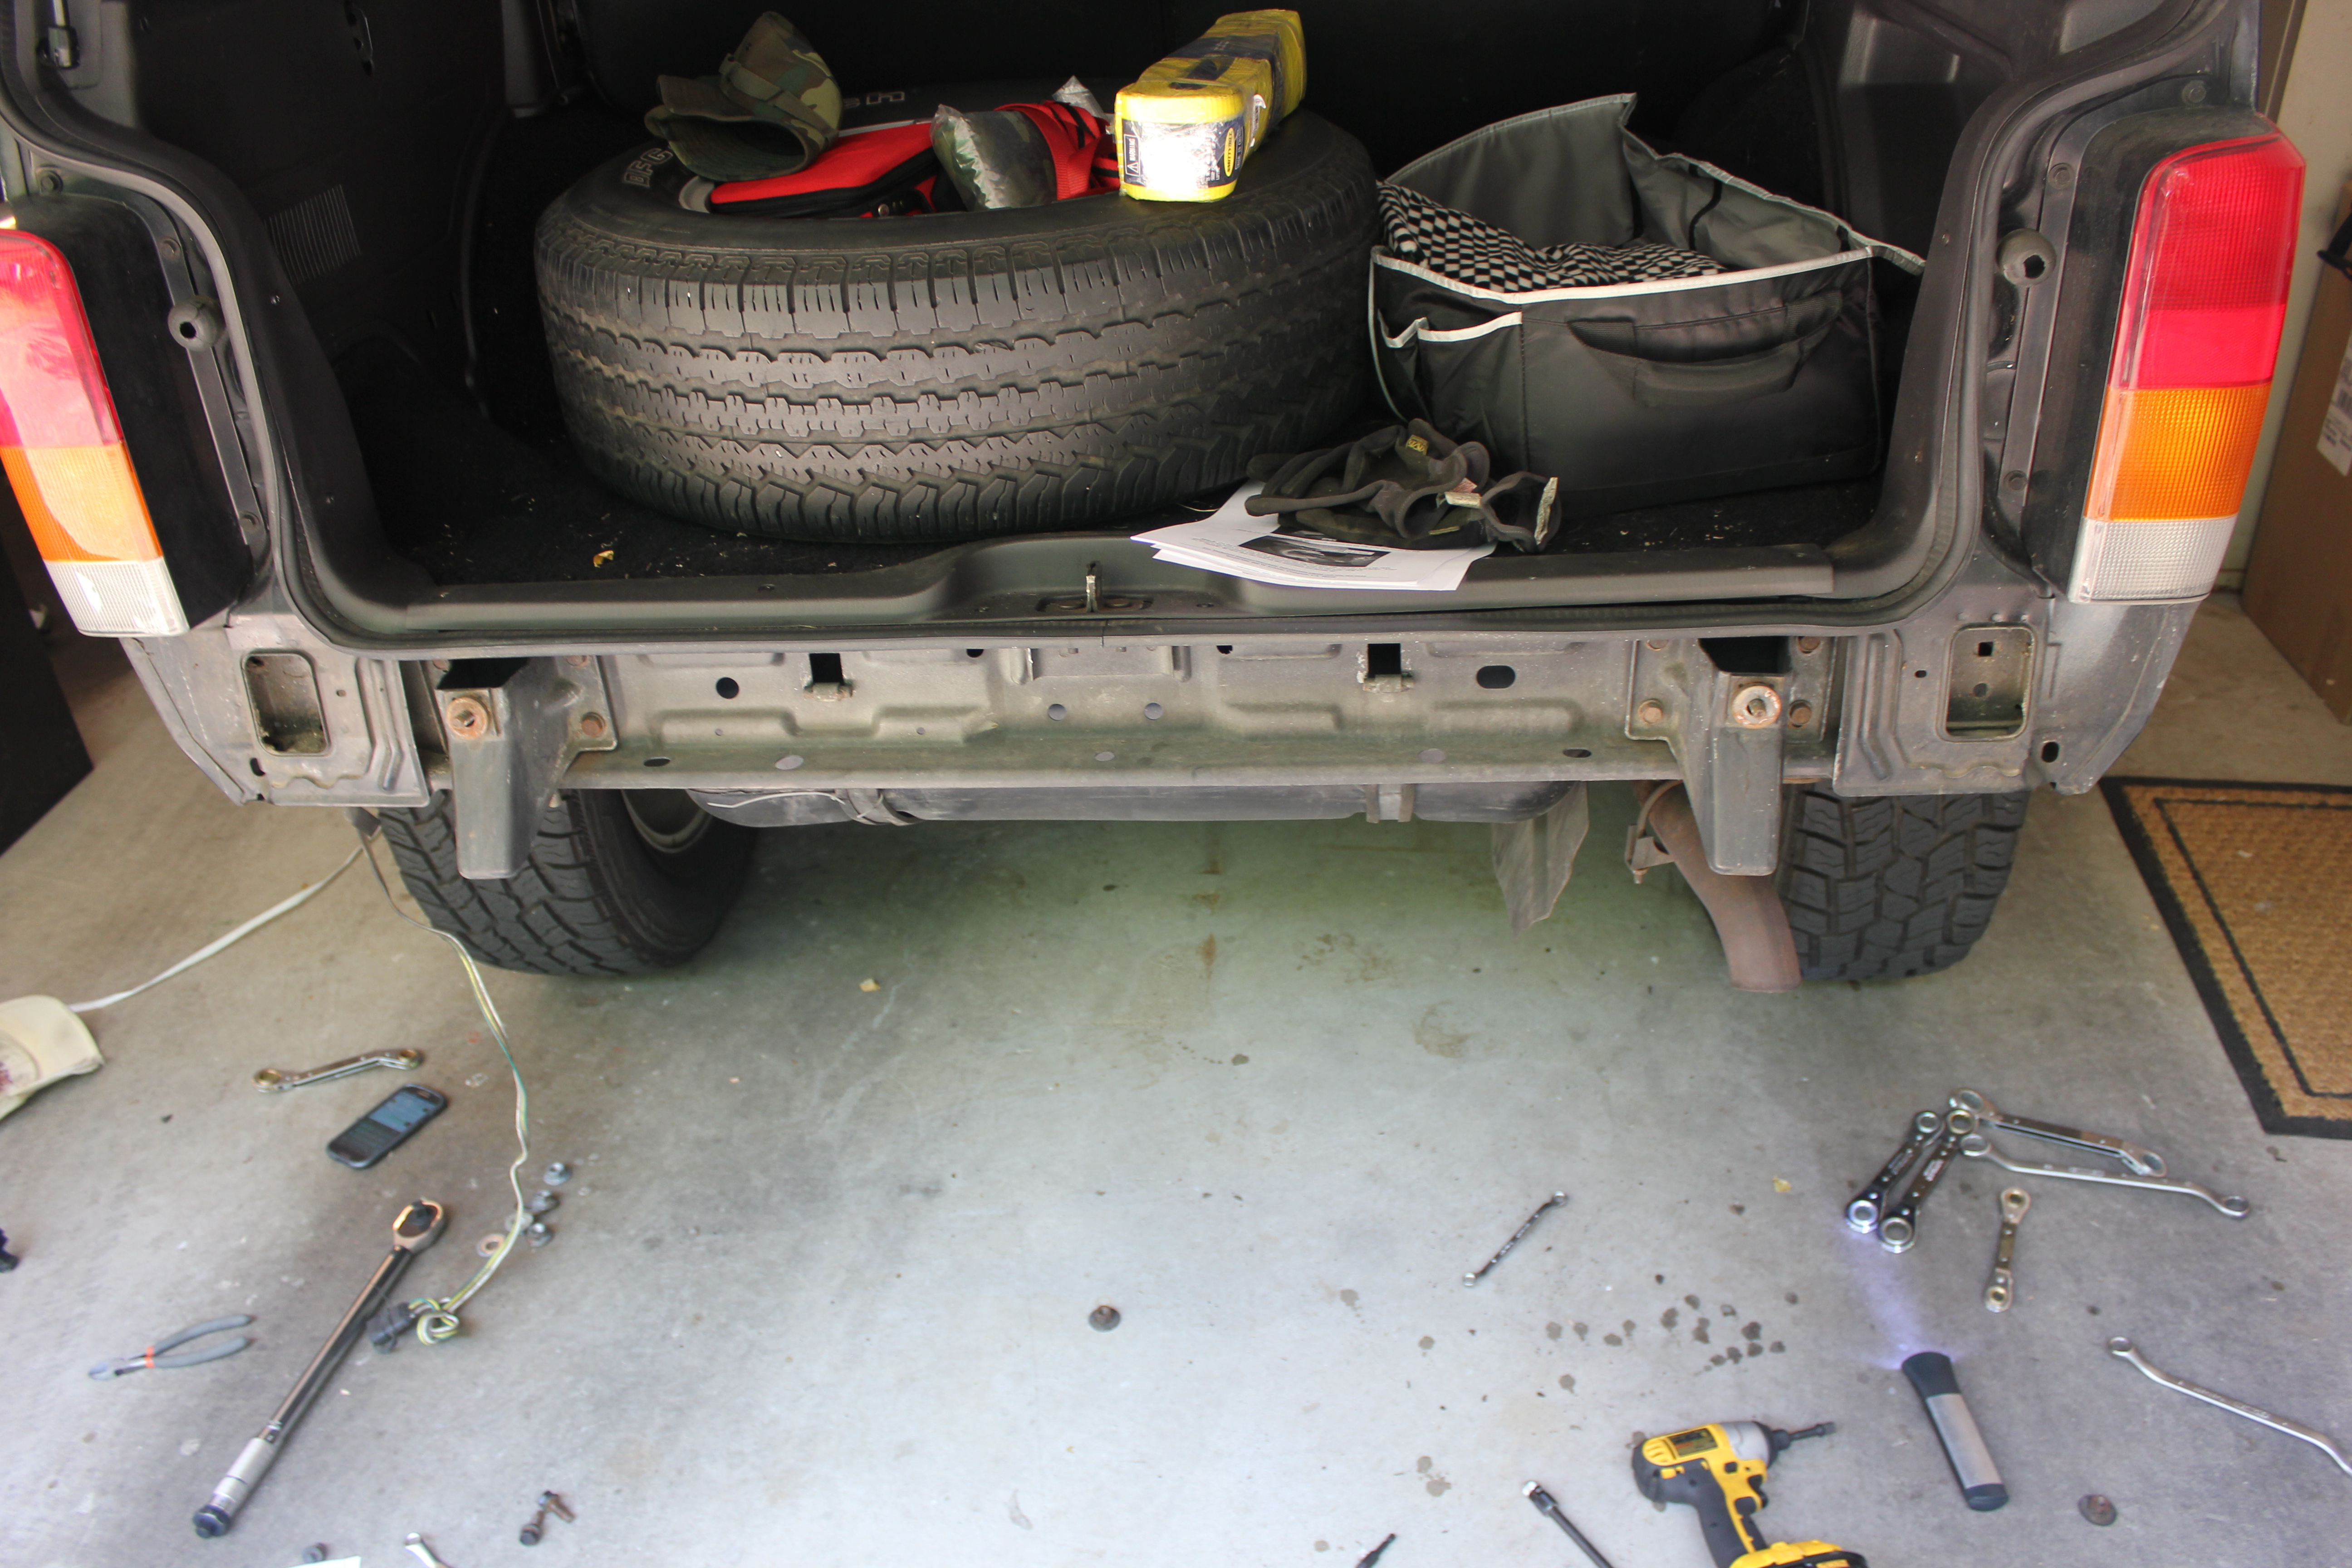
Removing the Rear Bumper:
Okay so now it’s time to do Step 1: 
This obviously assumes you know how to remove the rear bumper. I don’t, but the XJ Field Service Manual does.
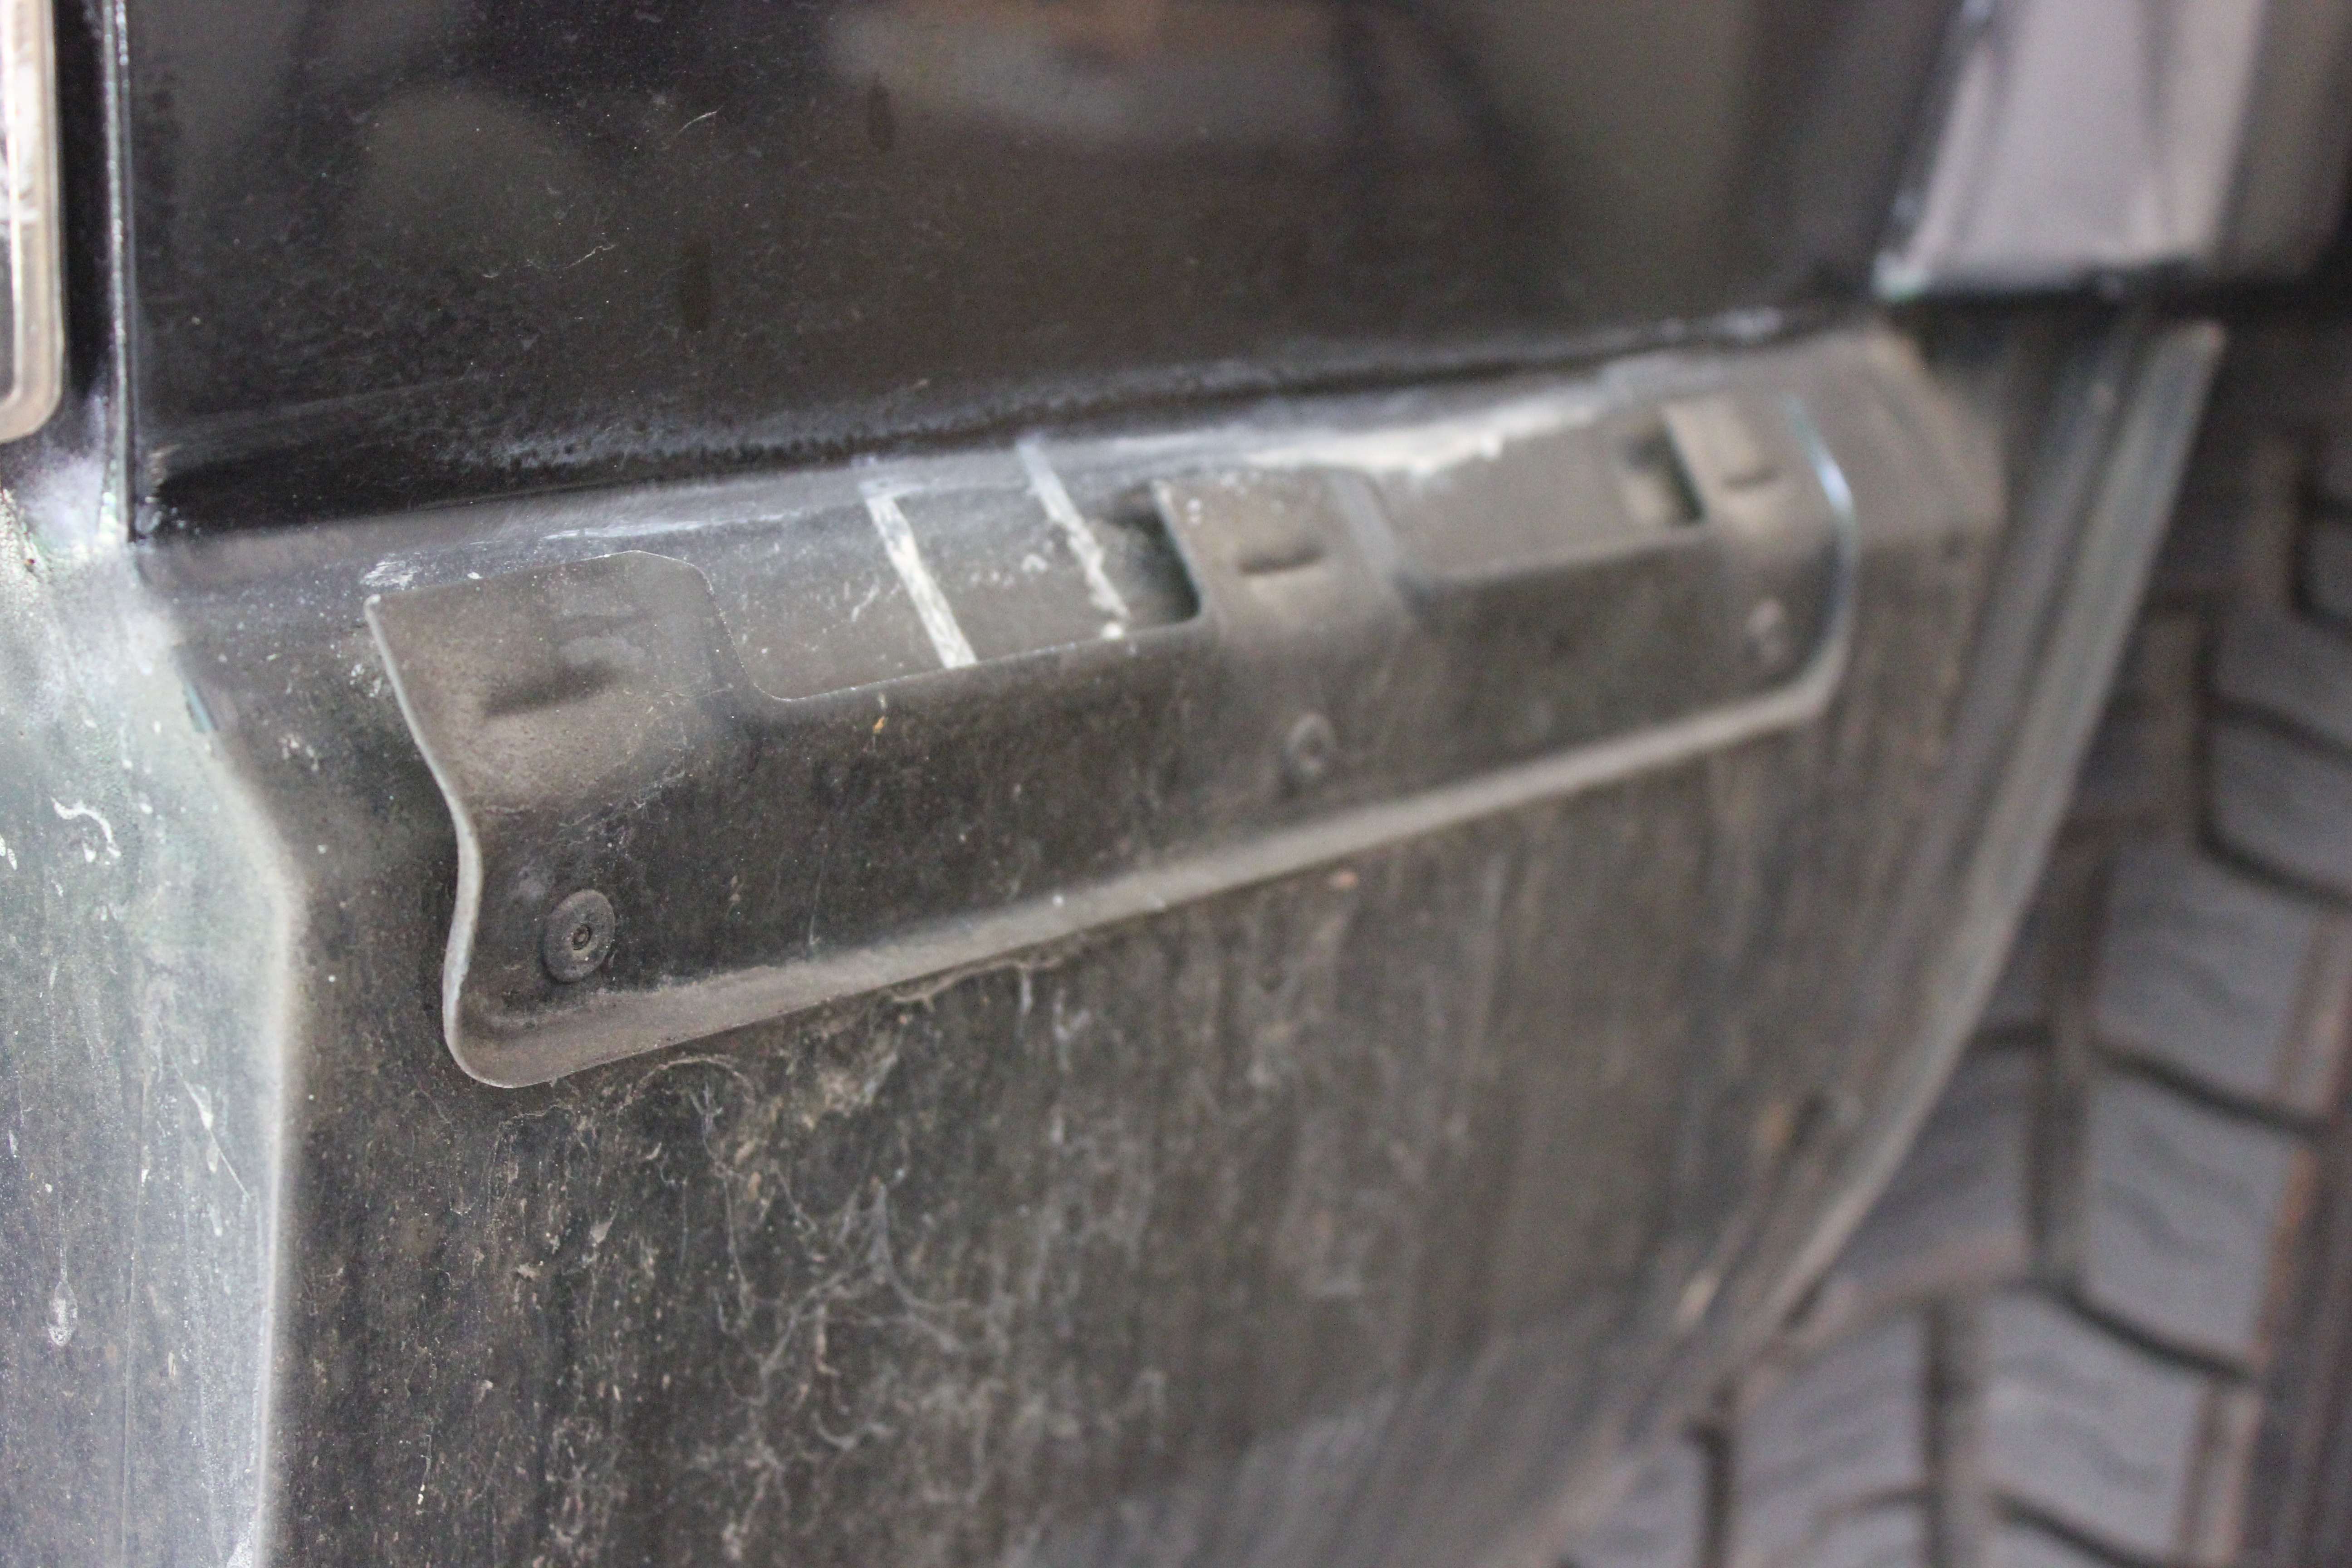
First, you have to take off the bumper end caps. There are two screws, a very visible 10mm and a not-so easy to get to 1/4″
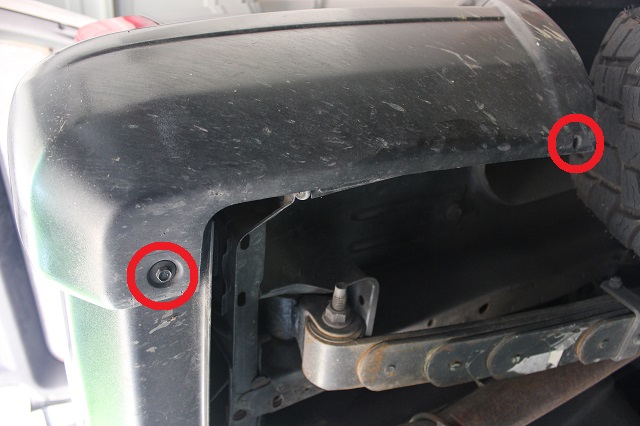
I literally had to borrow a smaller-walled 1/4″ socket from my neighbor. The 10mm bolt also has a nut on top so you’ll need to put a wrench or socket up there to keep it from spinning.
Once those are off, you can slide the end cap to the rear:
And now you’re left with this:
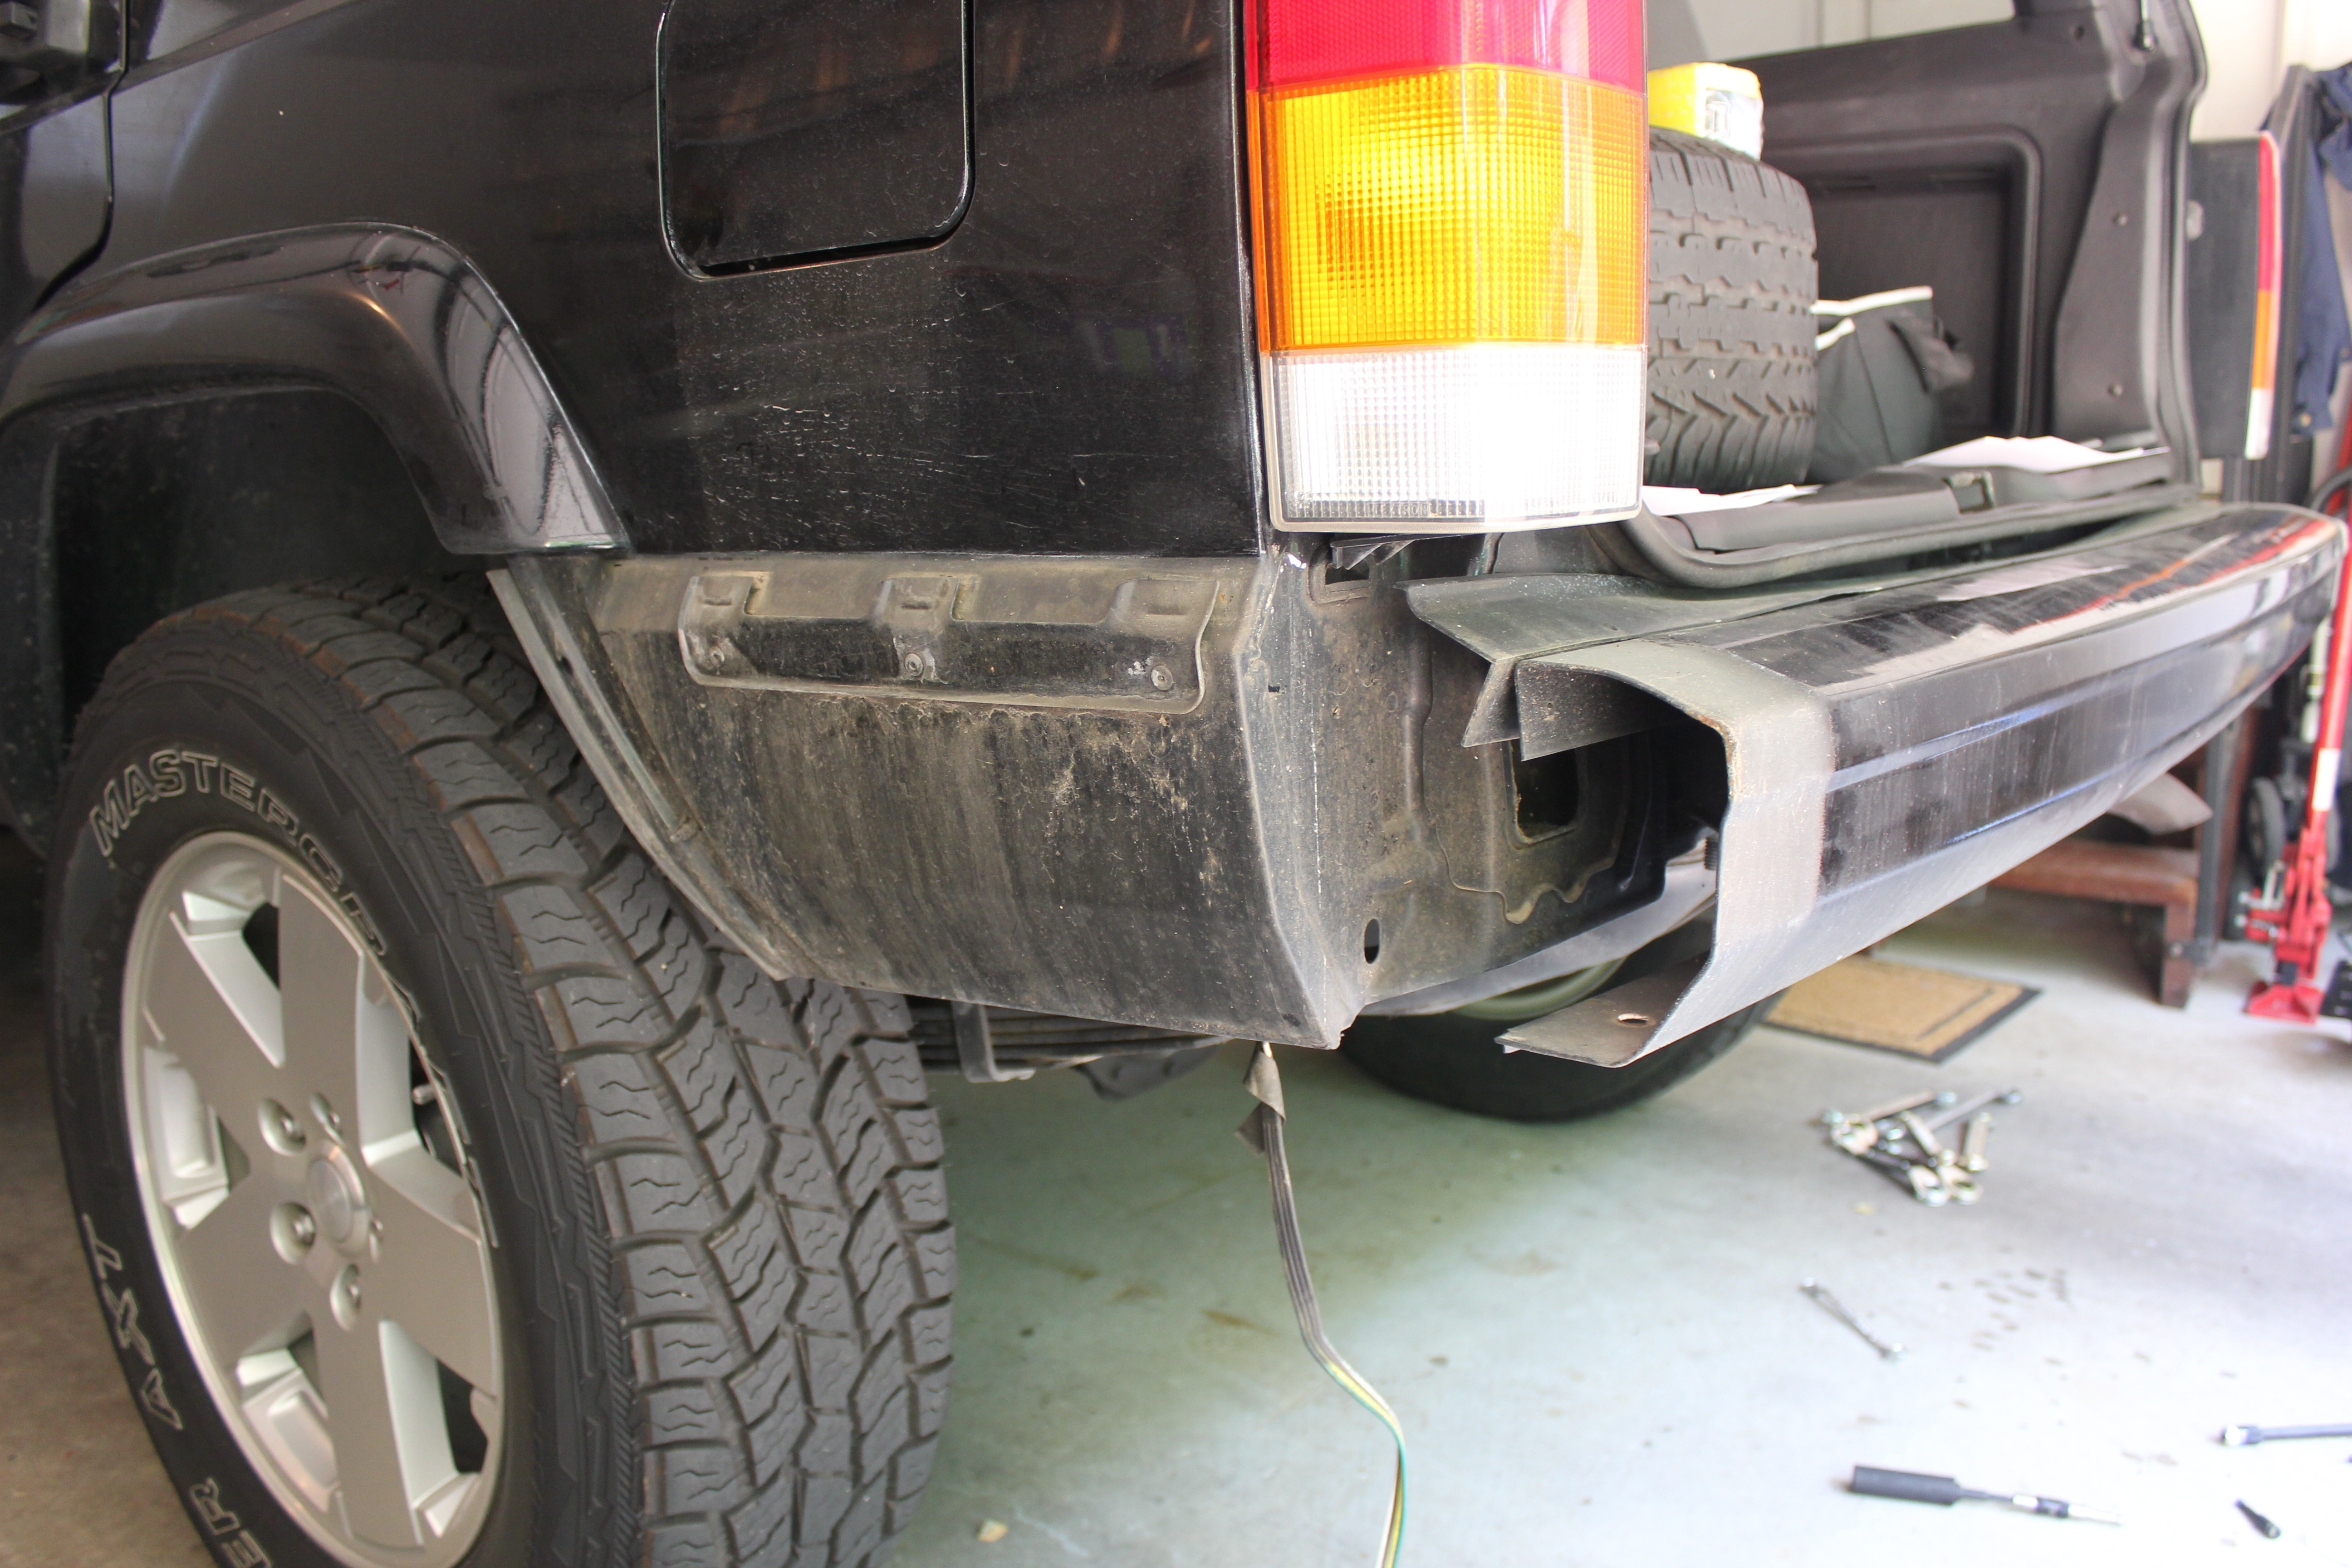
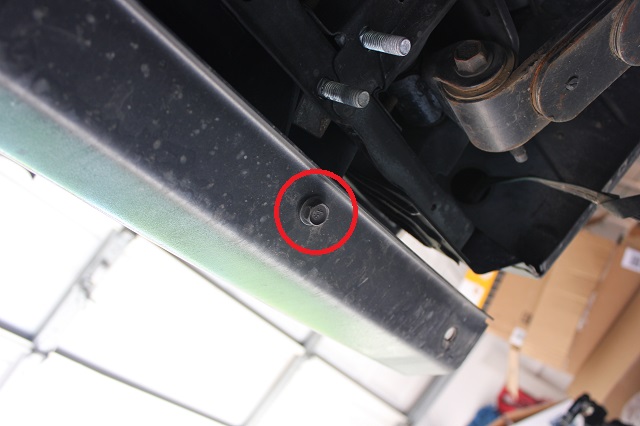
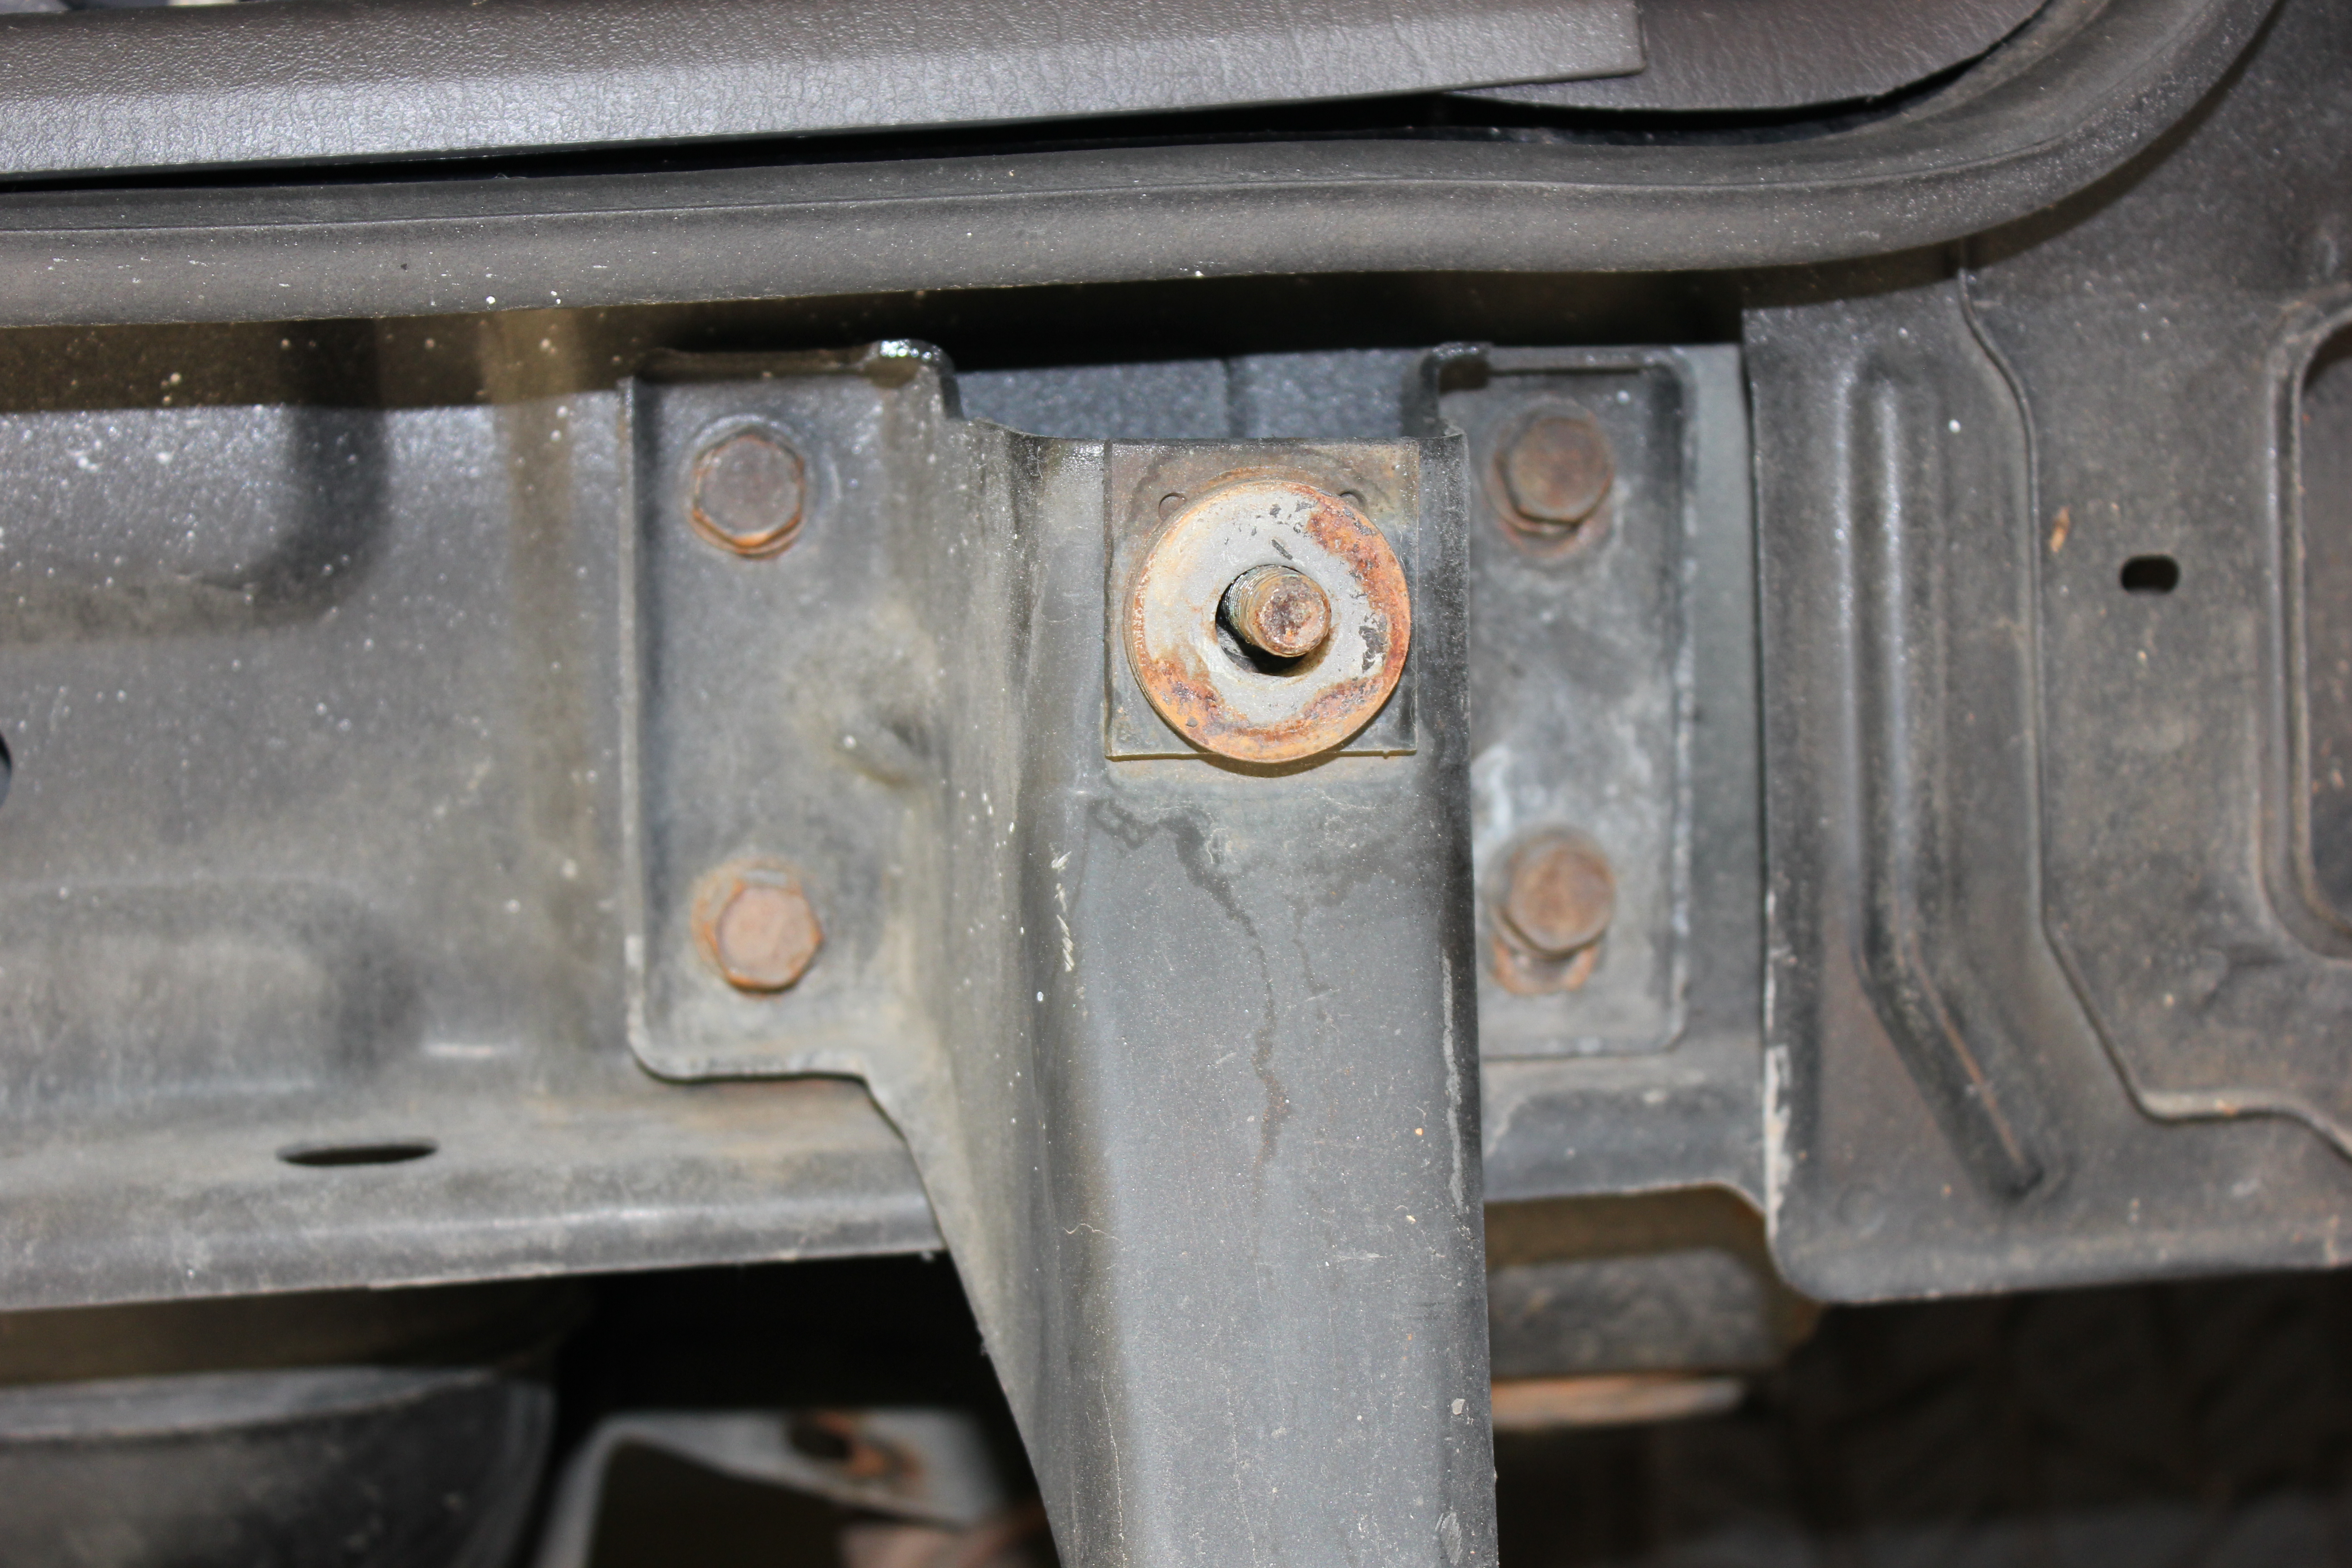
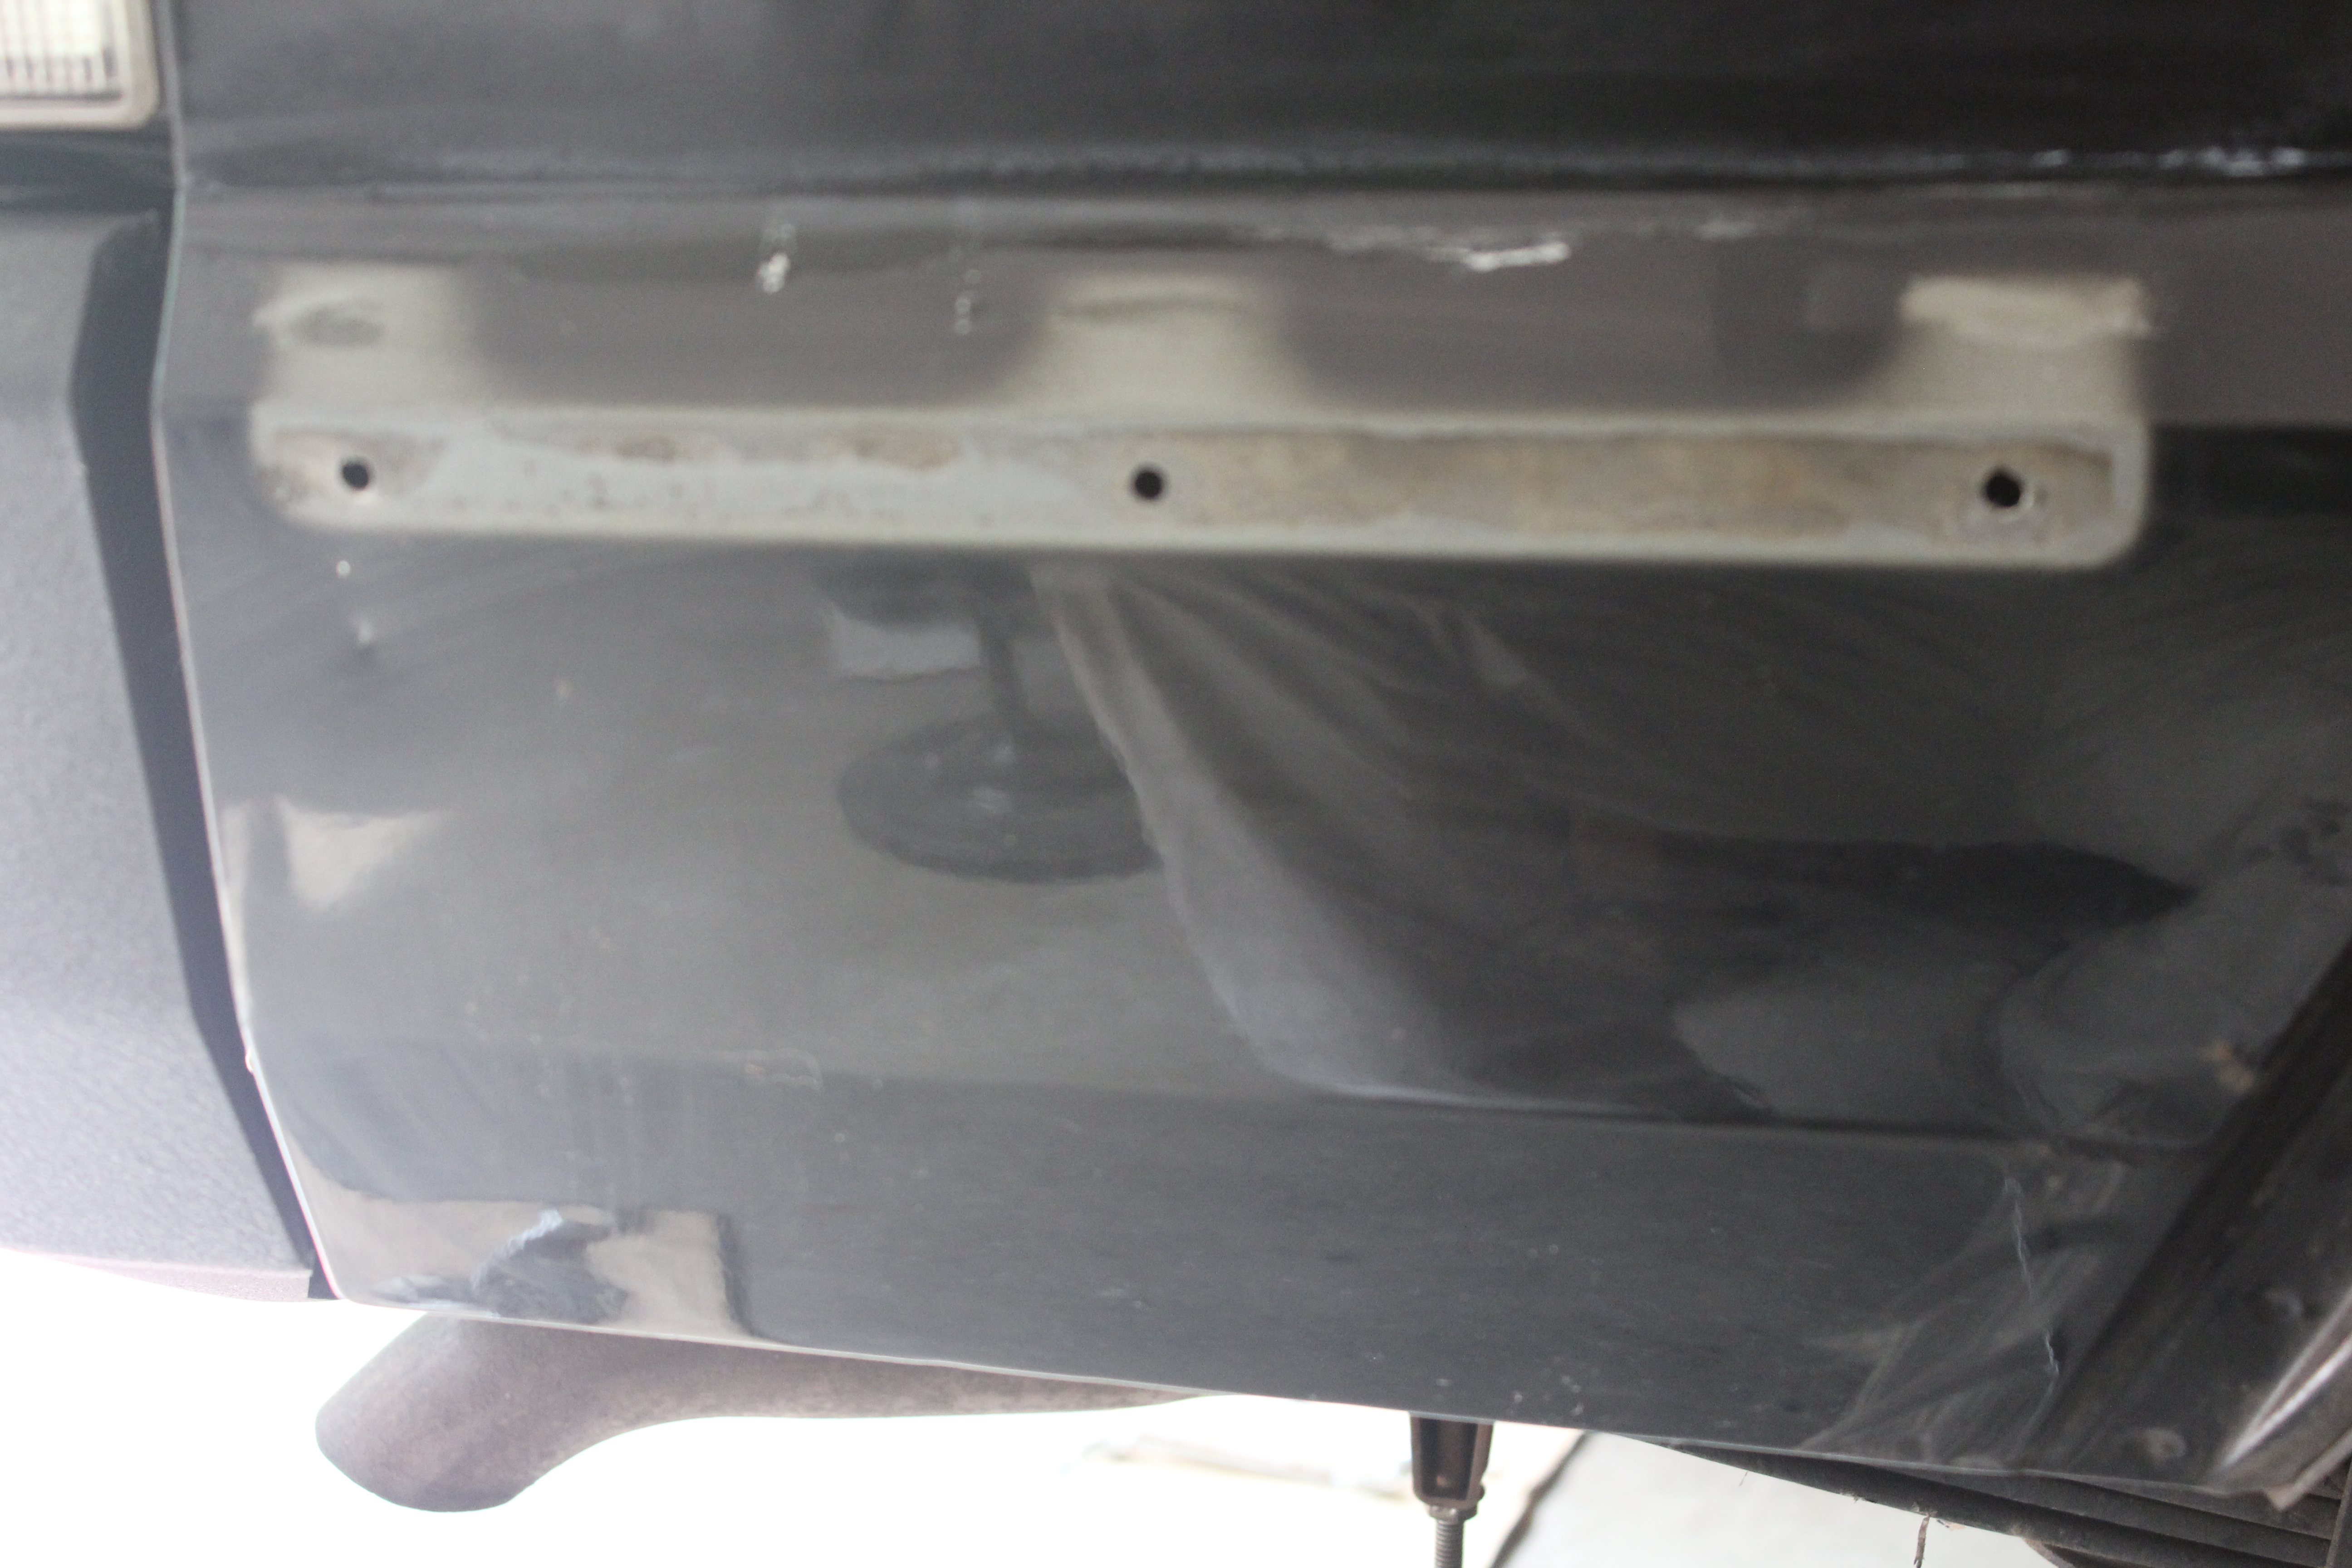
There are 4 bolts that hold the bumper to the bumper brackets. Two are on the bottom are visible:
The other two are inside the bumper. I highly suggest a ratcheting box wrench because otherwise it’s extremely difficult to get to.
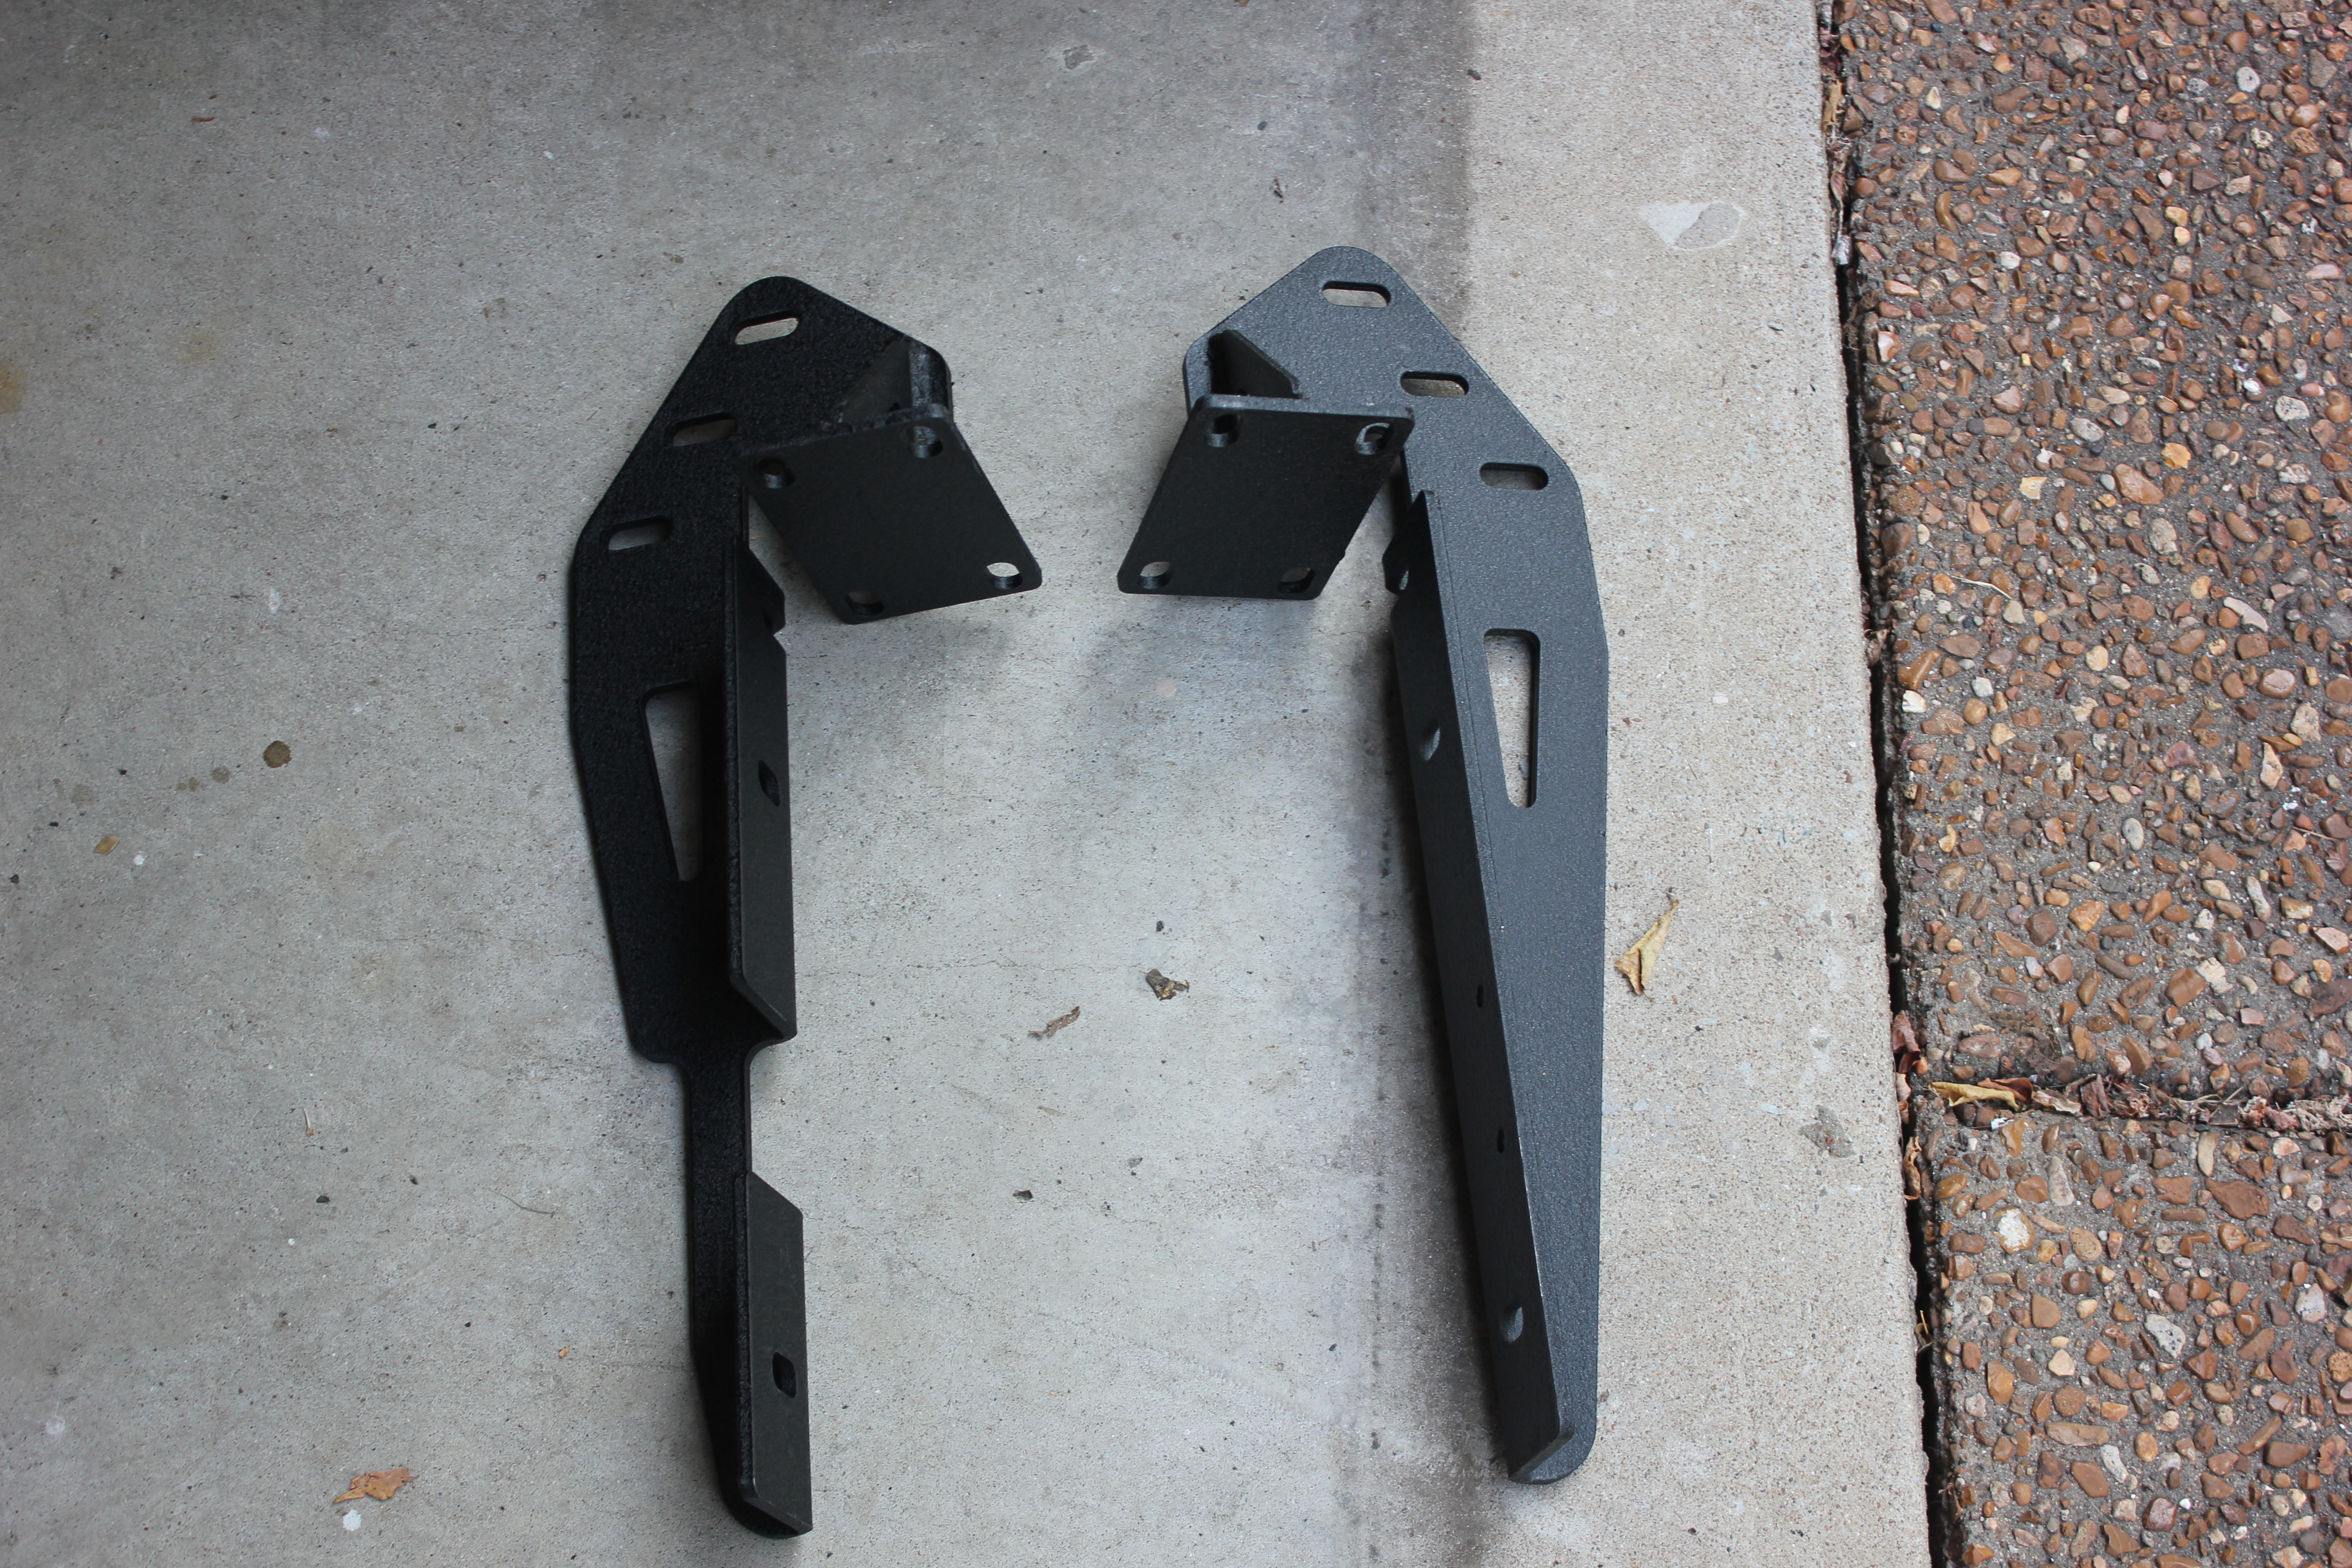
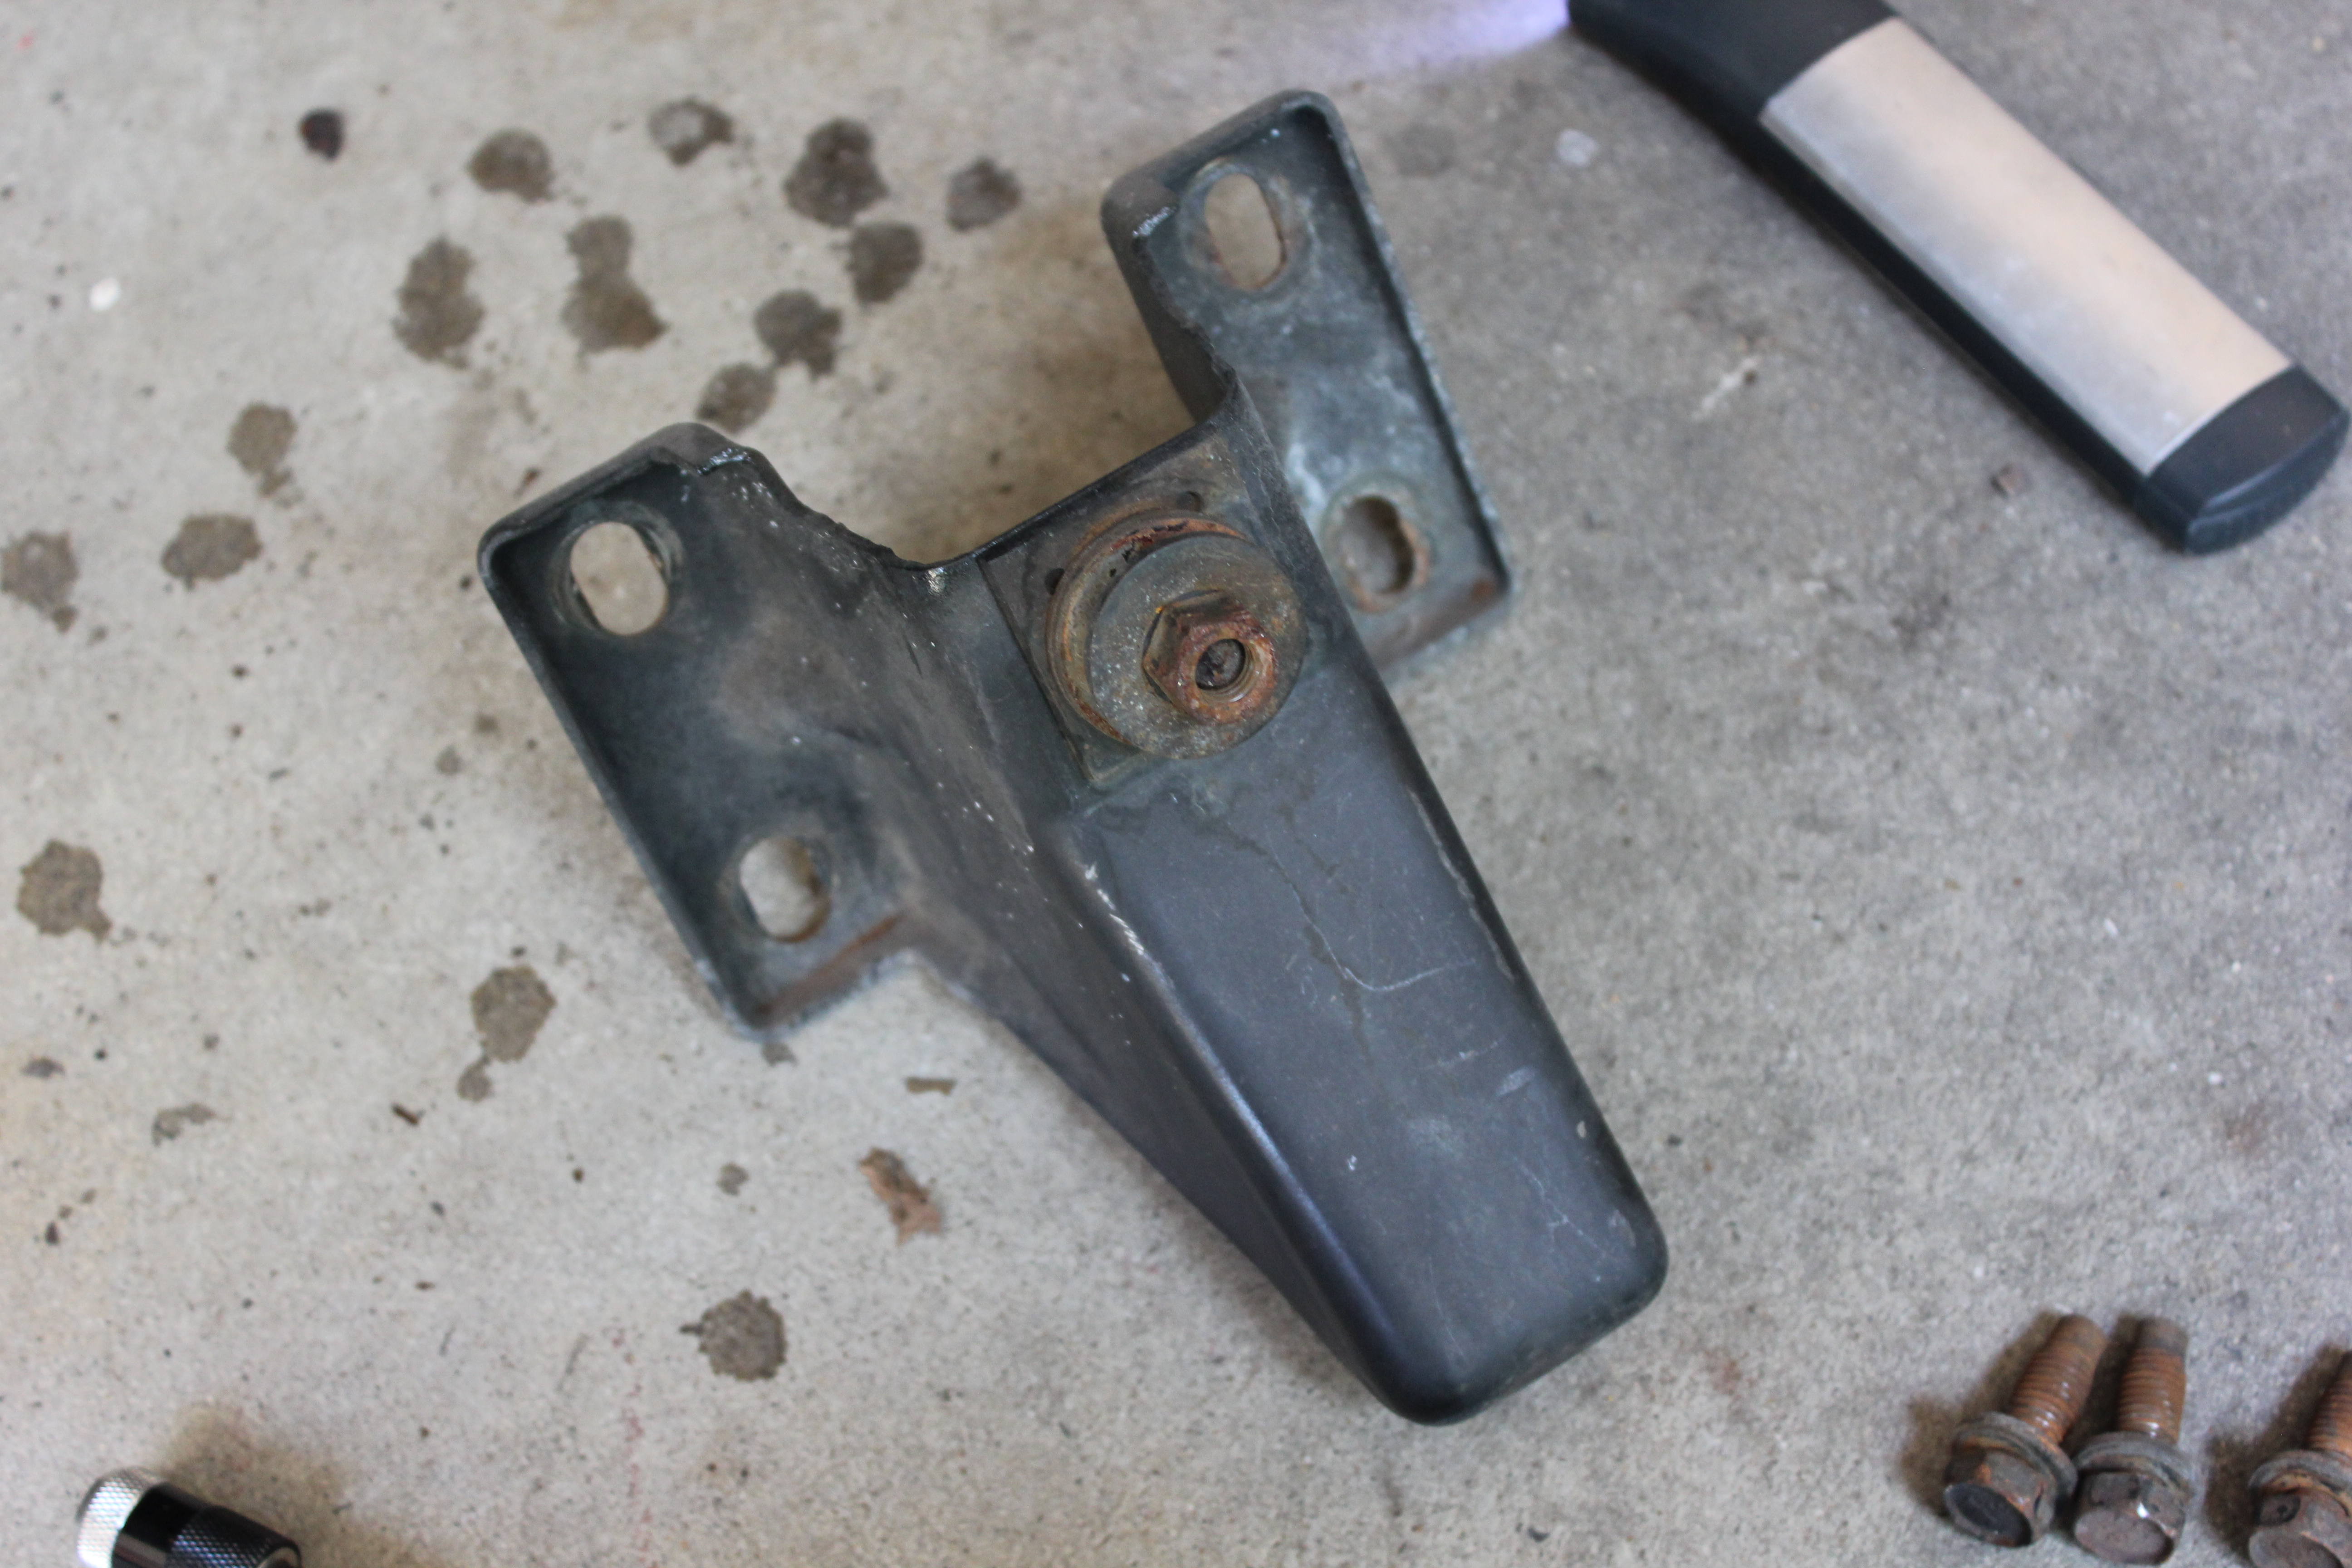
Once those are gone, the bumper comes off very easily and you are left with the bumper brackets:
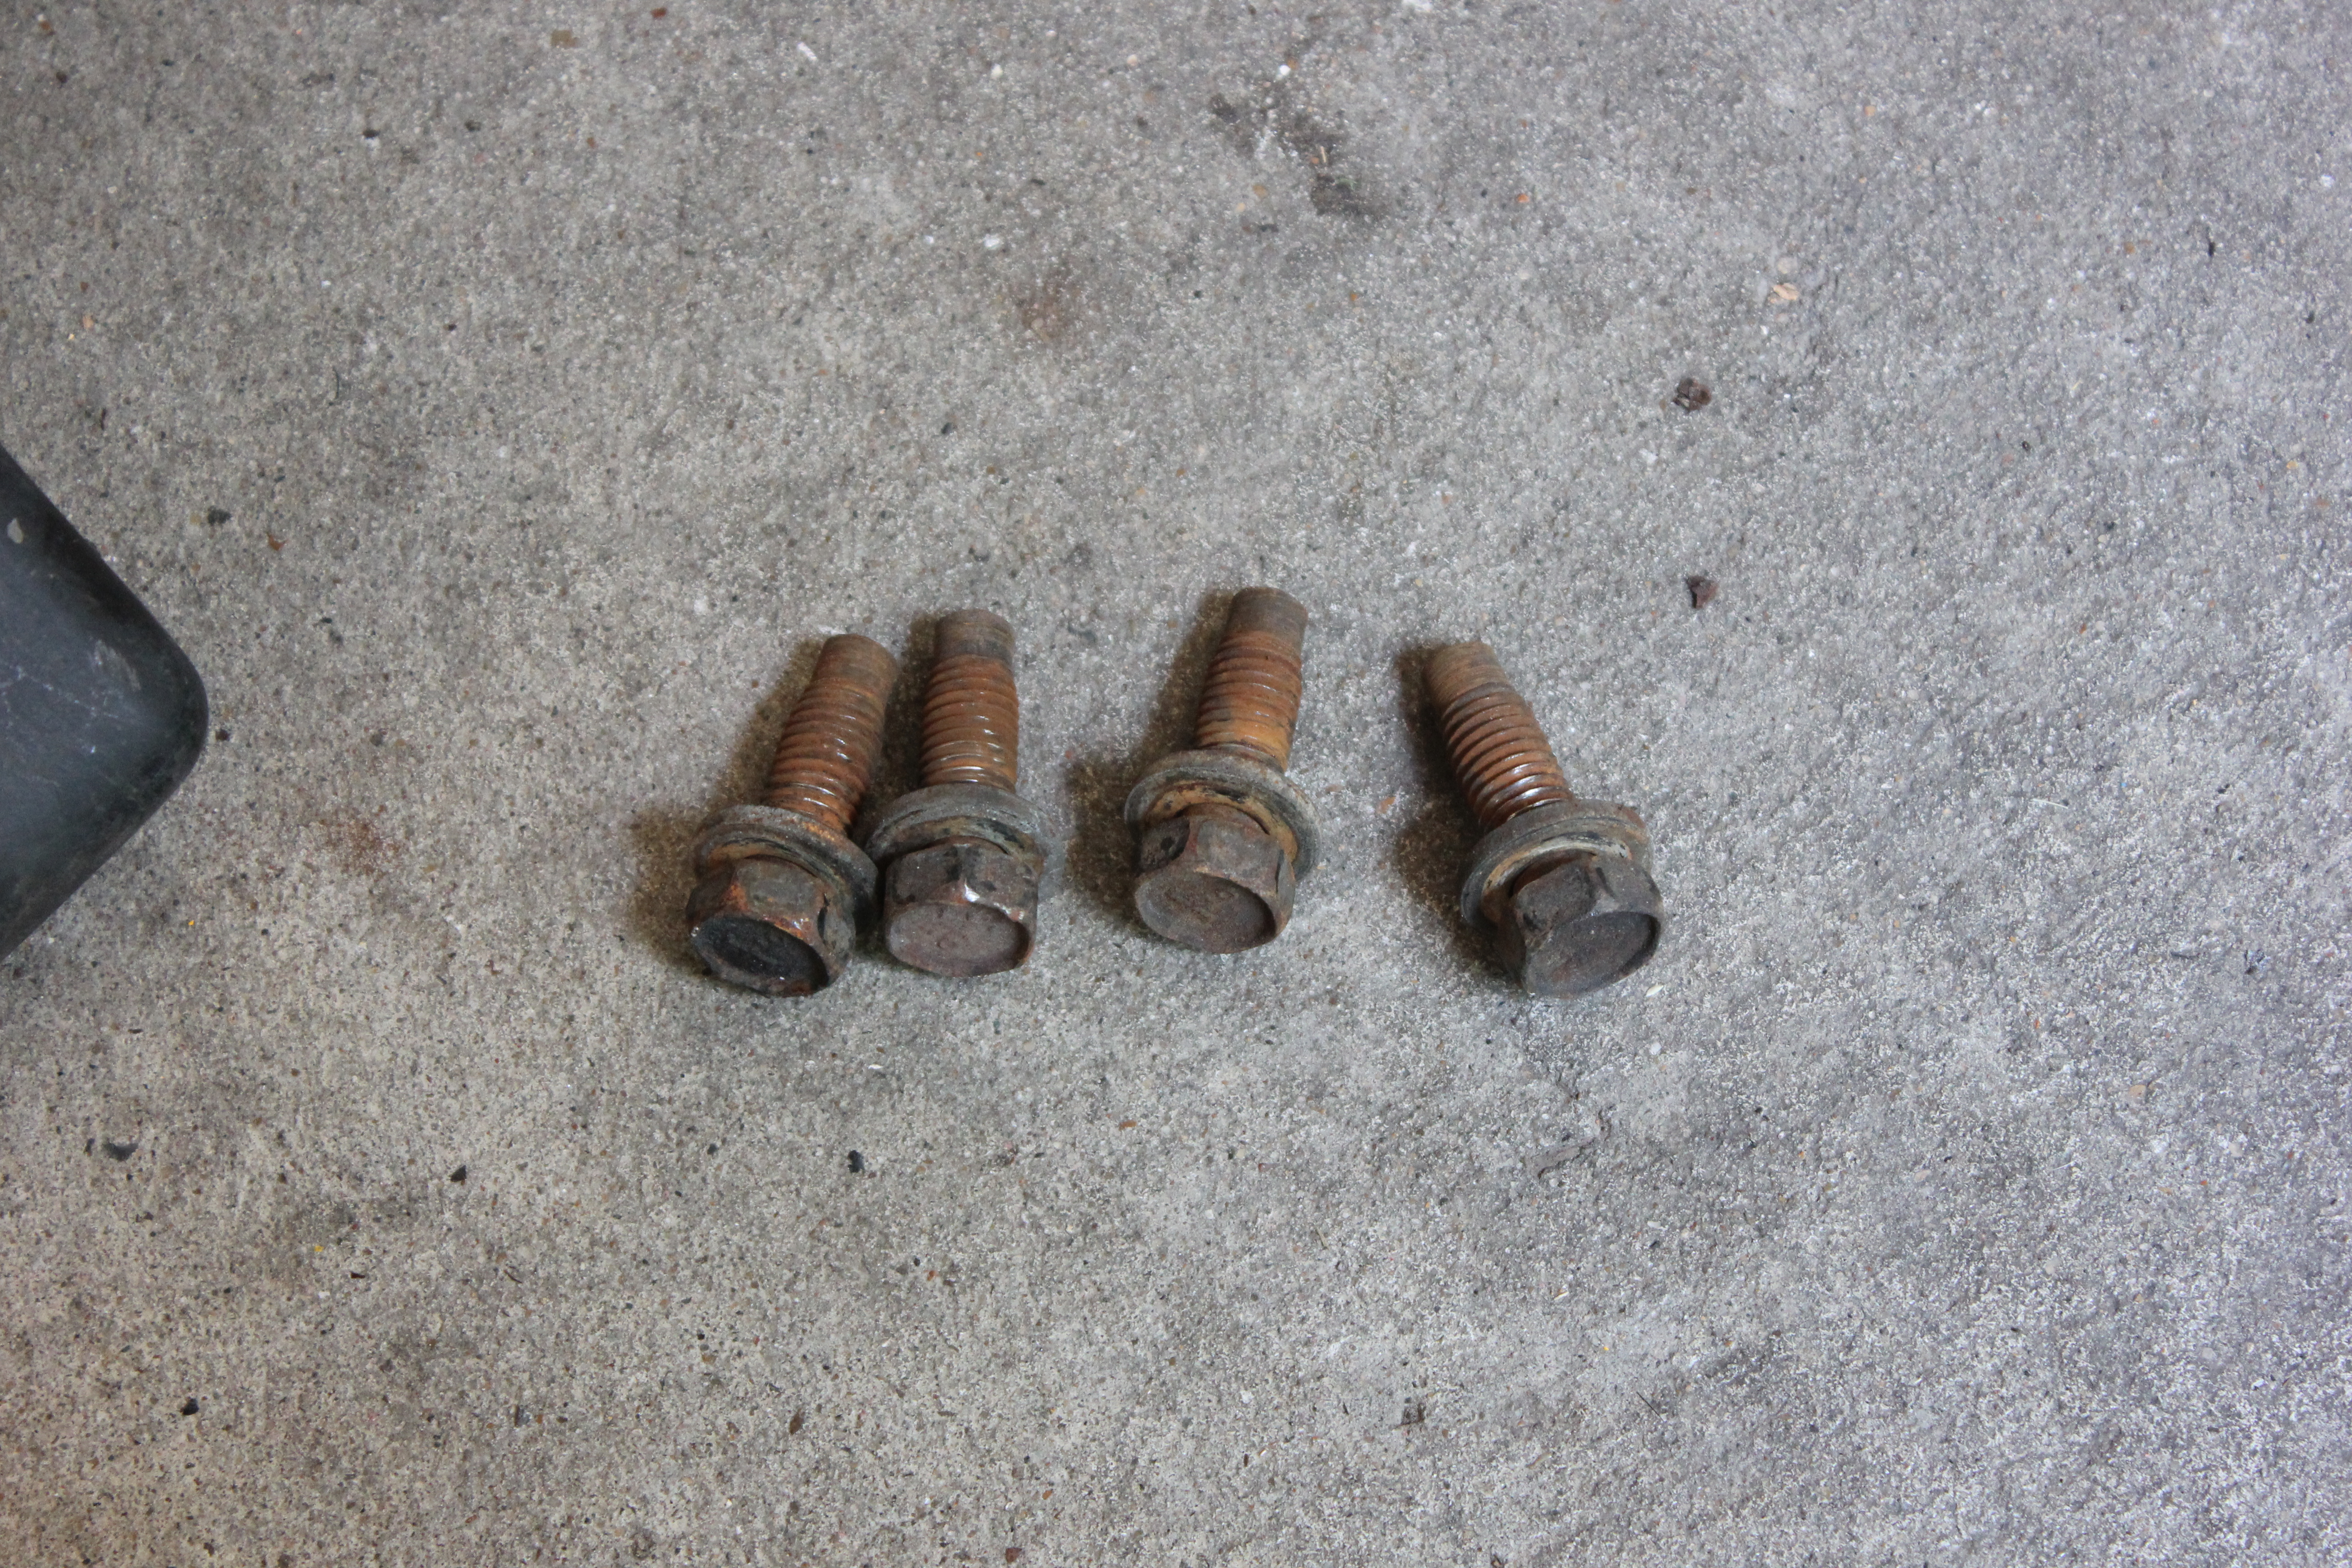
Remove the four bolts that attach each bumper bracket to the unibody. Save the bolts!
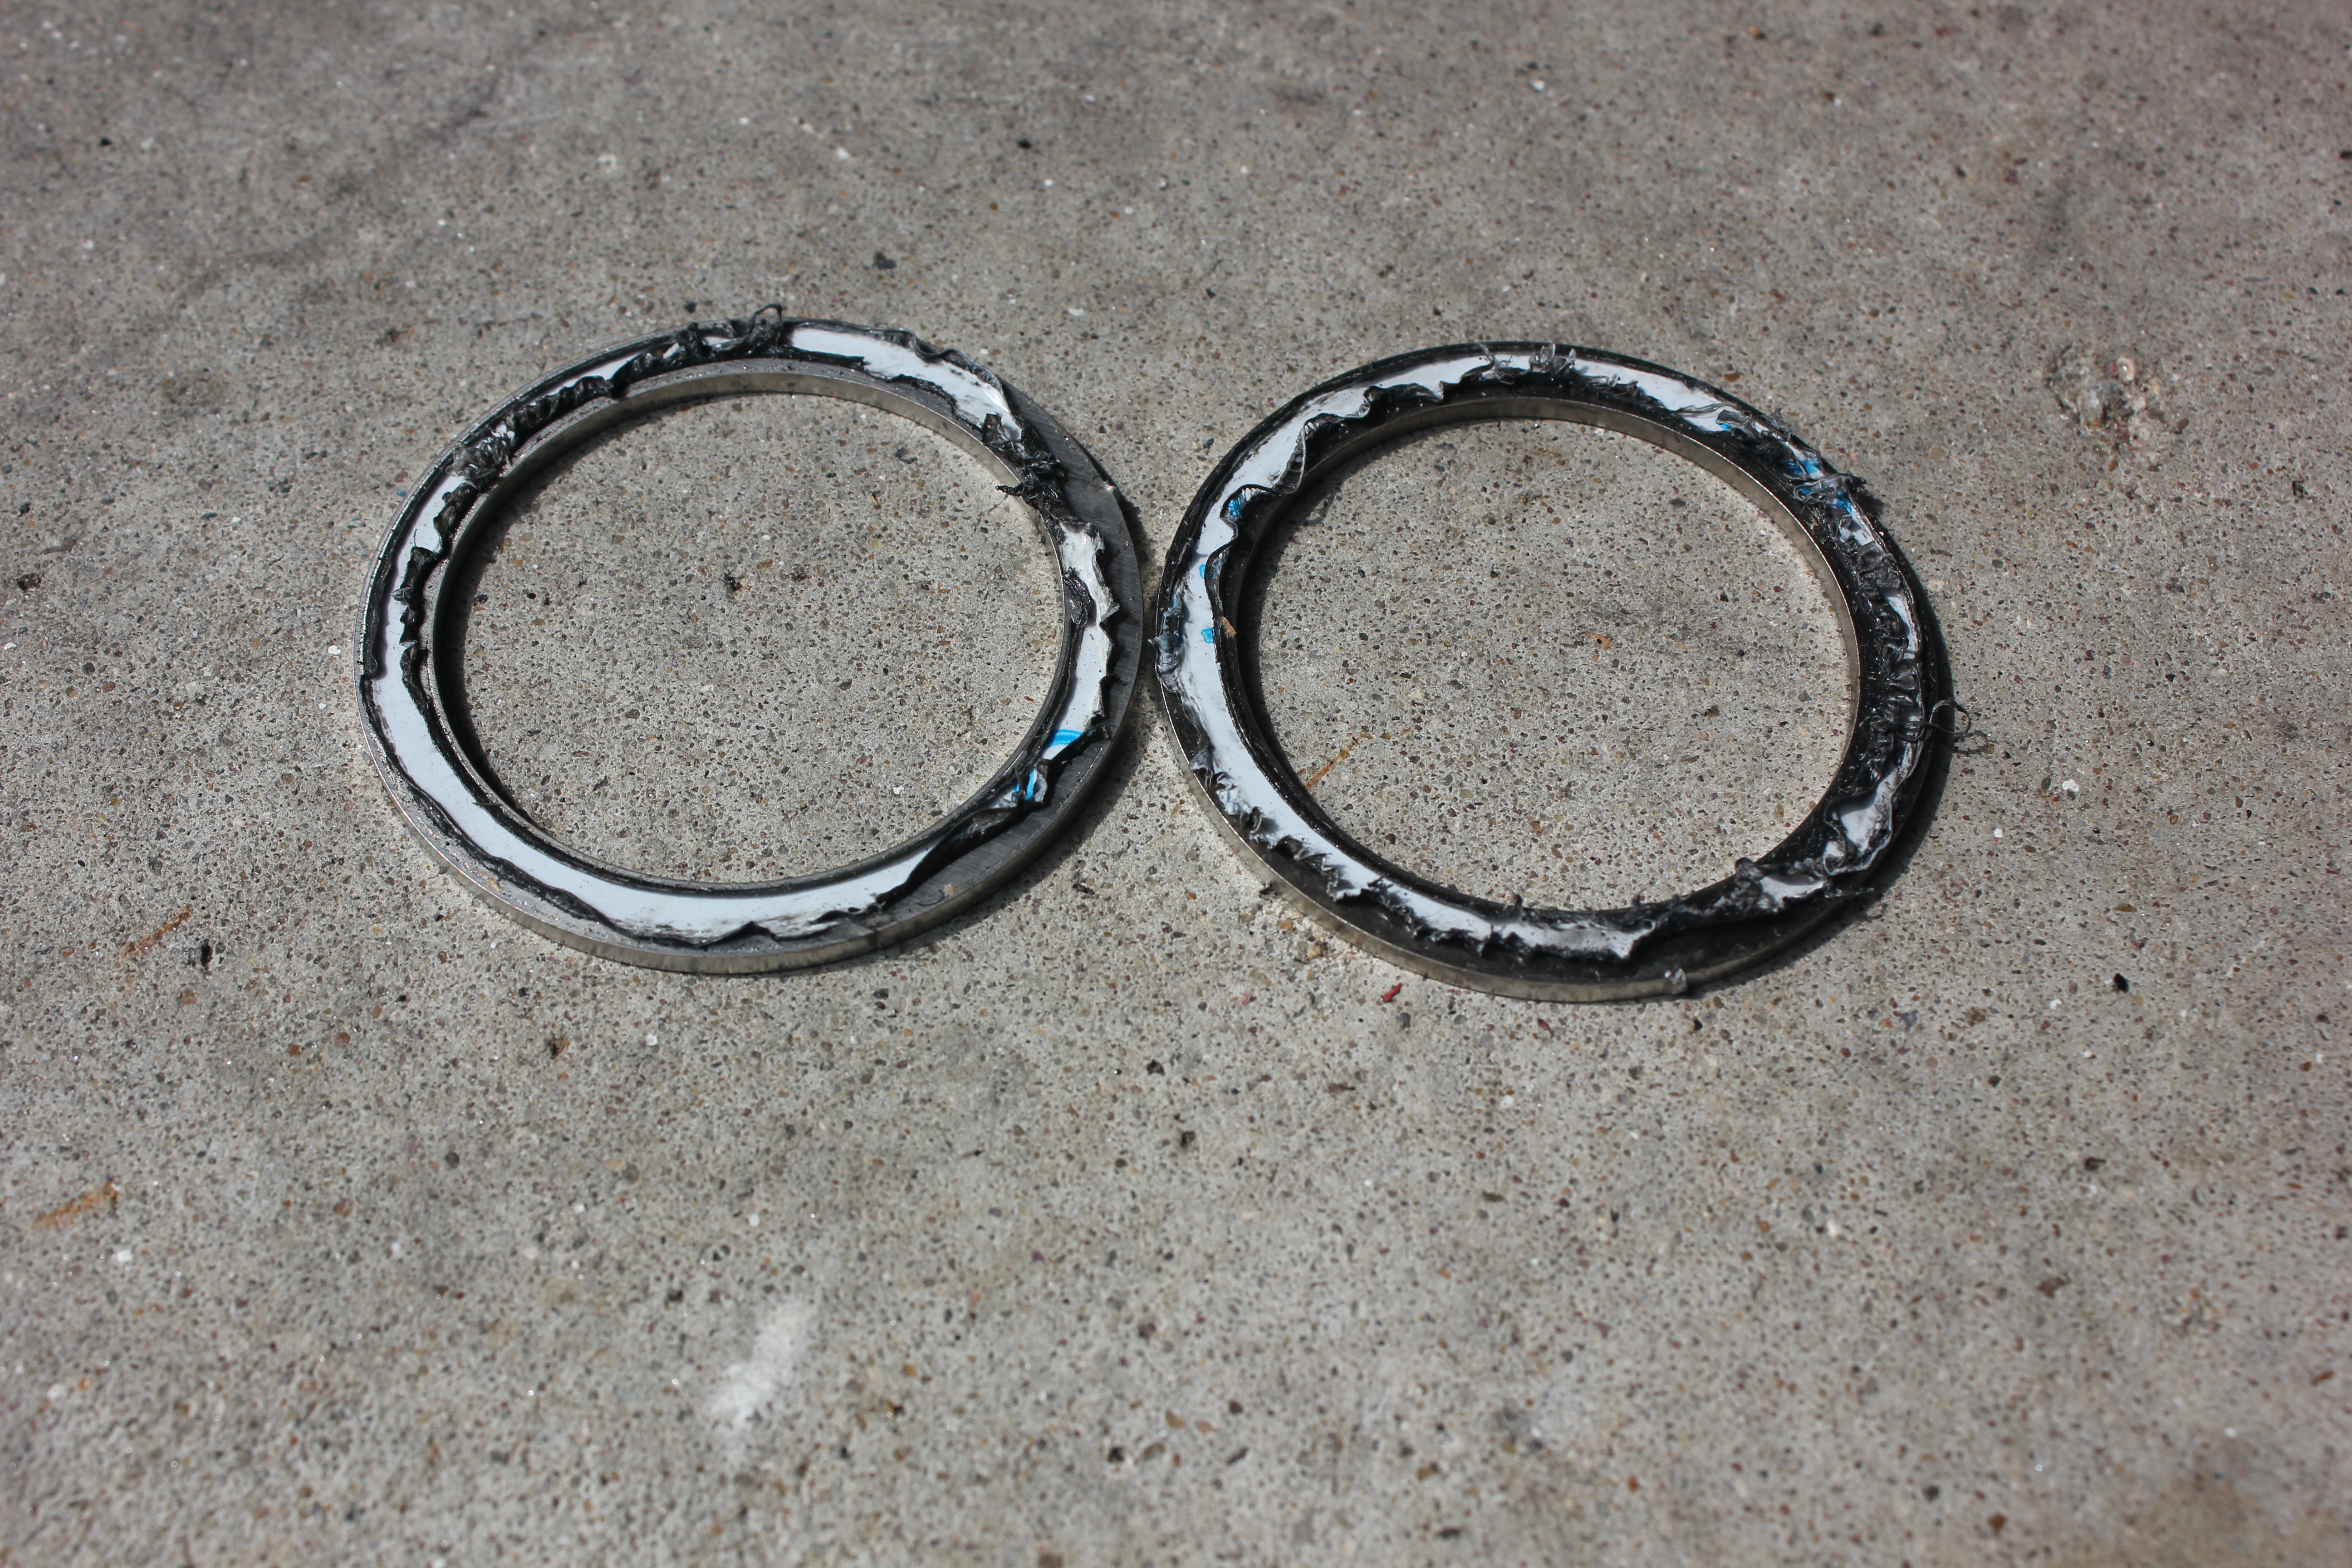
Once those brackets are gone, you can remove the nut strips that held your receiver hitch on. They might look a little rough:
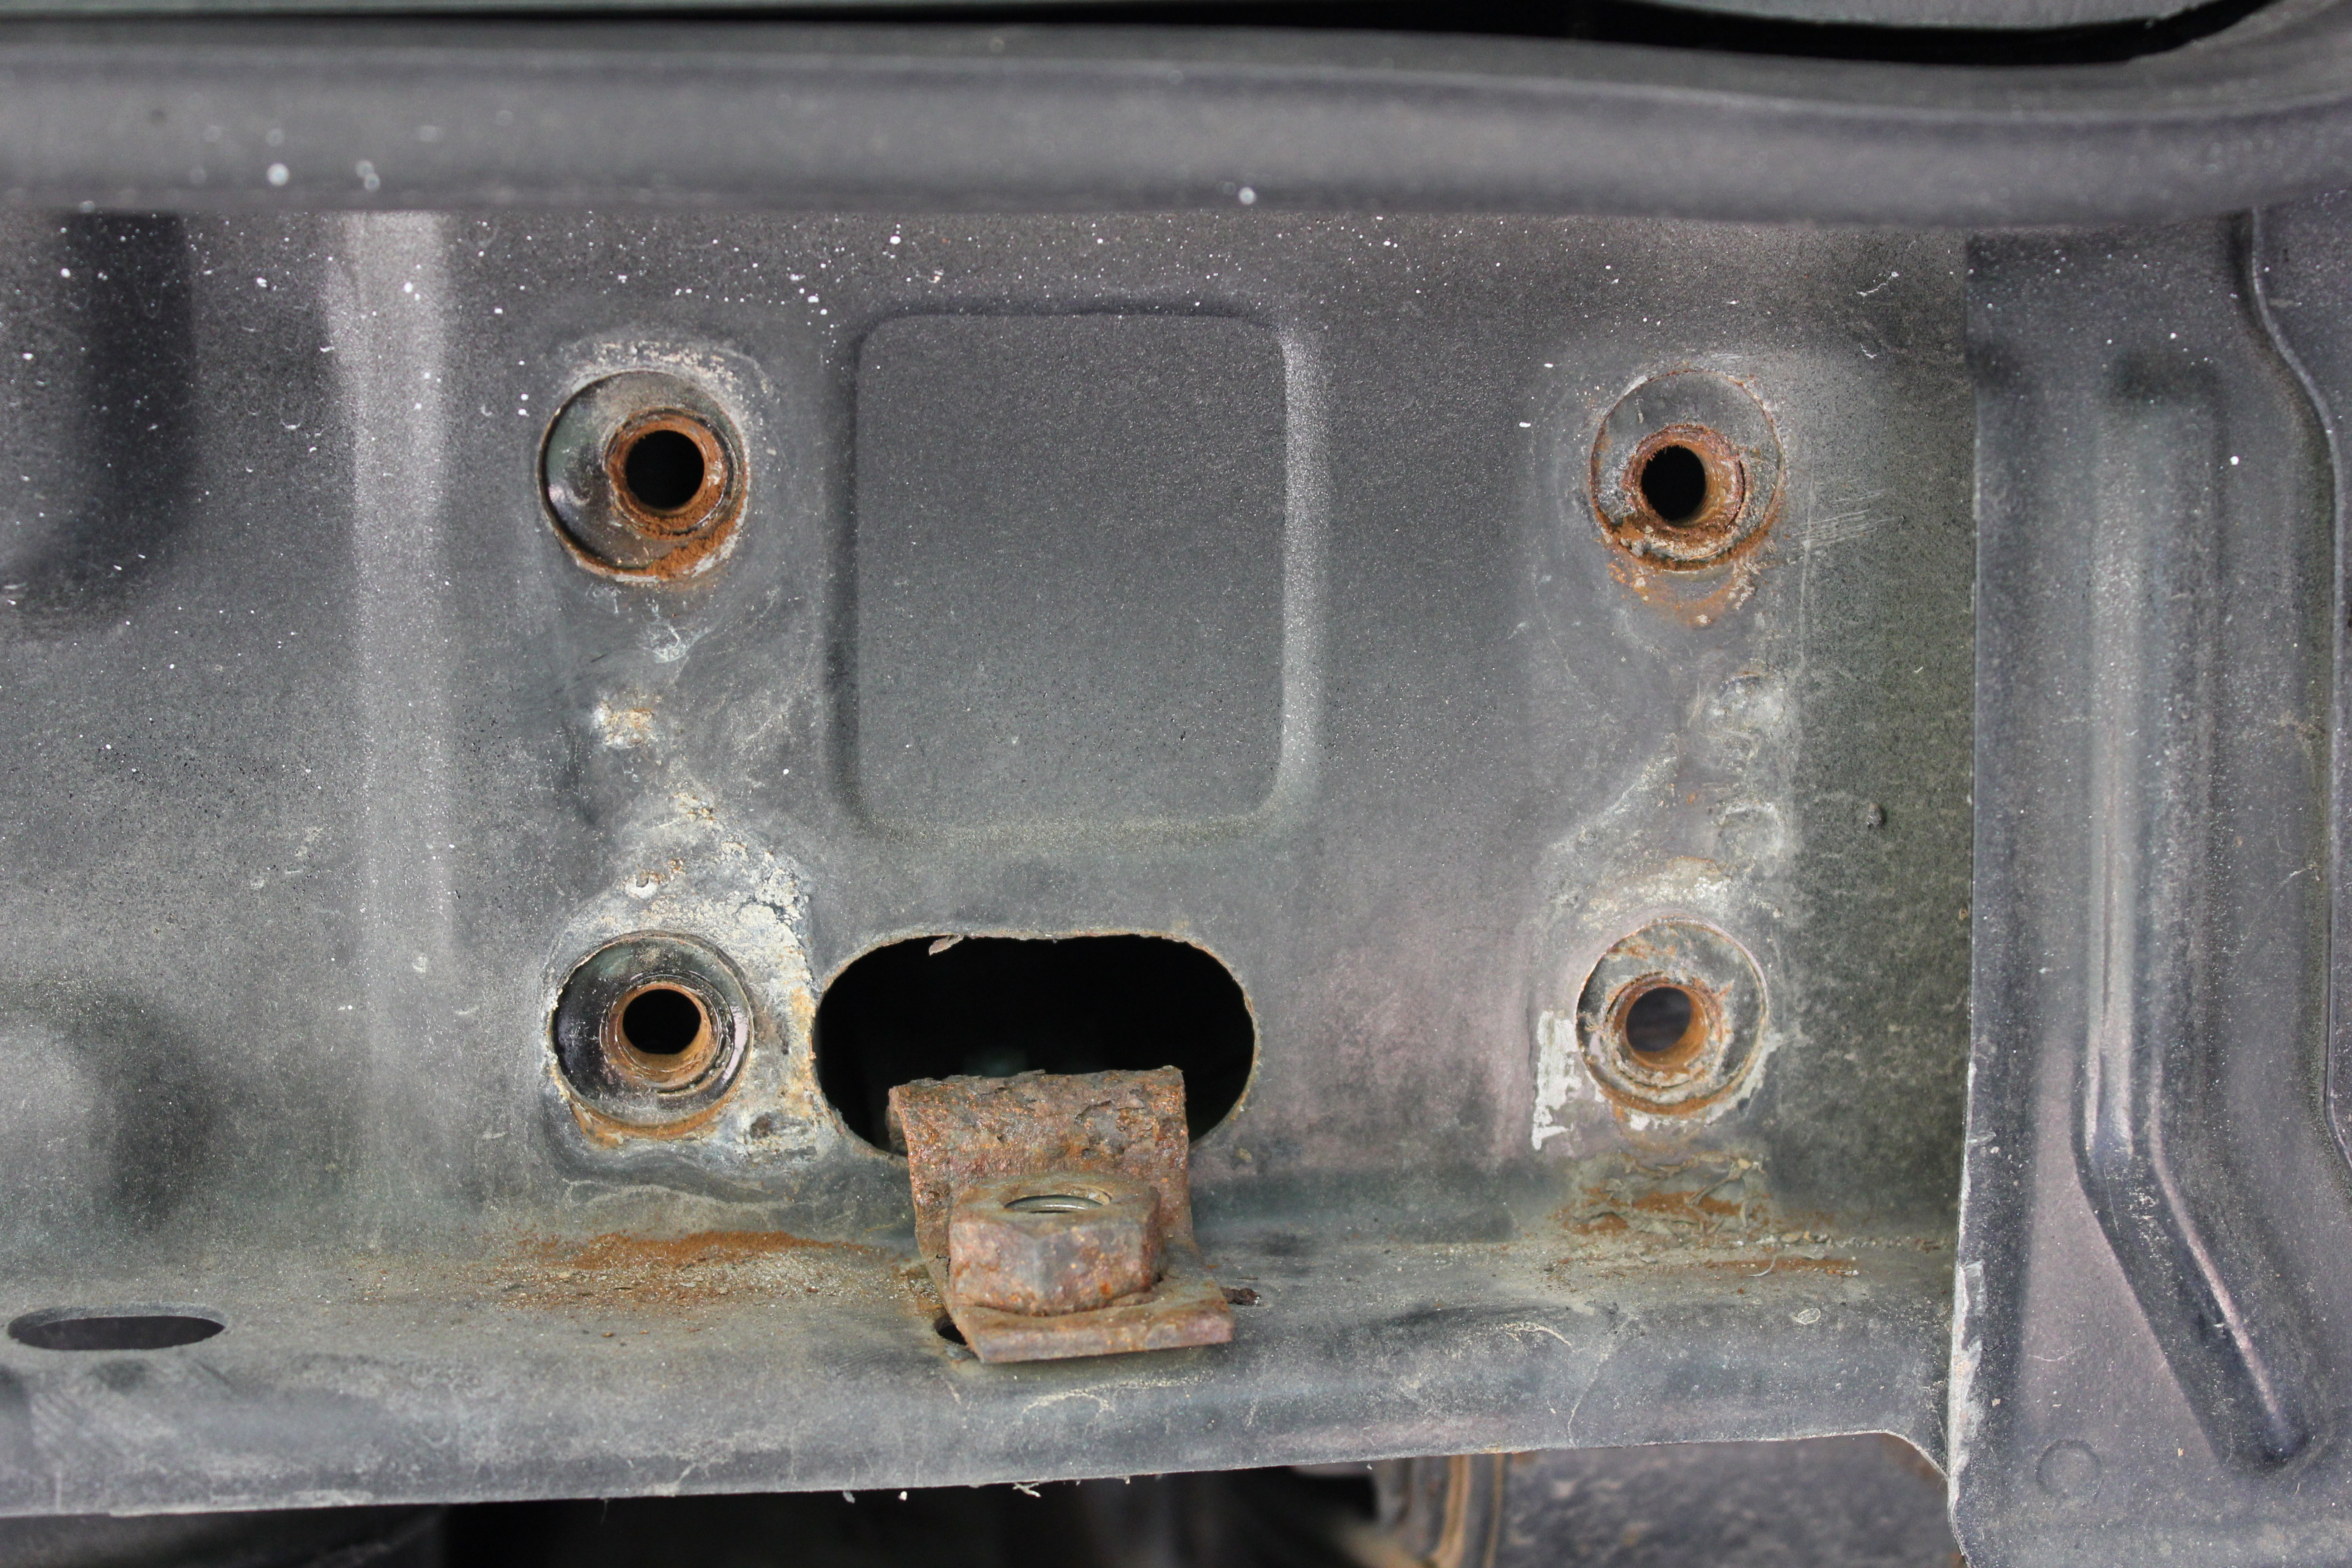
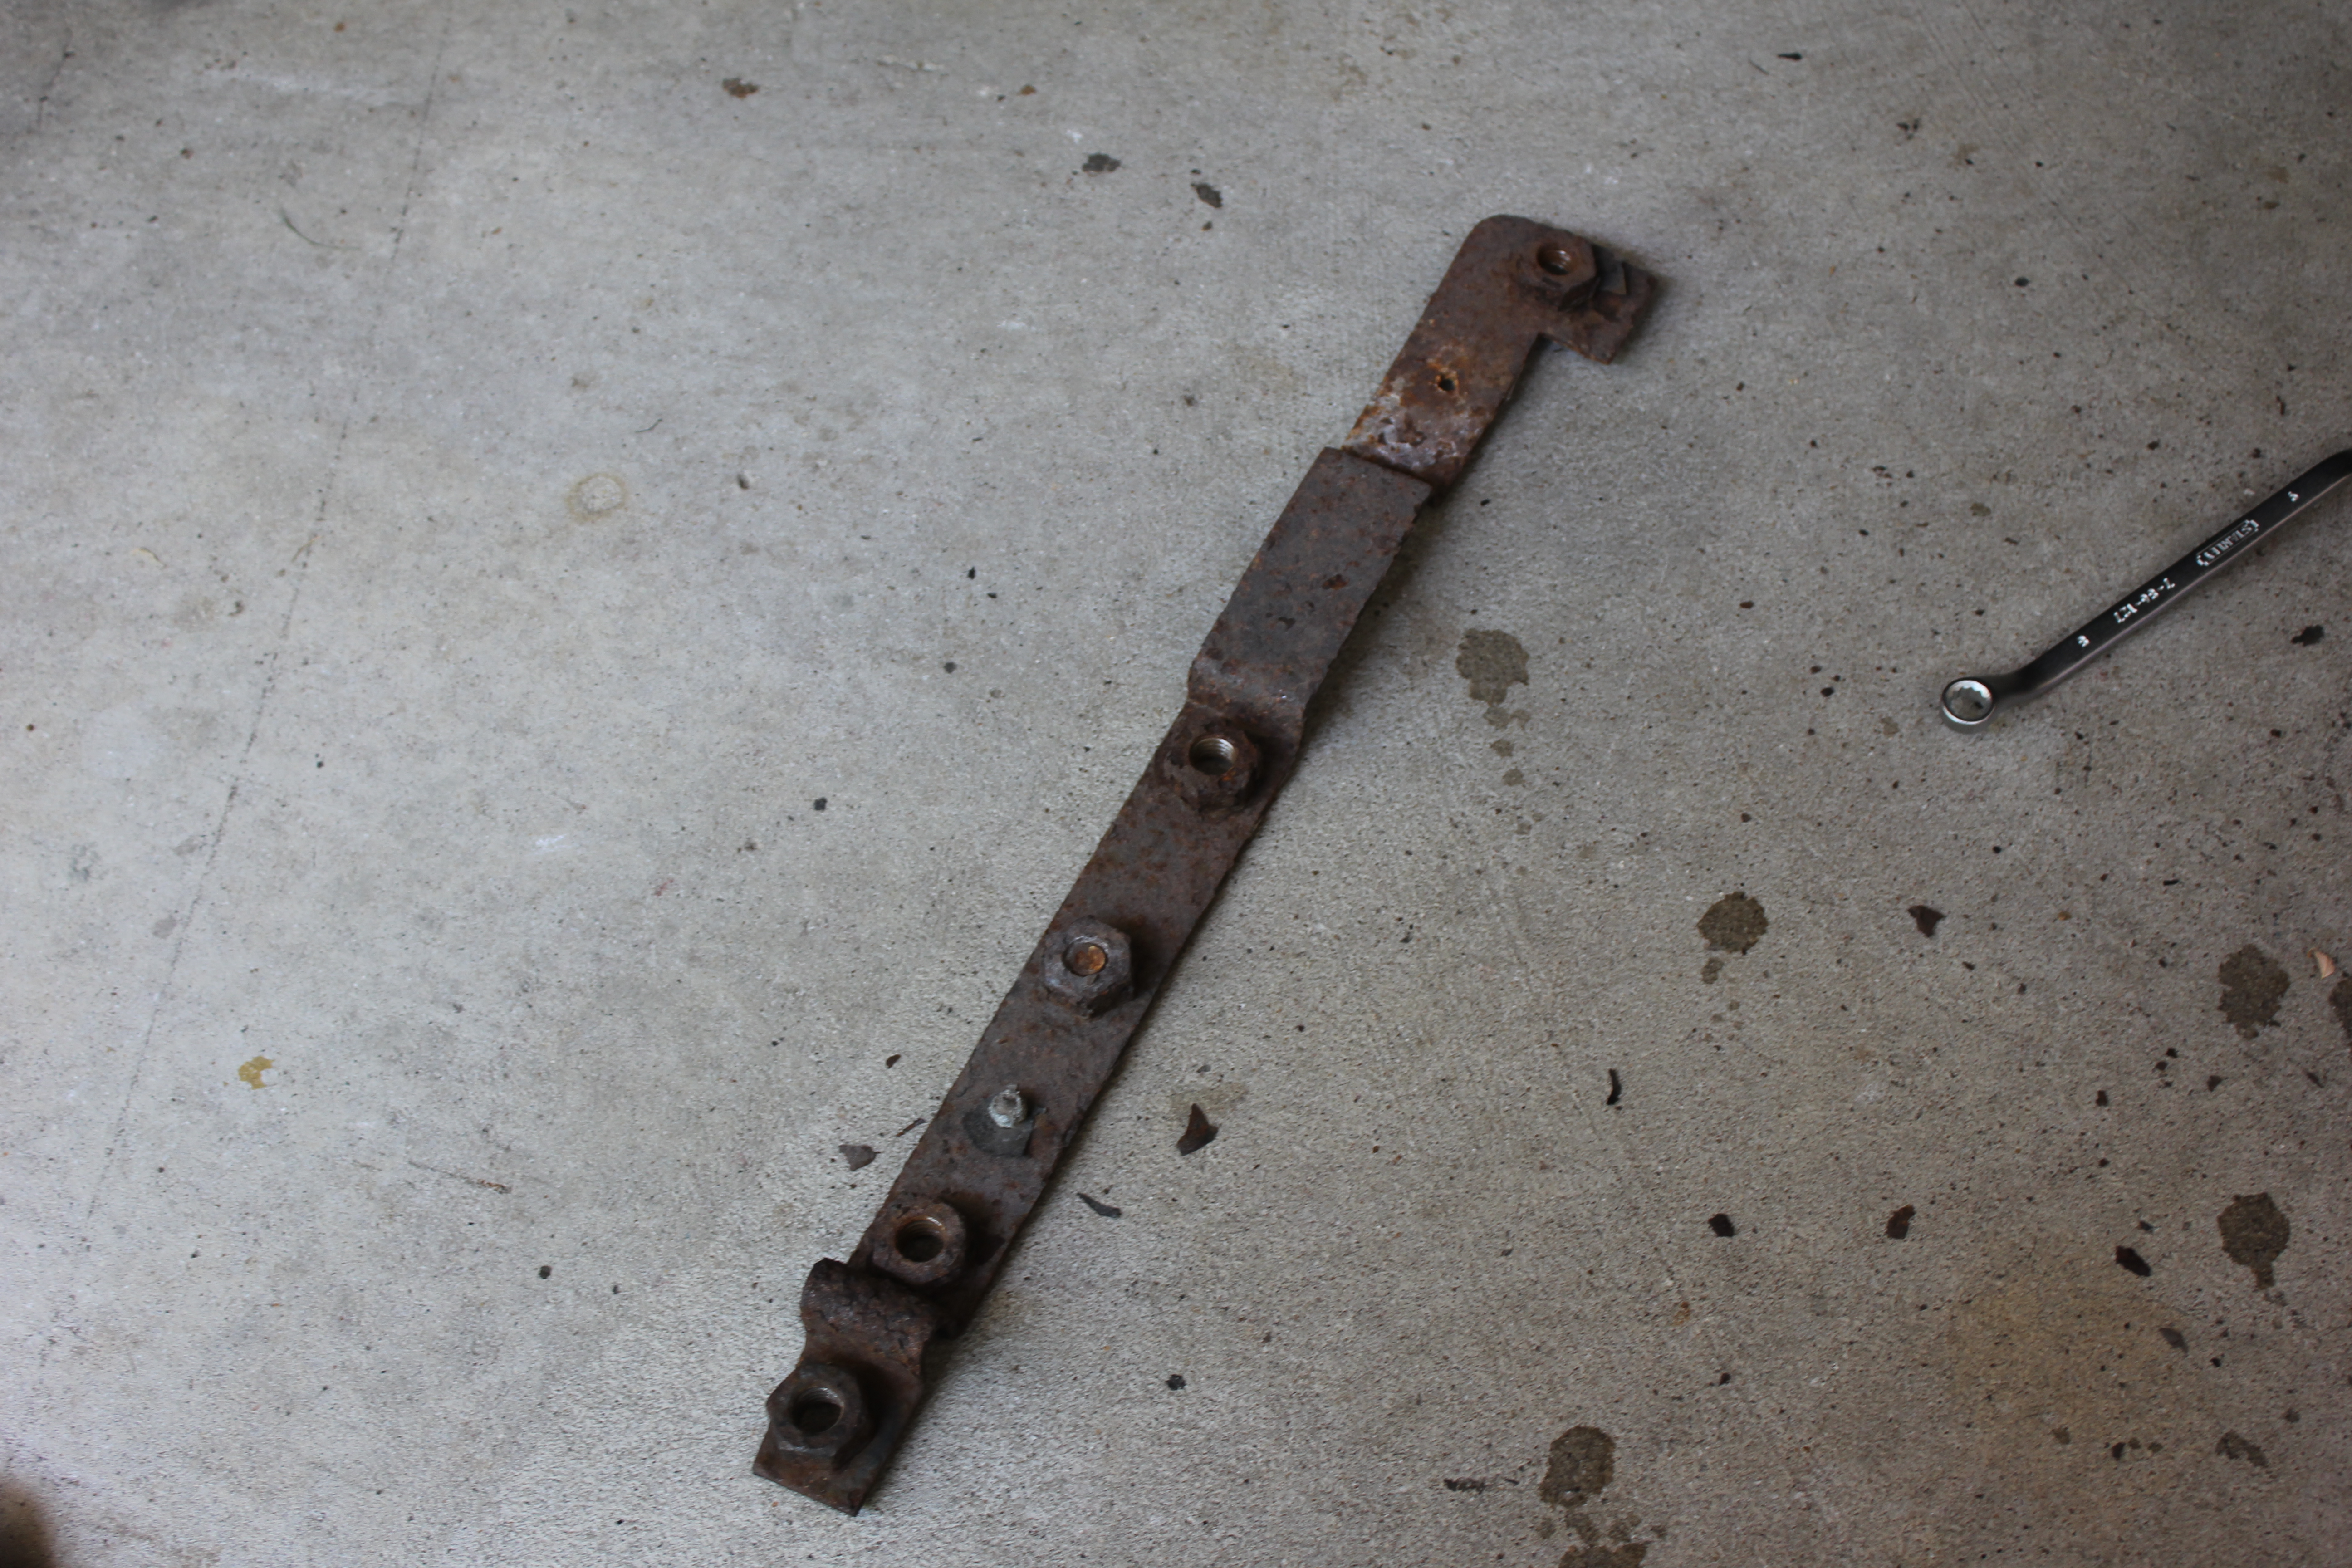
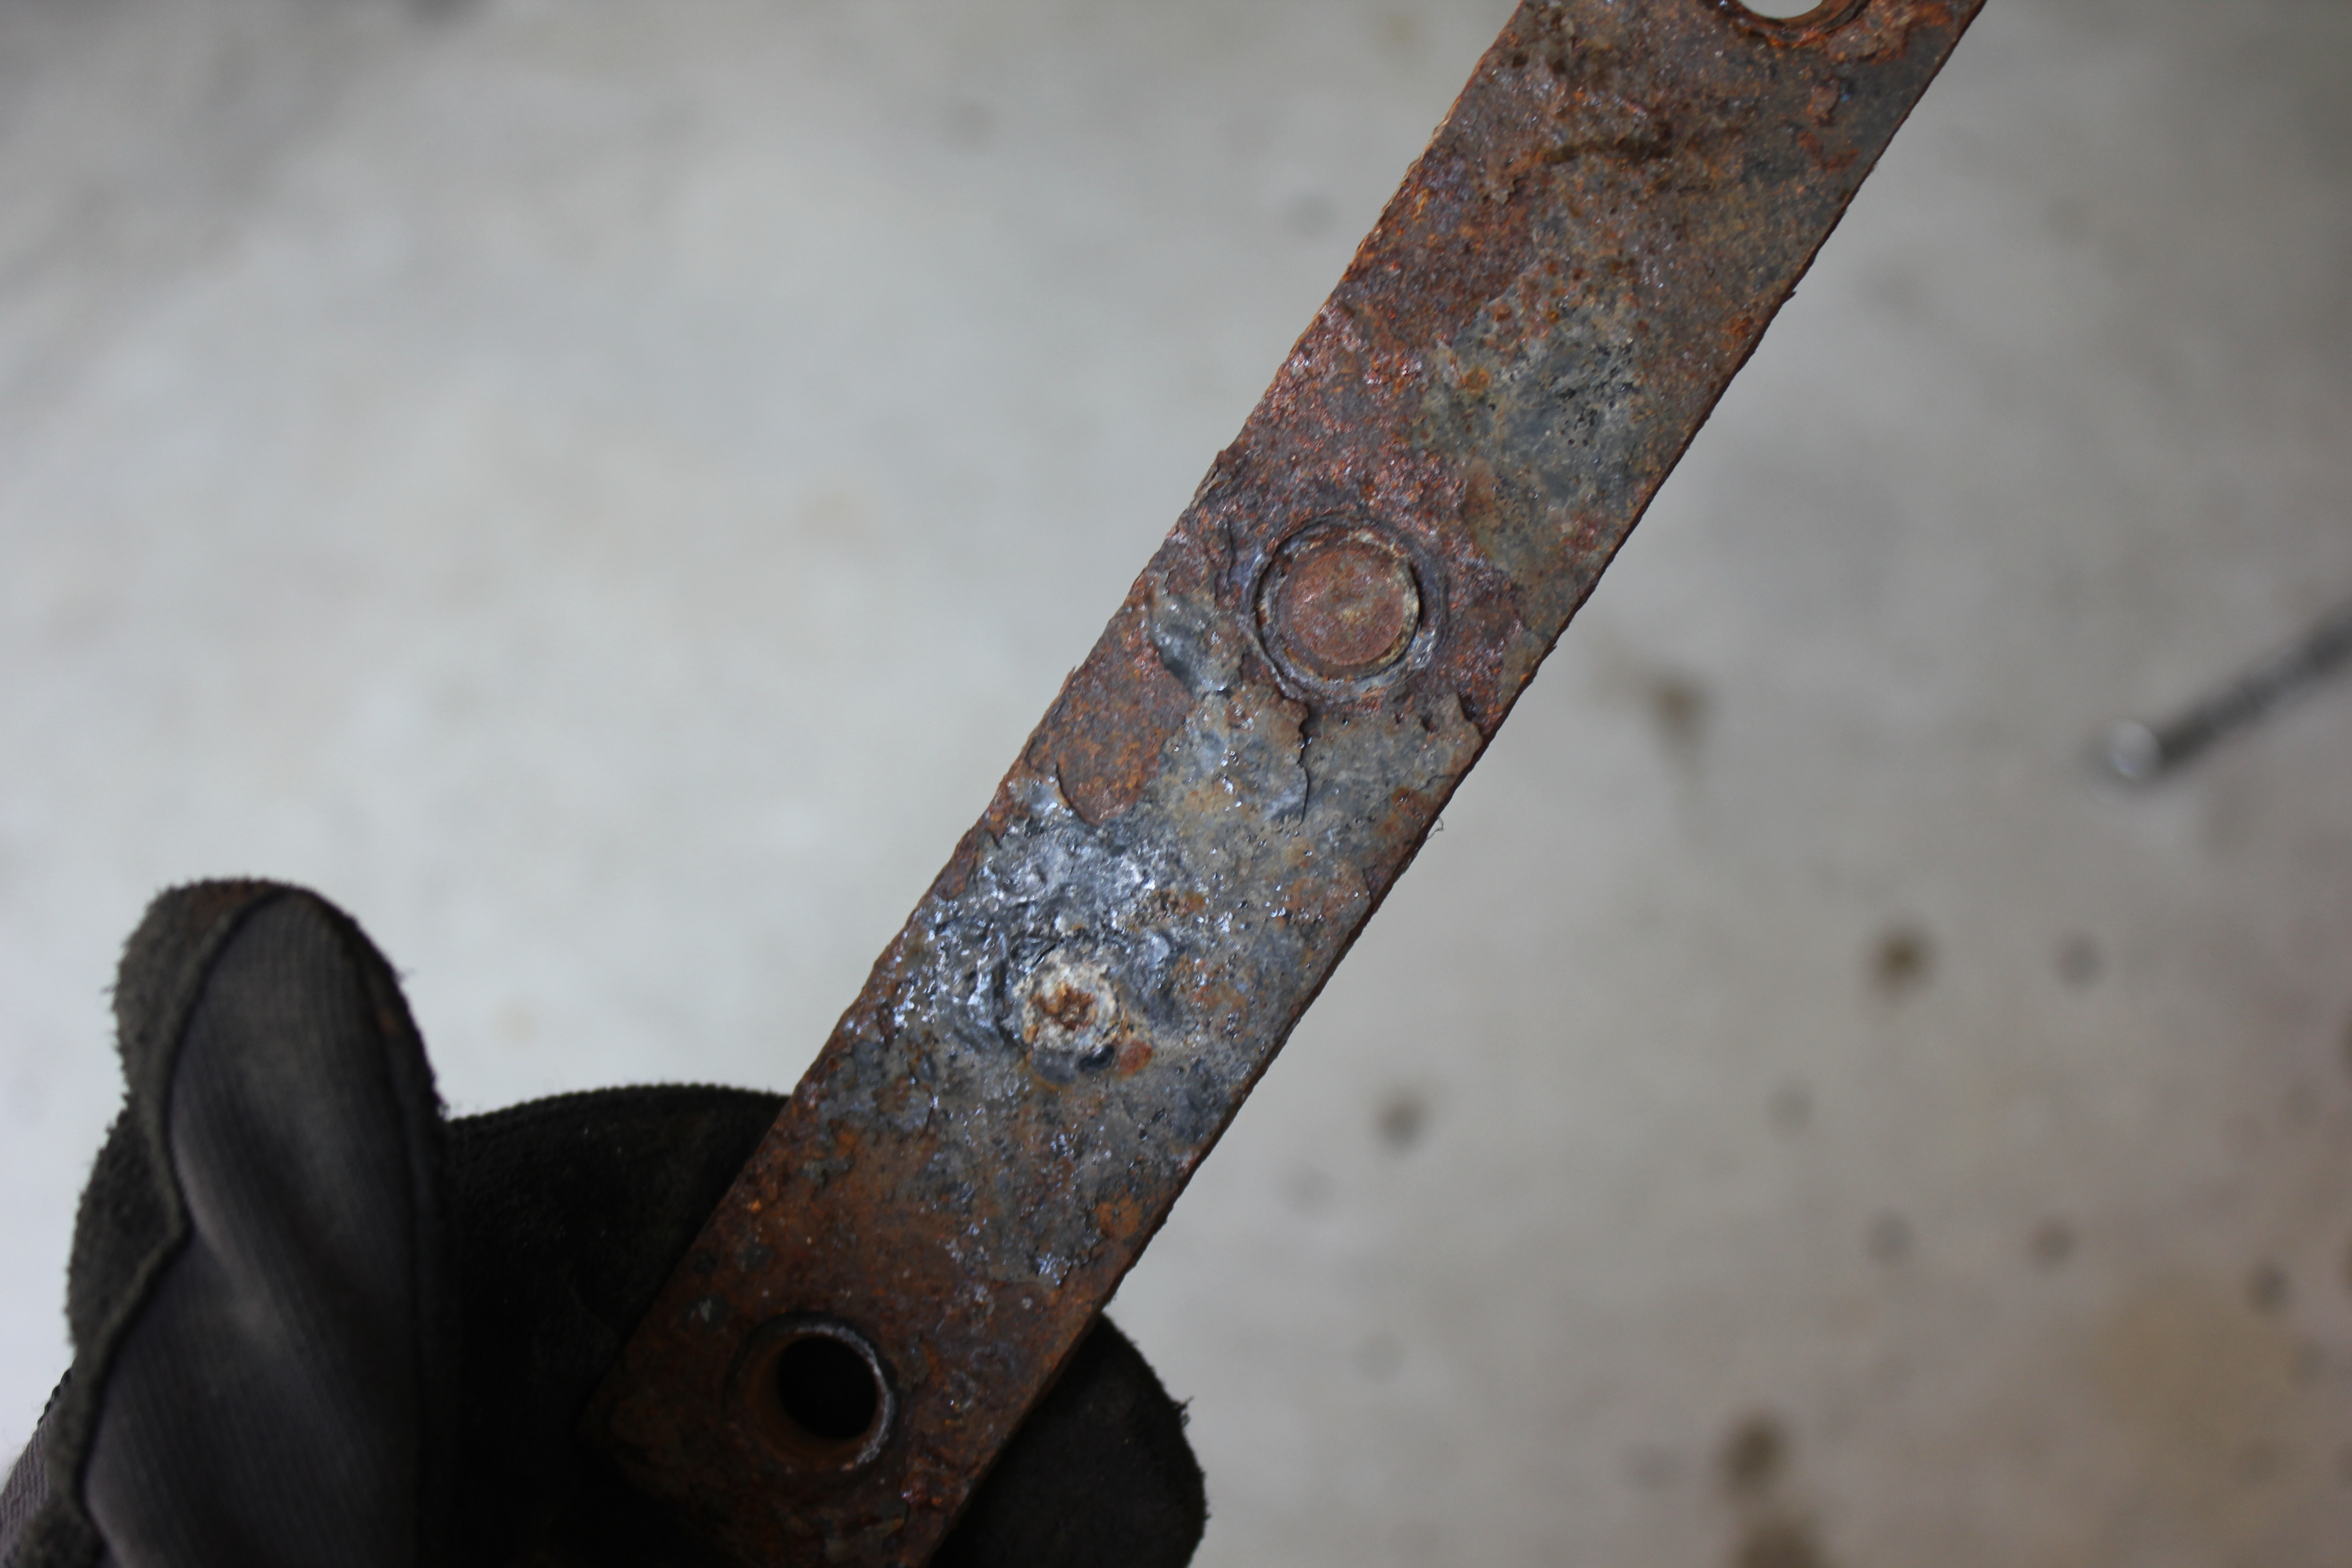
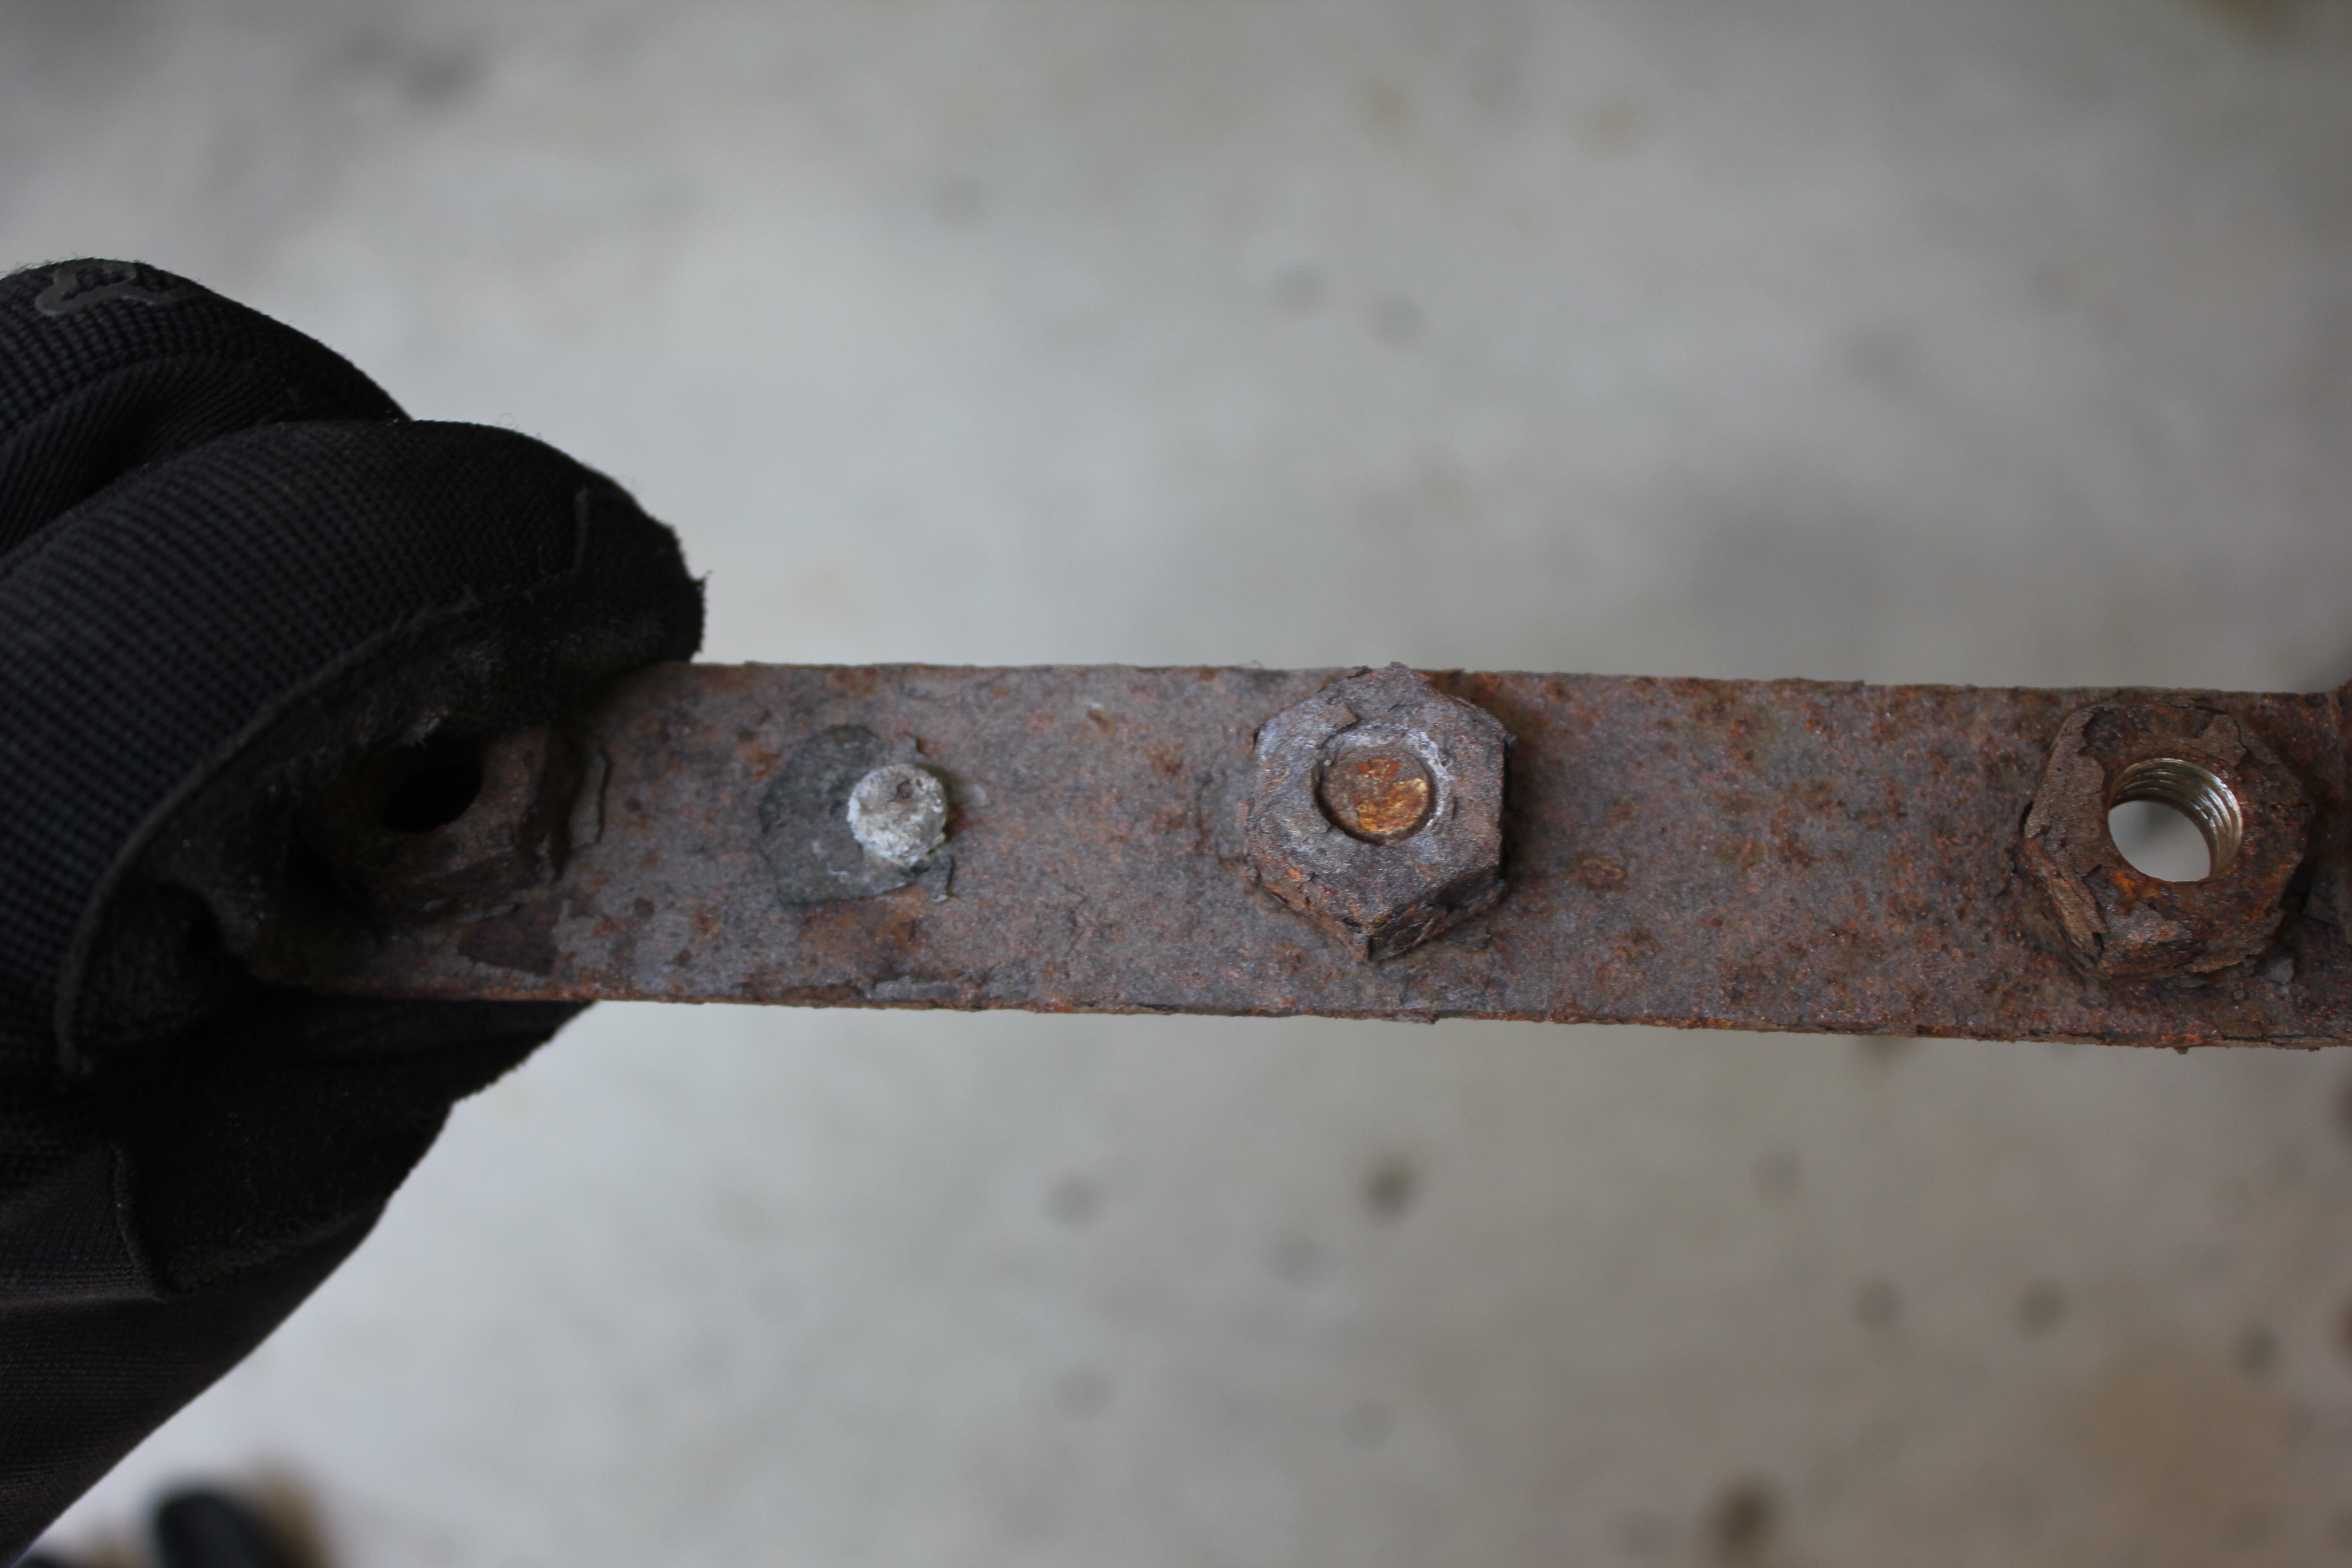
Remember earlier when I said that each frame rail should have a nut strip? Well, my passenger side had that rusty one but the driver side had a more, er, creative solution:
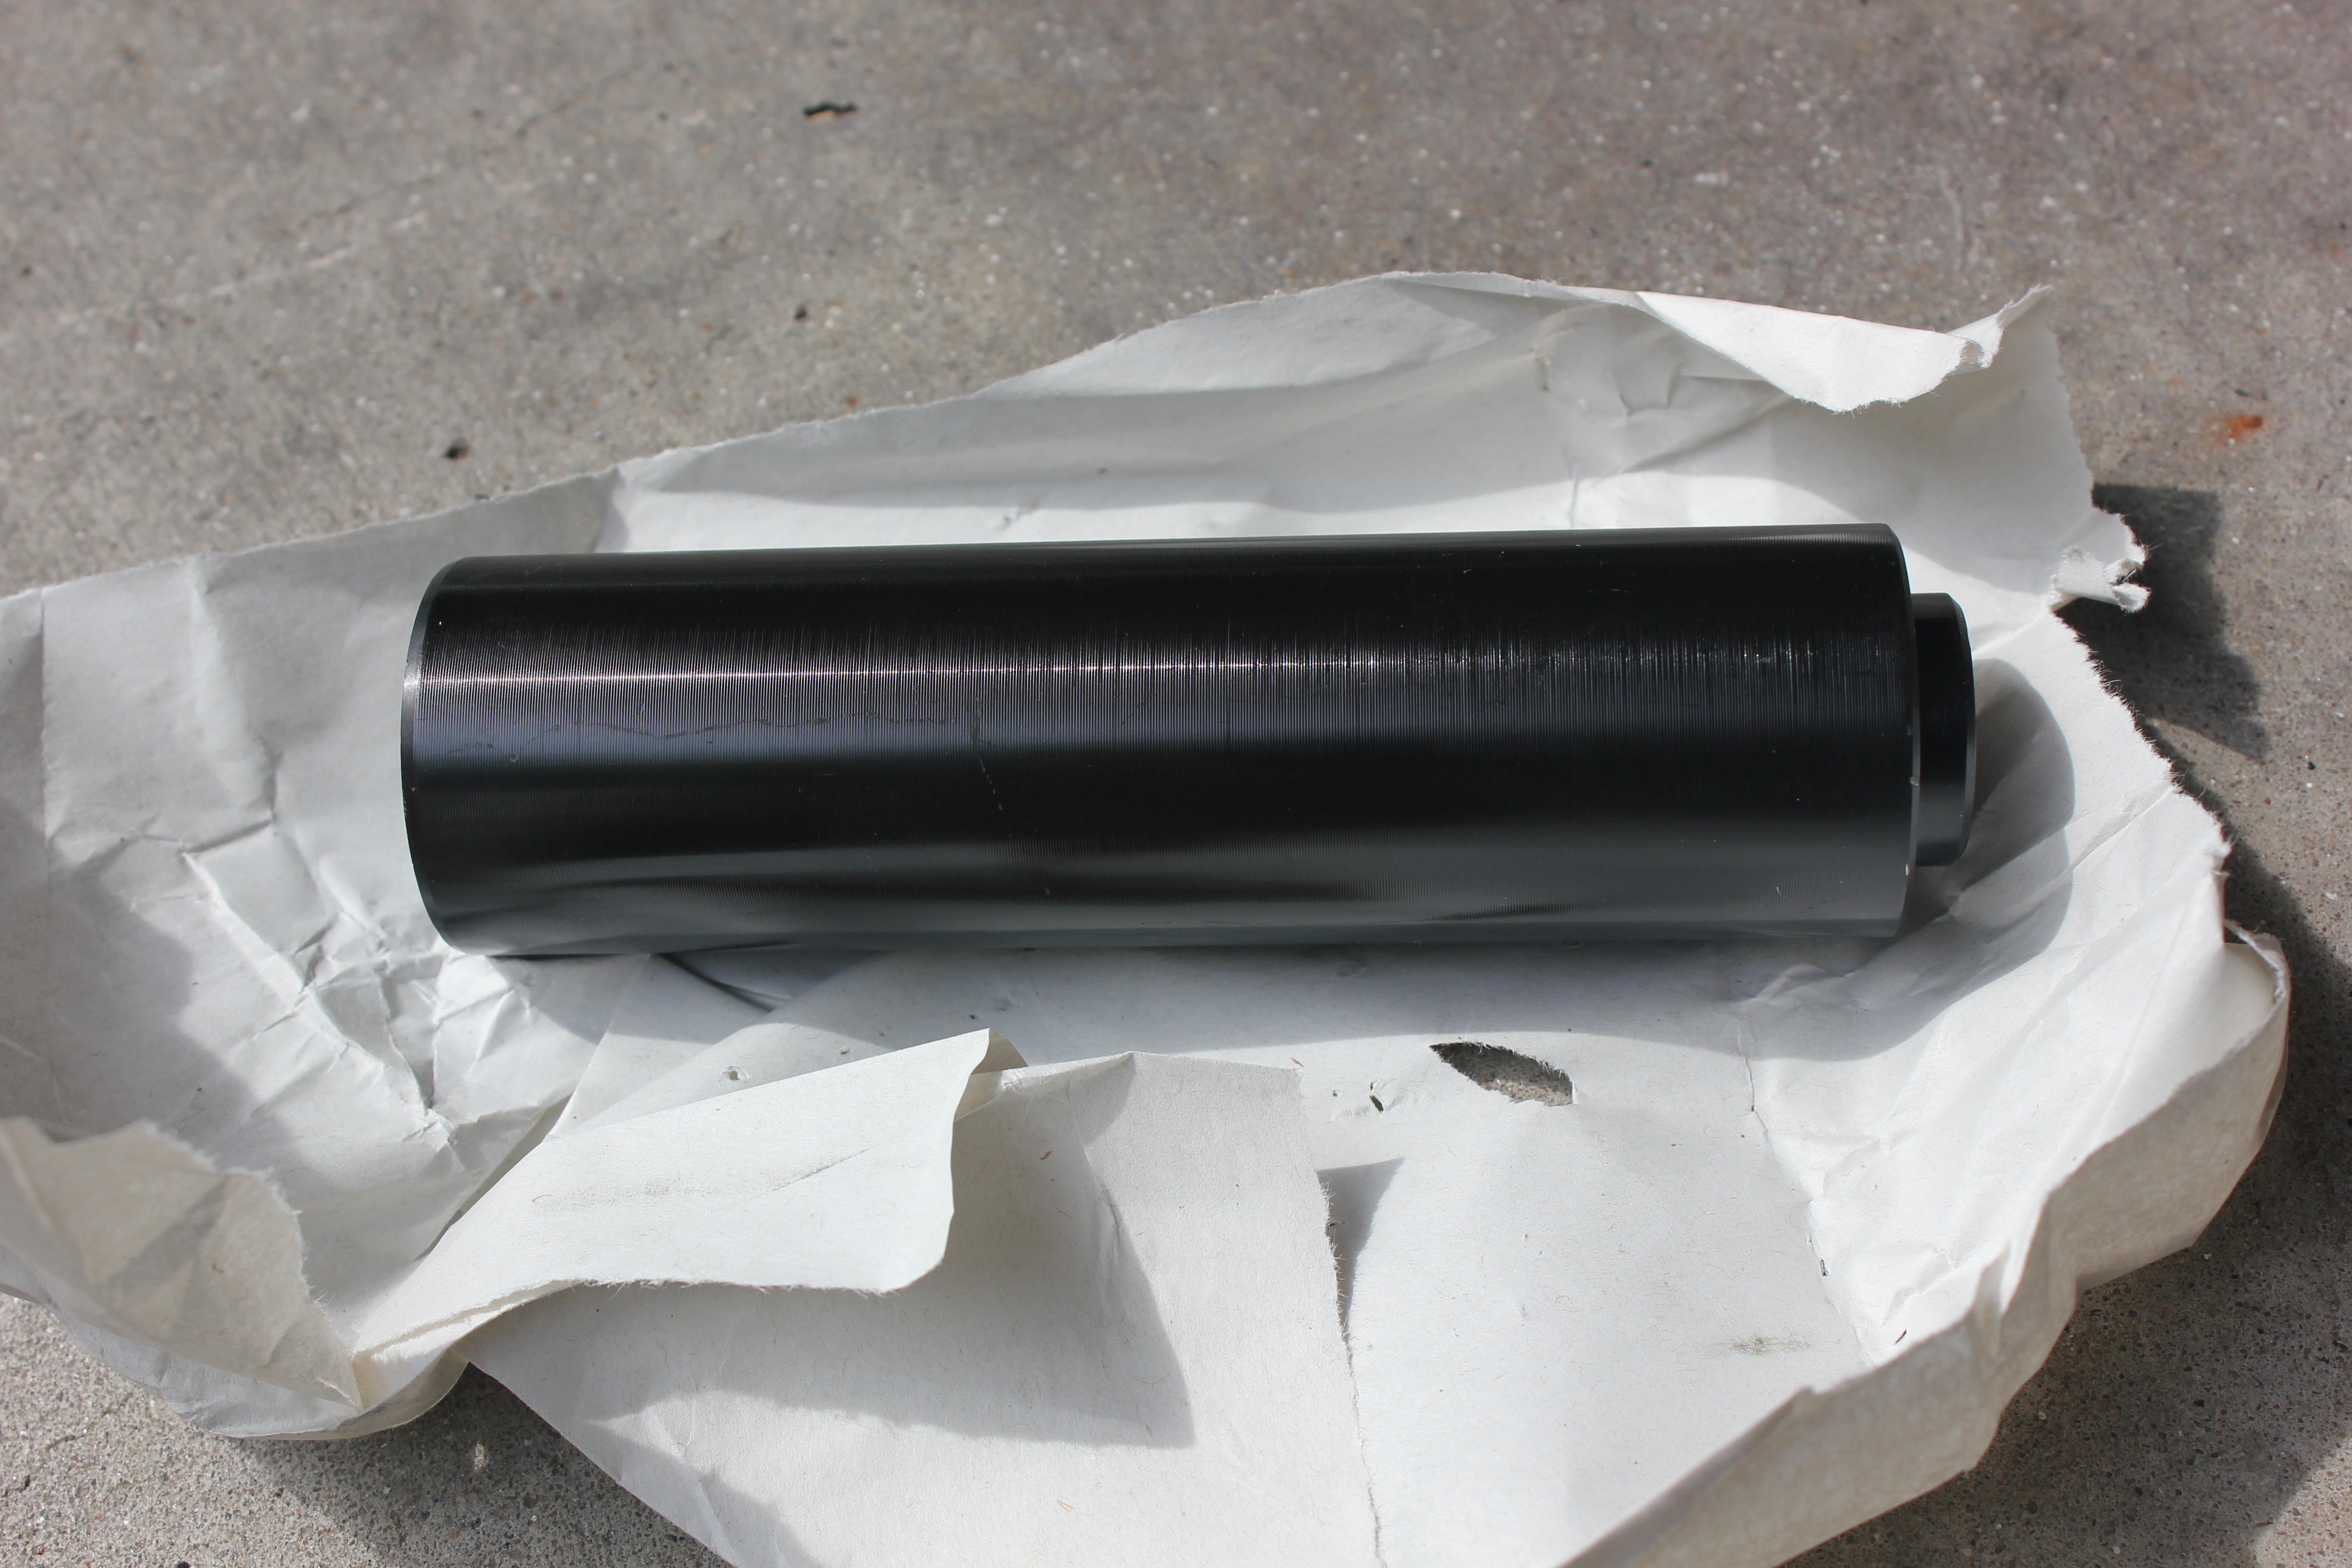
That little combo was dropped into each of the four frame holes for the driver side of the receiver. I had to grab the bolts and the flat iron pieces with one of these.
So now that all your stuff is out of the way, it’s time to start installing the bumper.
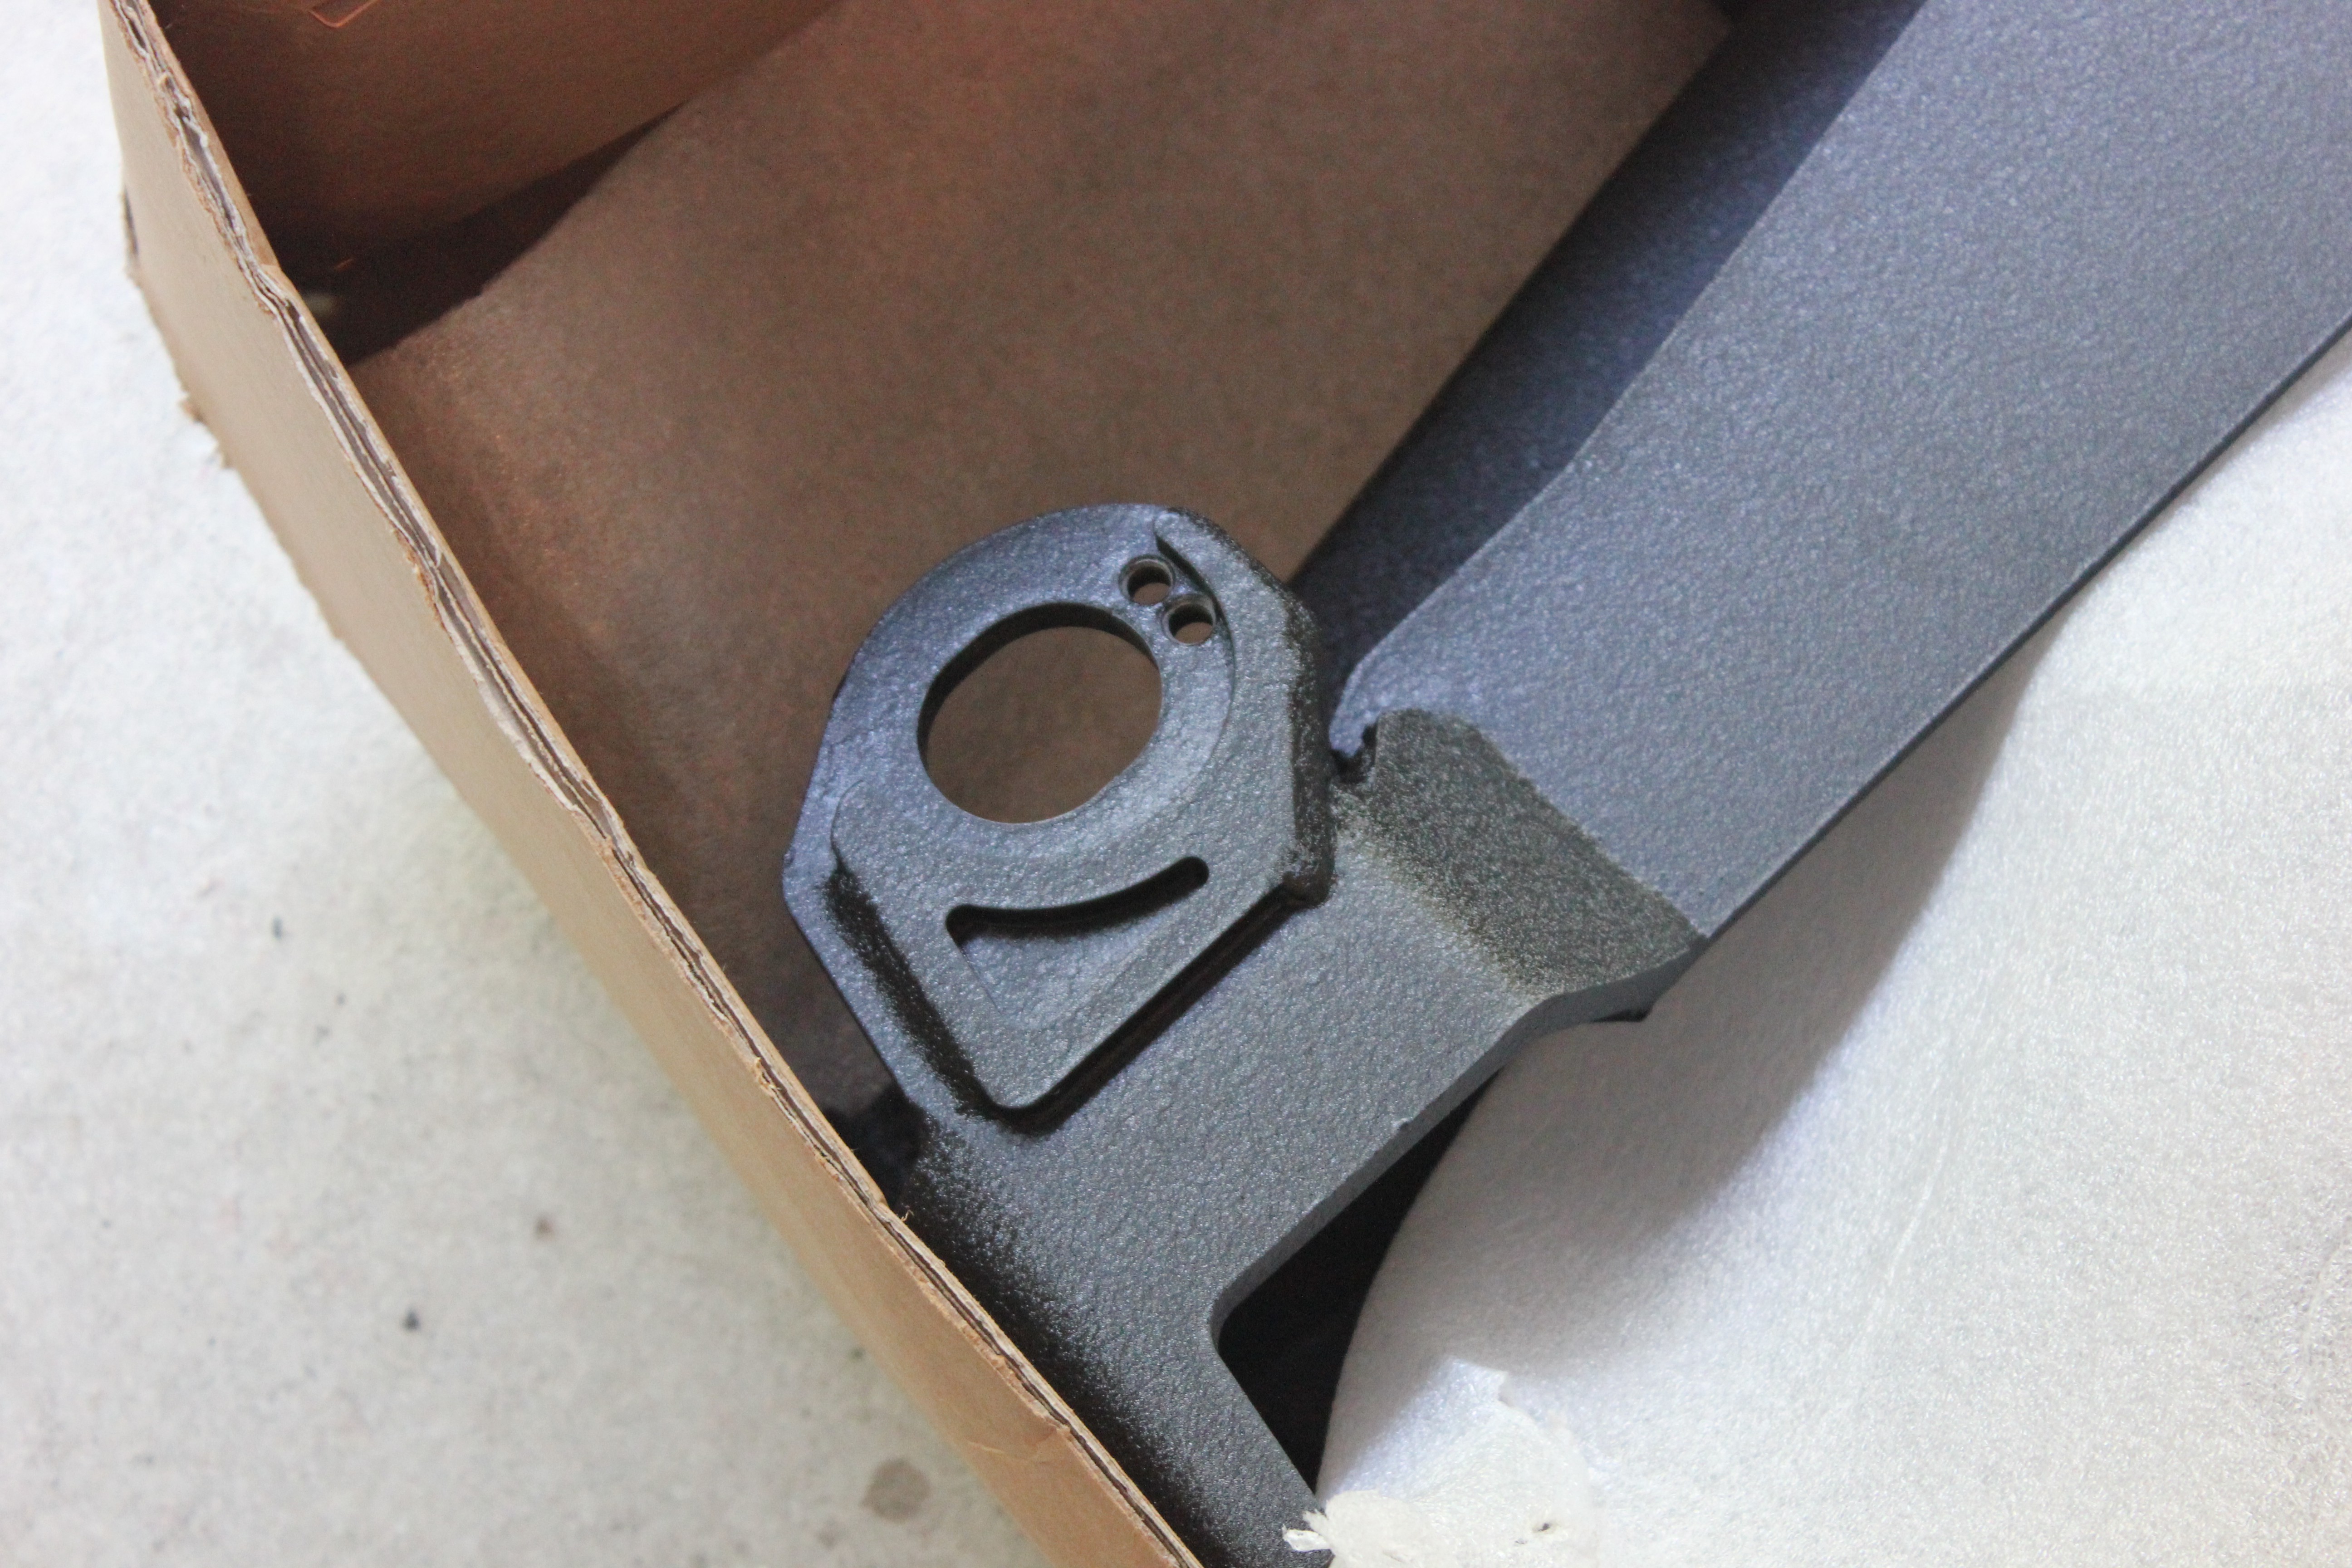
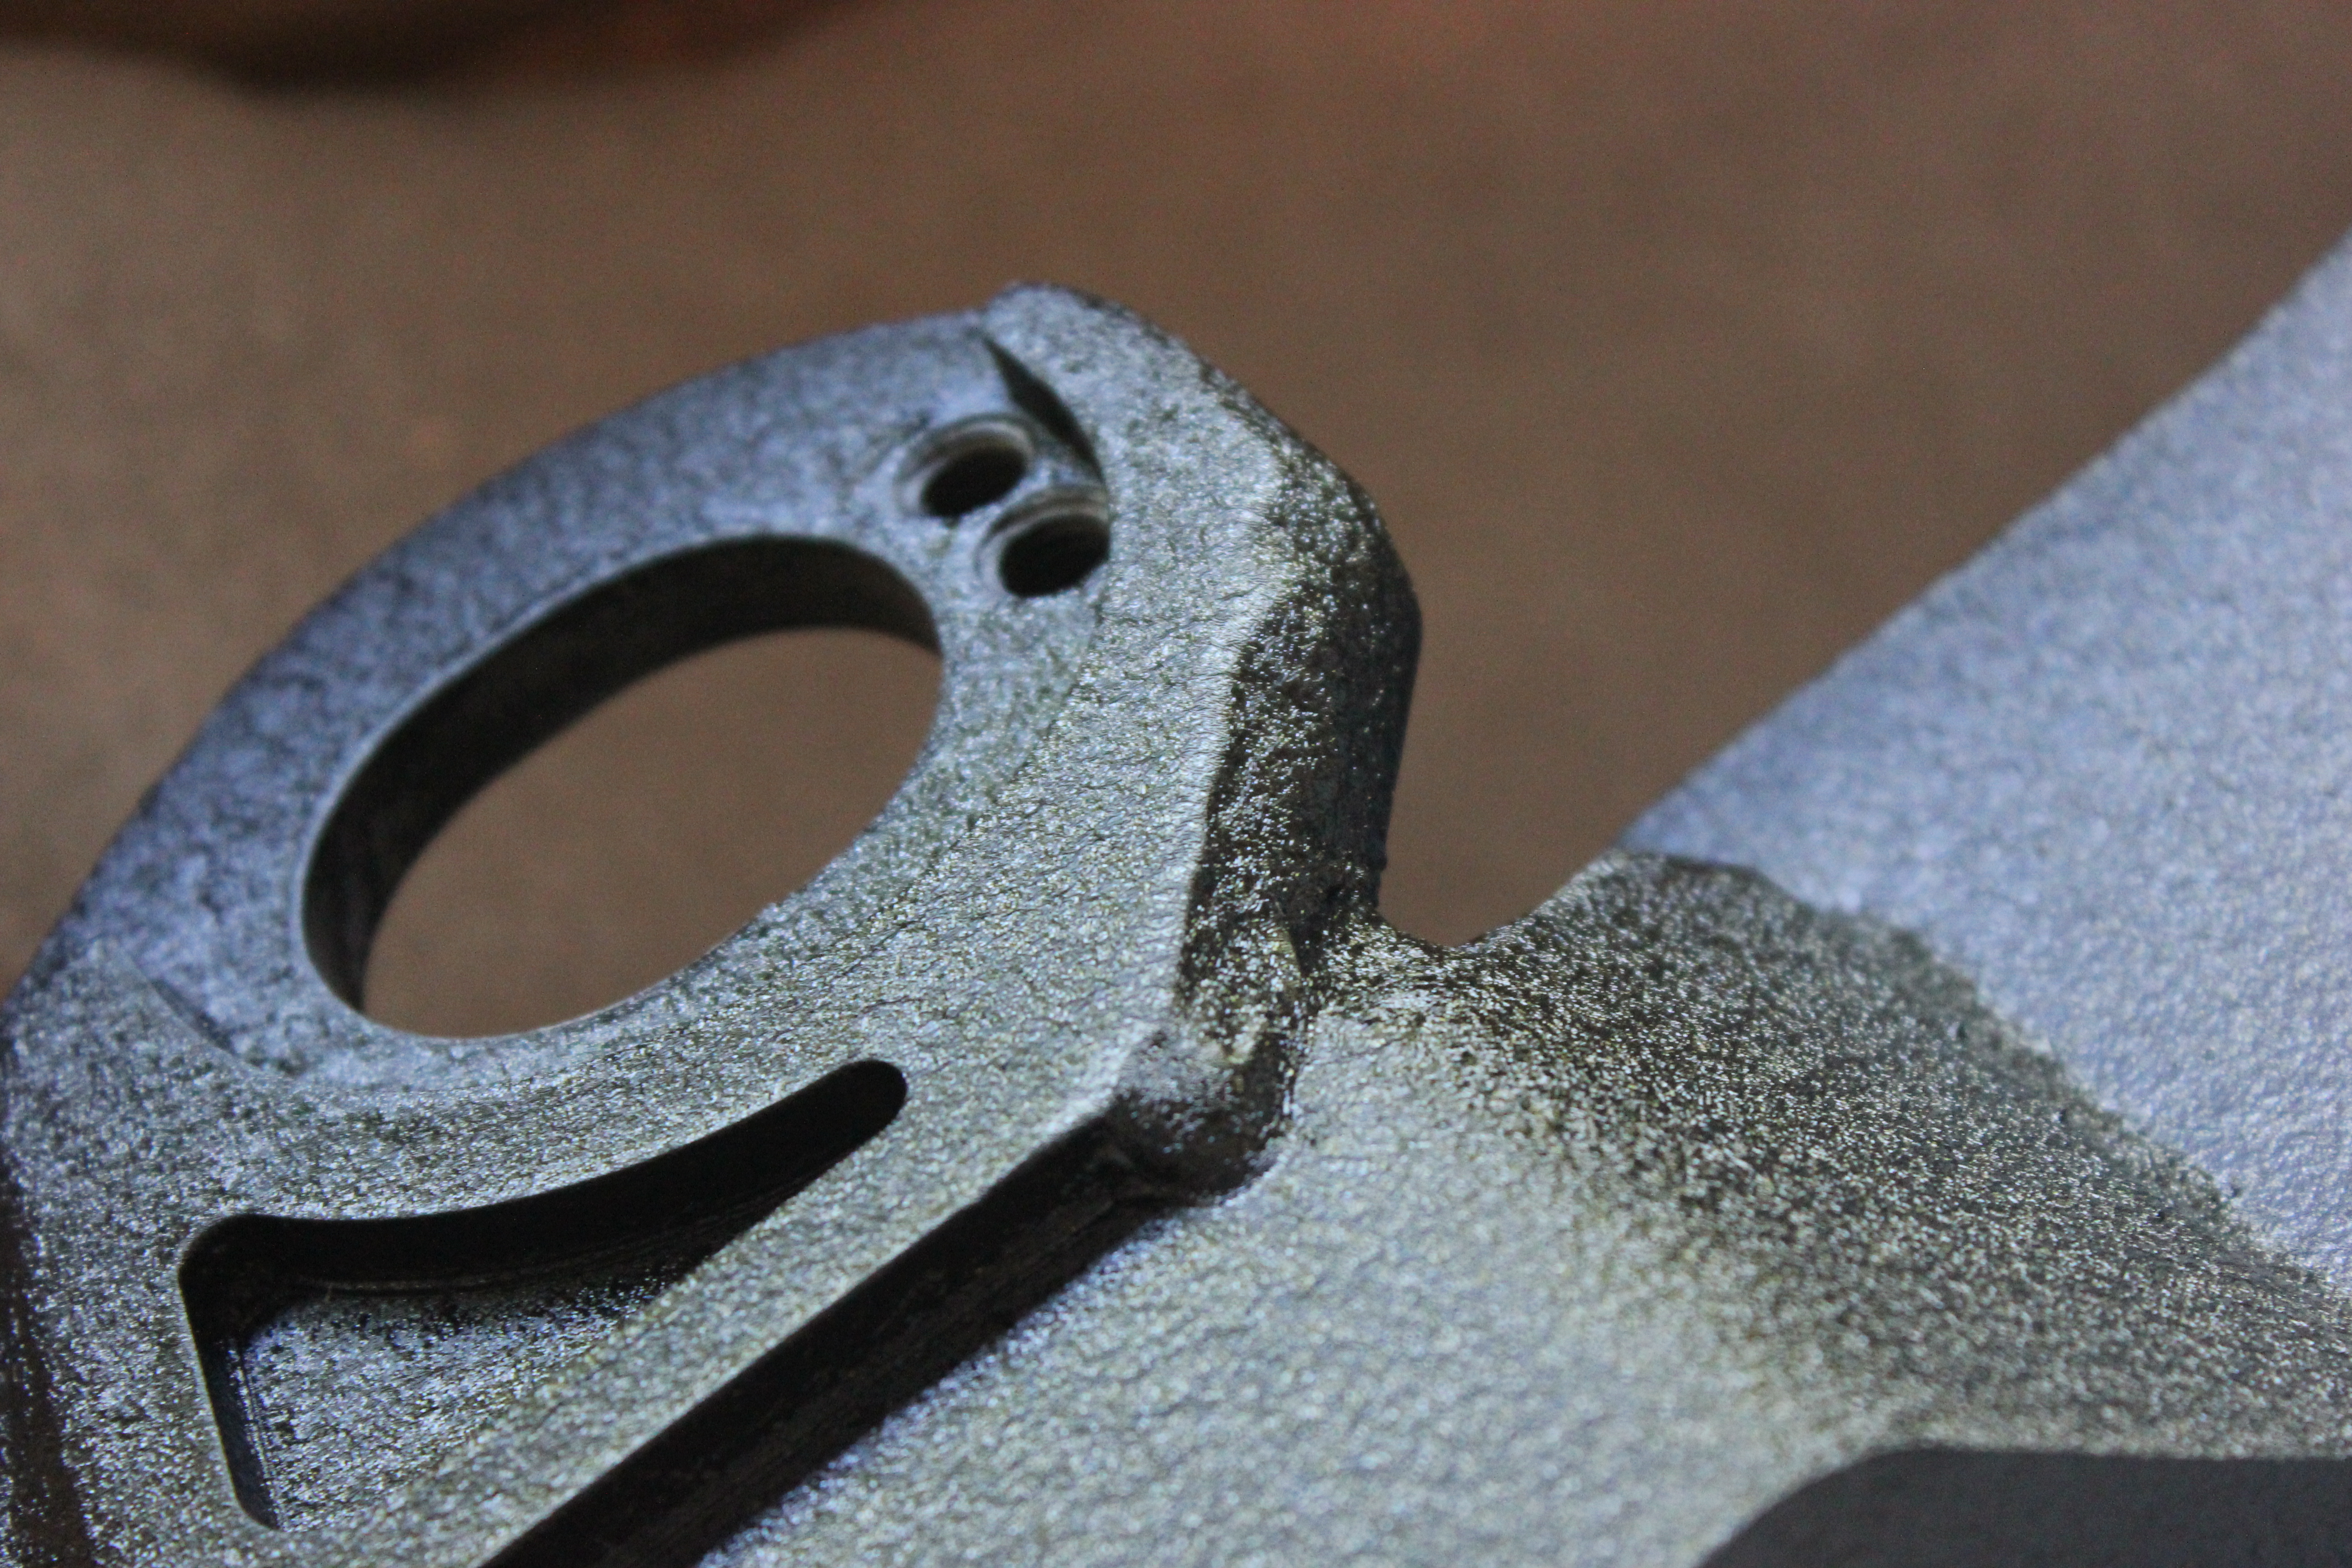
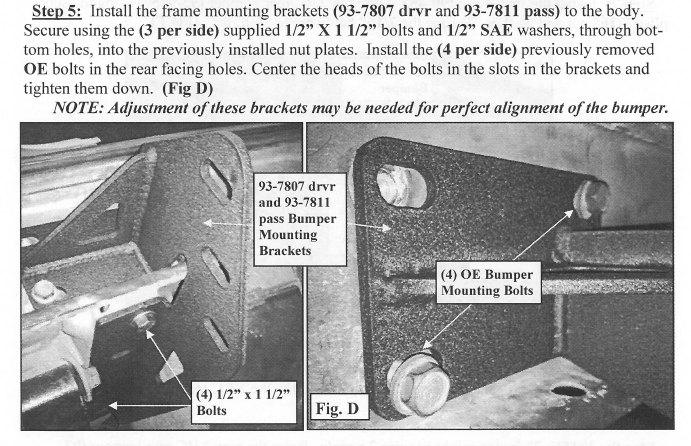
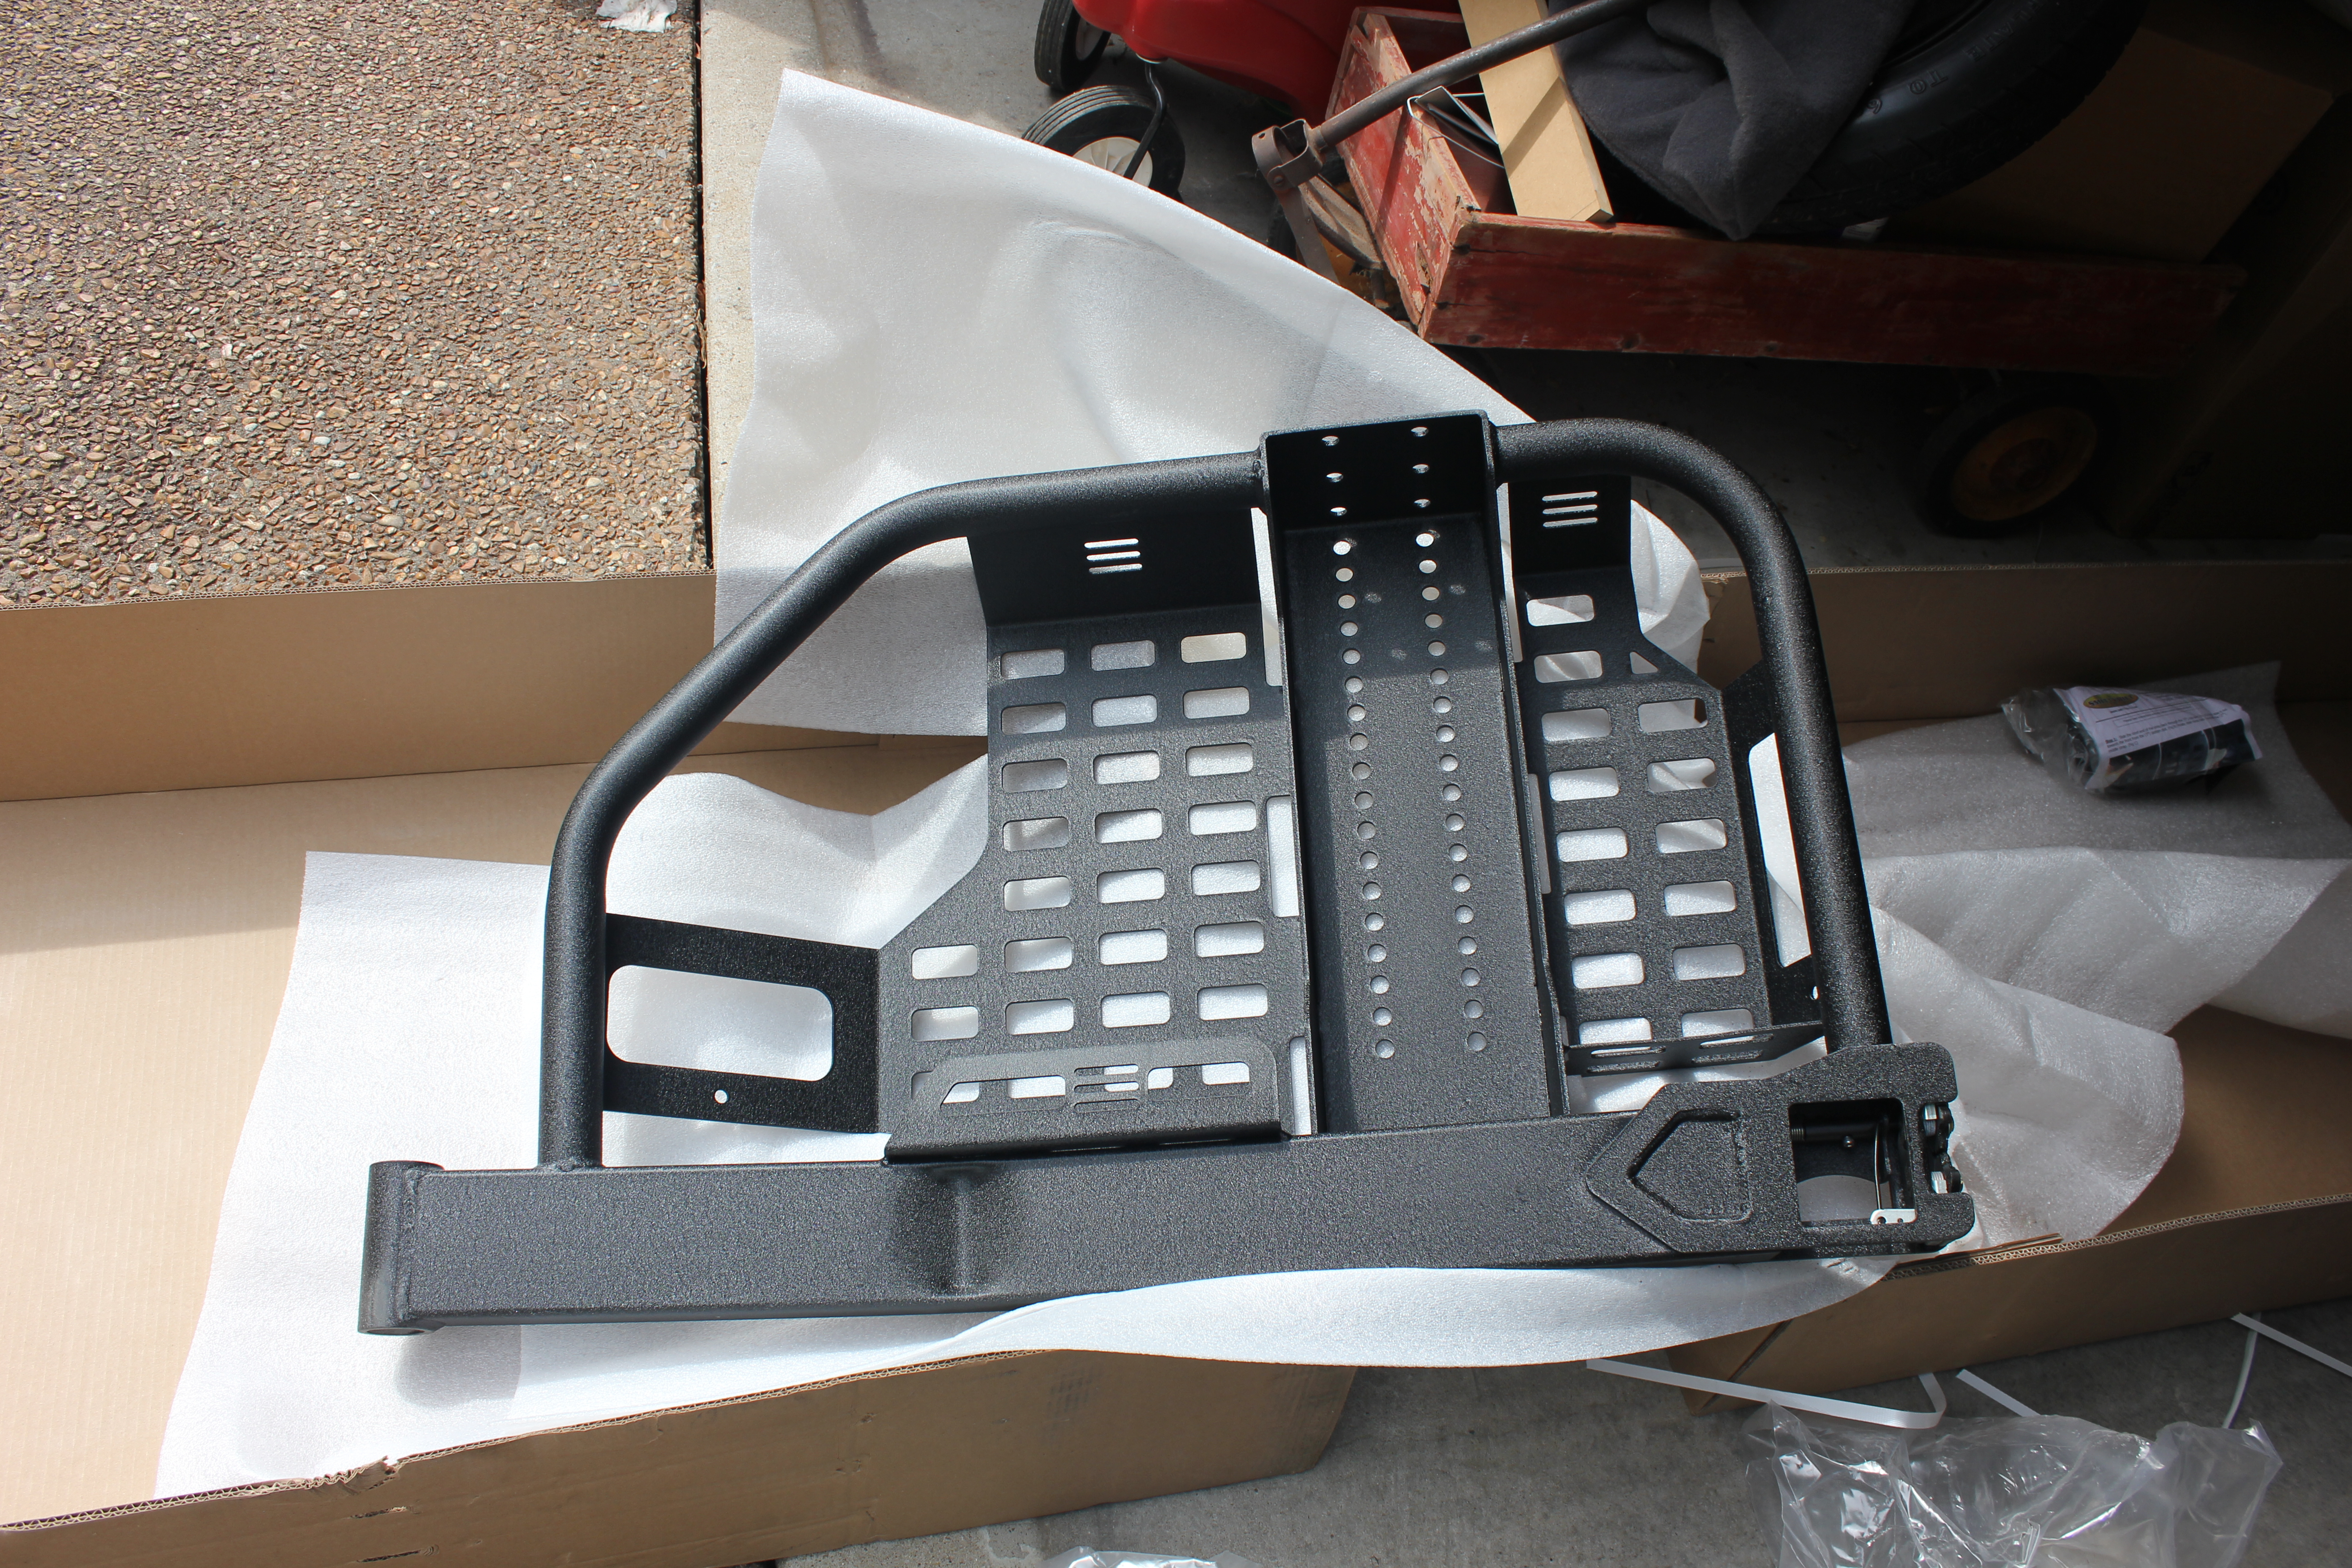
Installing the Smittybilt Bumper Brackets
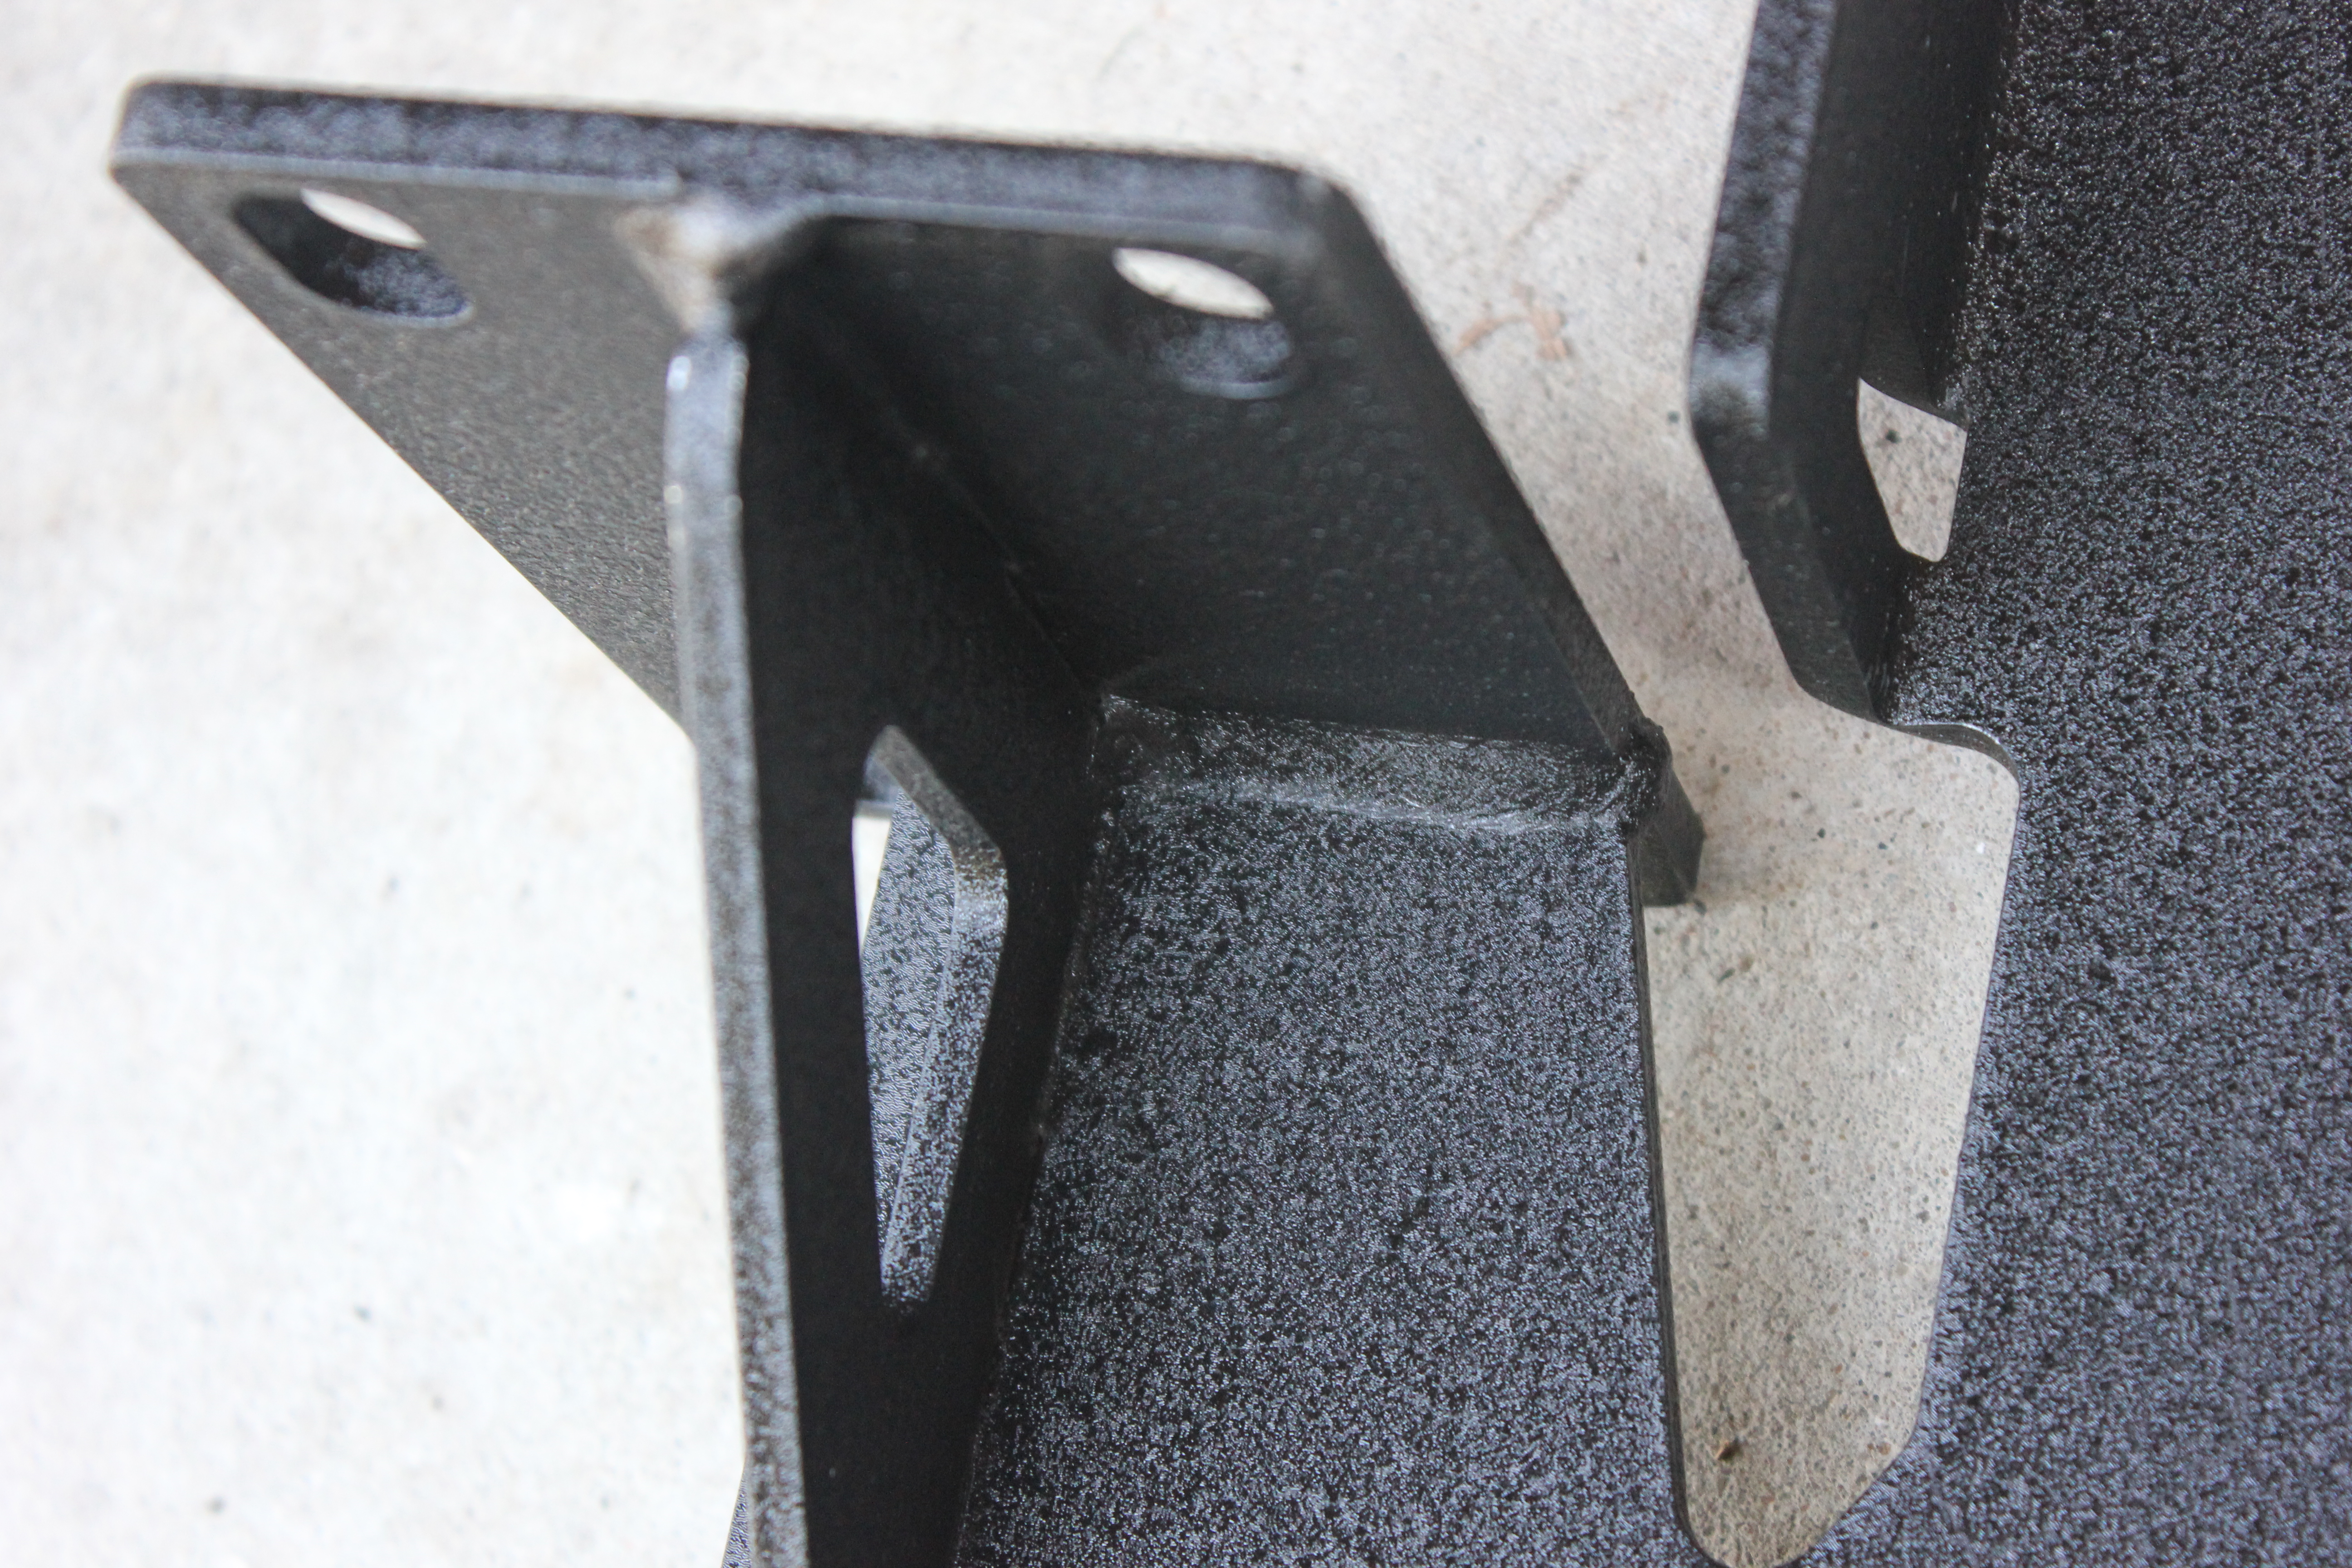
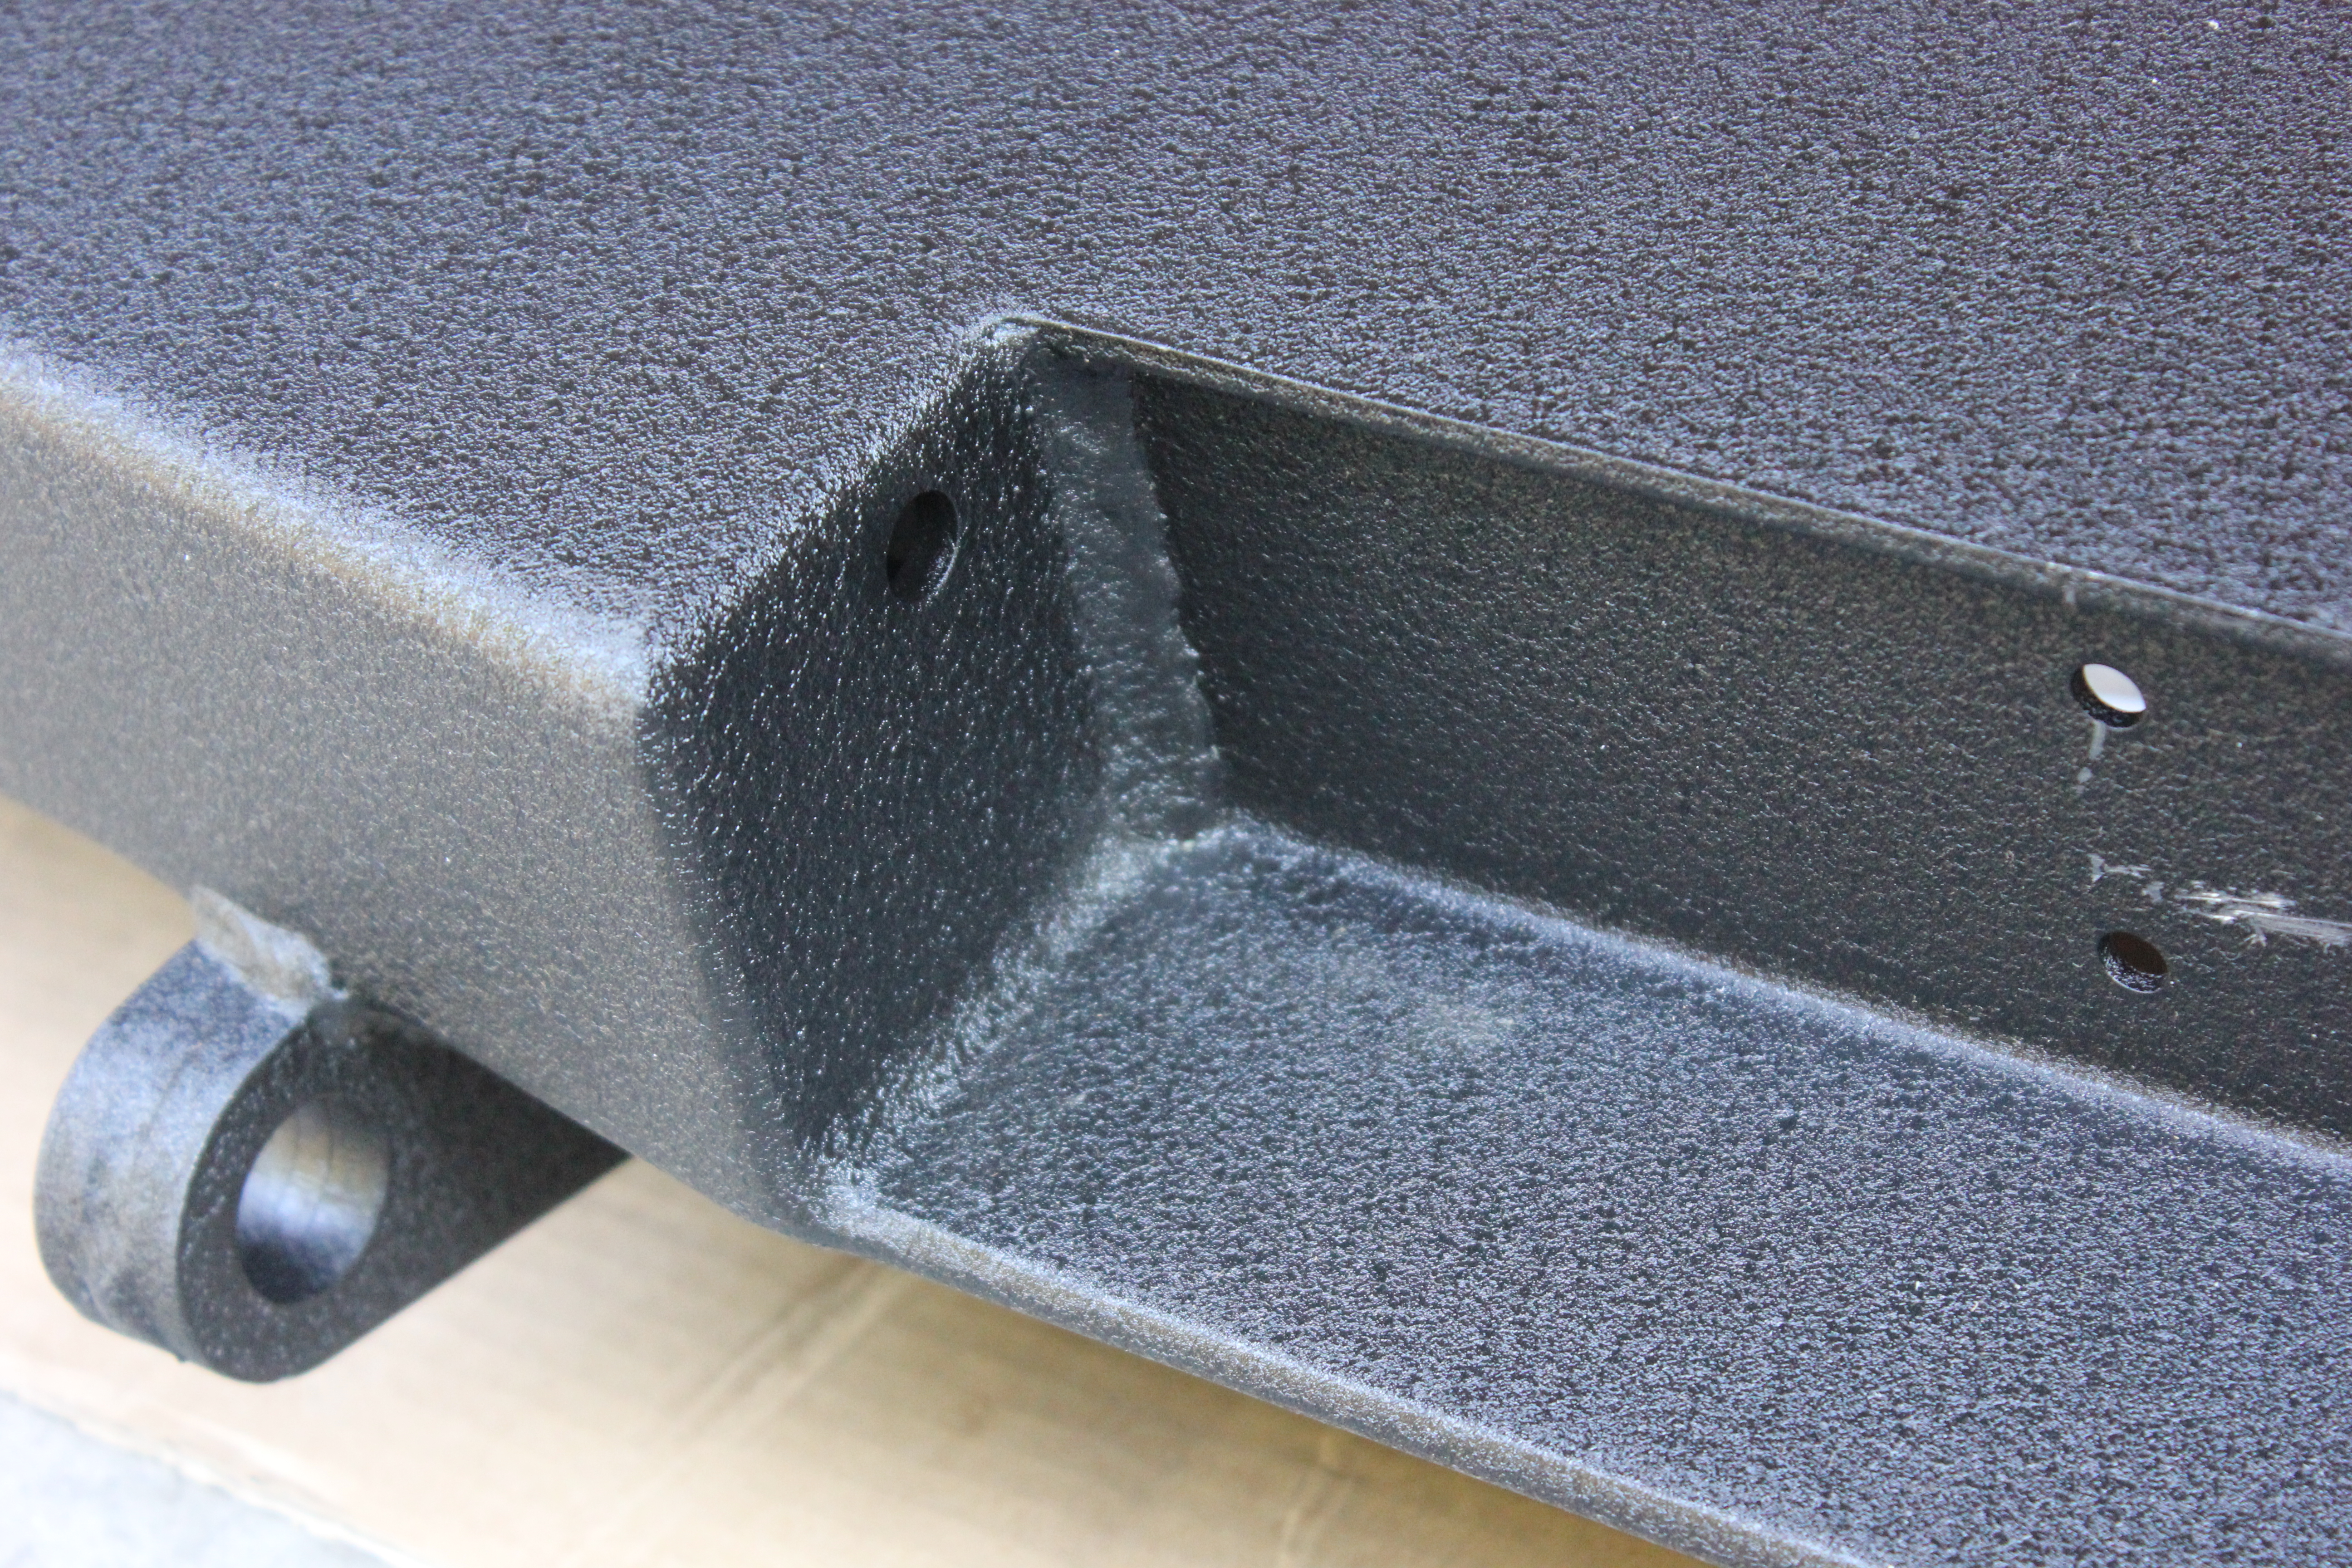
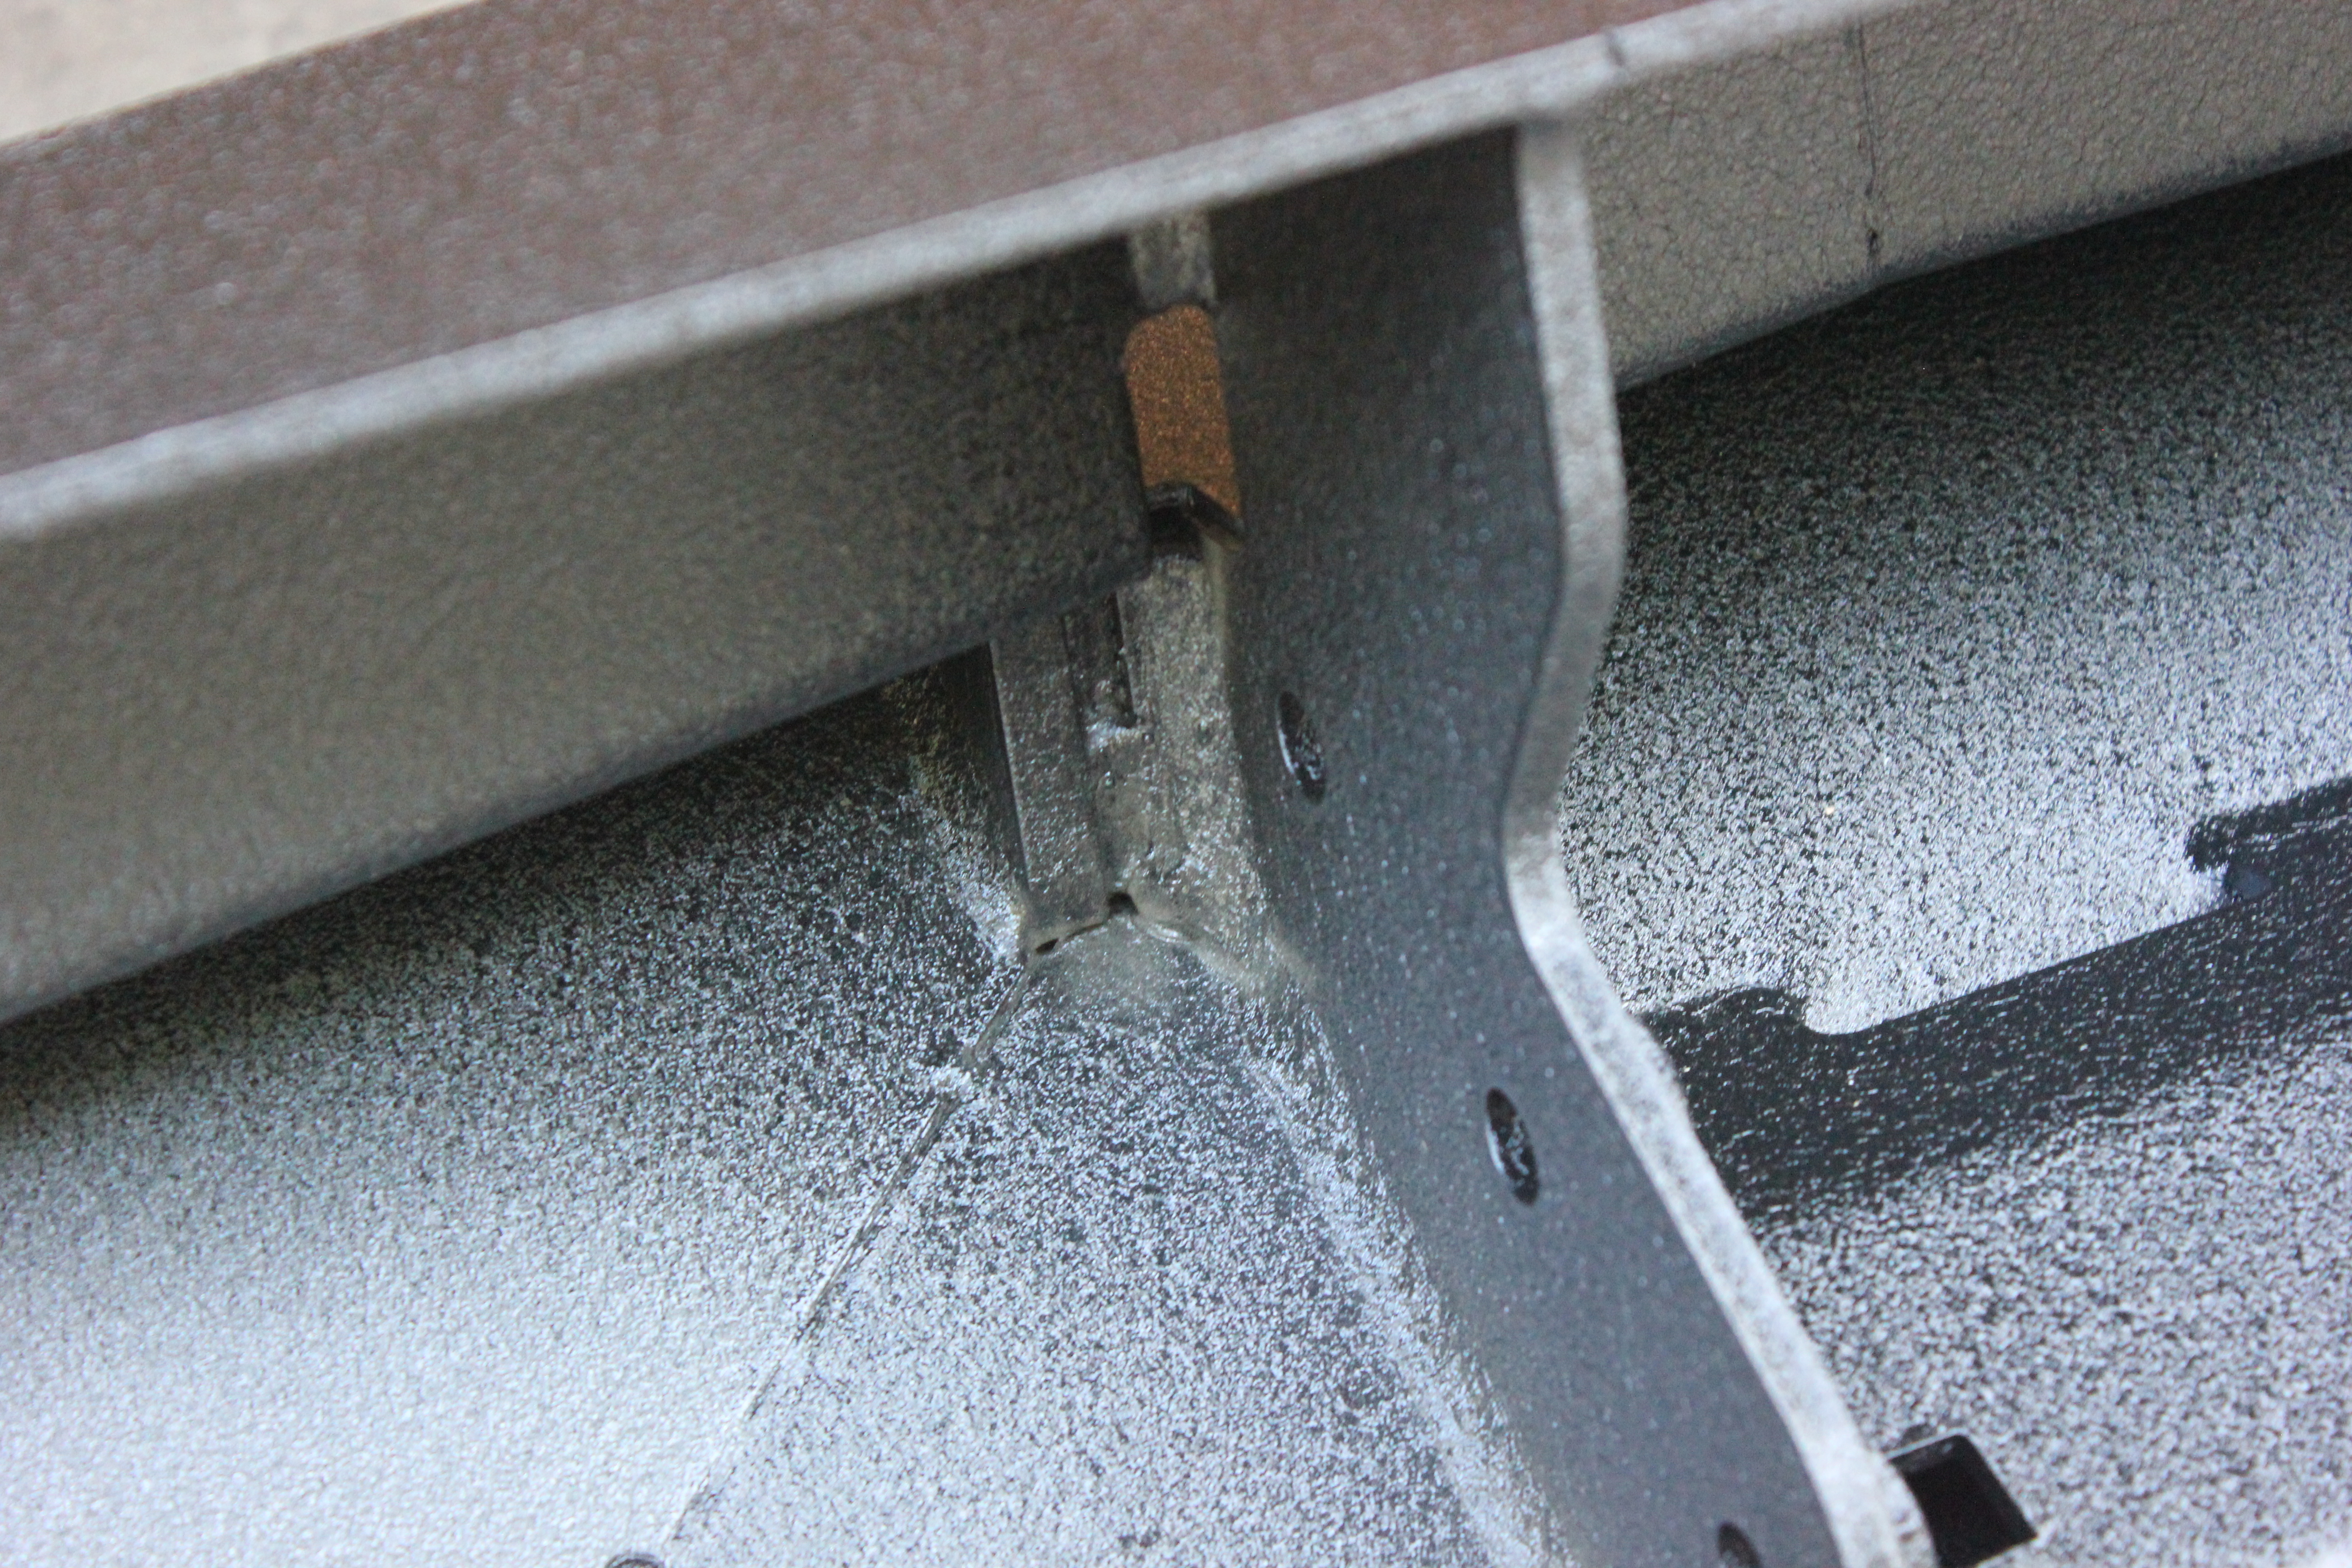
Now, here’s a pro-tip: Before you mount the brackets to the body, make sure they actually fit in the bumper and you can bolt the bumper to the brackets.
That might sound silly, but a whole lot of people, me included, have discovered that the CAD drawings for the brackets may not have taken into account the massive welds on the inside of the bumper. I didn’t find out until I’d already mounted the brackets, and for reasons I’ll explain later I couldn’t just take them off and check afterwards. I had to break out the angle grinder and make it fit!
Once you’ve verified that the brackets actually fit, measure the distance between the brackets. The instructions say to mount the brackets “slightly less than 34 inches apart.” No, they do not indicate how much “slightly” is, so you need to measure that.
Now that you’ve got all that done, remove the brackets from the bumper and move on to step 4.
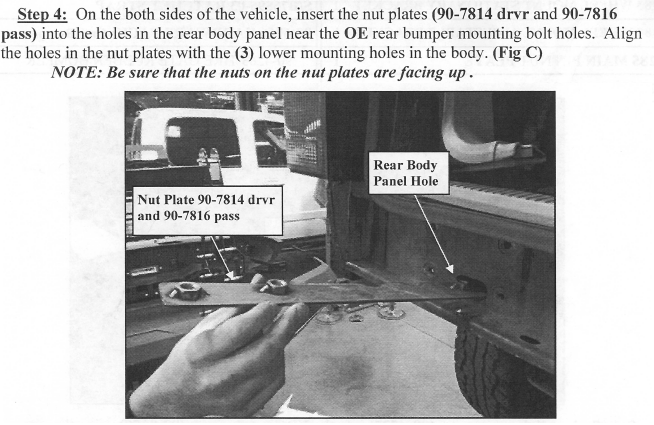
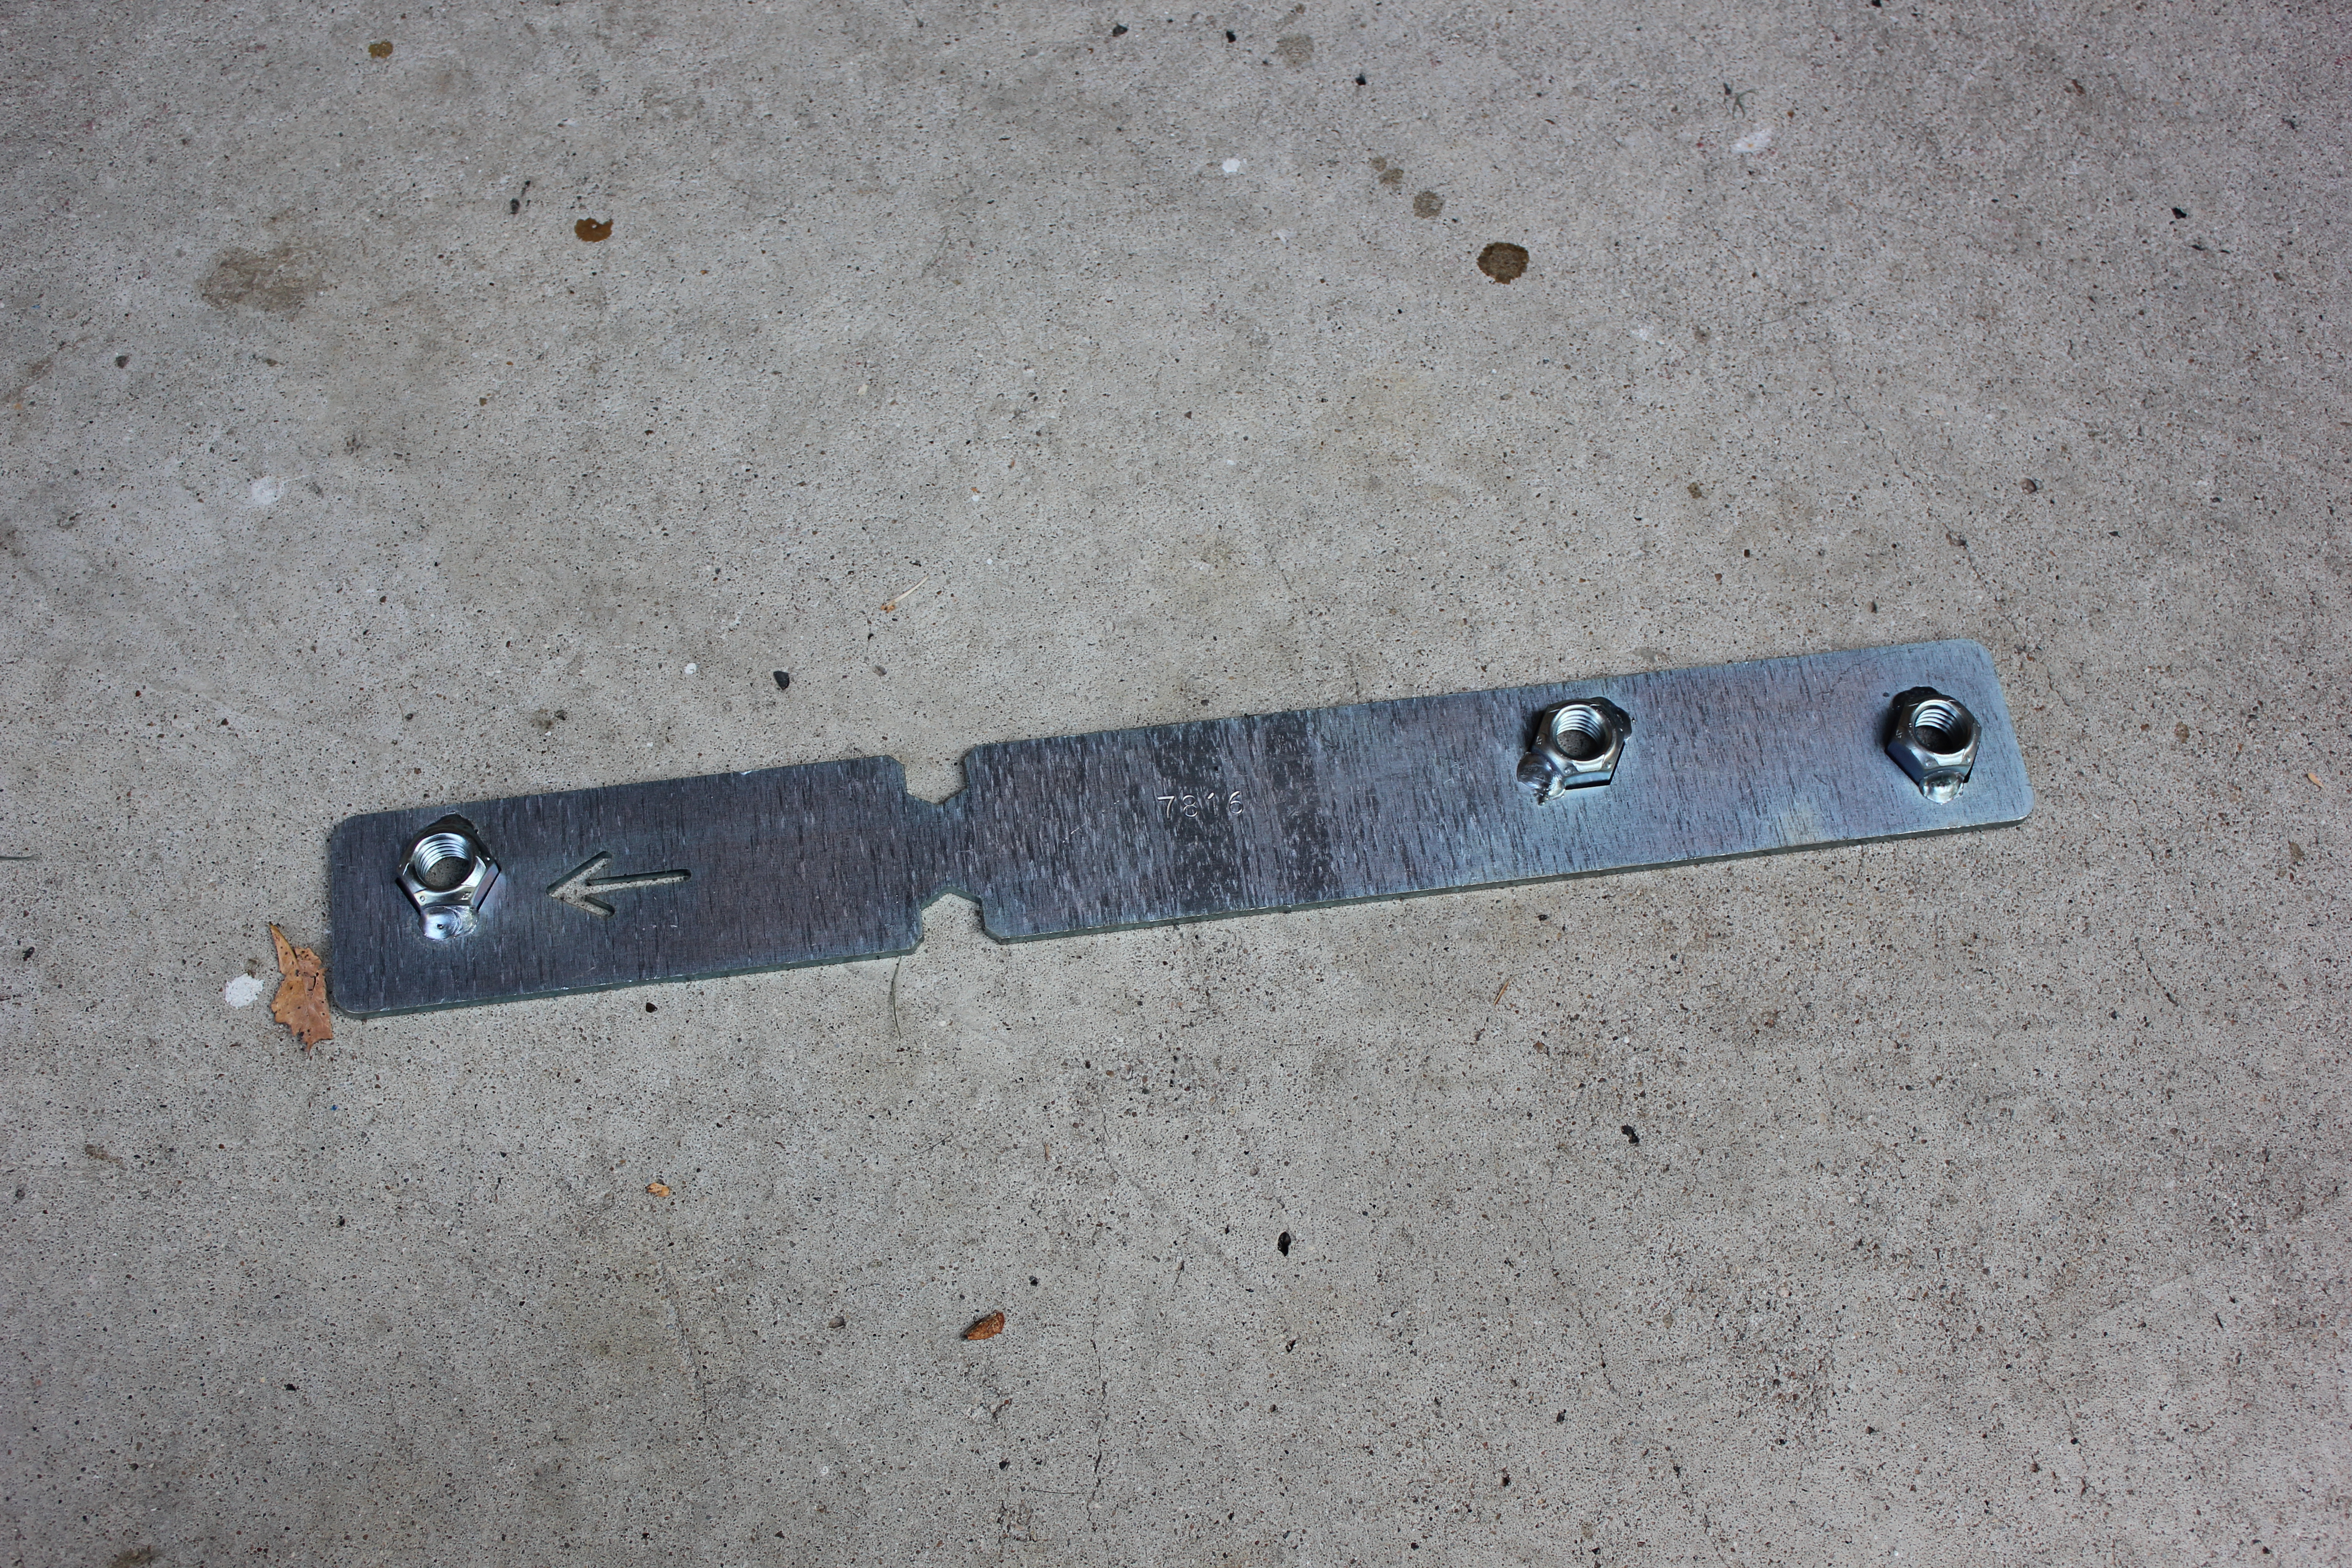
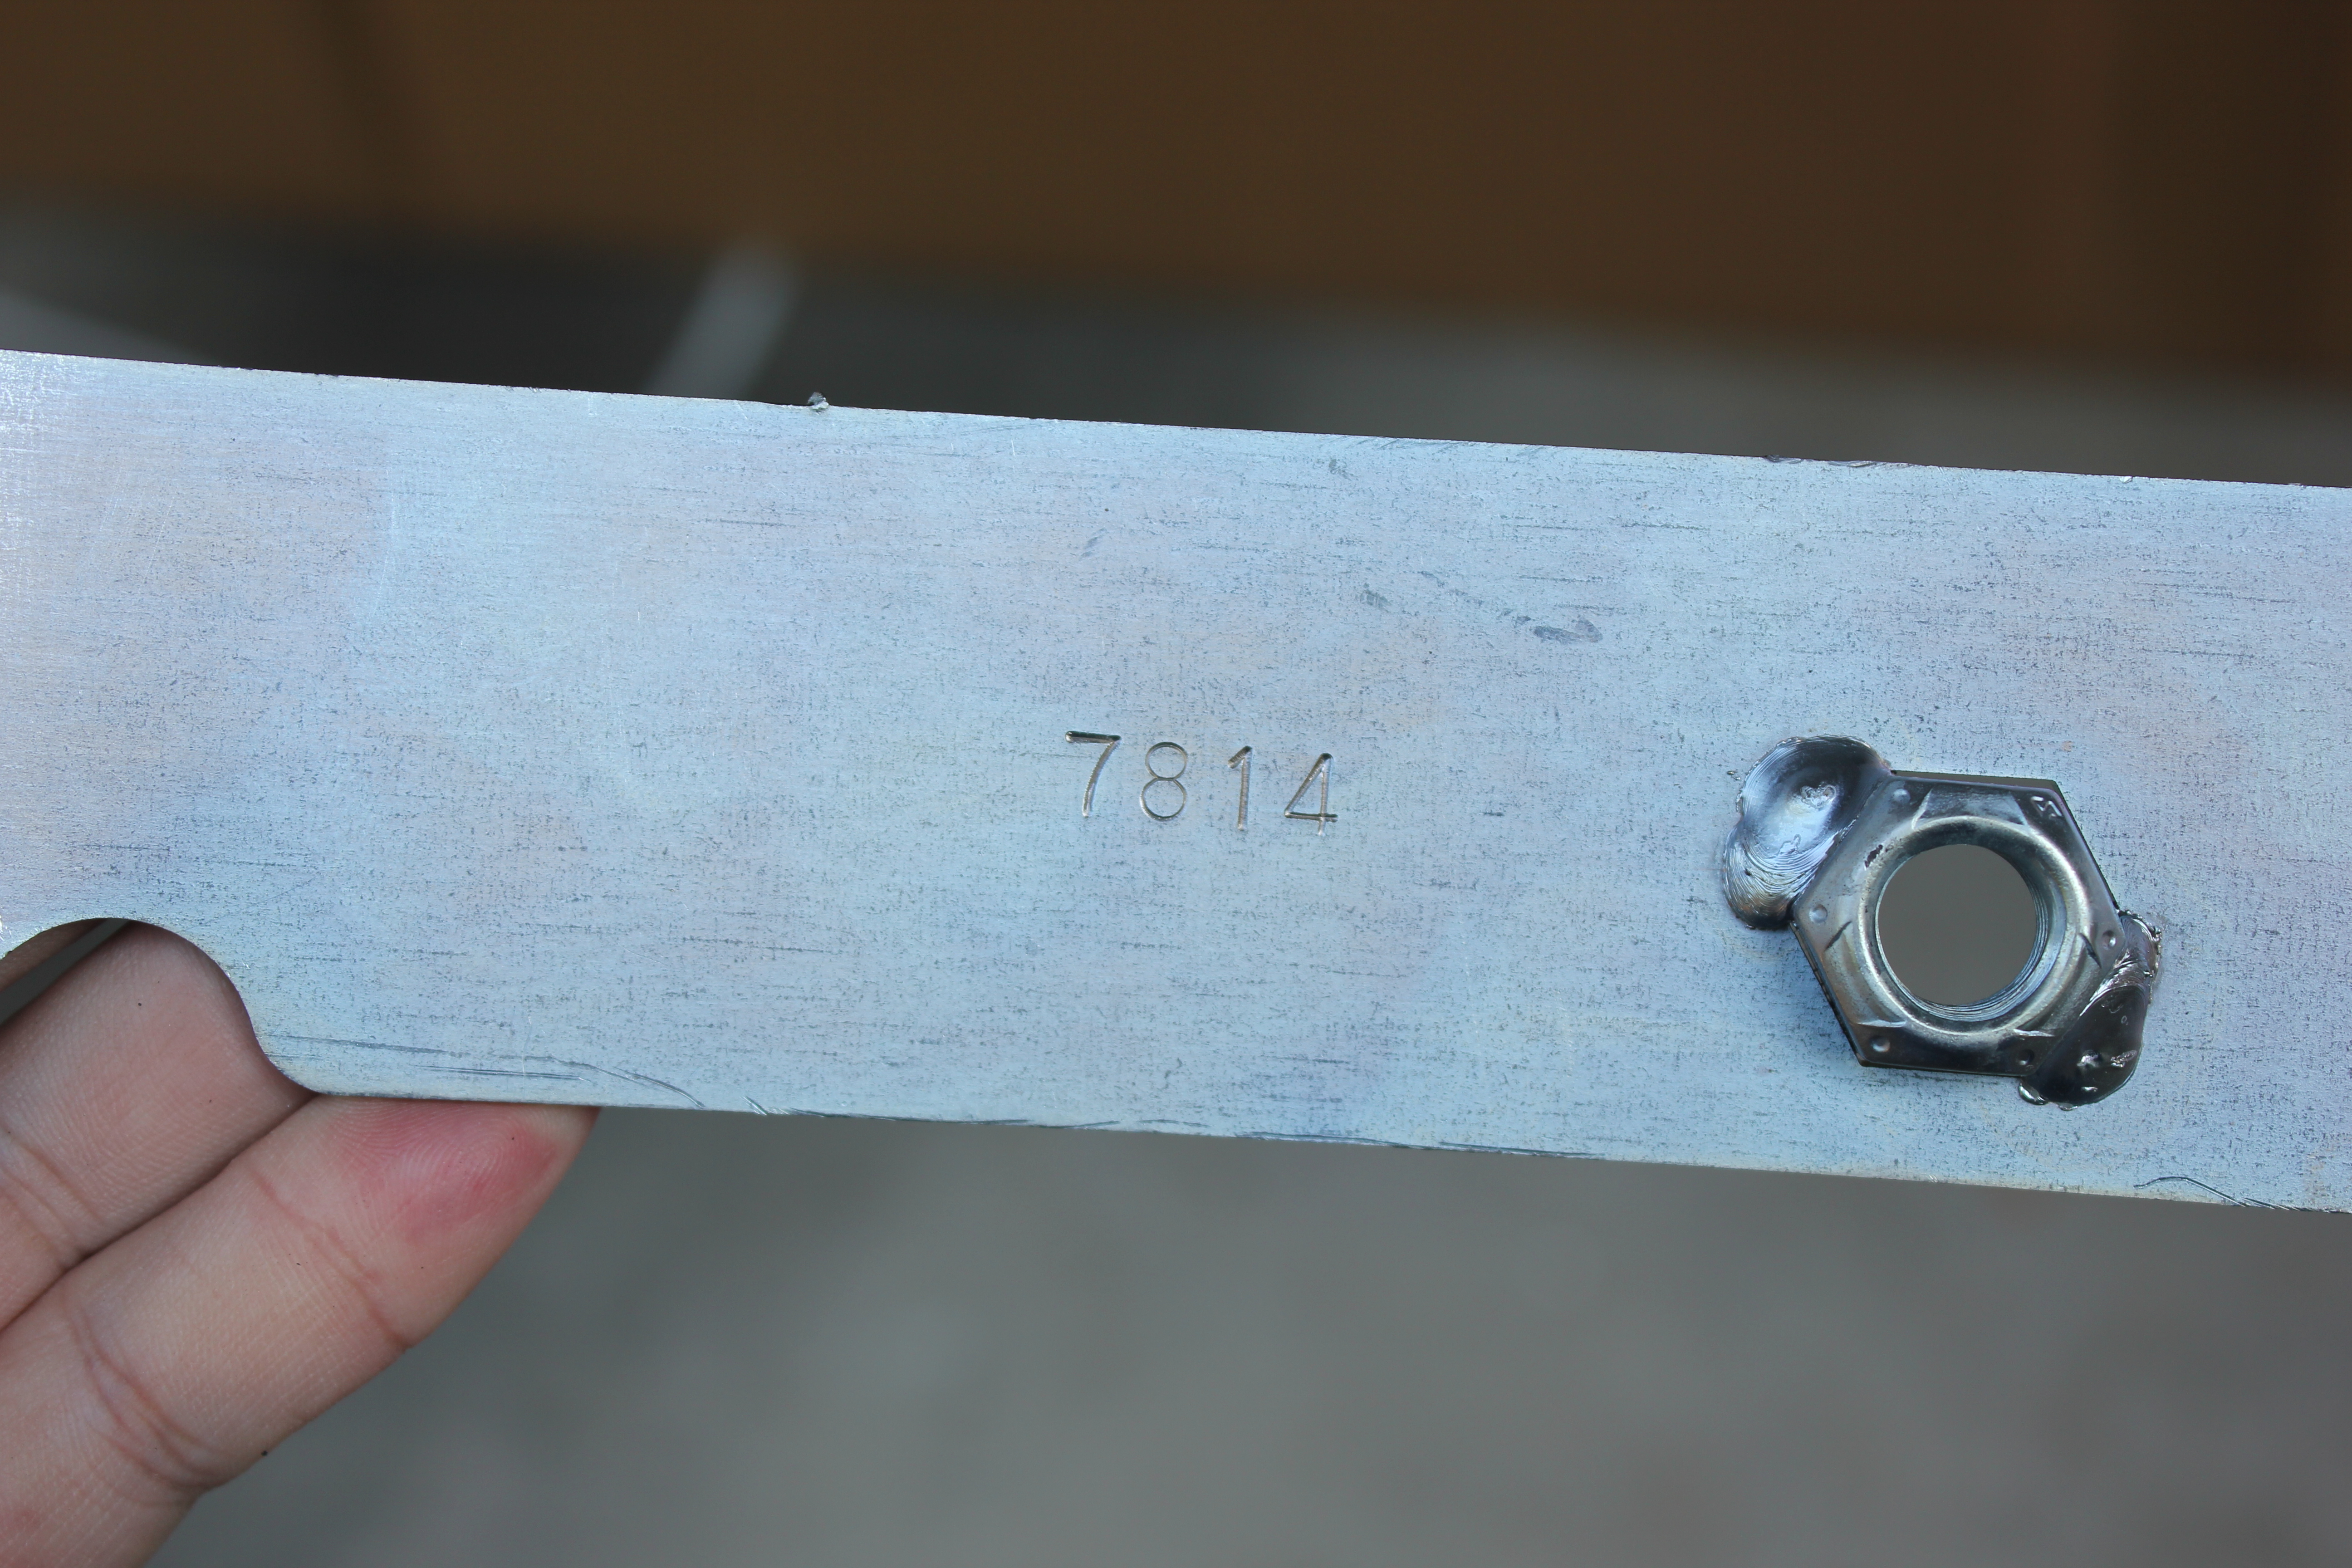
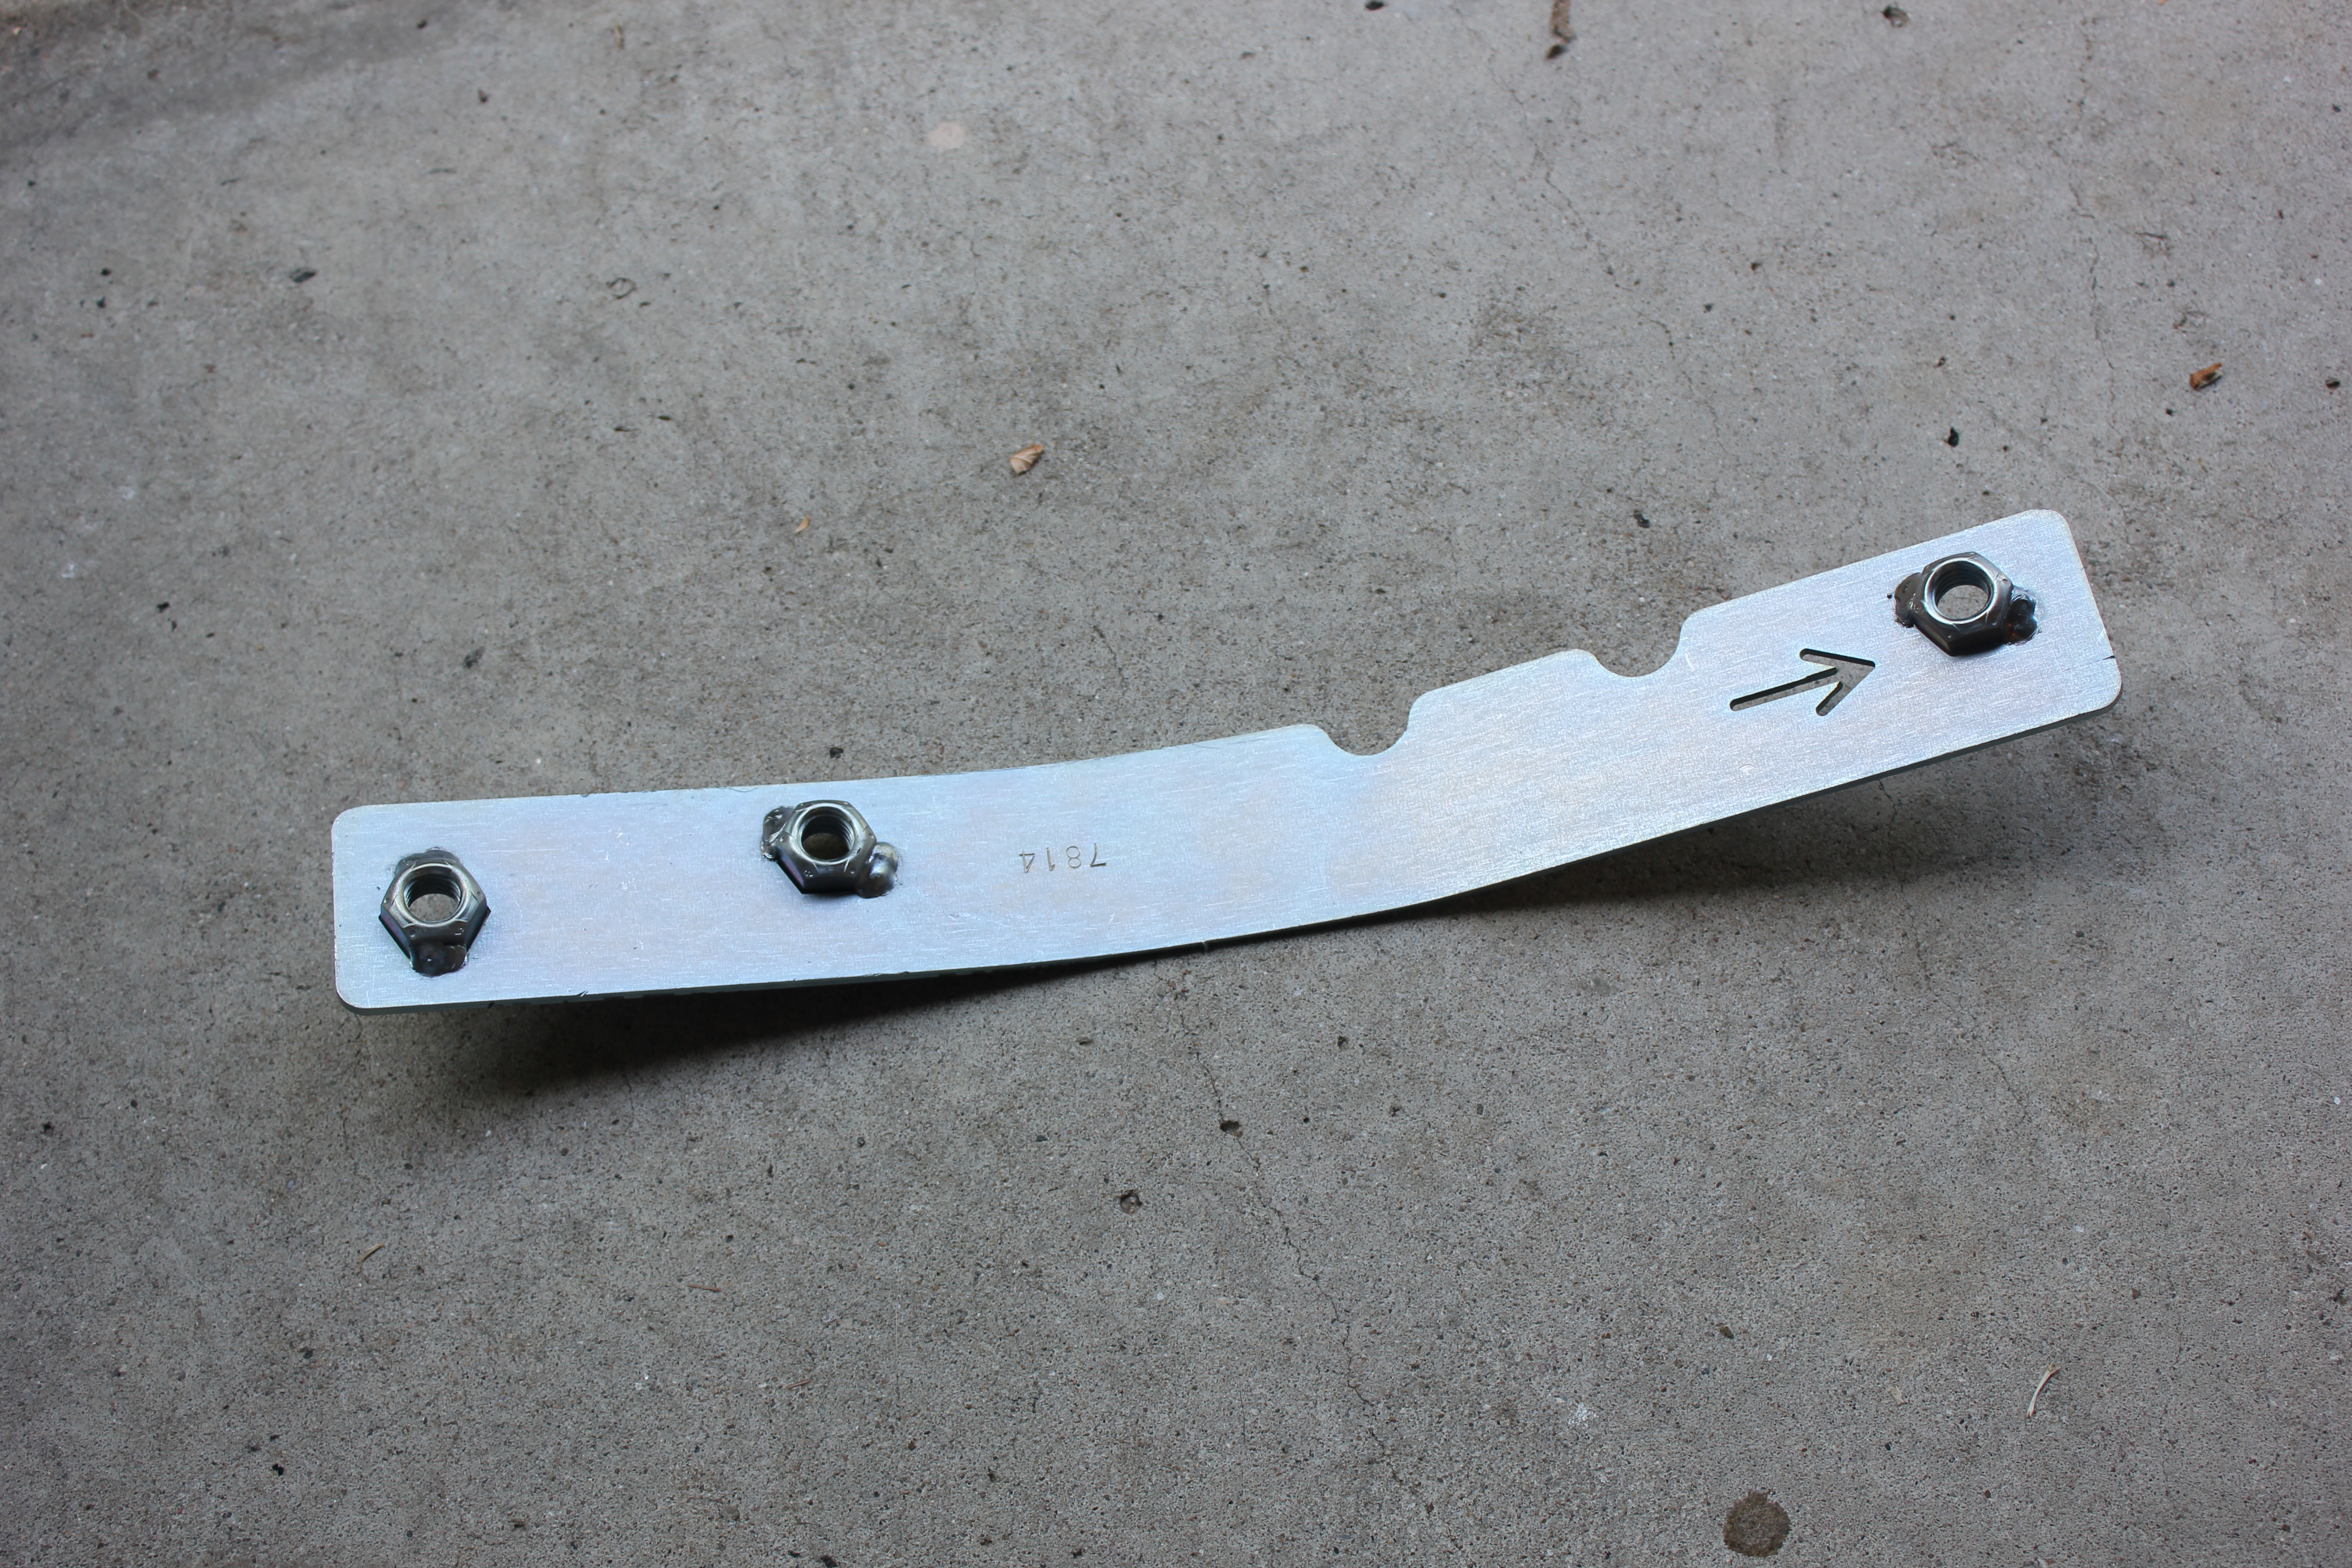
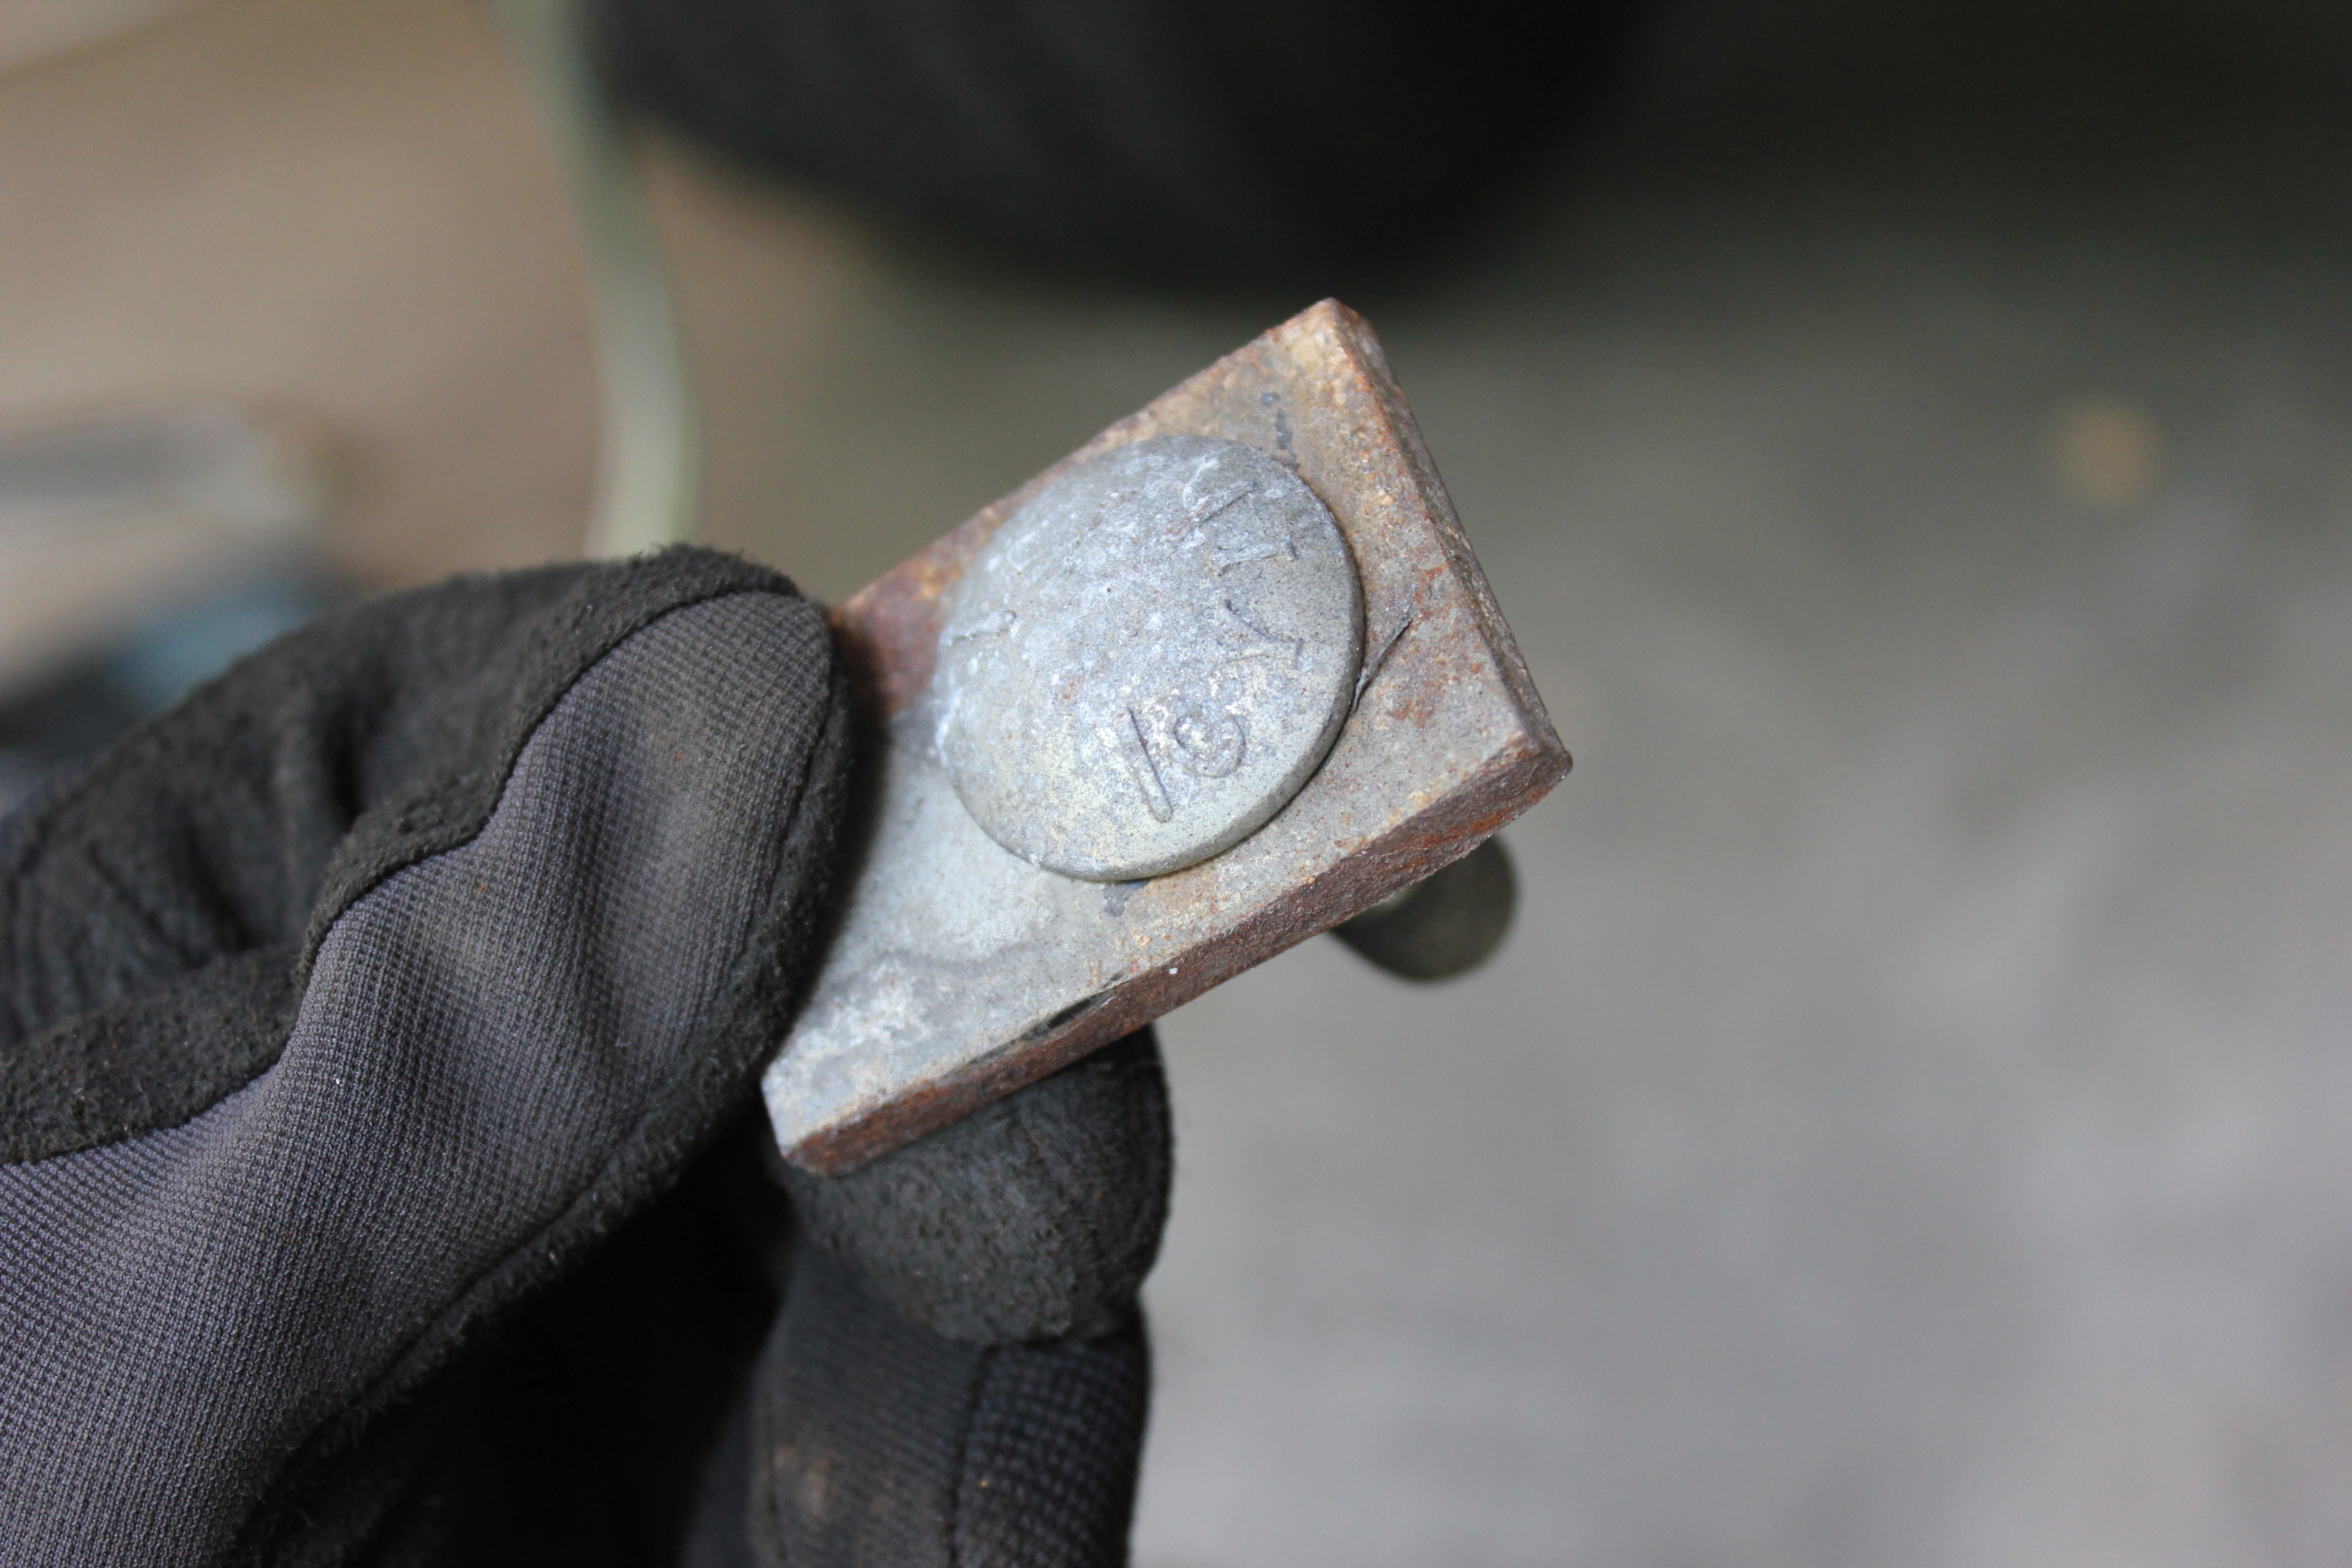
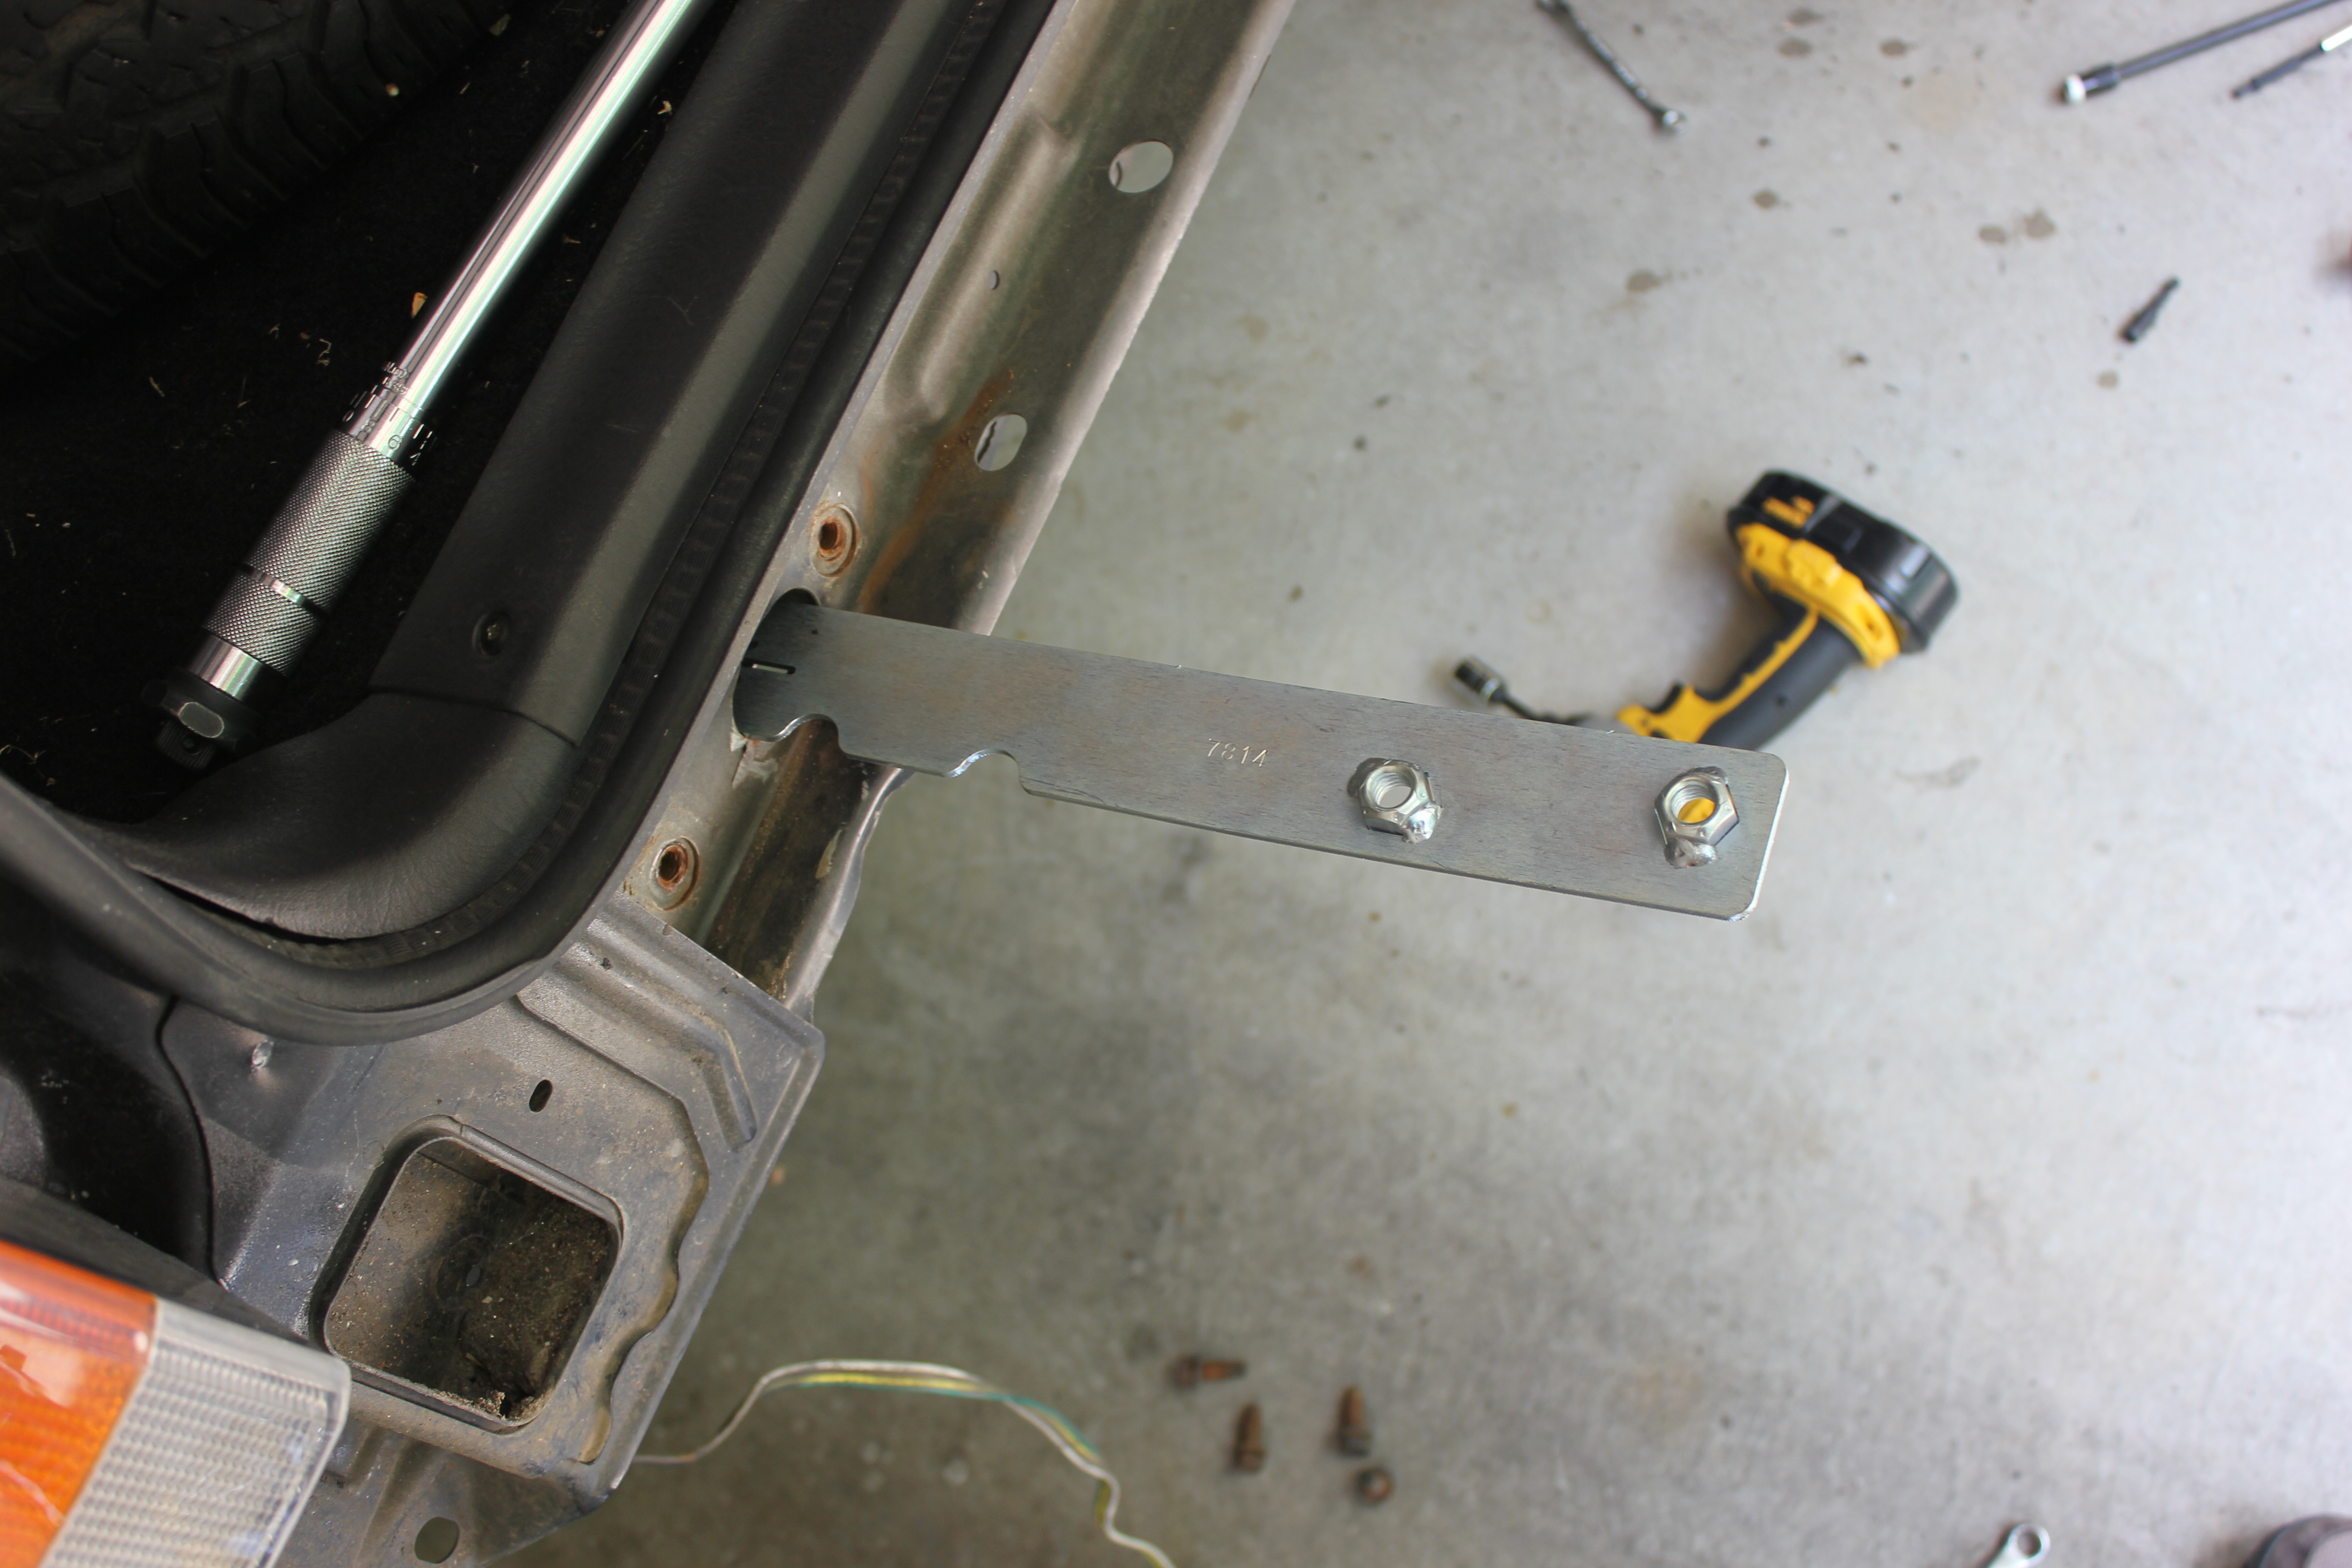
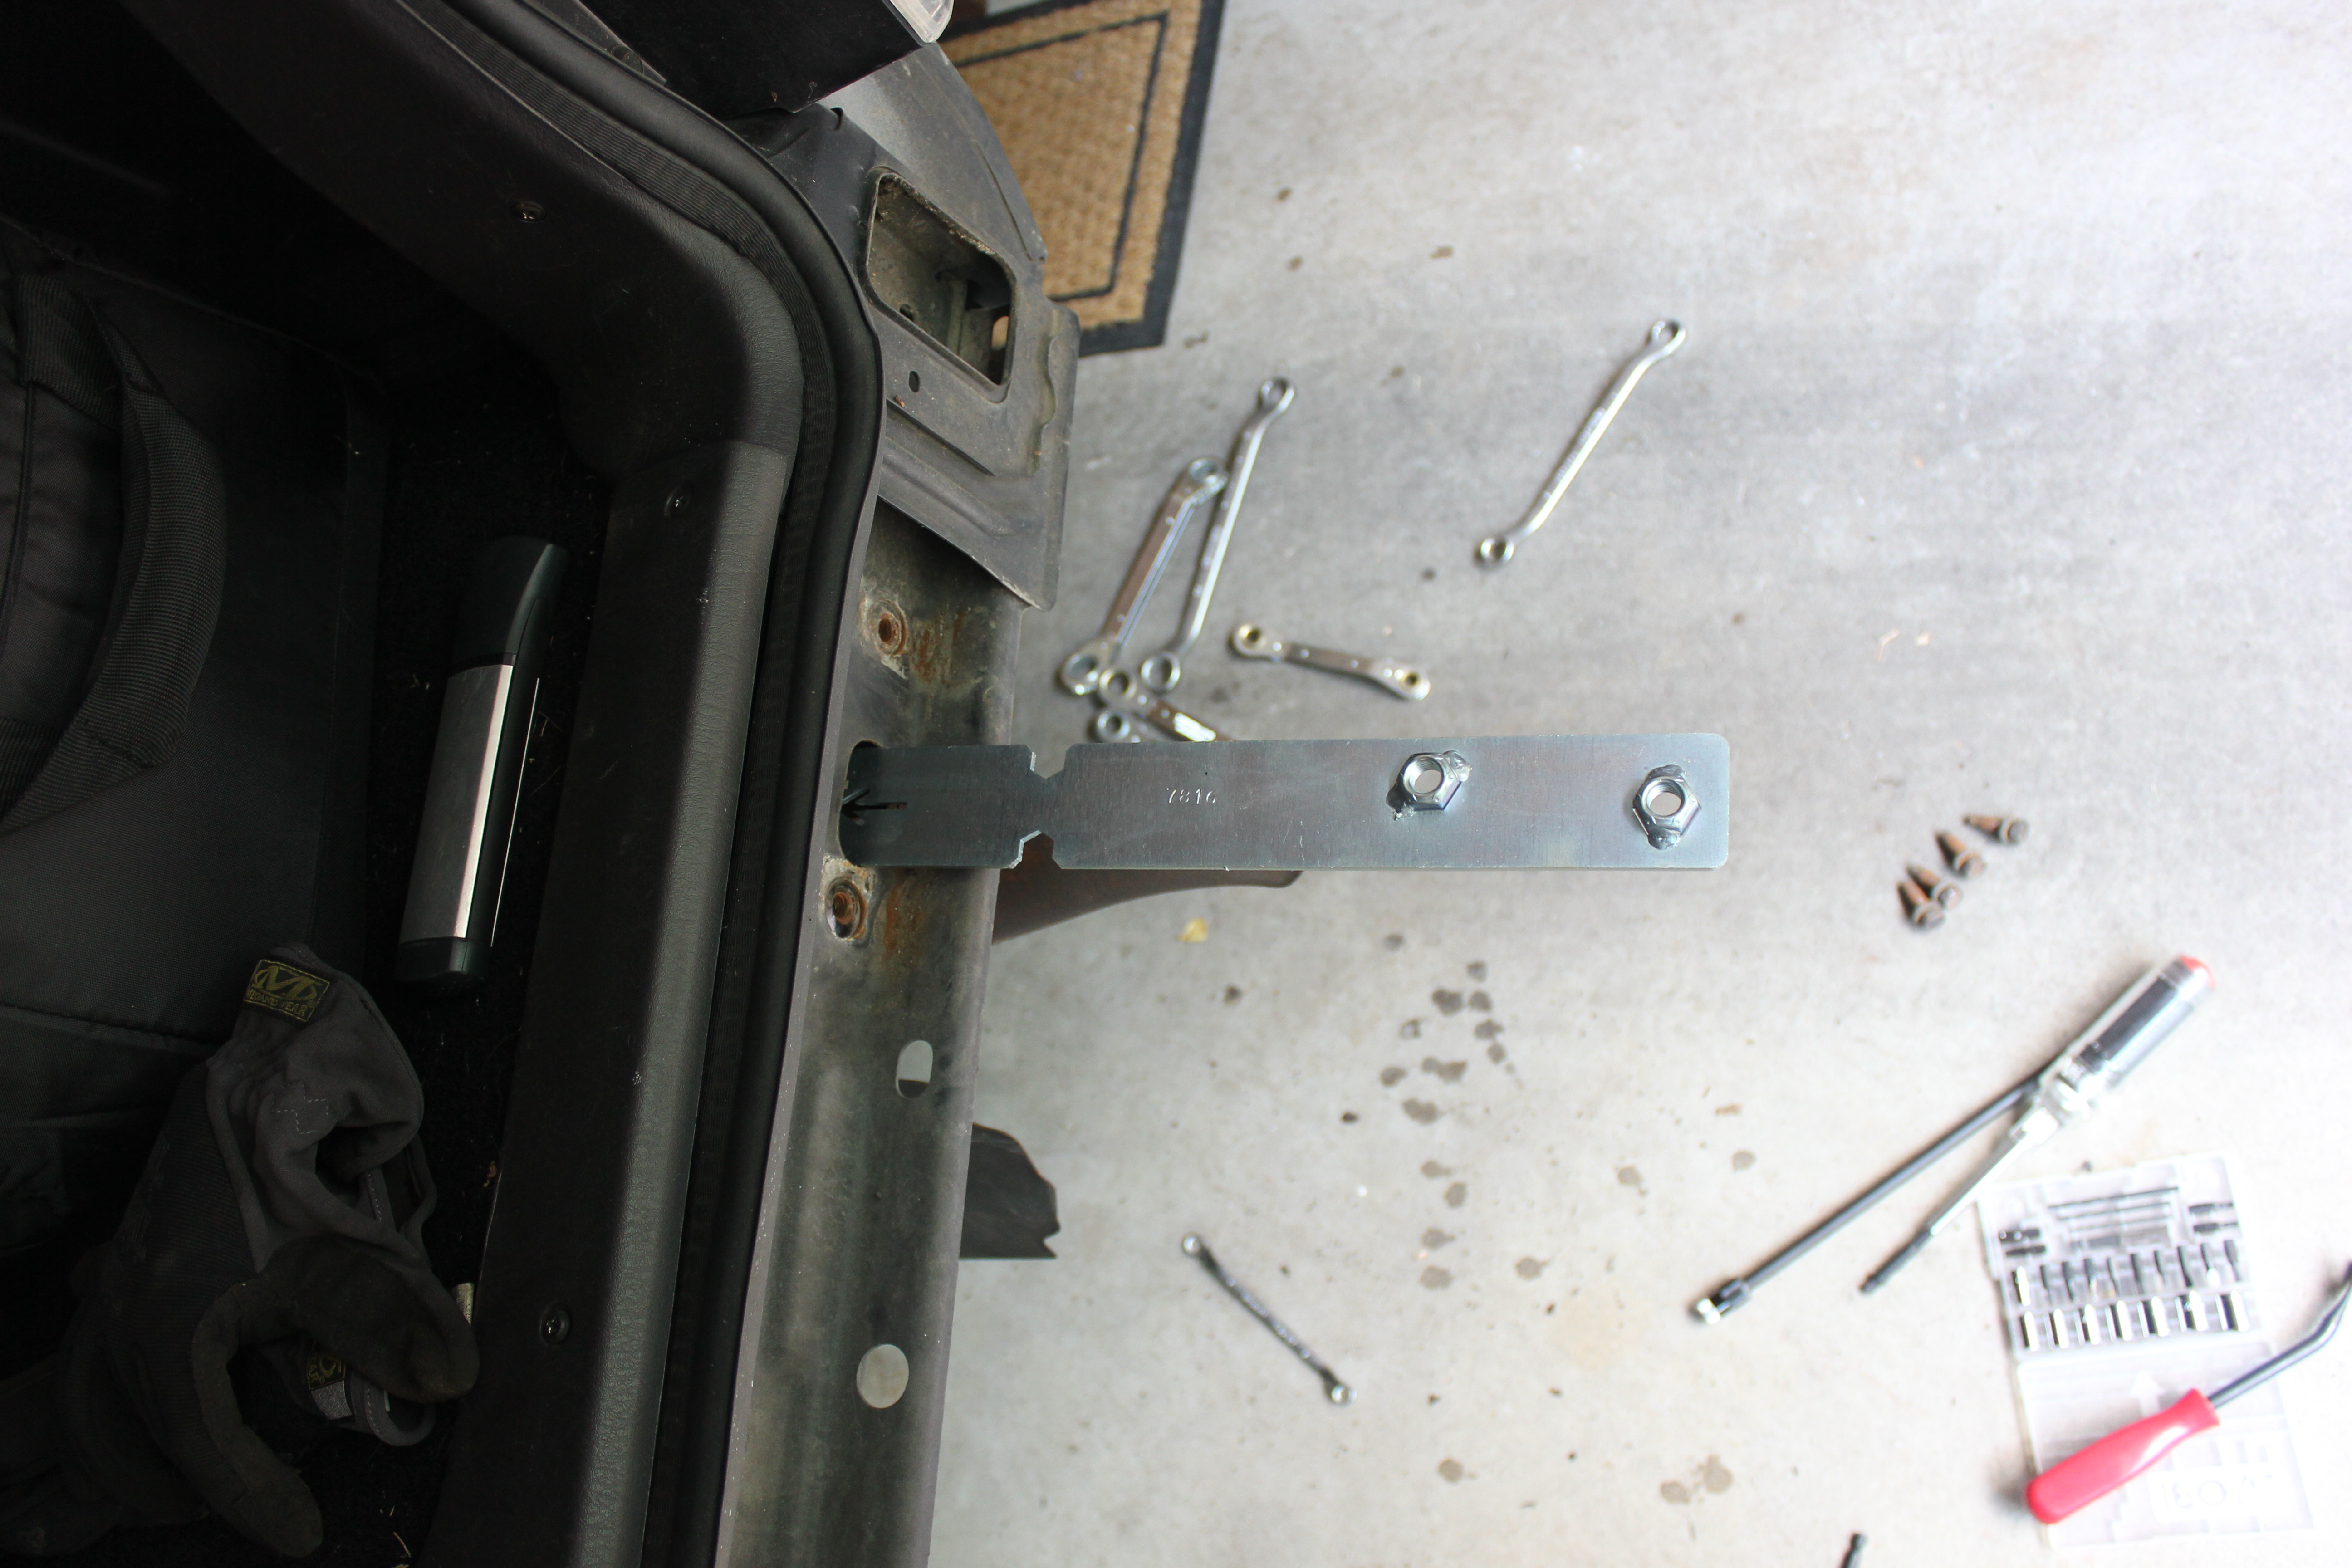
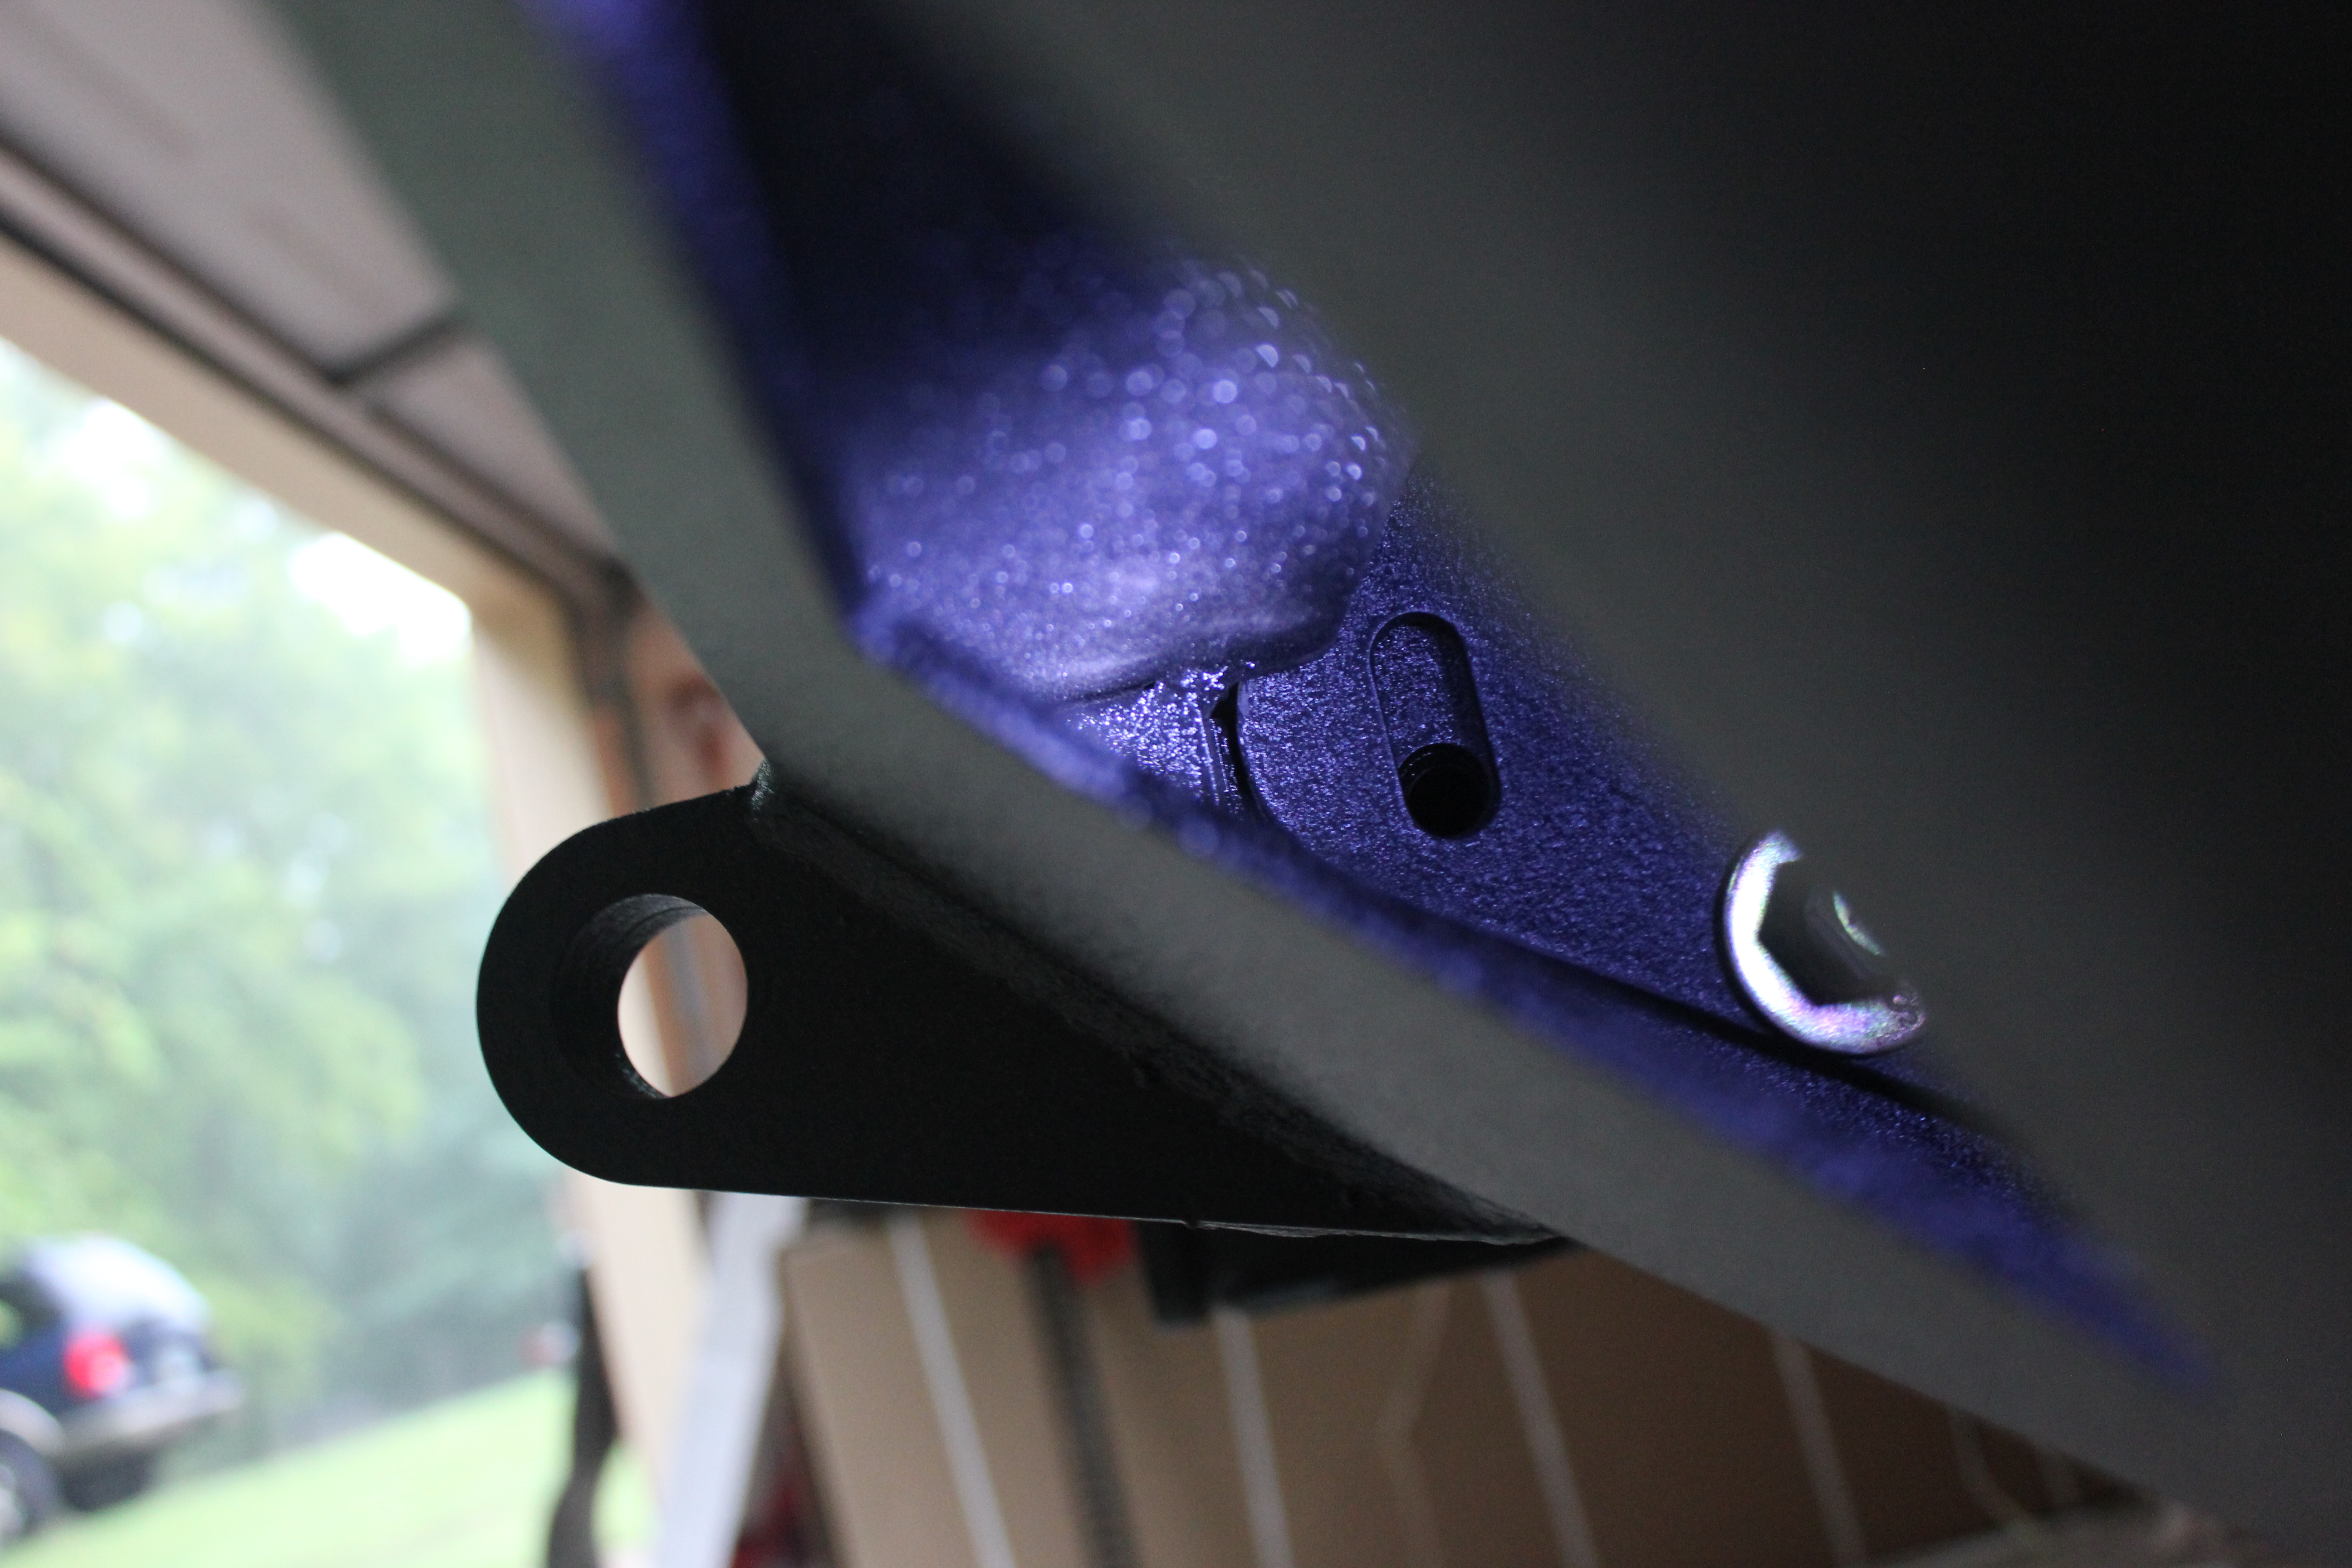
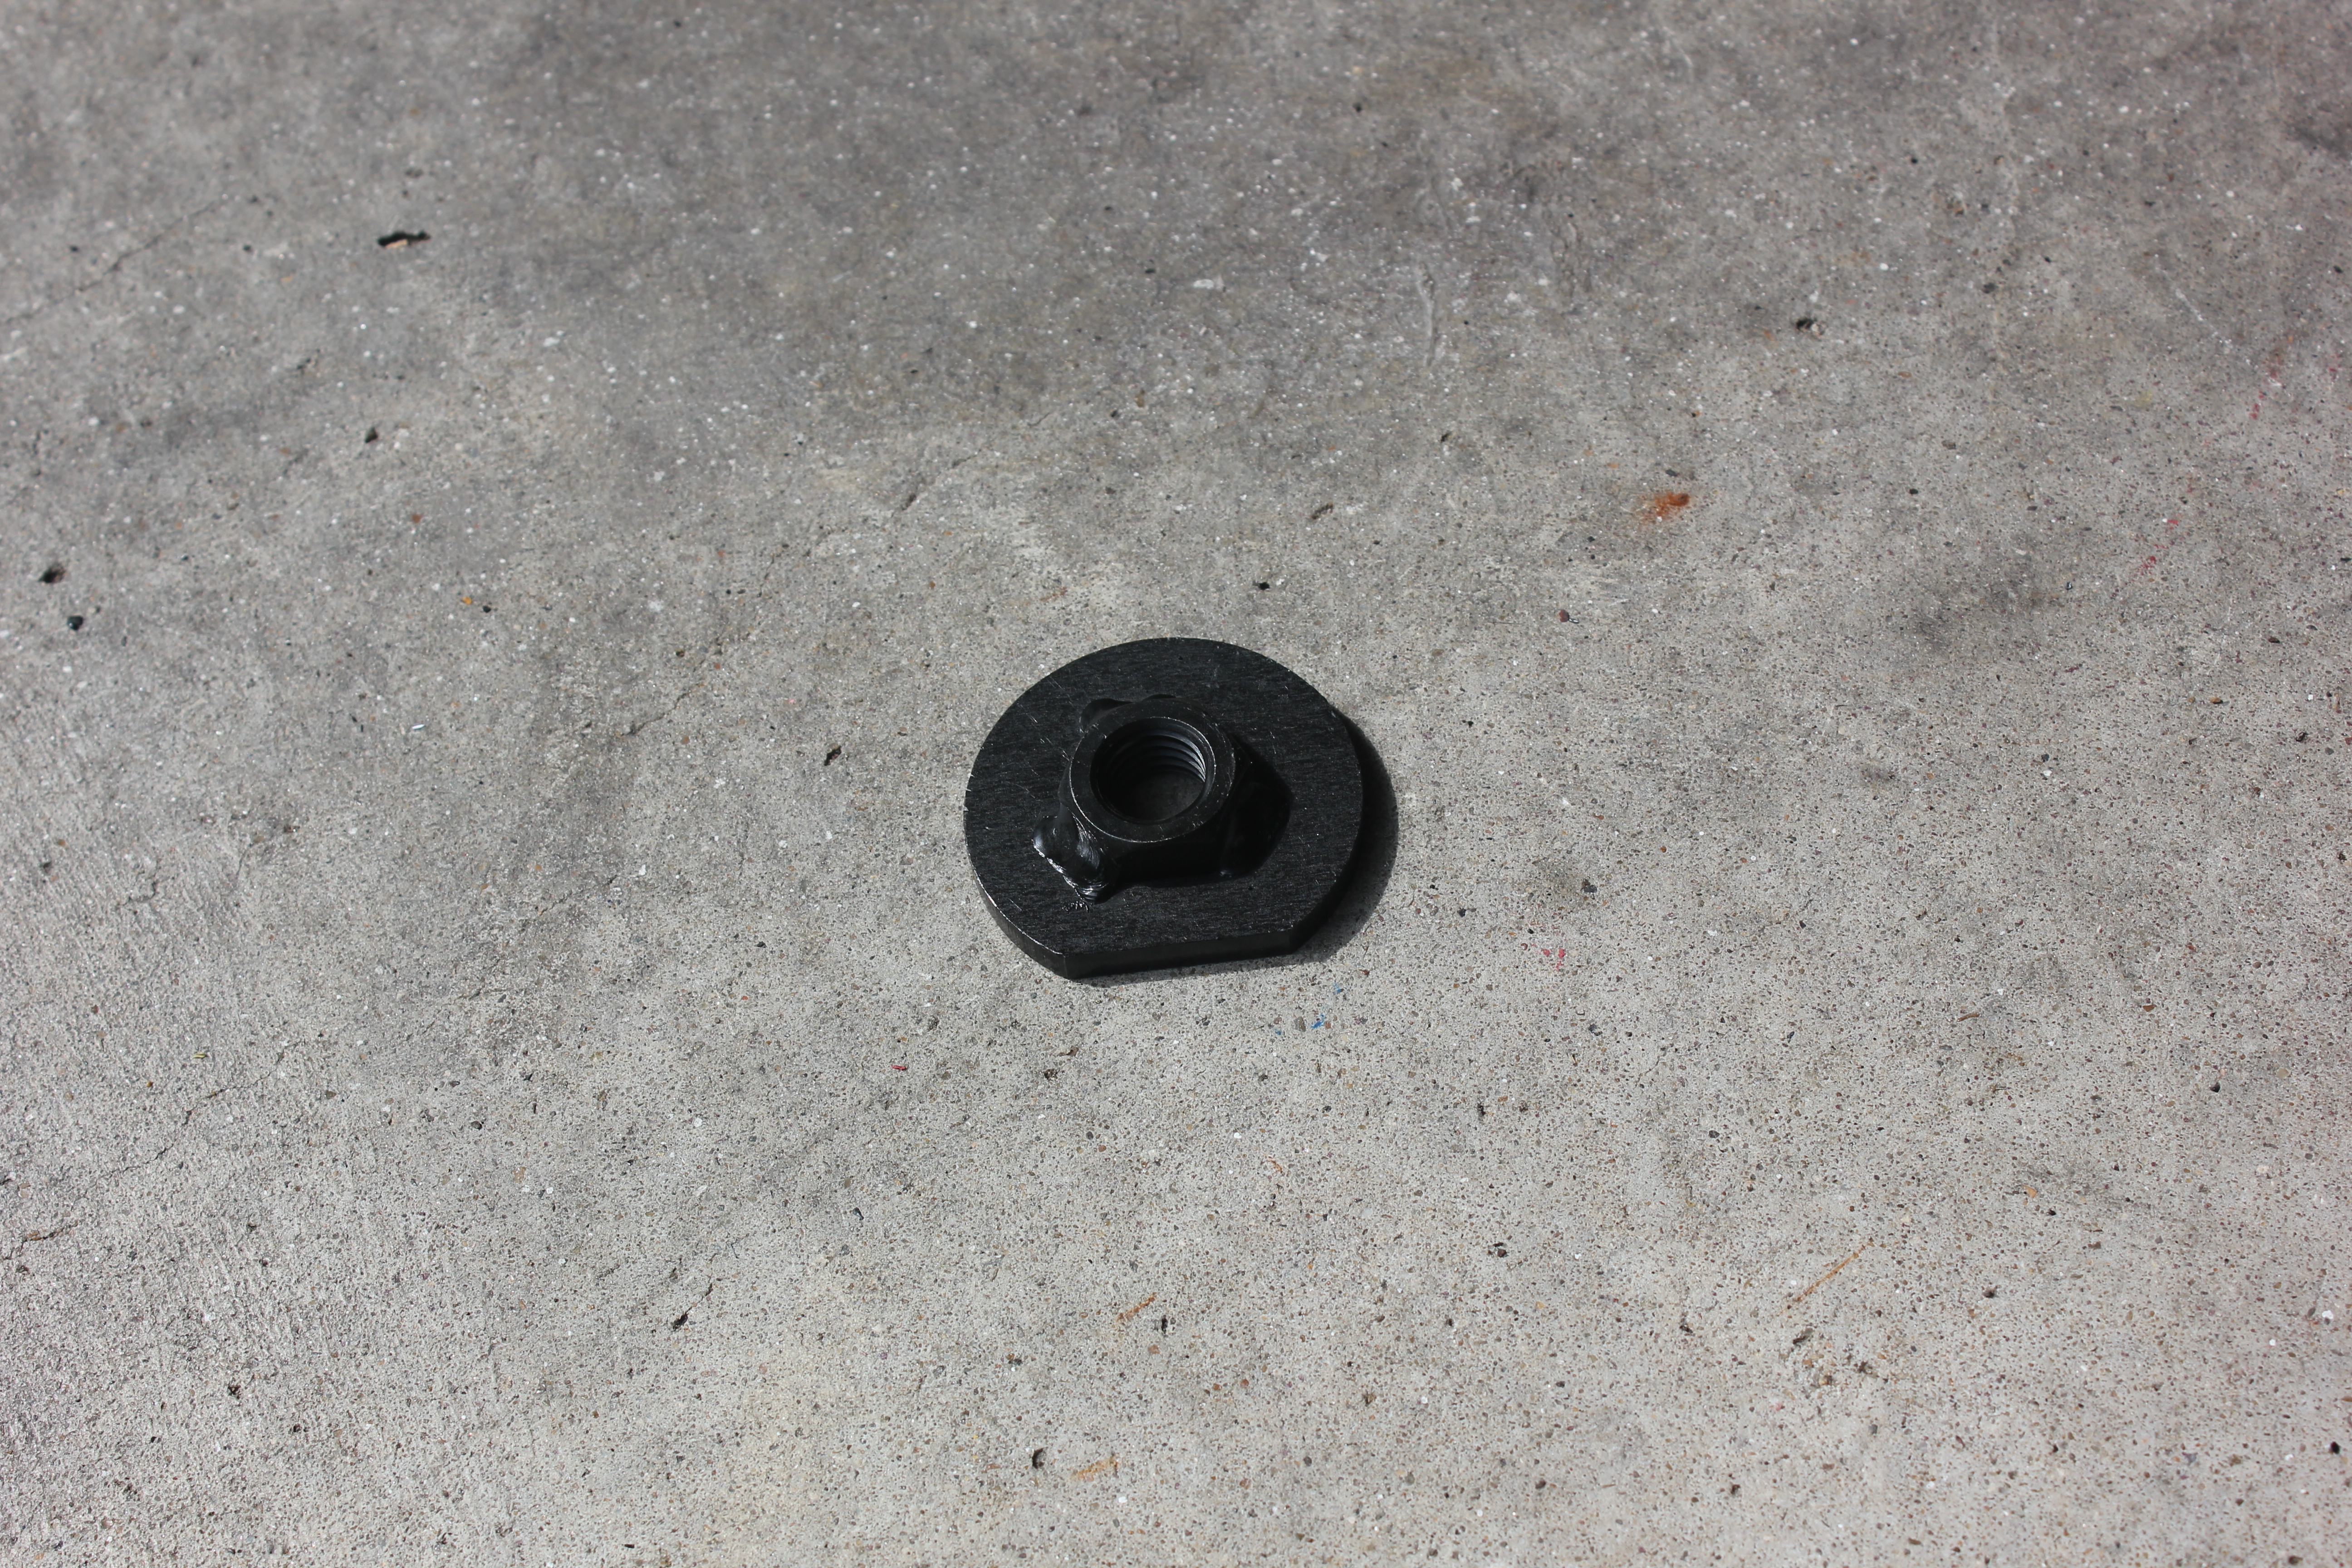
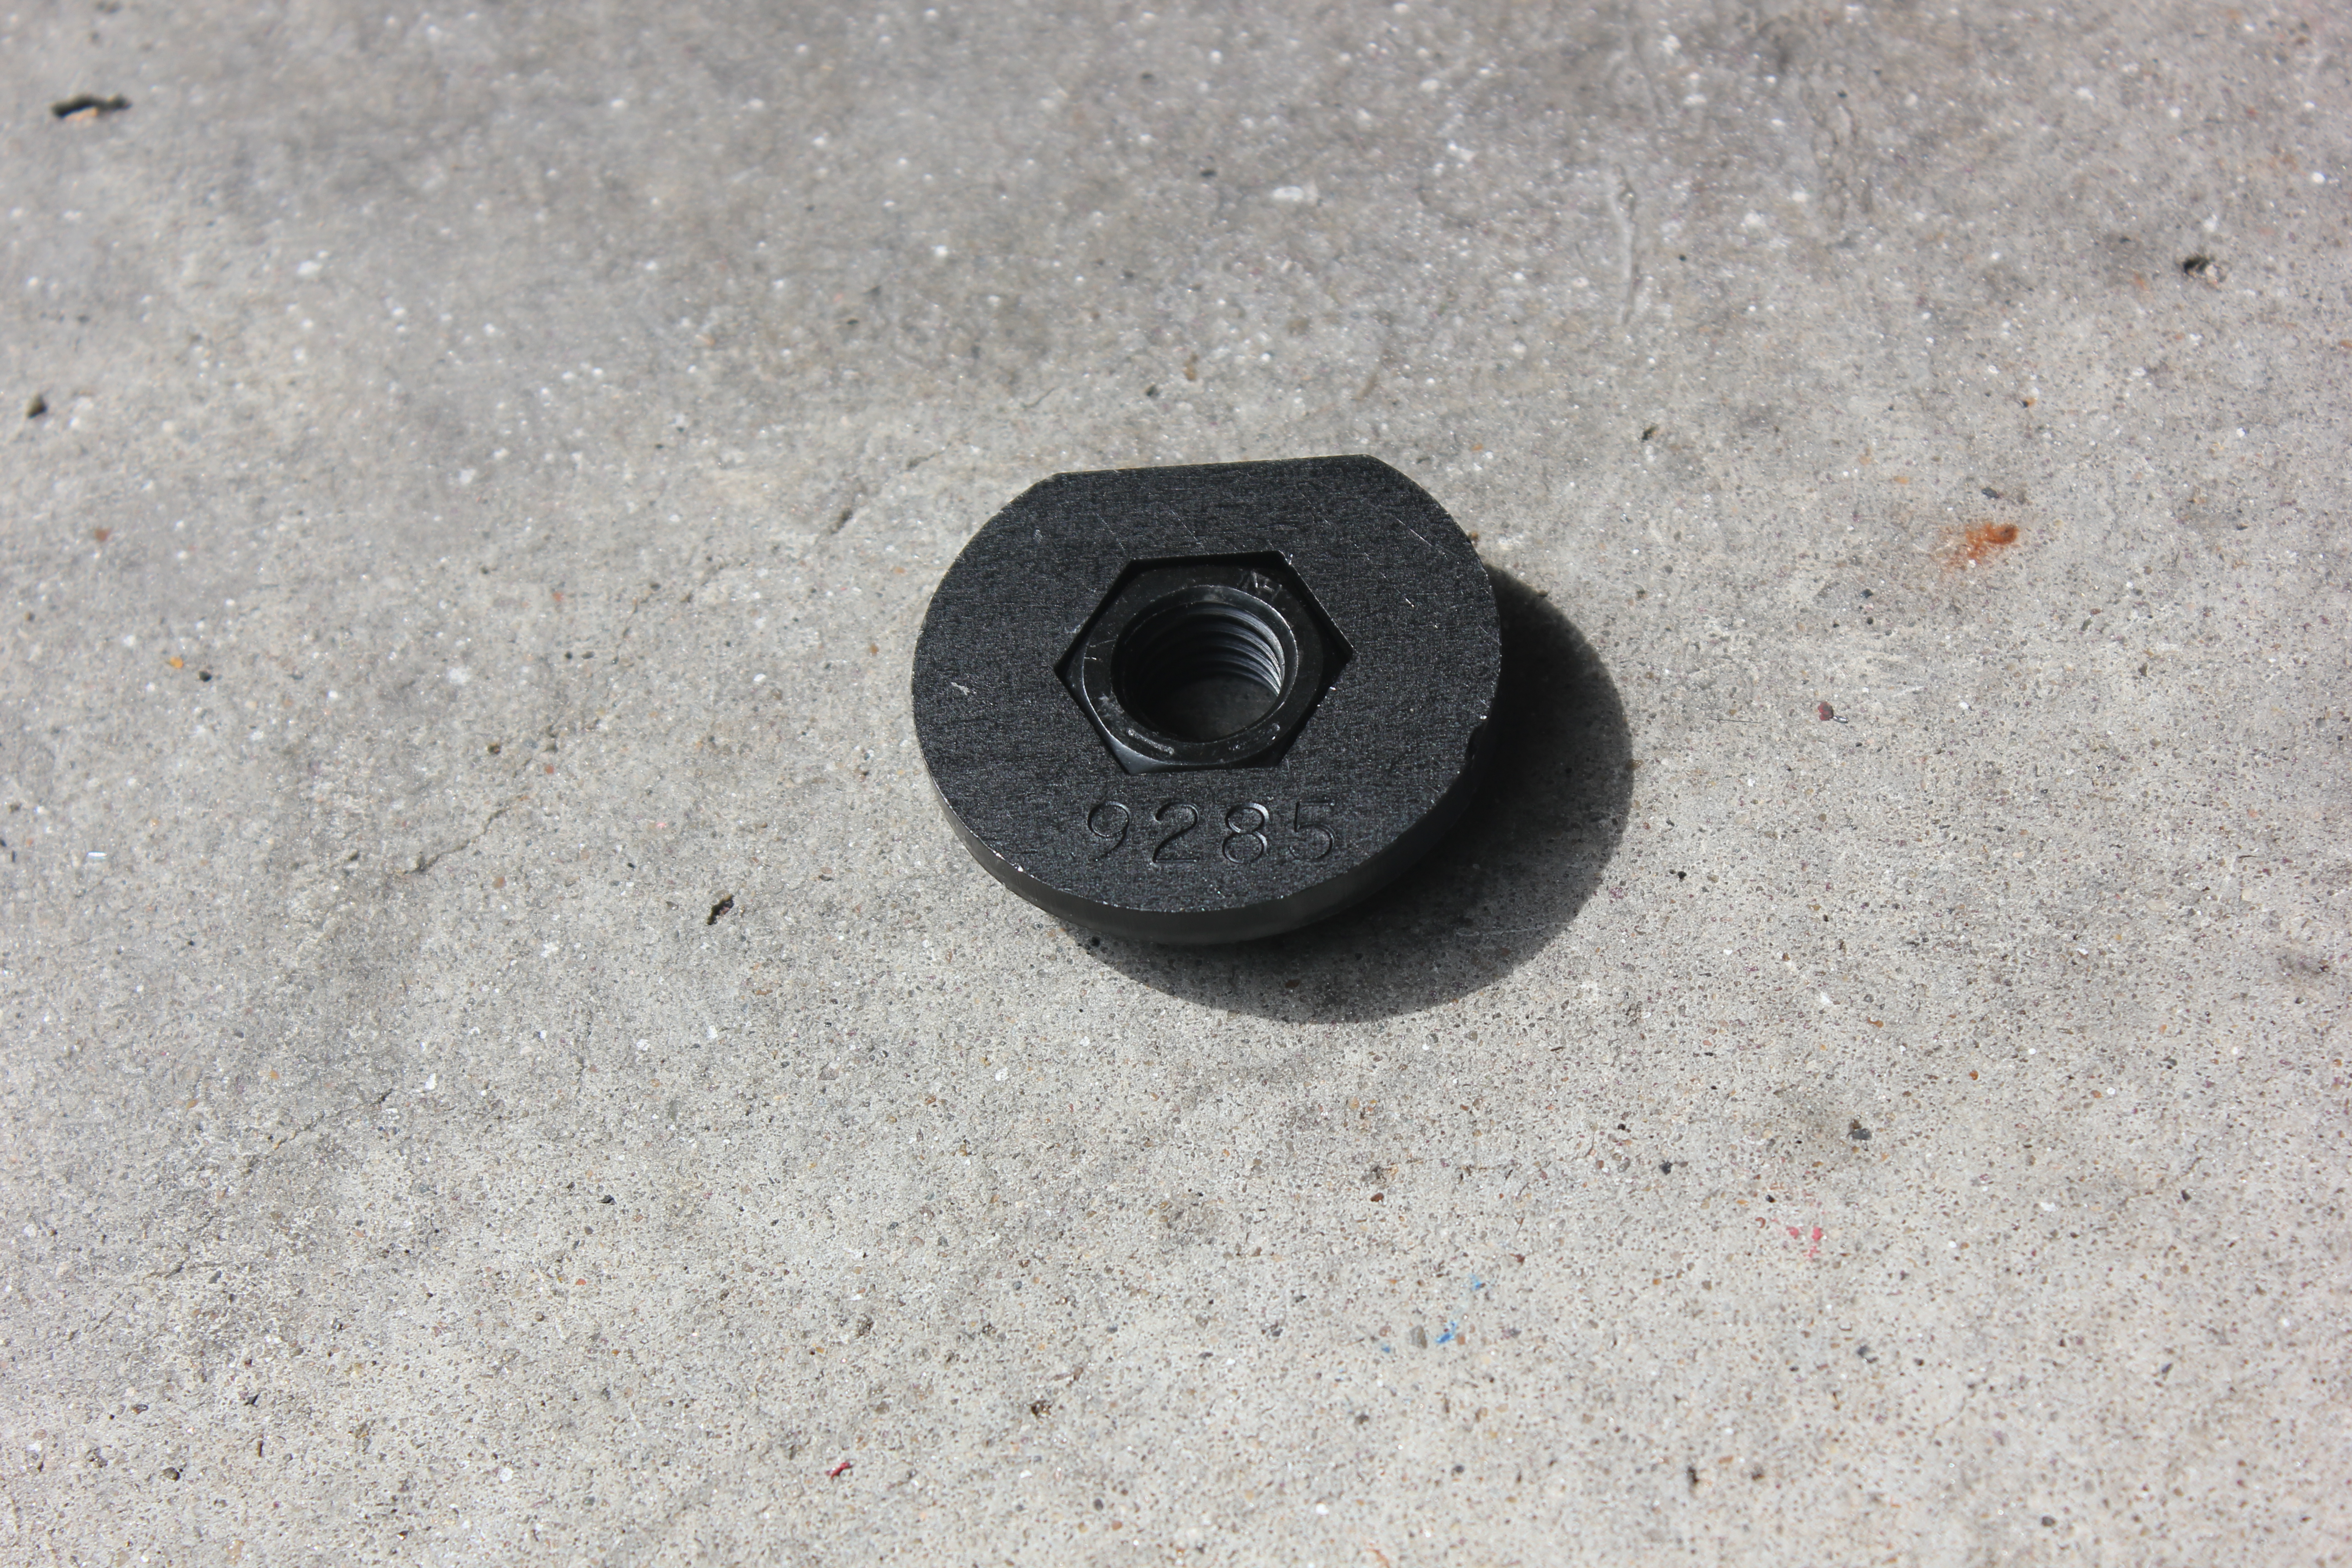
The way you tell the difference between the driver and passenger nut plates is that they have the part numbers stamped on them:
Remember, in my case my driver nut plate was all bent up so I had to take a dead blow hammer and straighten it out first. But then there was another problem, this time with the passenger side nut plate.
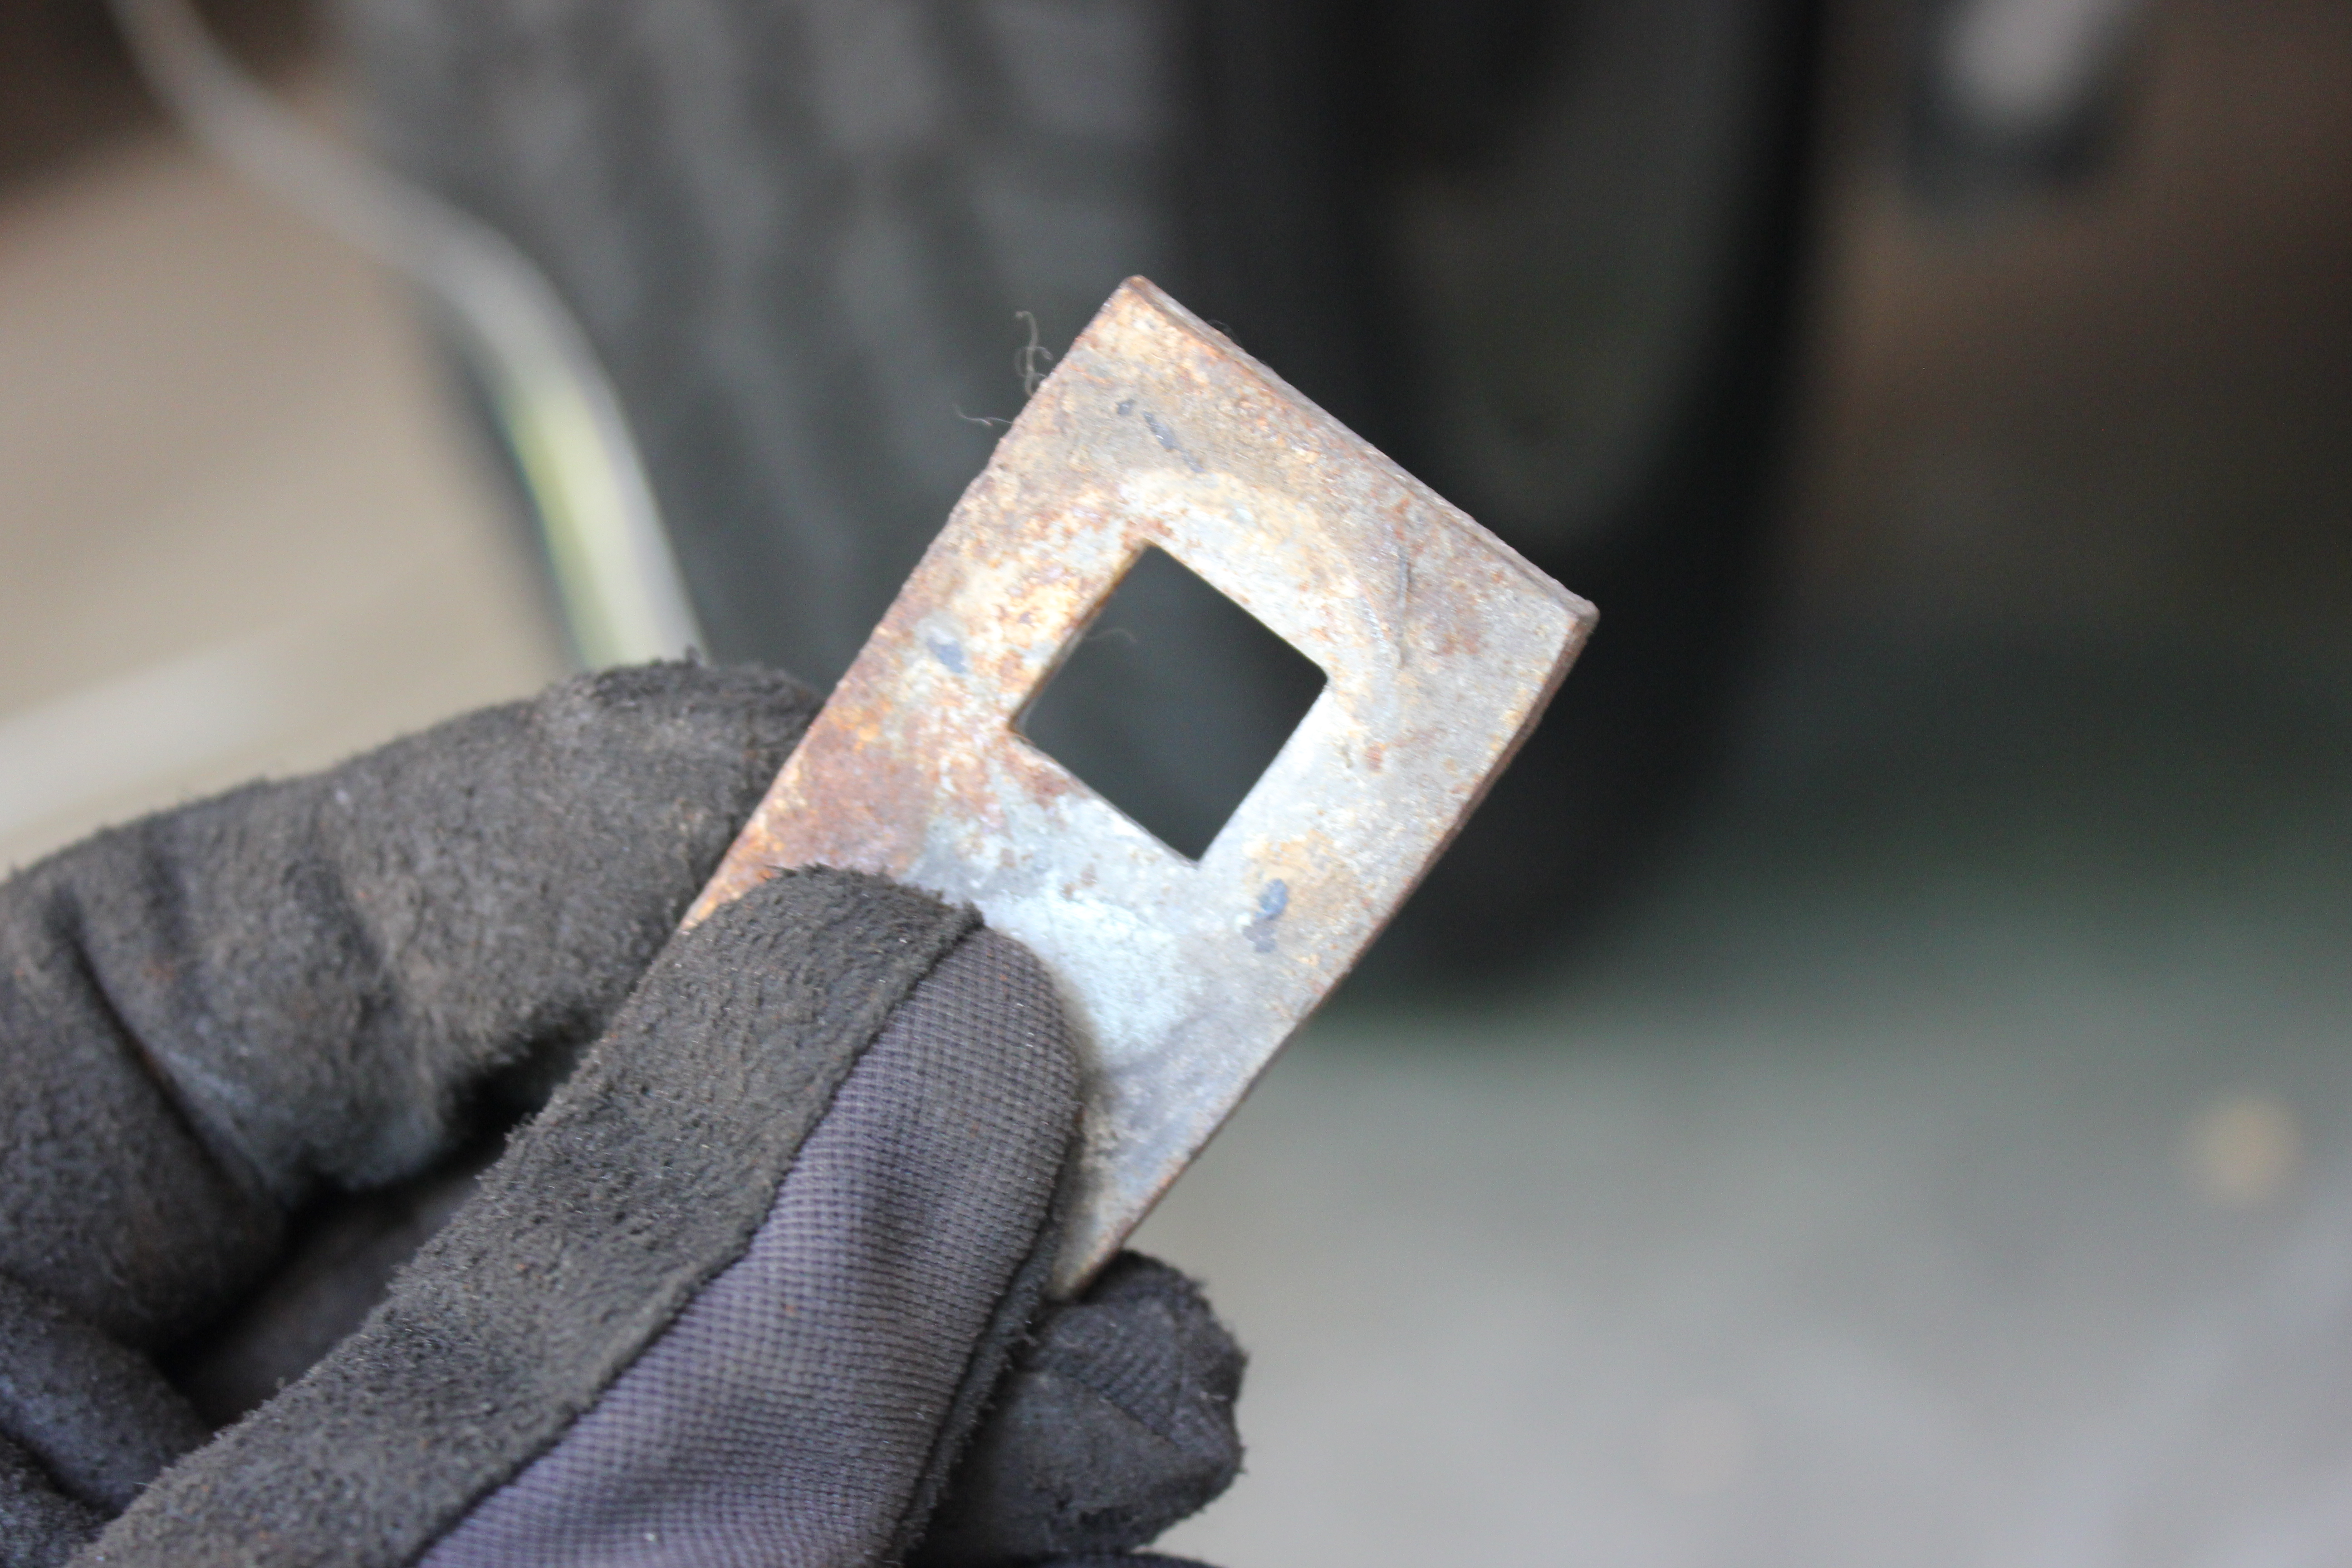
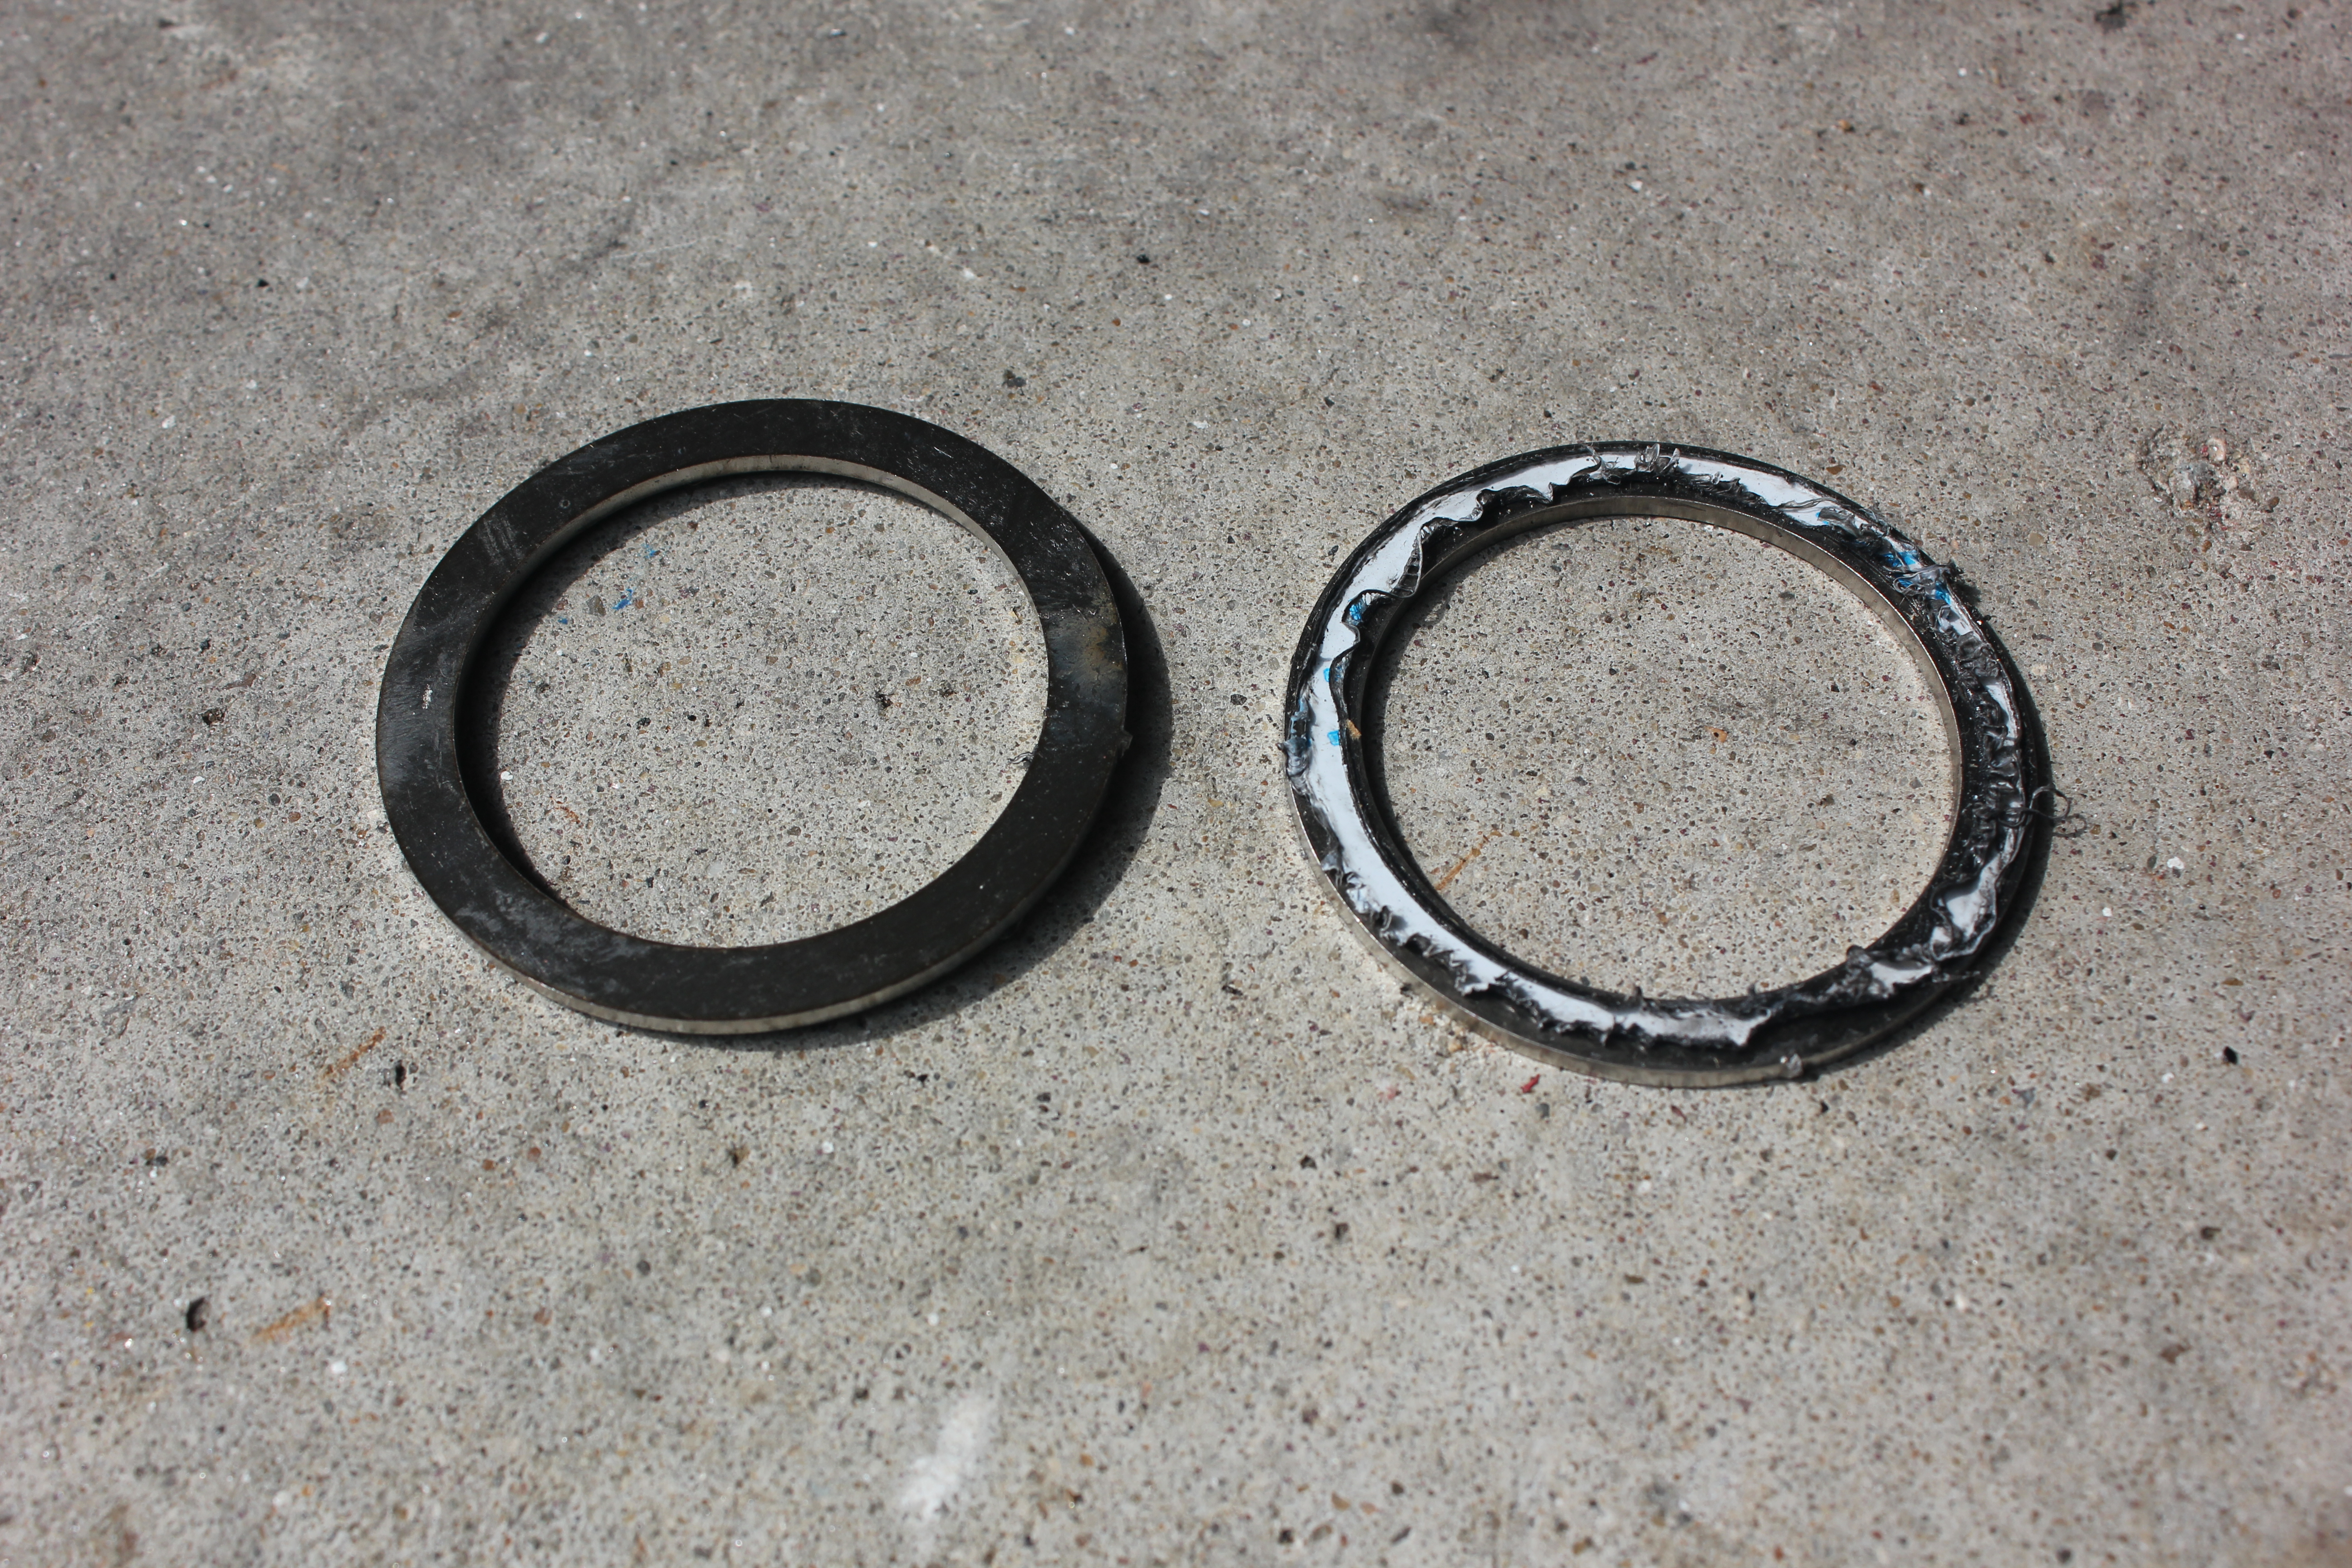
So here is the nut plate I pulled out of the frame rail:
And here is the nut plate that comes with the bumper:
If you can’t see the problem, let me splain it. There’s a hump in the original, and notches in the replacement. Remember back in step 2 where the instructions talked about taking off the exhaust hangar, and mine was not the same? Those notches appear to coincide with where some nuts should be welded inside the frame rail. If you look closely you can see that the notches are a hex pattern that would easily slide onto a couple of nuts.
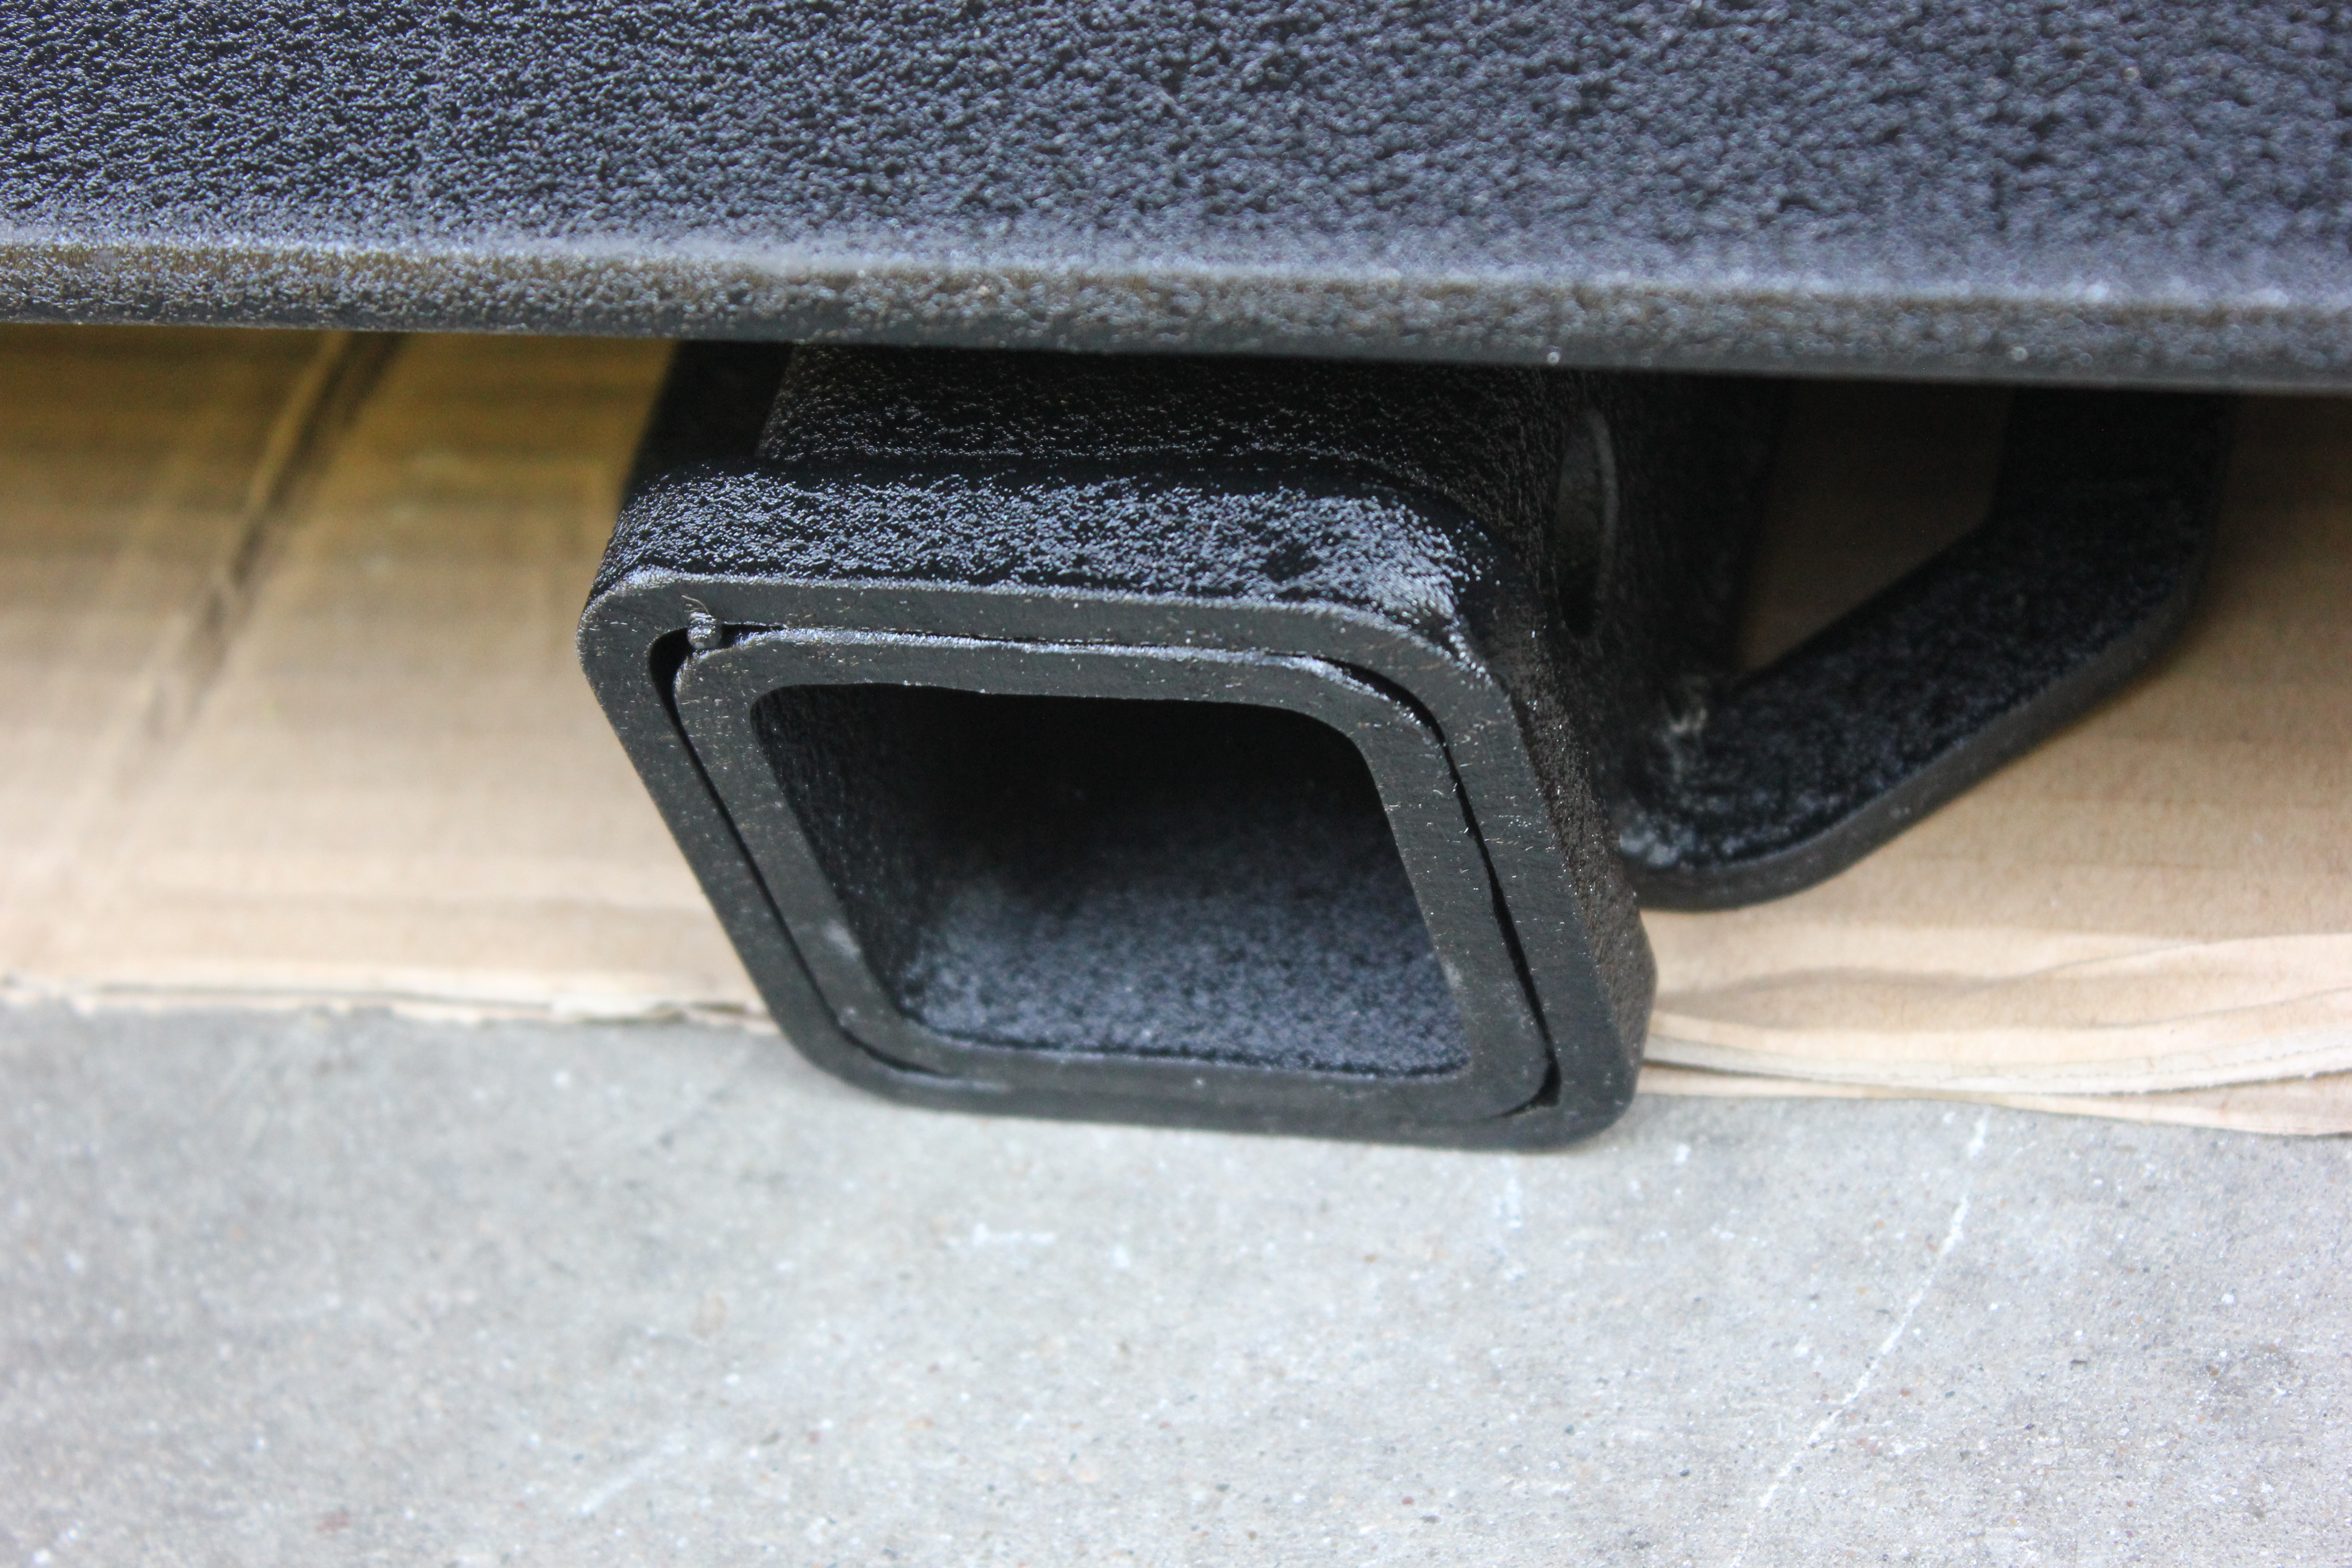
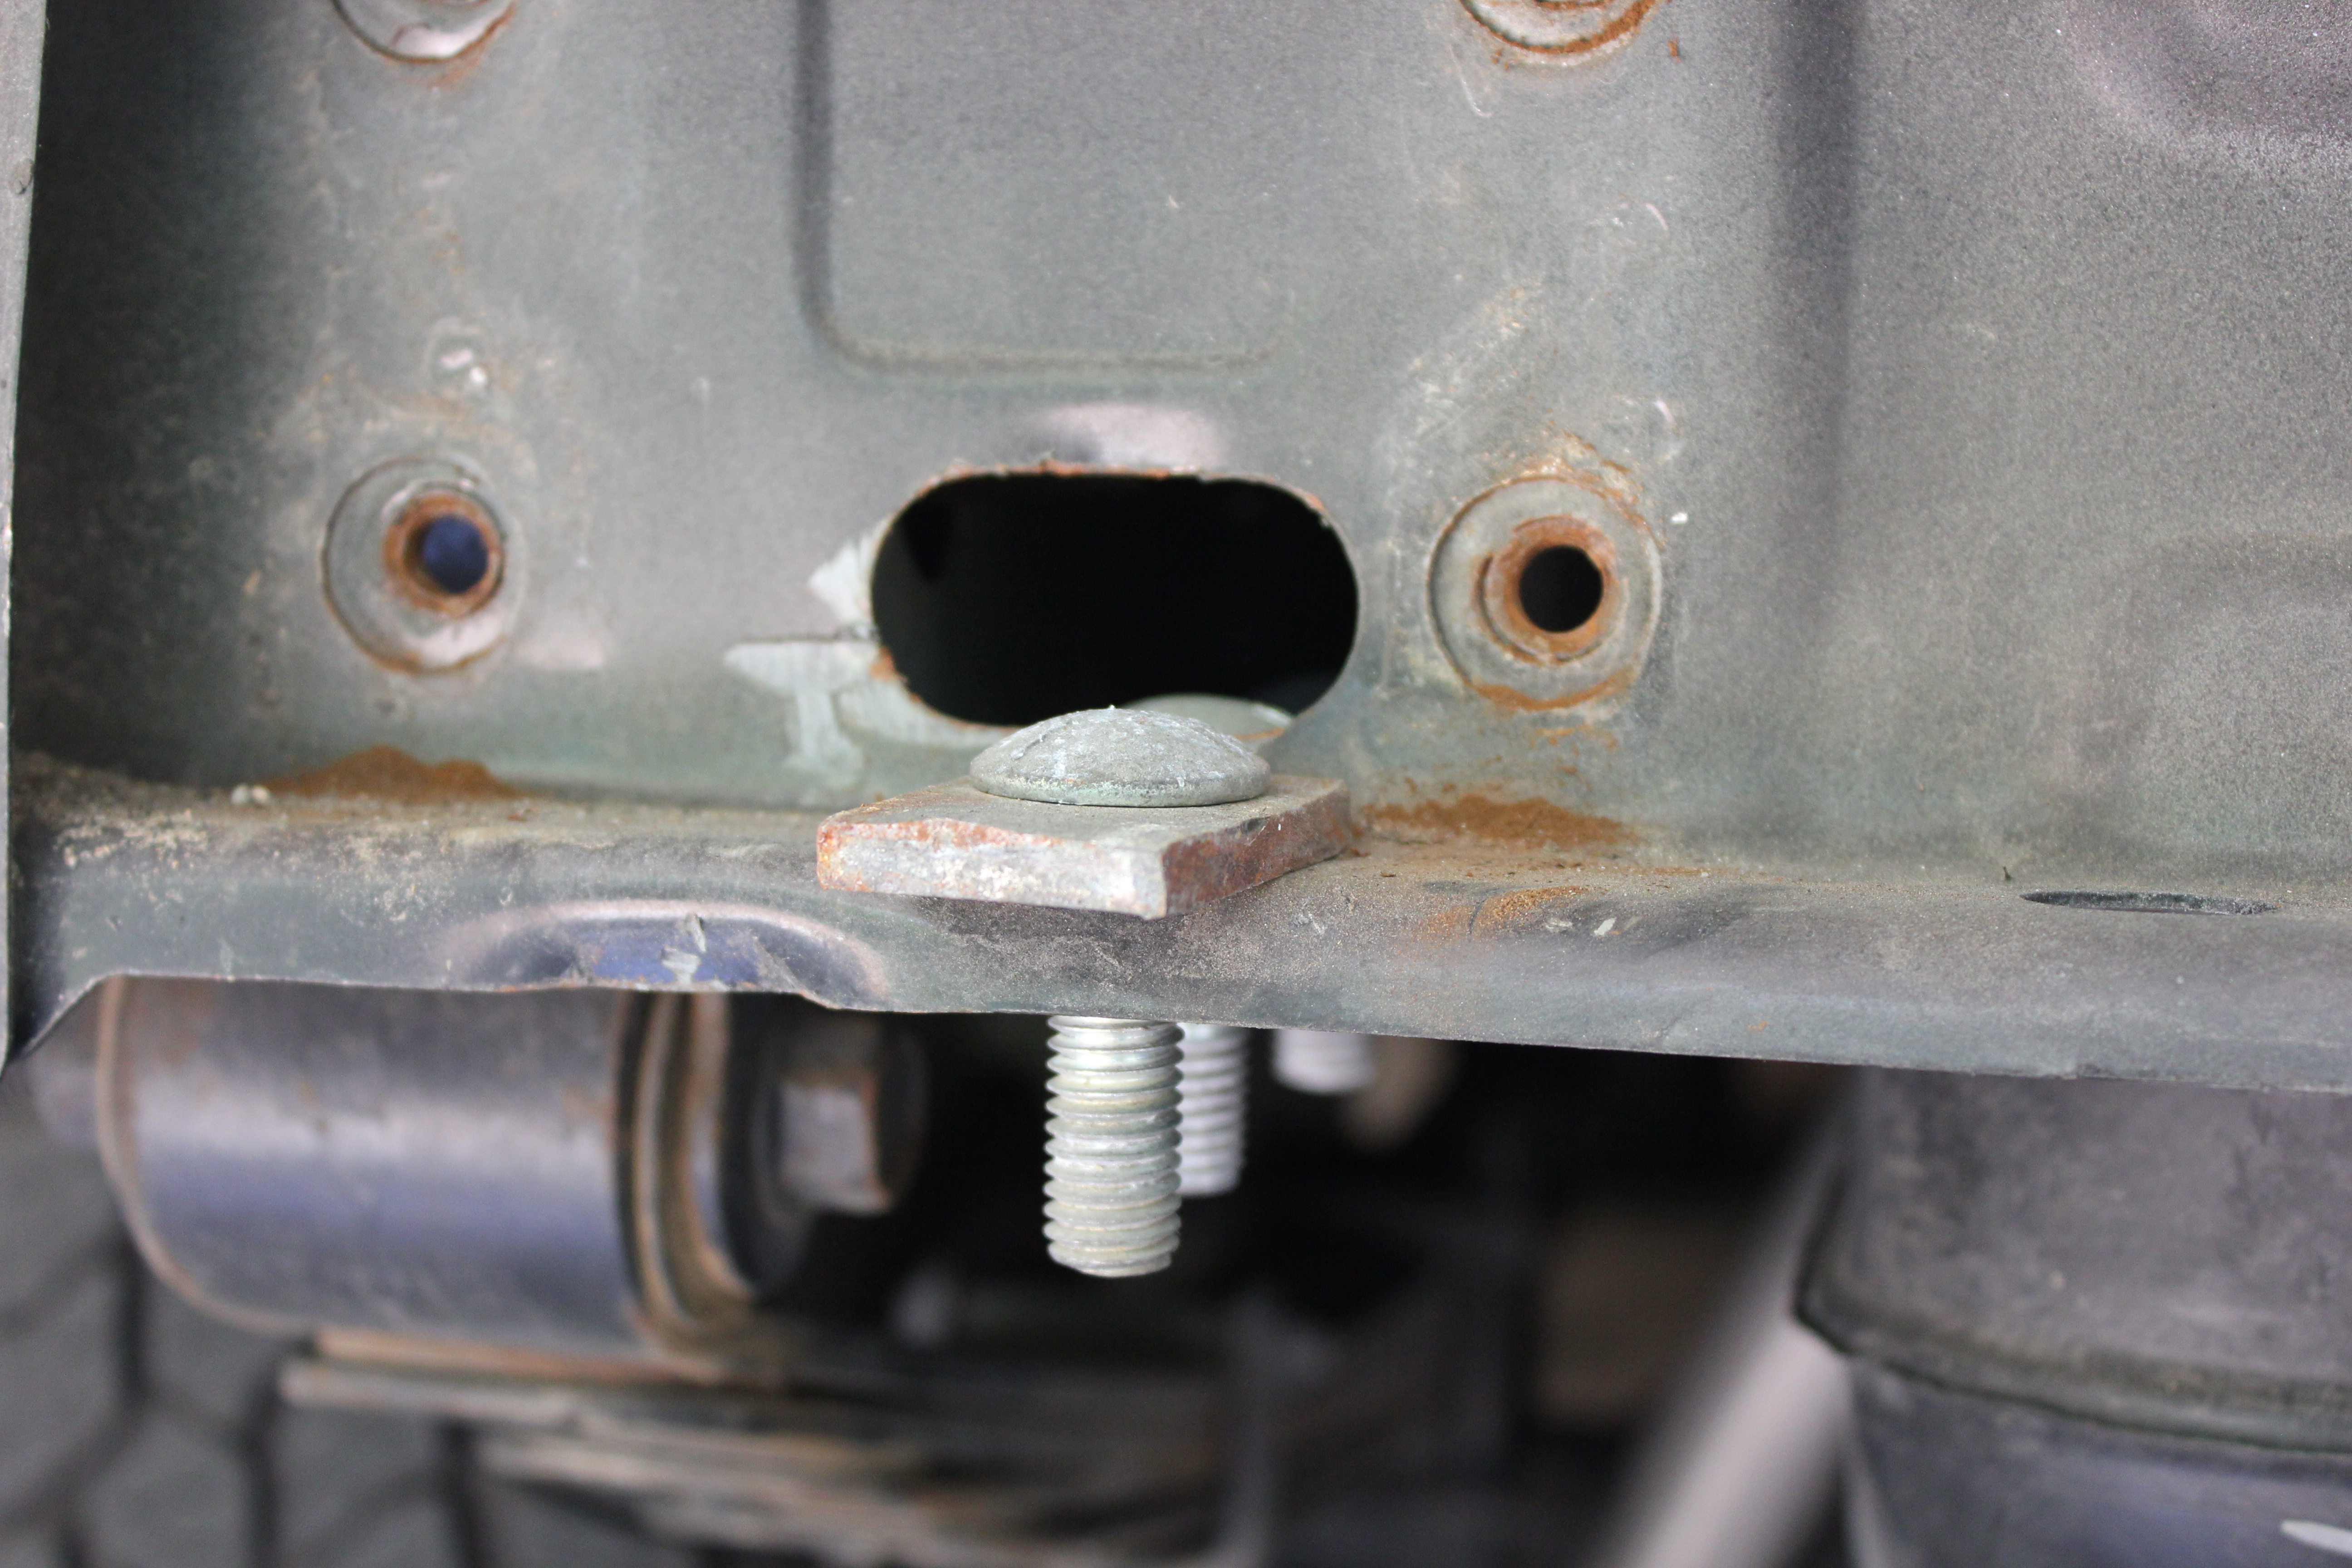
But on a 97+, this is what’s inside the frame rail:
And here is a close-up:
Hence the reason for the hump in the nut strip I pulled out of the frame rail. Here’s the kicker: There doesn’t appear to be any purpose for that bar. Ostensibly it’s for the exhaust hangar, but earlier I showed how they went to a new design for that so this is pretty useless.
The effect is a pretty frustrating time getting the bolts to go into the nut strip on the passenger side, because it see-saws over that bar.
Speaking of….
Did I mention how incredibly tight the bolts are in the nut strips? Before you put them in the frame rails, test fit the bolts. Mine took between 30 and 40 ft-lbs to turn once the bolt got through the nut. So at full engagement it was really, really hard to tighten them with anything other than a breaker bar or torque wrench.
After you get an idea of how difficult this next part is going to be, go ahead and put the nut strips in the frame rails:
Obviously, you’ll want to fully insert them into the frame rail before continuing on to step 5:
This one step took me about 4 hours to complete. I wish I was kidding.
Important Tip About Bracket Placement
I’m going to skip ahead a little bit in order to show you something you need to consider while installing the brackets.
I’ve already mentioned that Smittybilt’s instructions are rather imprecise about bracket placement (“Slightly less than 34 inches apart”). One other thing they don’t mention is that when centering, you need to err on the side of being slightly off-center with the bumper being a little closer to the passenger side.
Here is the entirety of their guidance on placing the brackets:
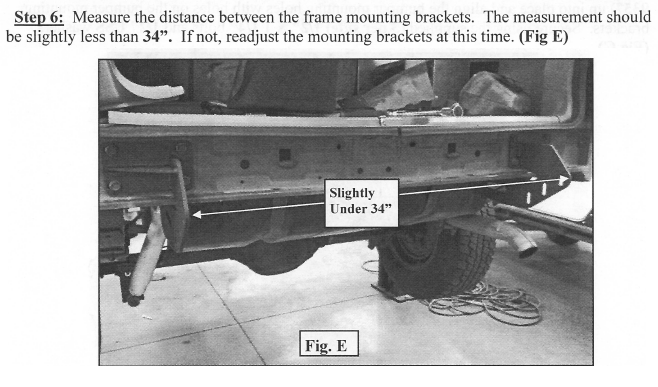
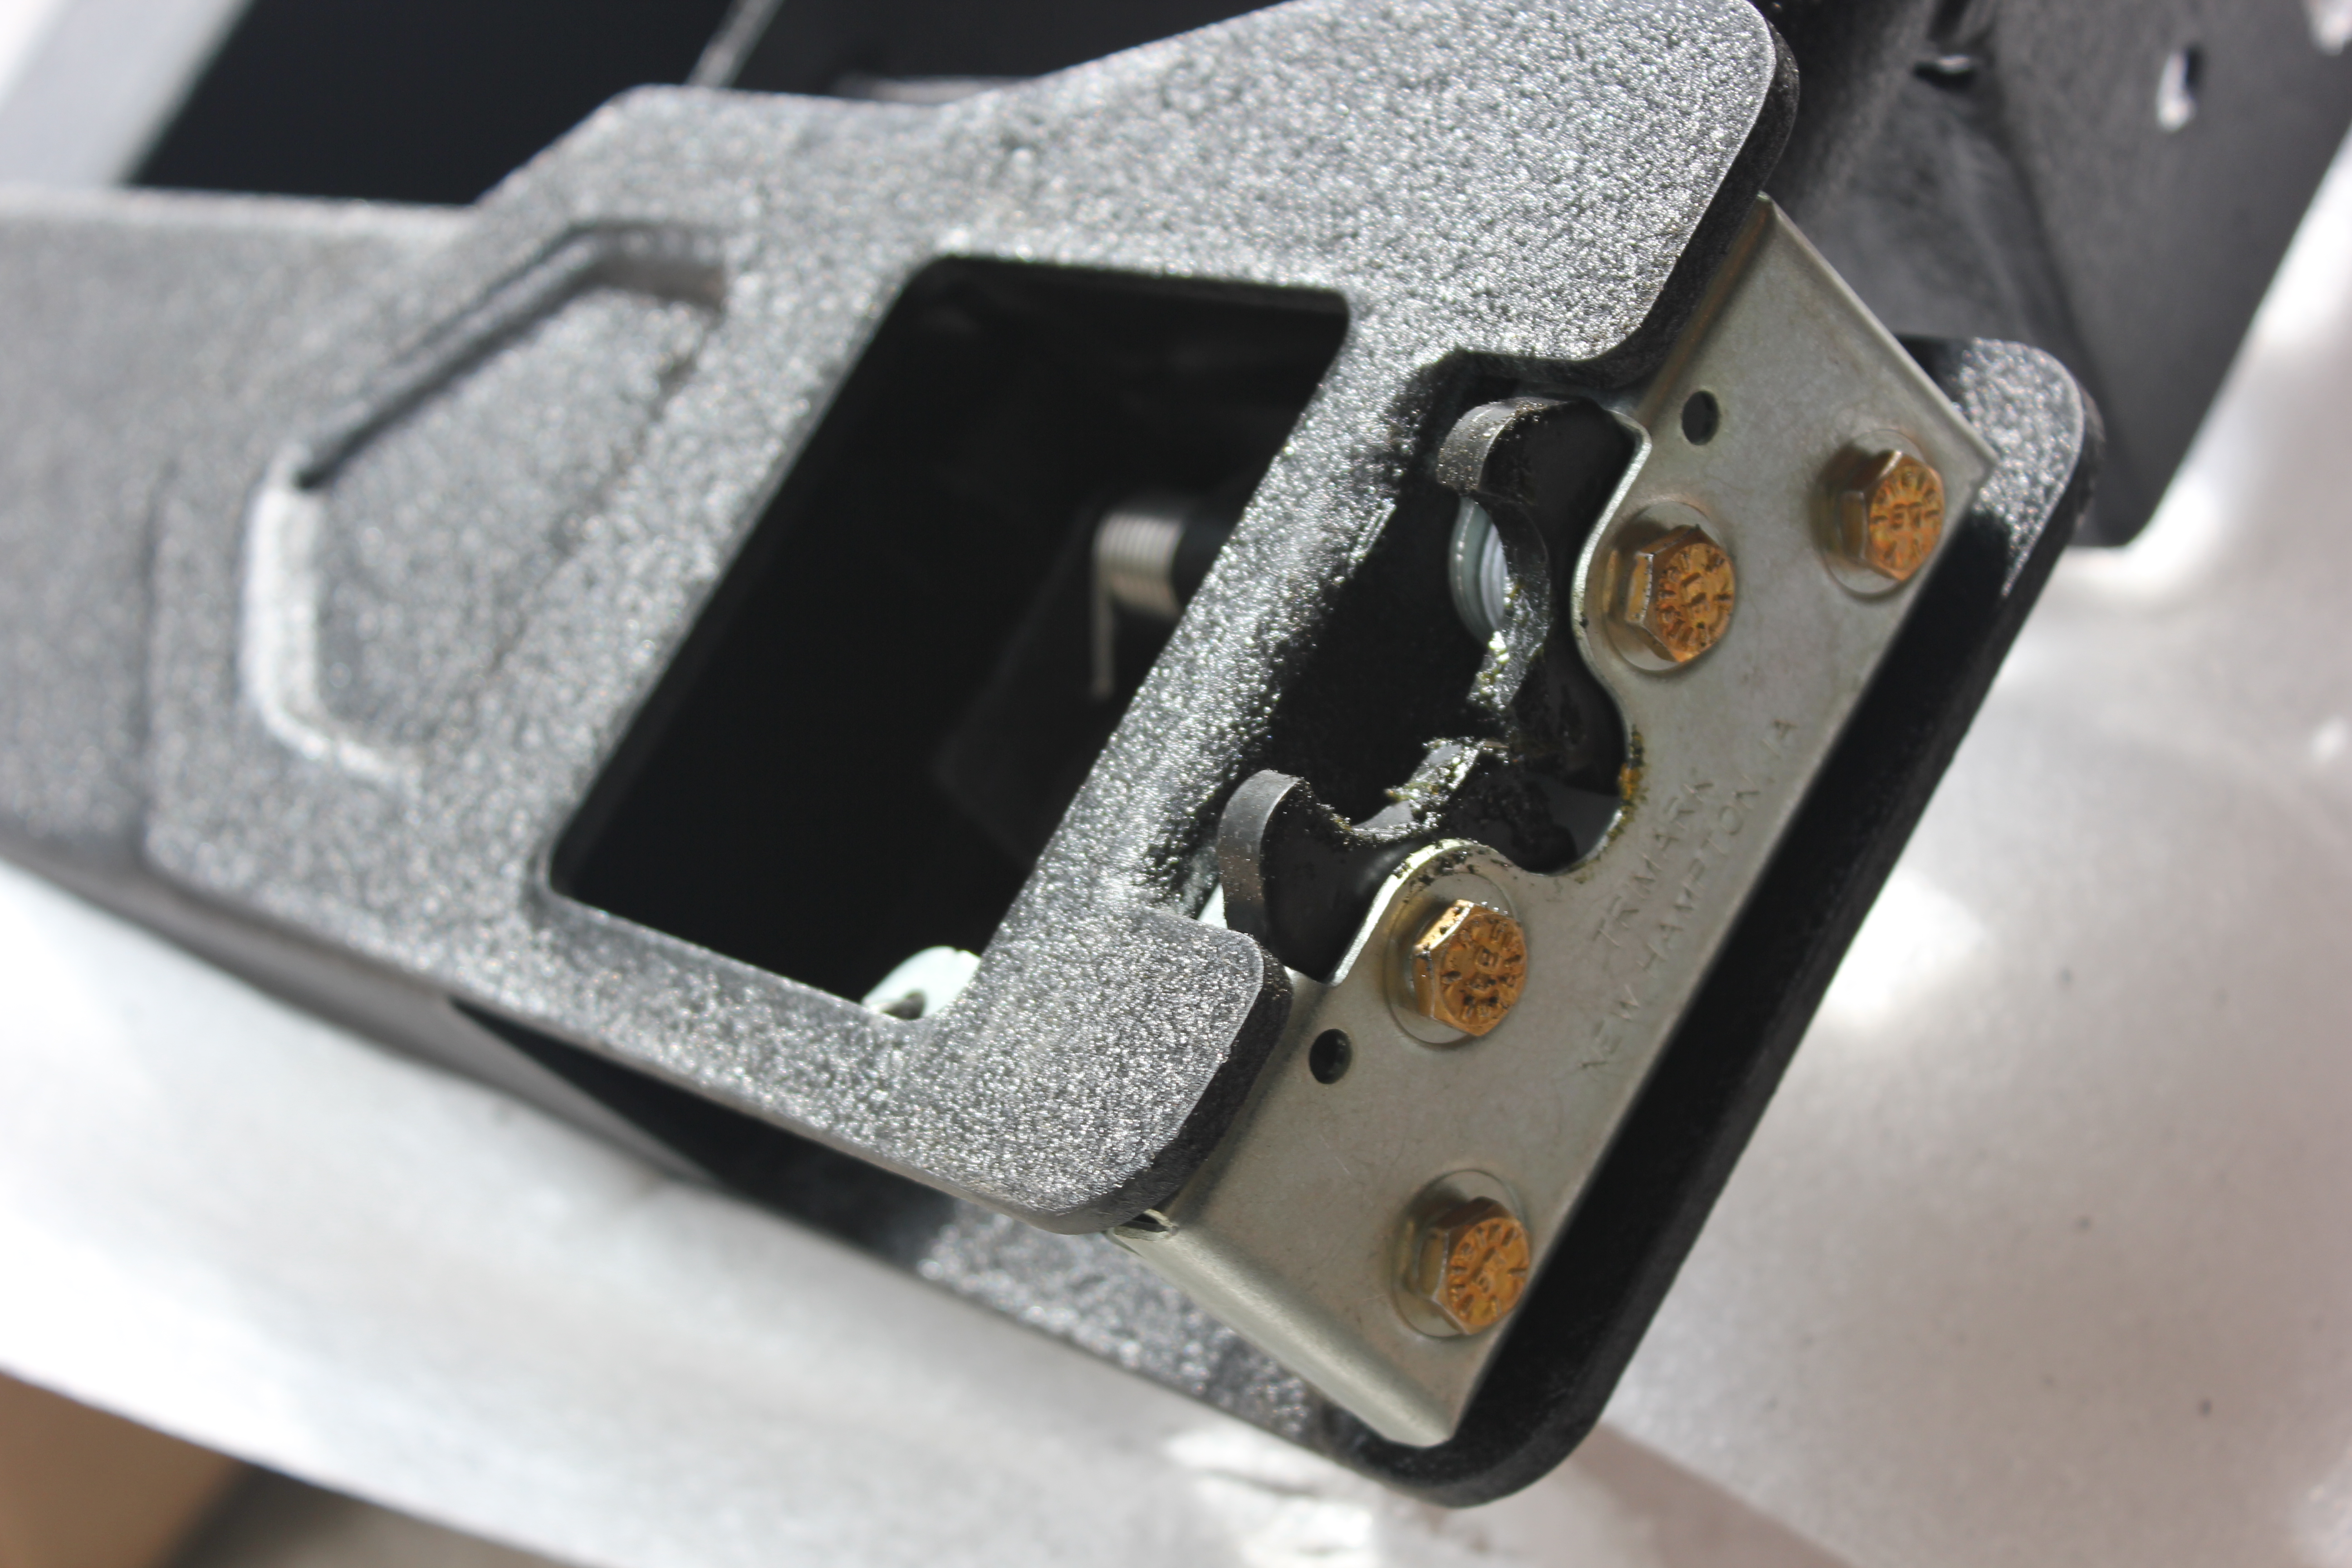
Basically, the brackets need to be a little to the right of the center of the holes. Why? Well remember this?
If you are even slightly to the left of center on the bumper brackets, it will interfere with the hatch.
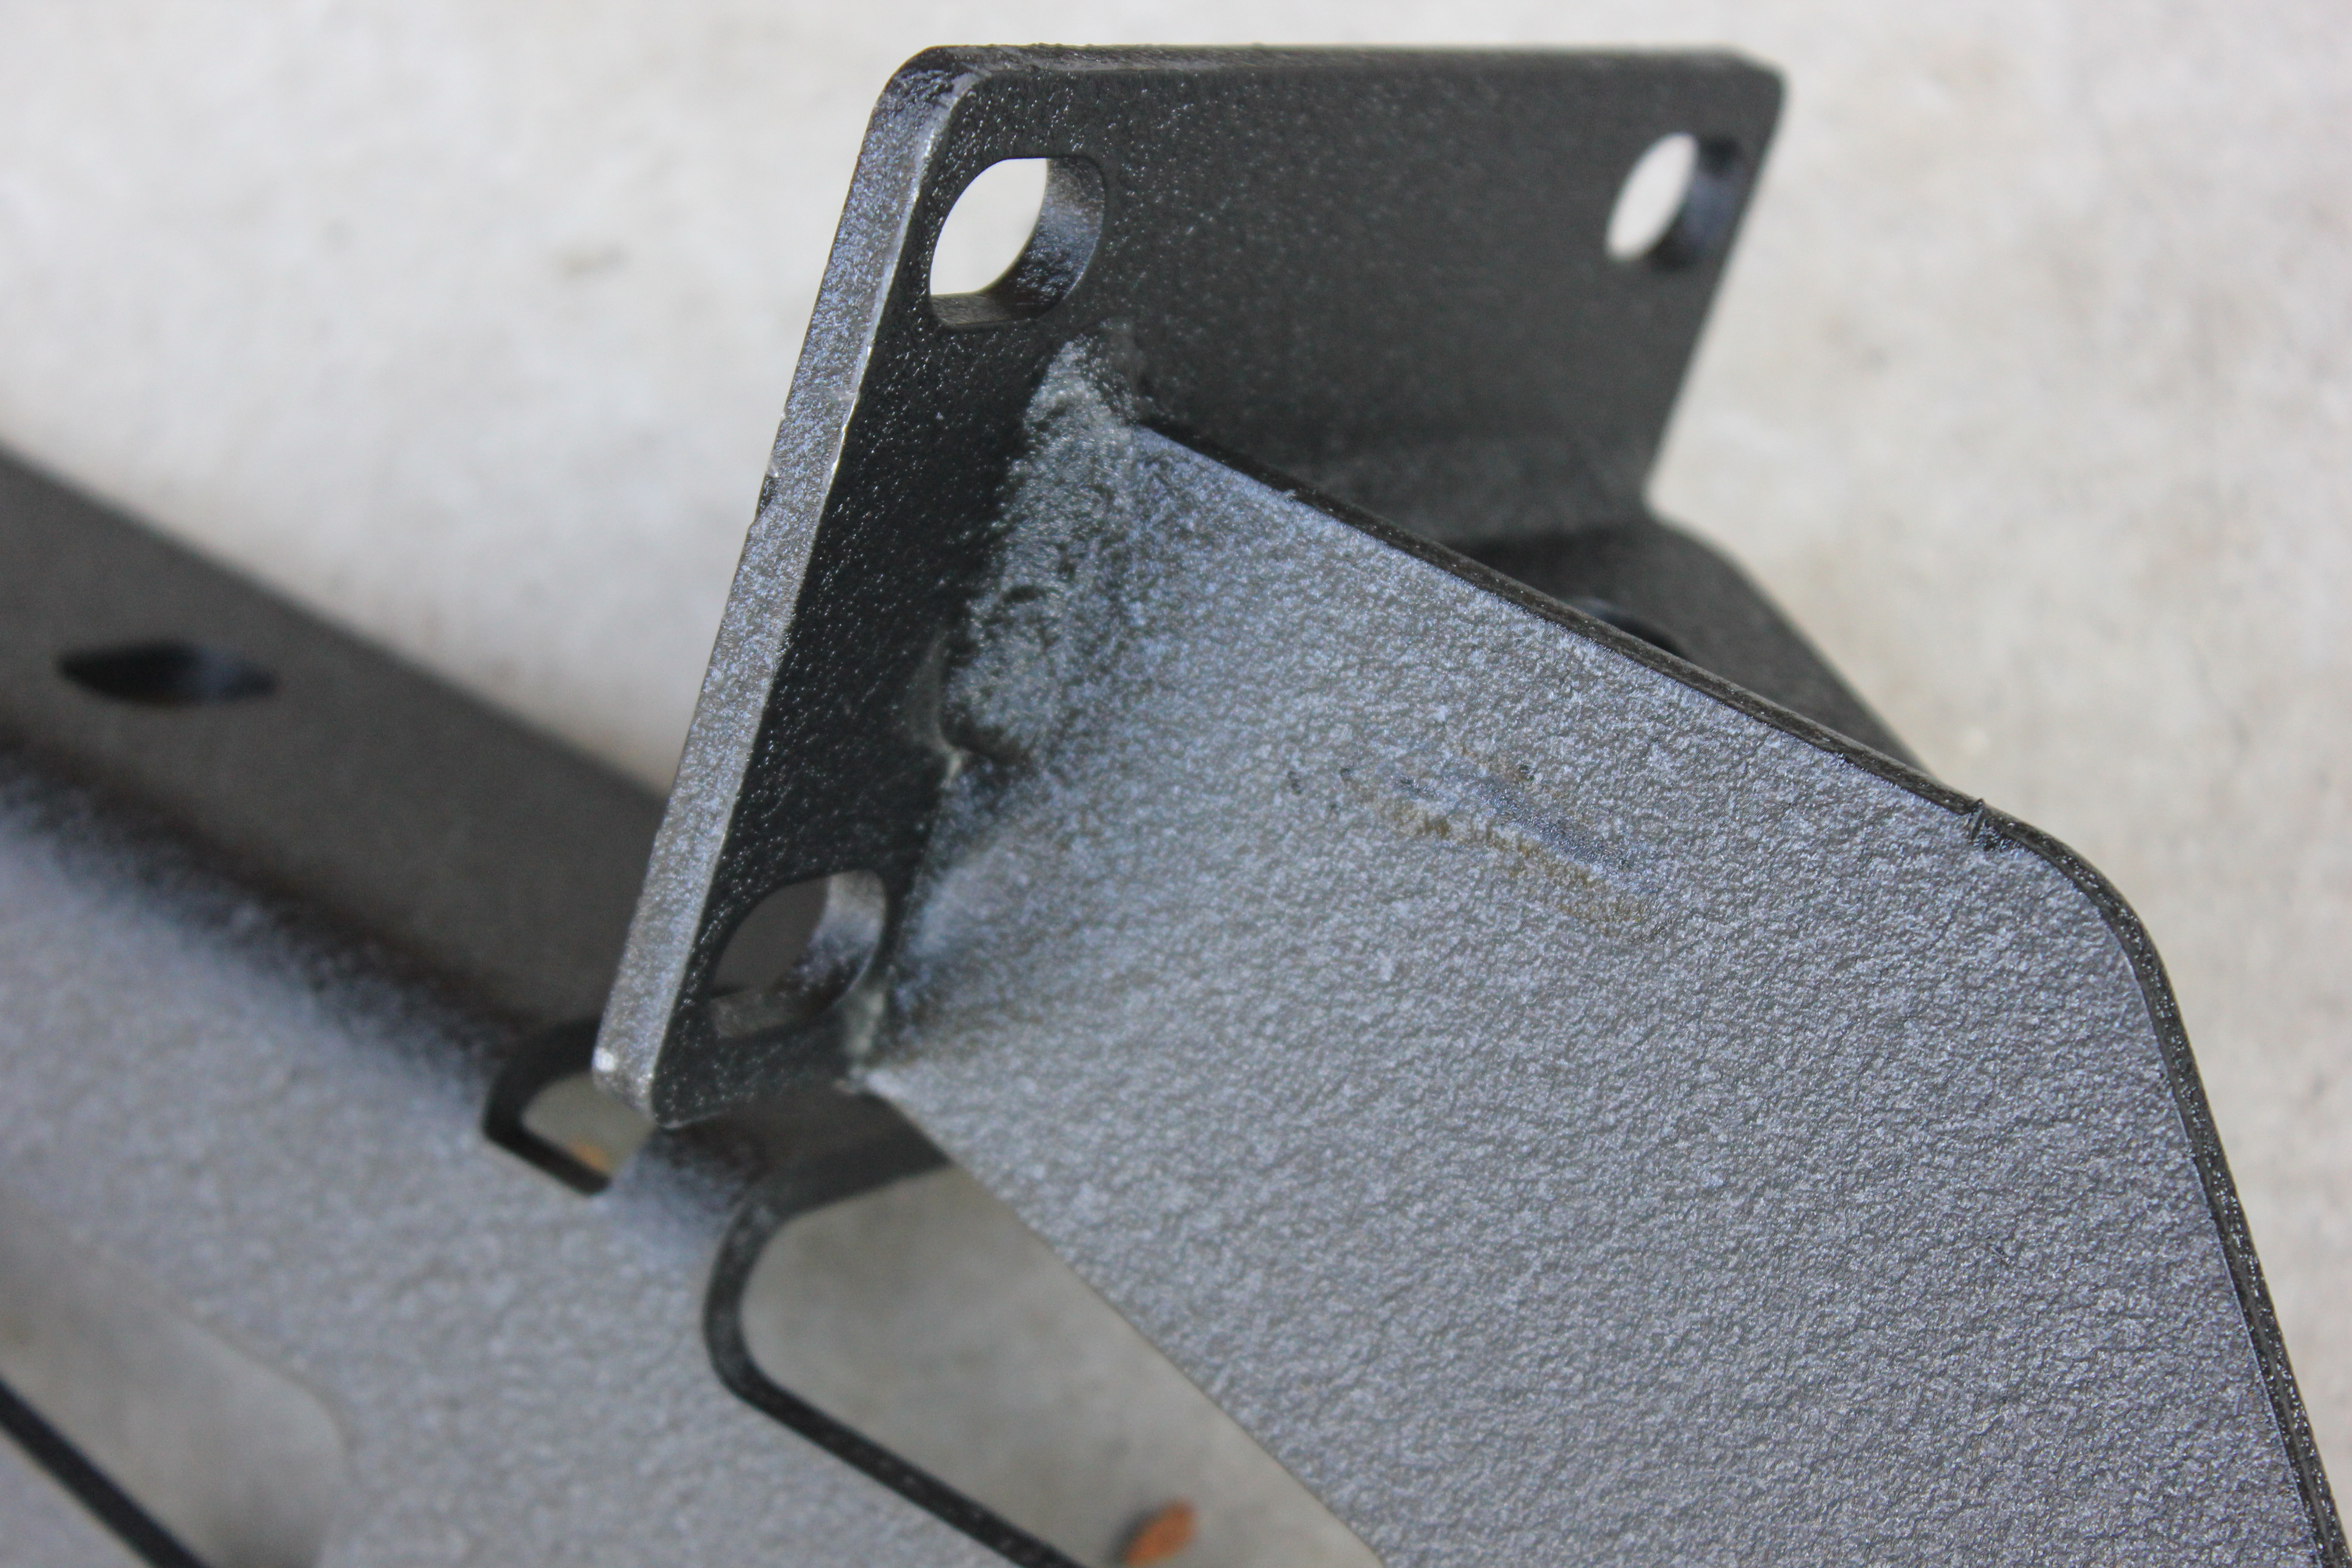
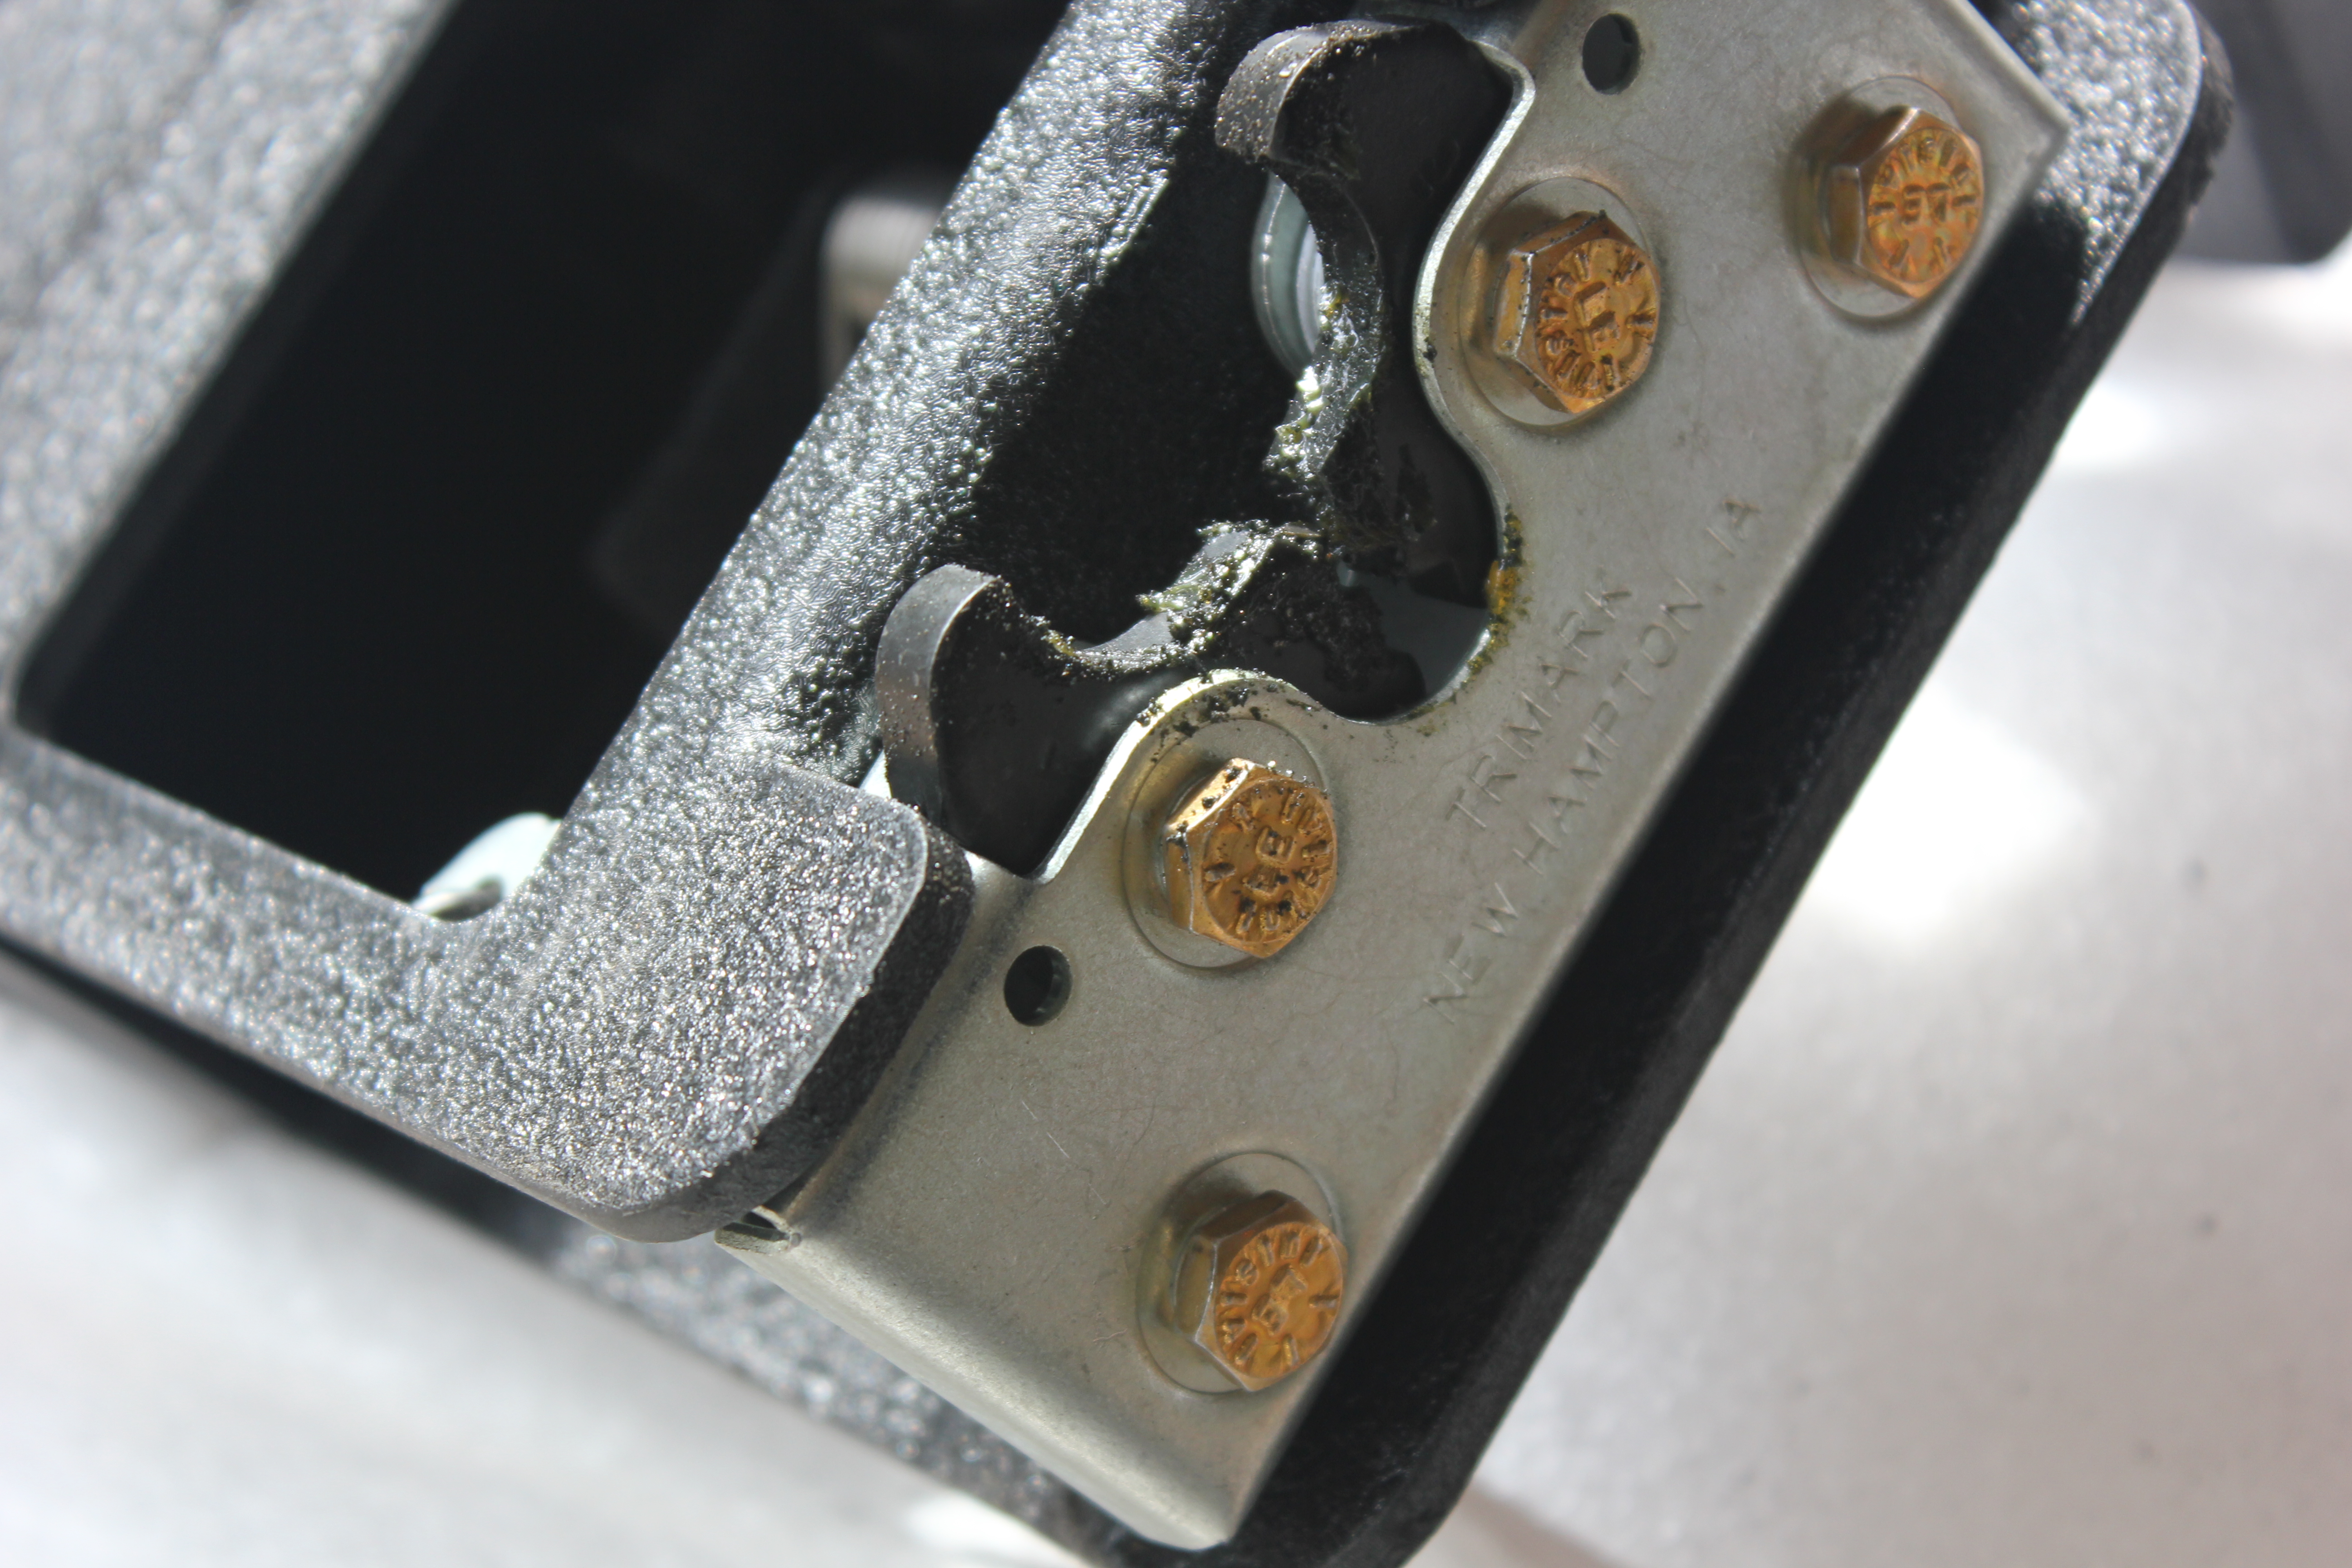
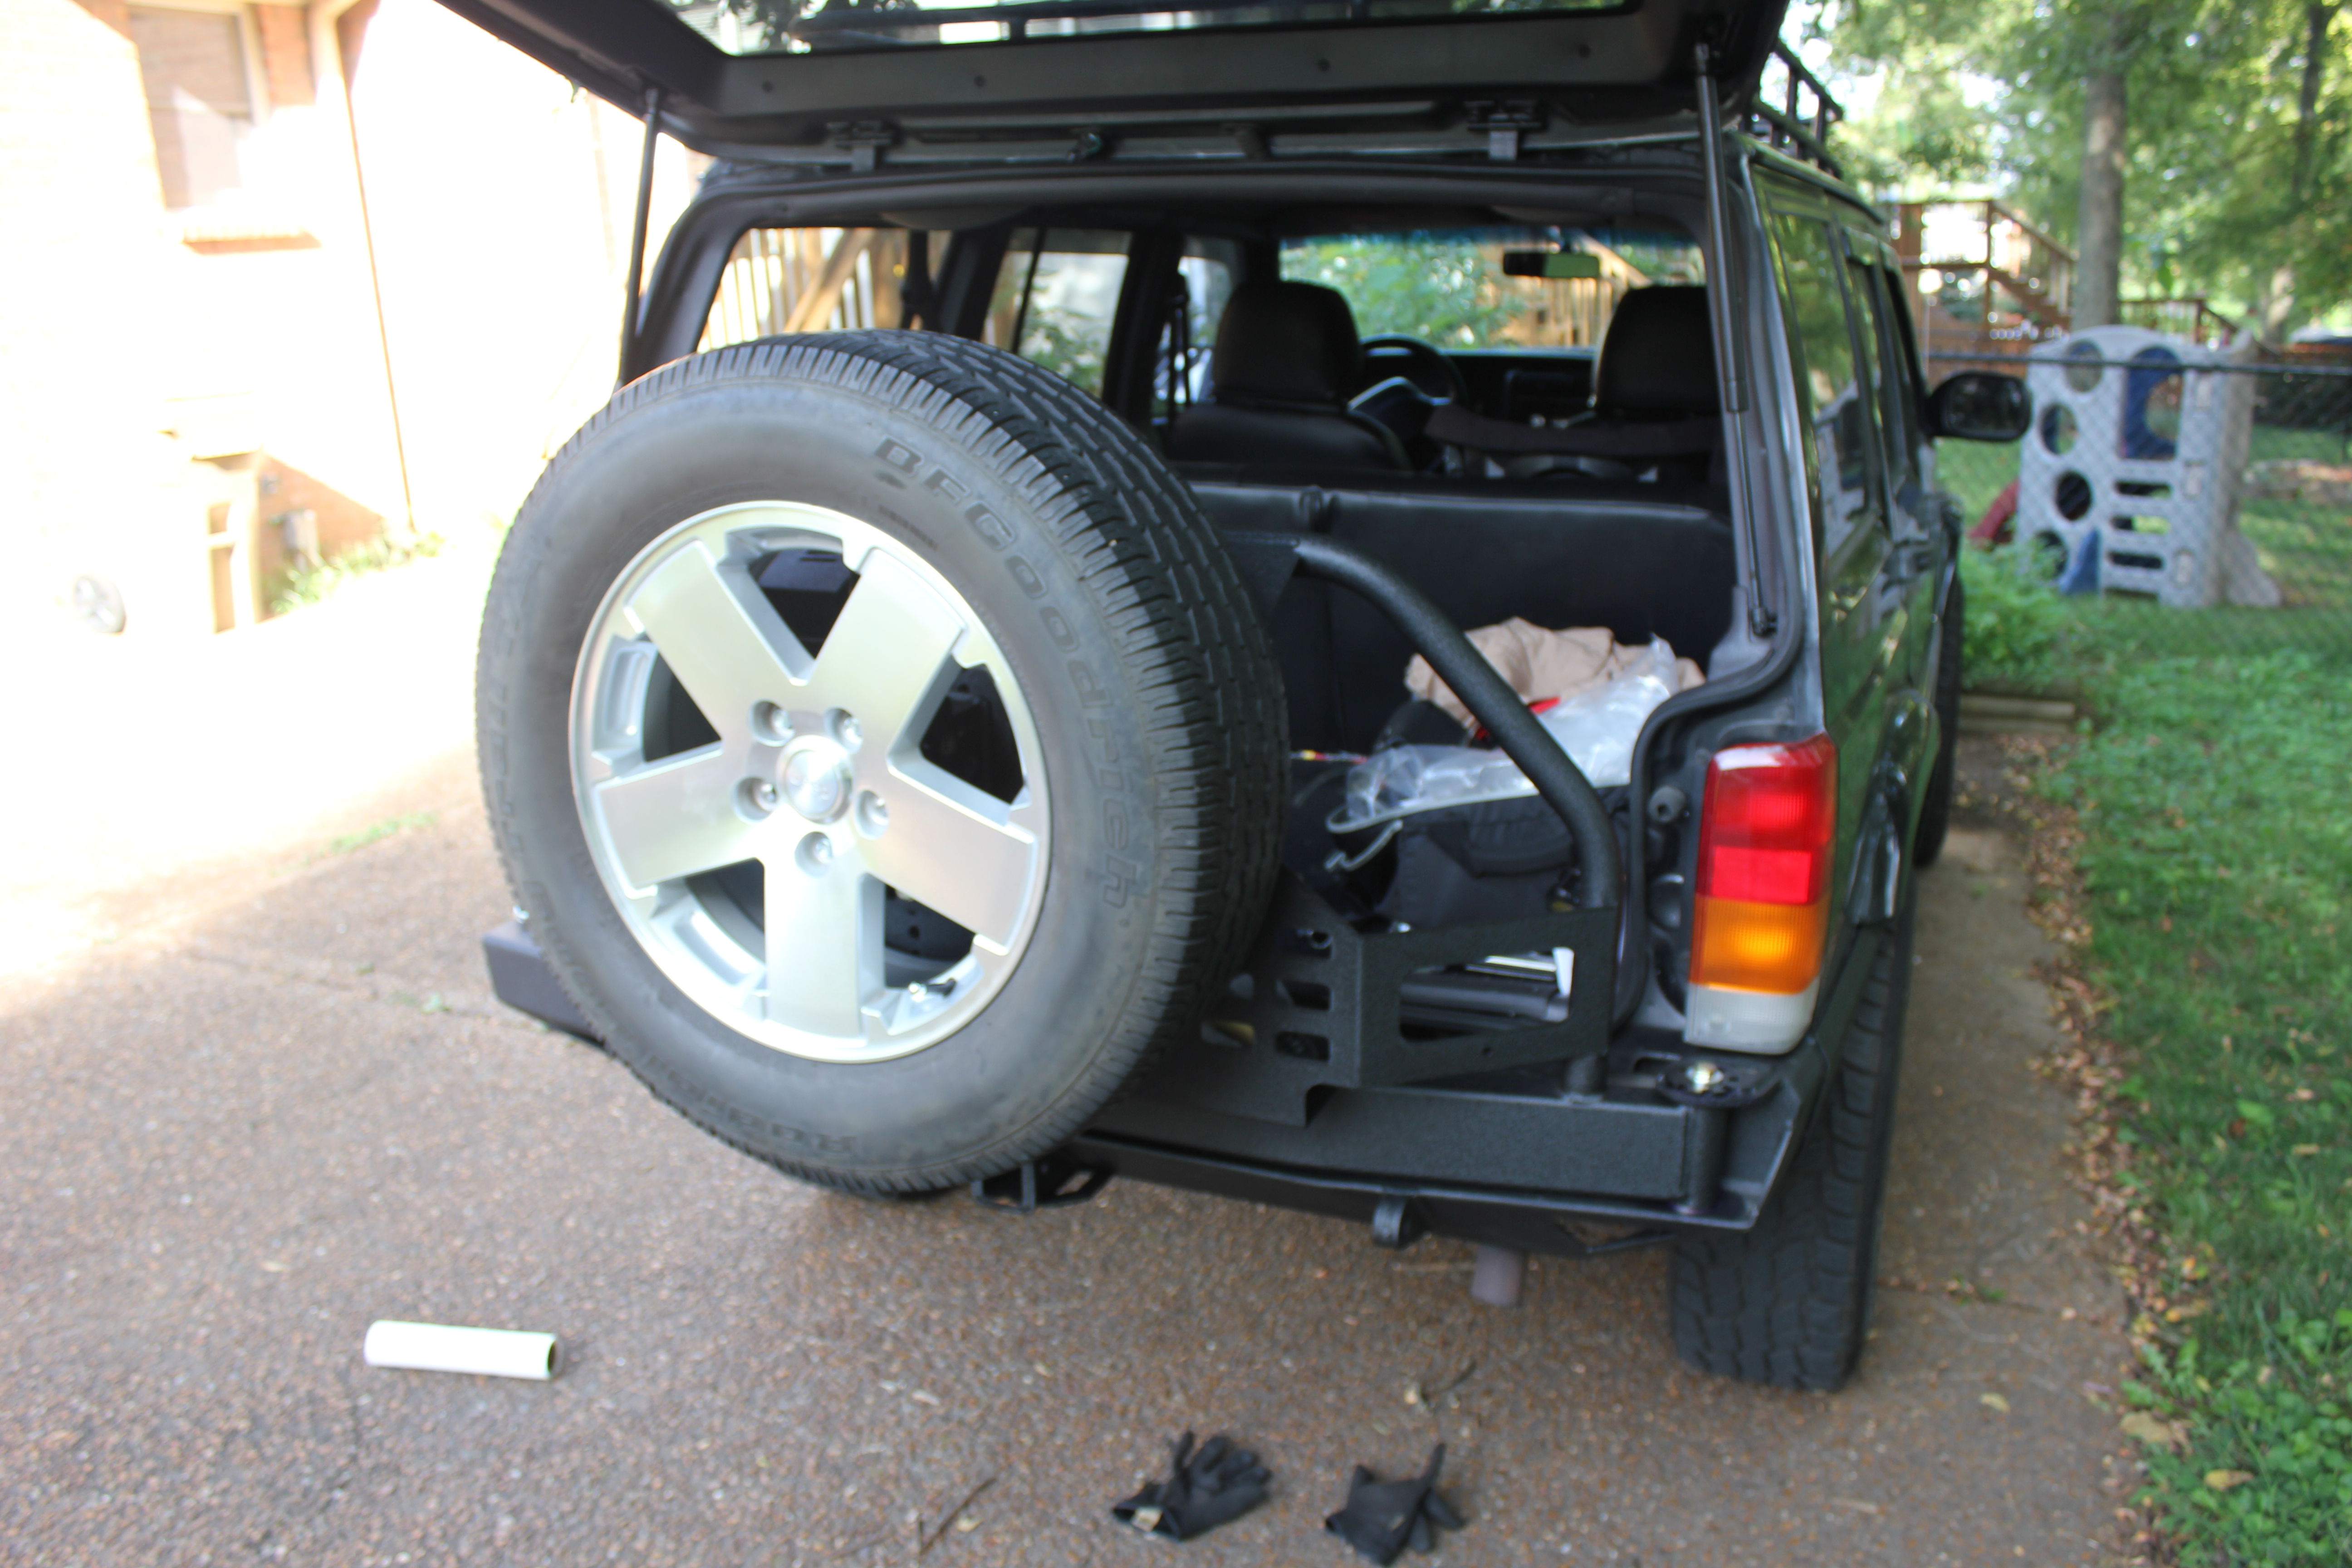
That’s right. If you don’t align the bumper brackets properly, you won’t be able to open or close the hatch. It actually gets worse when you add the swing arm because there’s an allen head bolt that goes into one of those two bolt holes and sticks up even further.
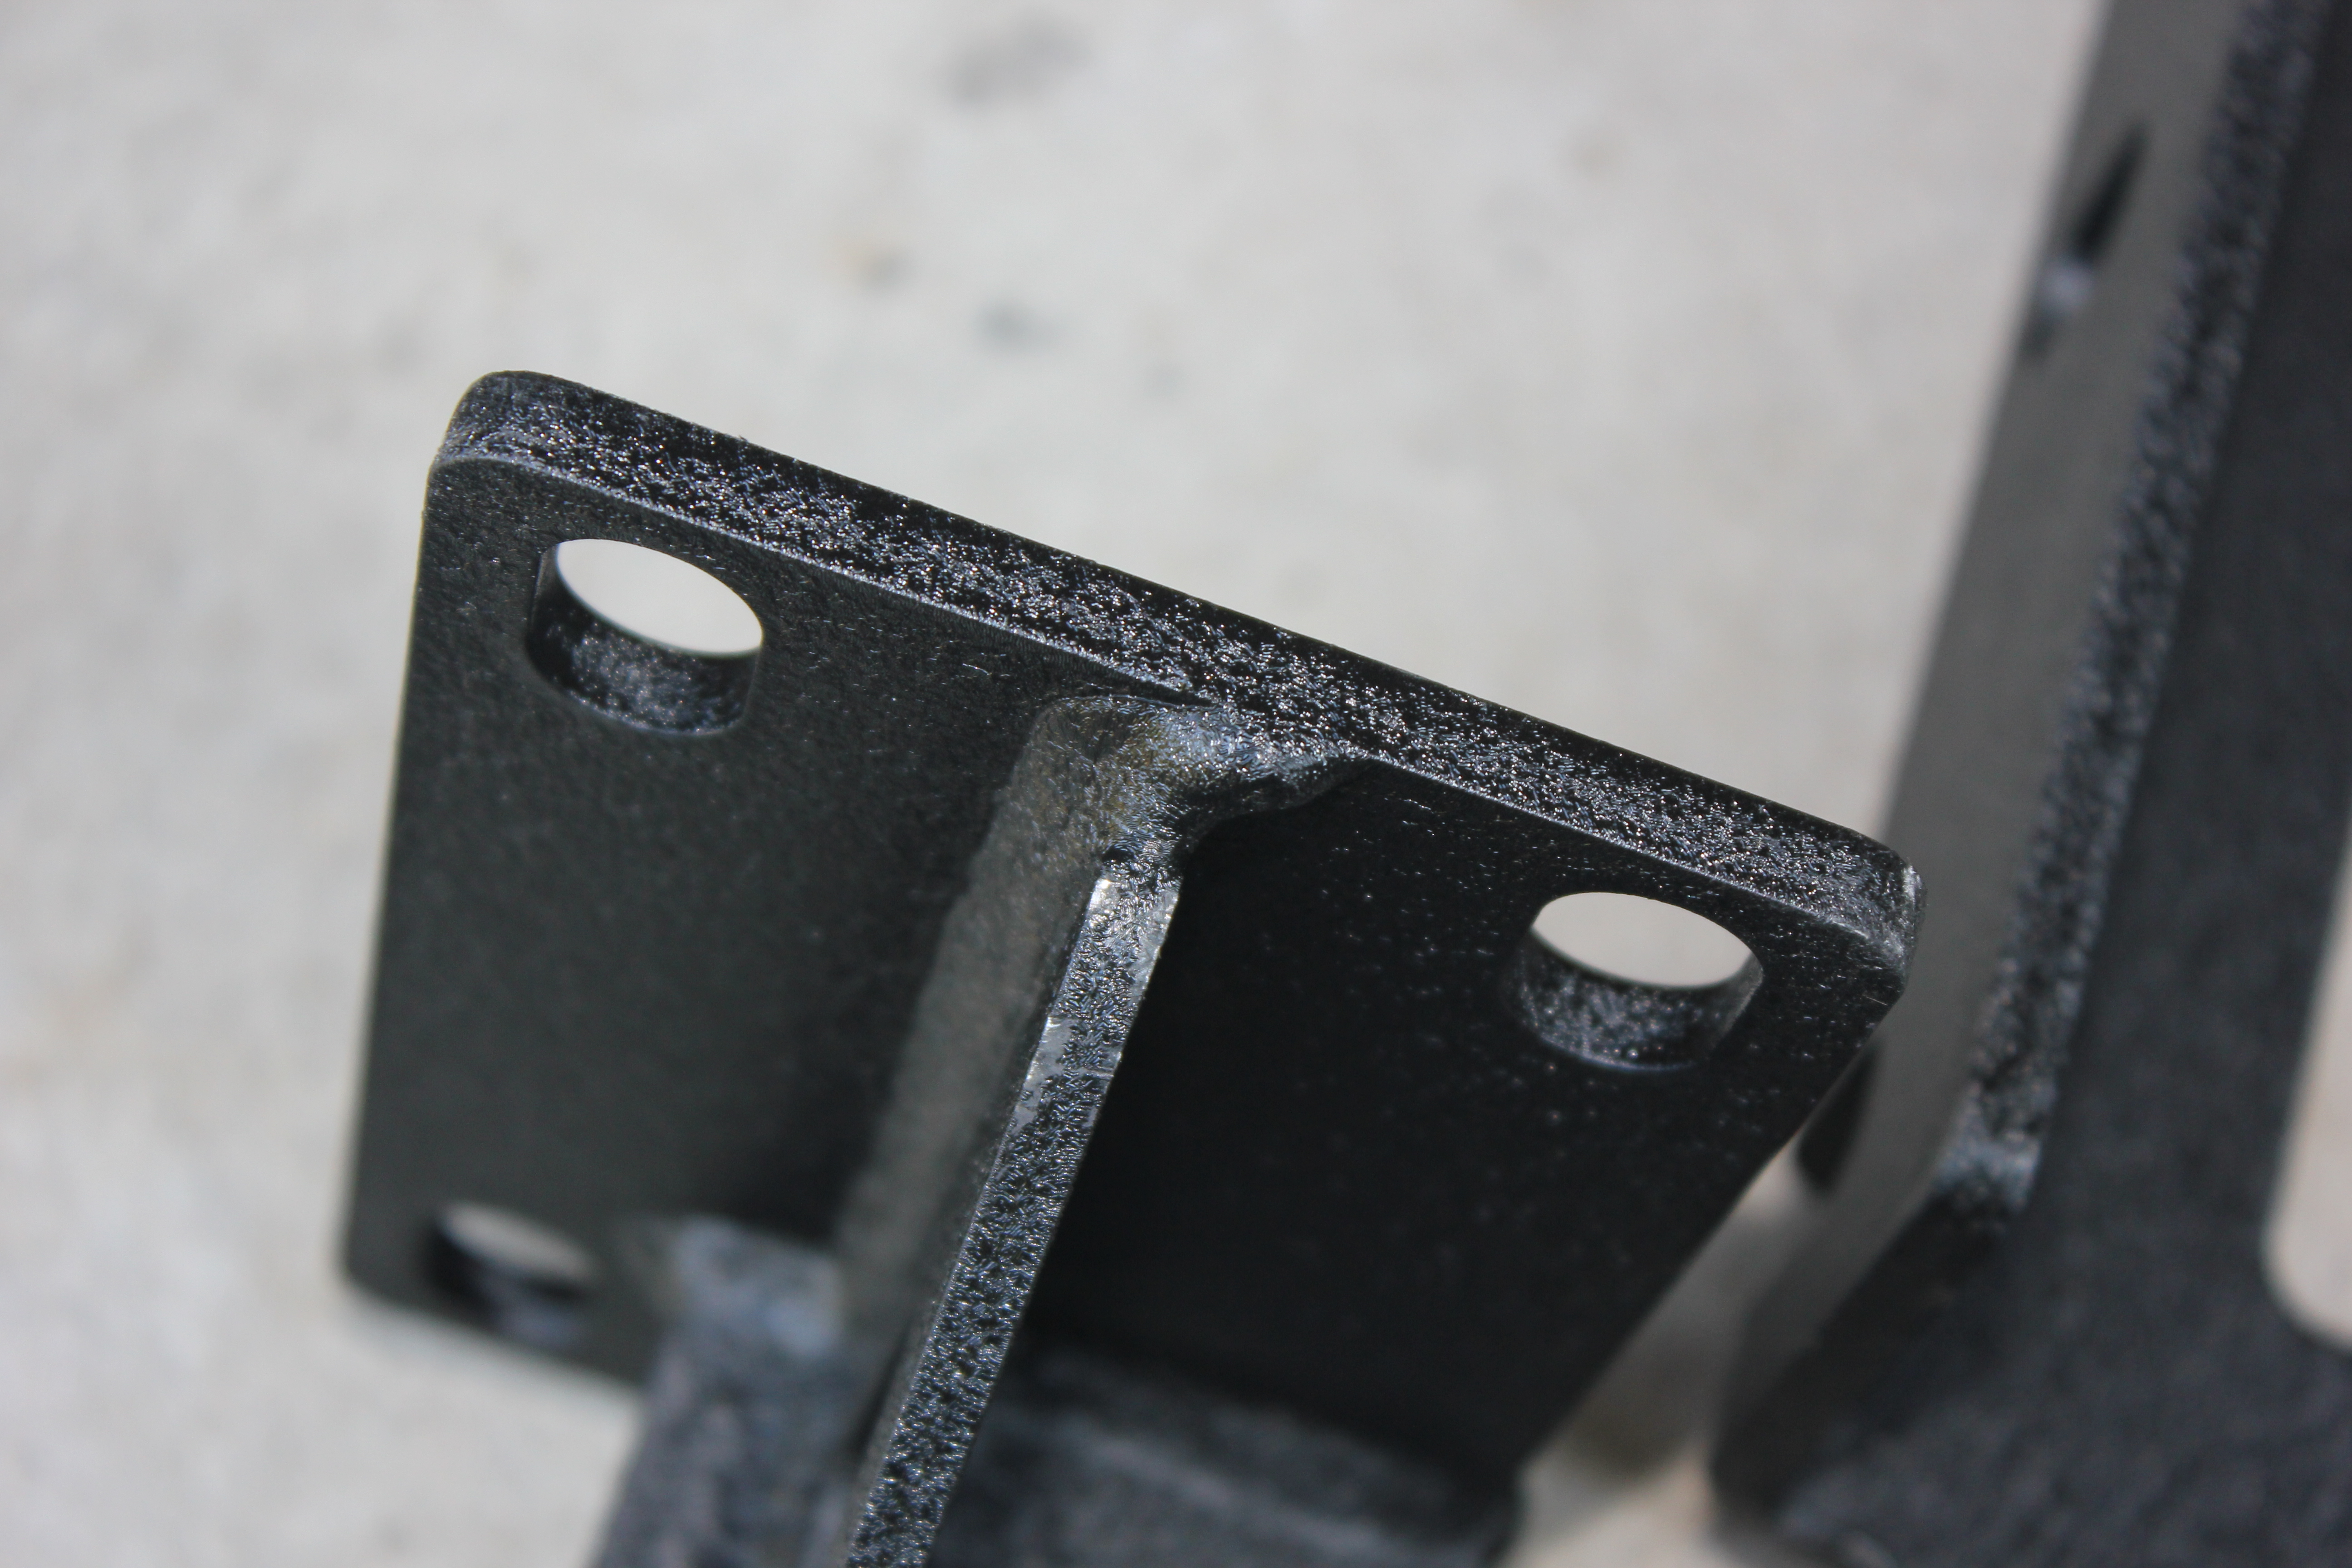
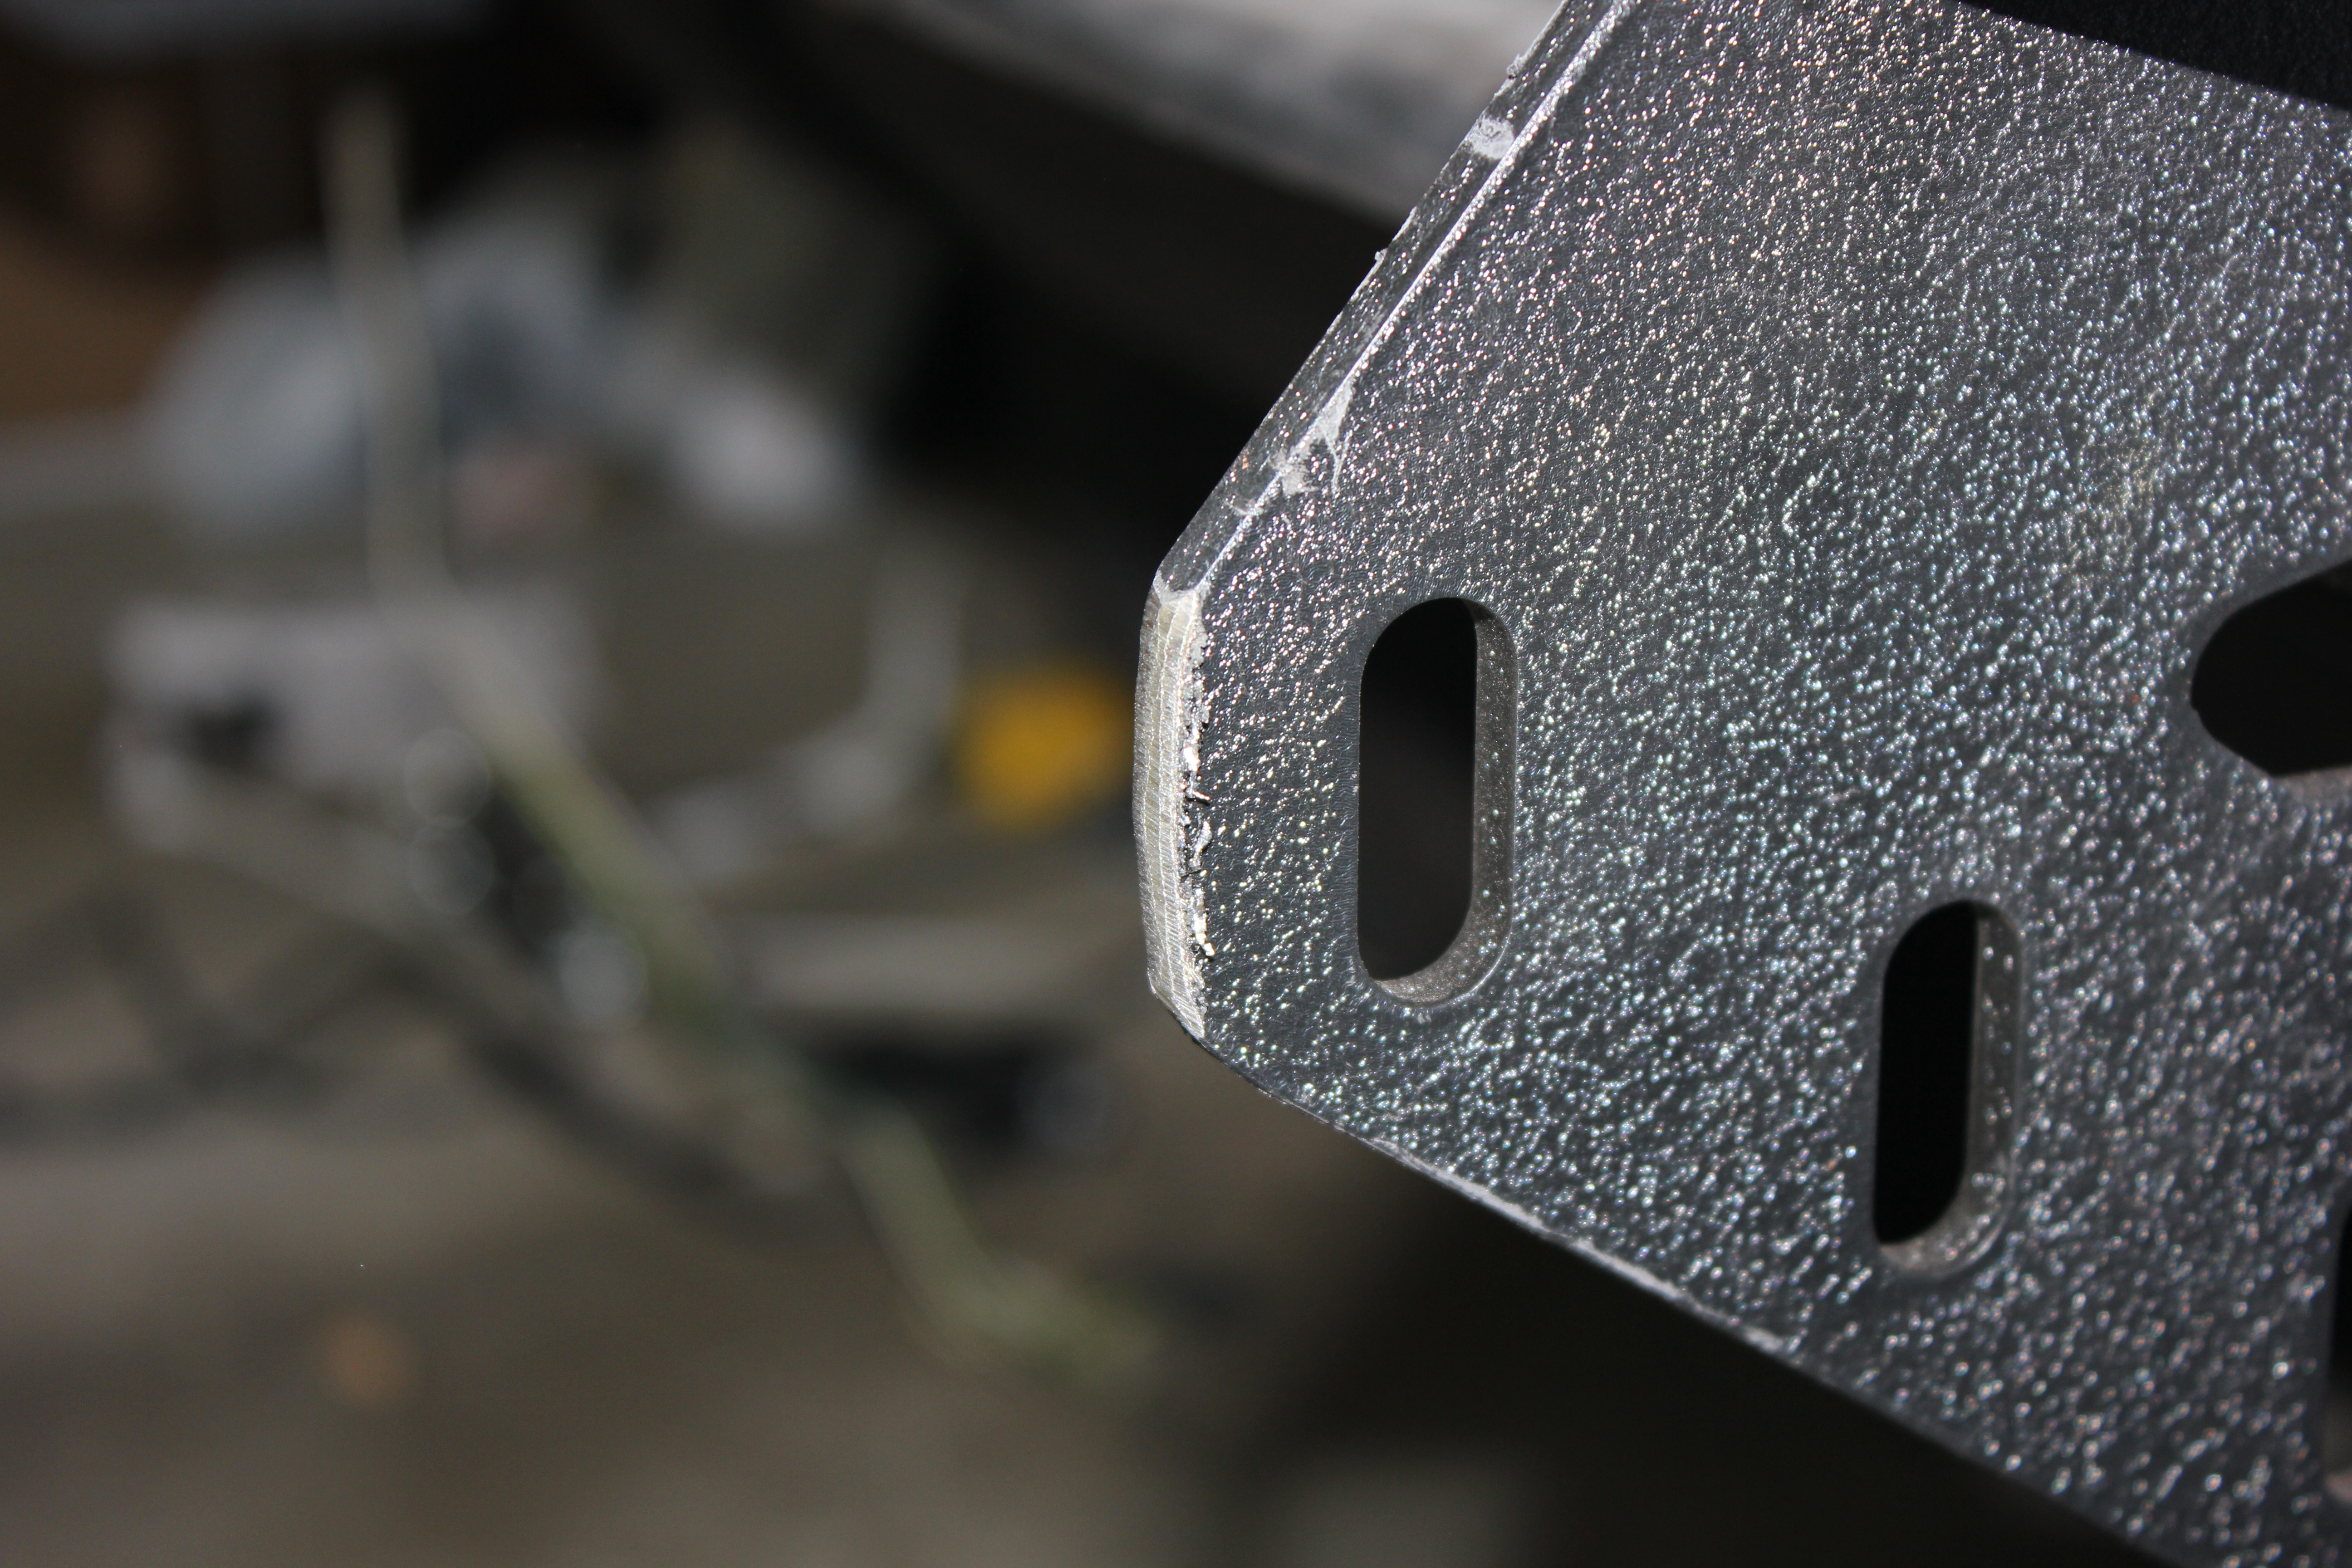
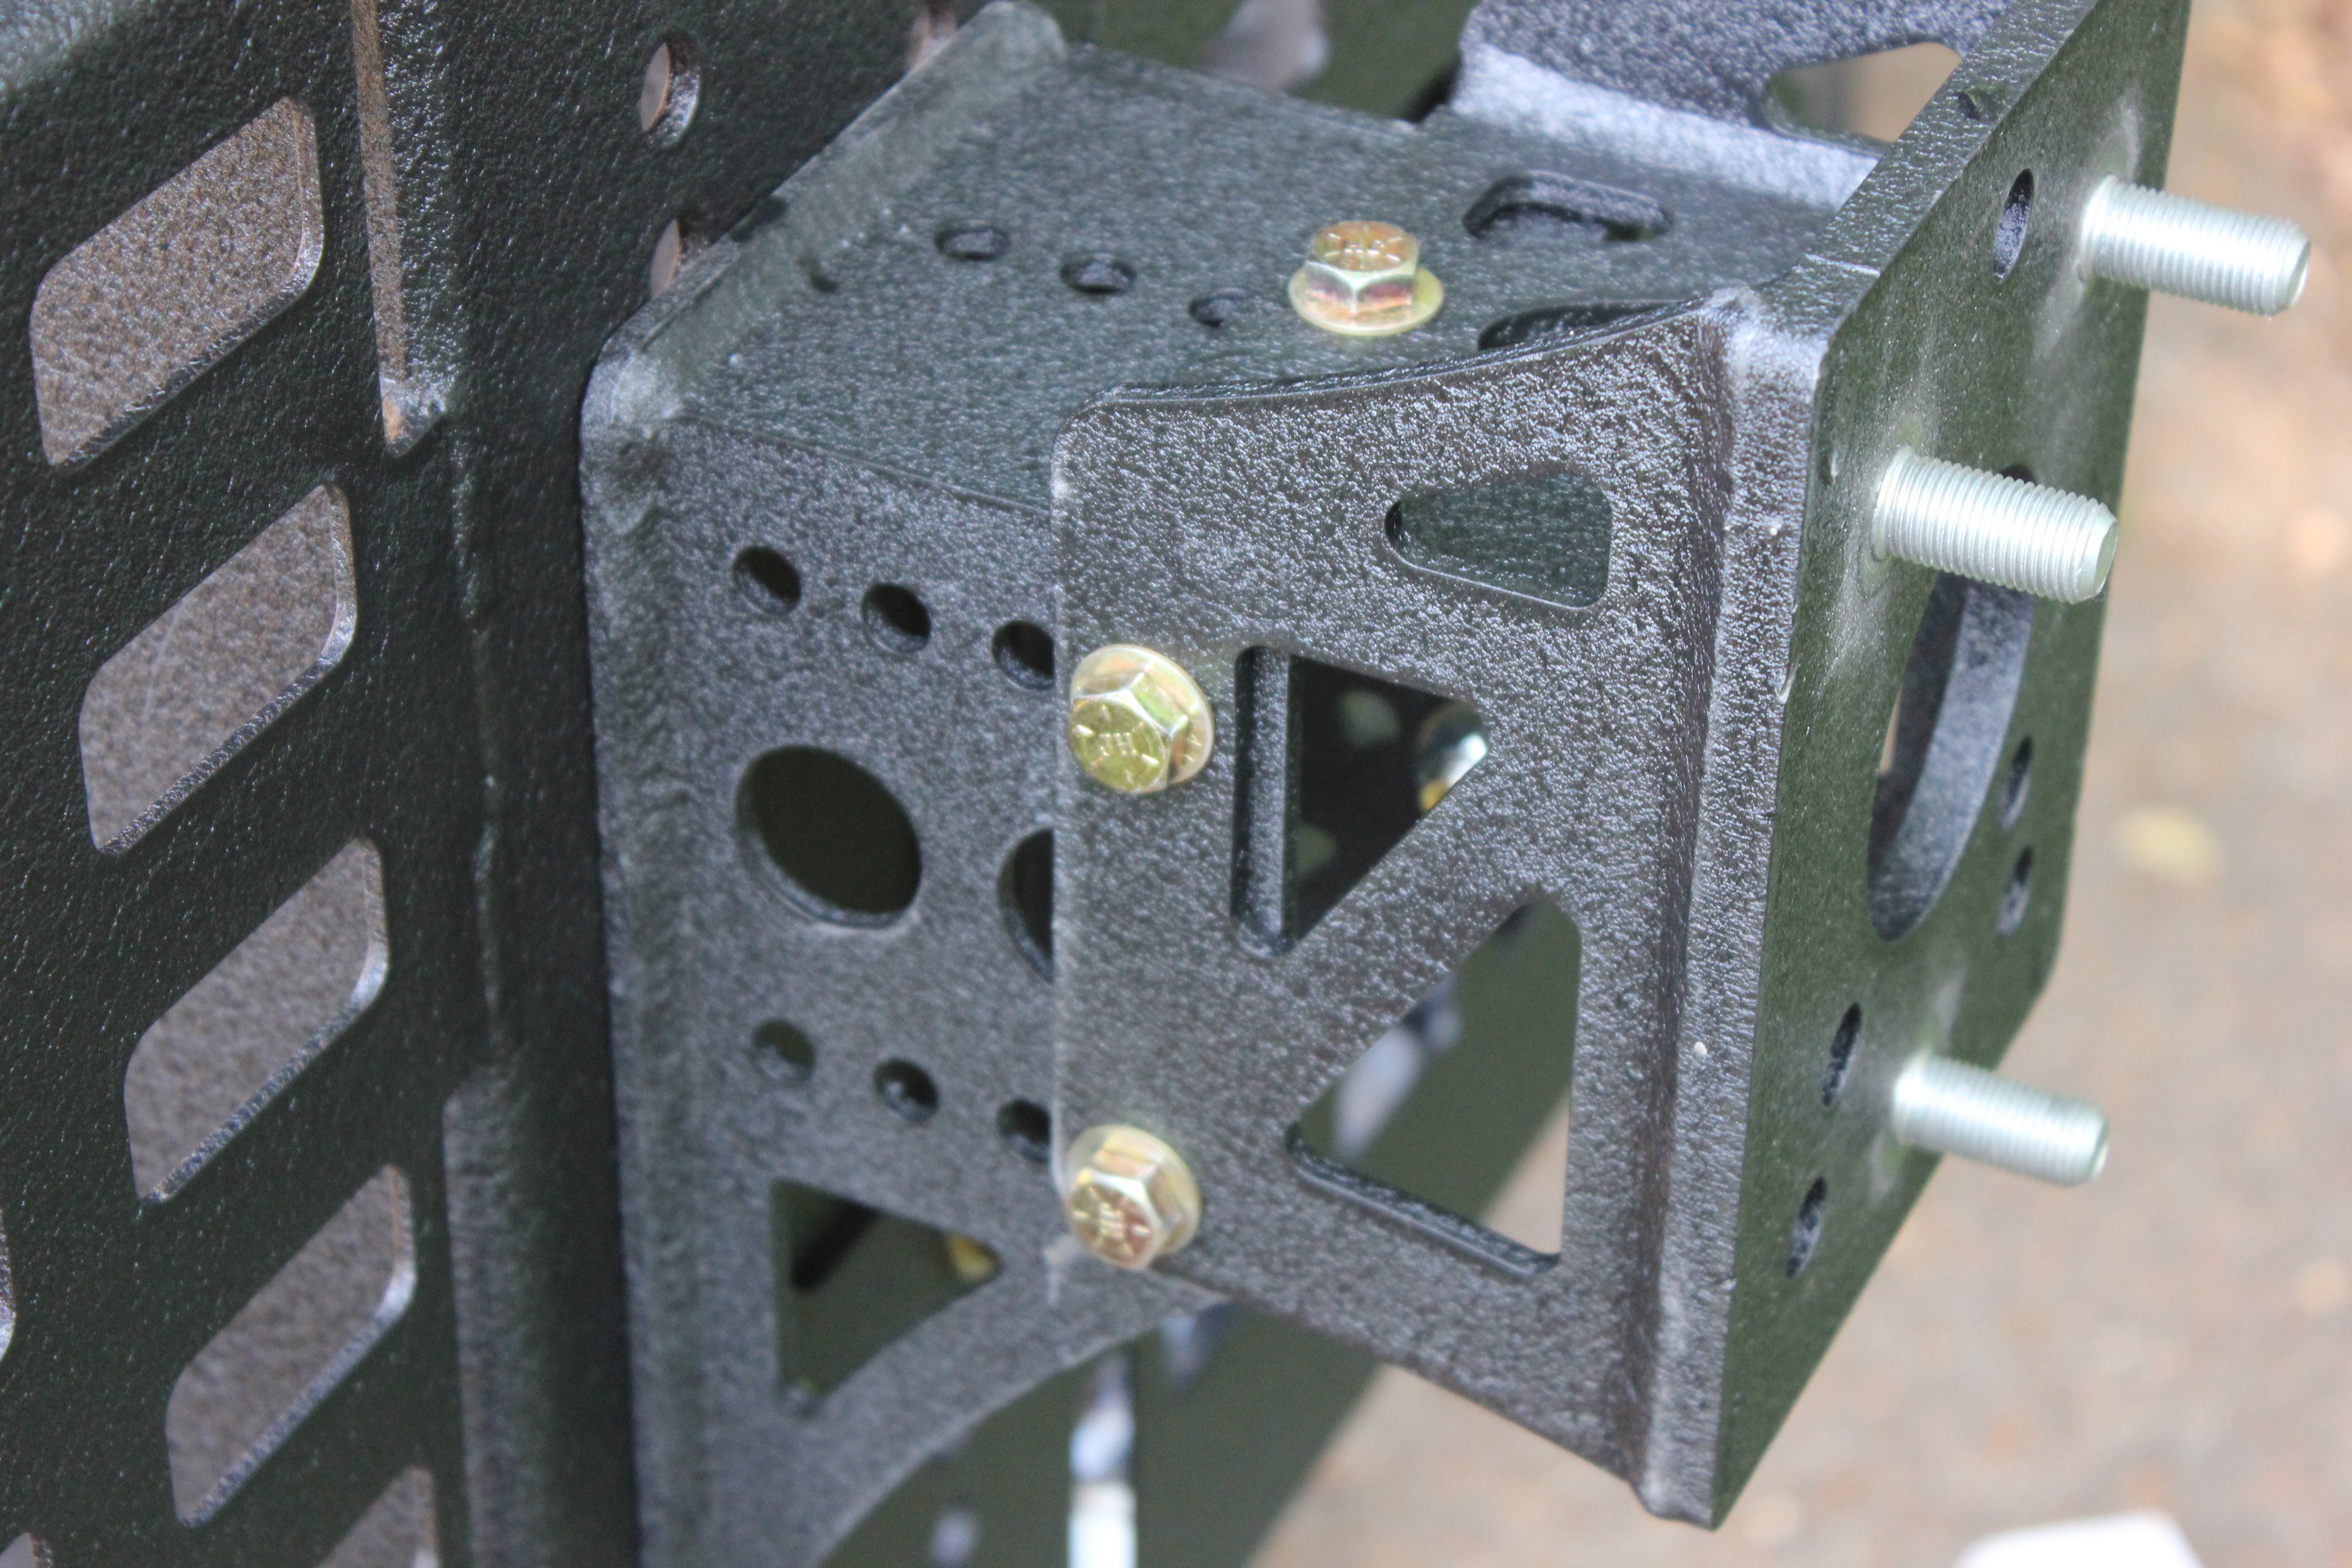
Now, when did I discover that? After I’d just spent 4 hours getting the brackets installed. So my choices were A) dismount the bumper again, loosen the brackets, re-adjust them, retighten, remount the bumper, and test again or B) break out the grinder and fix it in 45 seconds.
I picked B:
Little bit of Rustoleum and it was good to go!
The best advice I can give you about this bumper is this: Loosely install the stock bumper bracket bolts. Get all of the frame rail bolts started. Mount the bumper to the brackets and hand-tighten the bumper-to-bracket bolts. Move the bumper around until you like the placement. Now tighten the frame rail bolts all the way. Remove the bumper. Tighten the stock bumper bracket bolts. Proceed with the instructions.
Okay now back to the bumper install.
Mounting the bumper
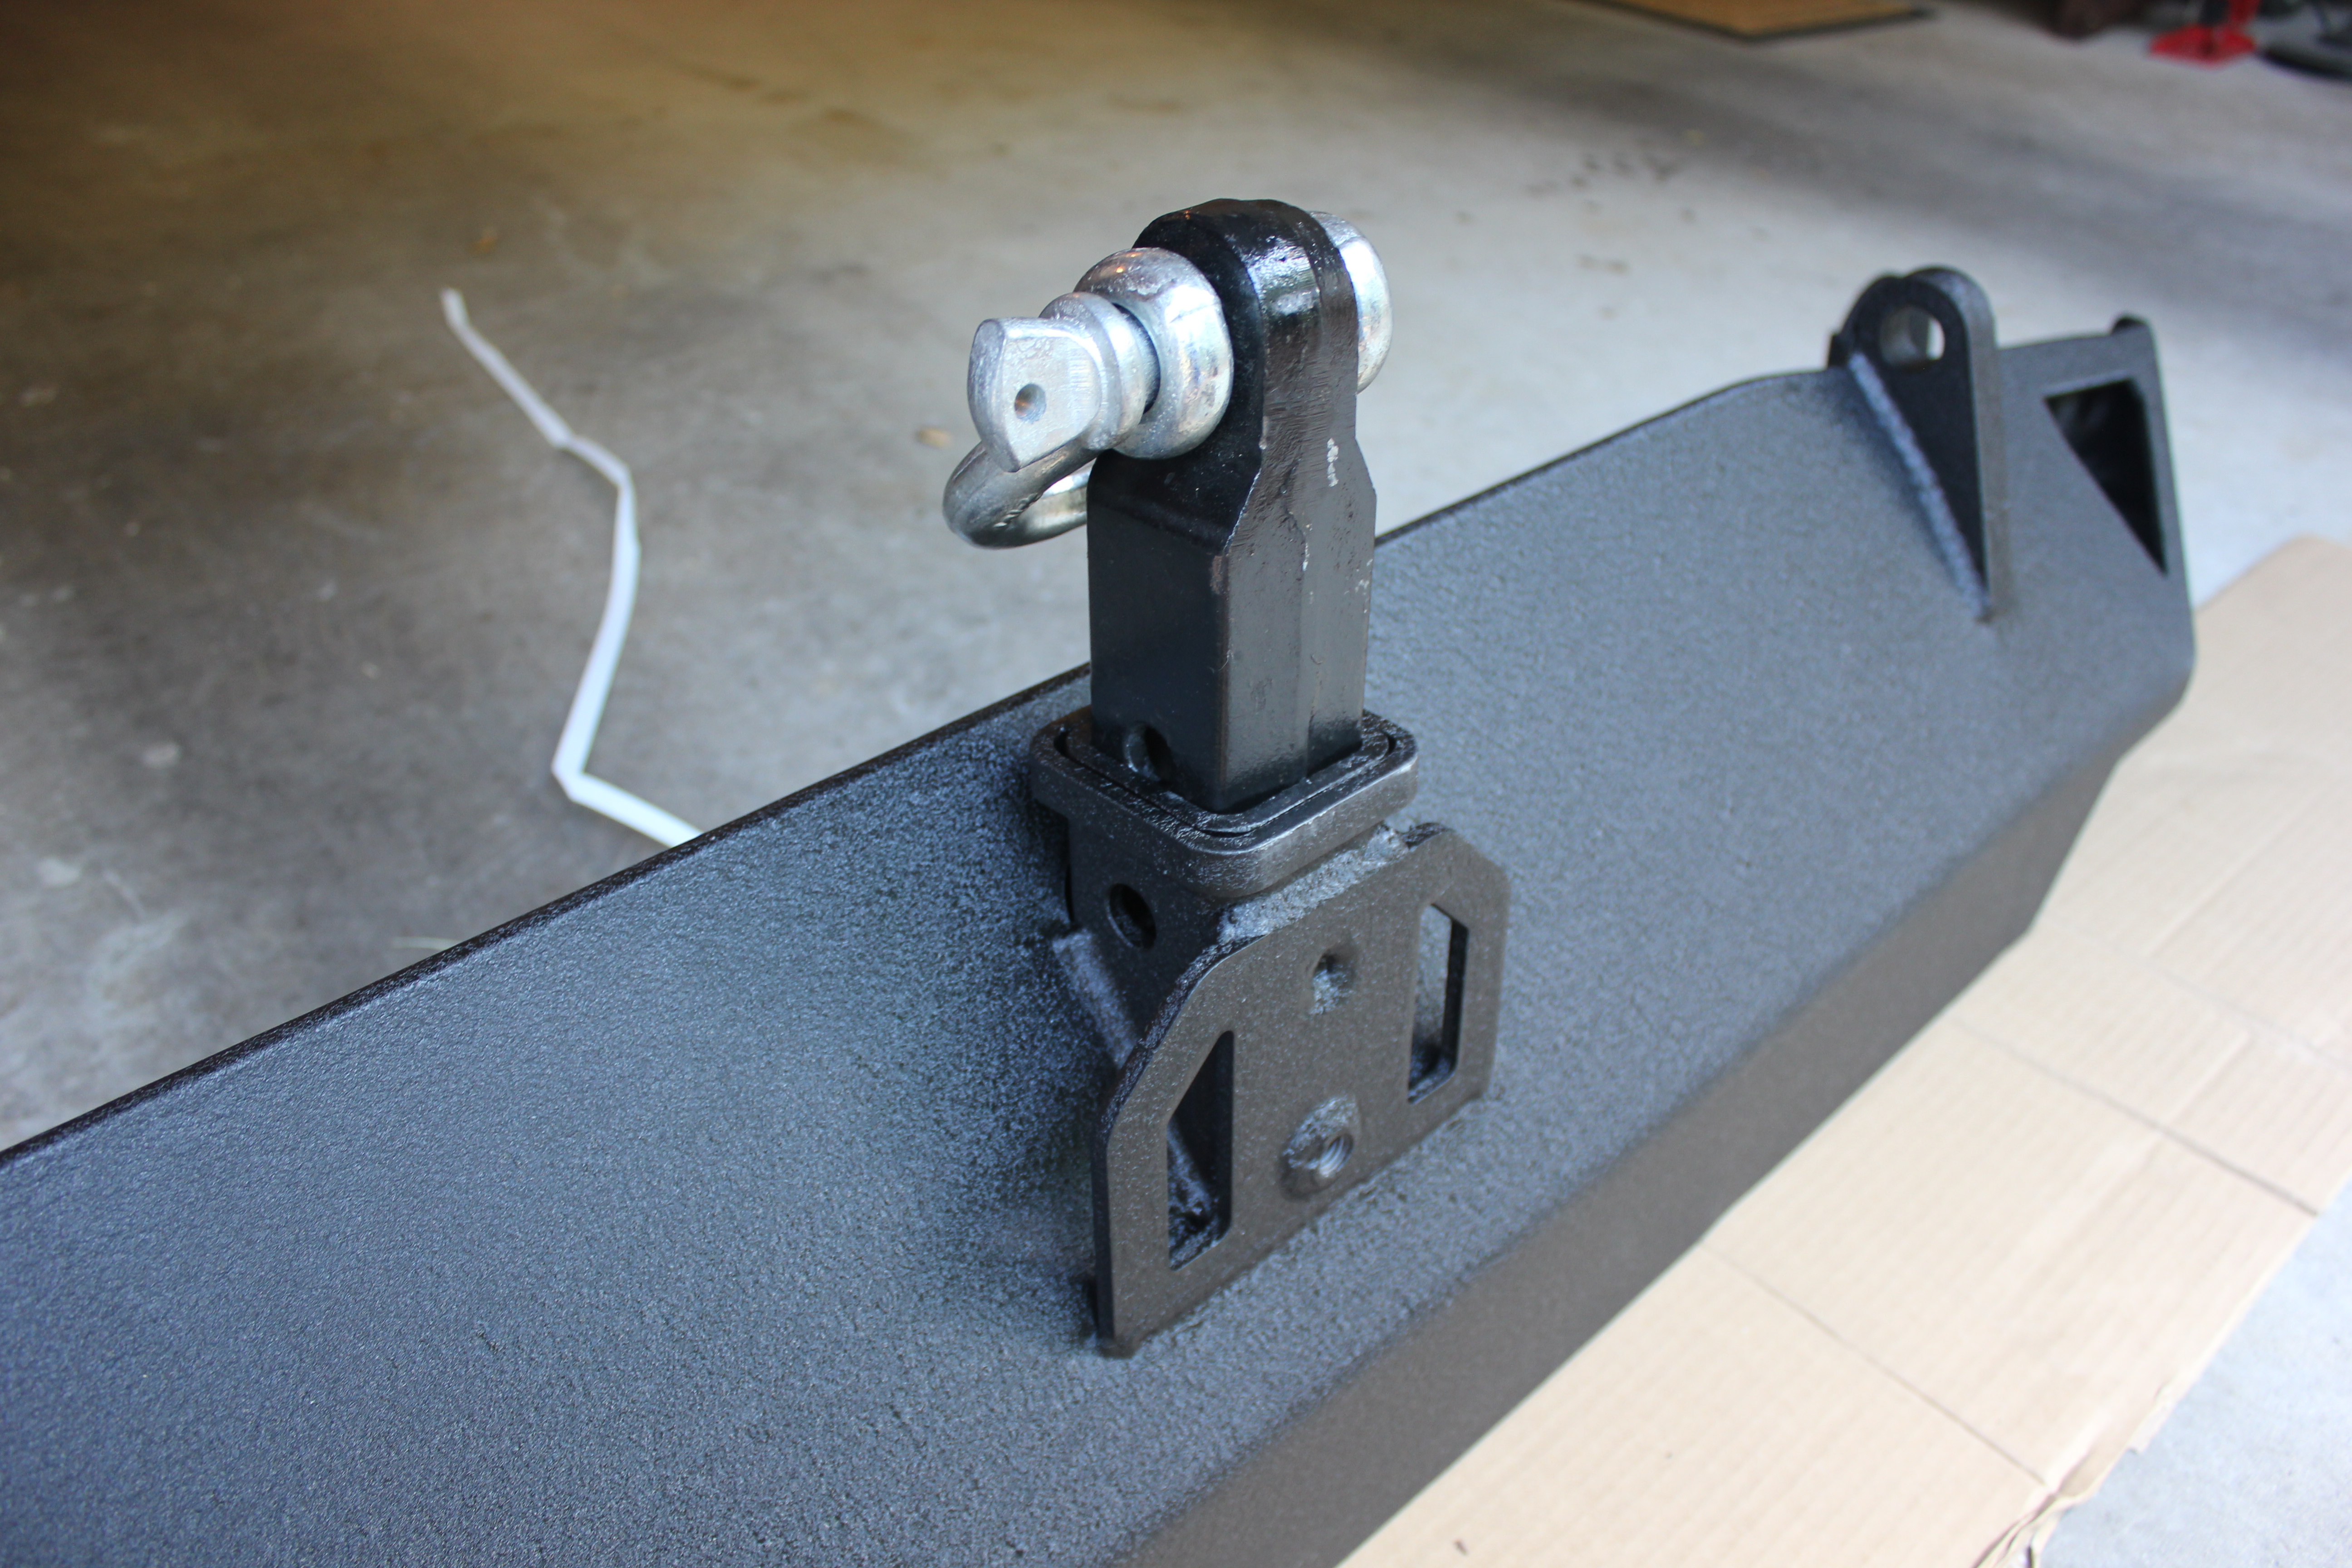
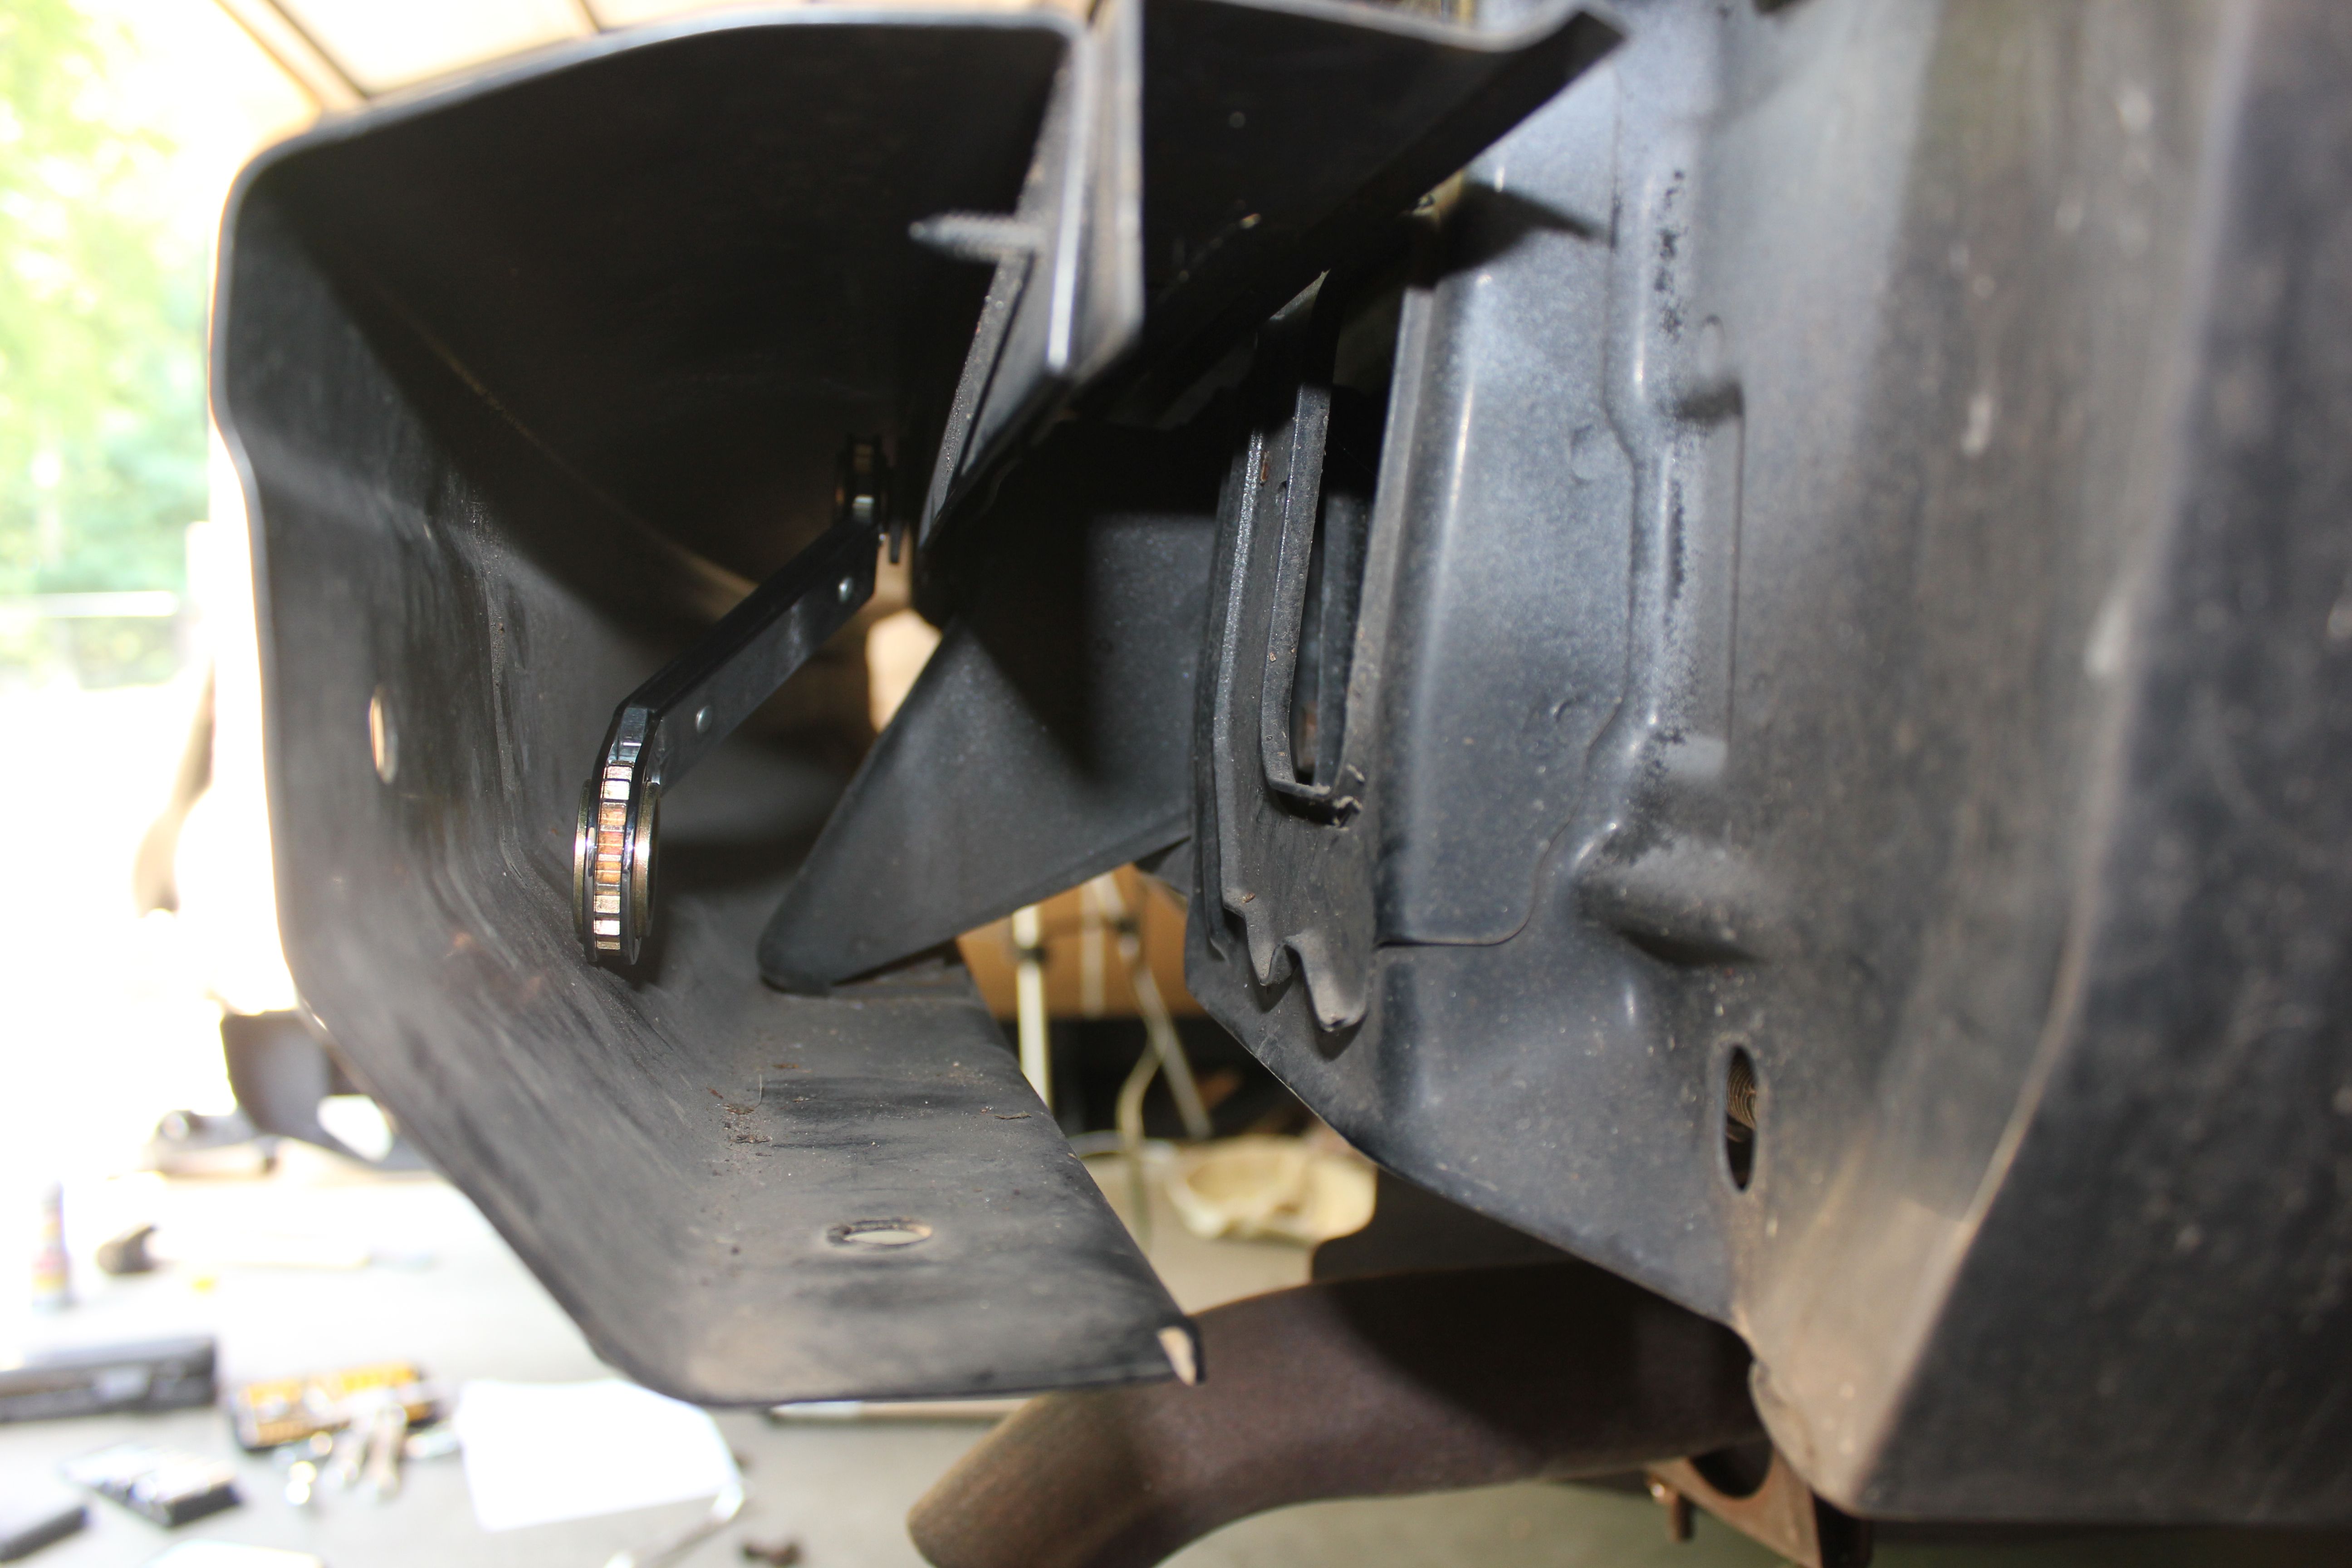
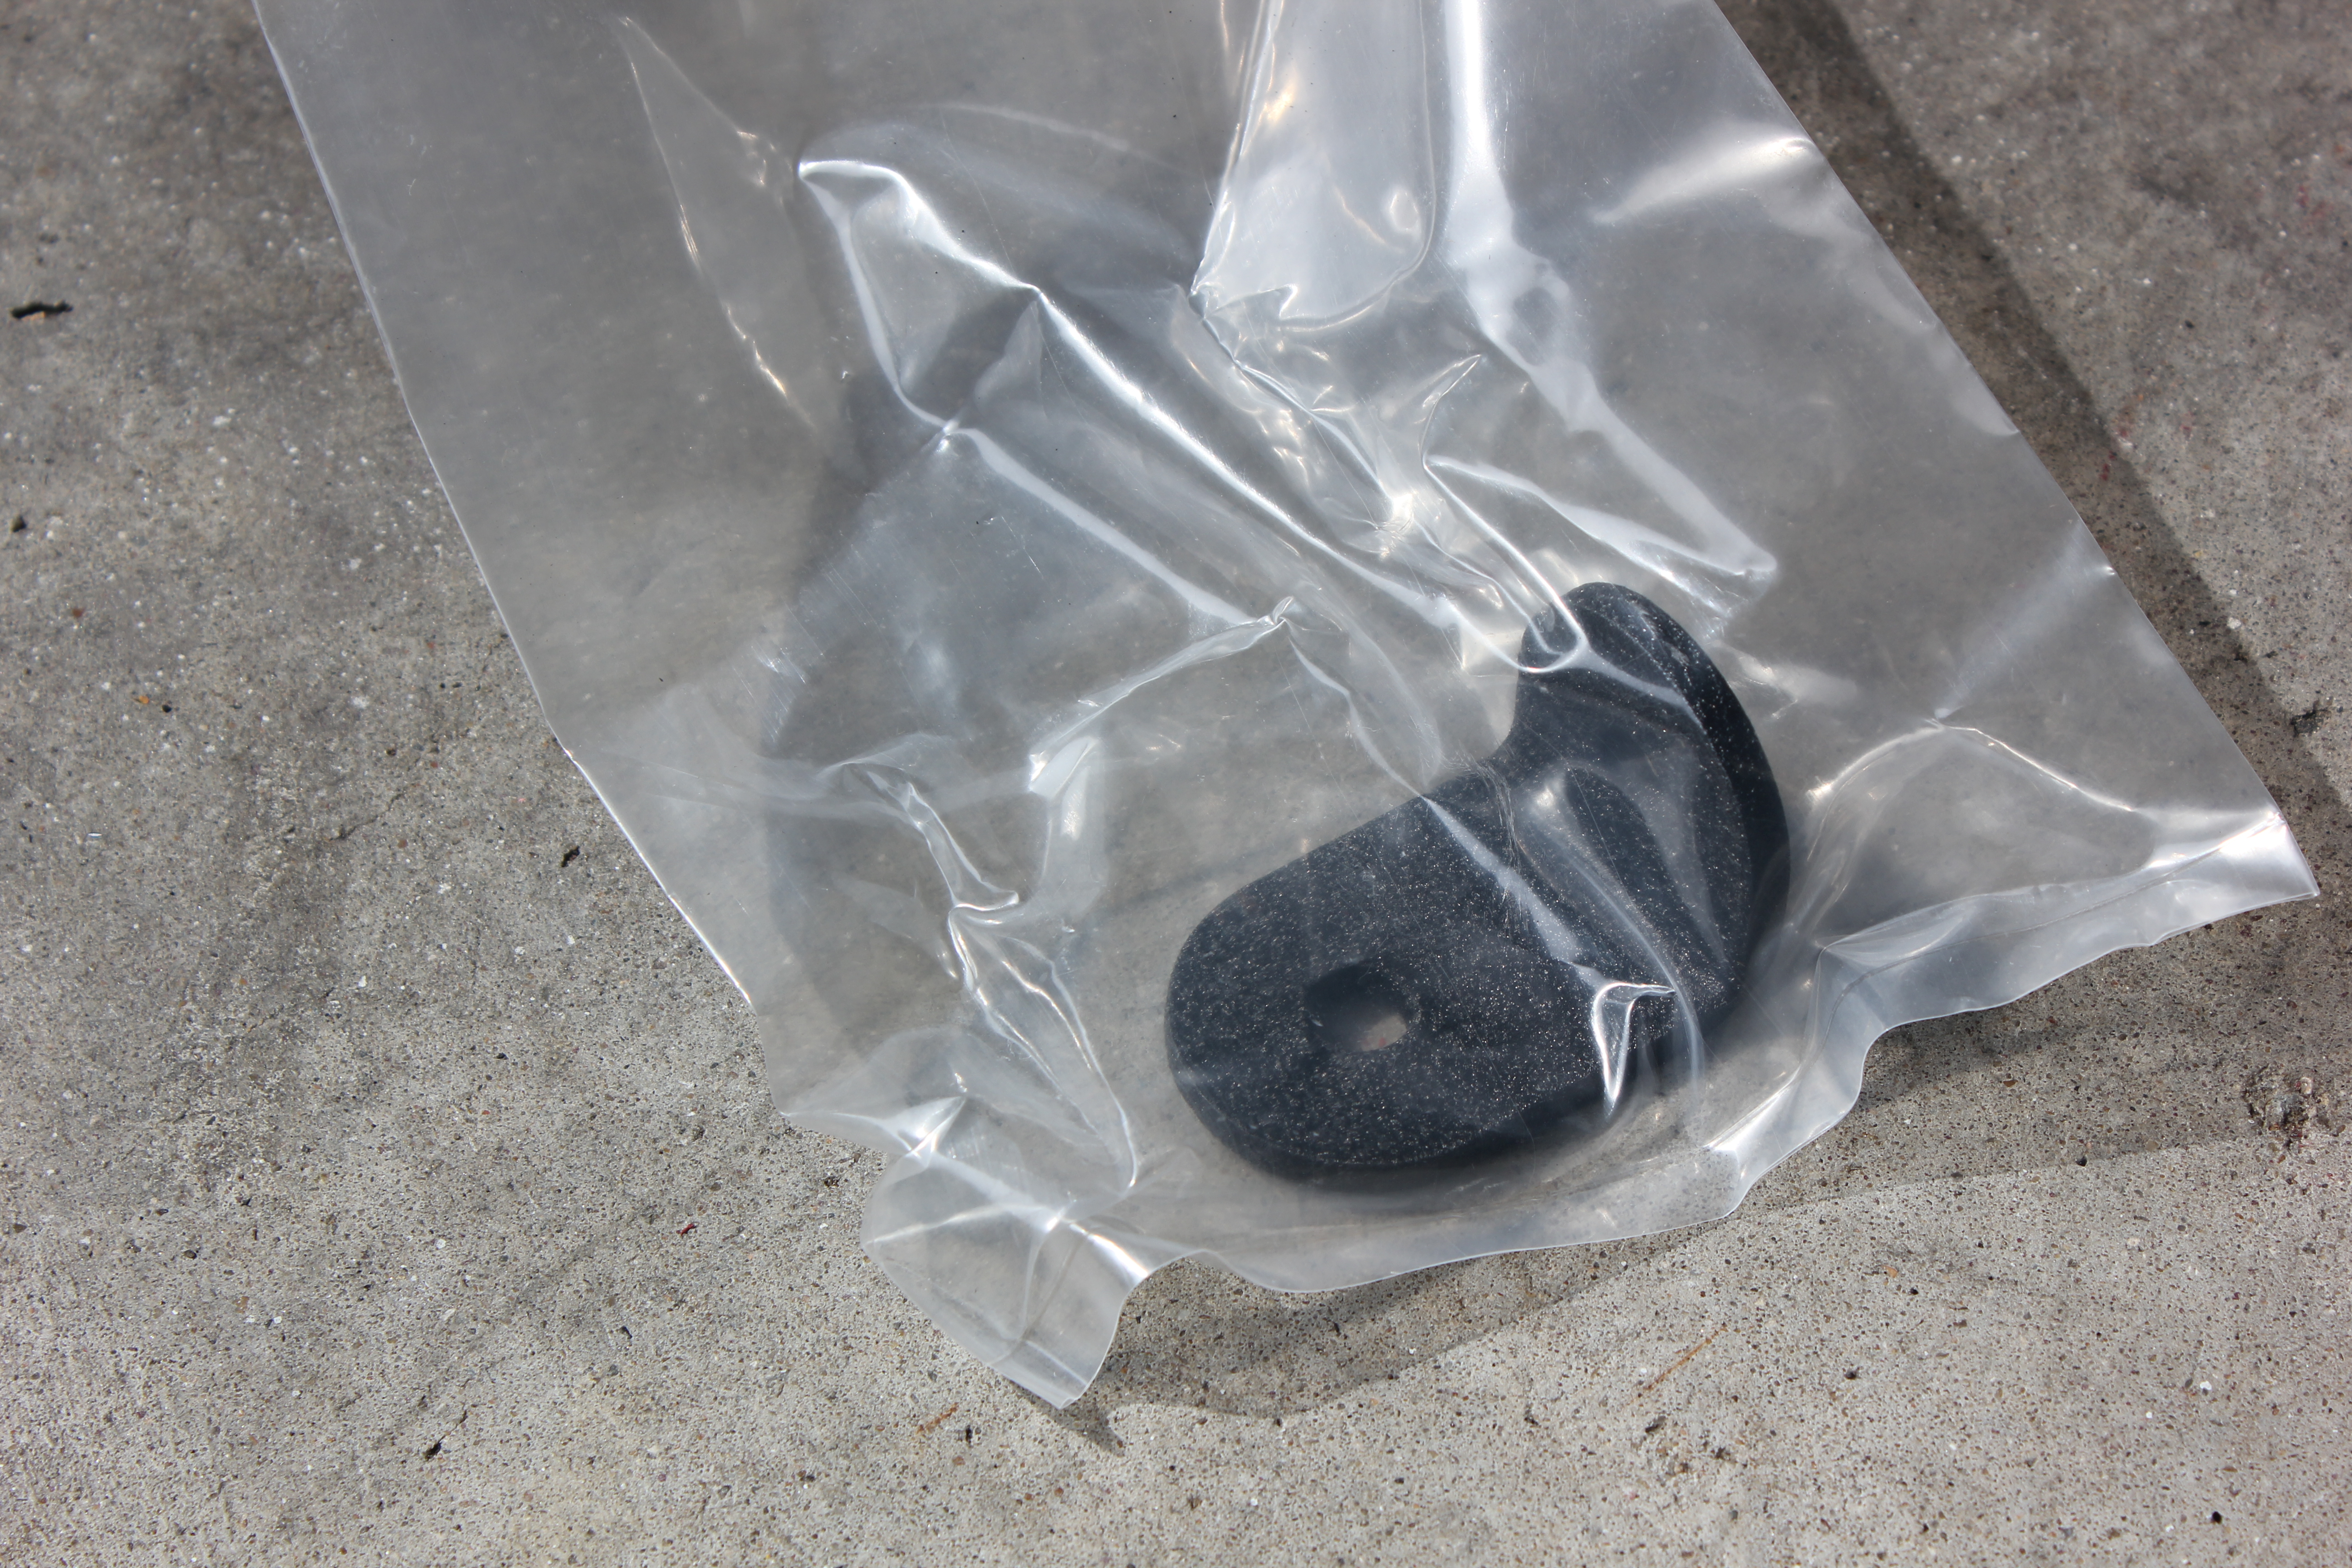
Before you mount the bumper, you’ll want to install the striker for the swingarm and also the rubber stoppers:
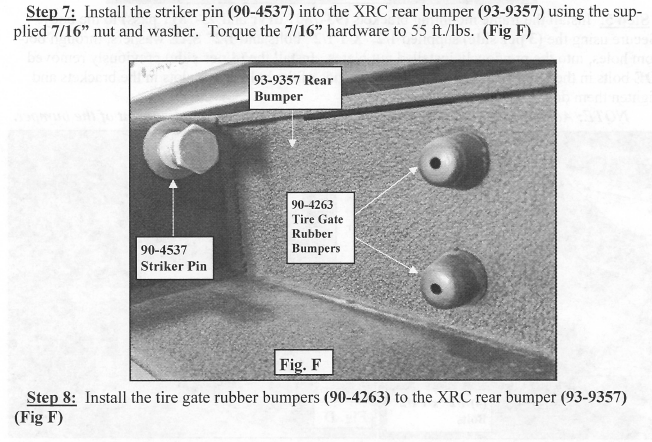
What the instructions don’t tell you is that those rubber stoppers are in the package with the tire carrier, not with the bumper.
So don’t freak out when you can’t find them. I ended up proceeding without doing the stoppers because I didn’t have enough space to open up the tire carrier box and look for the stoppers. Trying to put them on after bolting on the bumper was problematic. I got it done, but it was painful. I suggest digging them out of the tire carrier box before mounting the bumper.
The instructions then list two Step 9s:
But I guess that’s okay because they’re really the same step.
Now, if you’ve followed my advice a couple of paragraphs up, this will probably go pretty smoothly. I would highly recommend a second person help you out here. My wife was 7 months pregnant and my neighbors were out of town, so I did a stupid thing and used a Hi-Lift jack to get the bumper in place.
I think I only dropped it once. Now, because I had tightened down the brackets already, and they were slightly more than “slightly less than 34 inches apart” I couldn’t easily raise and lower the bumper along the brackets. I had to use some ratchet extensions inserted through the bolt holes to get everything to line up properly. And then I had to take it off and grind the brackets down as previously mentioned.

Not. Aligned. At all.
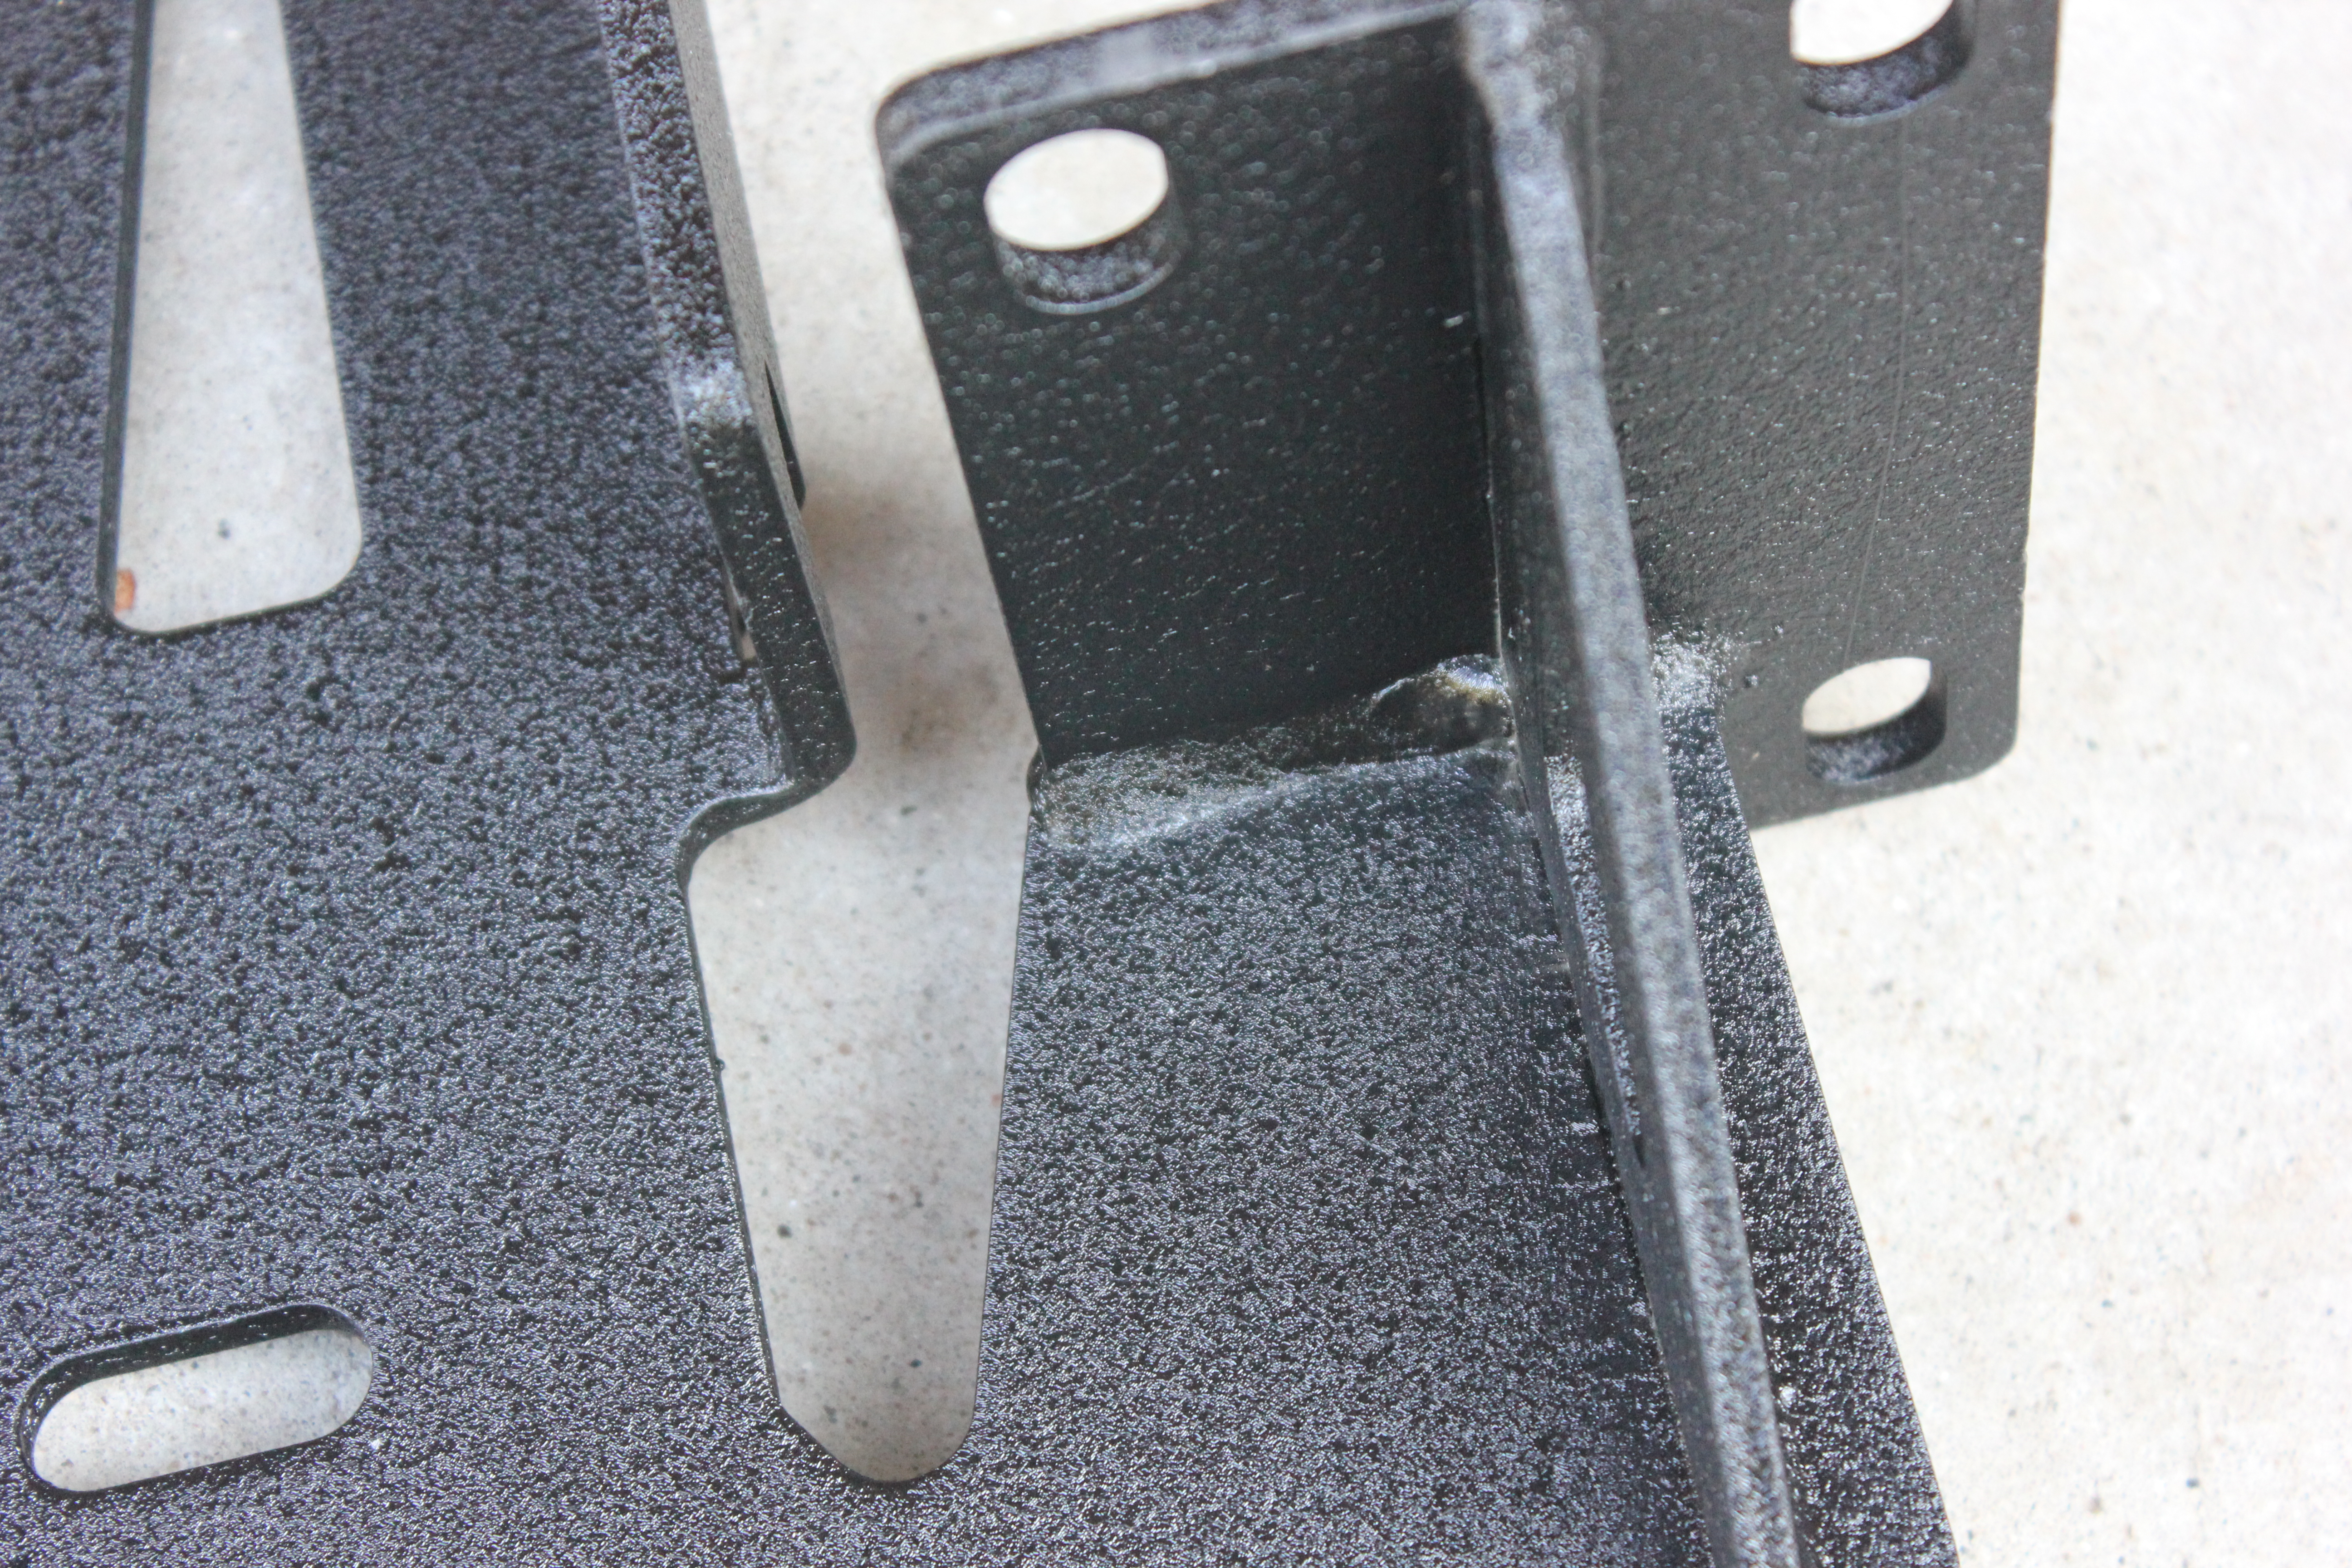
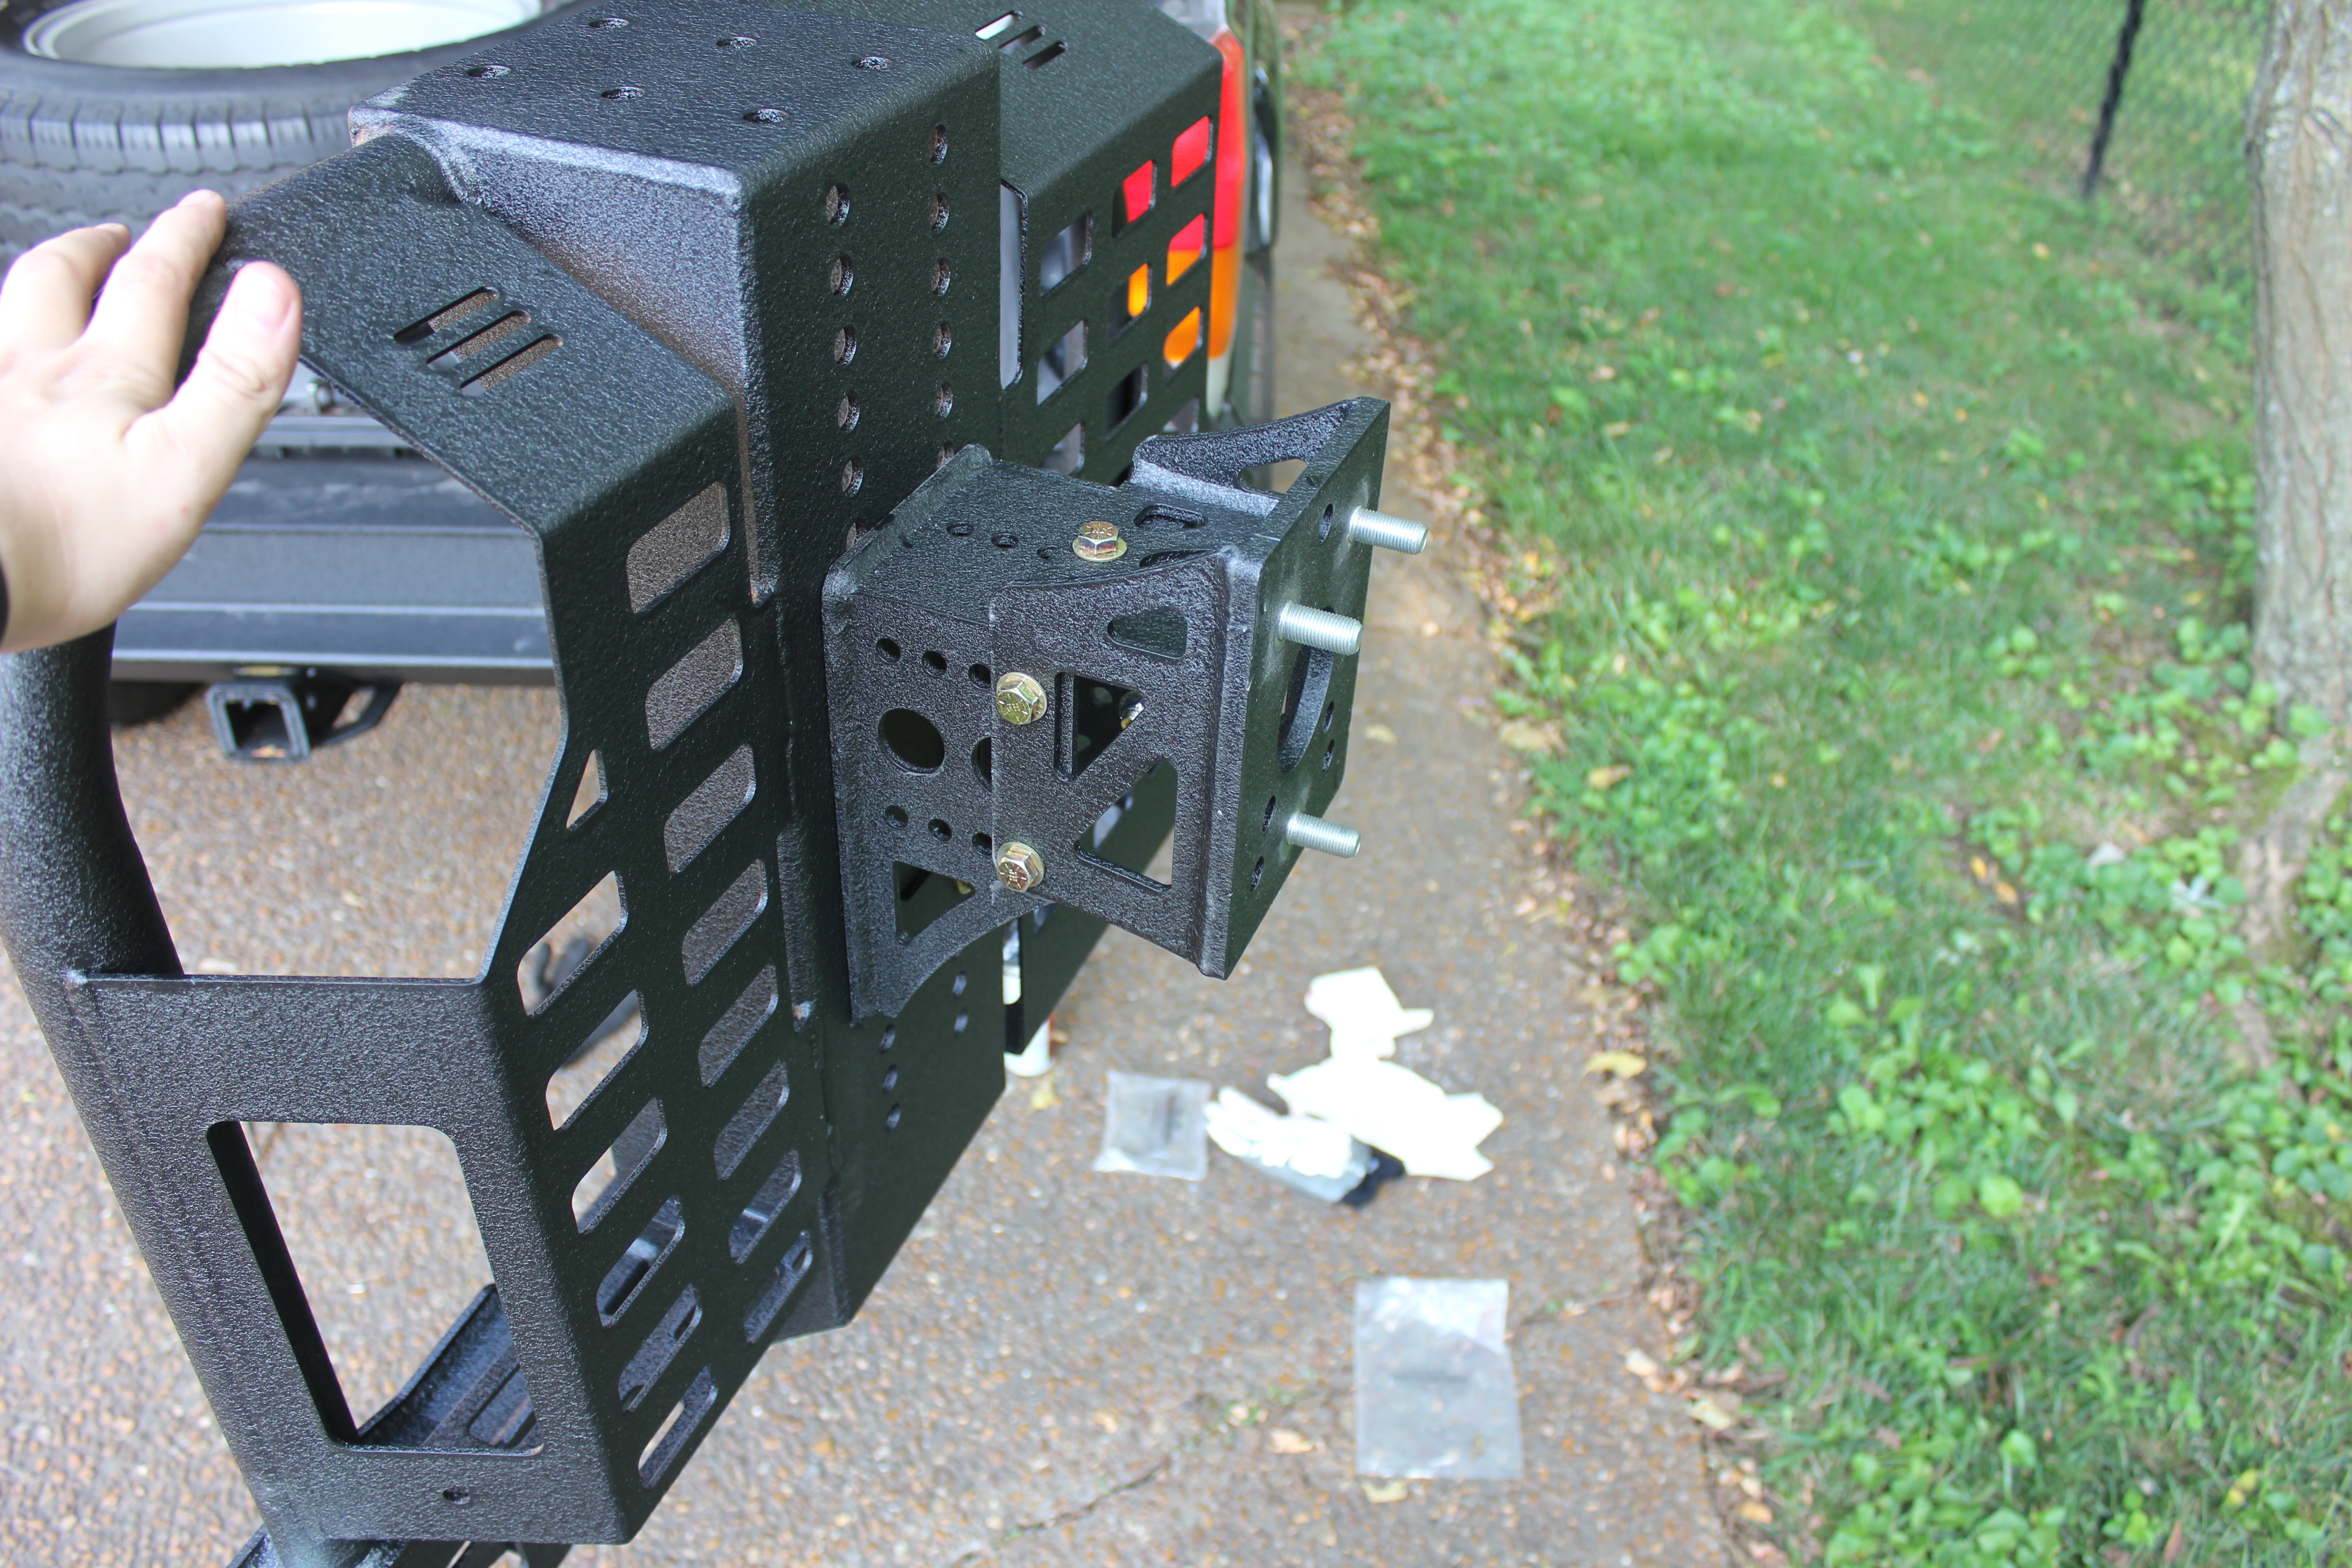
Like I said, I had to pull the bumper off and do some grinding. So here’s the brackets after:
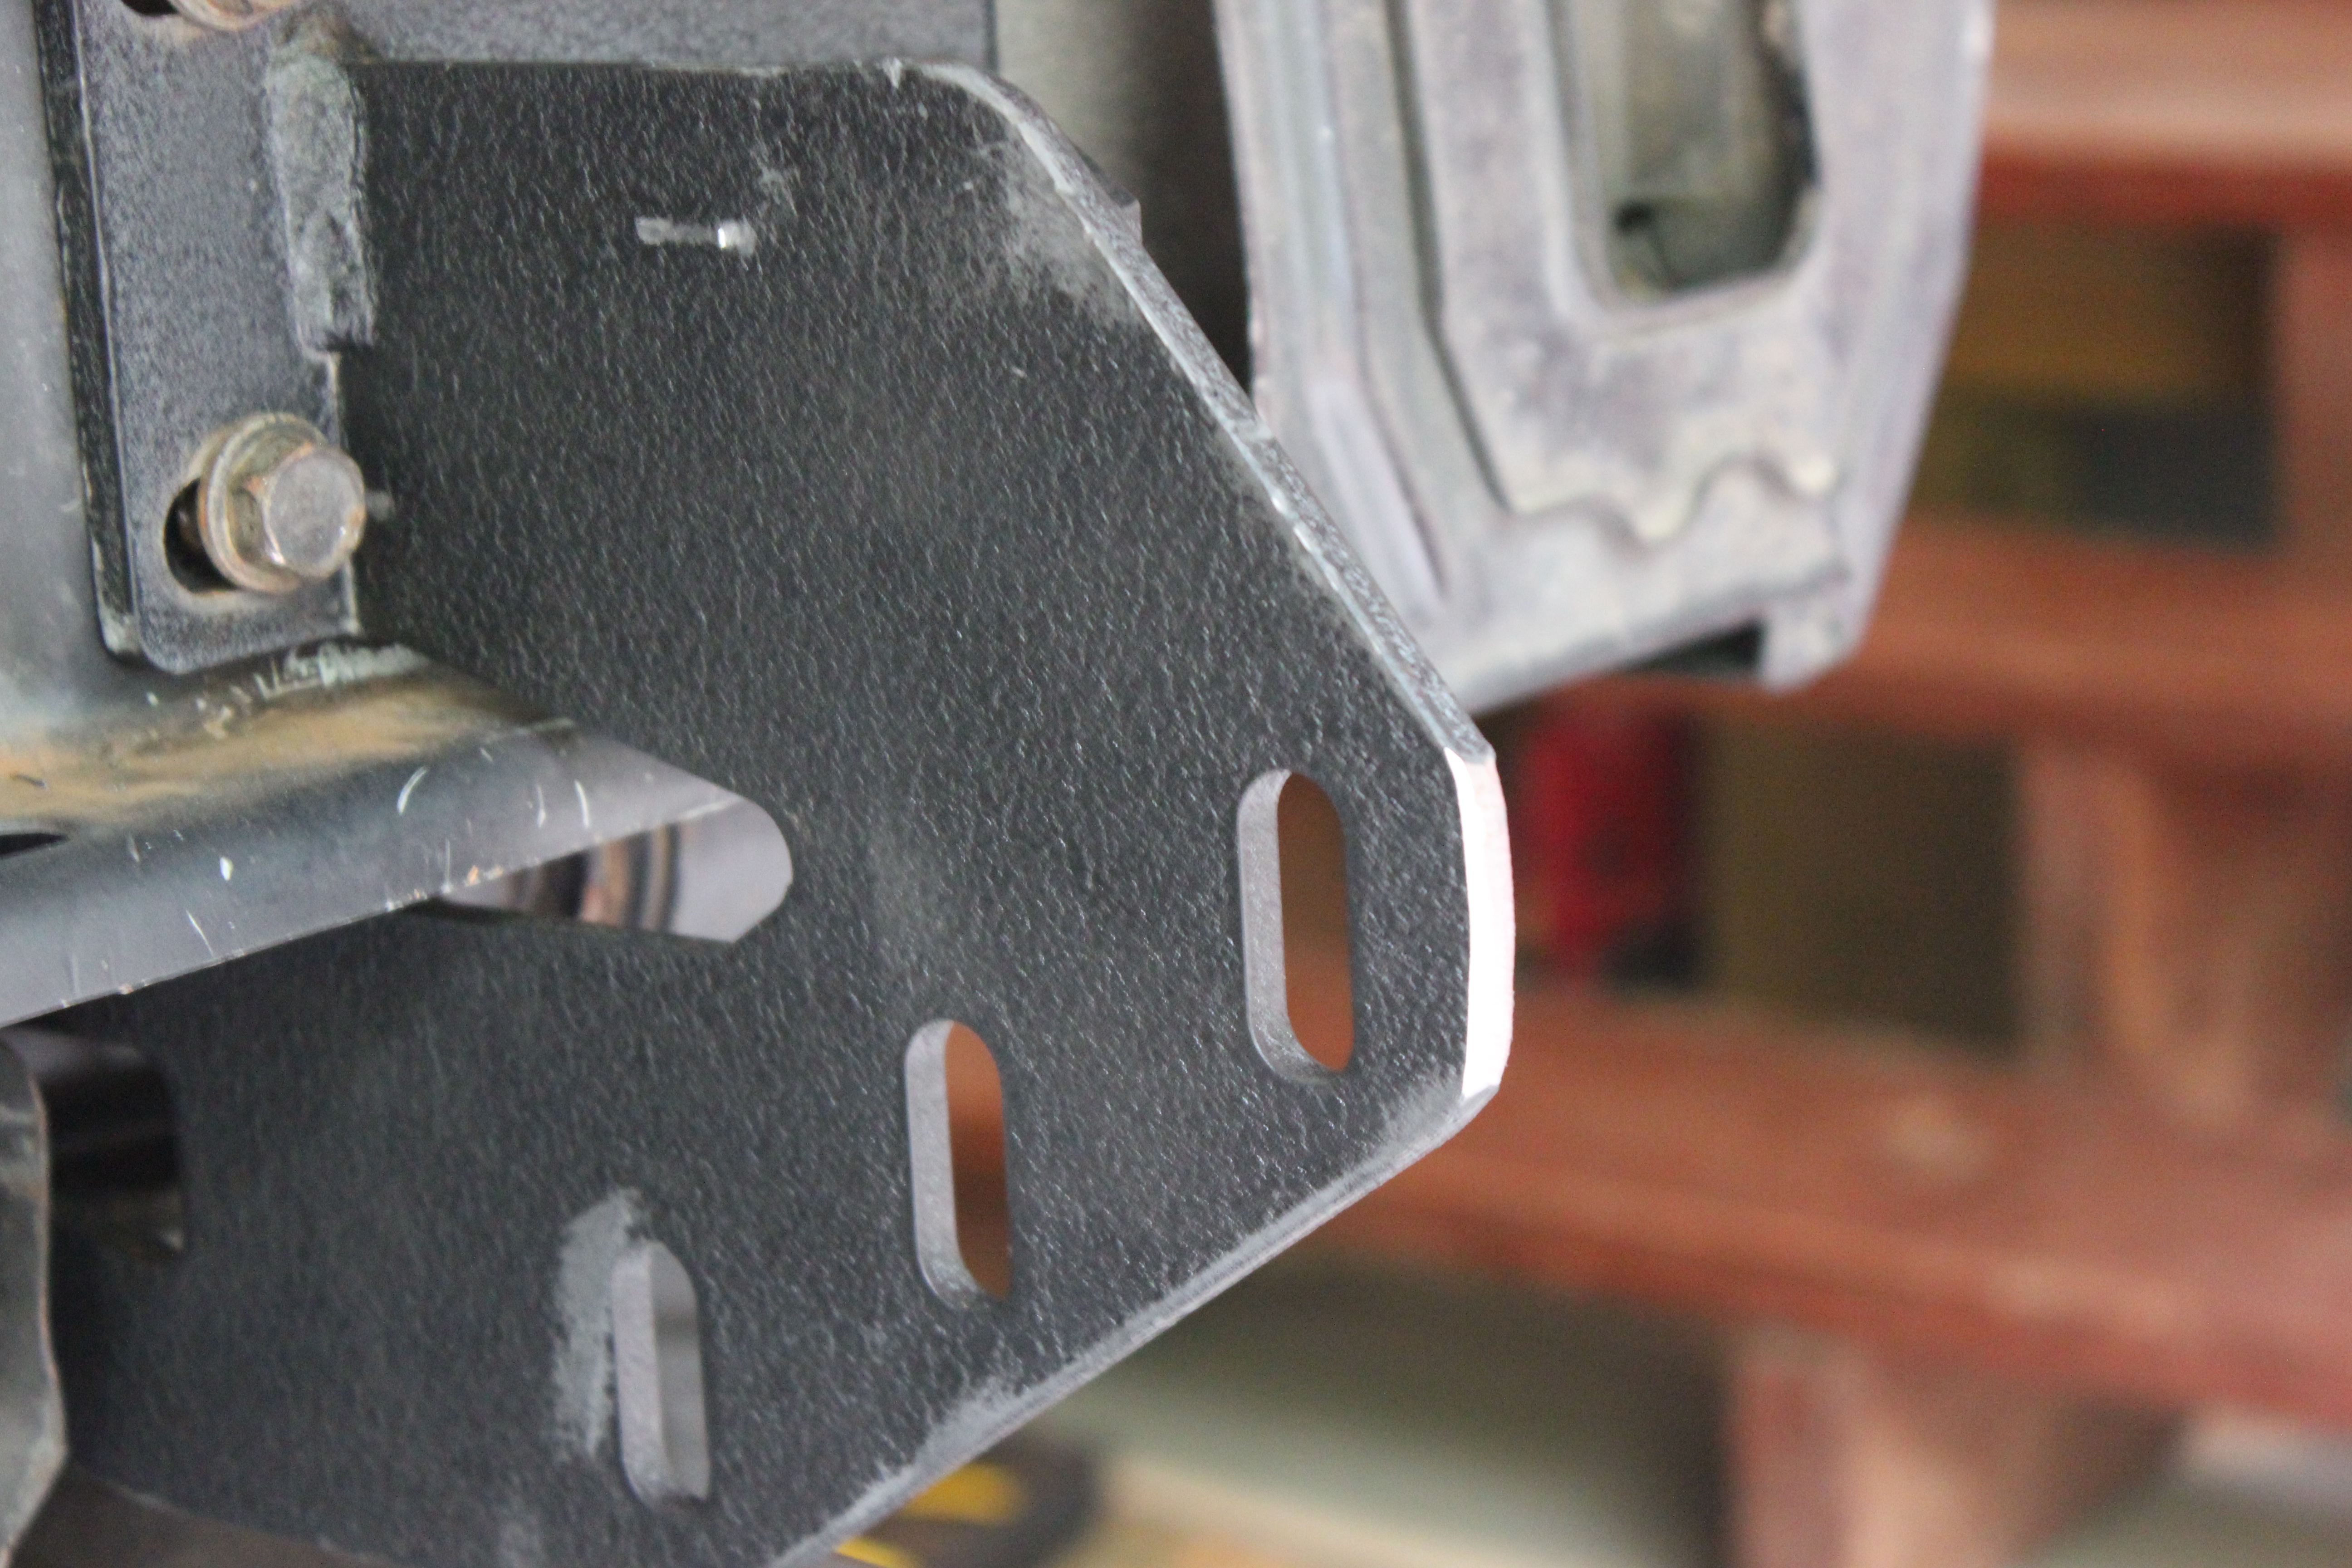
So skipping ahead to where it’s actually mounted properly and (mostly) aligned, I was very excited and went to close the hatch and take a shower. Then I found out that mostly aligned wasn’t quite good enough. The hatch hit the bracket for the swingarm, so I had to grind it down too:

More spray paint and it was good to go.
On to step 10:
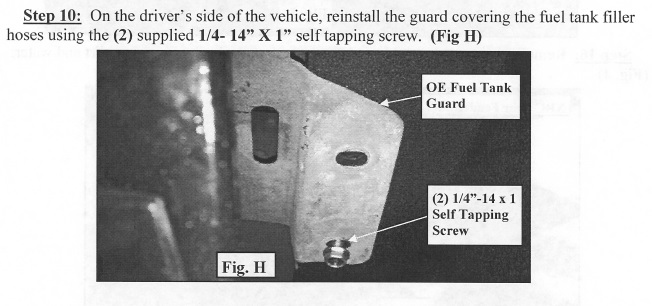
Pretty self-explanatory and straight-forward
Step 11:

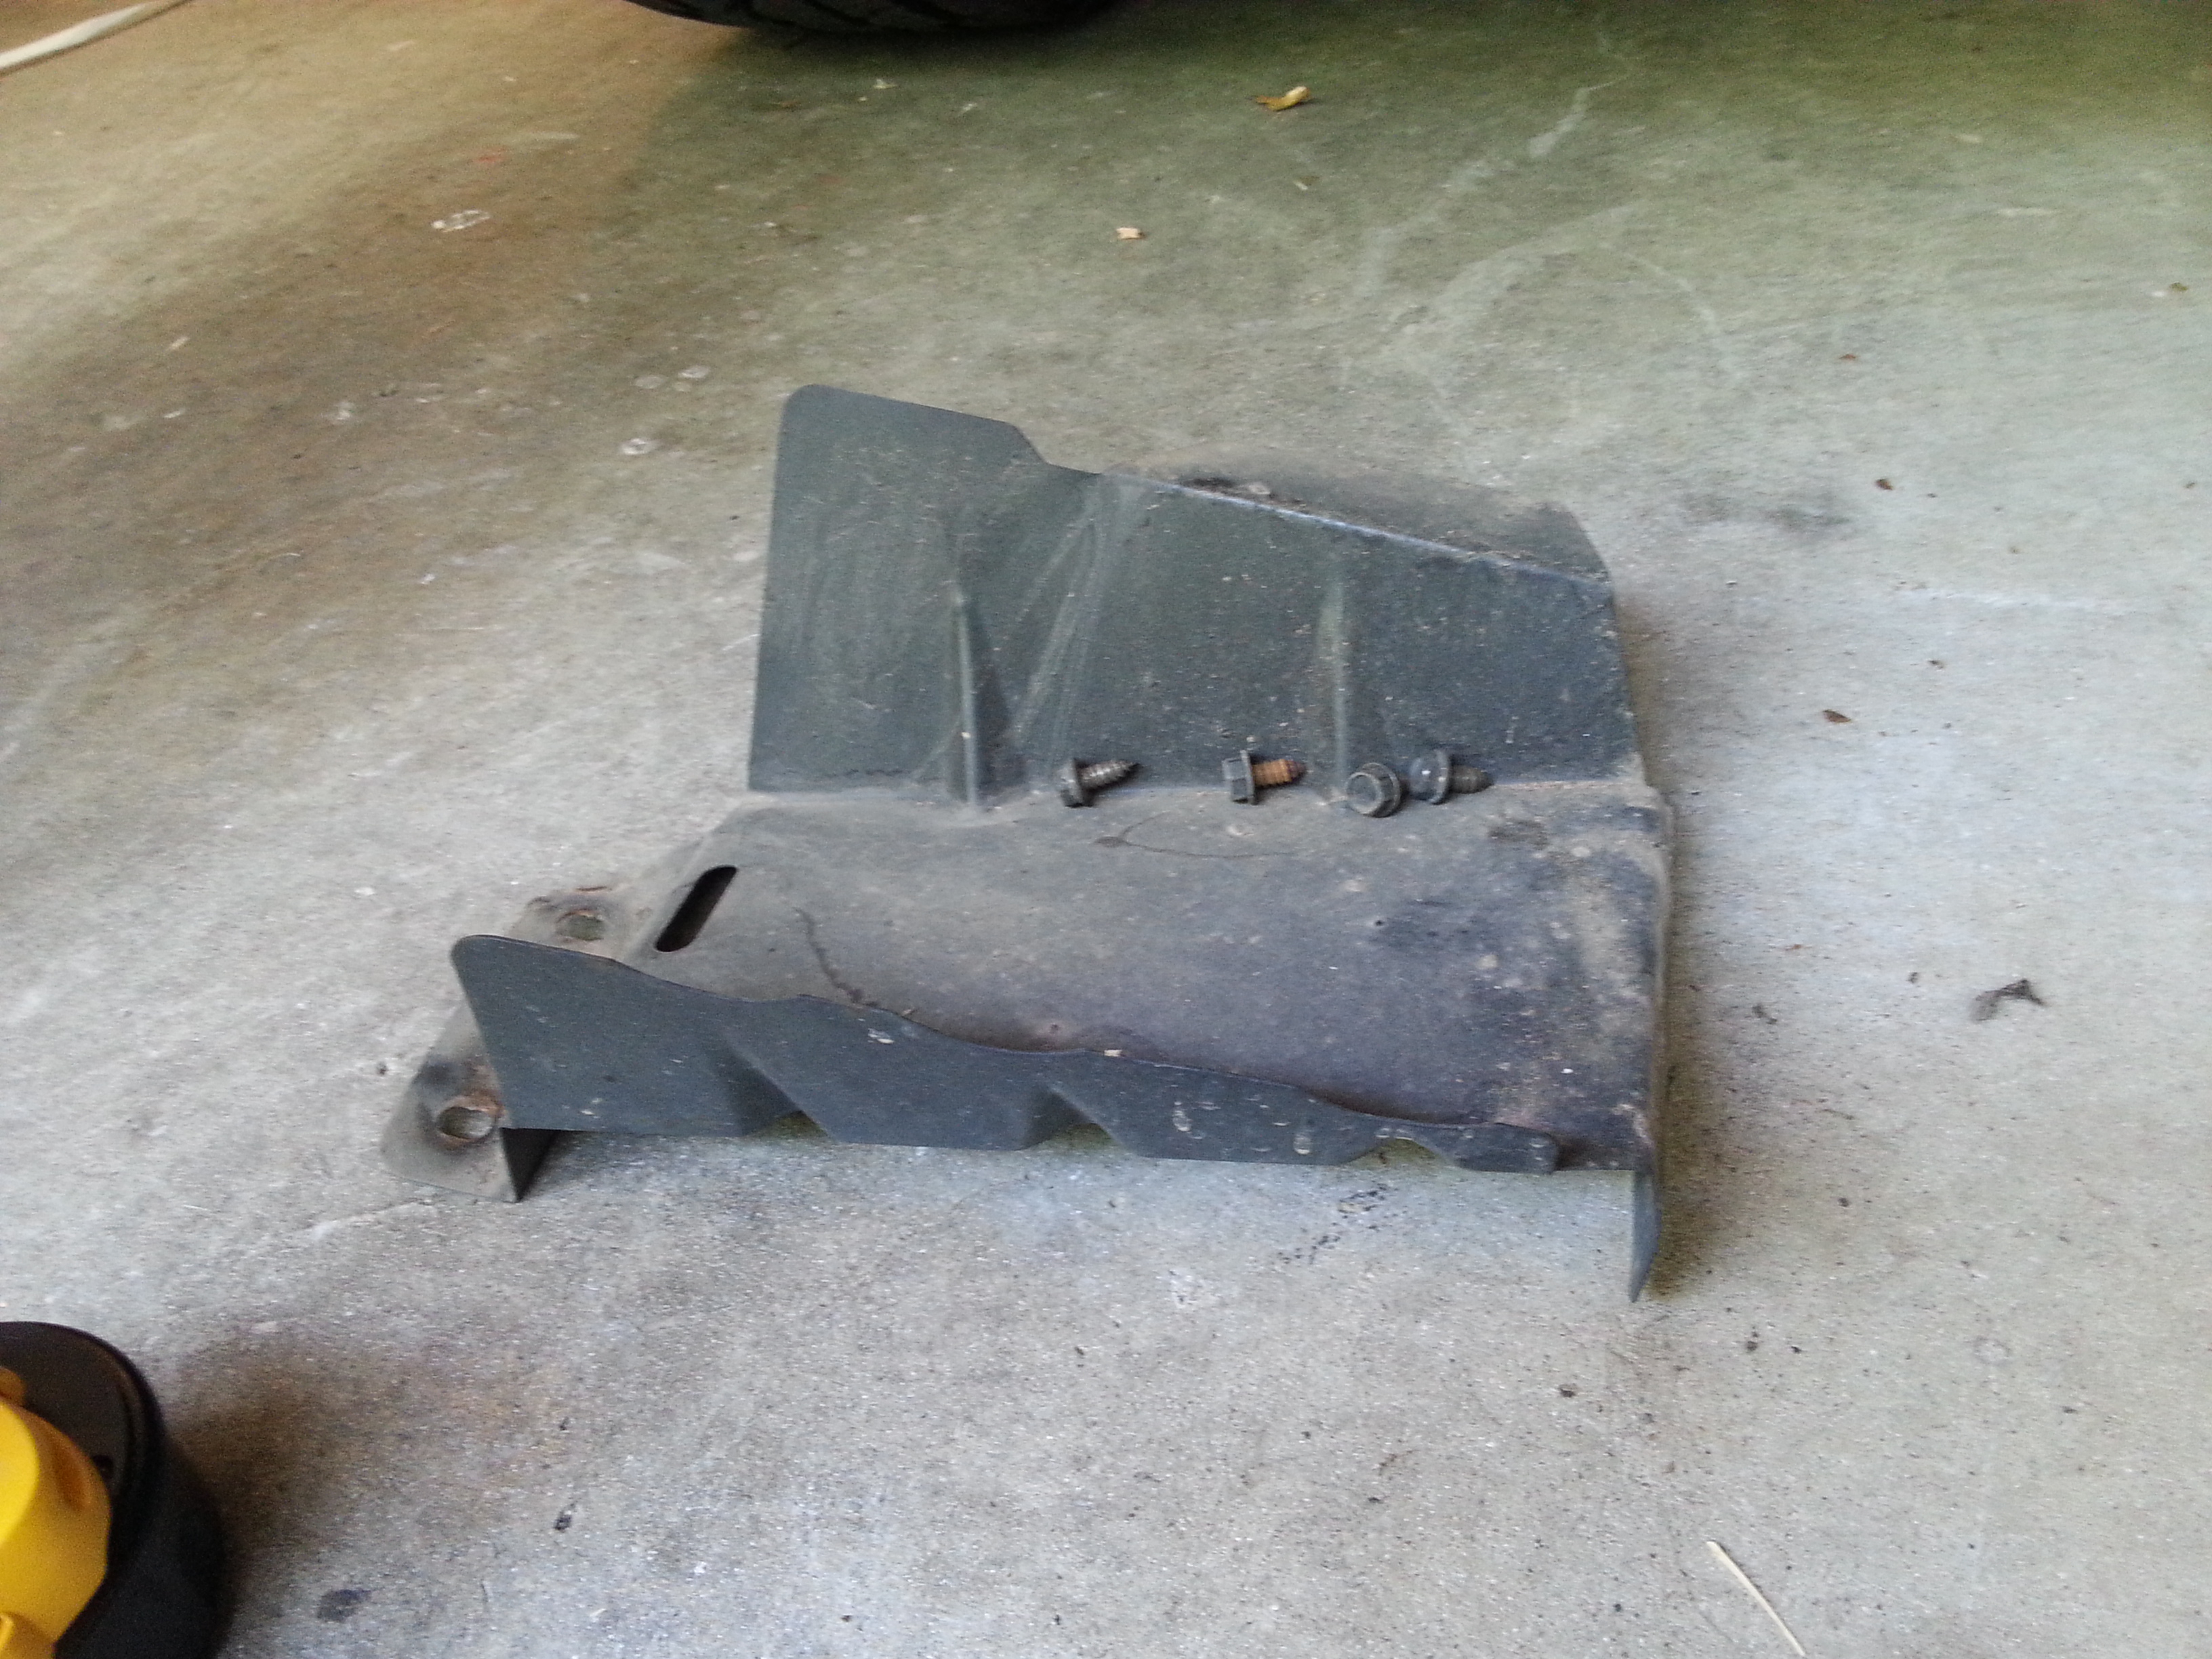
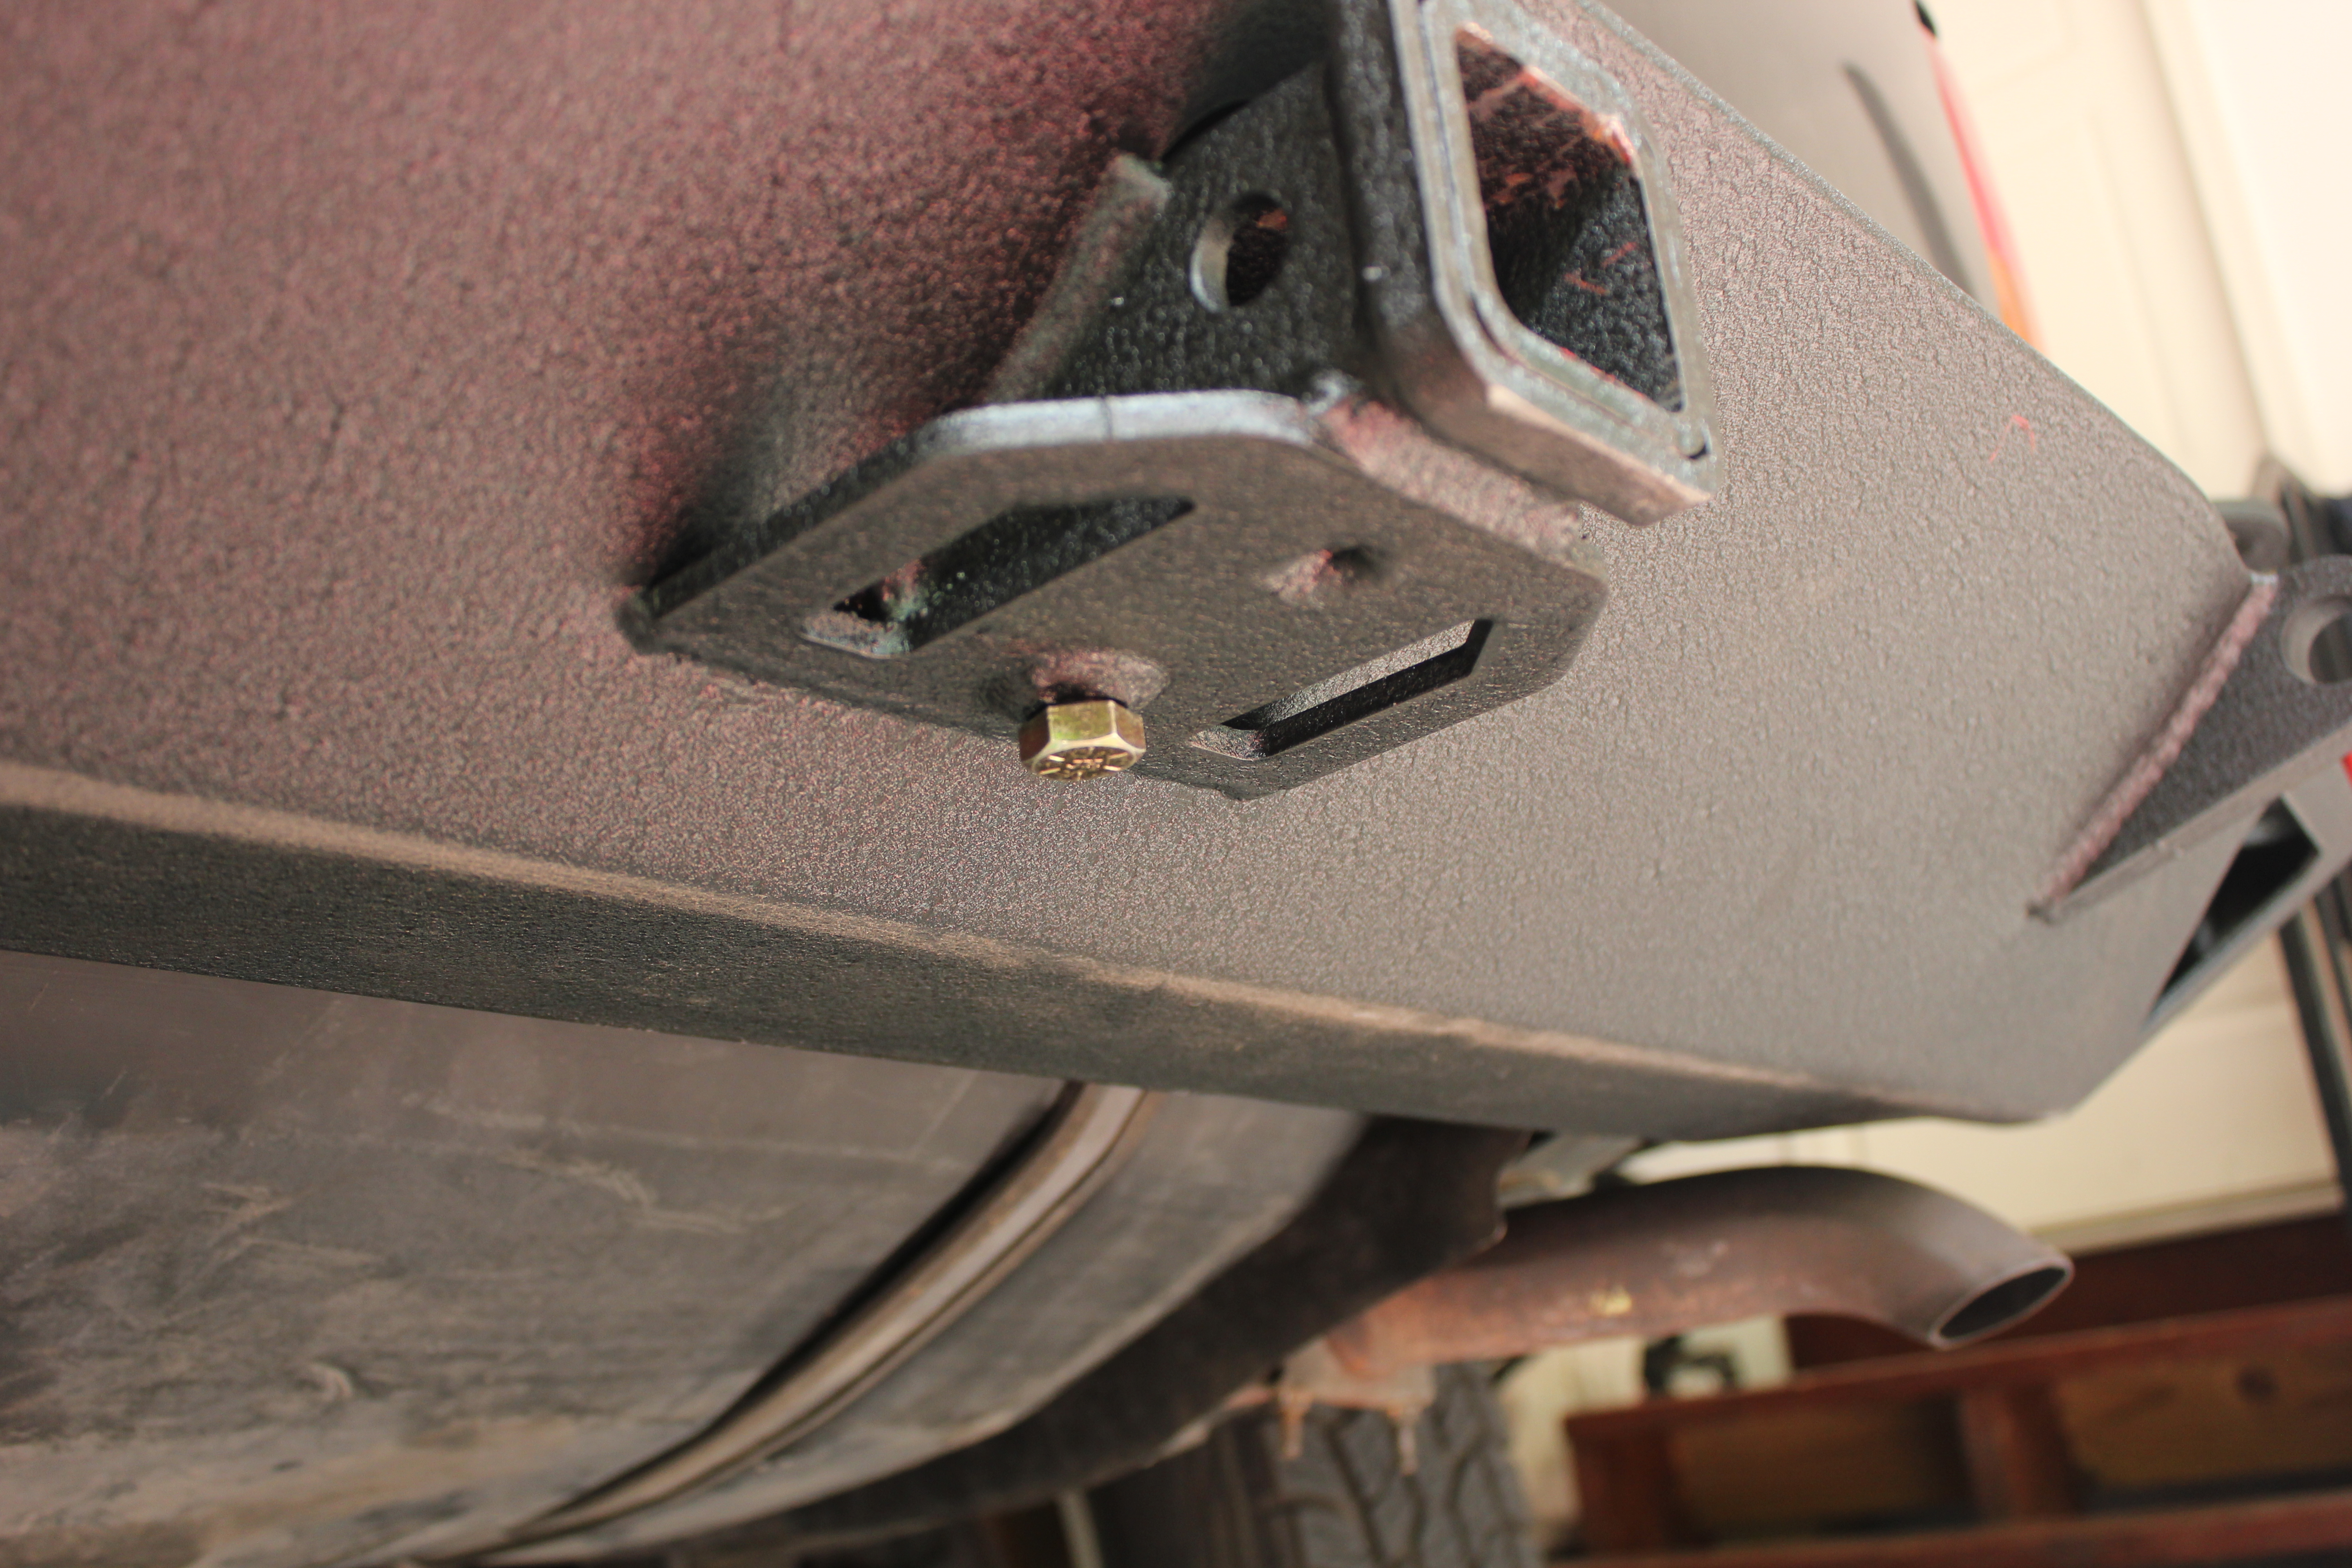
I already covered this, but on 97+ XJs this is impossible. You have to sandwich the OEM exhaust hangar bracket and gas tank heat shield between the bumper bracket and the frame rail, as shown here:
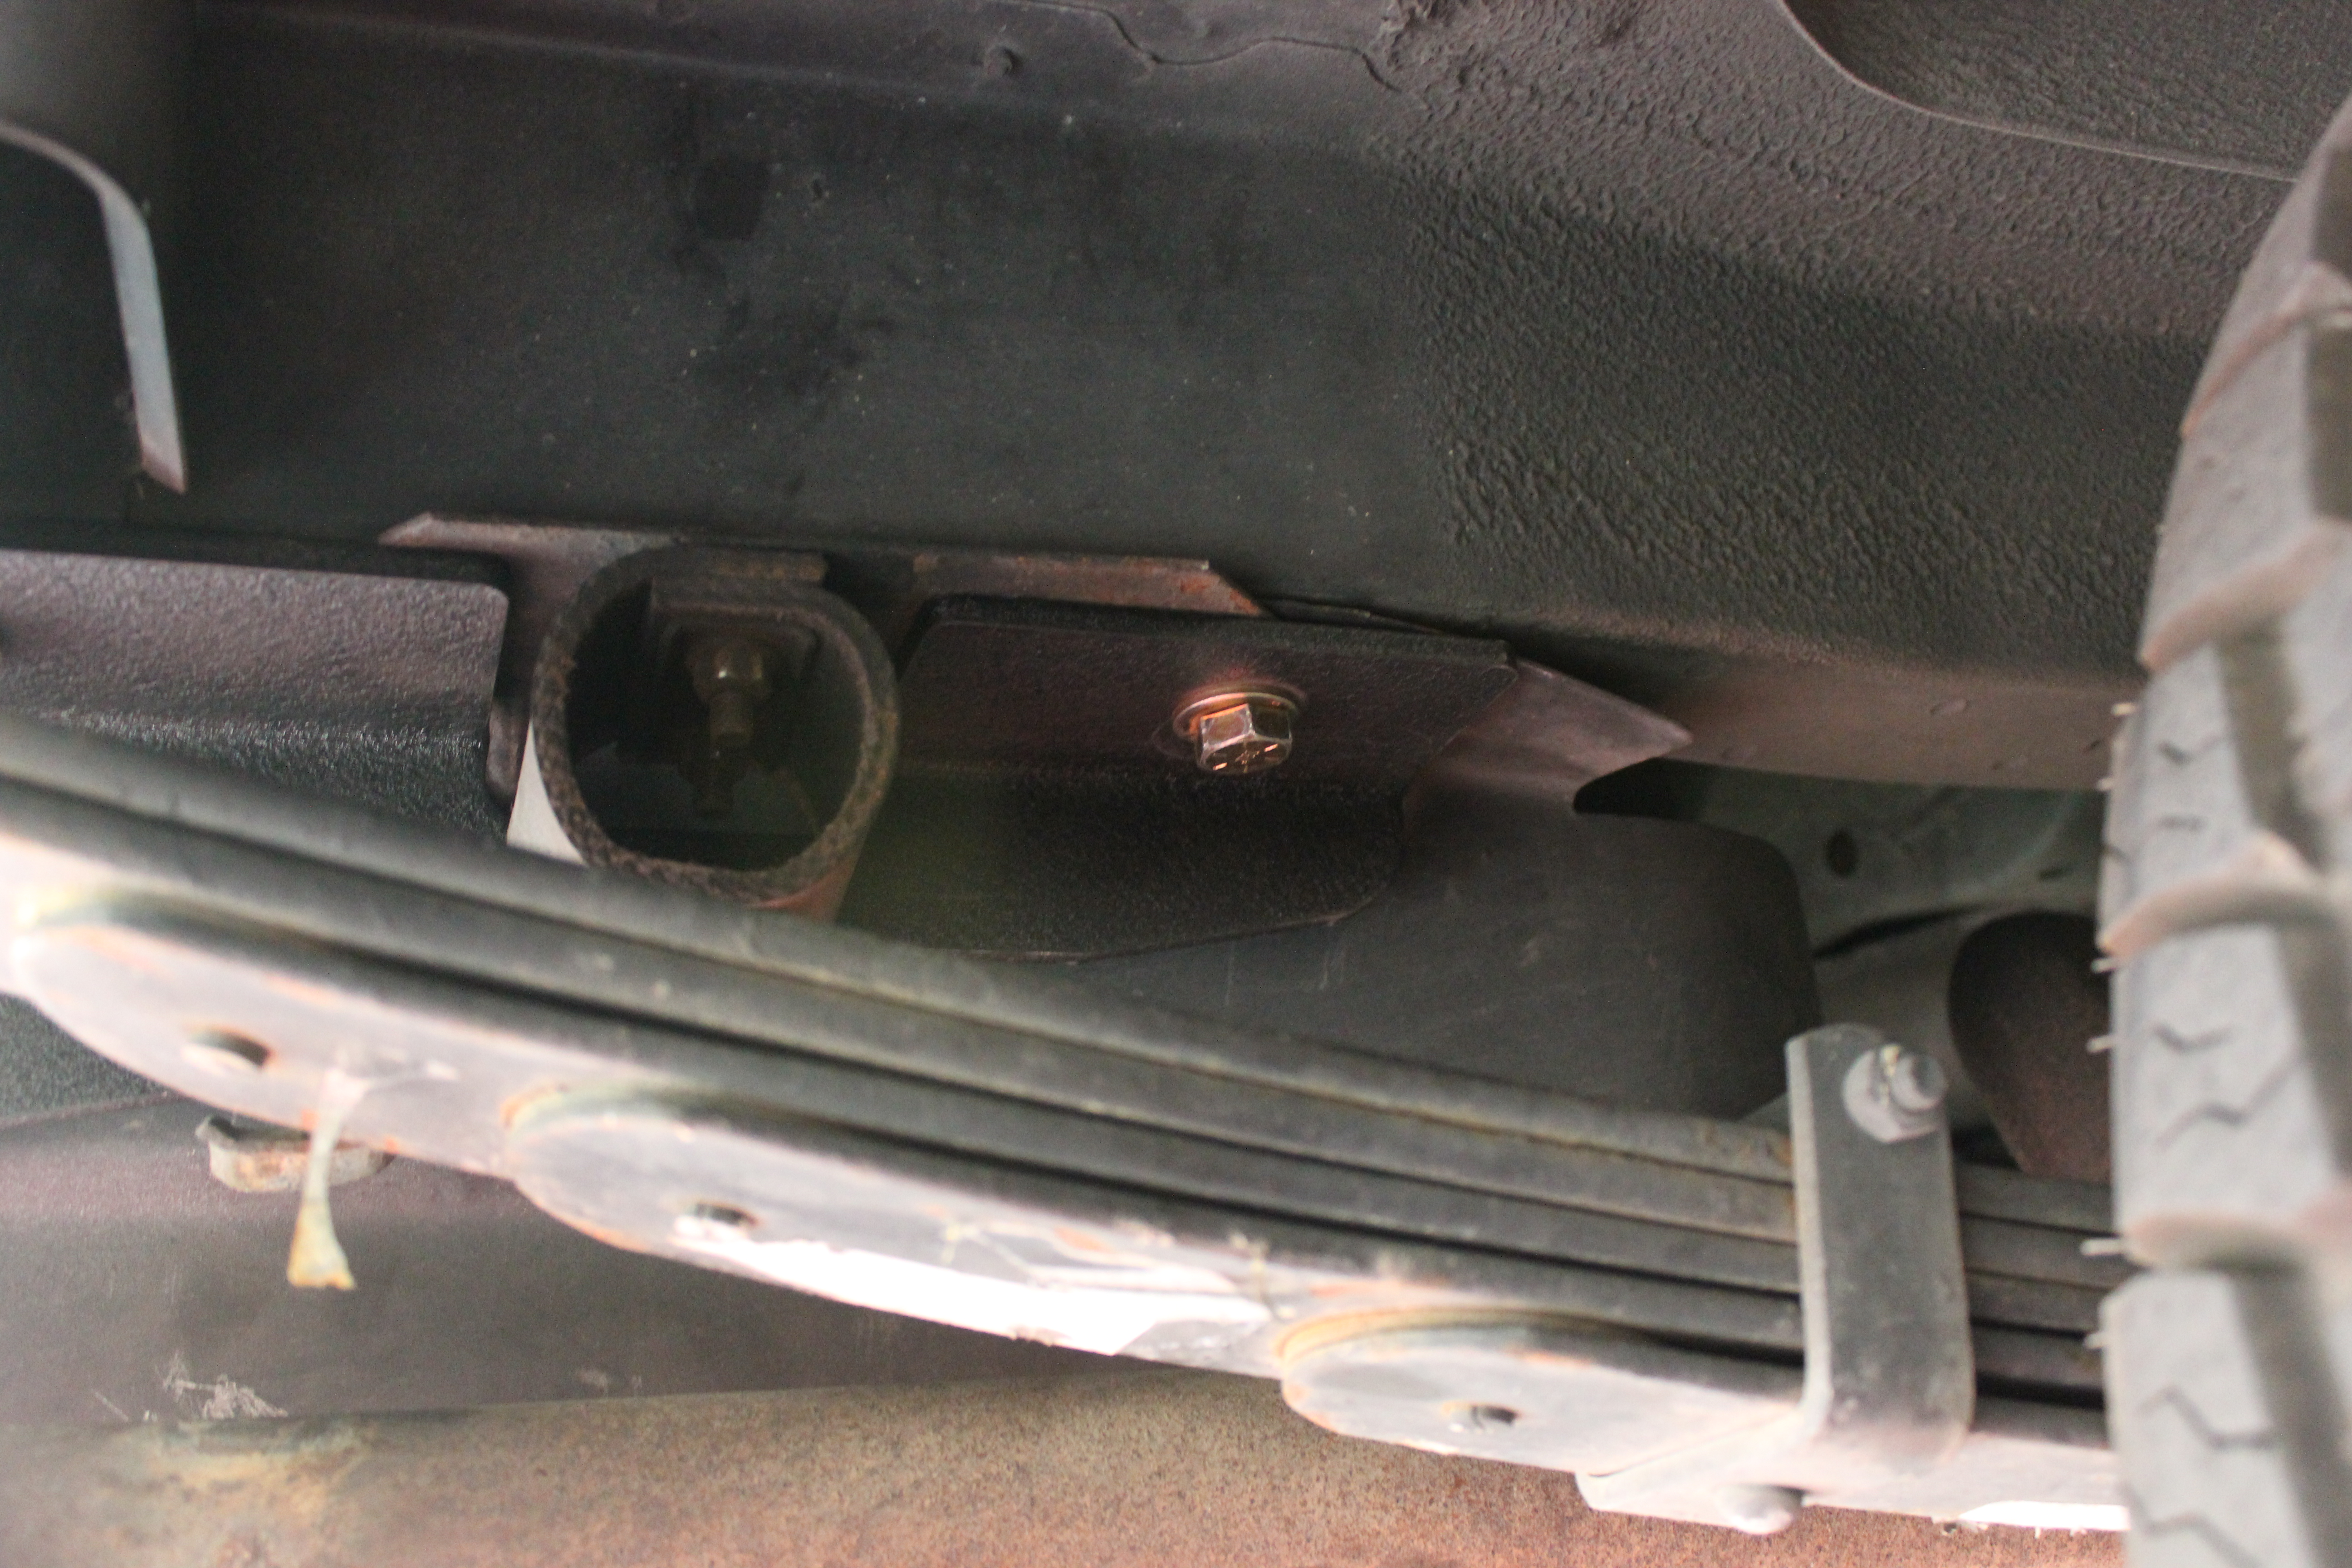
Step 12:

I’m pretty sure they mean for you to do that with the hitch installed in the receiver, but as I mentioned earlier my receiver is out of spec so it doesn’t matter. But this is what they’re talking about:
Step 13:
![]()
What they mean is that you need to drill out the rivets in this piece:
So that it looks like this:
I know it’s scary, but that’s the only way!
So now it’s time to mount the fender skins. Again, we see that this was really built for pre-96 models because they don’t fit exactly the way they should.
Step 14:

Now, they don’t say why you should pay special attention to that, but I guess maybe you wouldn’t want to have the rear of the skin hanging off the back? I don’t know.
Step 15:
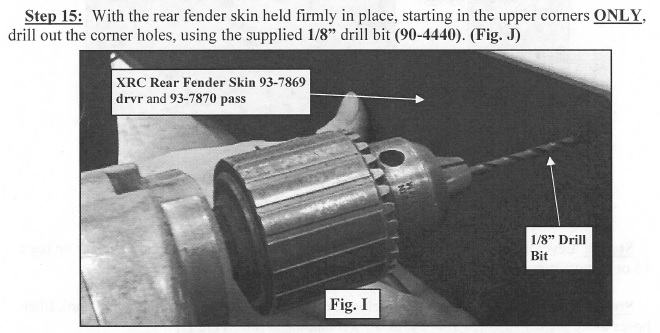
Fun Fact: On 97+, the front upper corner rivet doesn’t make contact with the body. I don’t think any of the front ones do. So do the top rear and top middle instead.
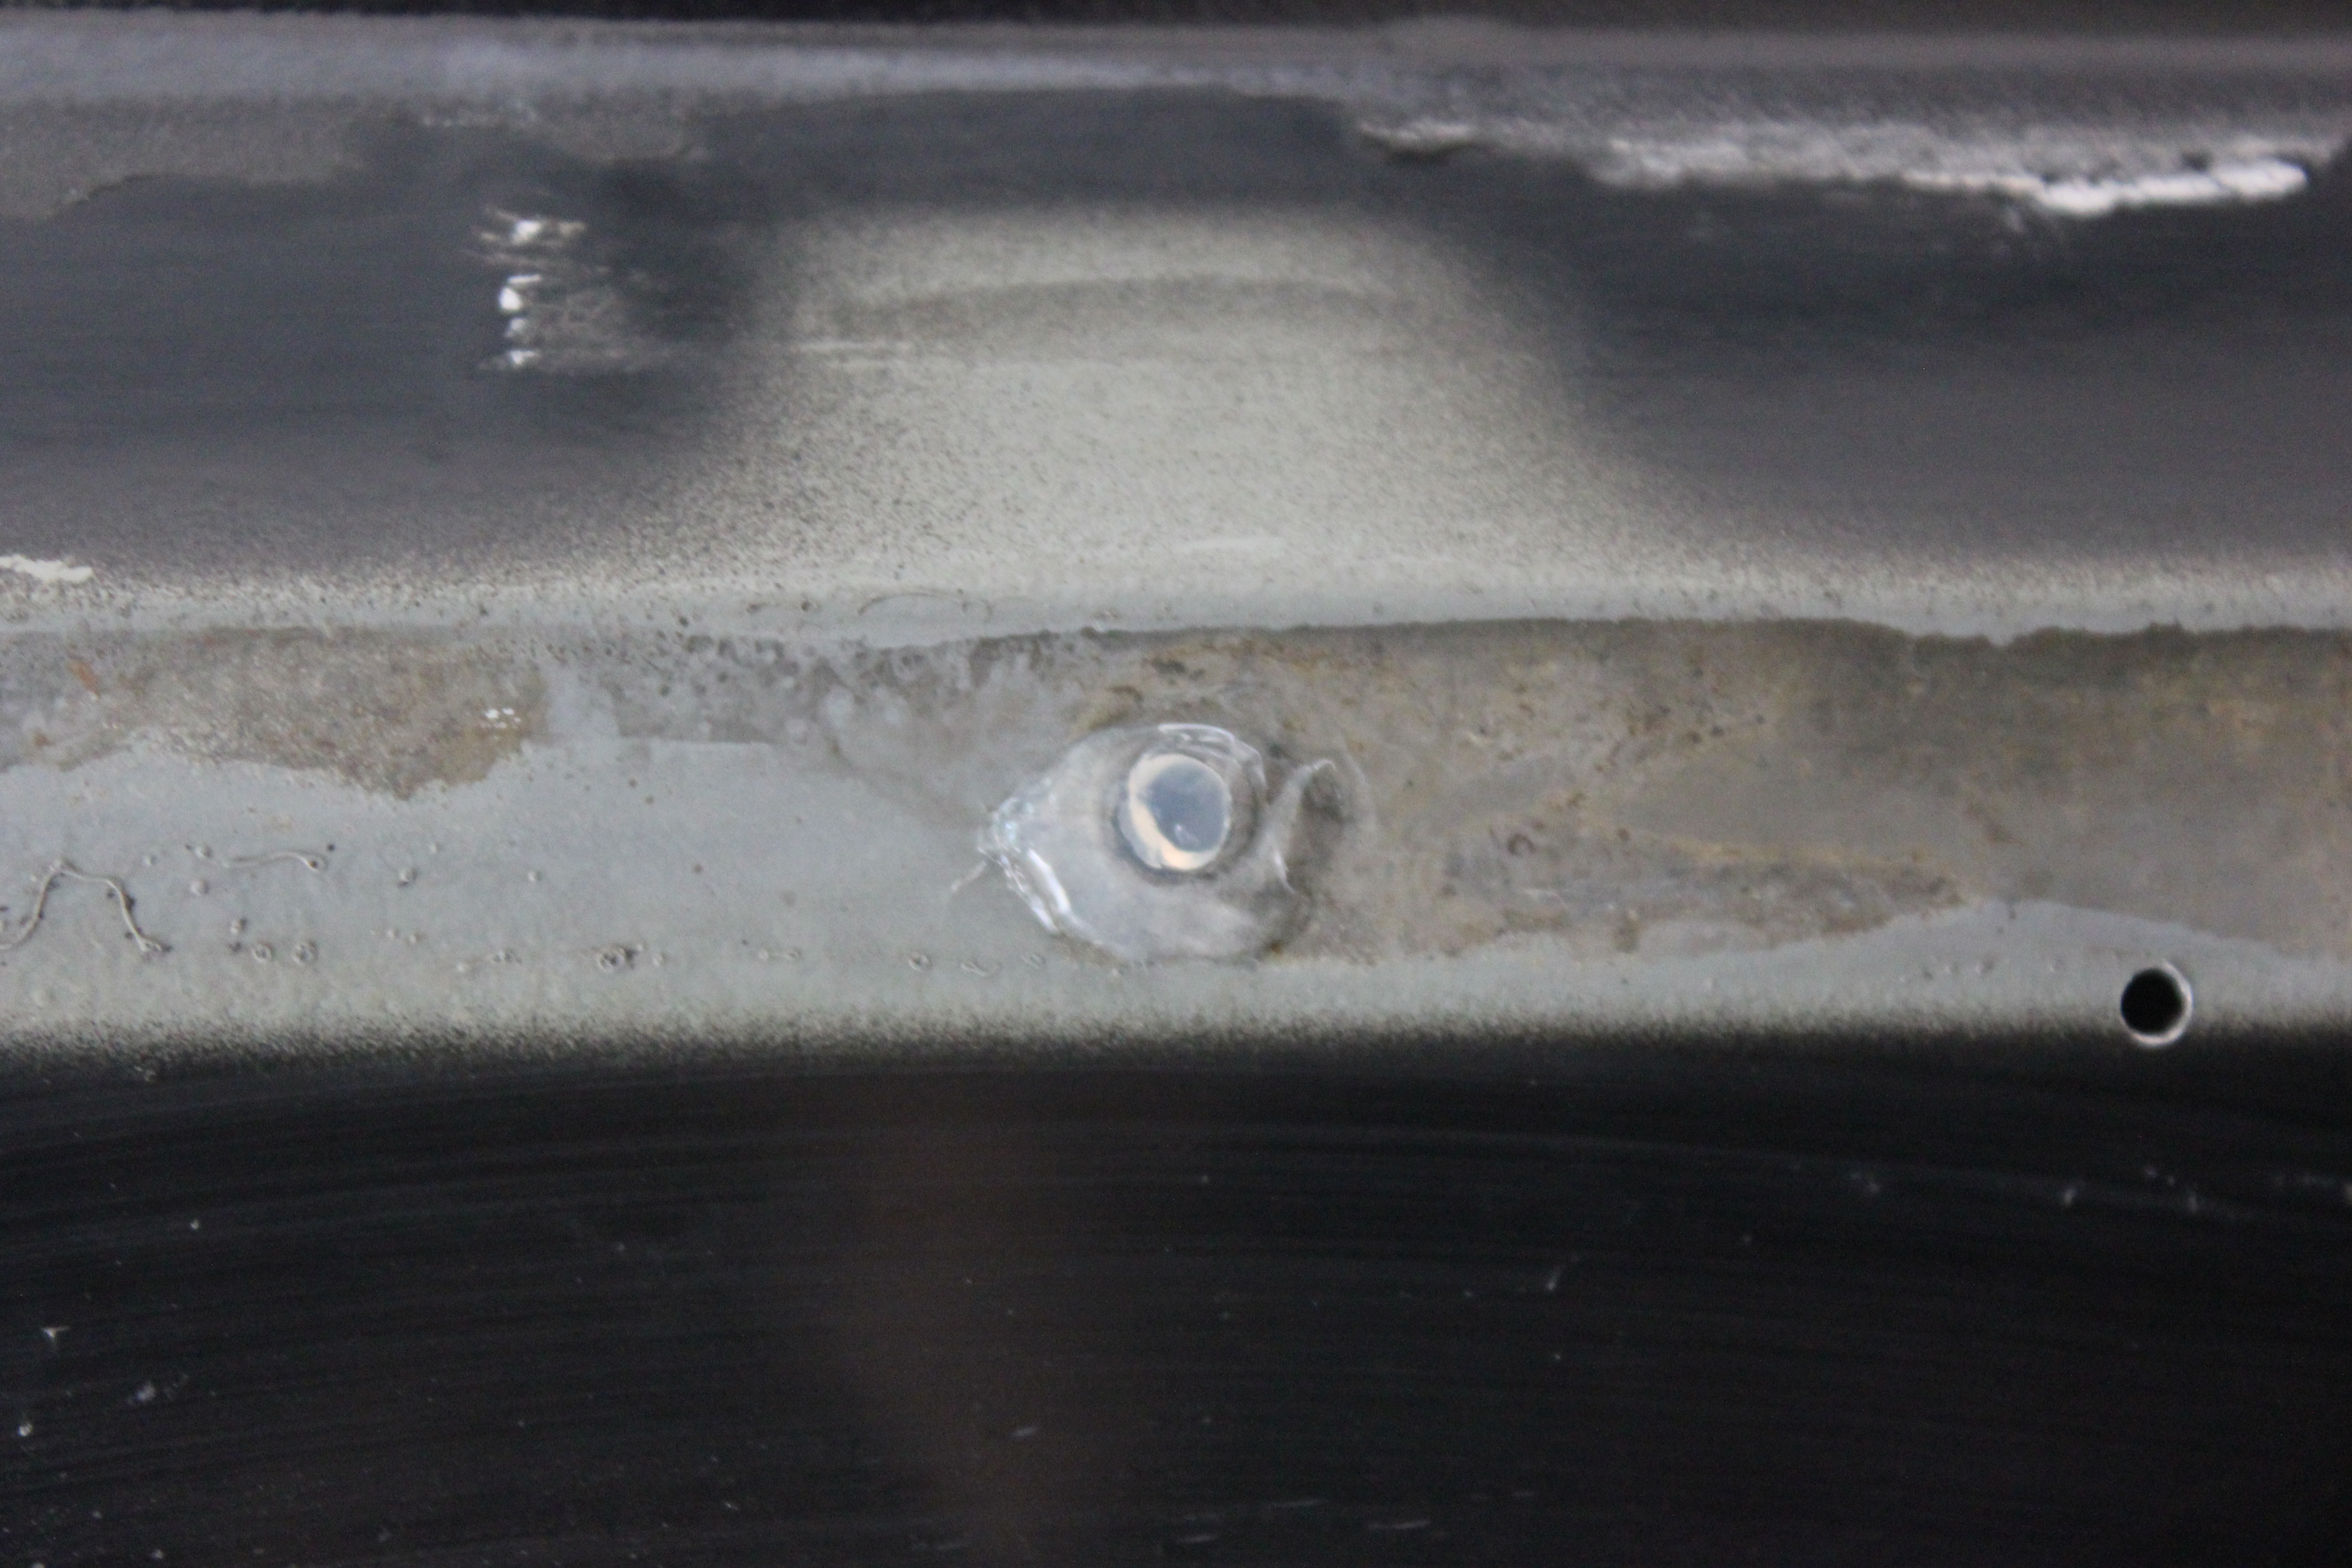
Step 16:
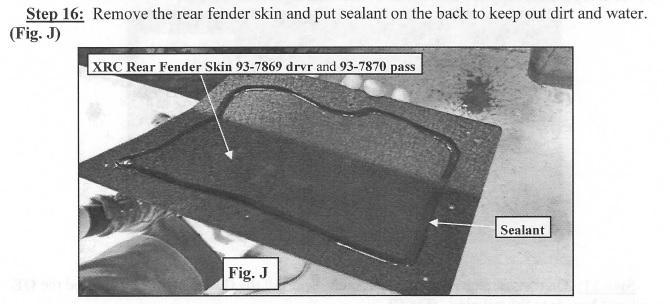
Again, with 97+ you don’t want to do this exactly. The front of the skin doesn’t make contact with the body so you’ll have to adjust your silicone bead.
You’ll also want to fill in the three rivets you drilled out to get those endcap brackets off:
Step 17:
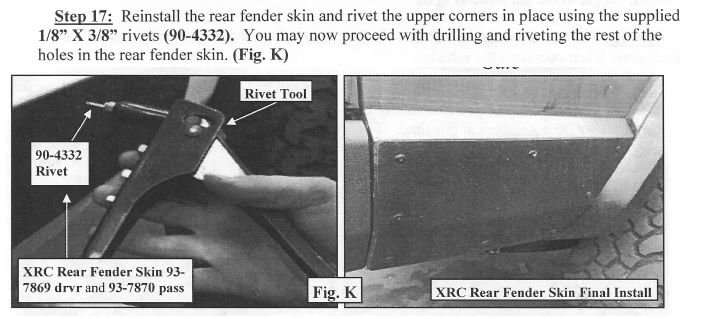
Again, pretty straightforward. I would (and did) verify that the rivets would actually fit in the holes first:
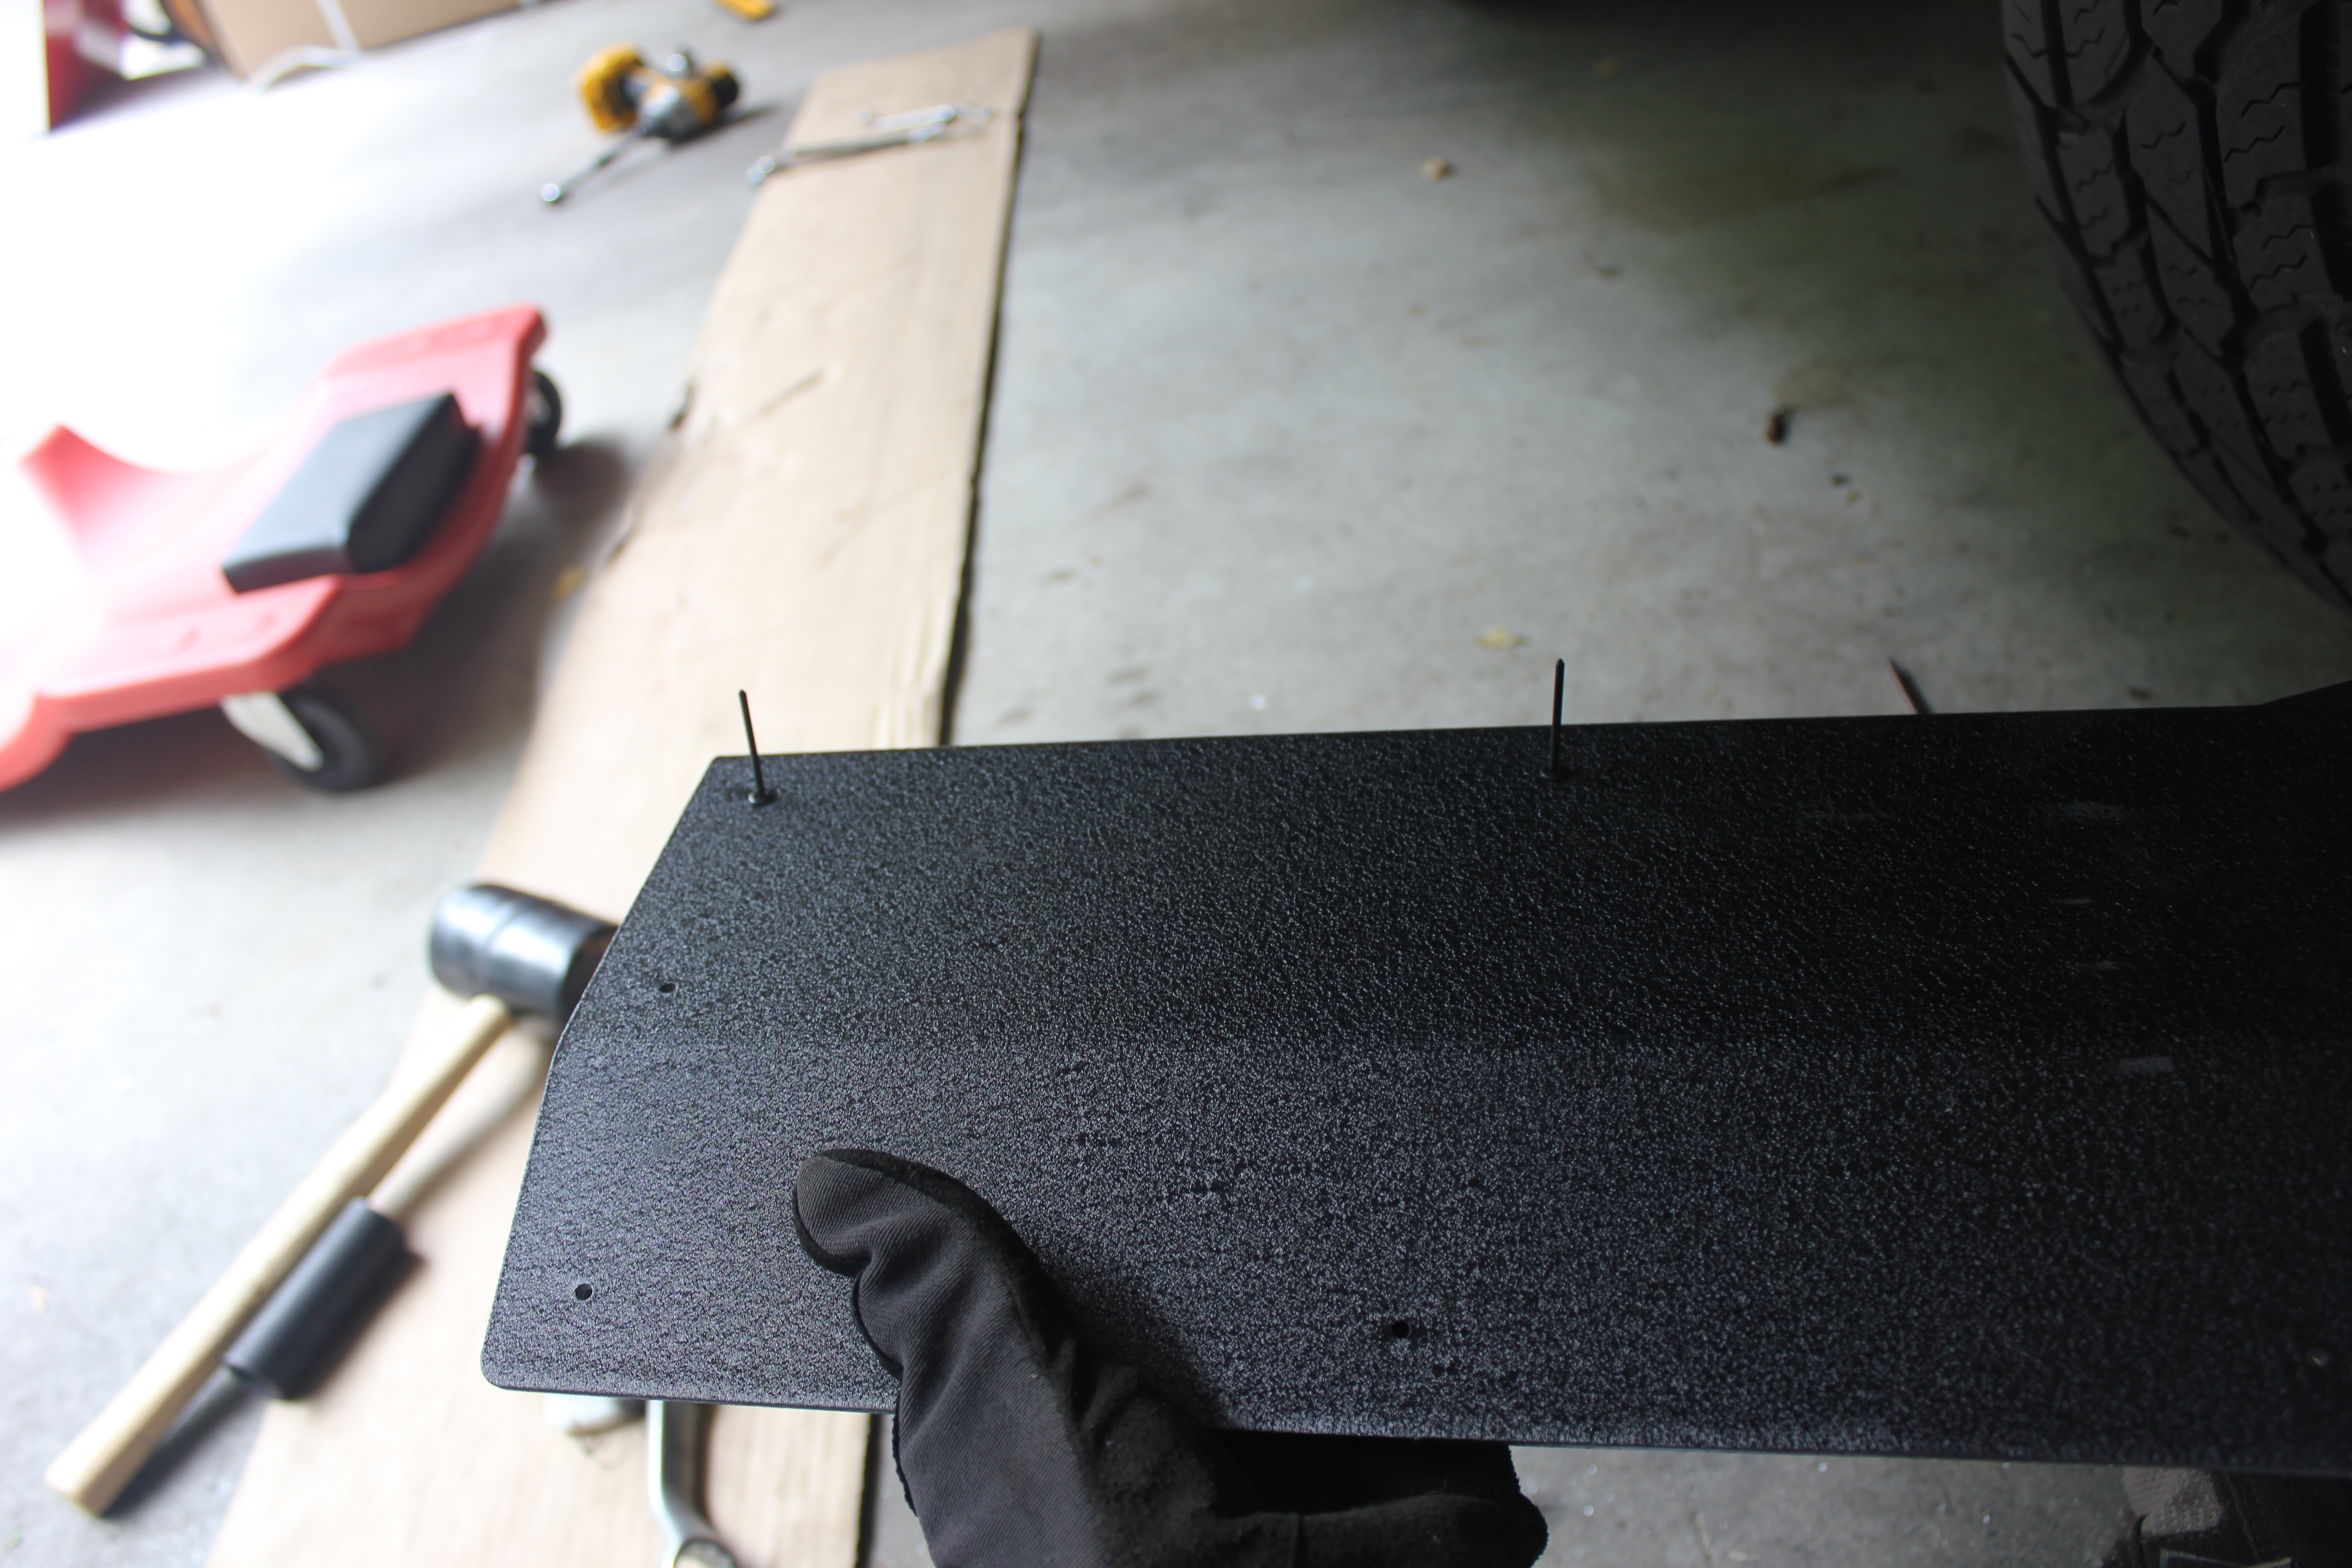
And once they’re in, you clip the stems and you’re good to go:
Congratulations! The bumper portion is now finished! Go have a beer.
Unboxing the Tire Carrier

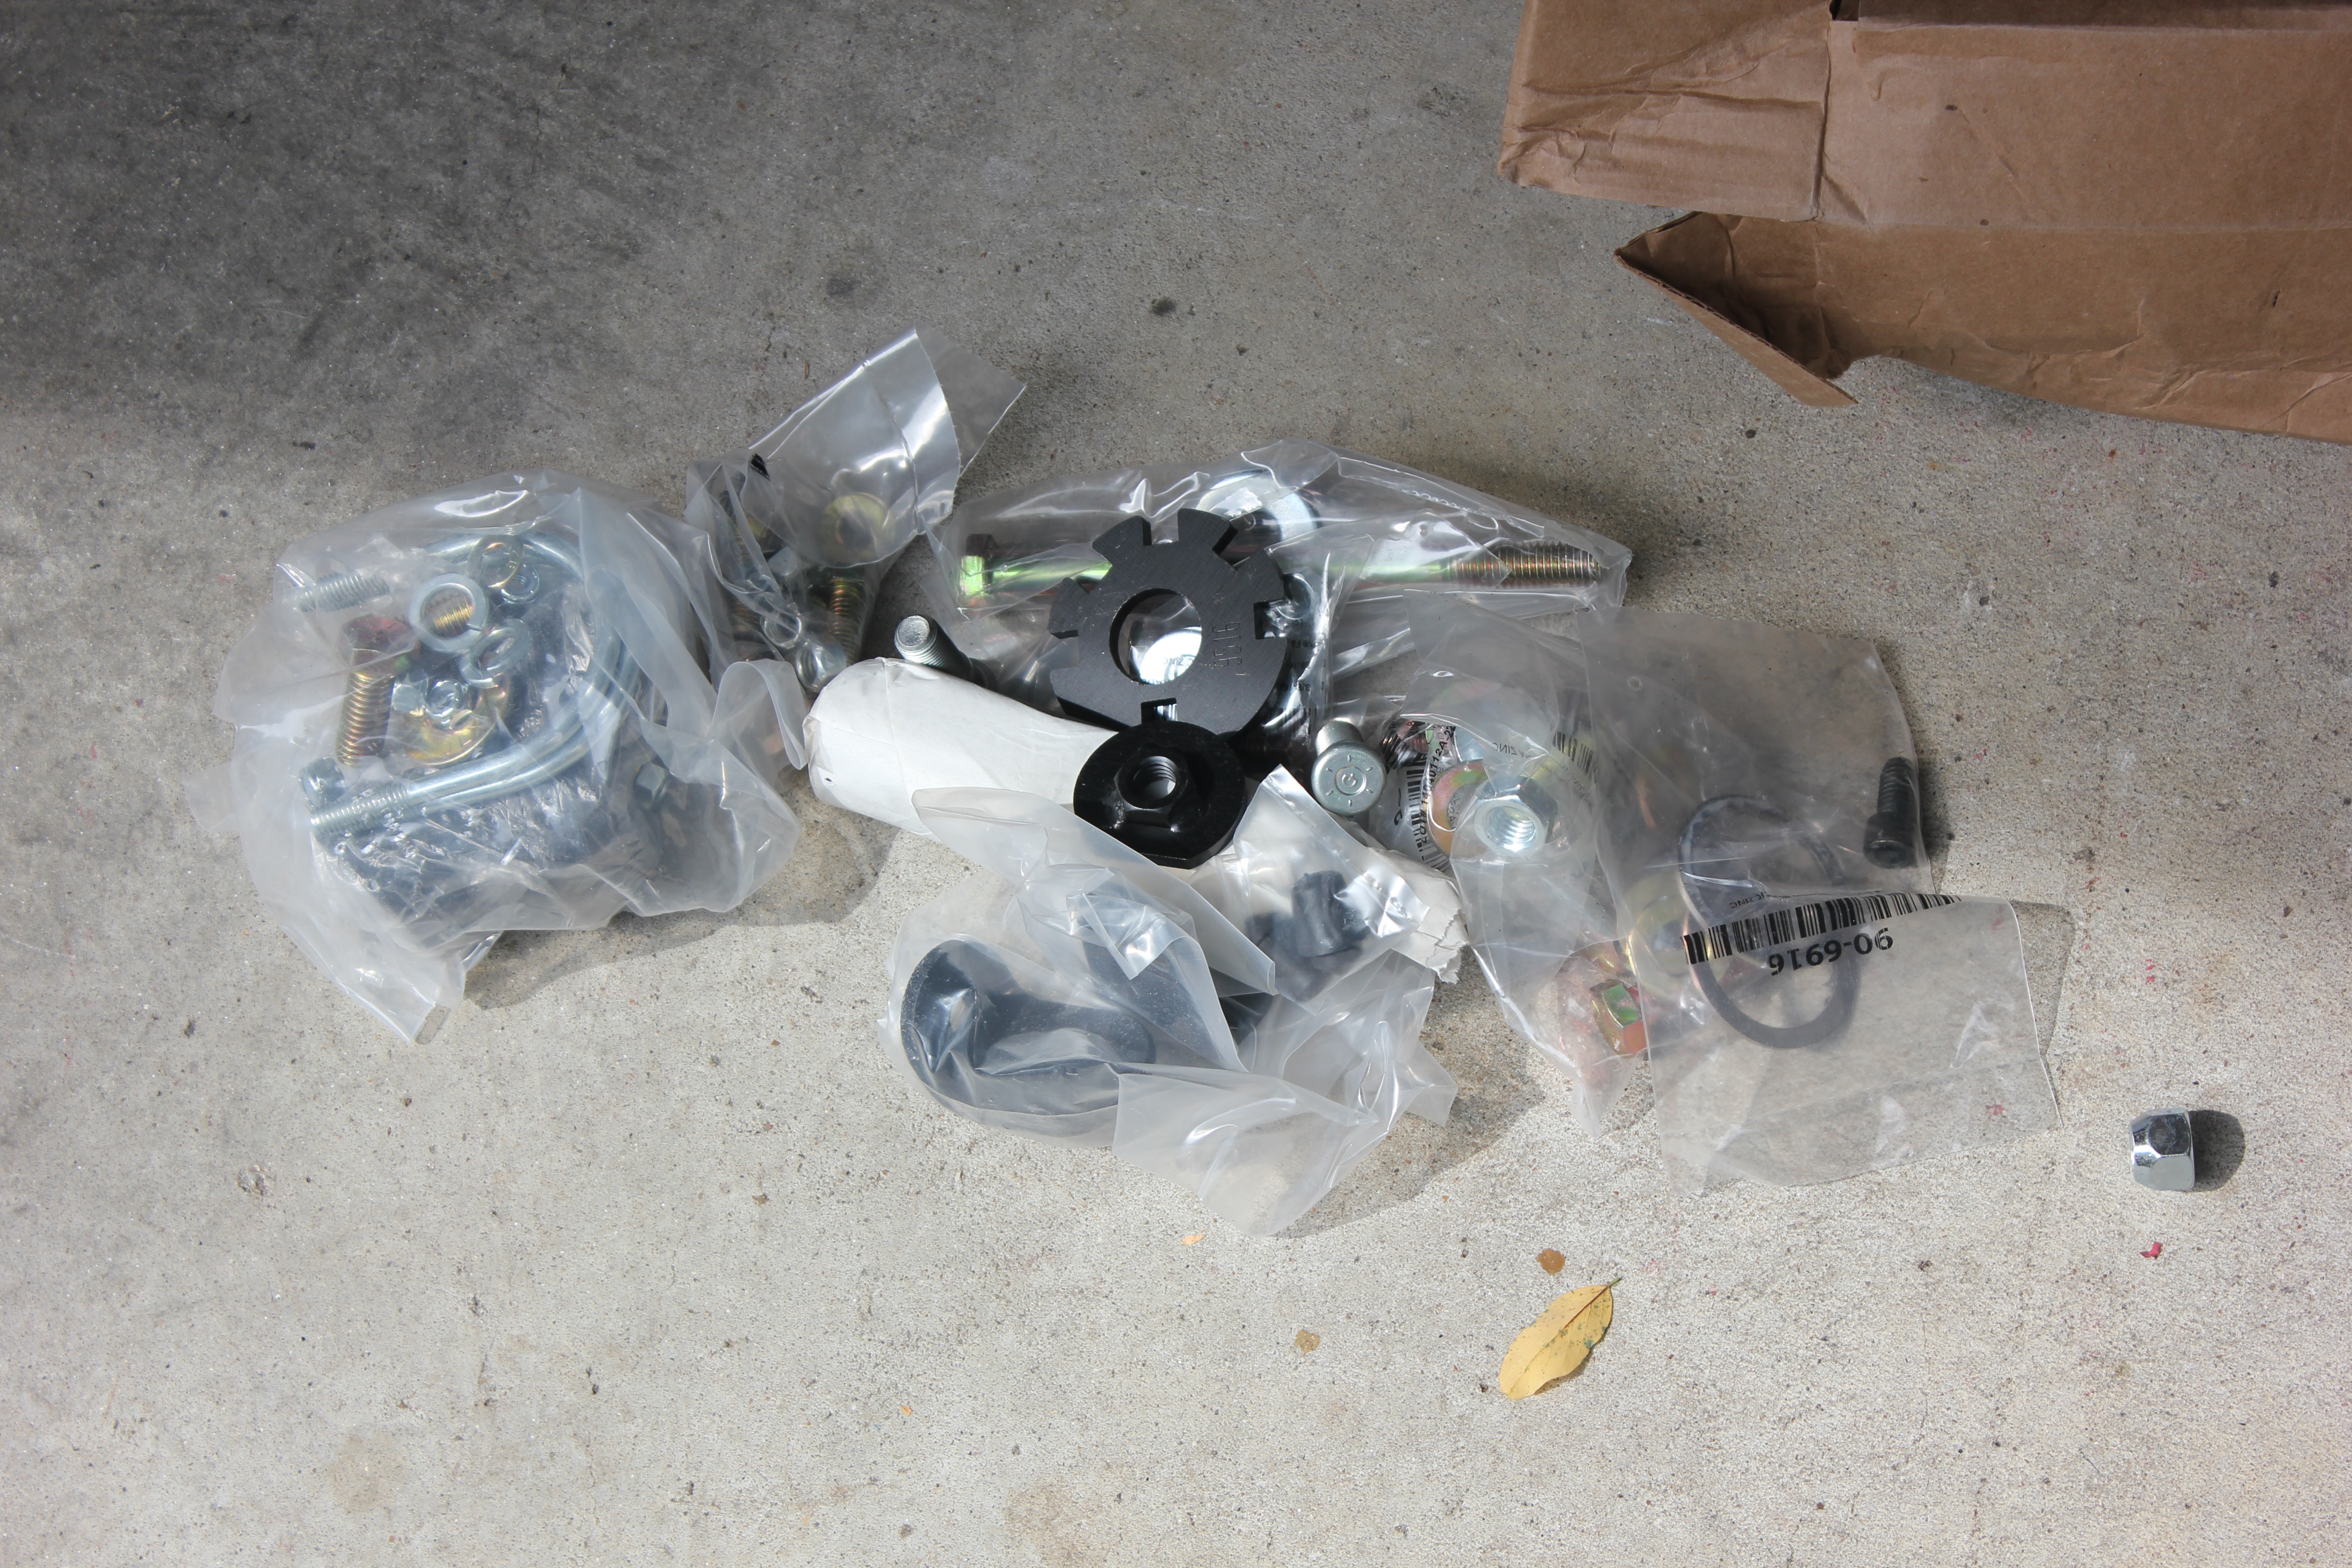


So that’s what’s in the other box 🙂
After you get everything out of the box, continue to step 18:

PROTIP: For the actual mounting of the swingarm, and the aligning of the pin, GET A SECOND PERSON TO HELP. I swear this took me two hours and I probably could’ve gotten it done in 15 minutes with someone helping.
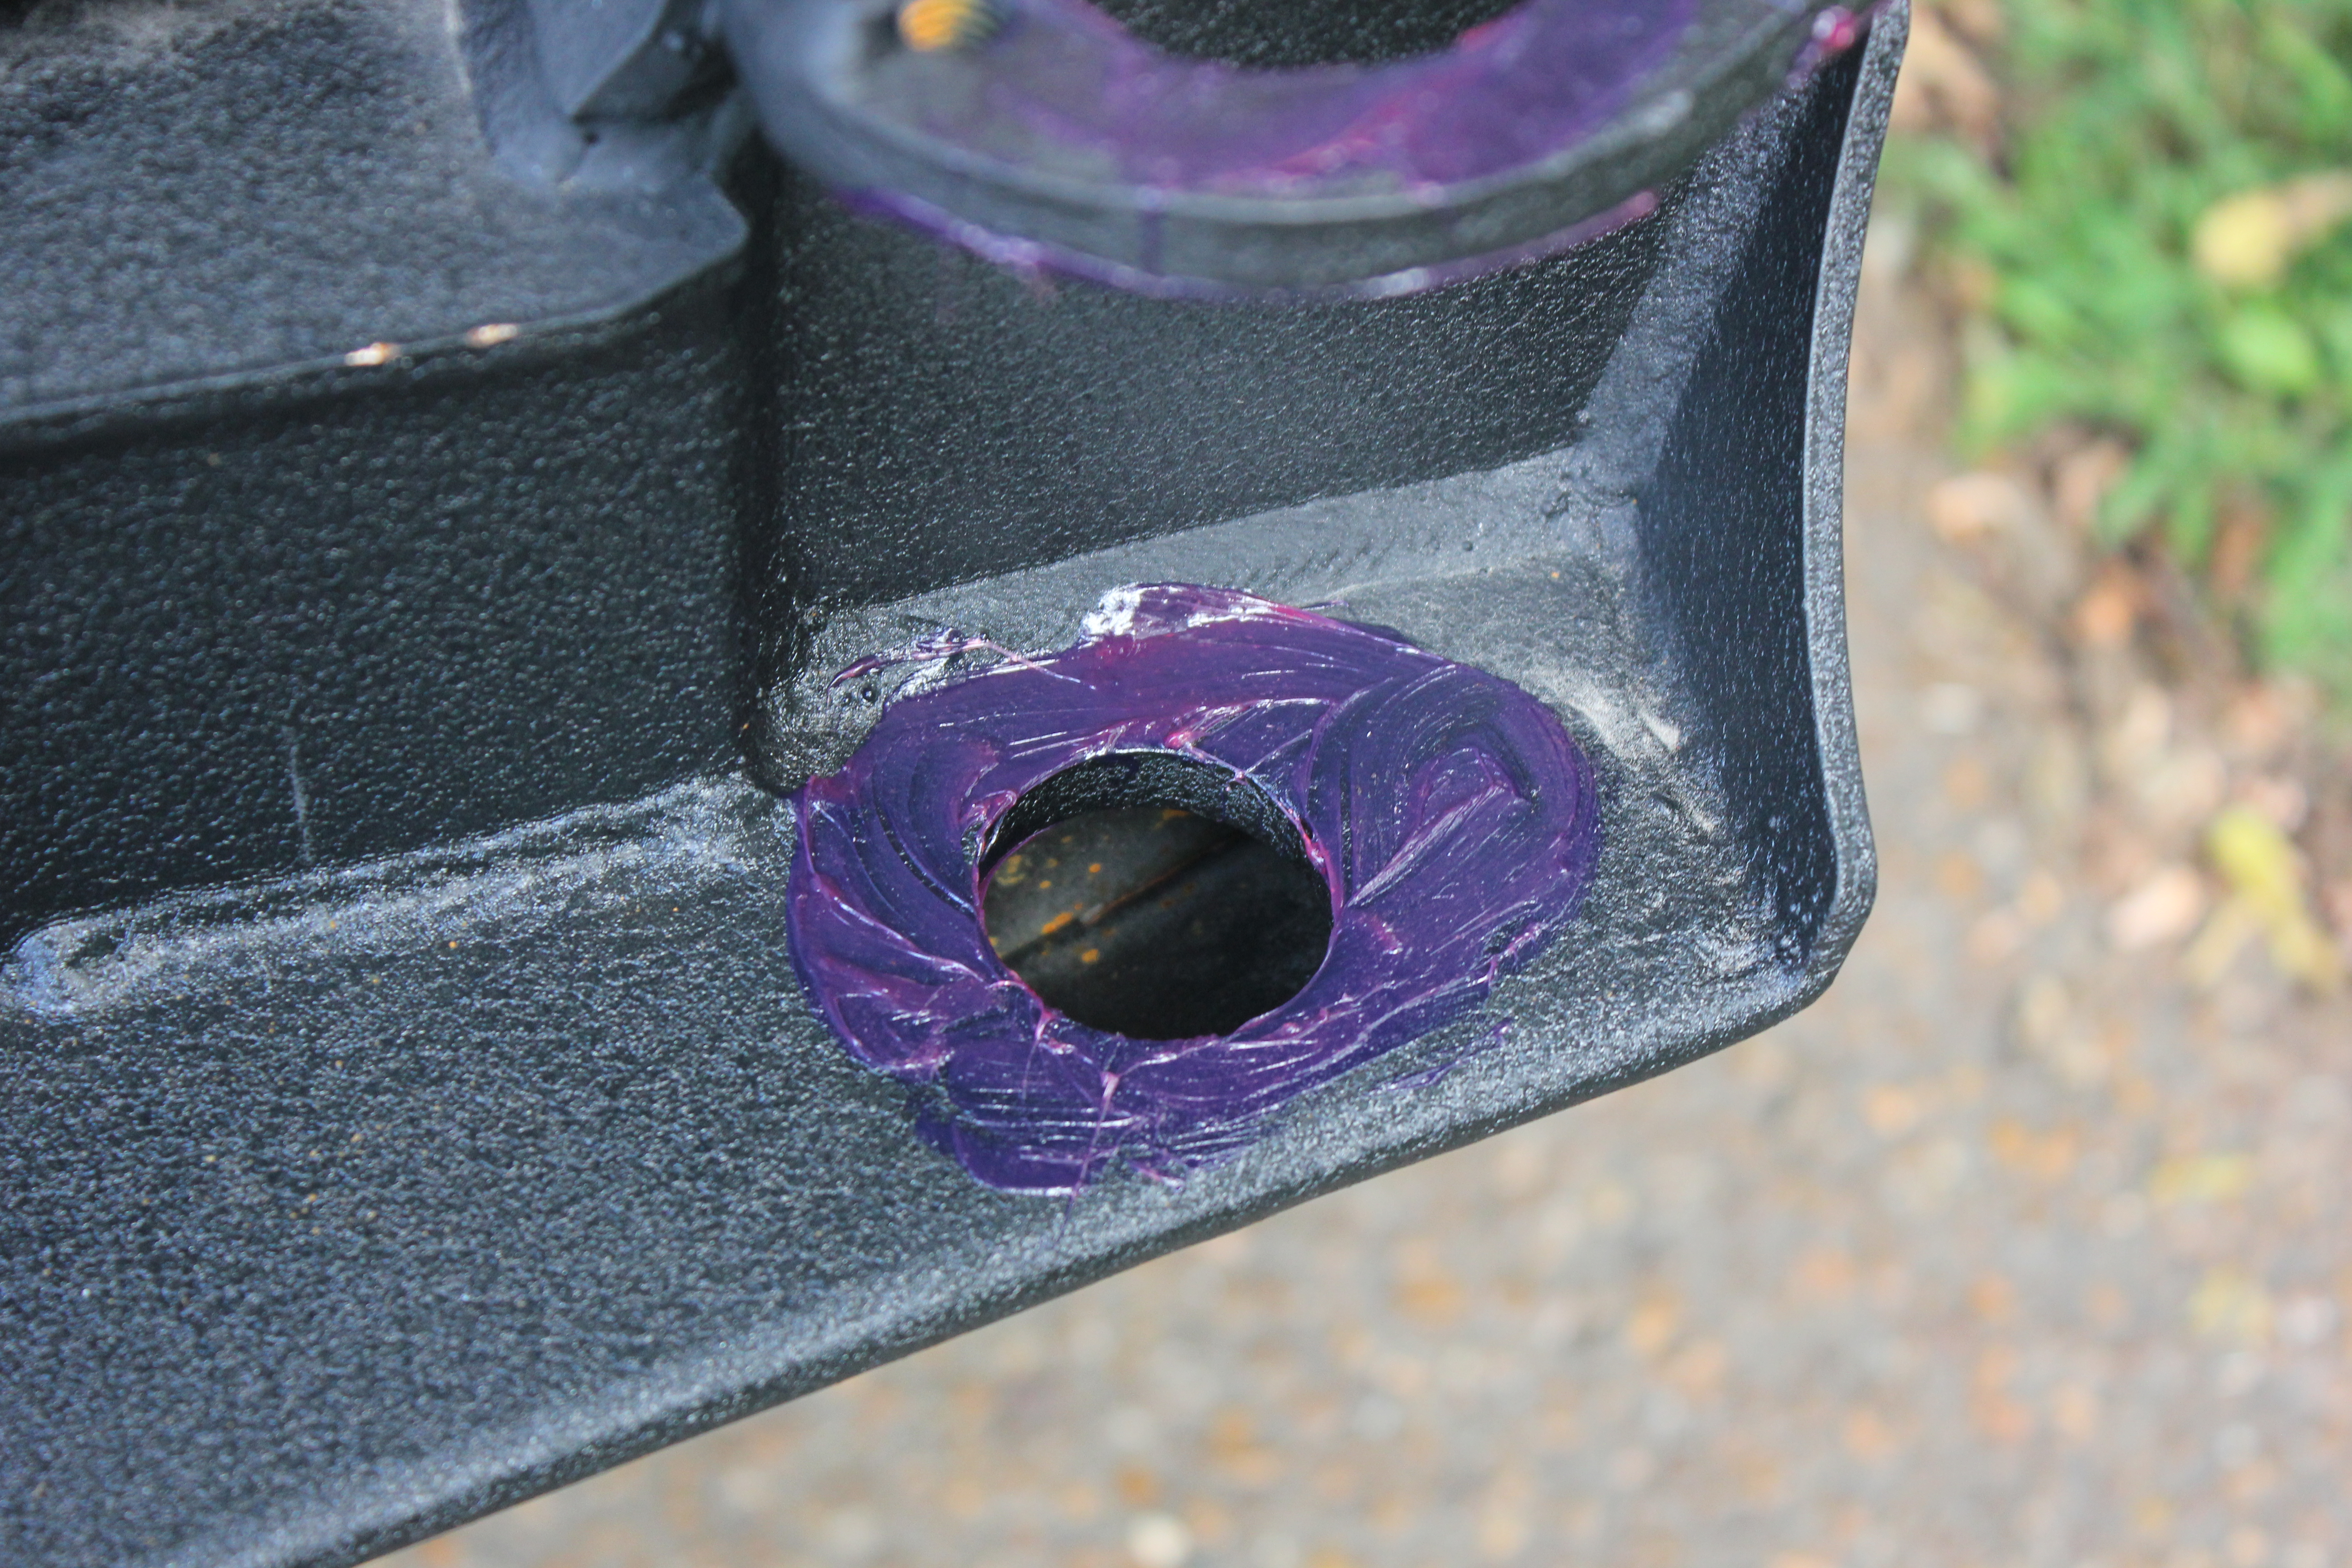
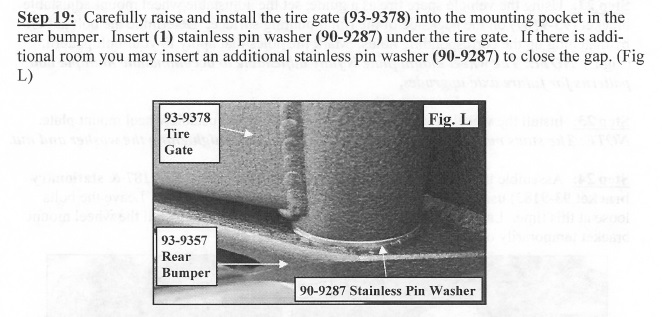
Step 19:
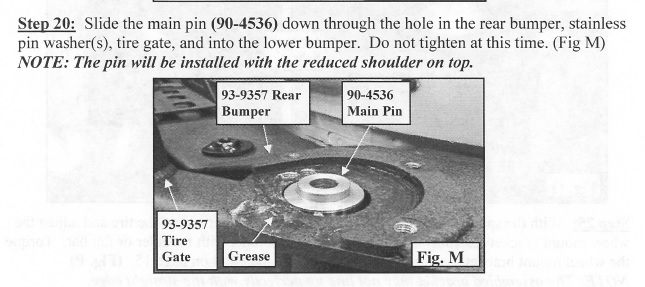
Step 20:
Like I said, I was able to do it by myself but a second person would have been very useful. The pin and hole are on very tight tolerances, and with the washer in there sliding around on the greased-up surfaces…well it was interesting. I made use of the swingarm’s latch to help me in lieu of a second person.
I also only used one washer. There wasn’t quite enough clearance to fit the second one in there. If I had a belt sander I probably could have sanded it down a few thousandths and made it fit.
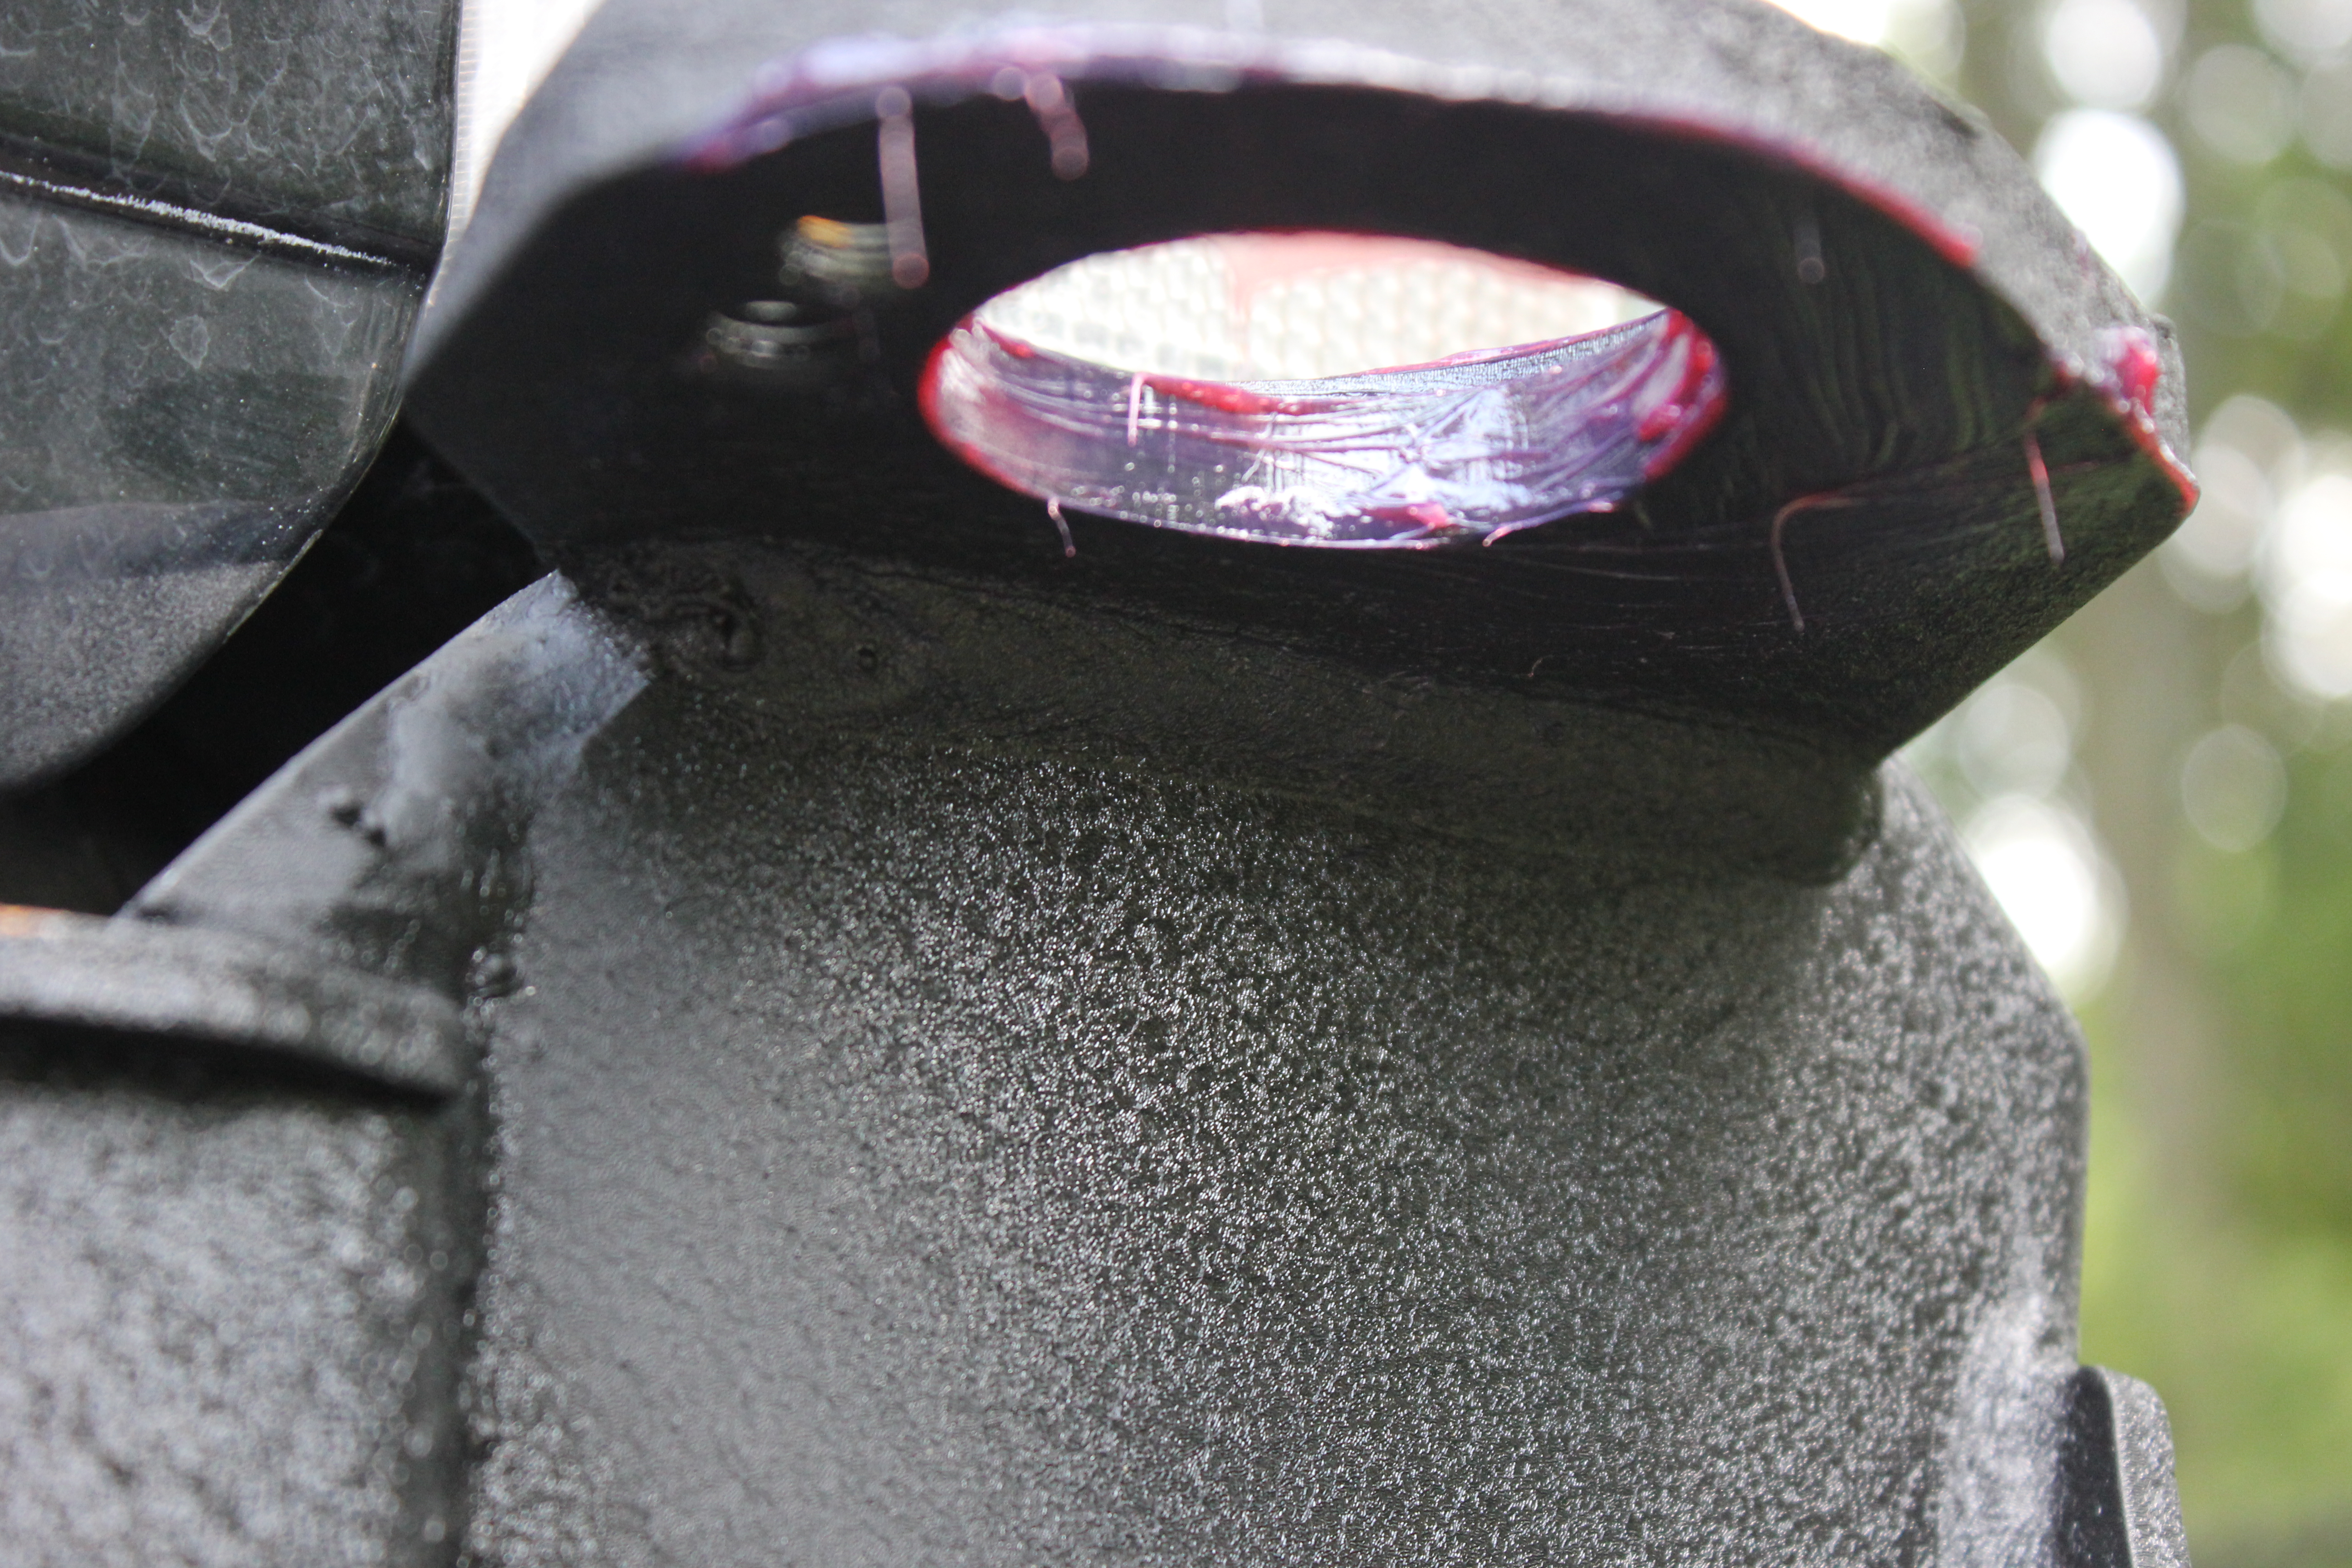
Step 20:
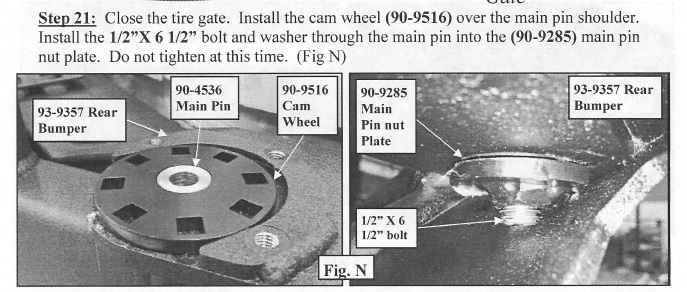
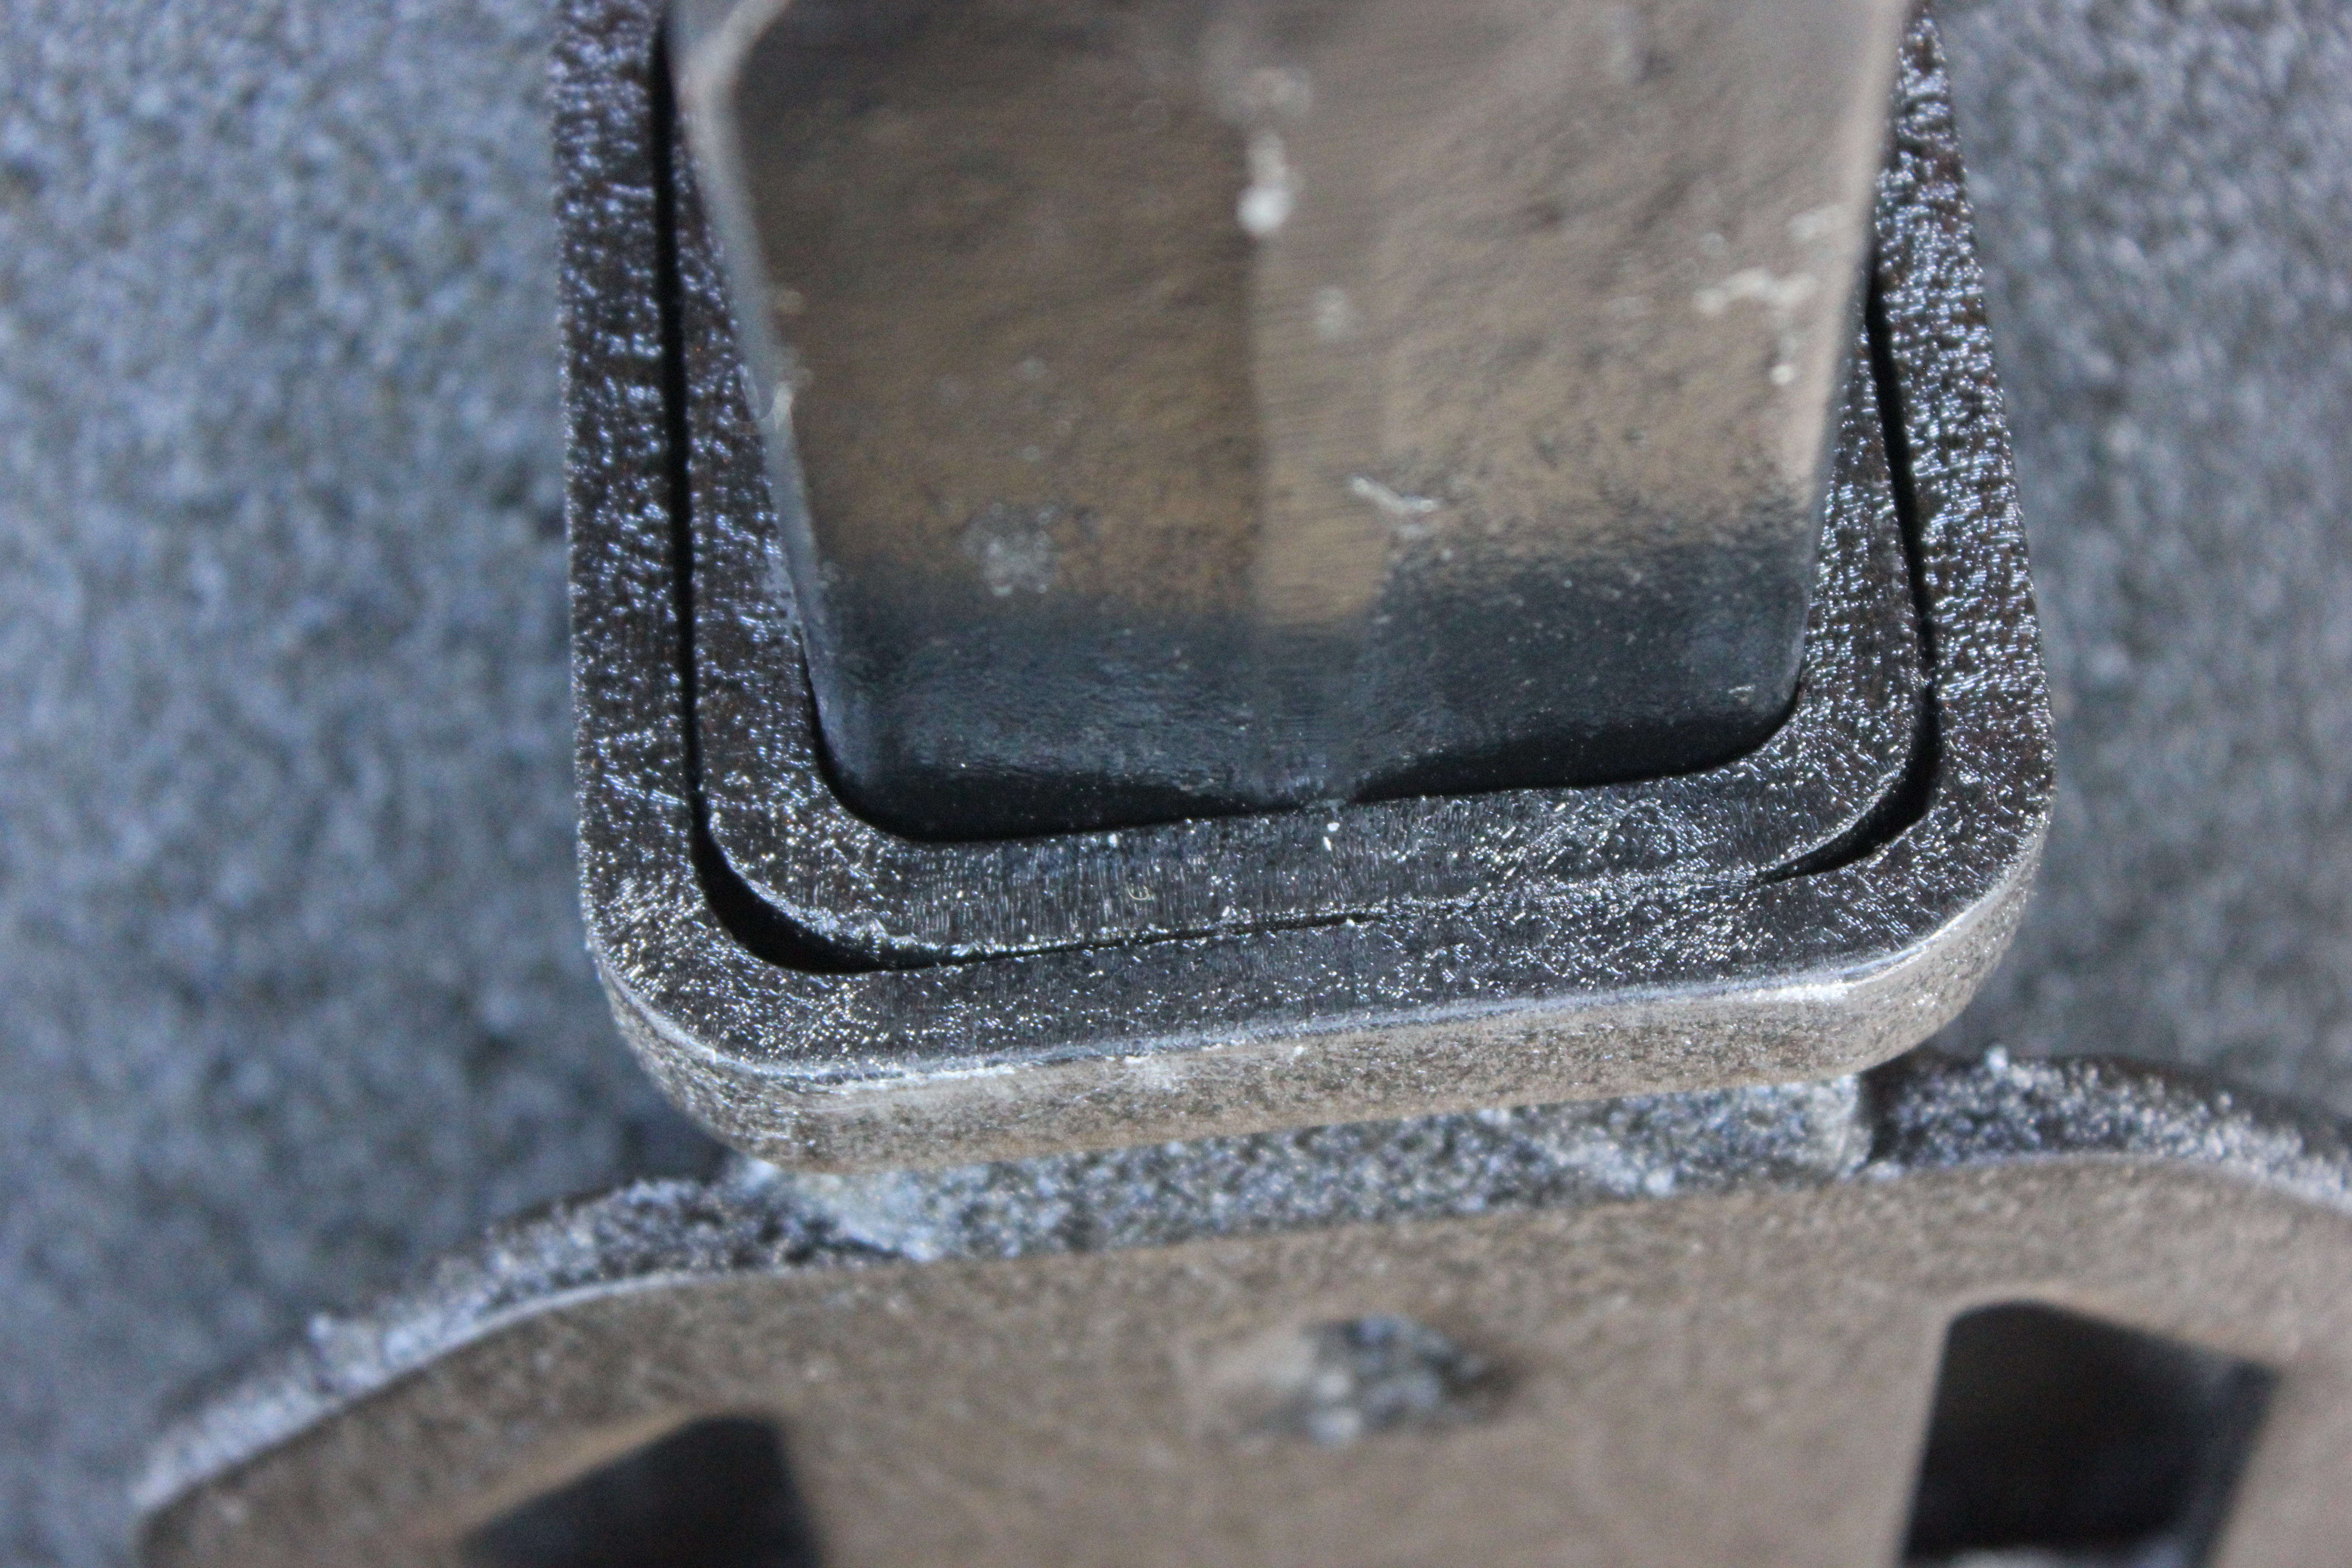
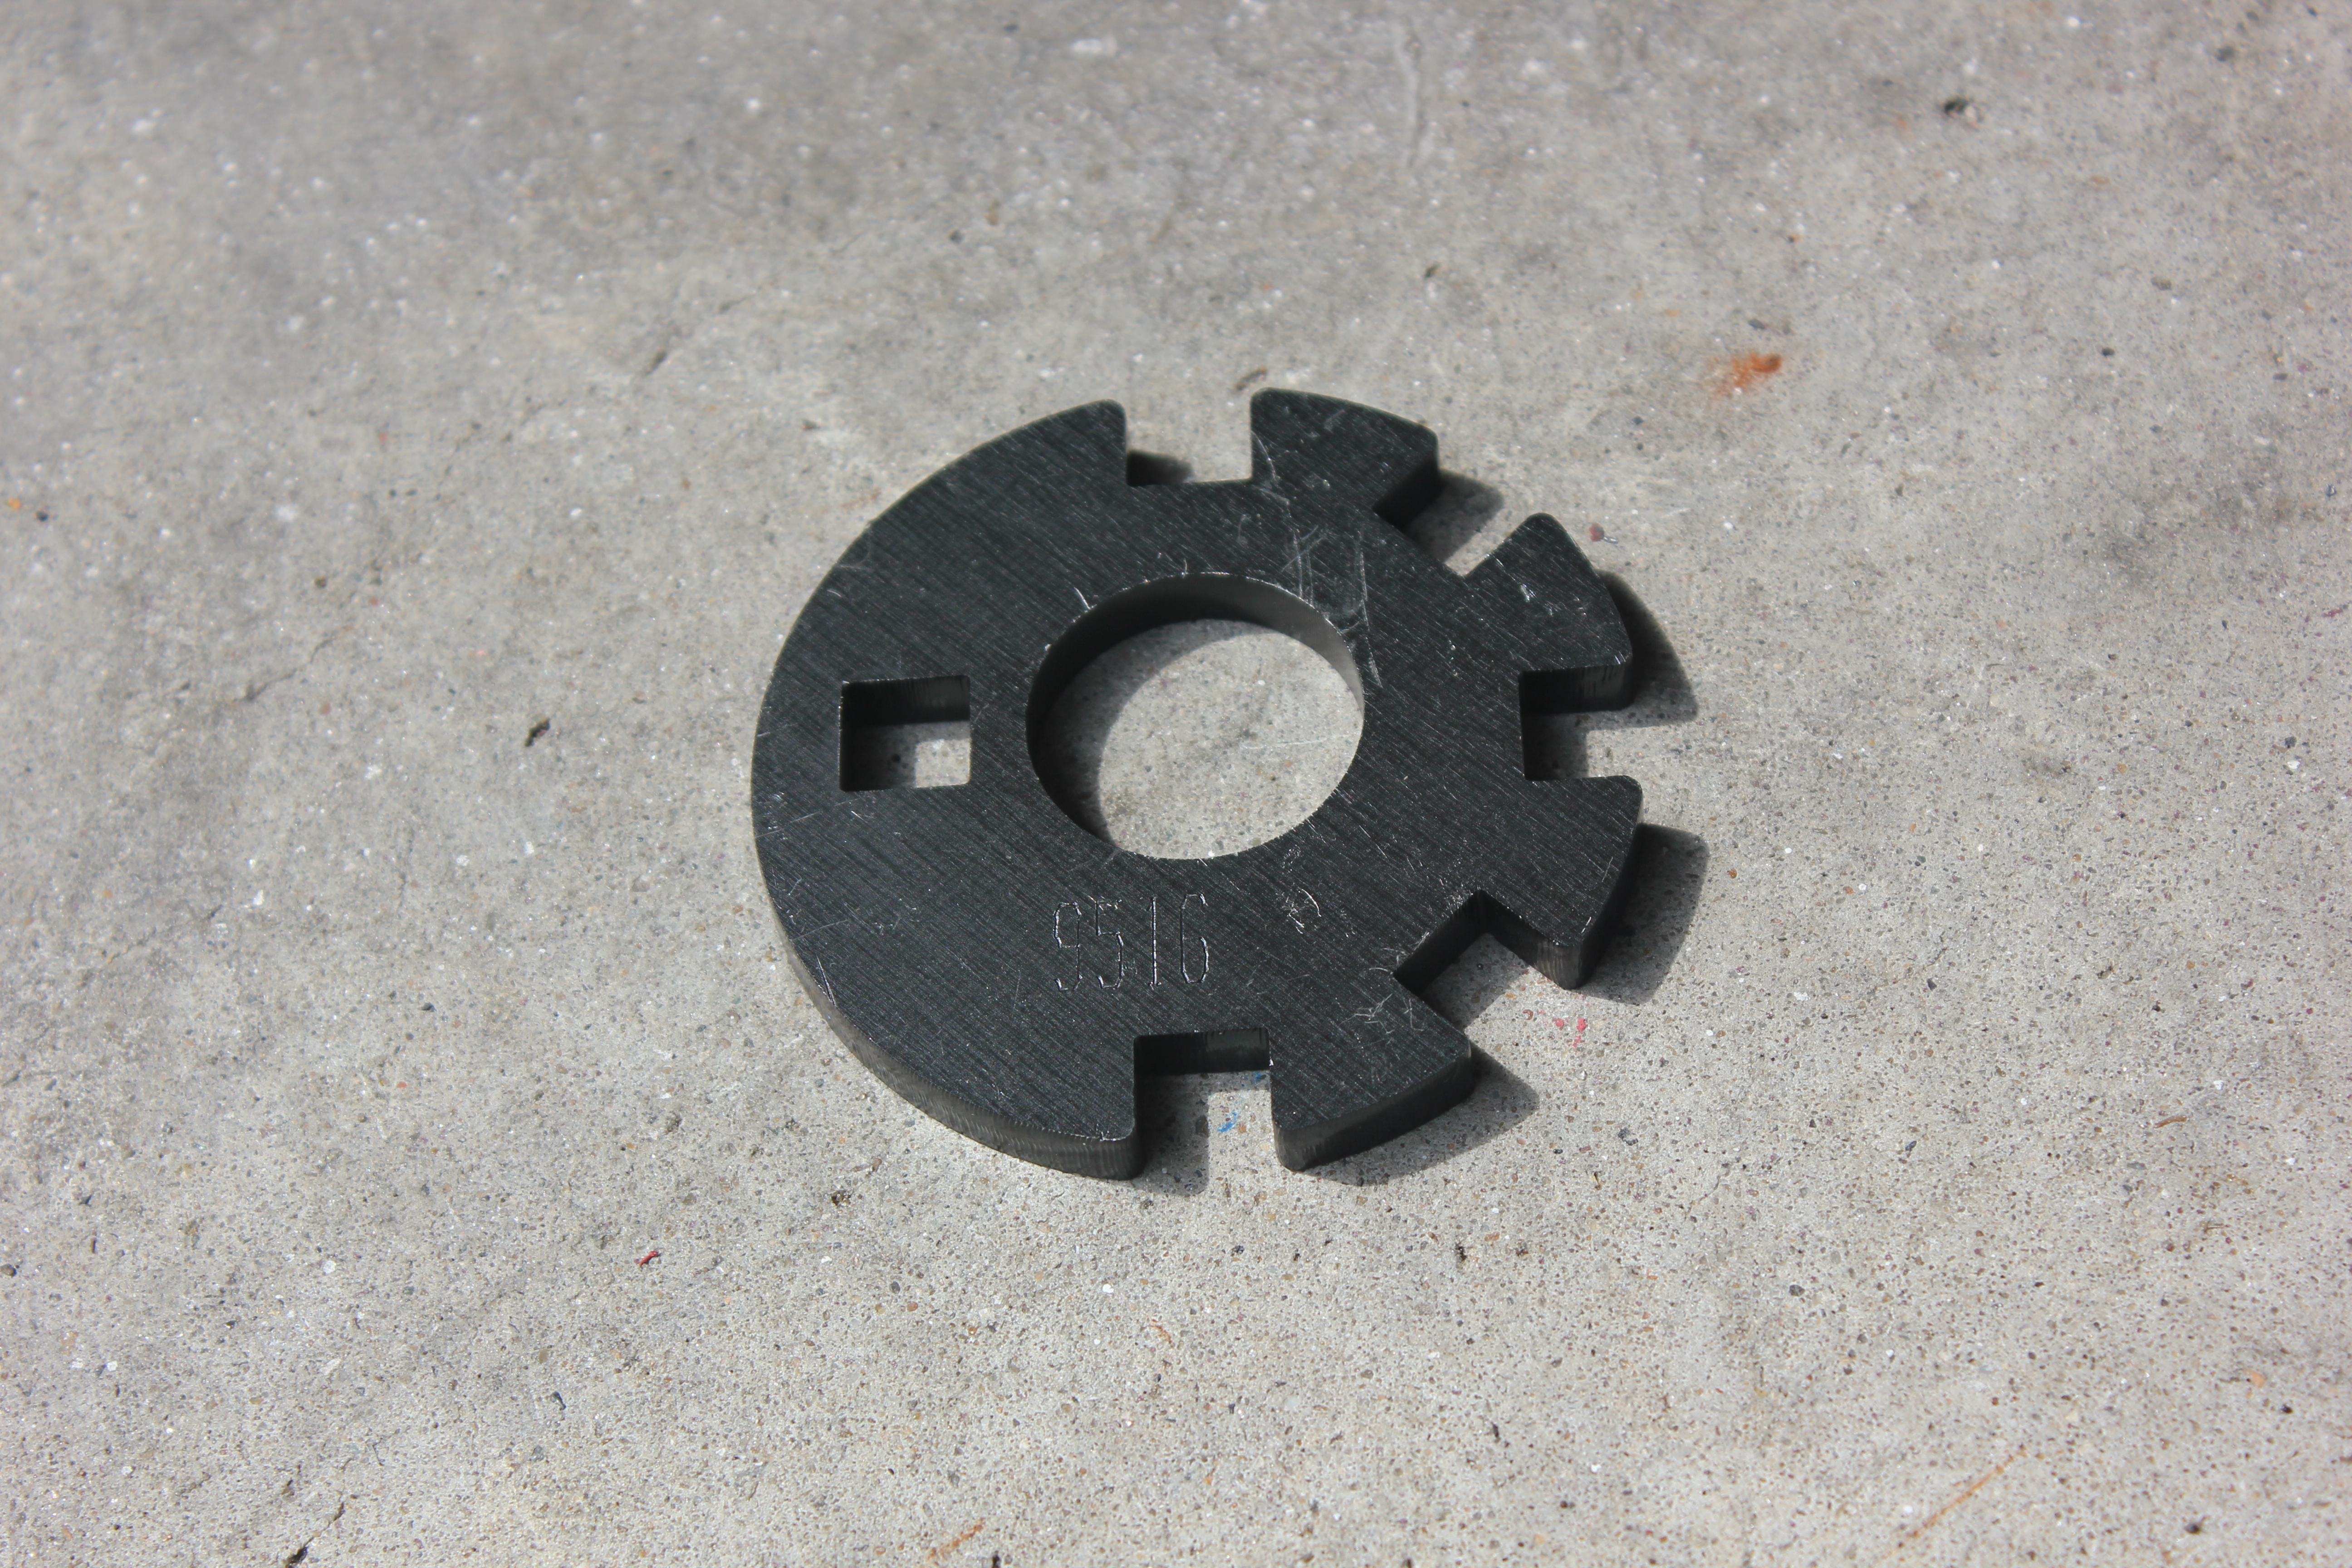
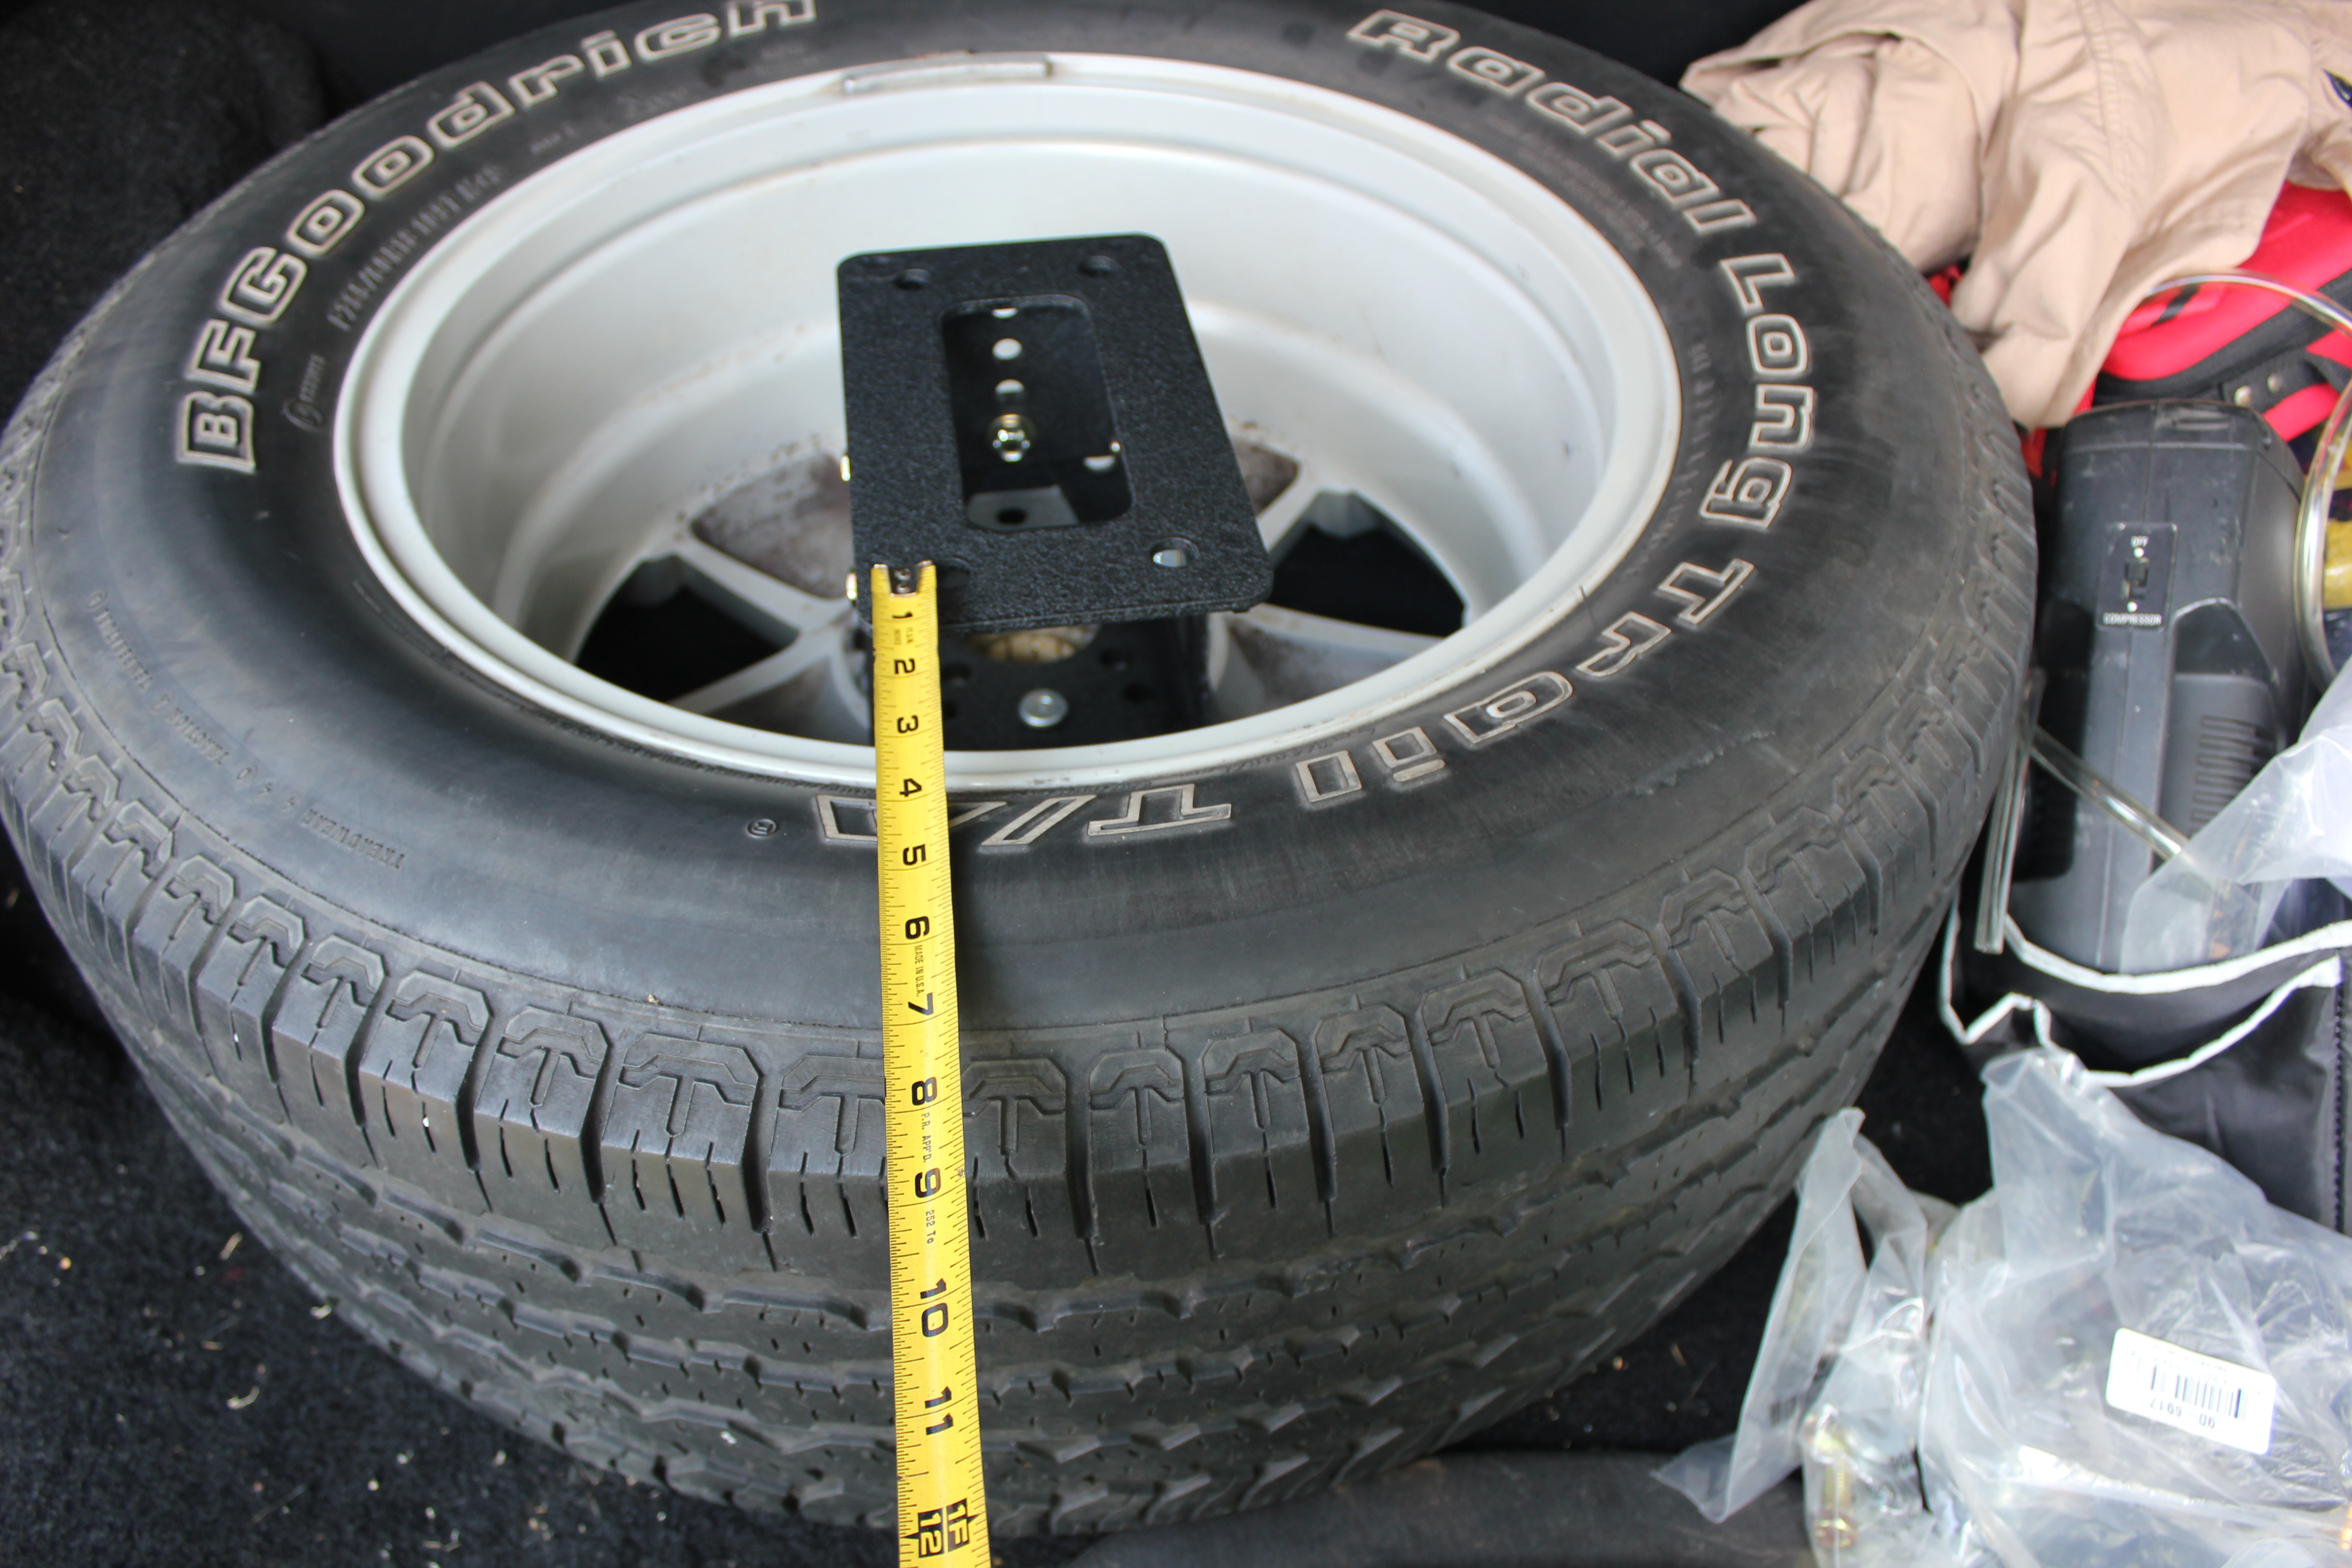
The cam wheel in the instructions is different than the cam wheel that comes with the swingarm:
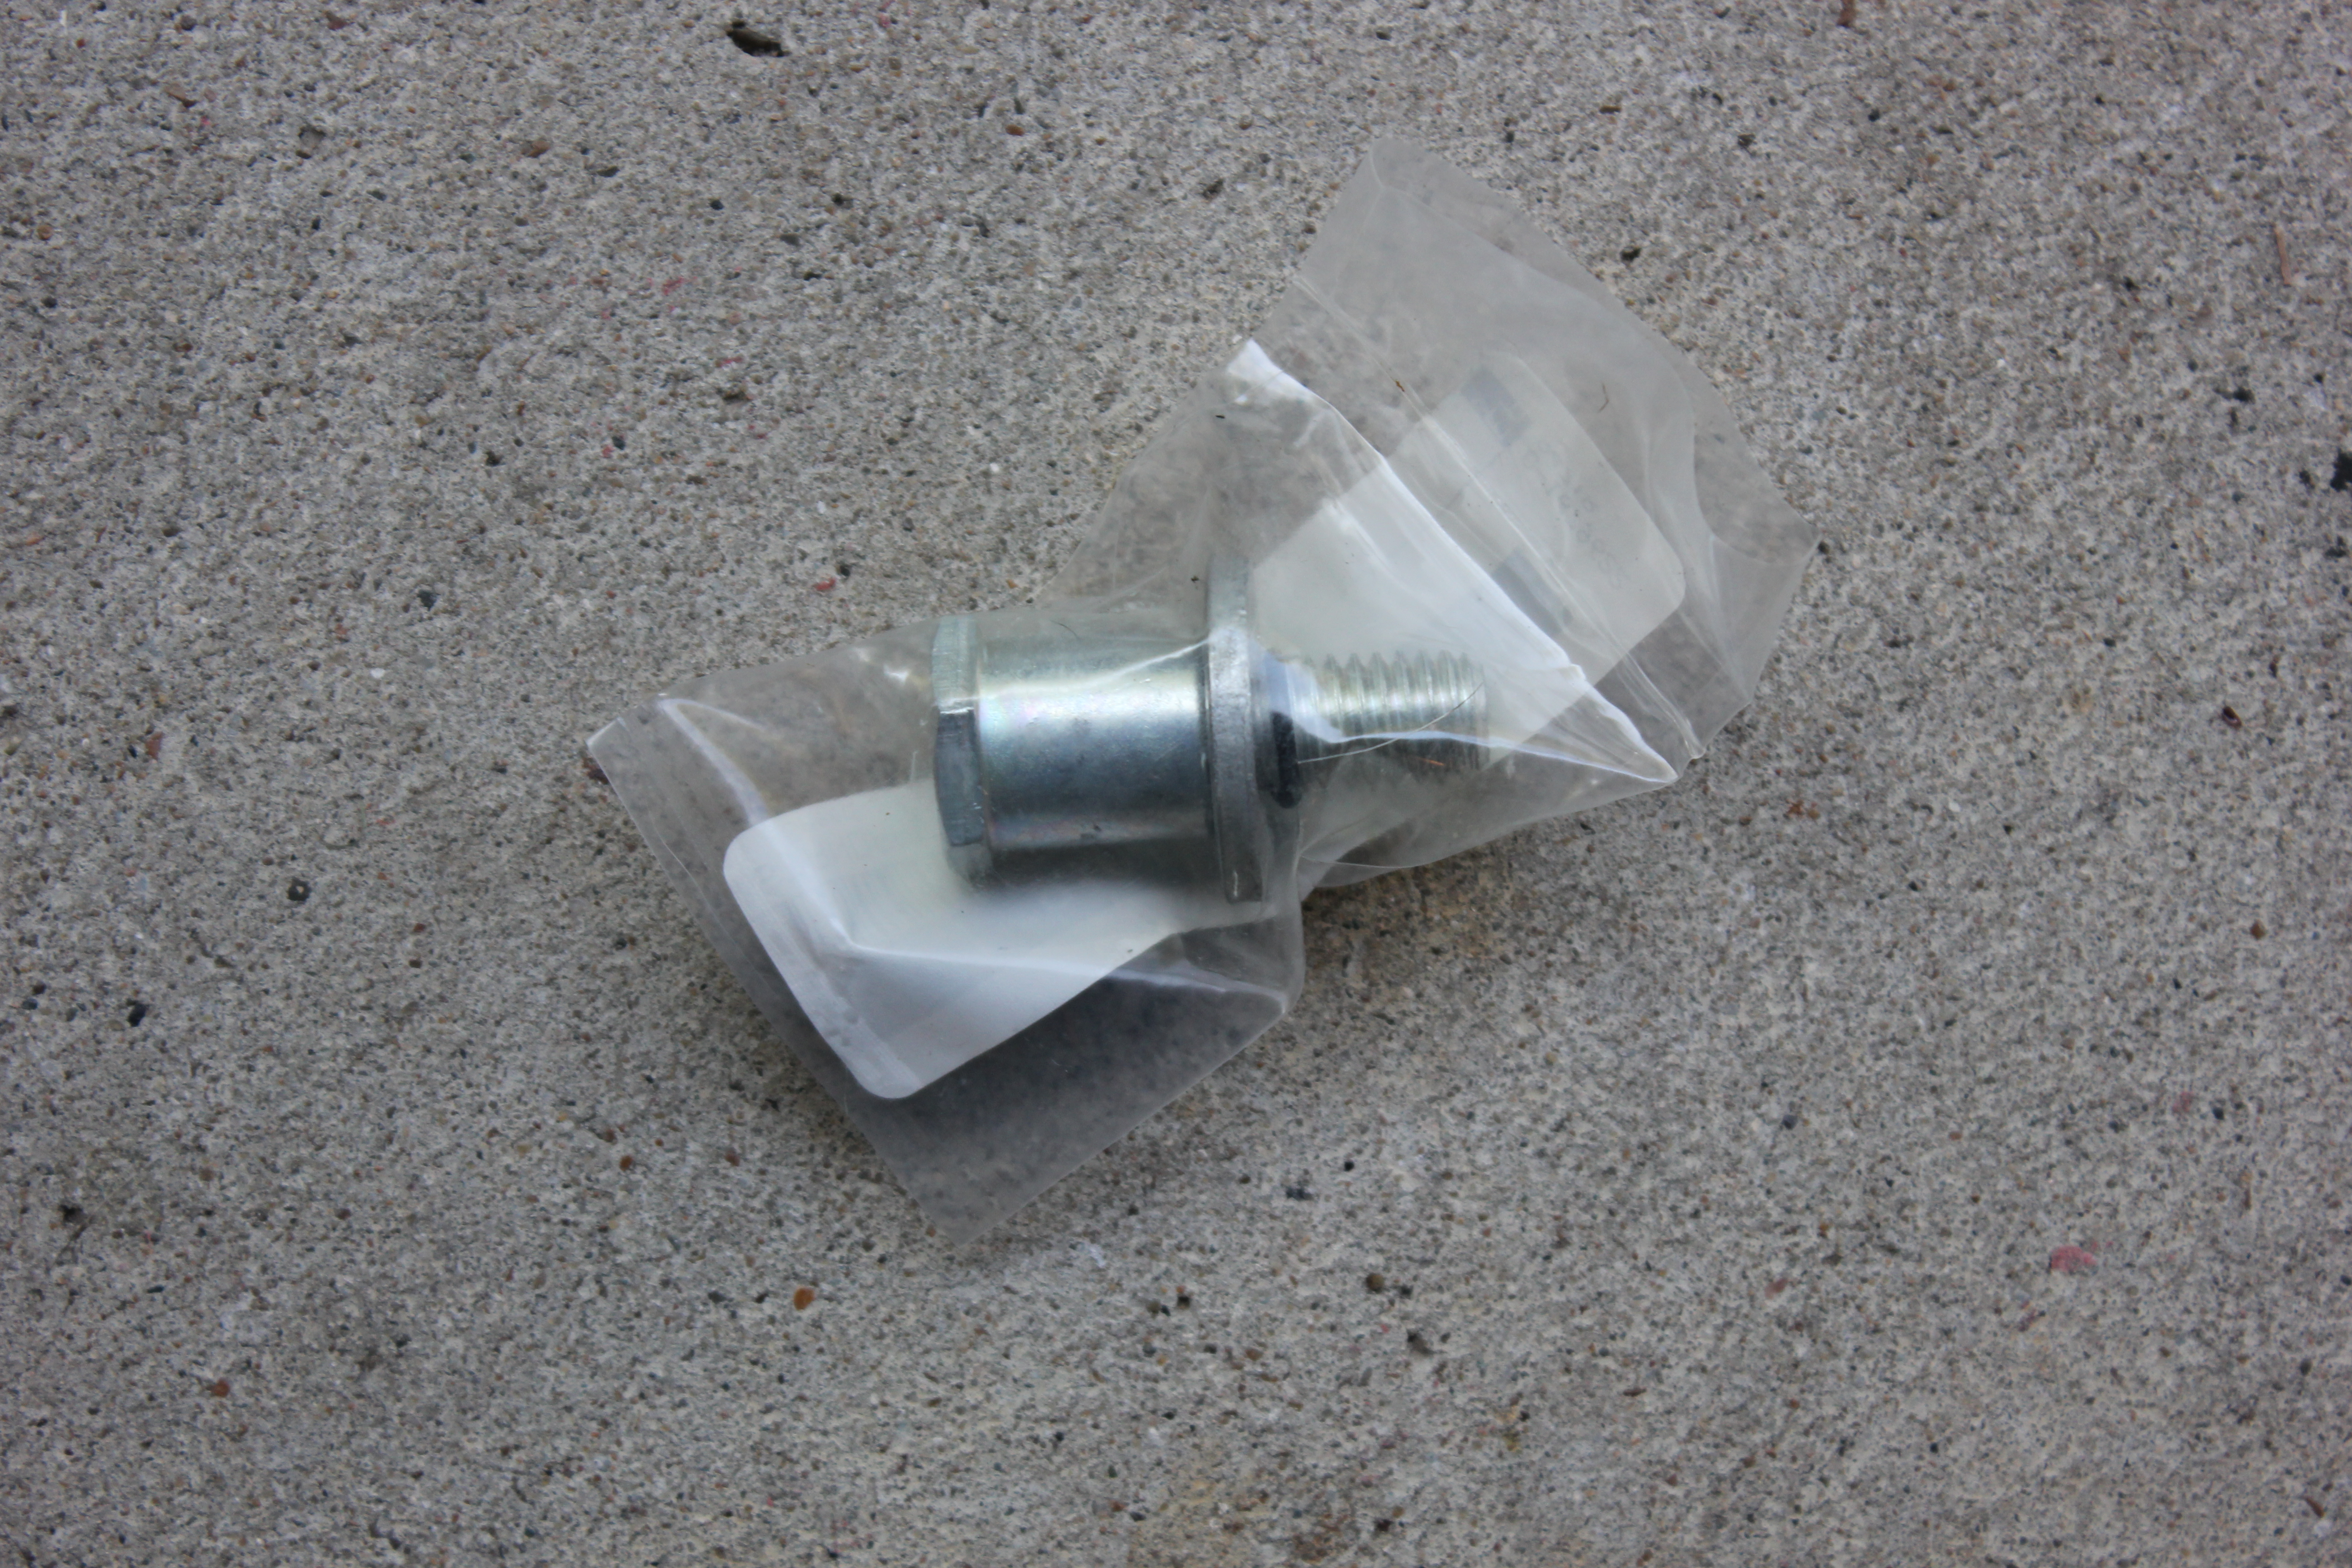
This is important, because it means that the cam wheel is only supposed to go on one way. That’s not mentioned, or obvious, and may cause you some consternation. I had to move it around and flip it over until I figured out the correct positioning. The cam wheel is slightly oblong and is used to level the swingarm. The nut that goes on the bottom is notched to fit inside the bumper:
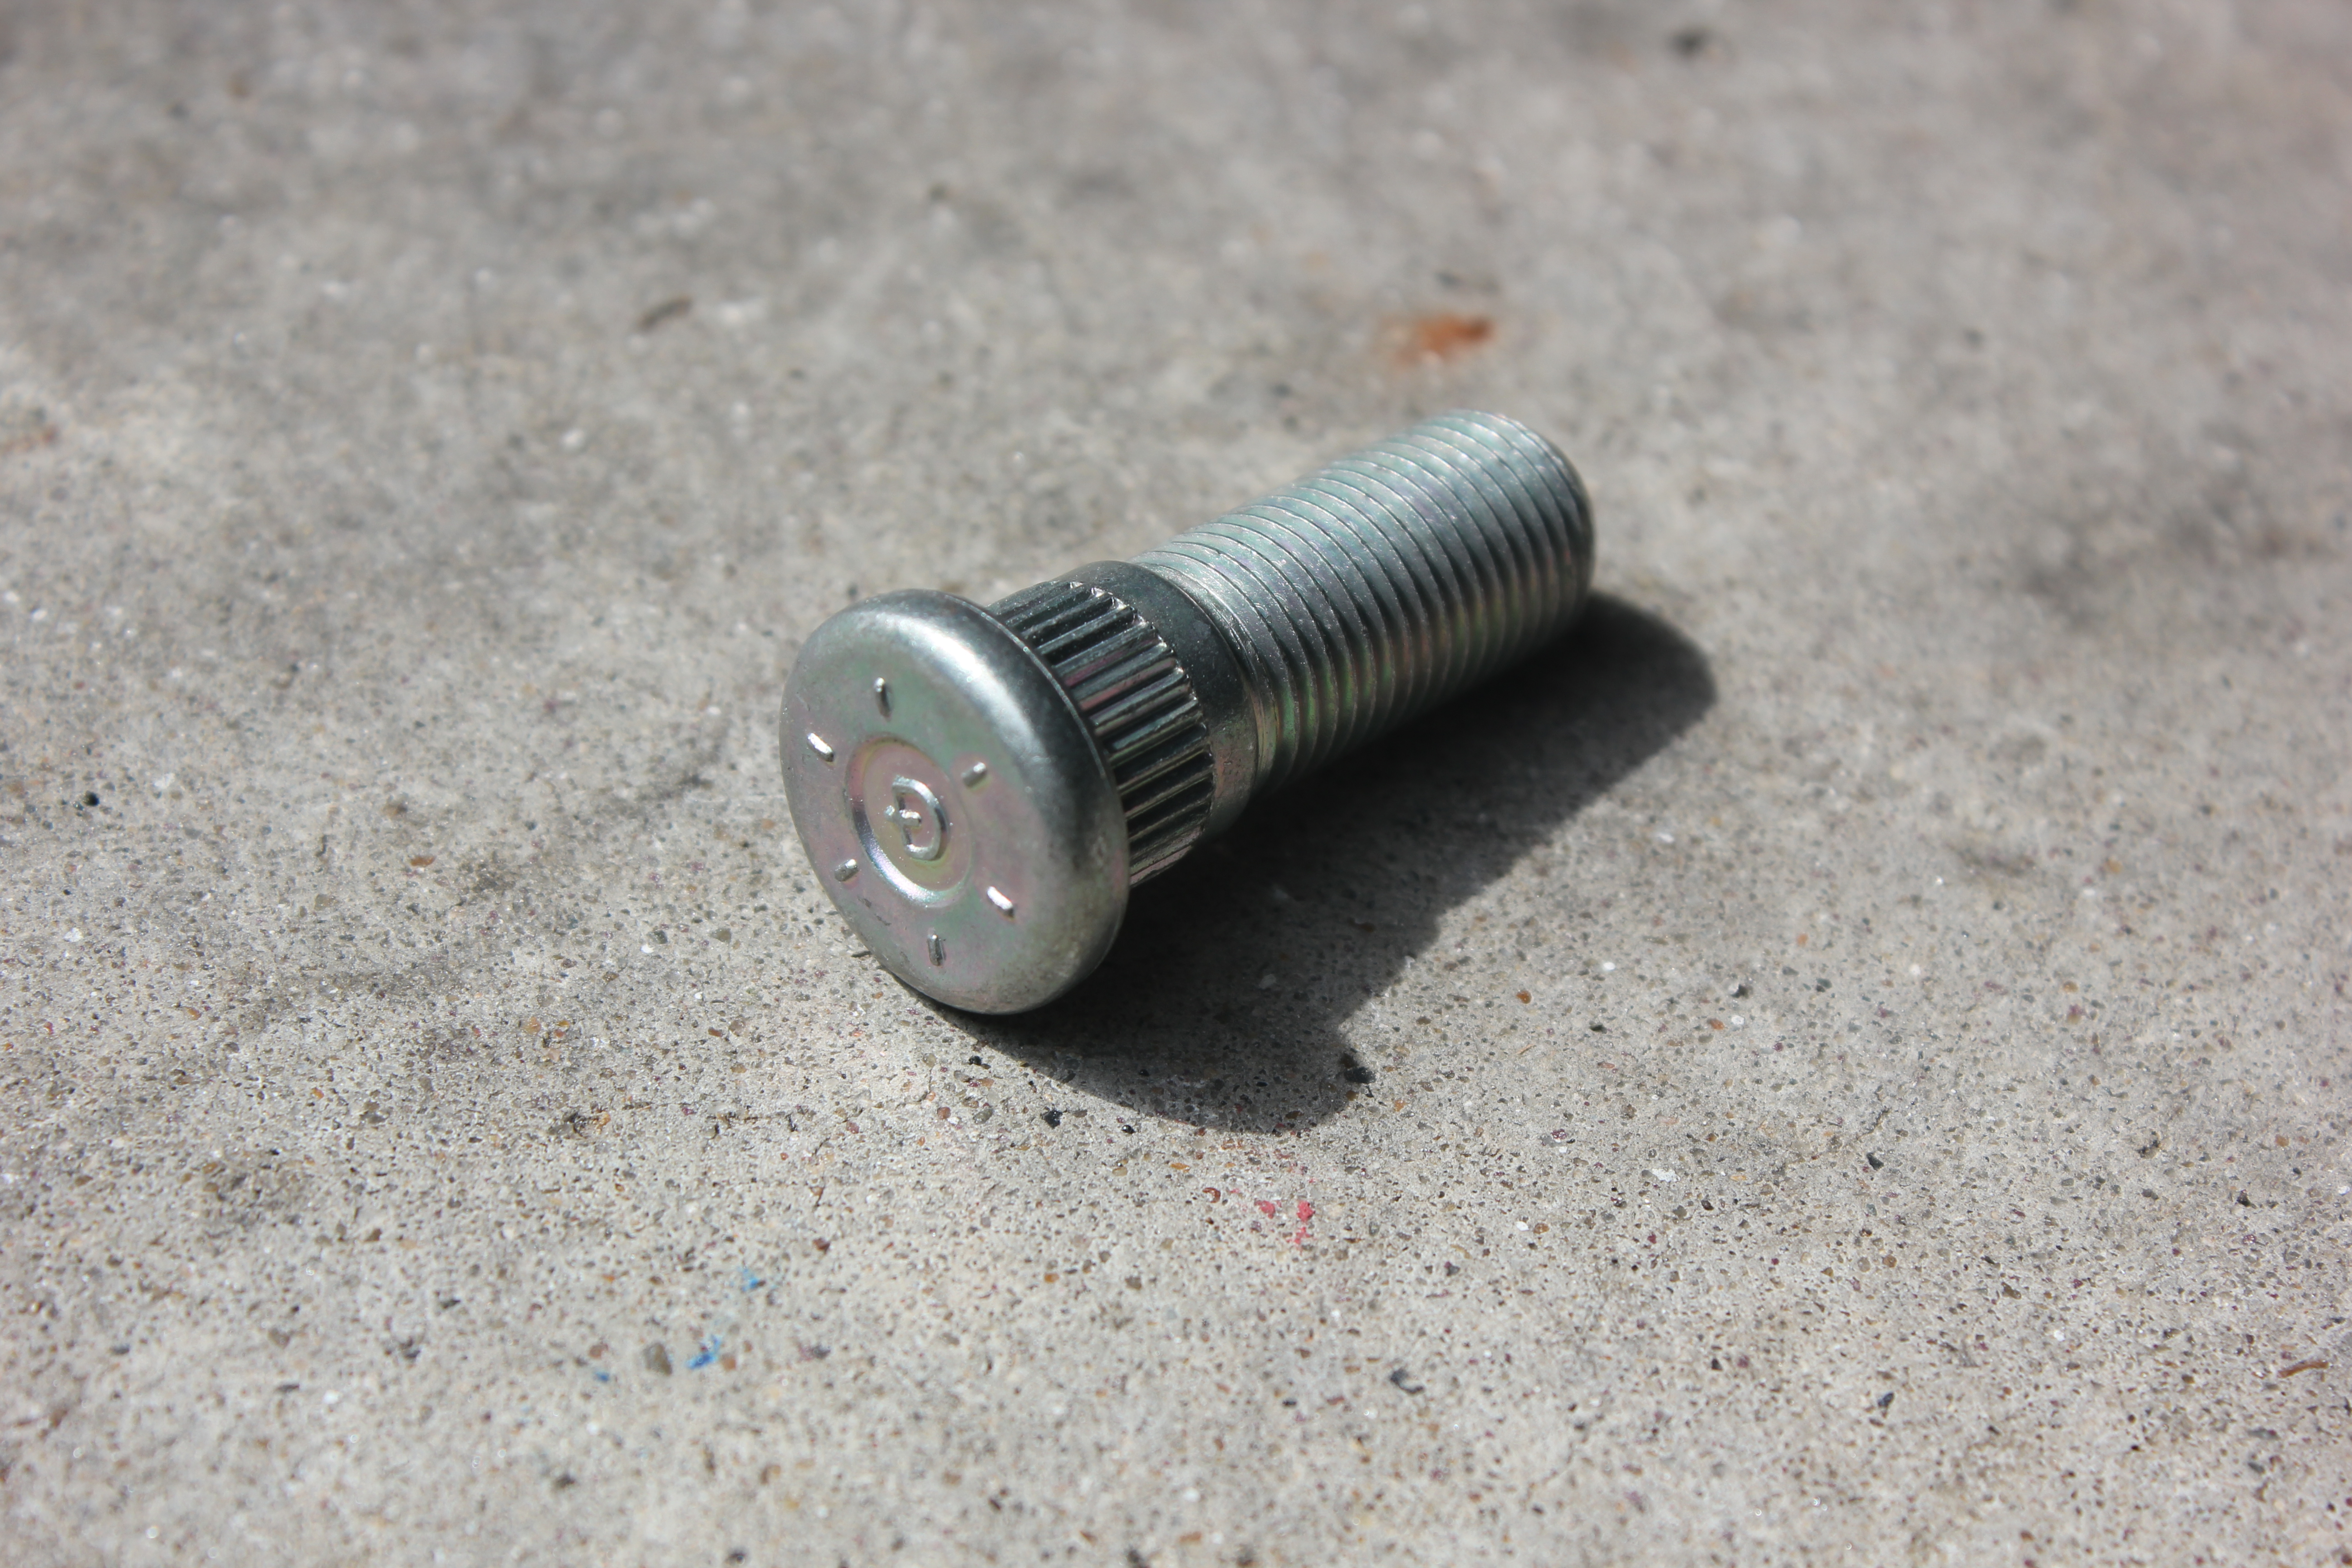
And this part is the bolt you use:
Okay so now that the swingarm is mostly mounted, you have to prepare the mount for your tire to go onto the swingarm. You don’t adjust the cam wheel or tighten the cam bolt down until everything you’re going to carry on the swingarm is mounted. This includes the hi-lift jack and gas can, if you’re so inclined. The reason is that the extra weight will throw off your adjustment and possible make it so the swingarm won’t close and latch.
Mounting the Spare
The good news is whoever at Smittybilt documented this did a really good job, though I suspect that this was a generic document for all their tire carriers, not just this one.

So I set the part in the bottom of my rim and noted the holes:
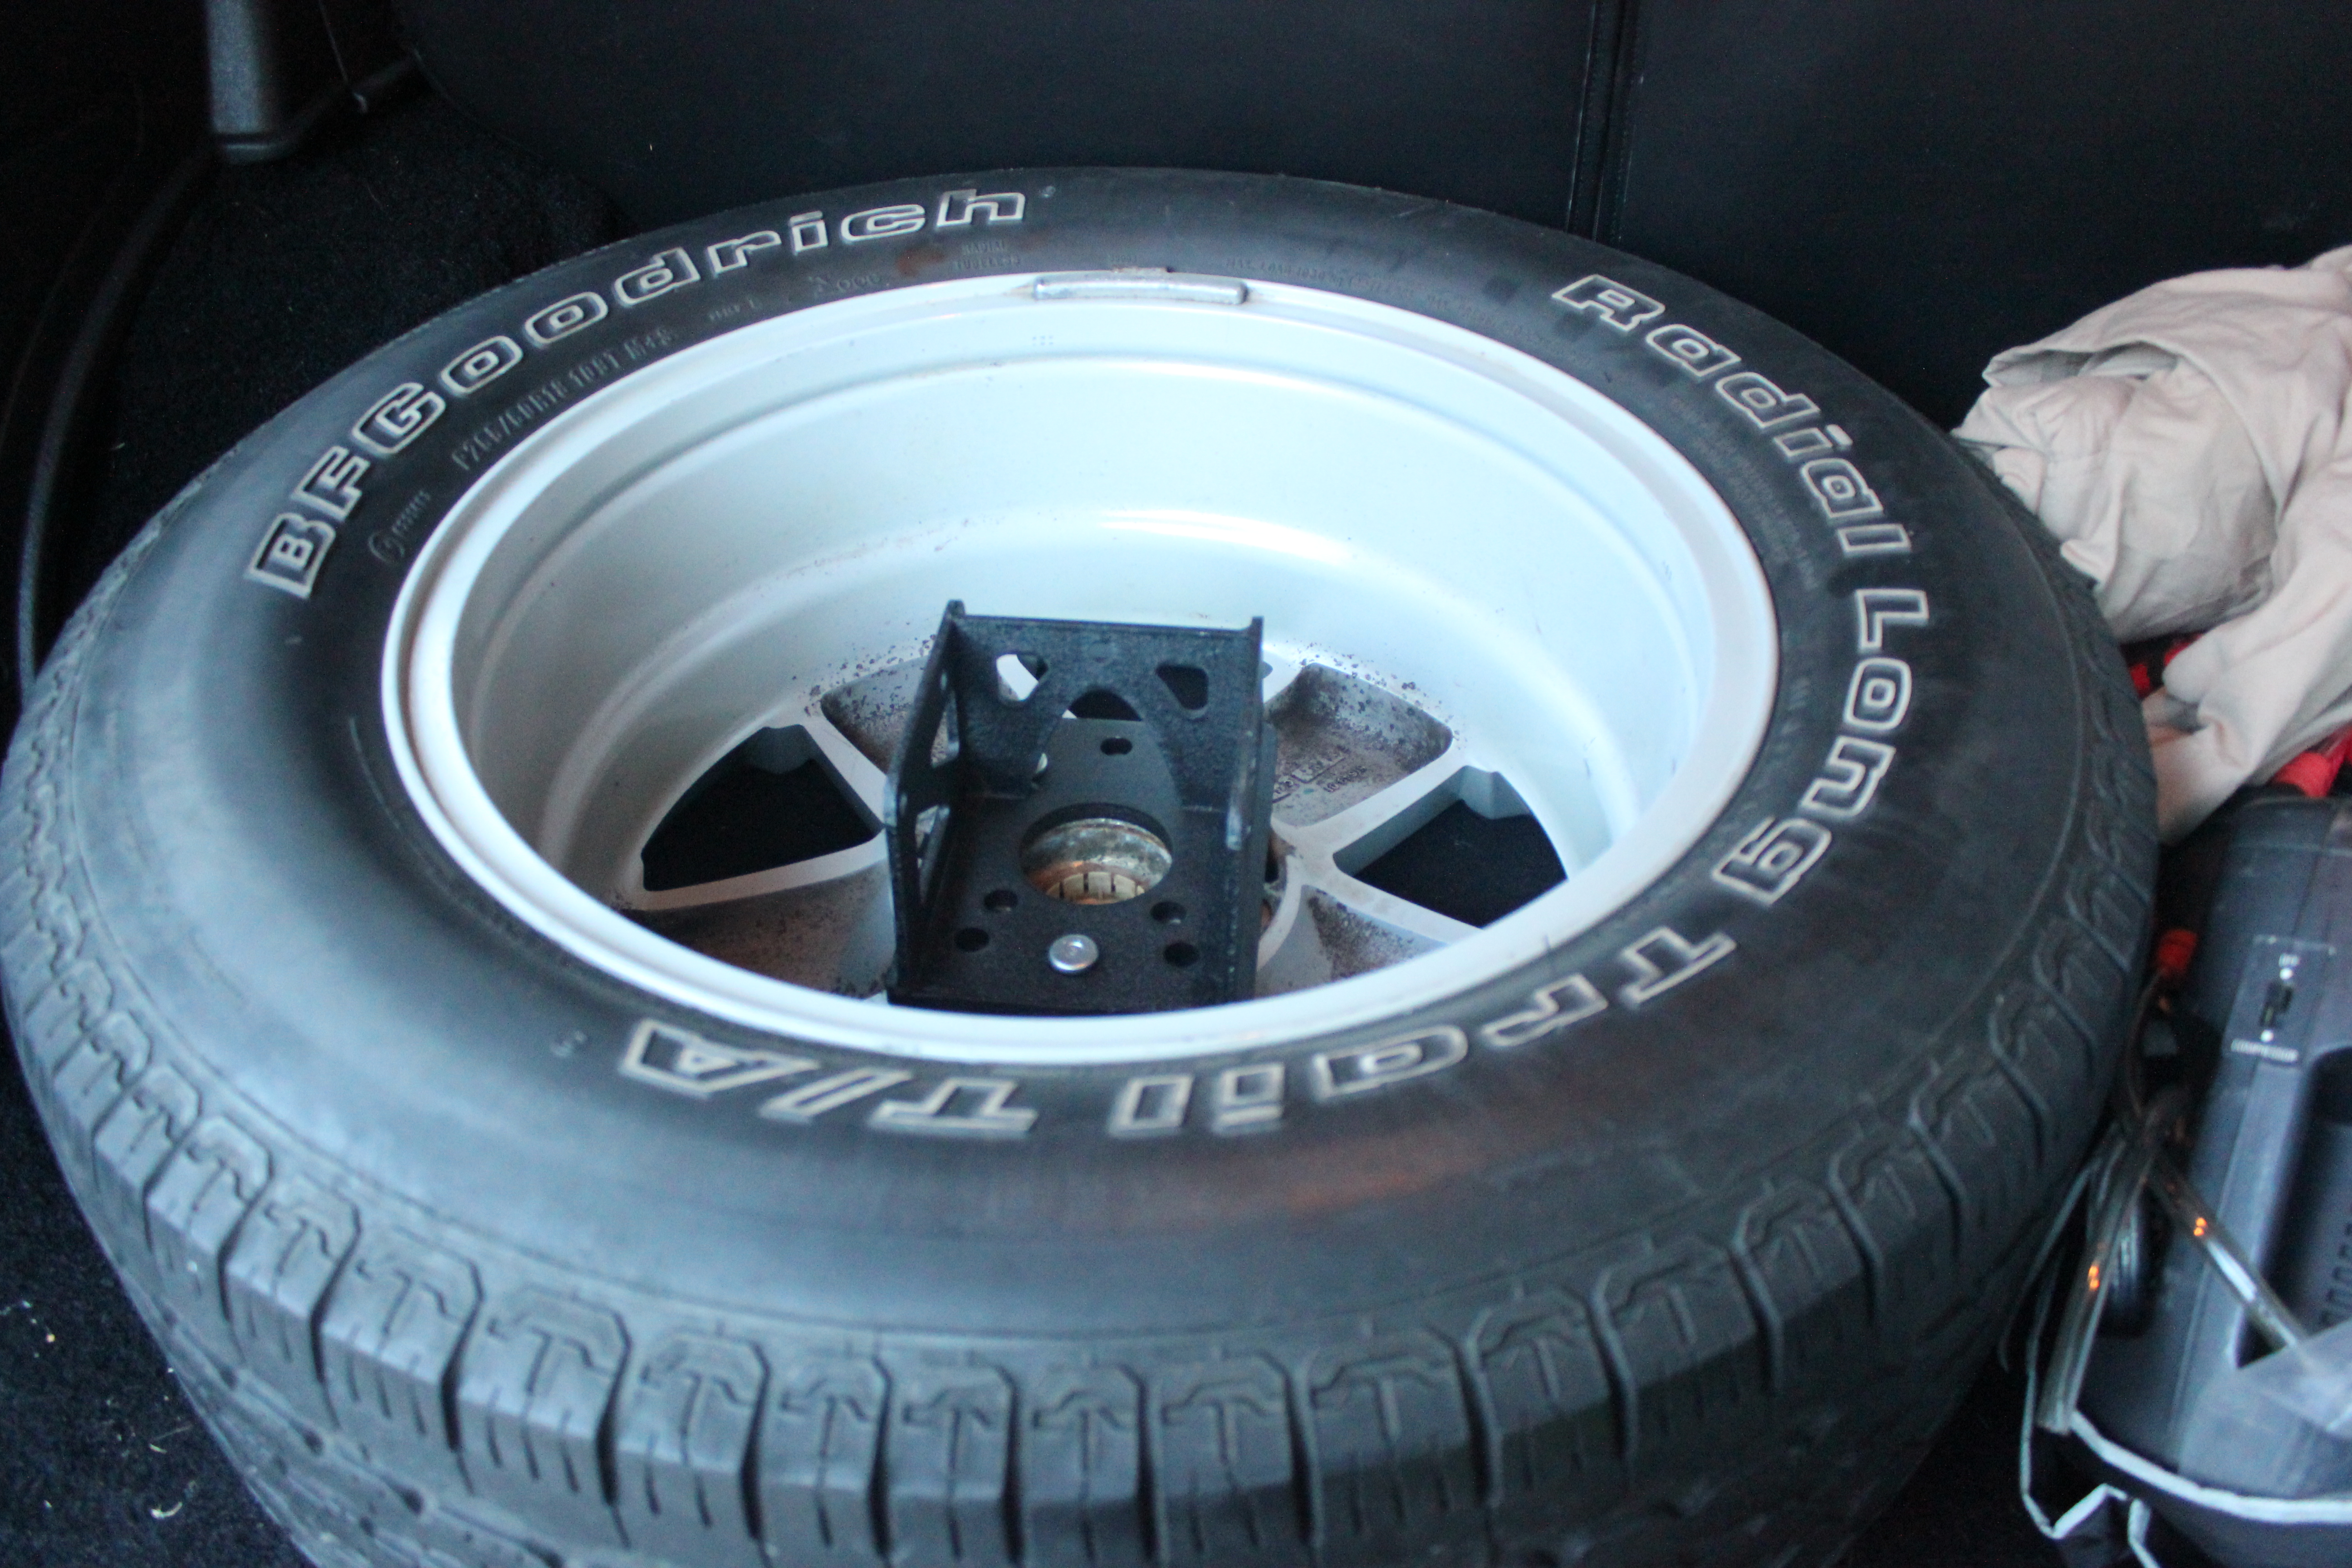
My XJ uses wheel spacers to fit 18″ JK rims onto the standard 5×4.5 bolt pattern. I don’t have 5 spacers, so I had to set the bolt pattern based on my JK rim. When I switch back to standard rims, I’ll have to pull these studs back out and redo them.

I used my impact wrench to draw in the studs. It was not kind to the washer.
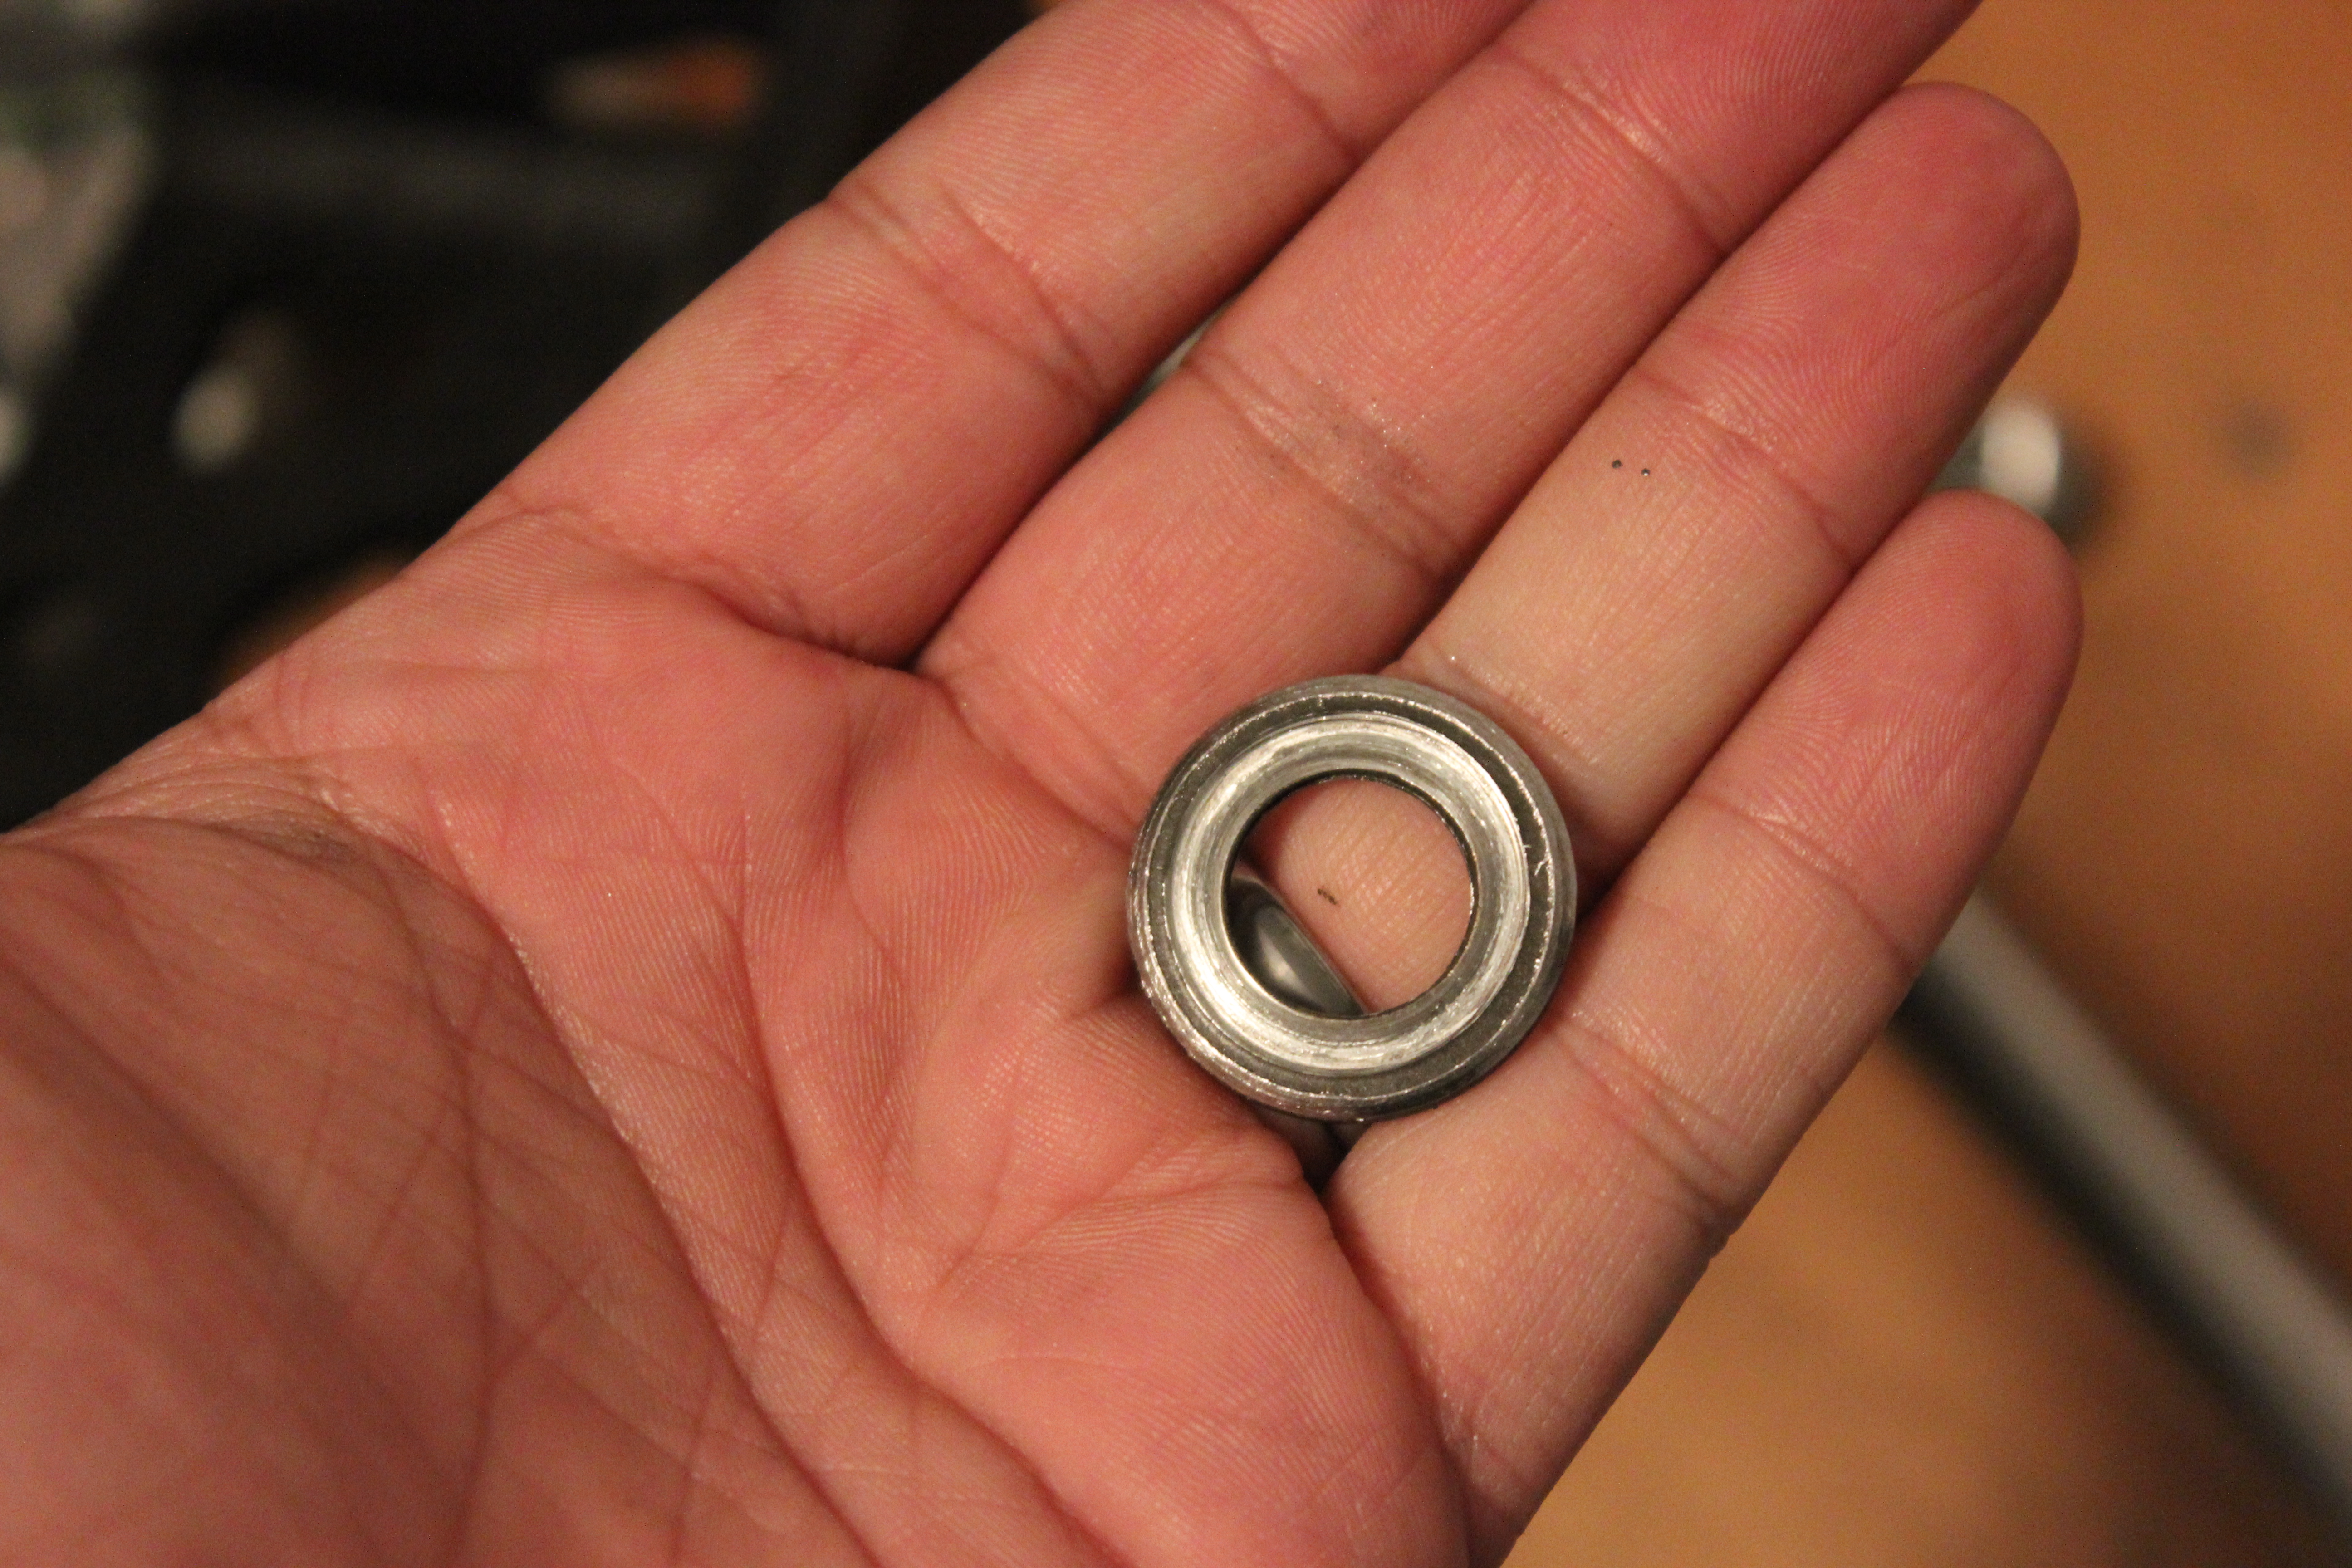
But it got the job done.

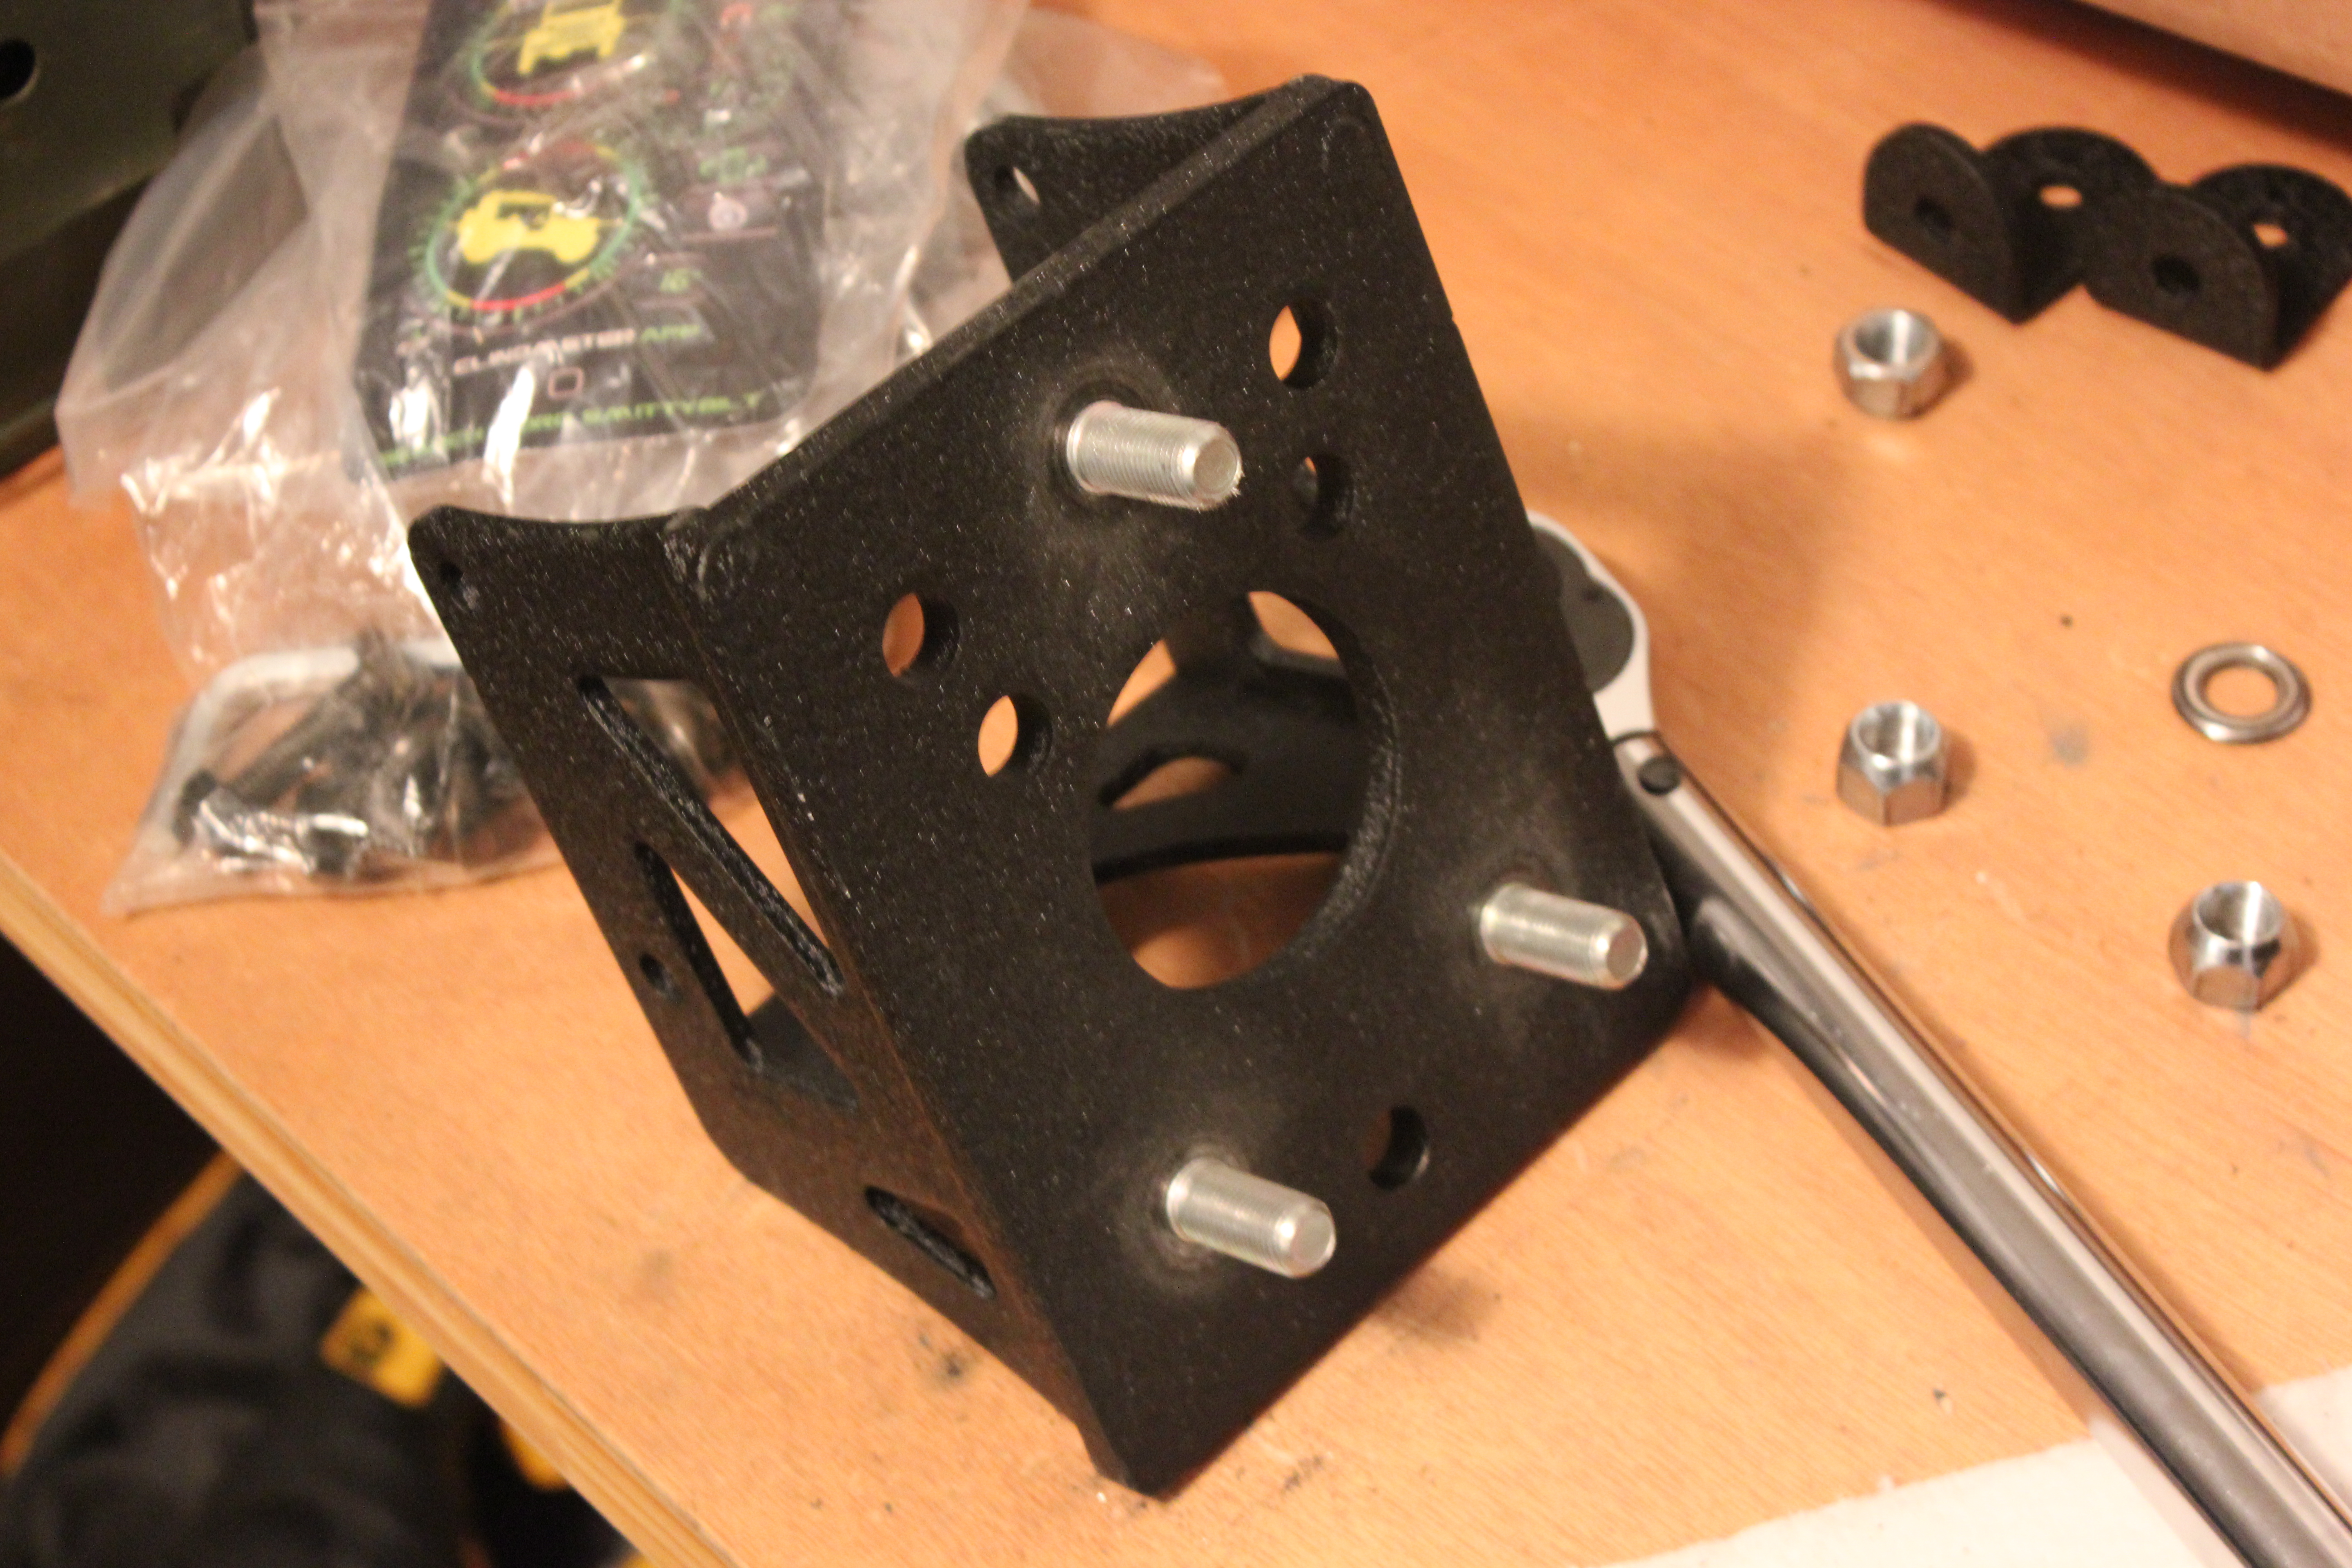
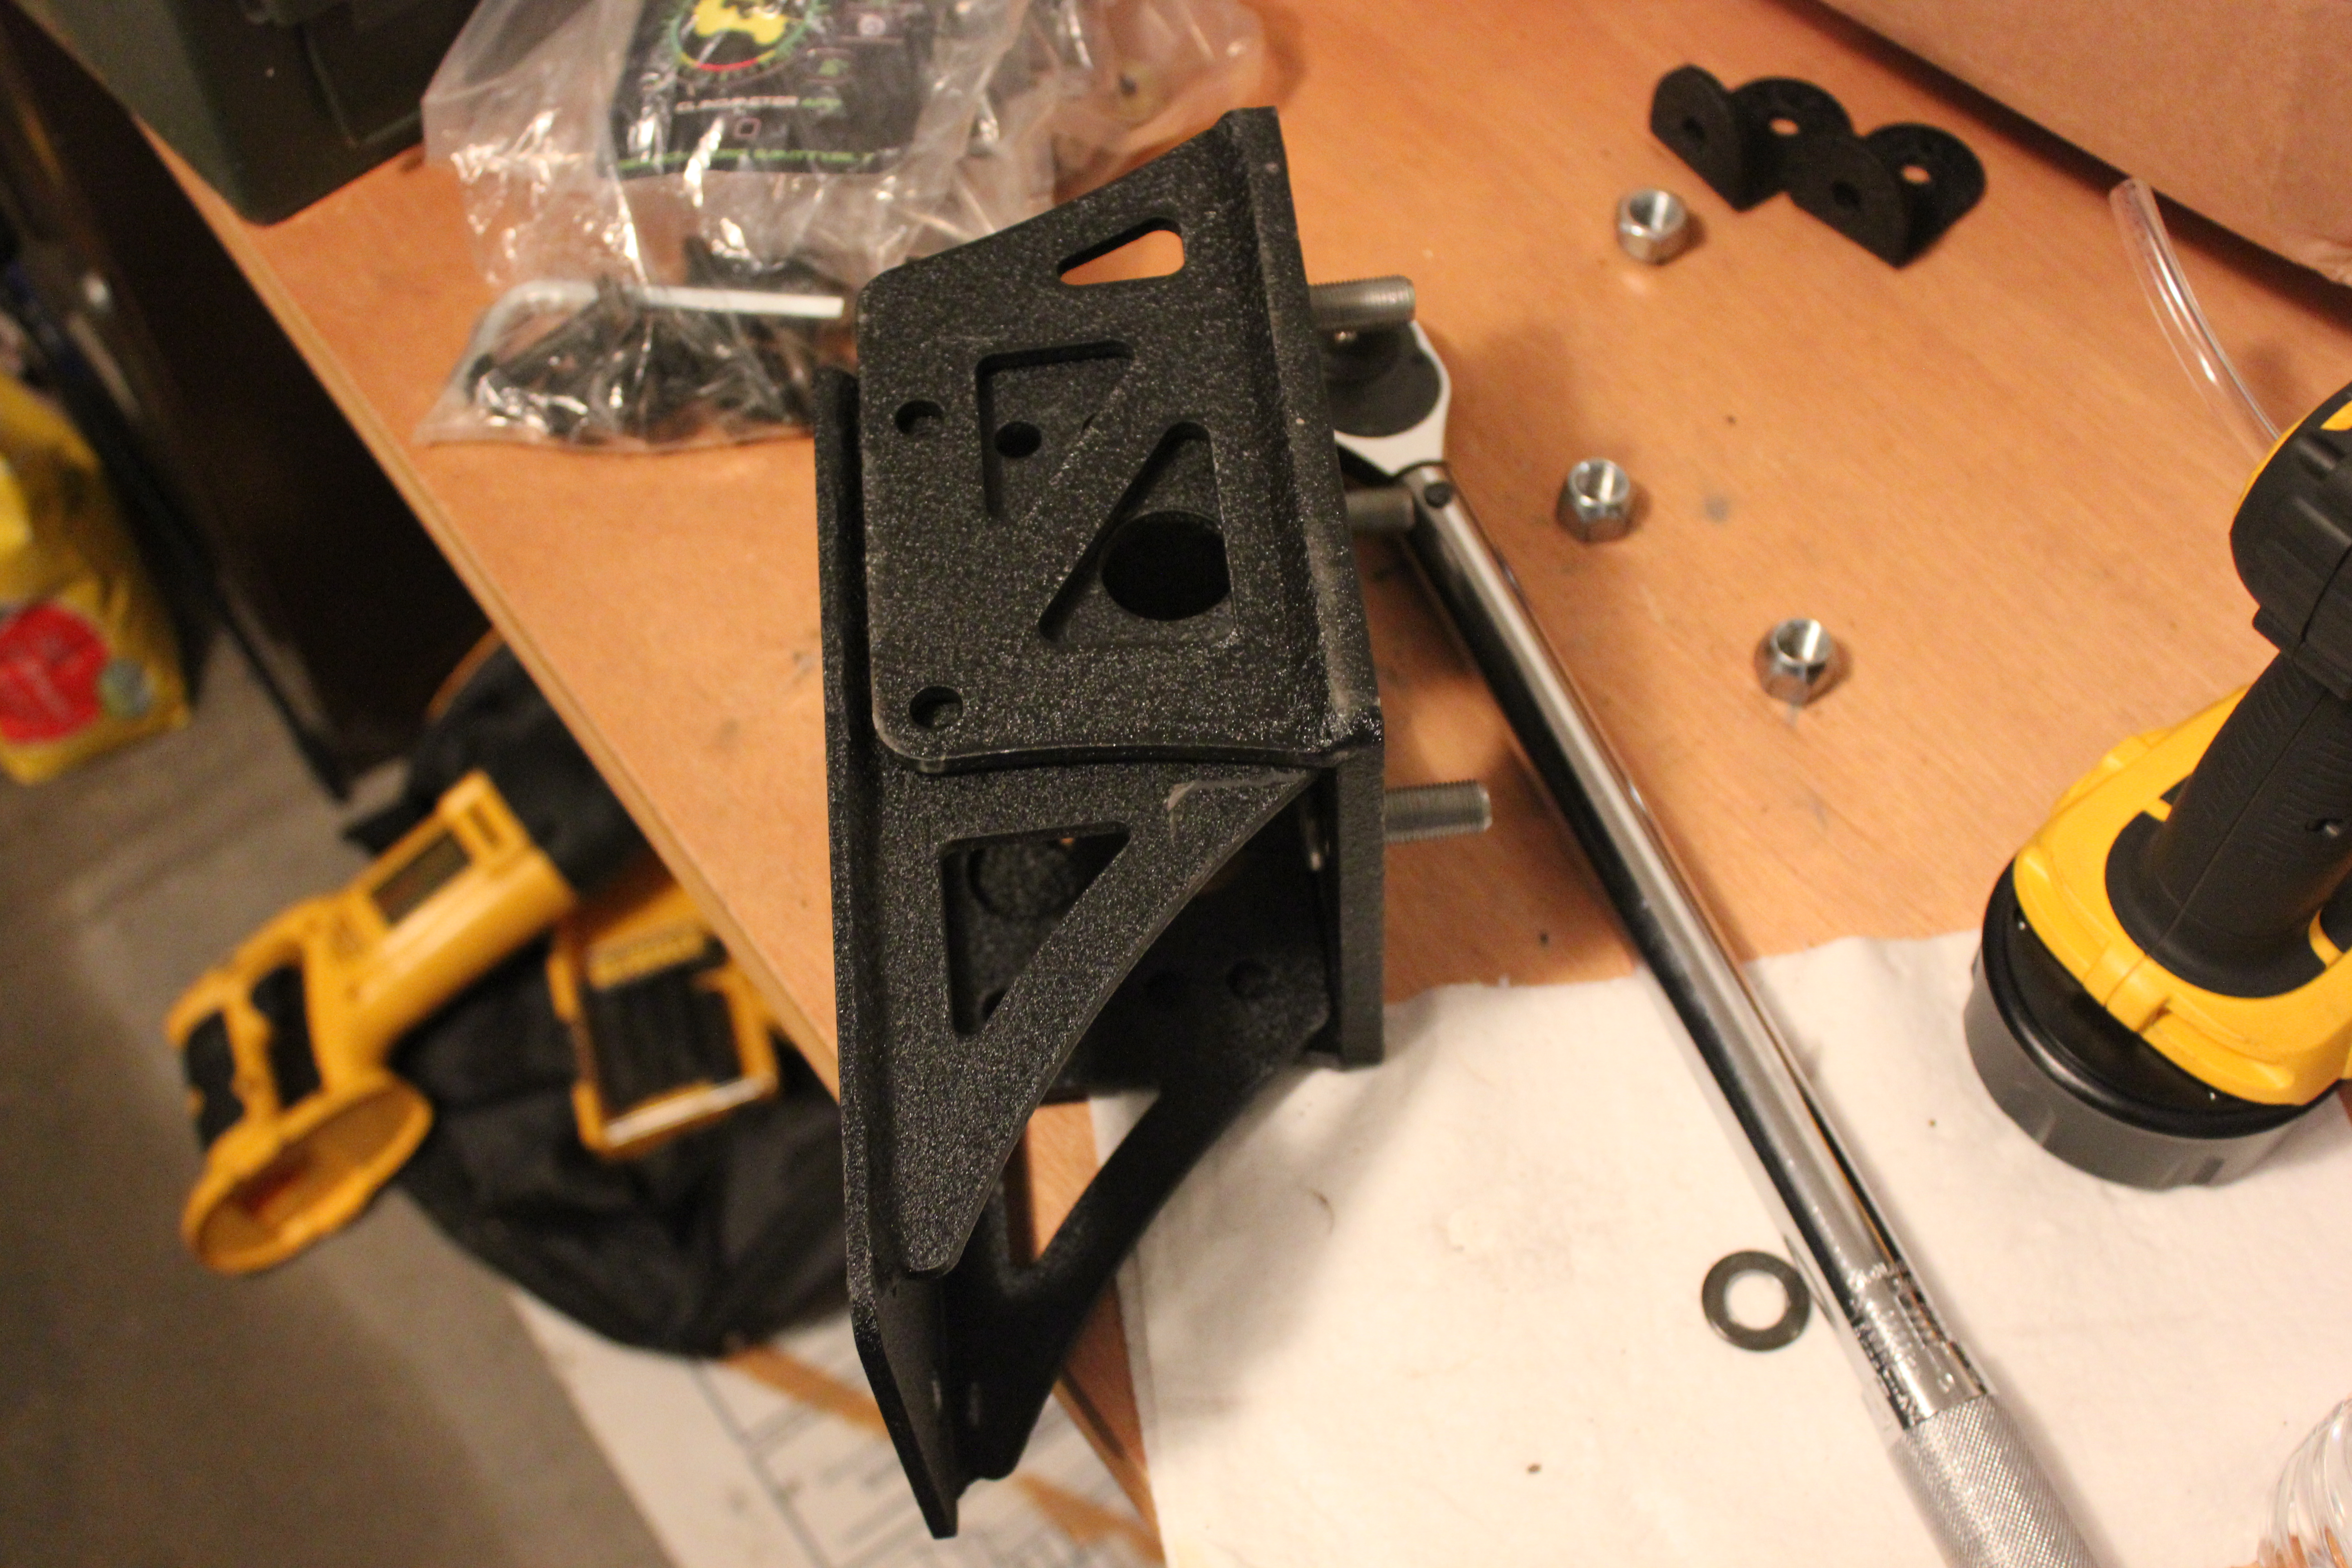
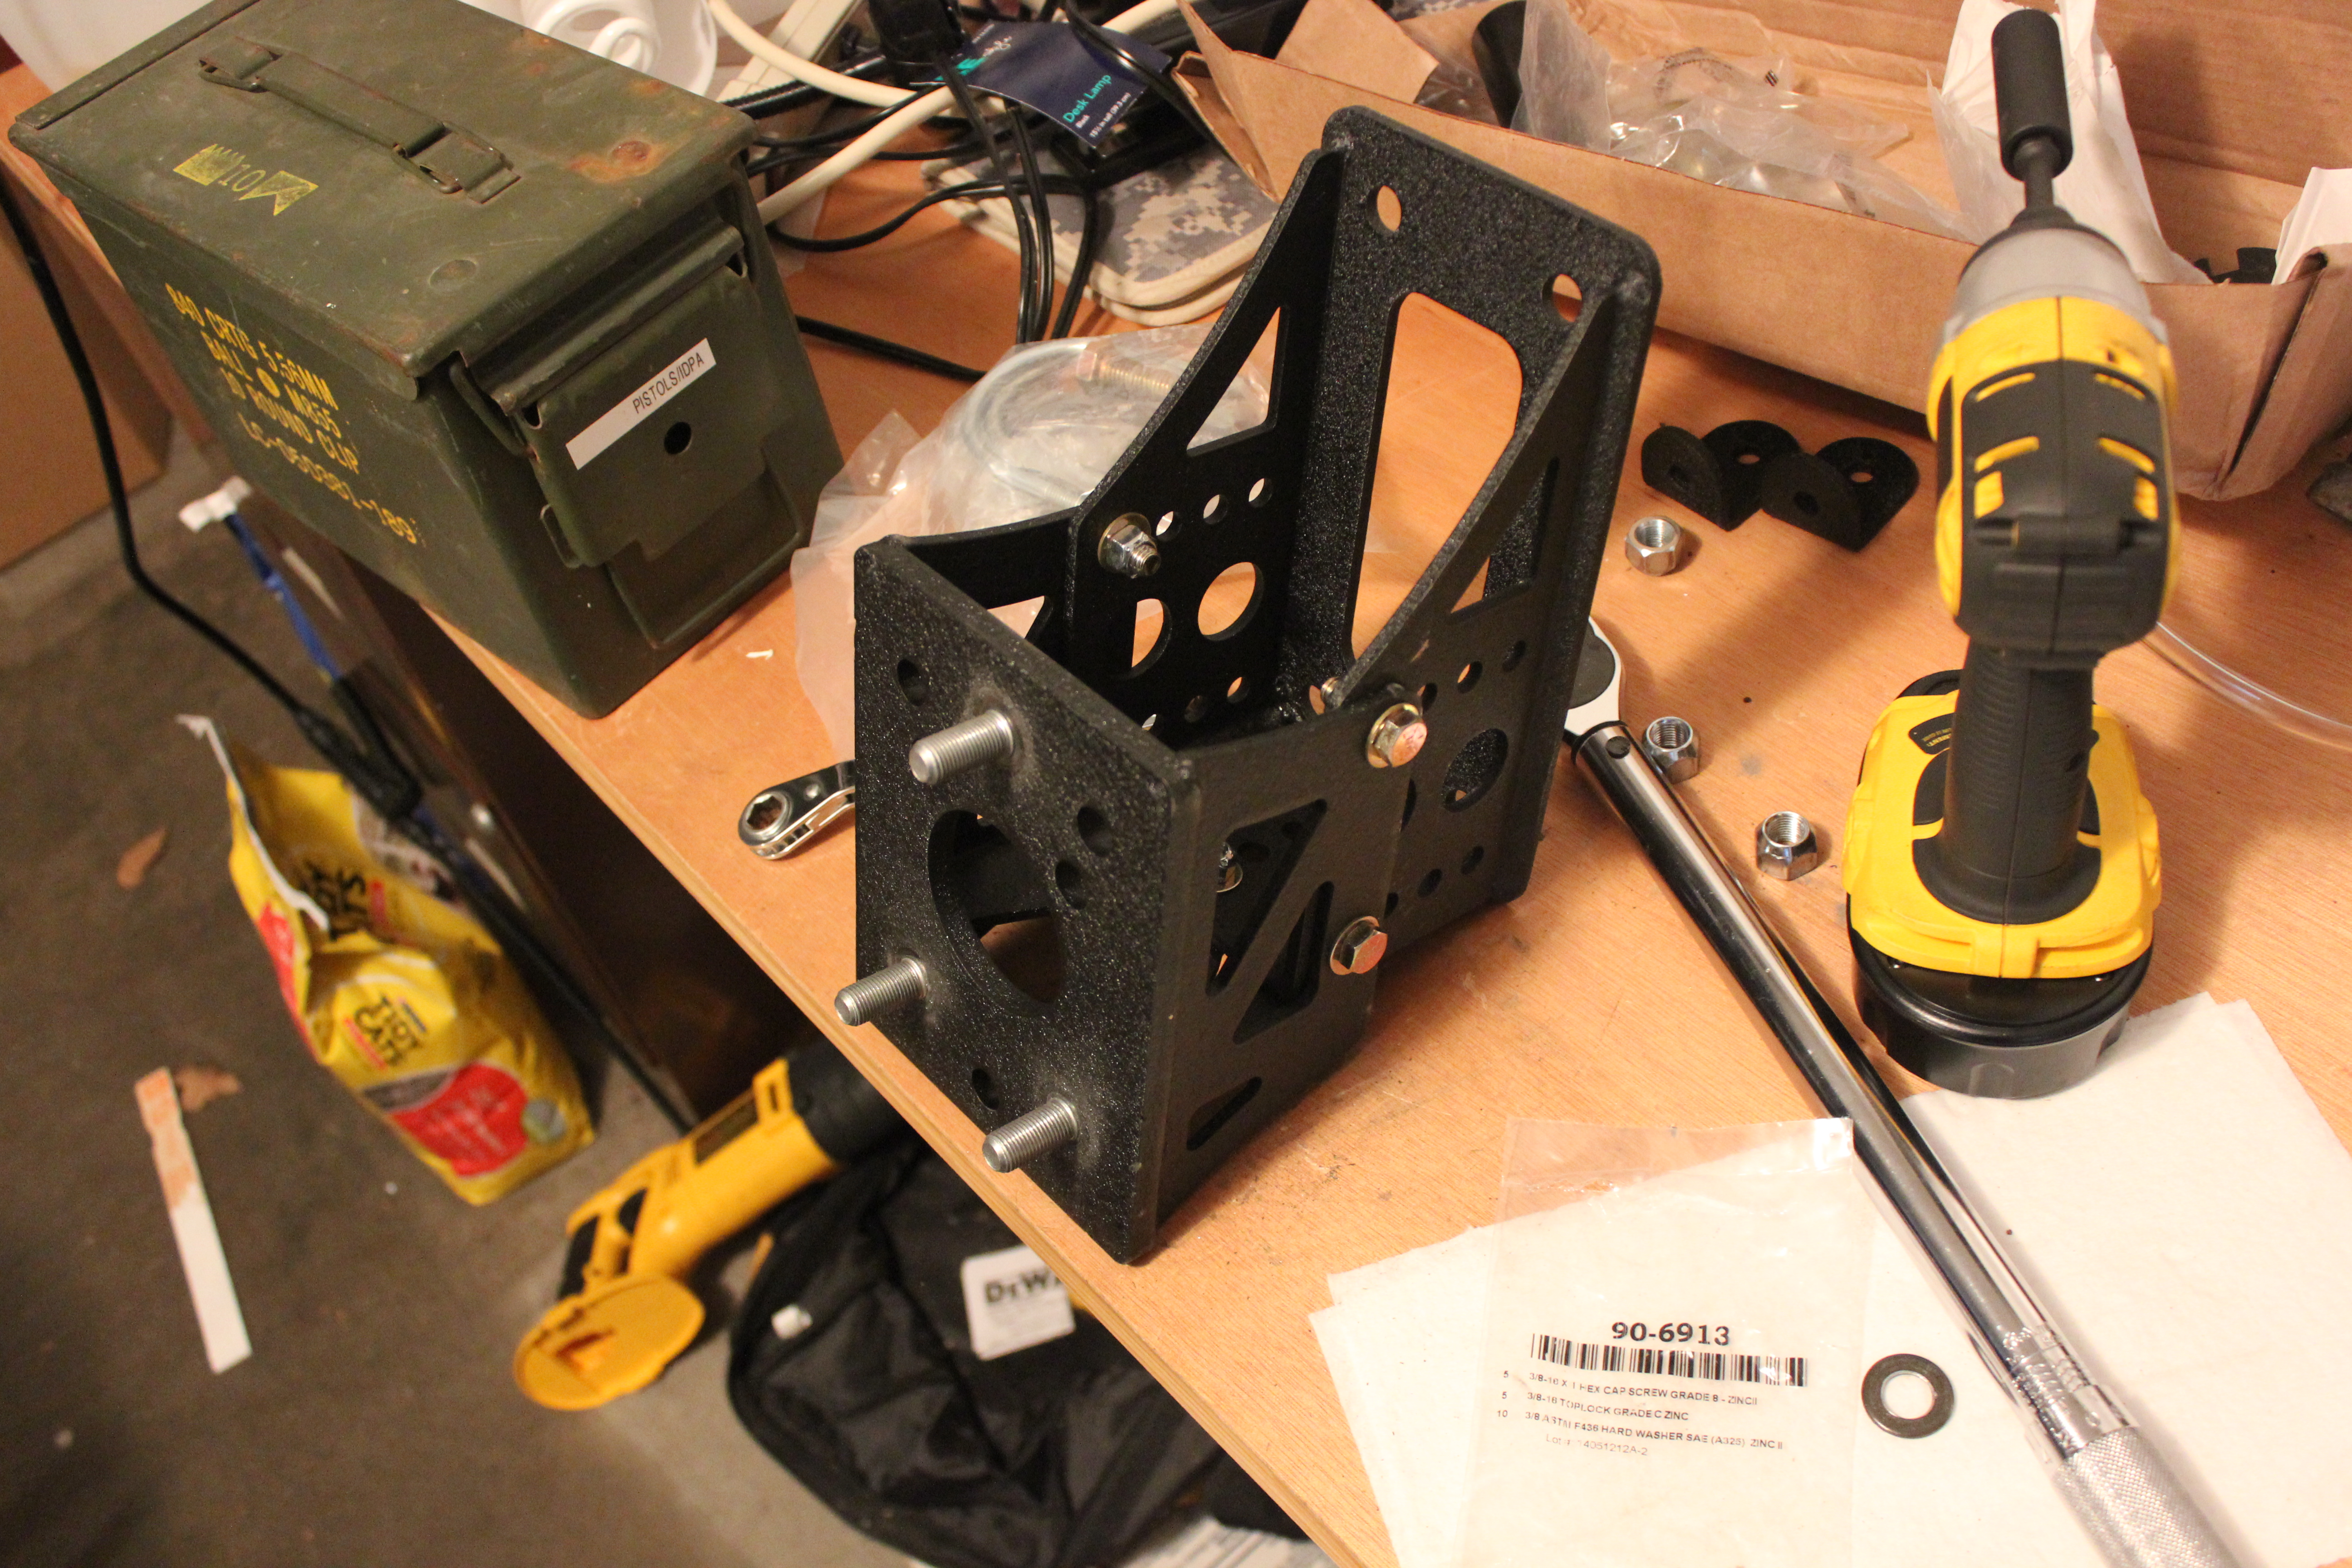
Step 24:
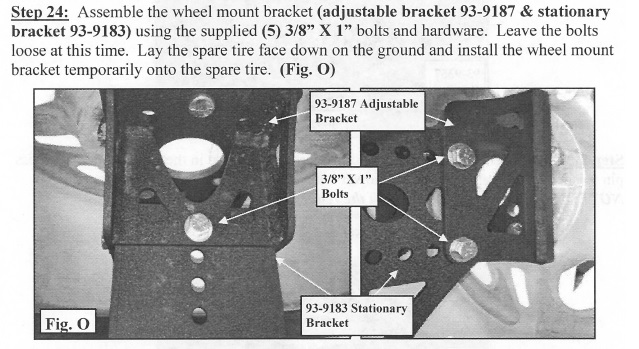
I didn’t put the bolts in because that seemed like a dumb idea. You can’t adjust the bracket if the bolts are in the holes. It didn’t make any sense. This is the adjustable bracket:
And here they are mated for adjusting:
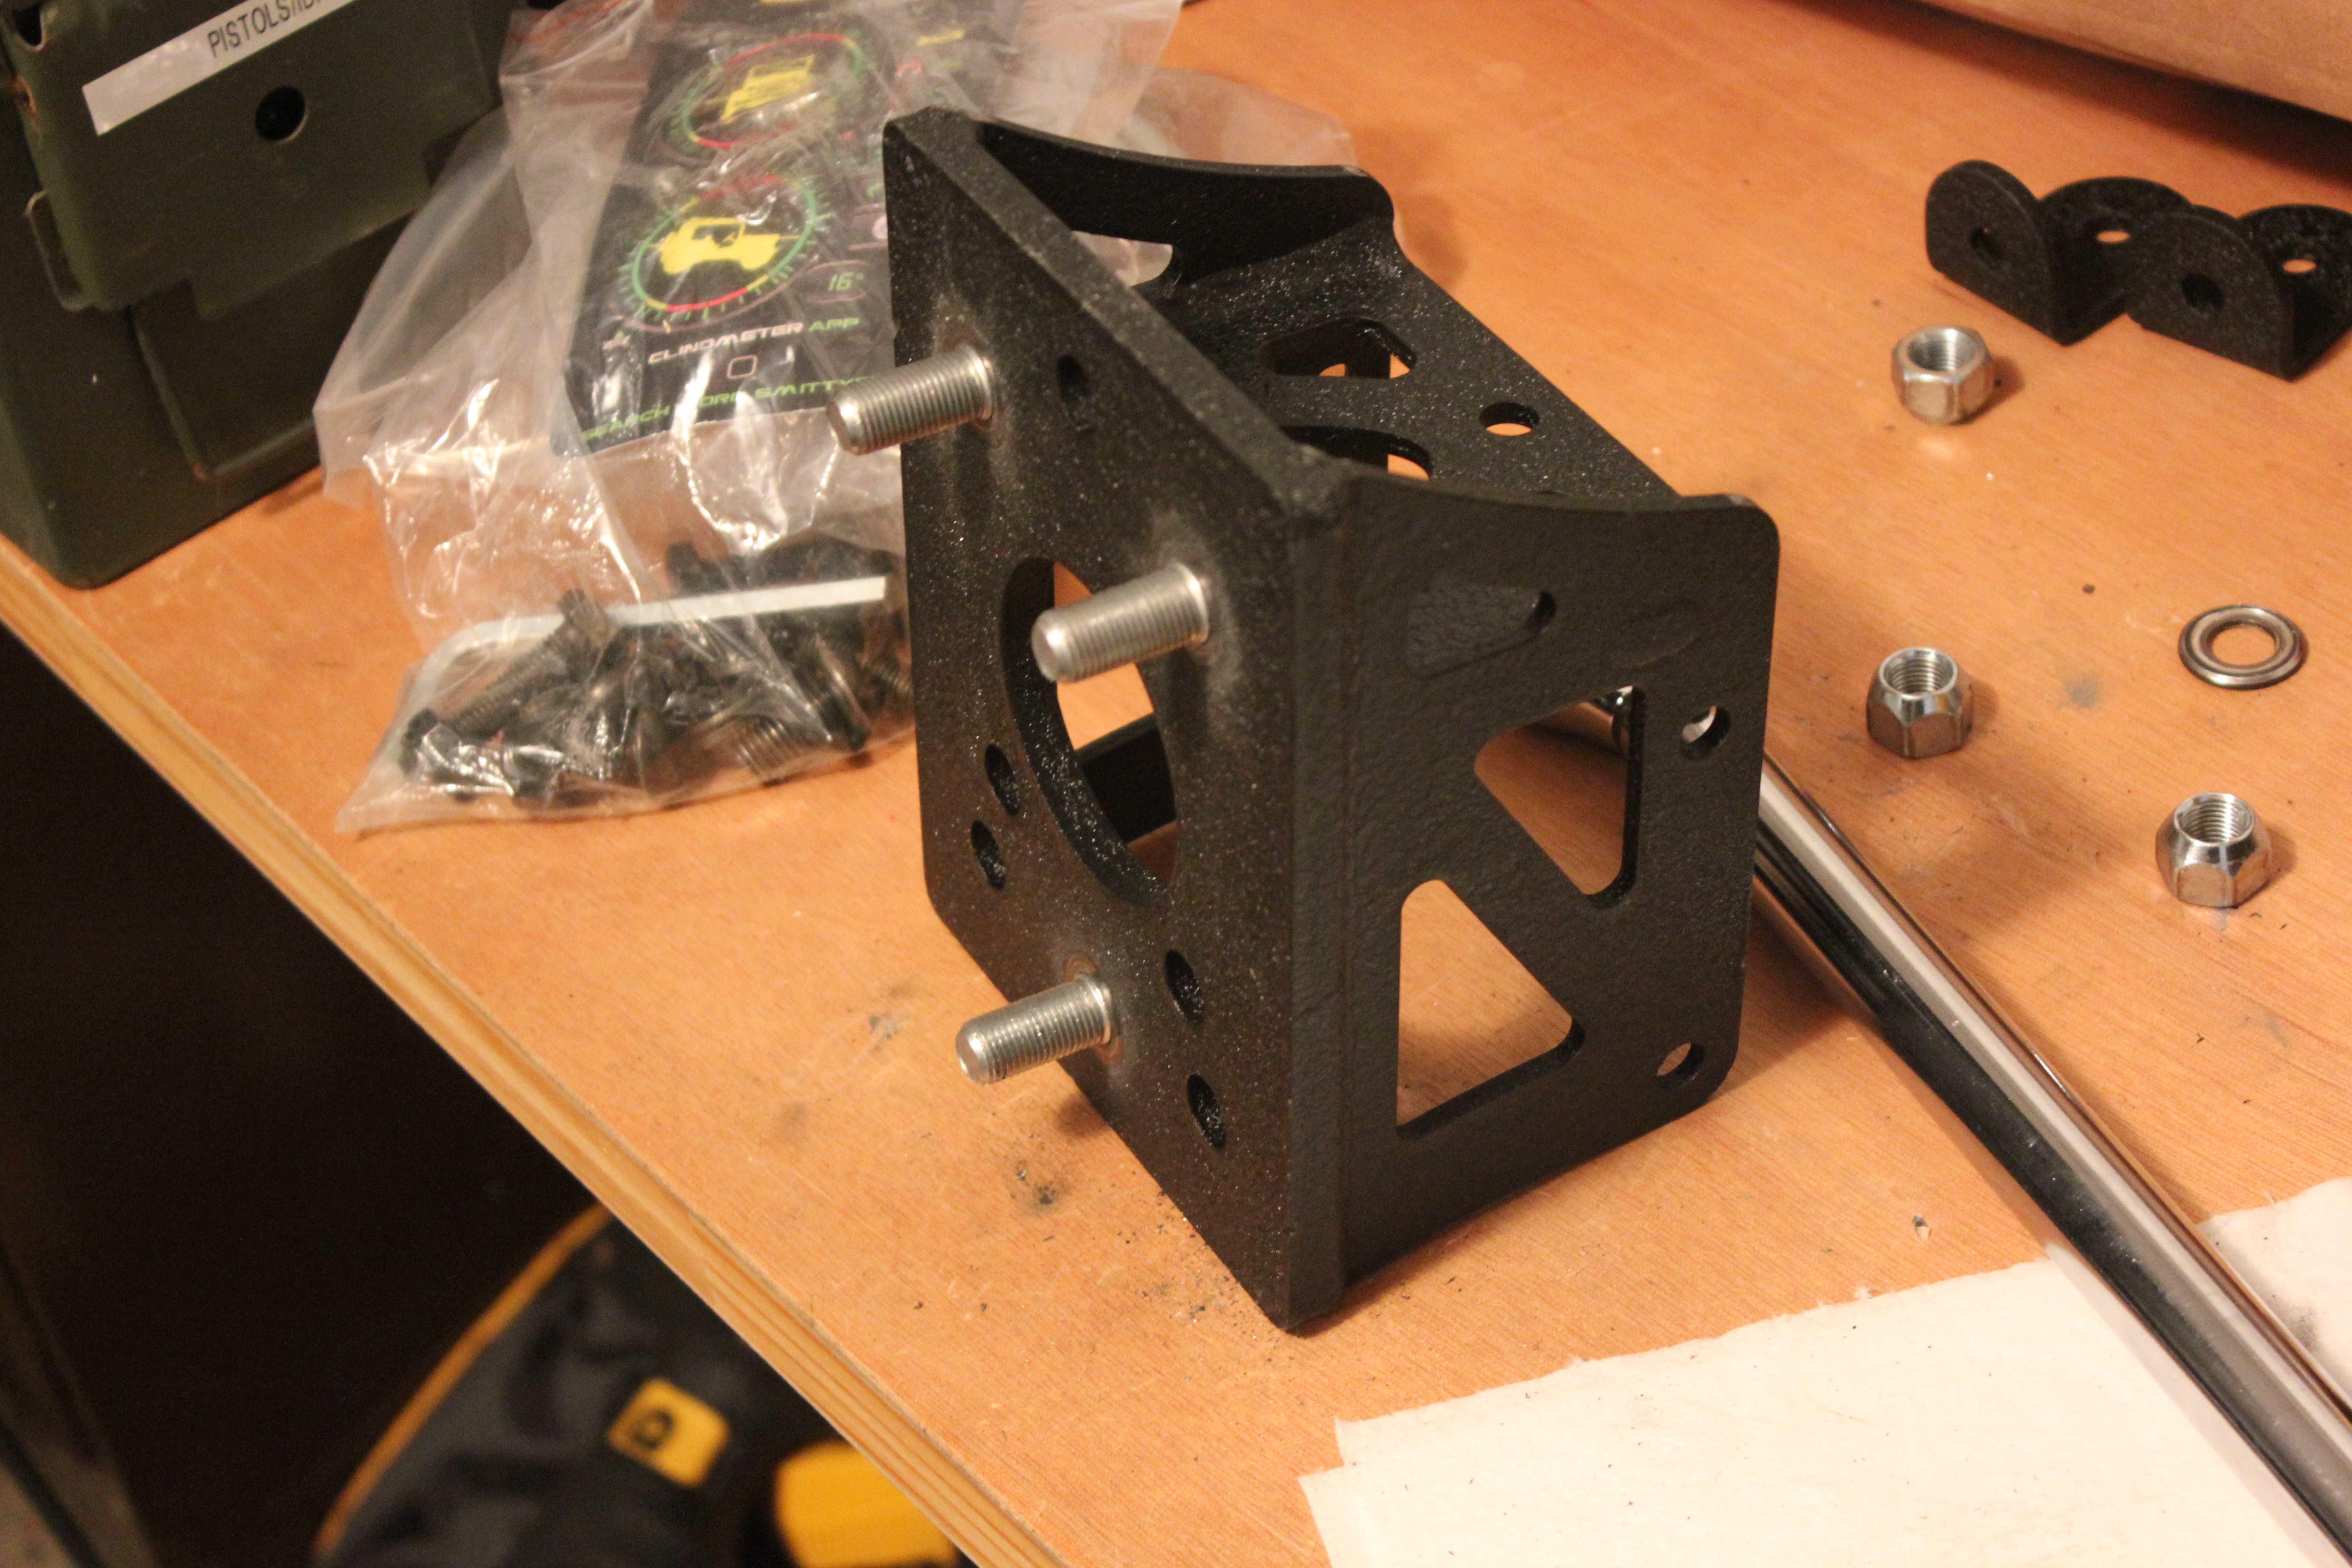
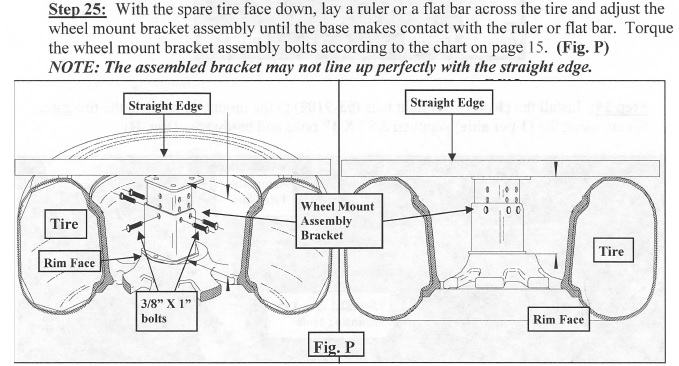
Step 25:
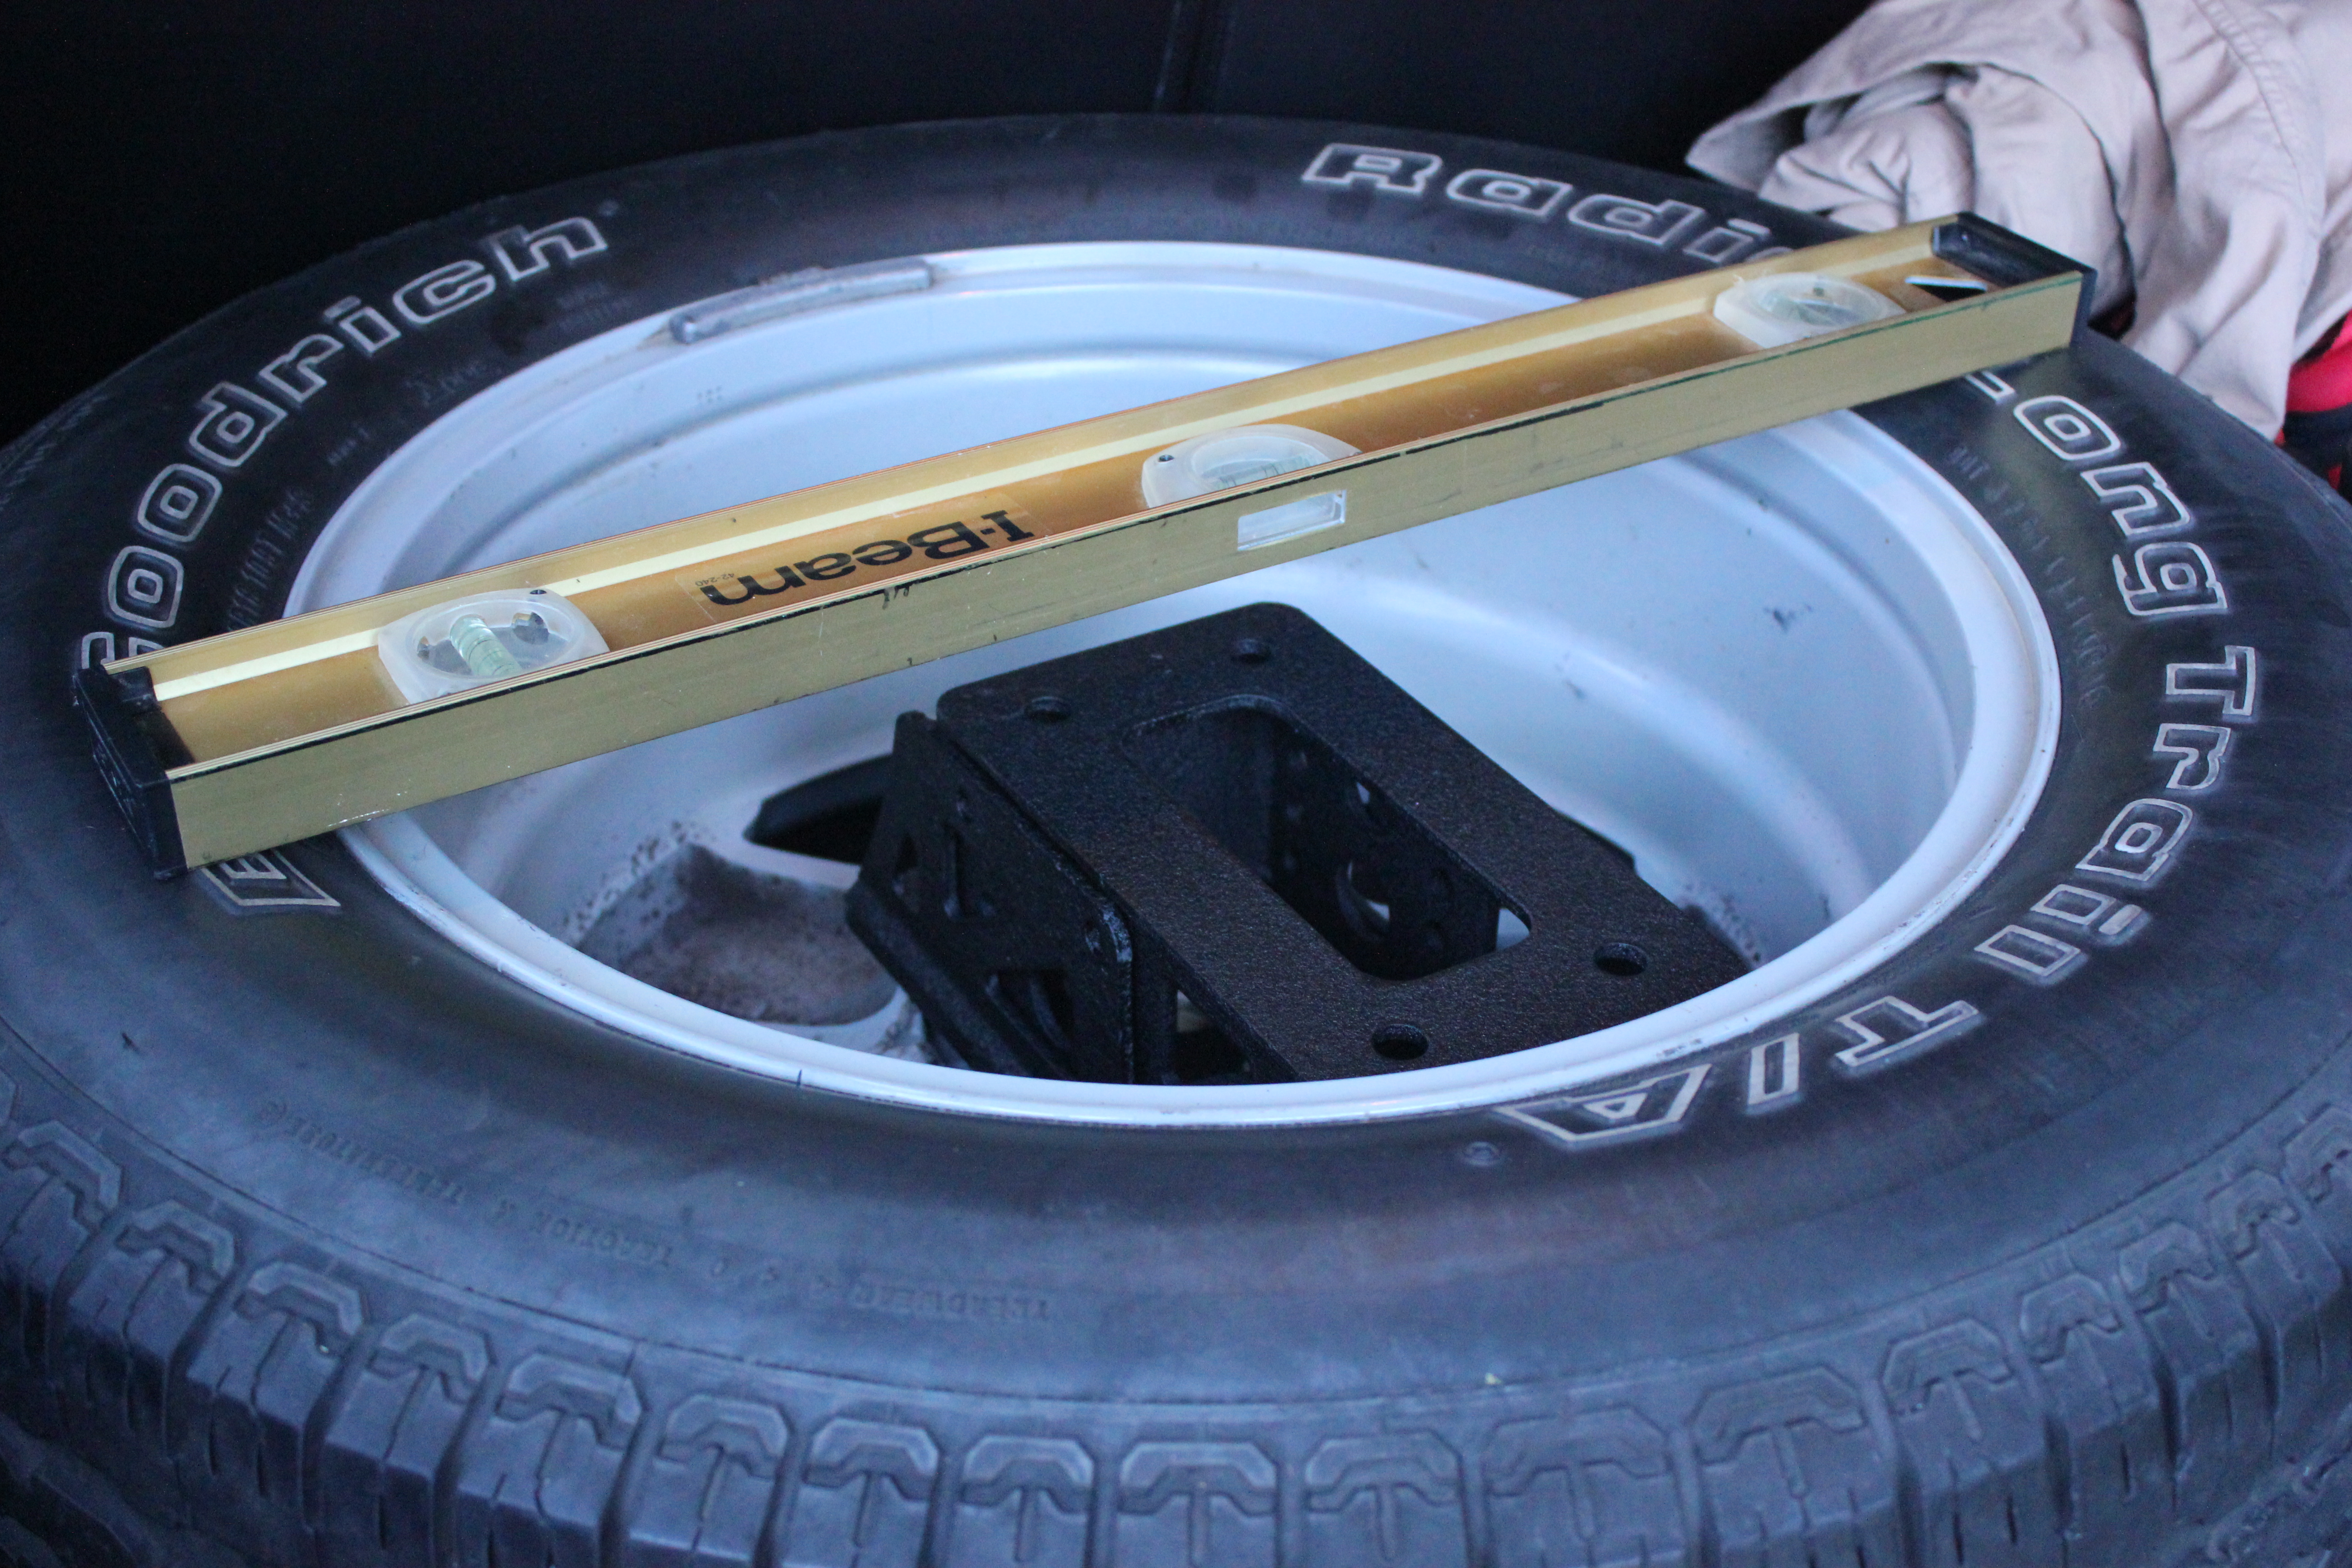
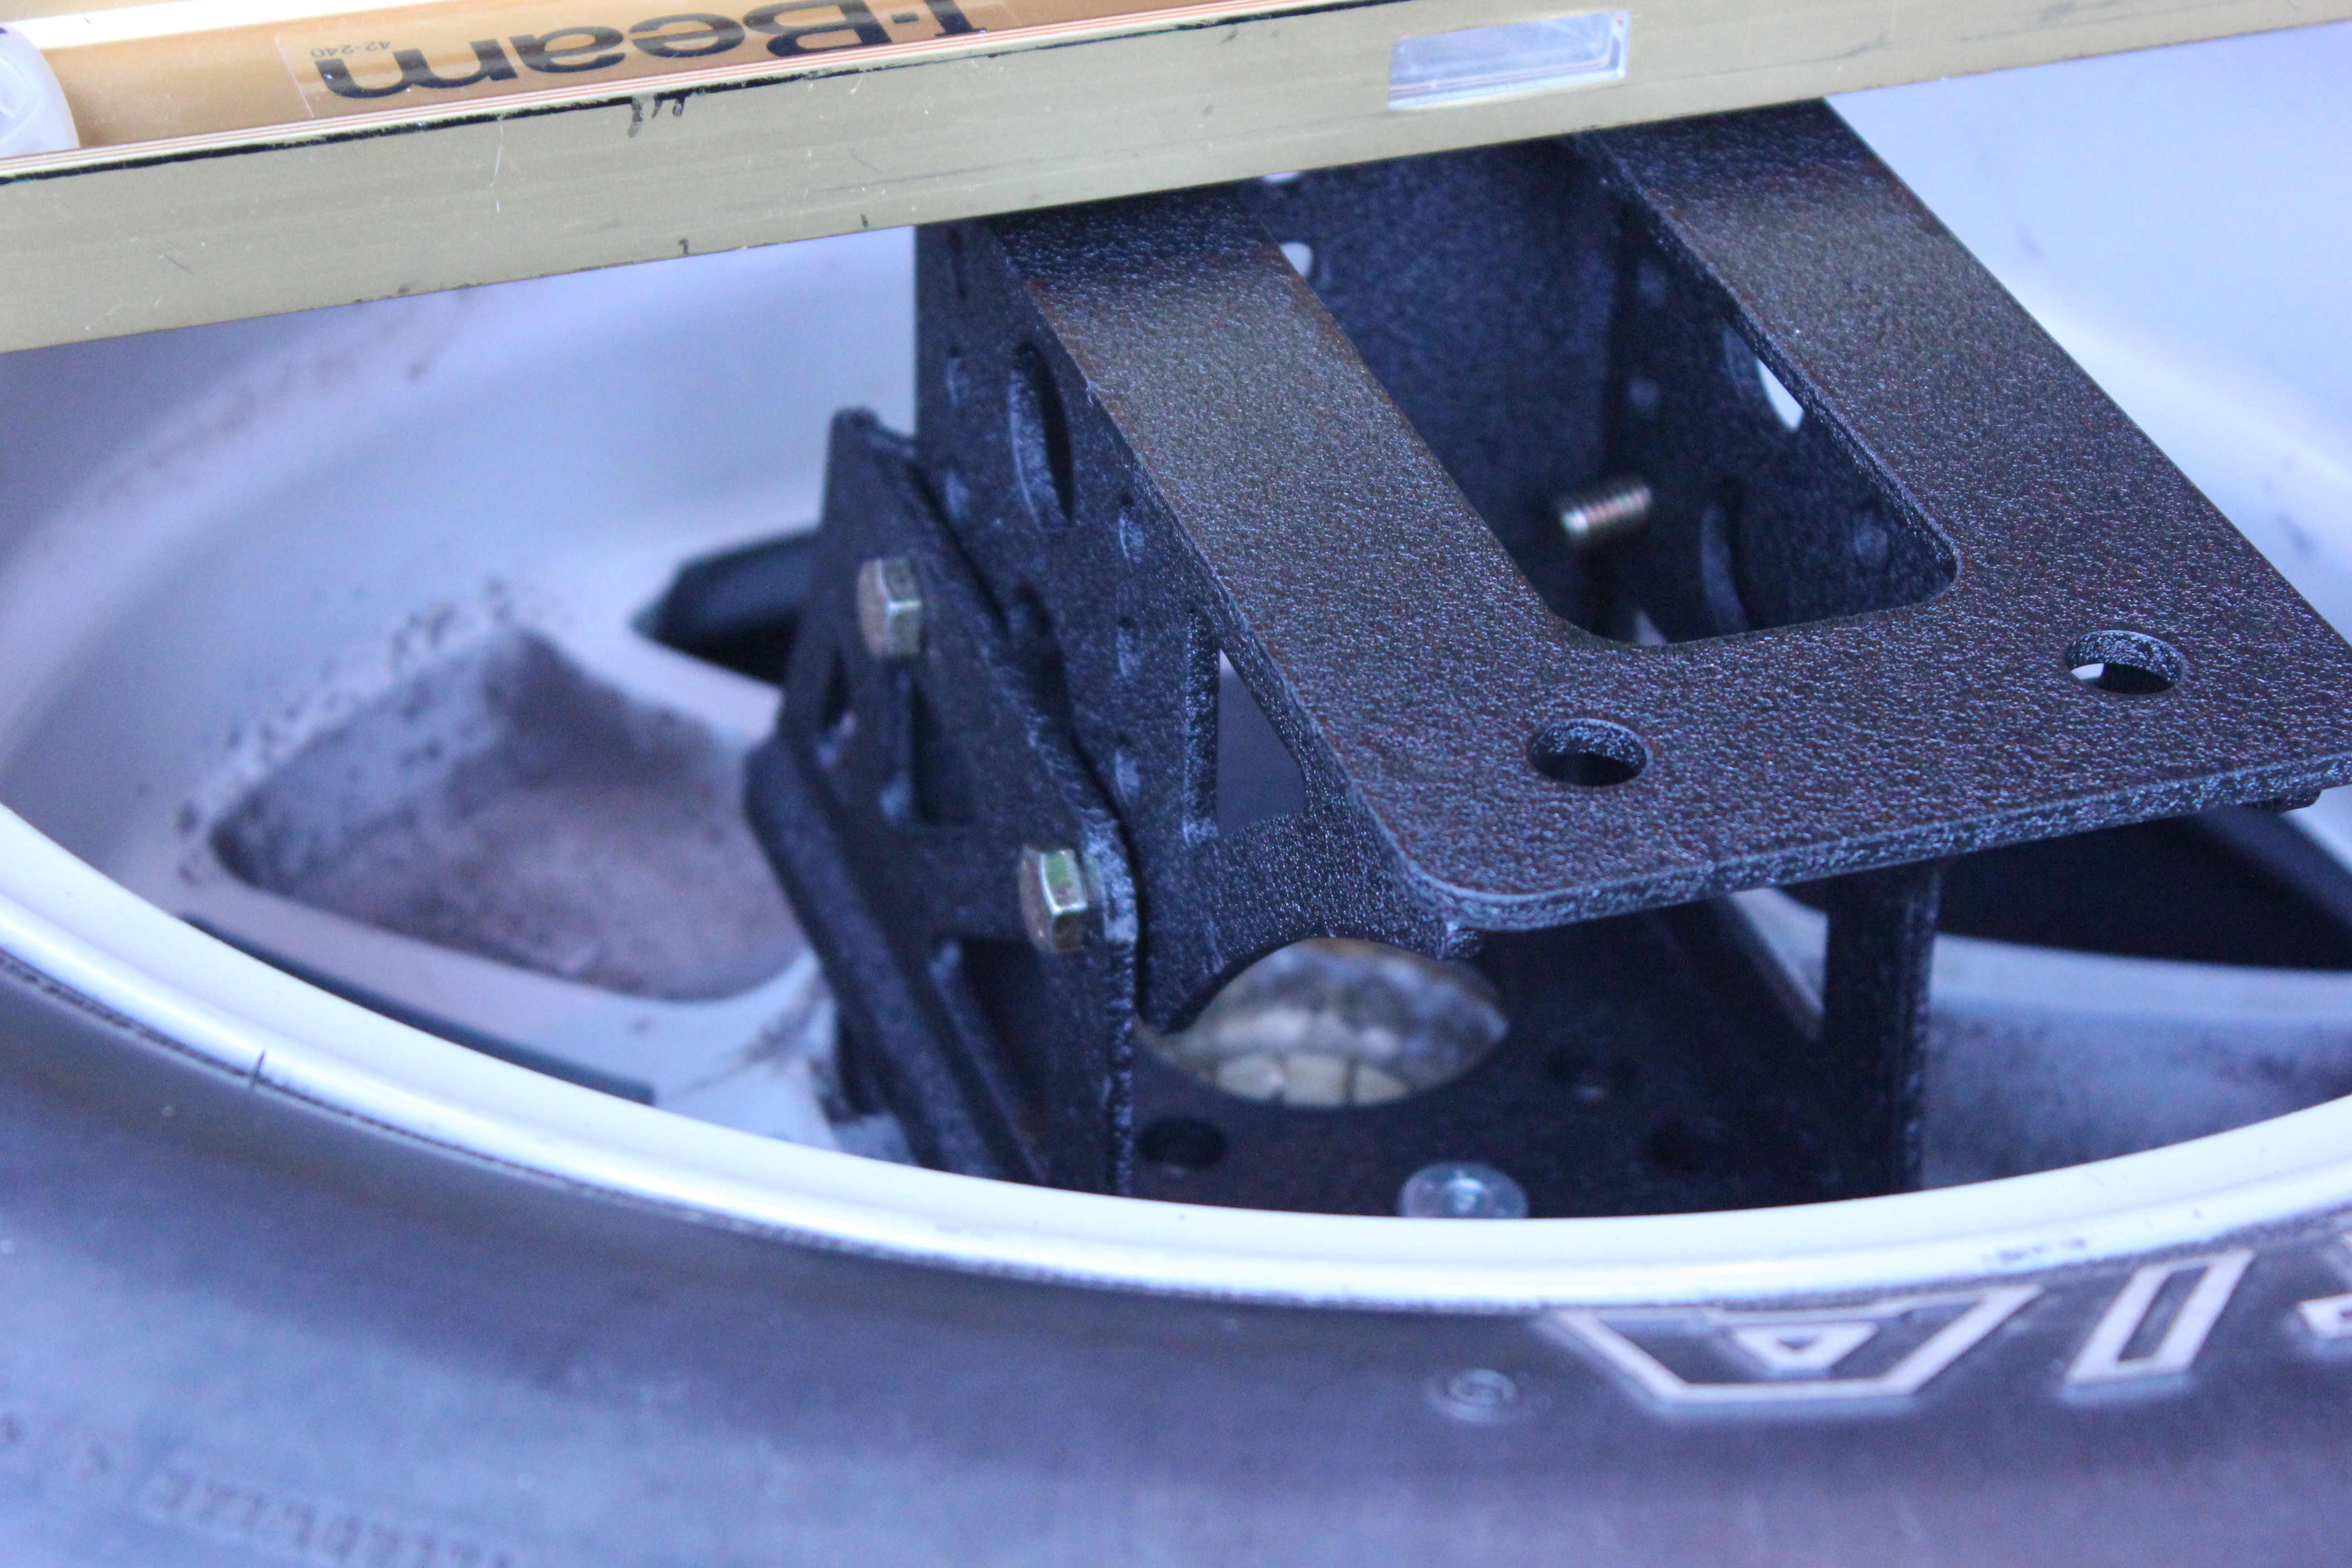
And here it is assembled and torqued.

Step 26:
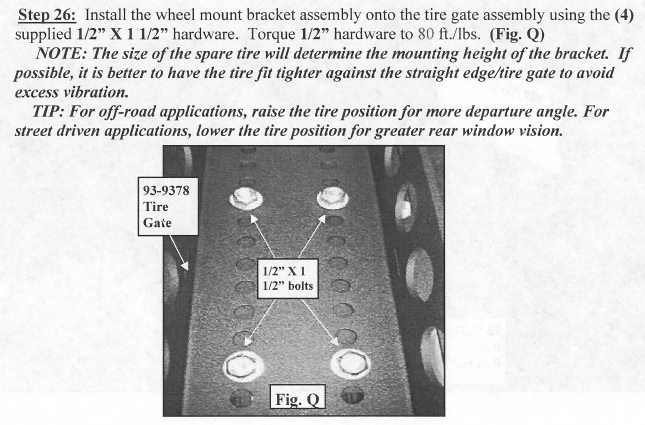
Since this is a daily driver/mall crawler, I wanted to mount it as low as practicable. So I put the bracket assembly in the spare, and measured from the bottom of the tire to the bottom hole of the bracket:
Now, the reason why I didn’t just use the lowest set of holes on the tire carrier is because I needed to make sure I had enough clearance to actually use the latch. You can see the latch in the picture above; it’s on the bottom left.
Mounted and torqued:

Step 27:

The powdercoating is pretty thin, so take this warning seriously. Slowly close the gate and latch it.
Step 28:

Steps 29-32 are related to mounting the accessories: Hi-lift, Auxiliary lights, and a Jerry Can. I don’t have those yet, so I skipped these steps.
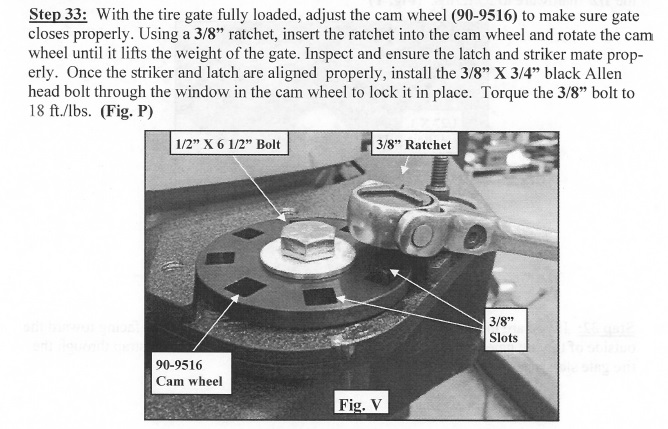
Step 33:
You’re almost done! This will have to be re-done when I go back and add the accessories I skipped in steps 29-32.
As previously mentioned, the cam wheel pictured in the instructions is different than than the cam wheel that ships with the kit:
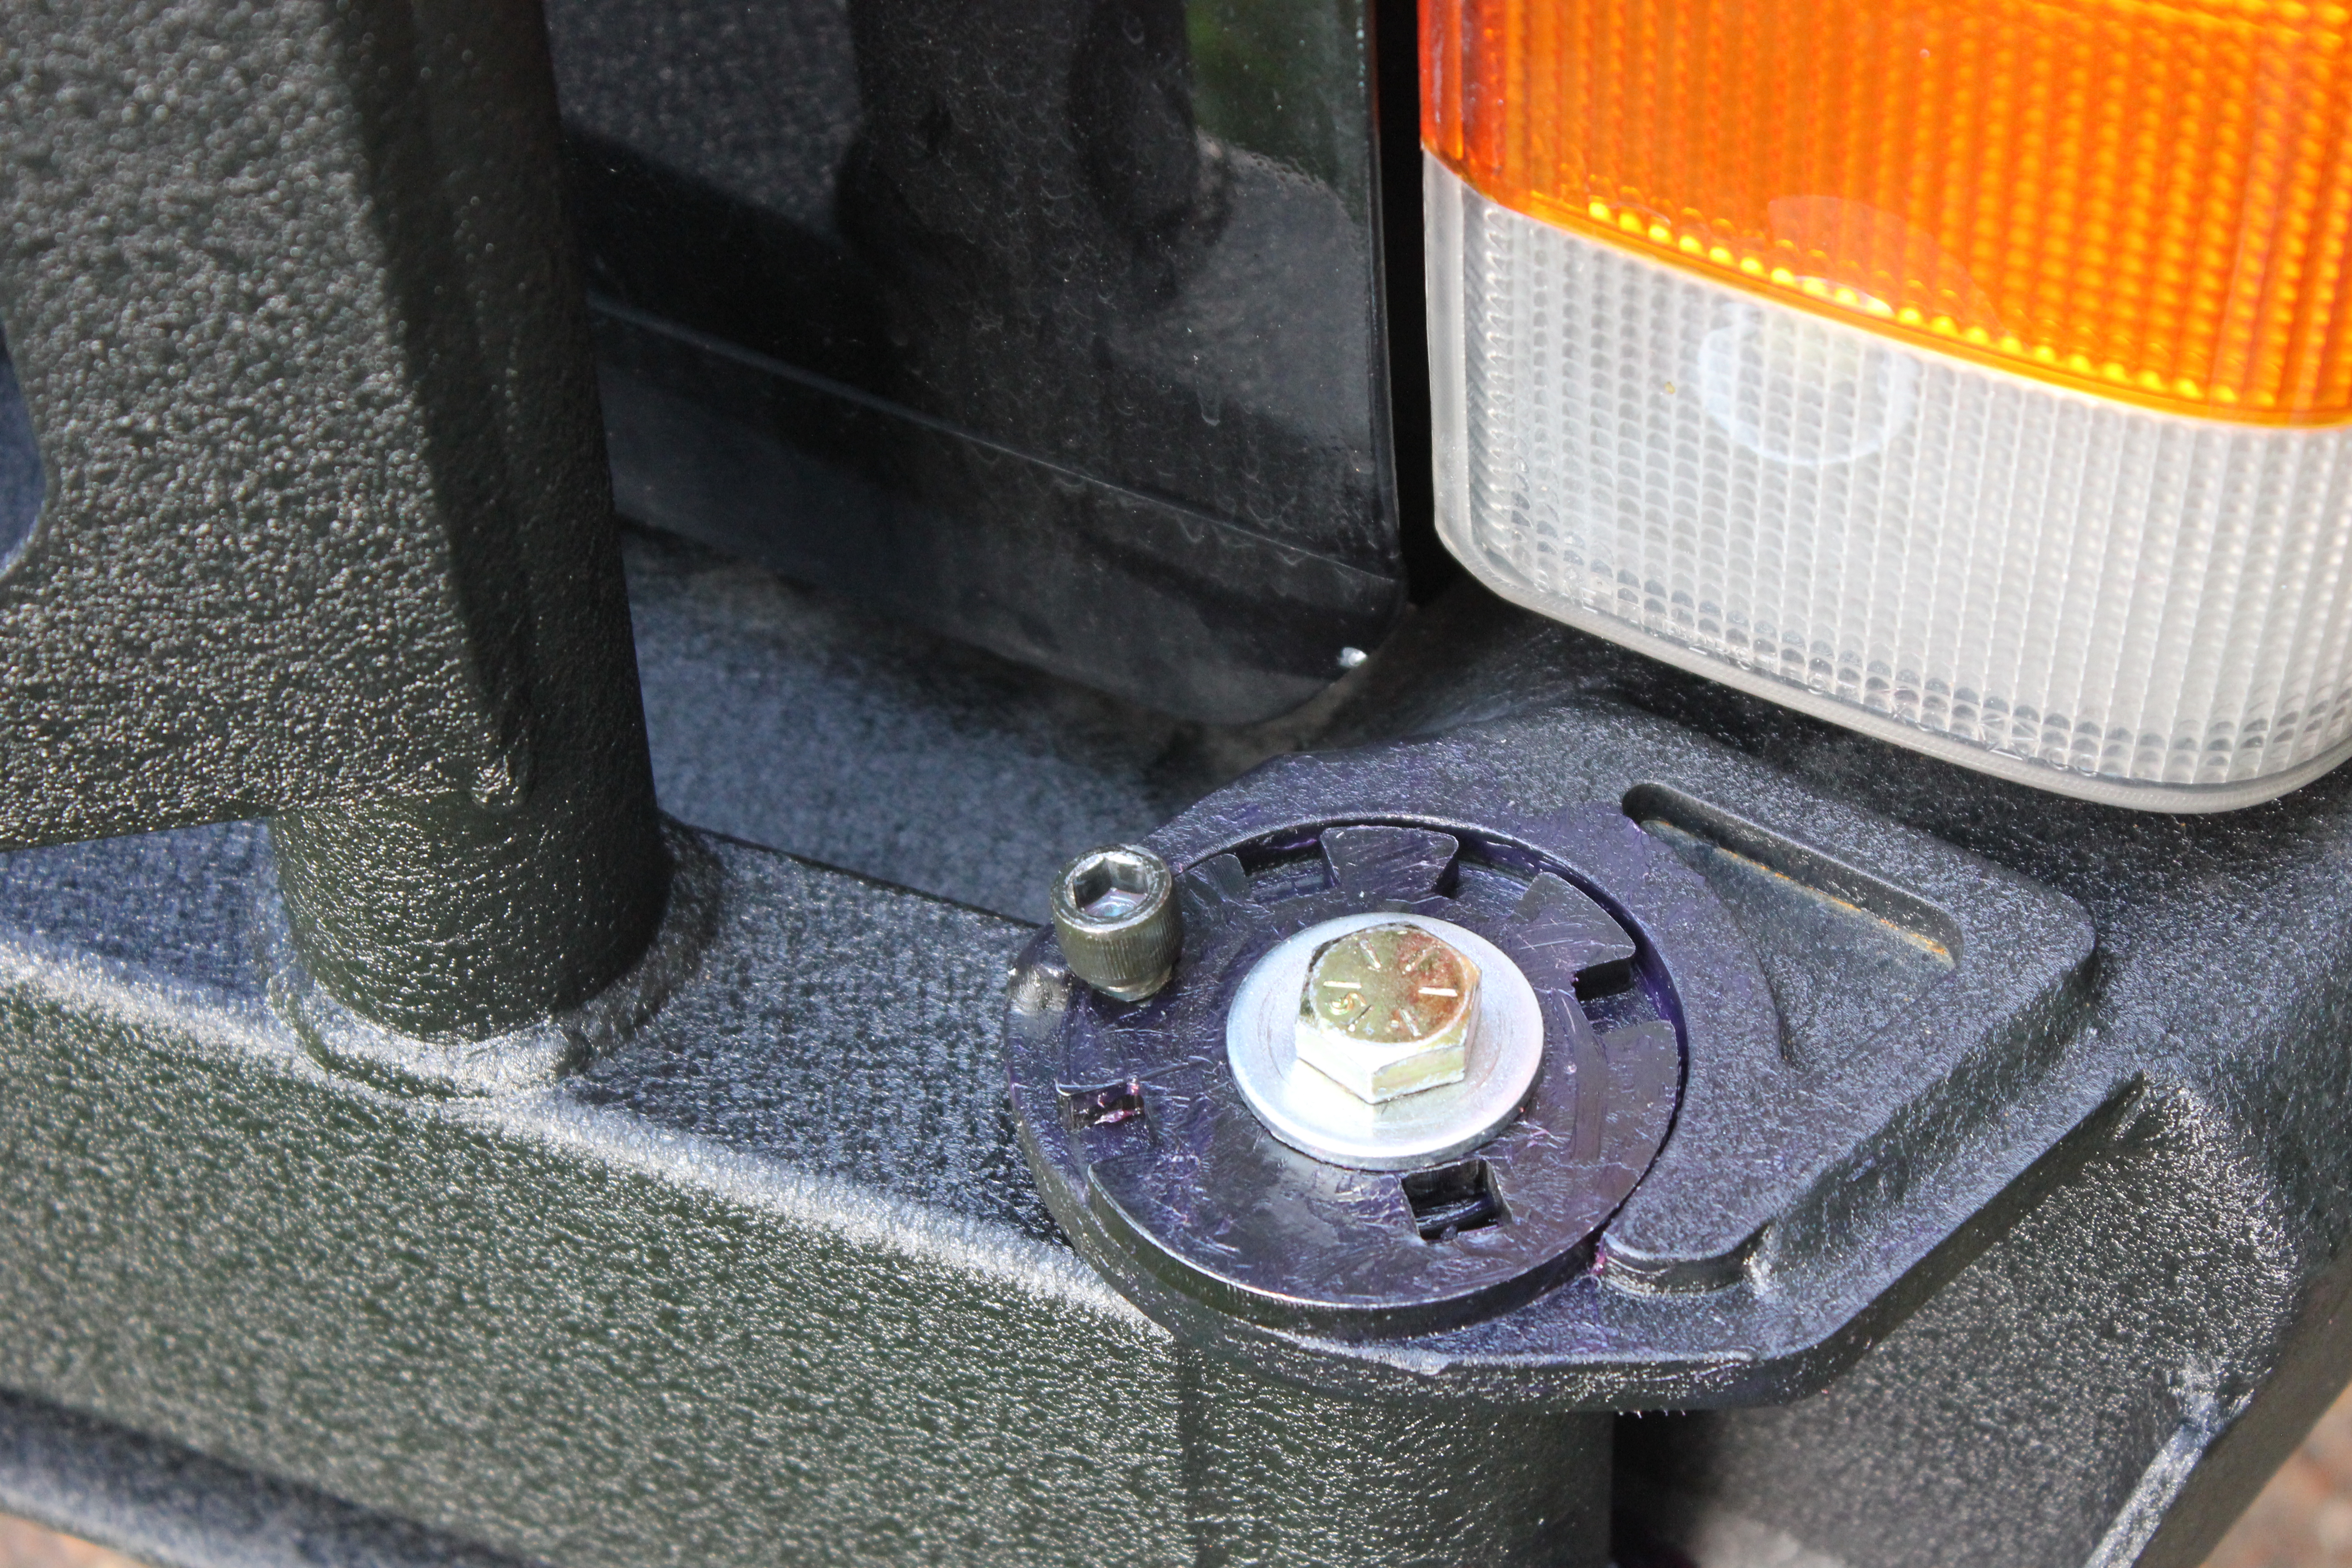
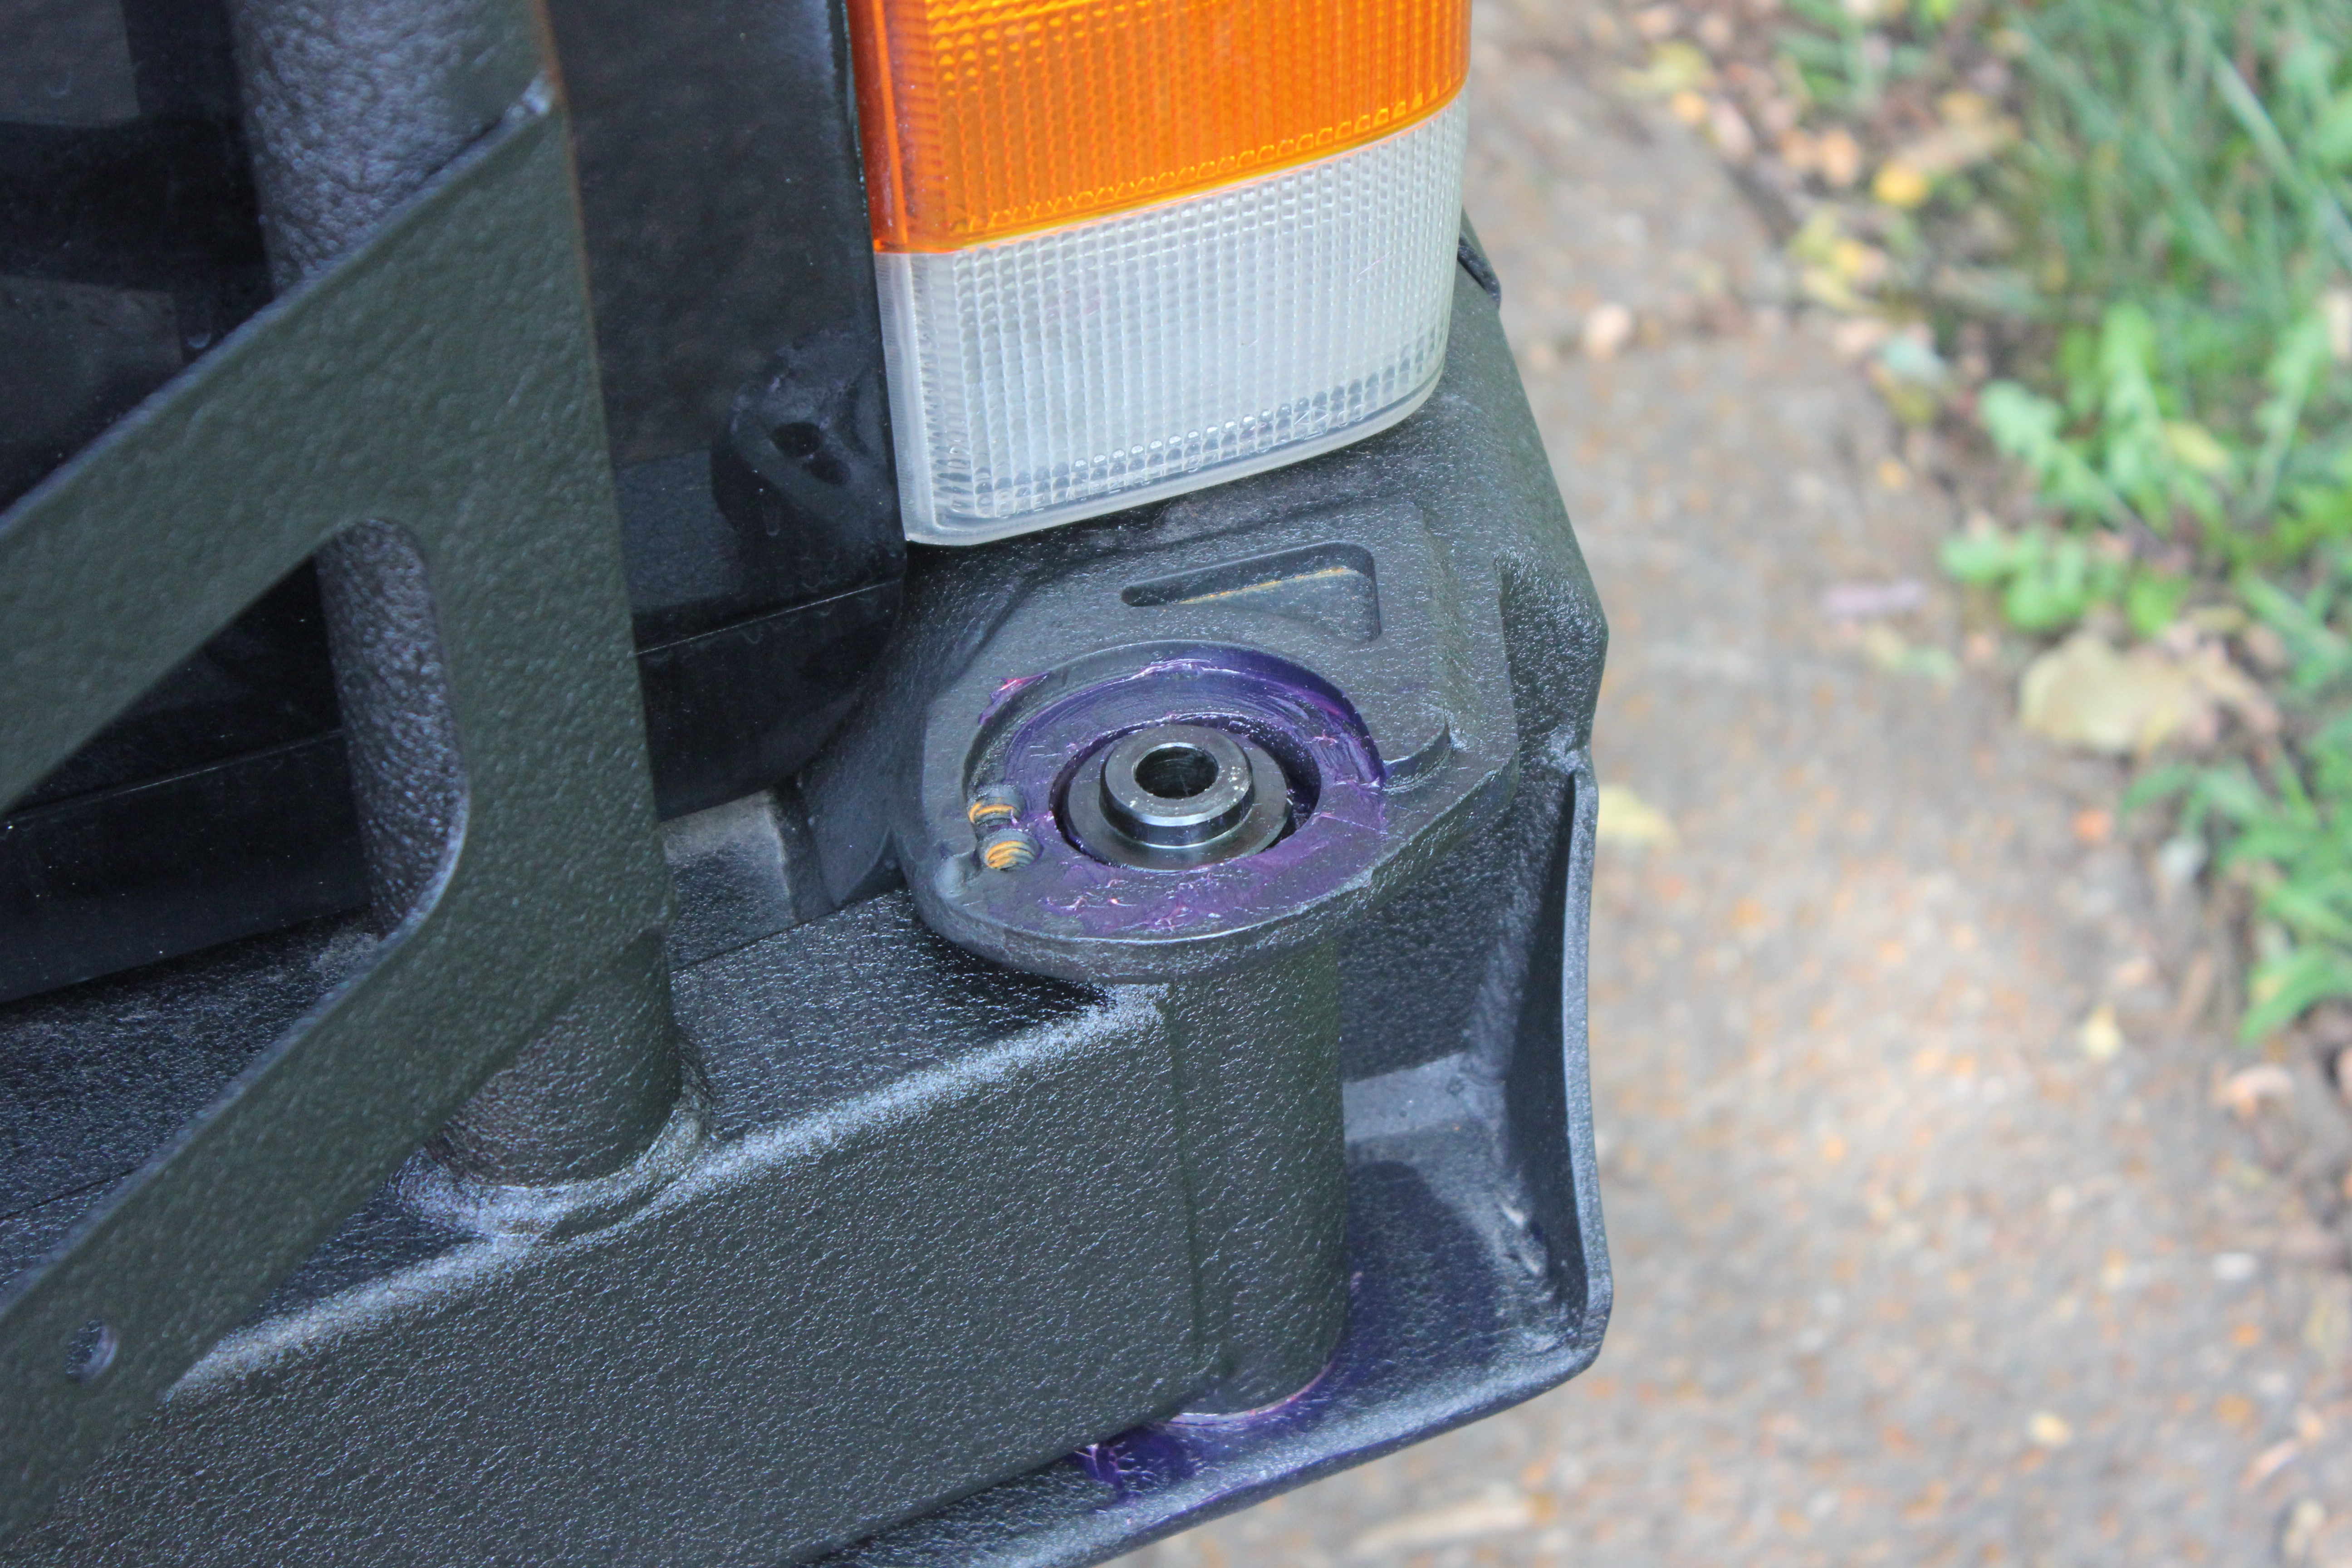
Open and close the gate a few times to make sure you’ve got the adjustment properly. Also check that the rear hatch clears the allen head bolt. Mine didn’t, and it nicked the hatch when I closed it:
Step 34:
![]()
Torque the main bolt….and then….
Yay! You’re done!
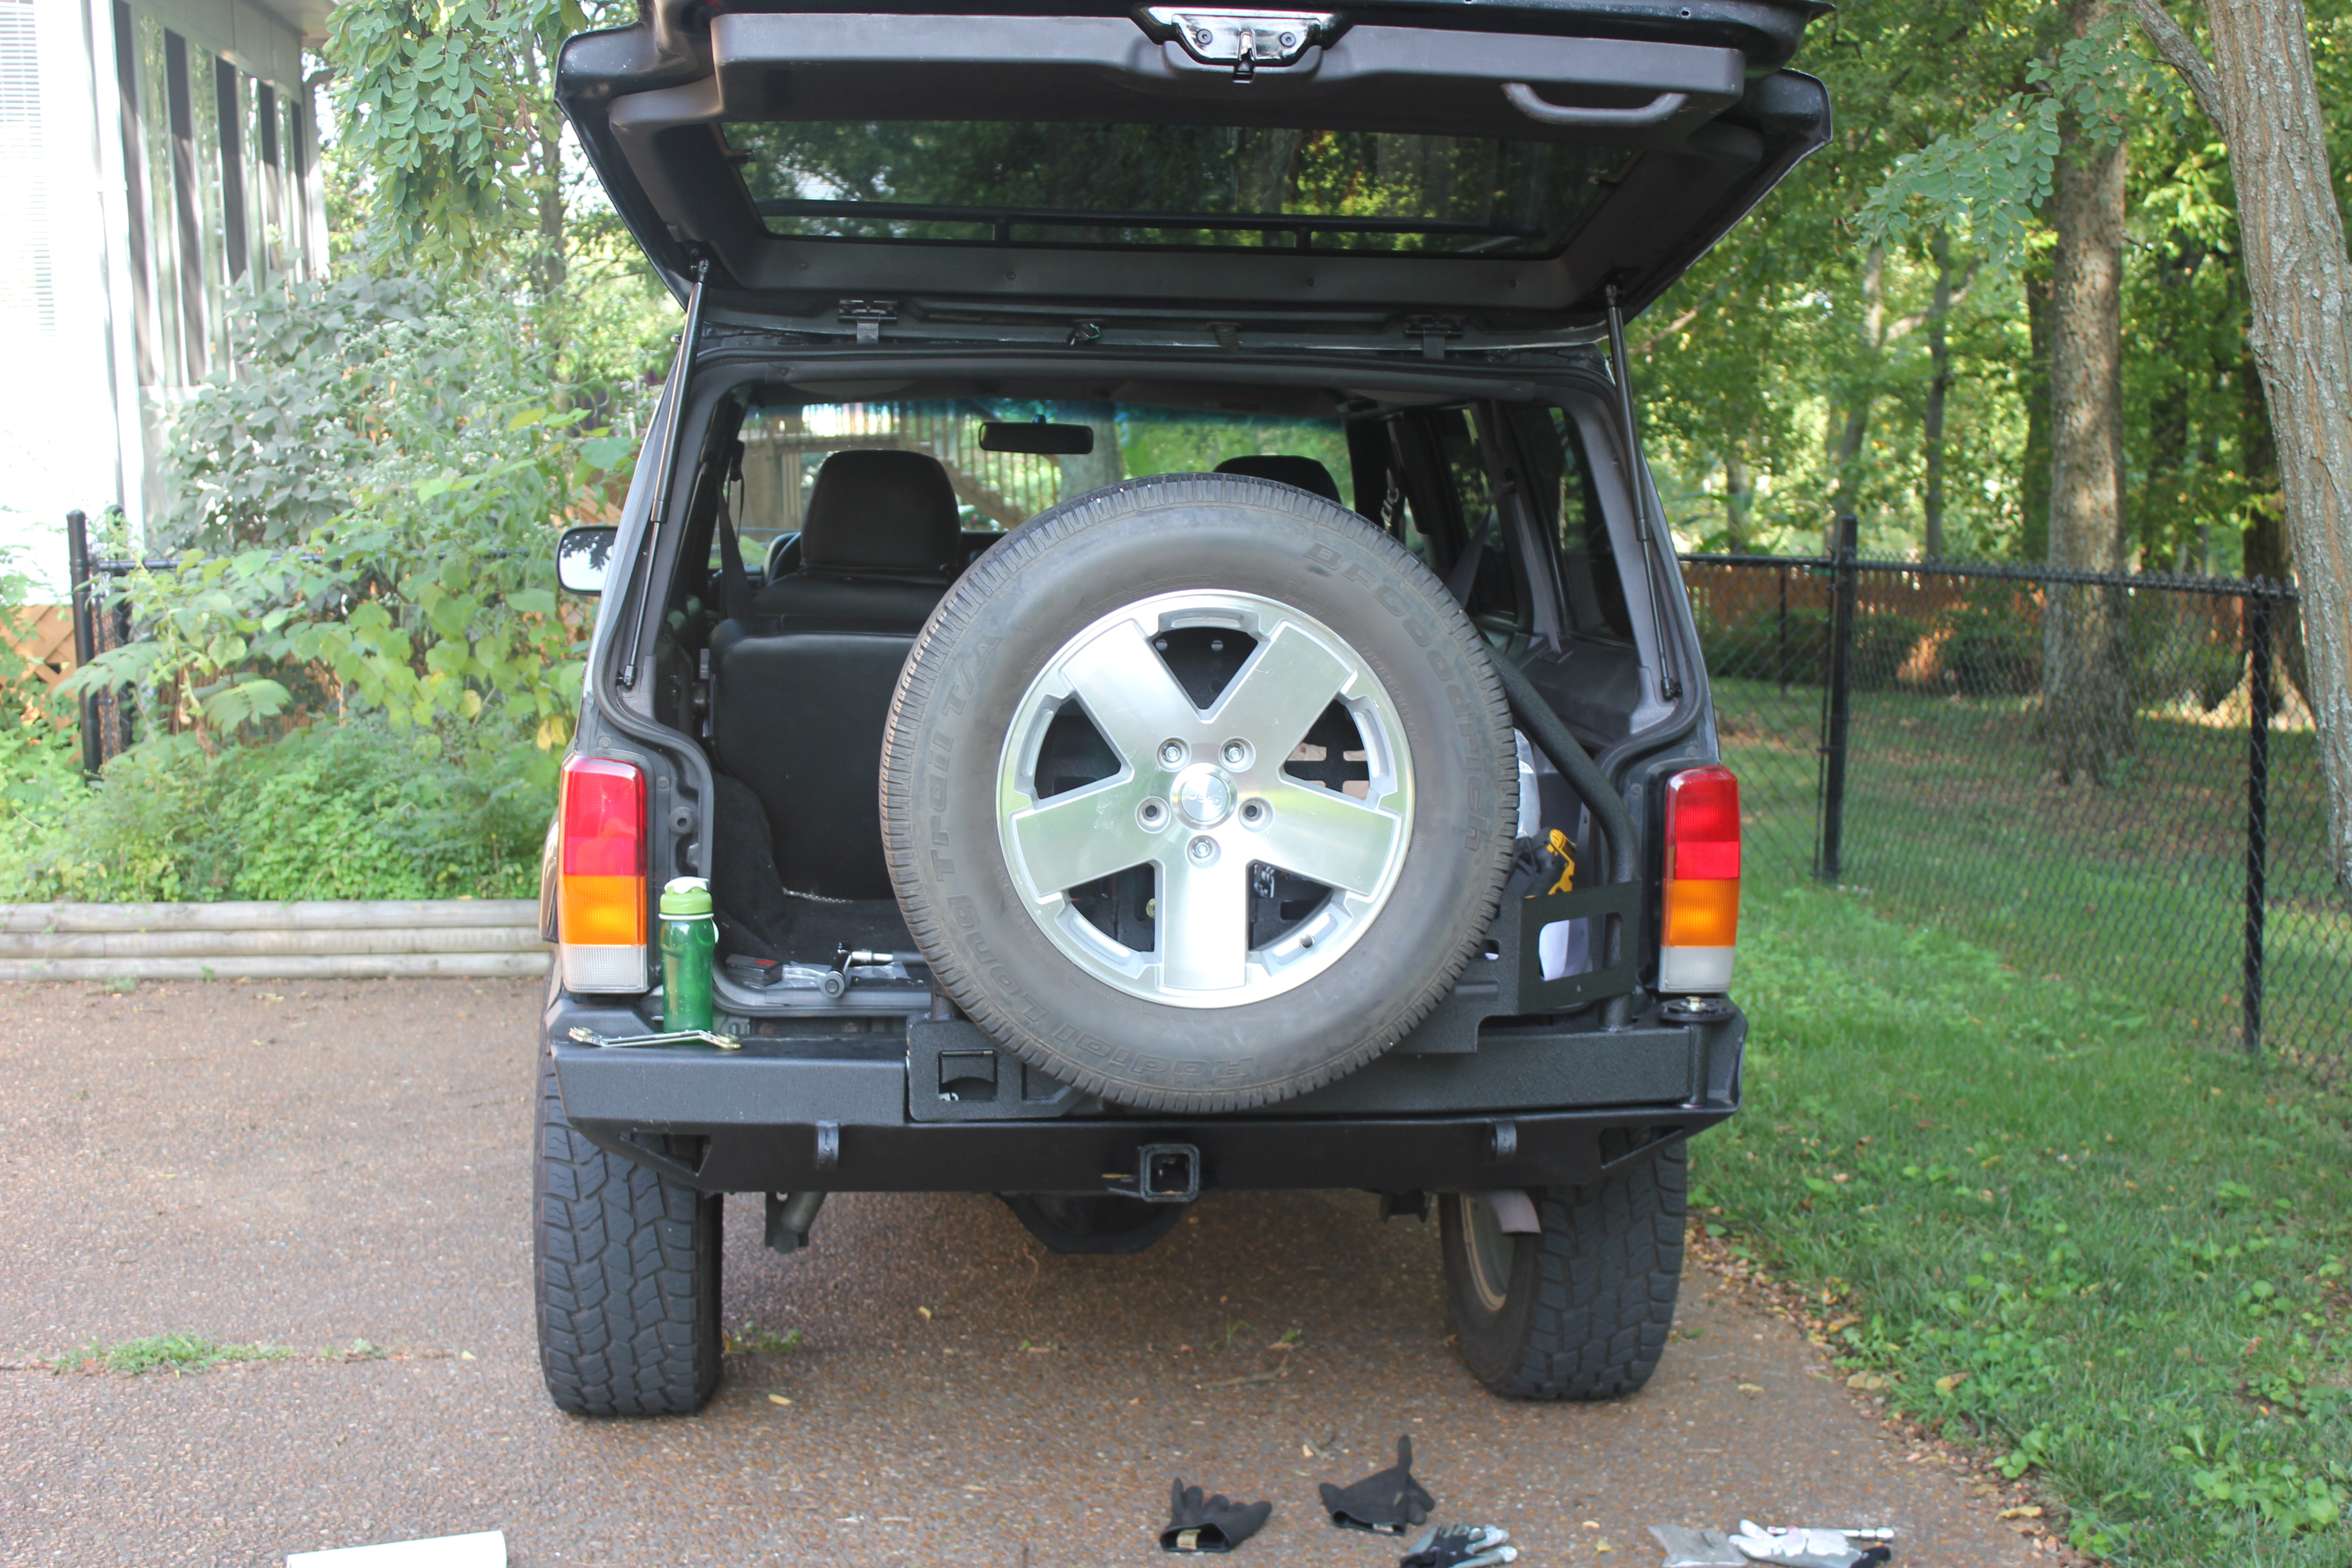
Now, I’ve been driving with it for a few months now. Overall it’s been a good experience, but I have a few points I’d like to make. First, with the spare tire attached, it lengthens the jeep by about two feet:
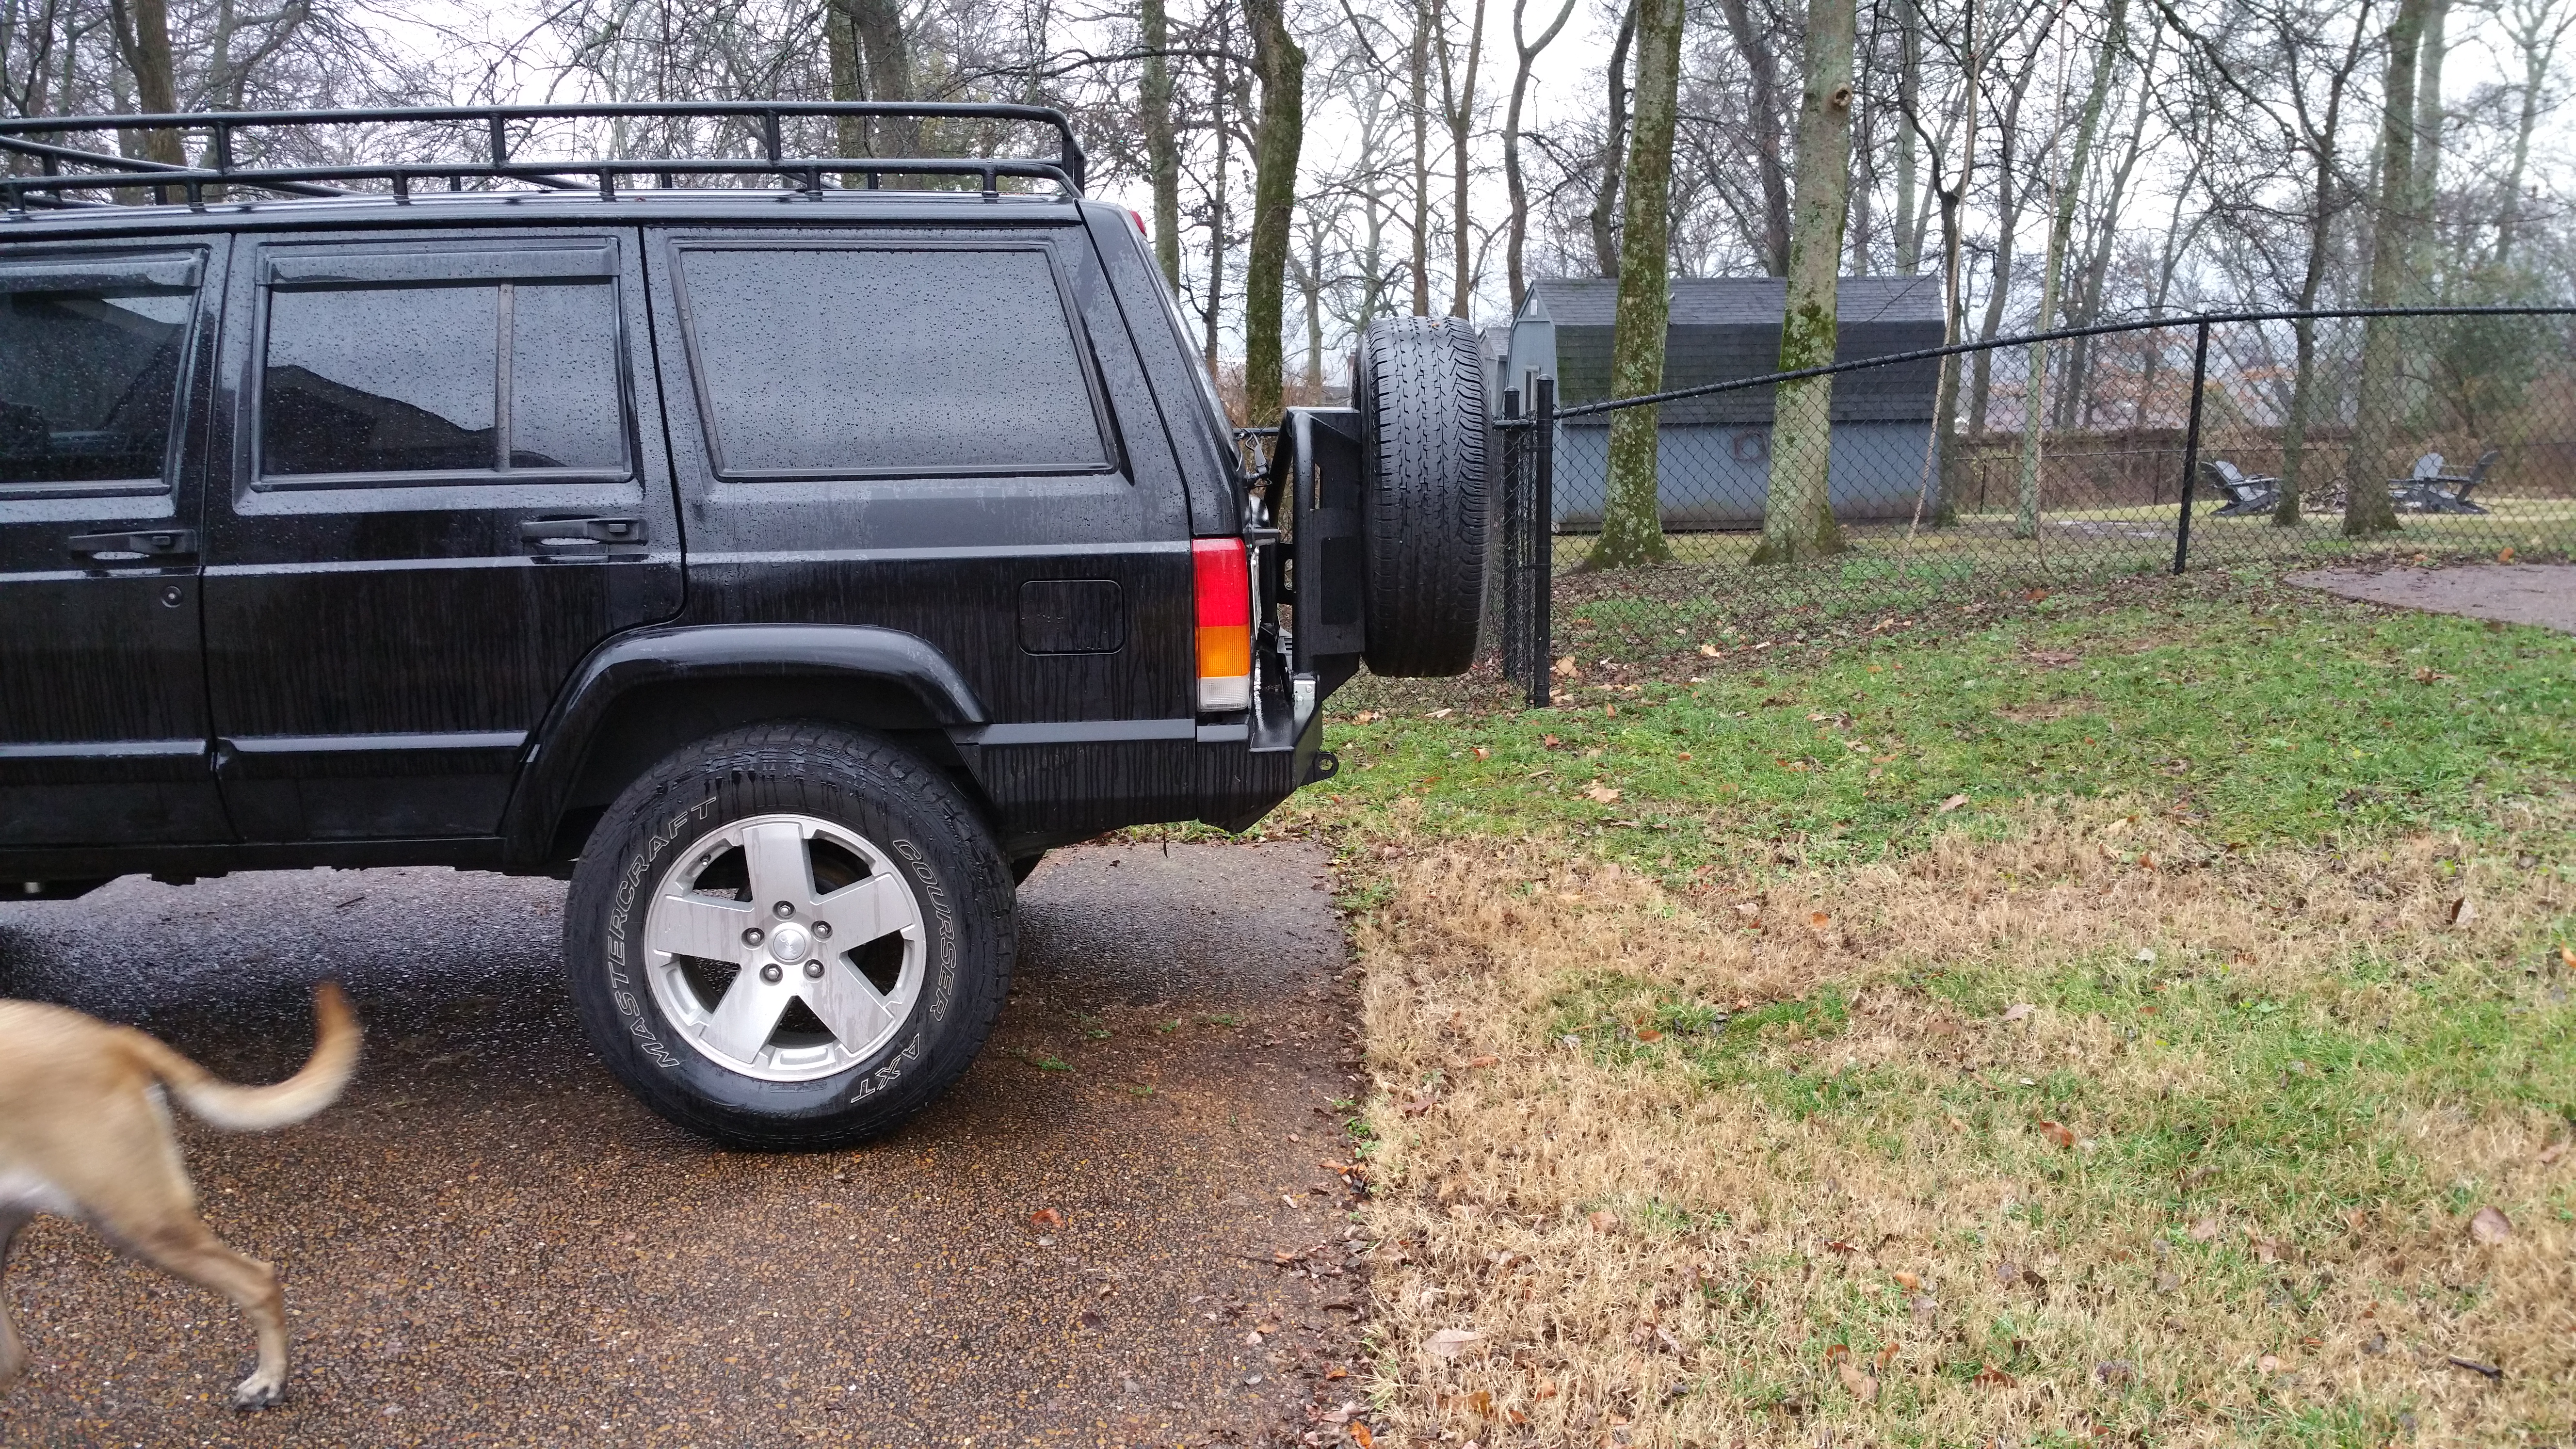
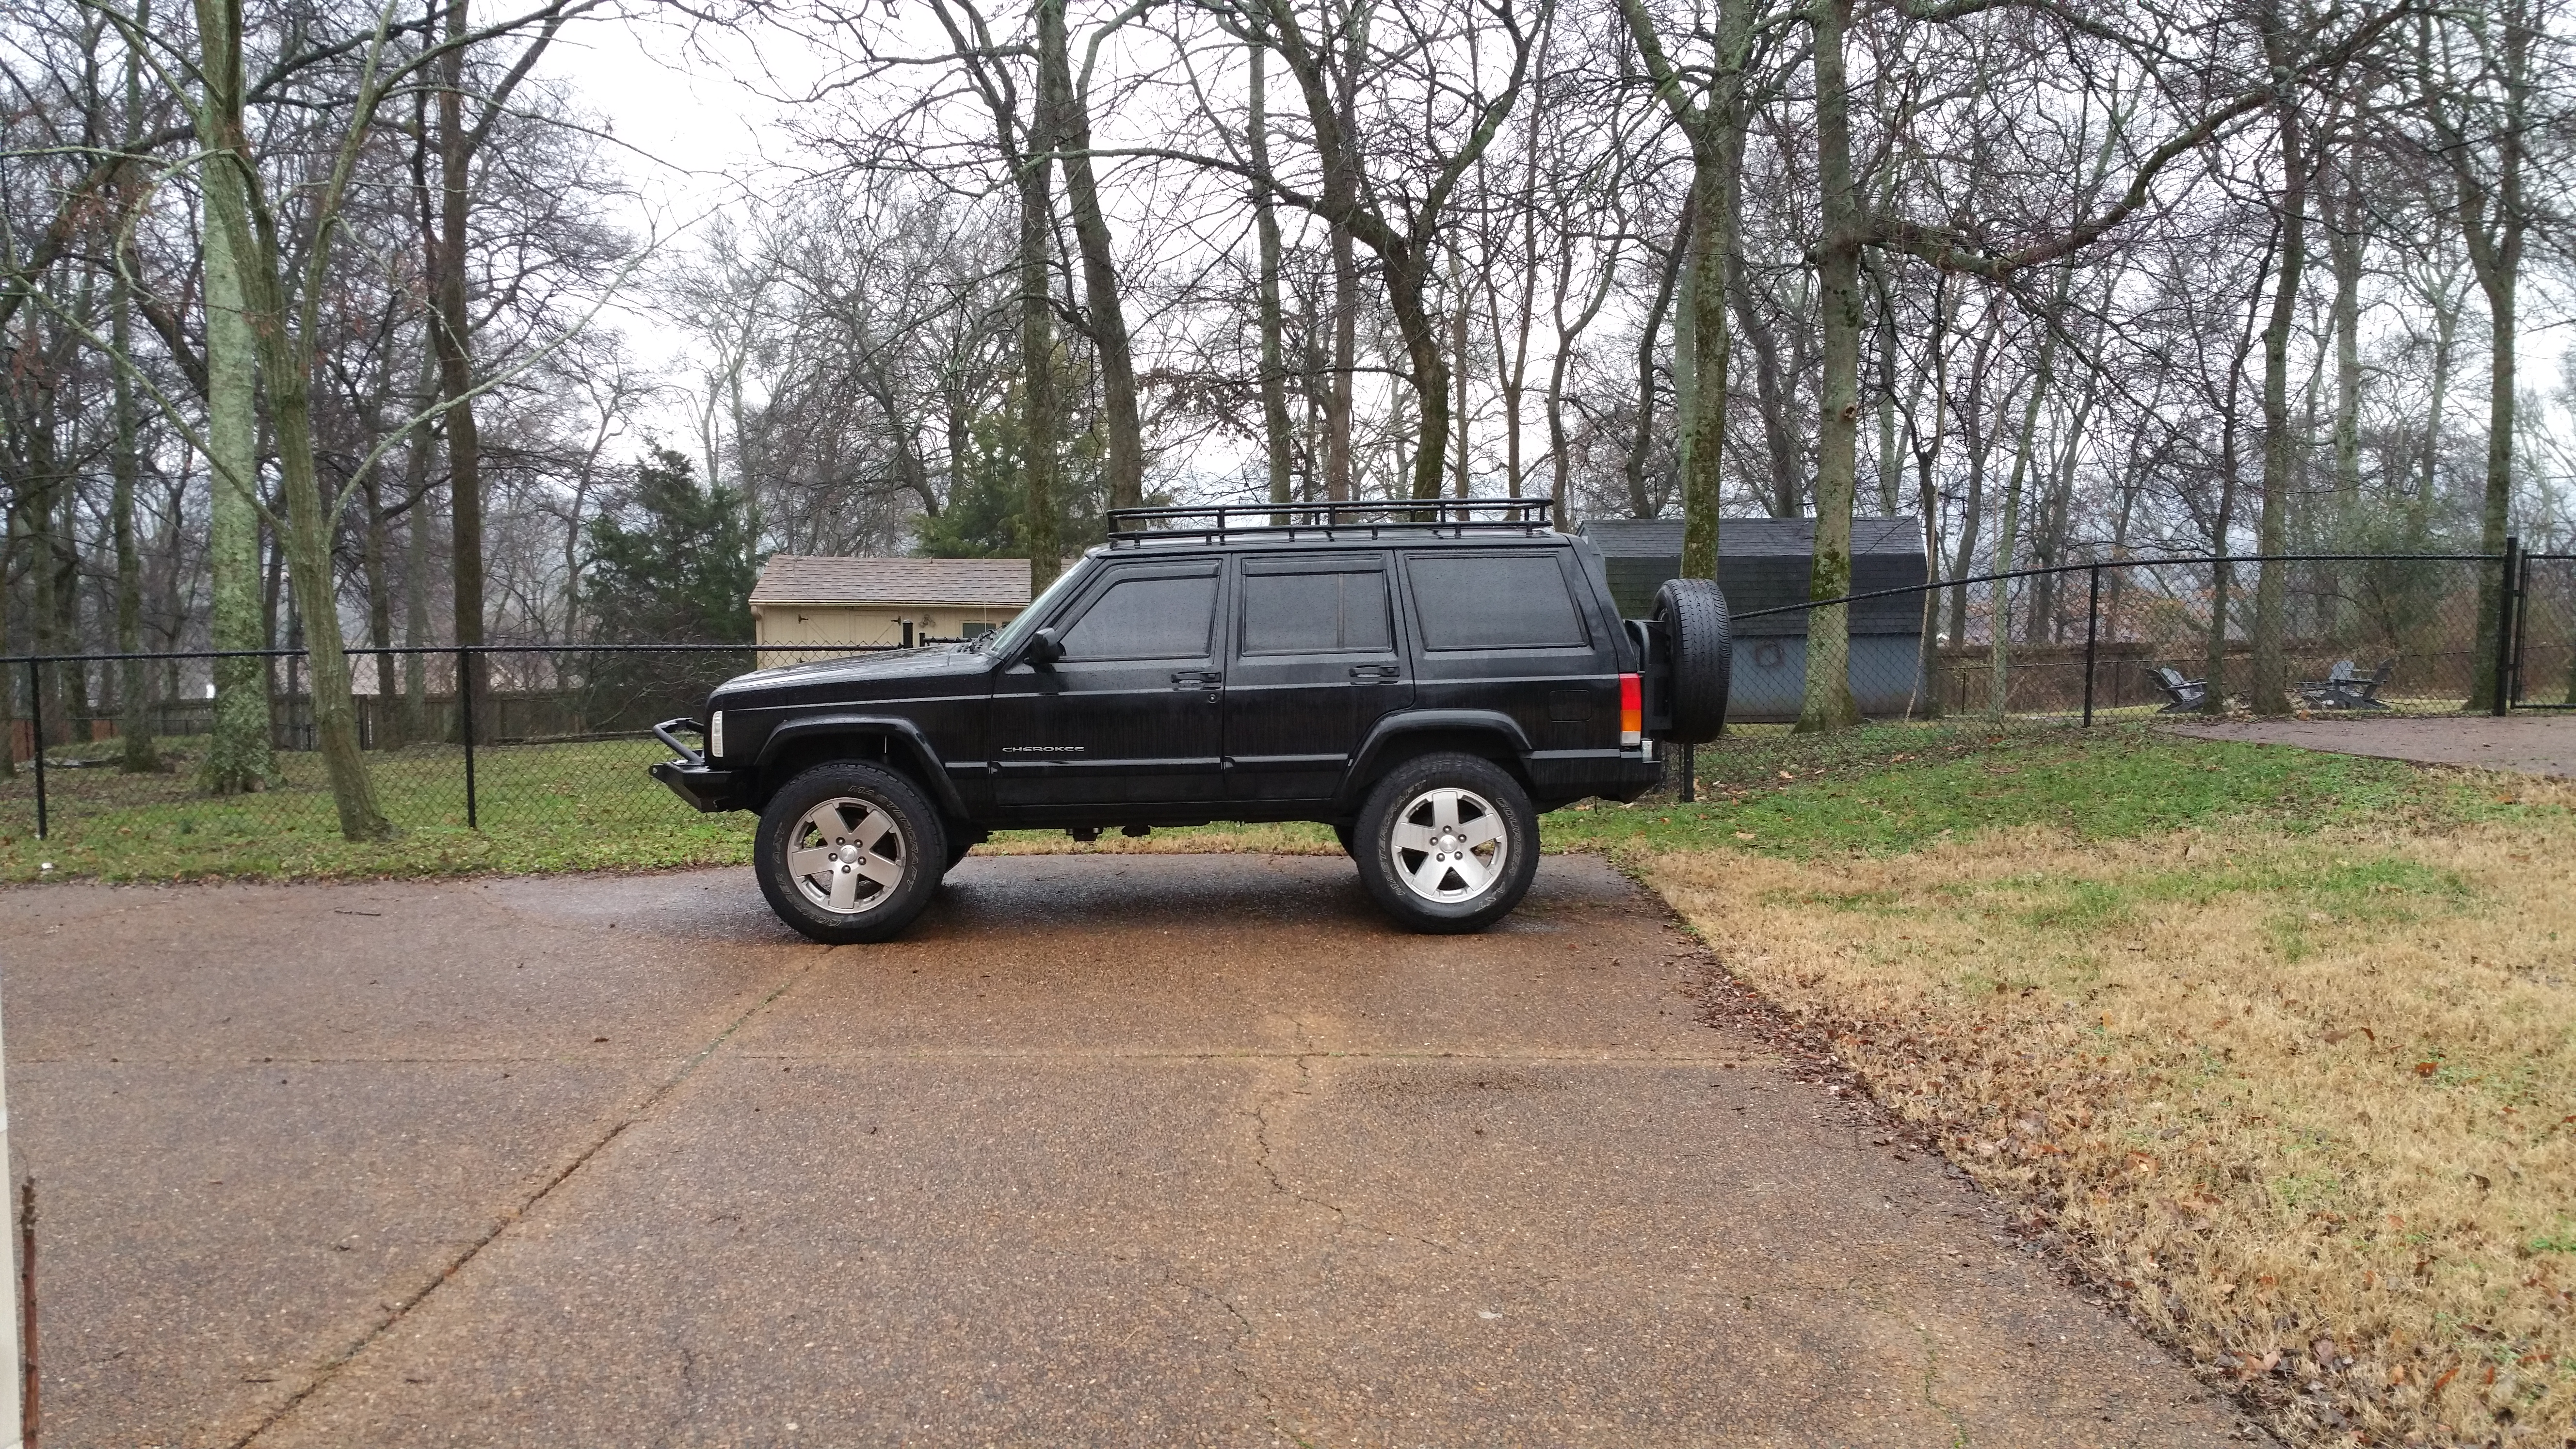
This isn’t a problem, per se, but it is something to be aware of. Your compact SUV is now less compact.
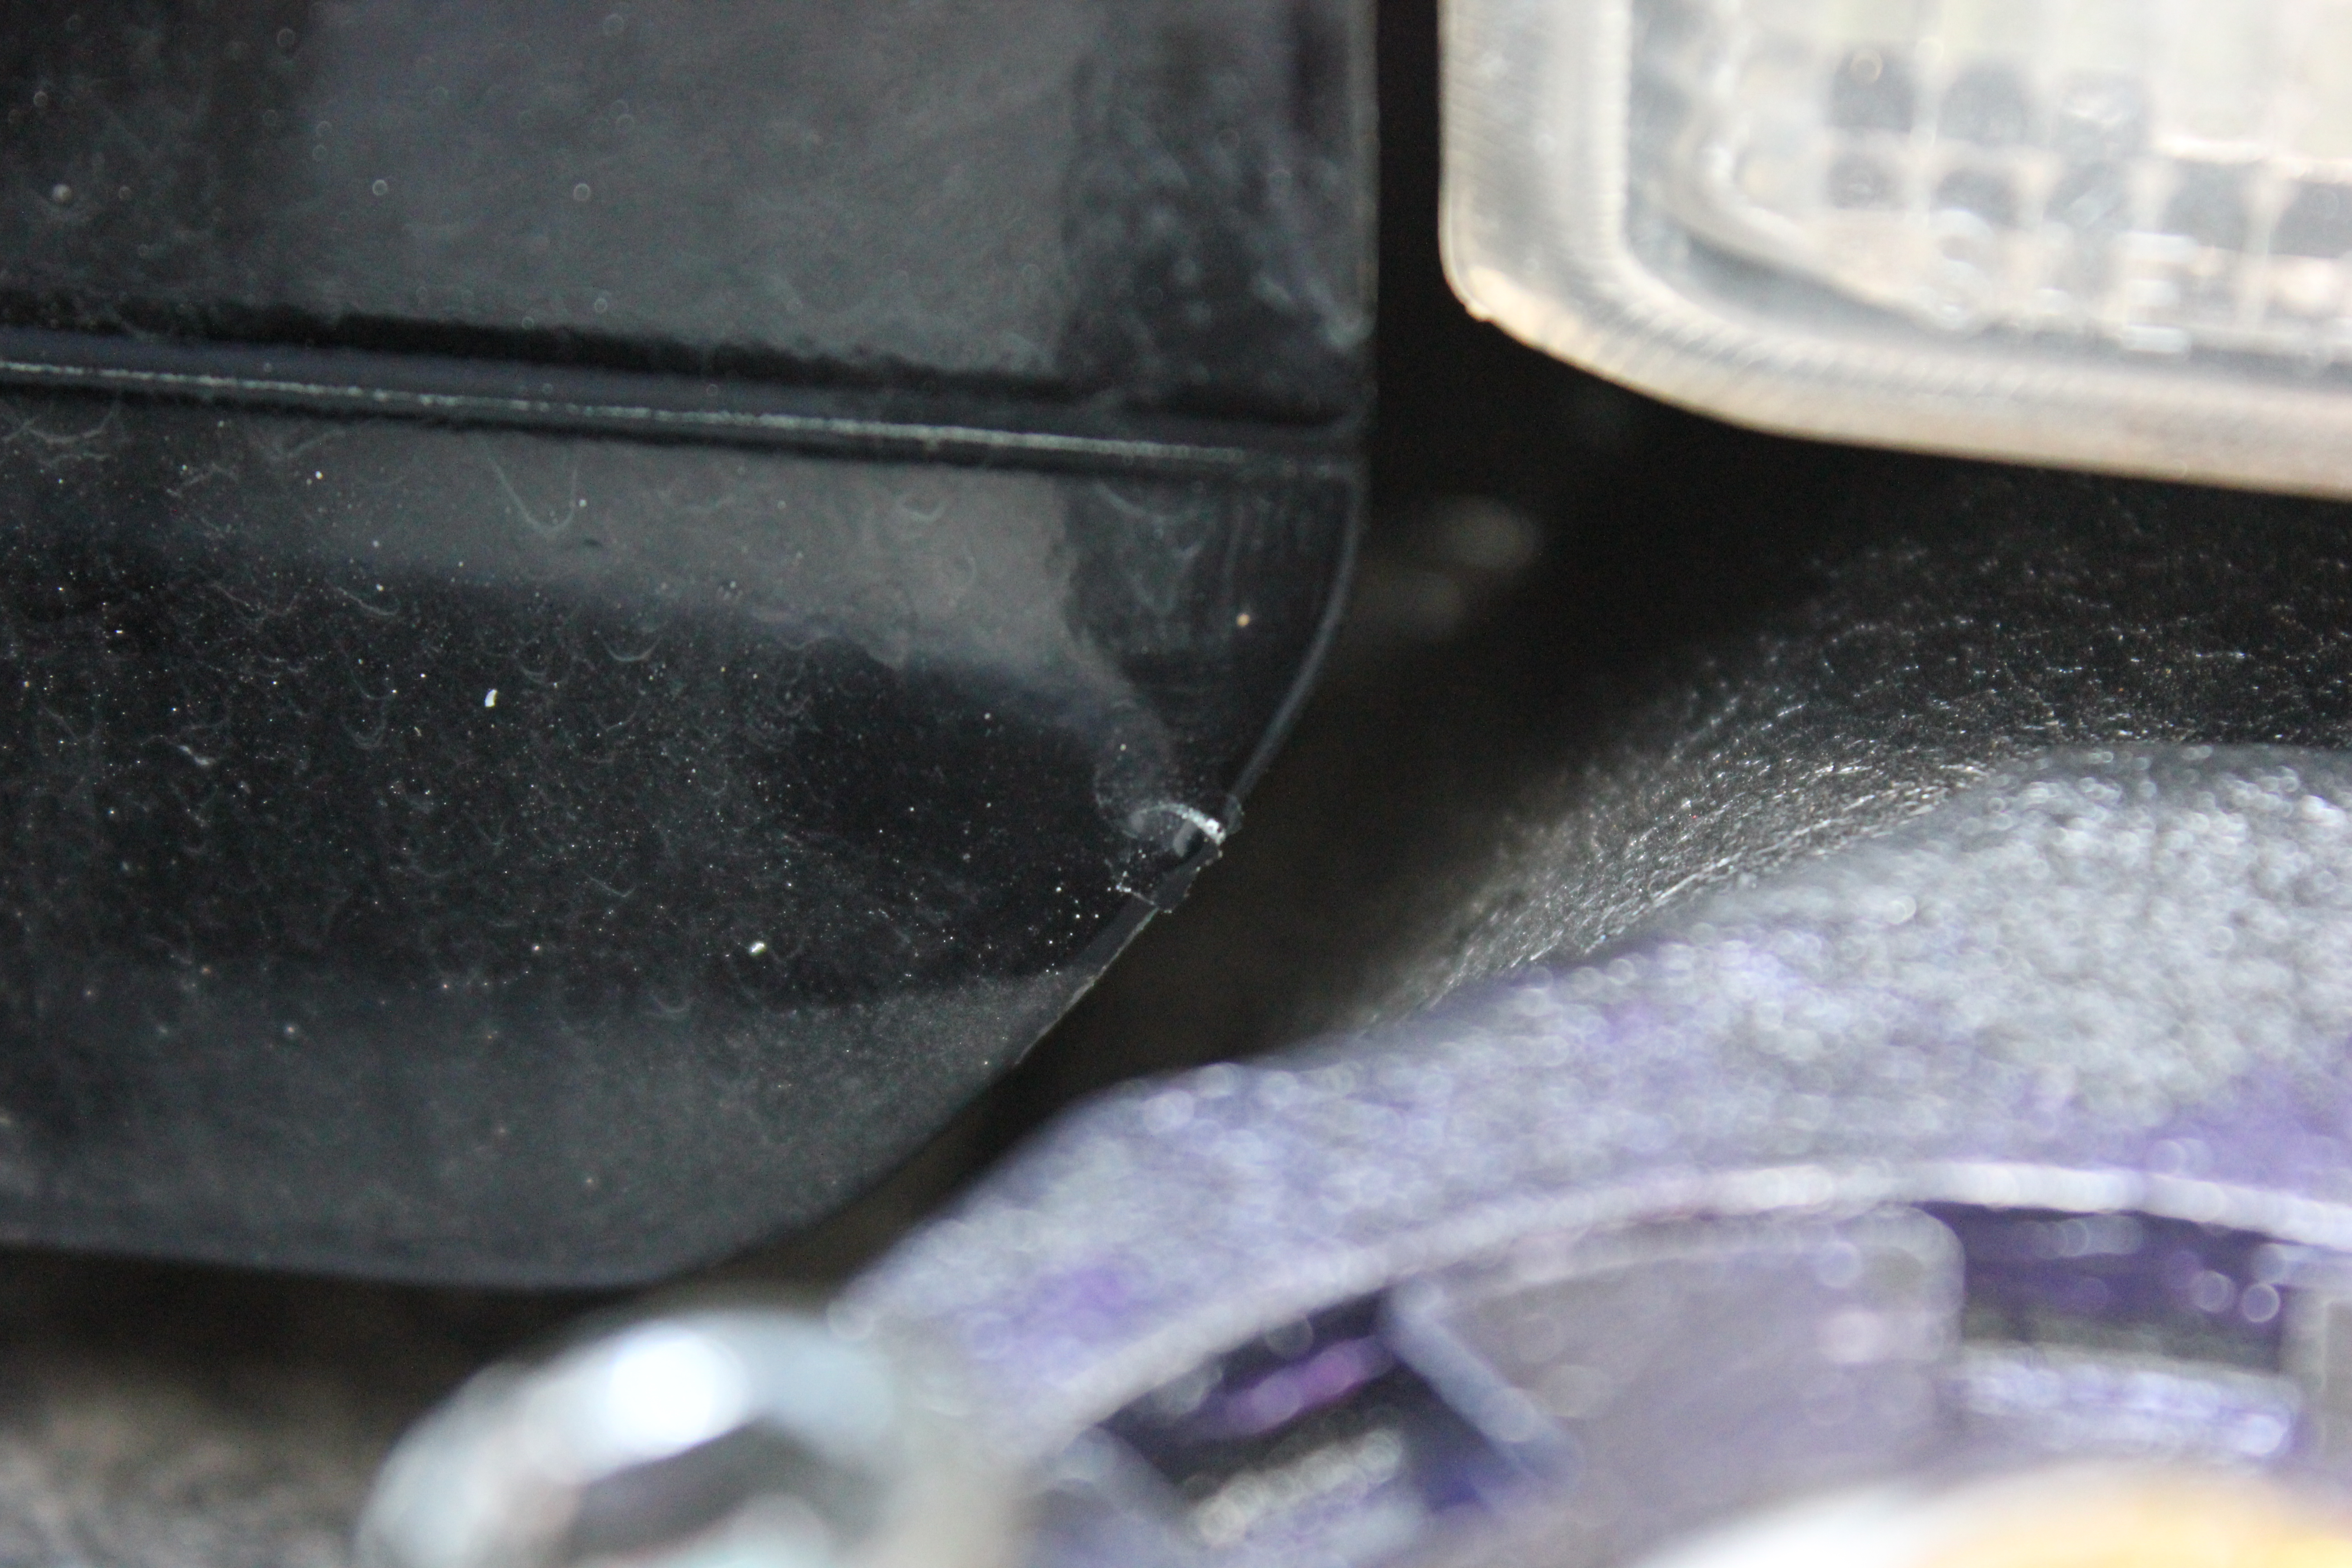
Like I said, the powdercoating is pretty thin. Any scratches lead to rust in short order. Like 6 hours short.
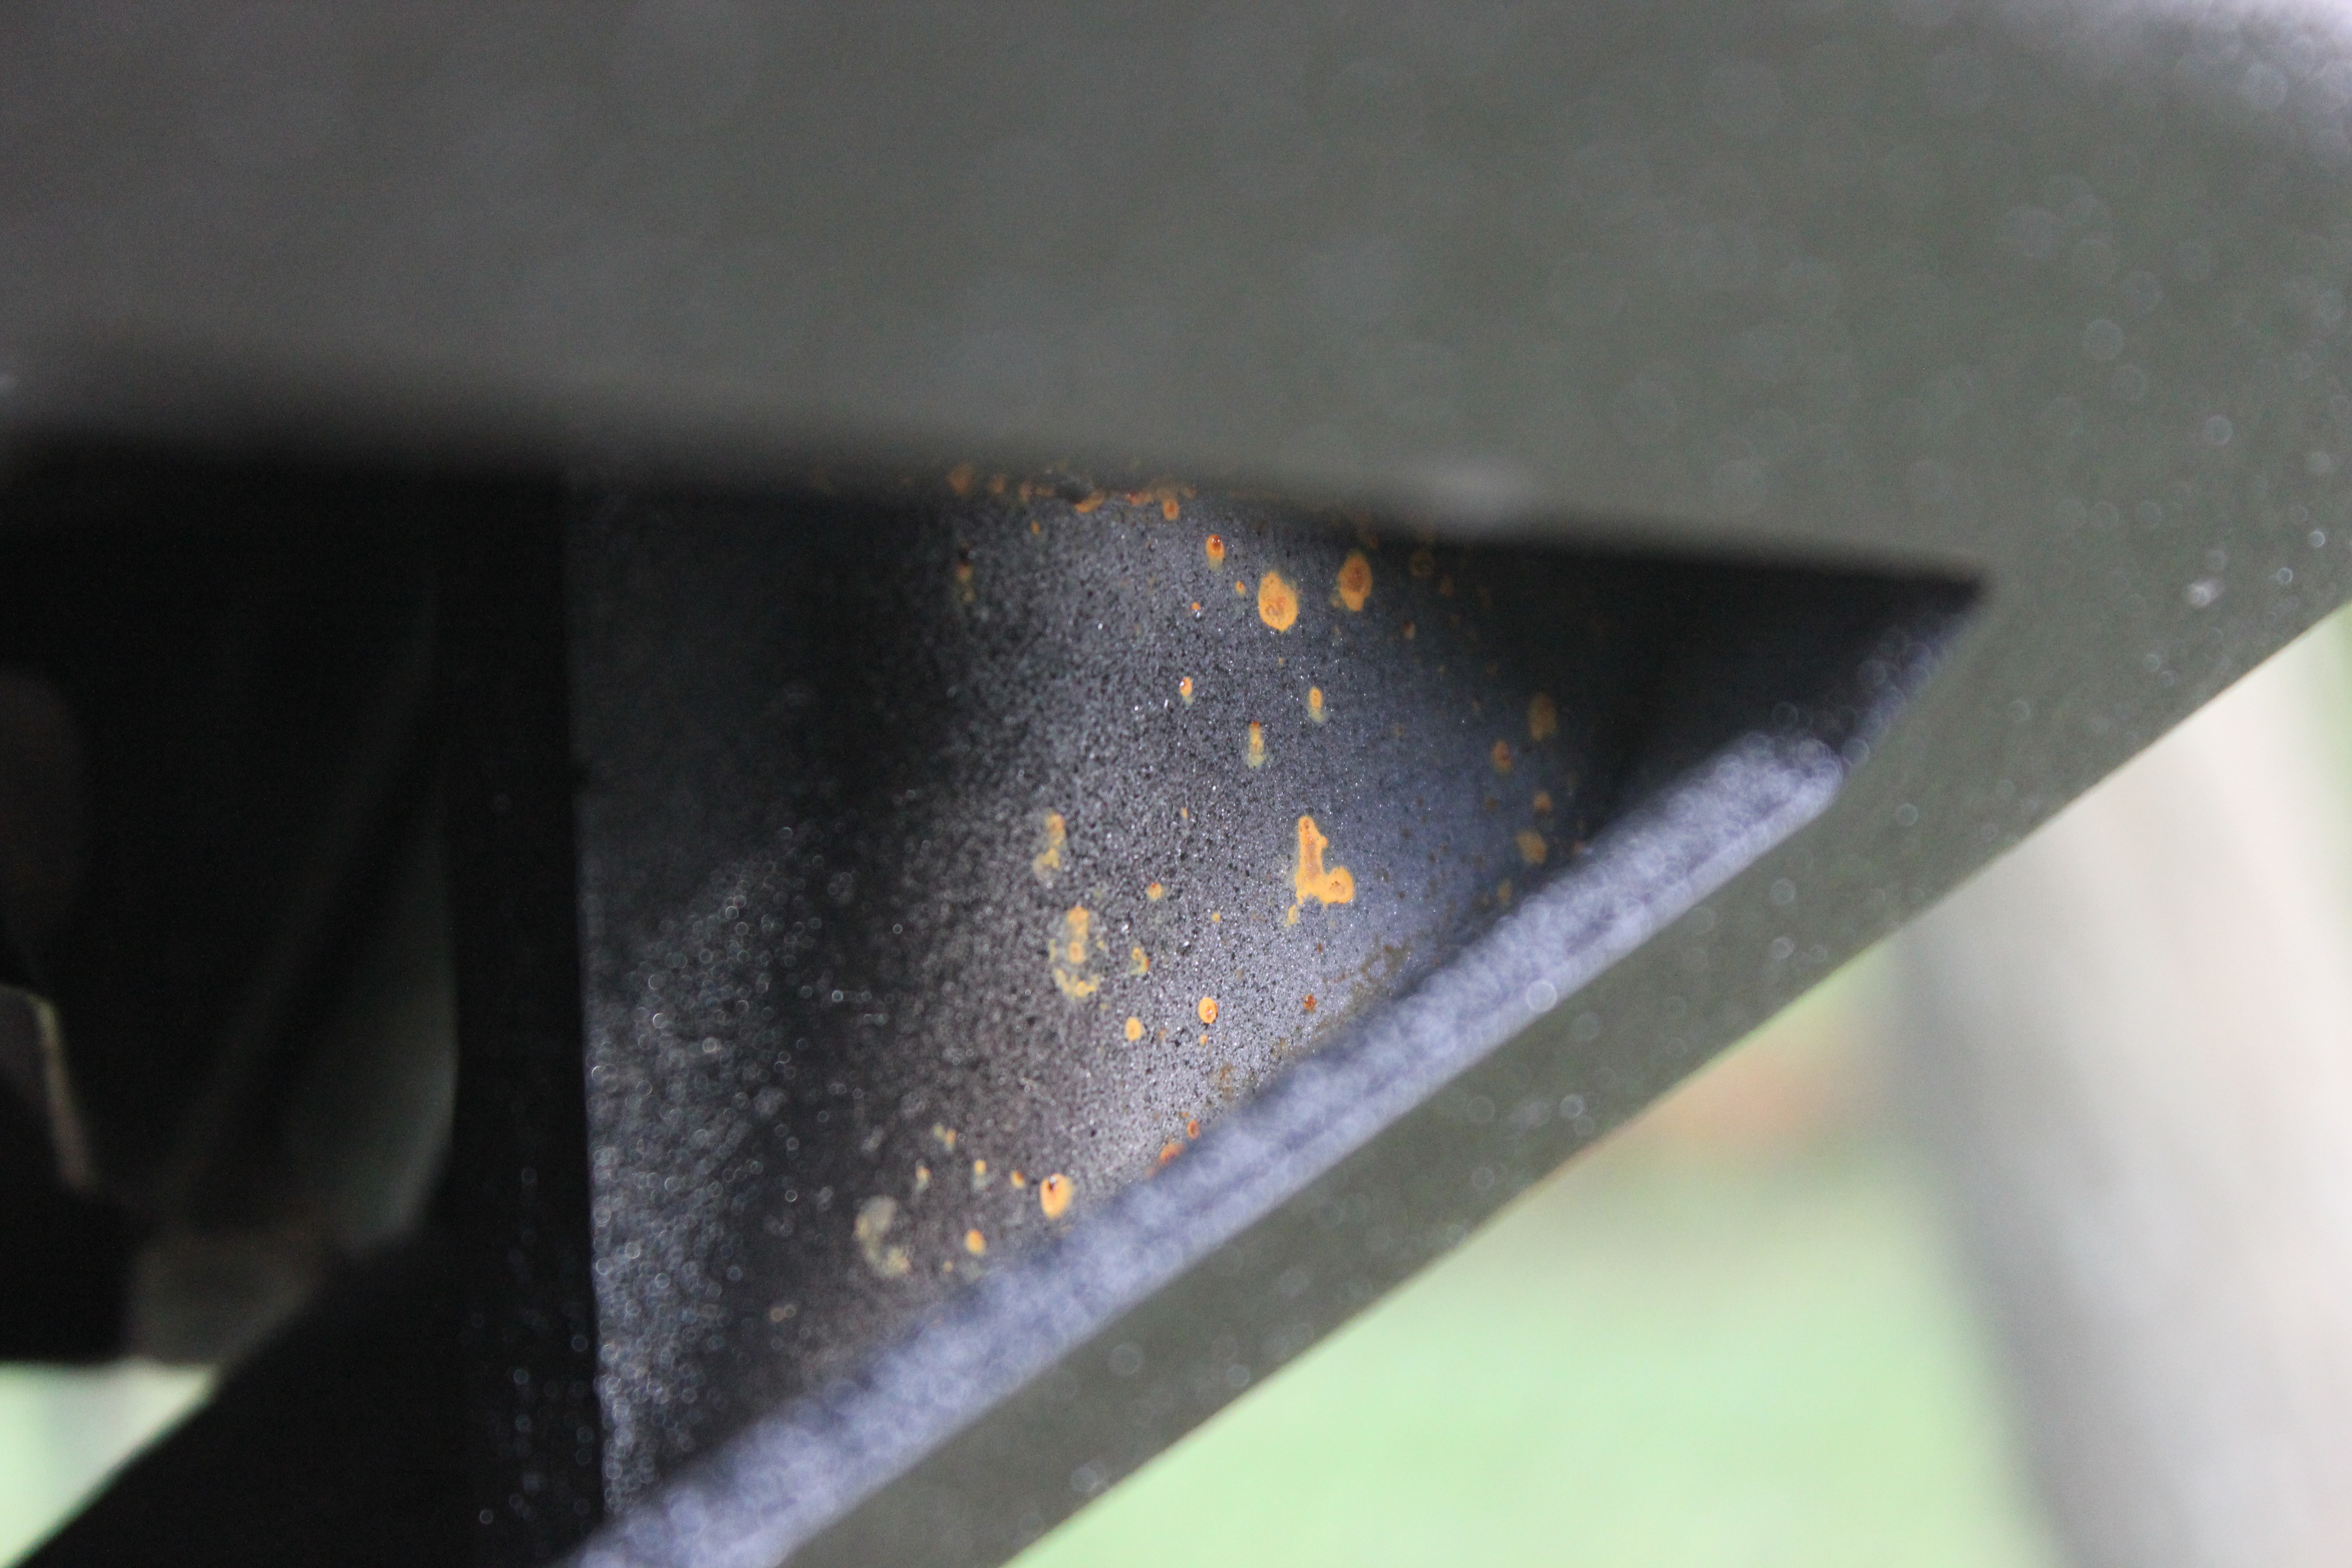
As a result of grinding the brackets down and not waiting long enough for the spray paint to dry, this happened the first night it rained:
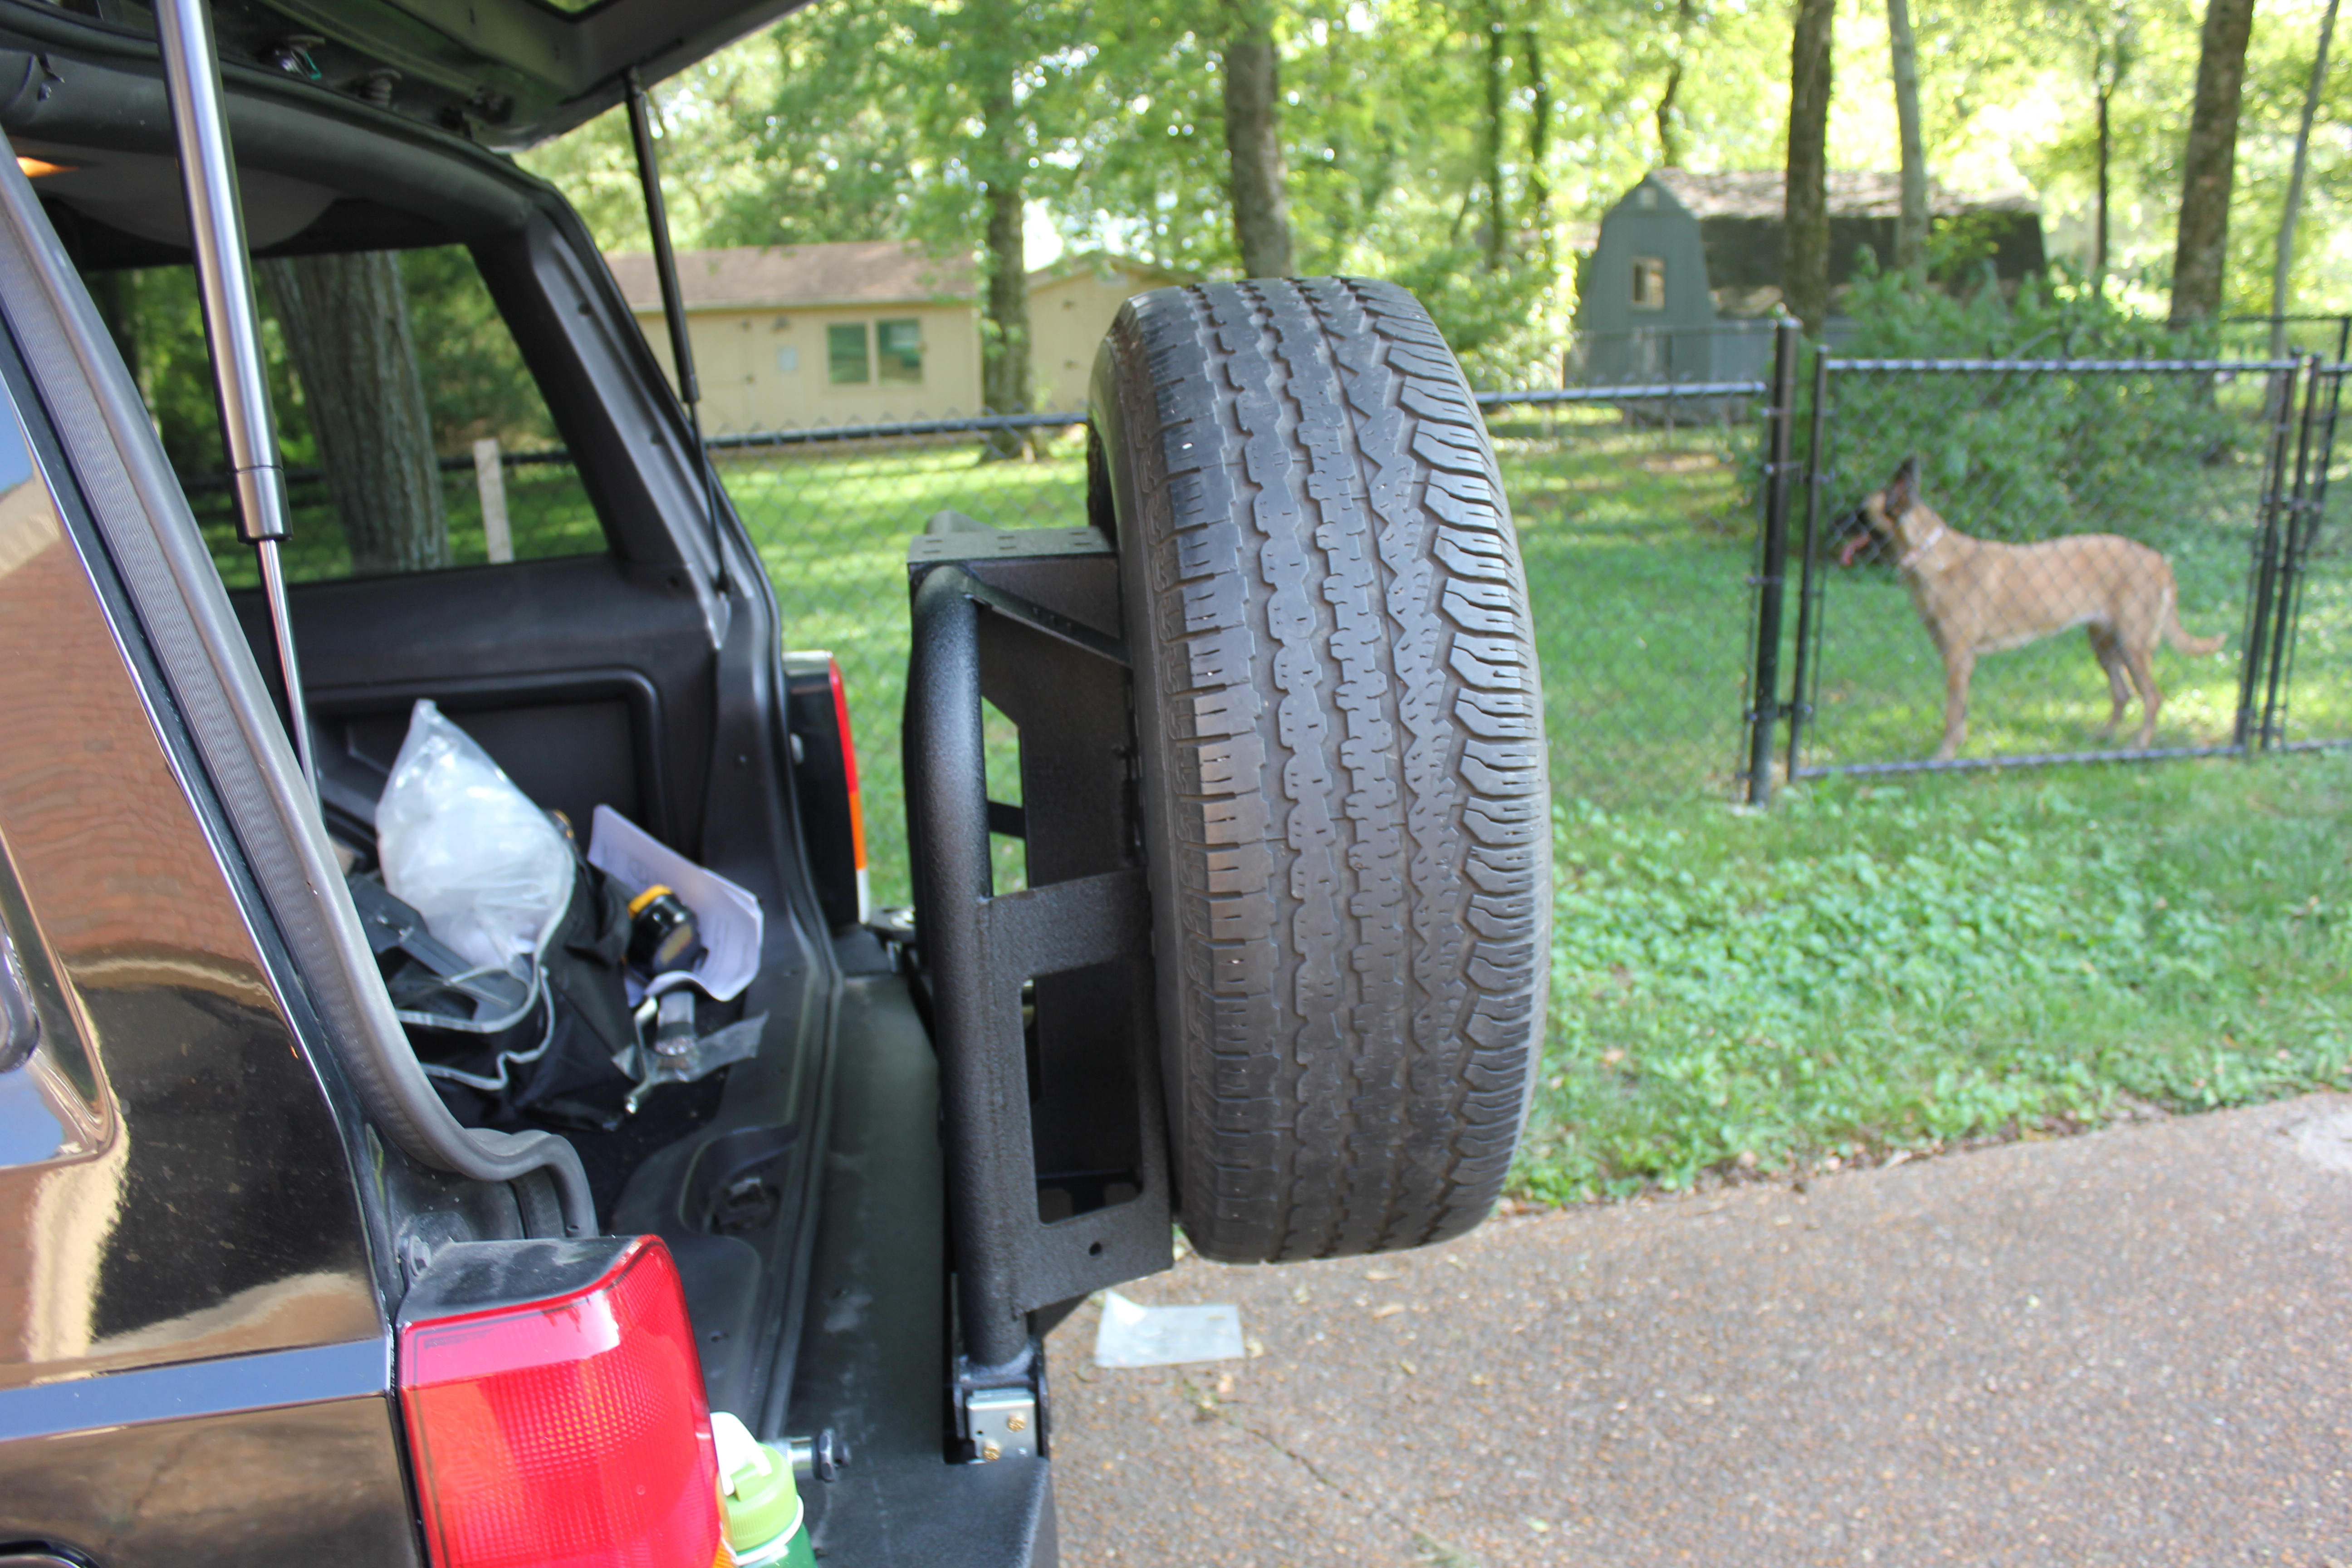
And finally, some points about the swingarm. First, there’s no stop to prevent the swingarm from over-travelling. This can be a problem because the arm will contact the bumper and rub off the powdercoating if you’re not careful. Also, you need to make sure that the swingarm is open far enough when you open the hatch, or the hatch will scrape the top tube, scratching both the hatch and the powdercoating. Ask me how I know. And finally, if the swingarm is fully extended, the Cherokee’s unibody torques a little. It’s a little, but it’s enough to cause clearance issues with the hatch and the allen head bolt on the cam wheel. So watch for that.
So there you have it. If you have any other questions, or want more pictures or videos of the bumper, just let me know!
Leave a Reply