Author: wizardpc

  • Gun Porn: “Finished” 700 Edition

    When I made my initial post about the ARFCOM Hometown shoot, I realized that I hadn’t posted any updates about what I did to the Remington 700 AAC-SD I bought in January, despite having taken several rounds of pictures.

    Bad blogger. No cookie!

    So here goes:

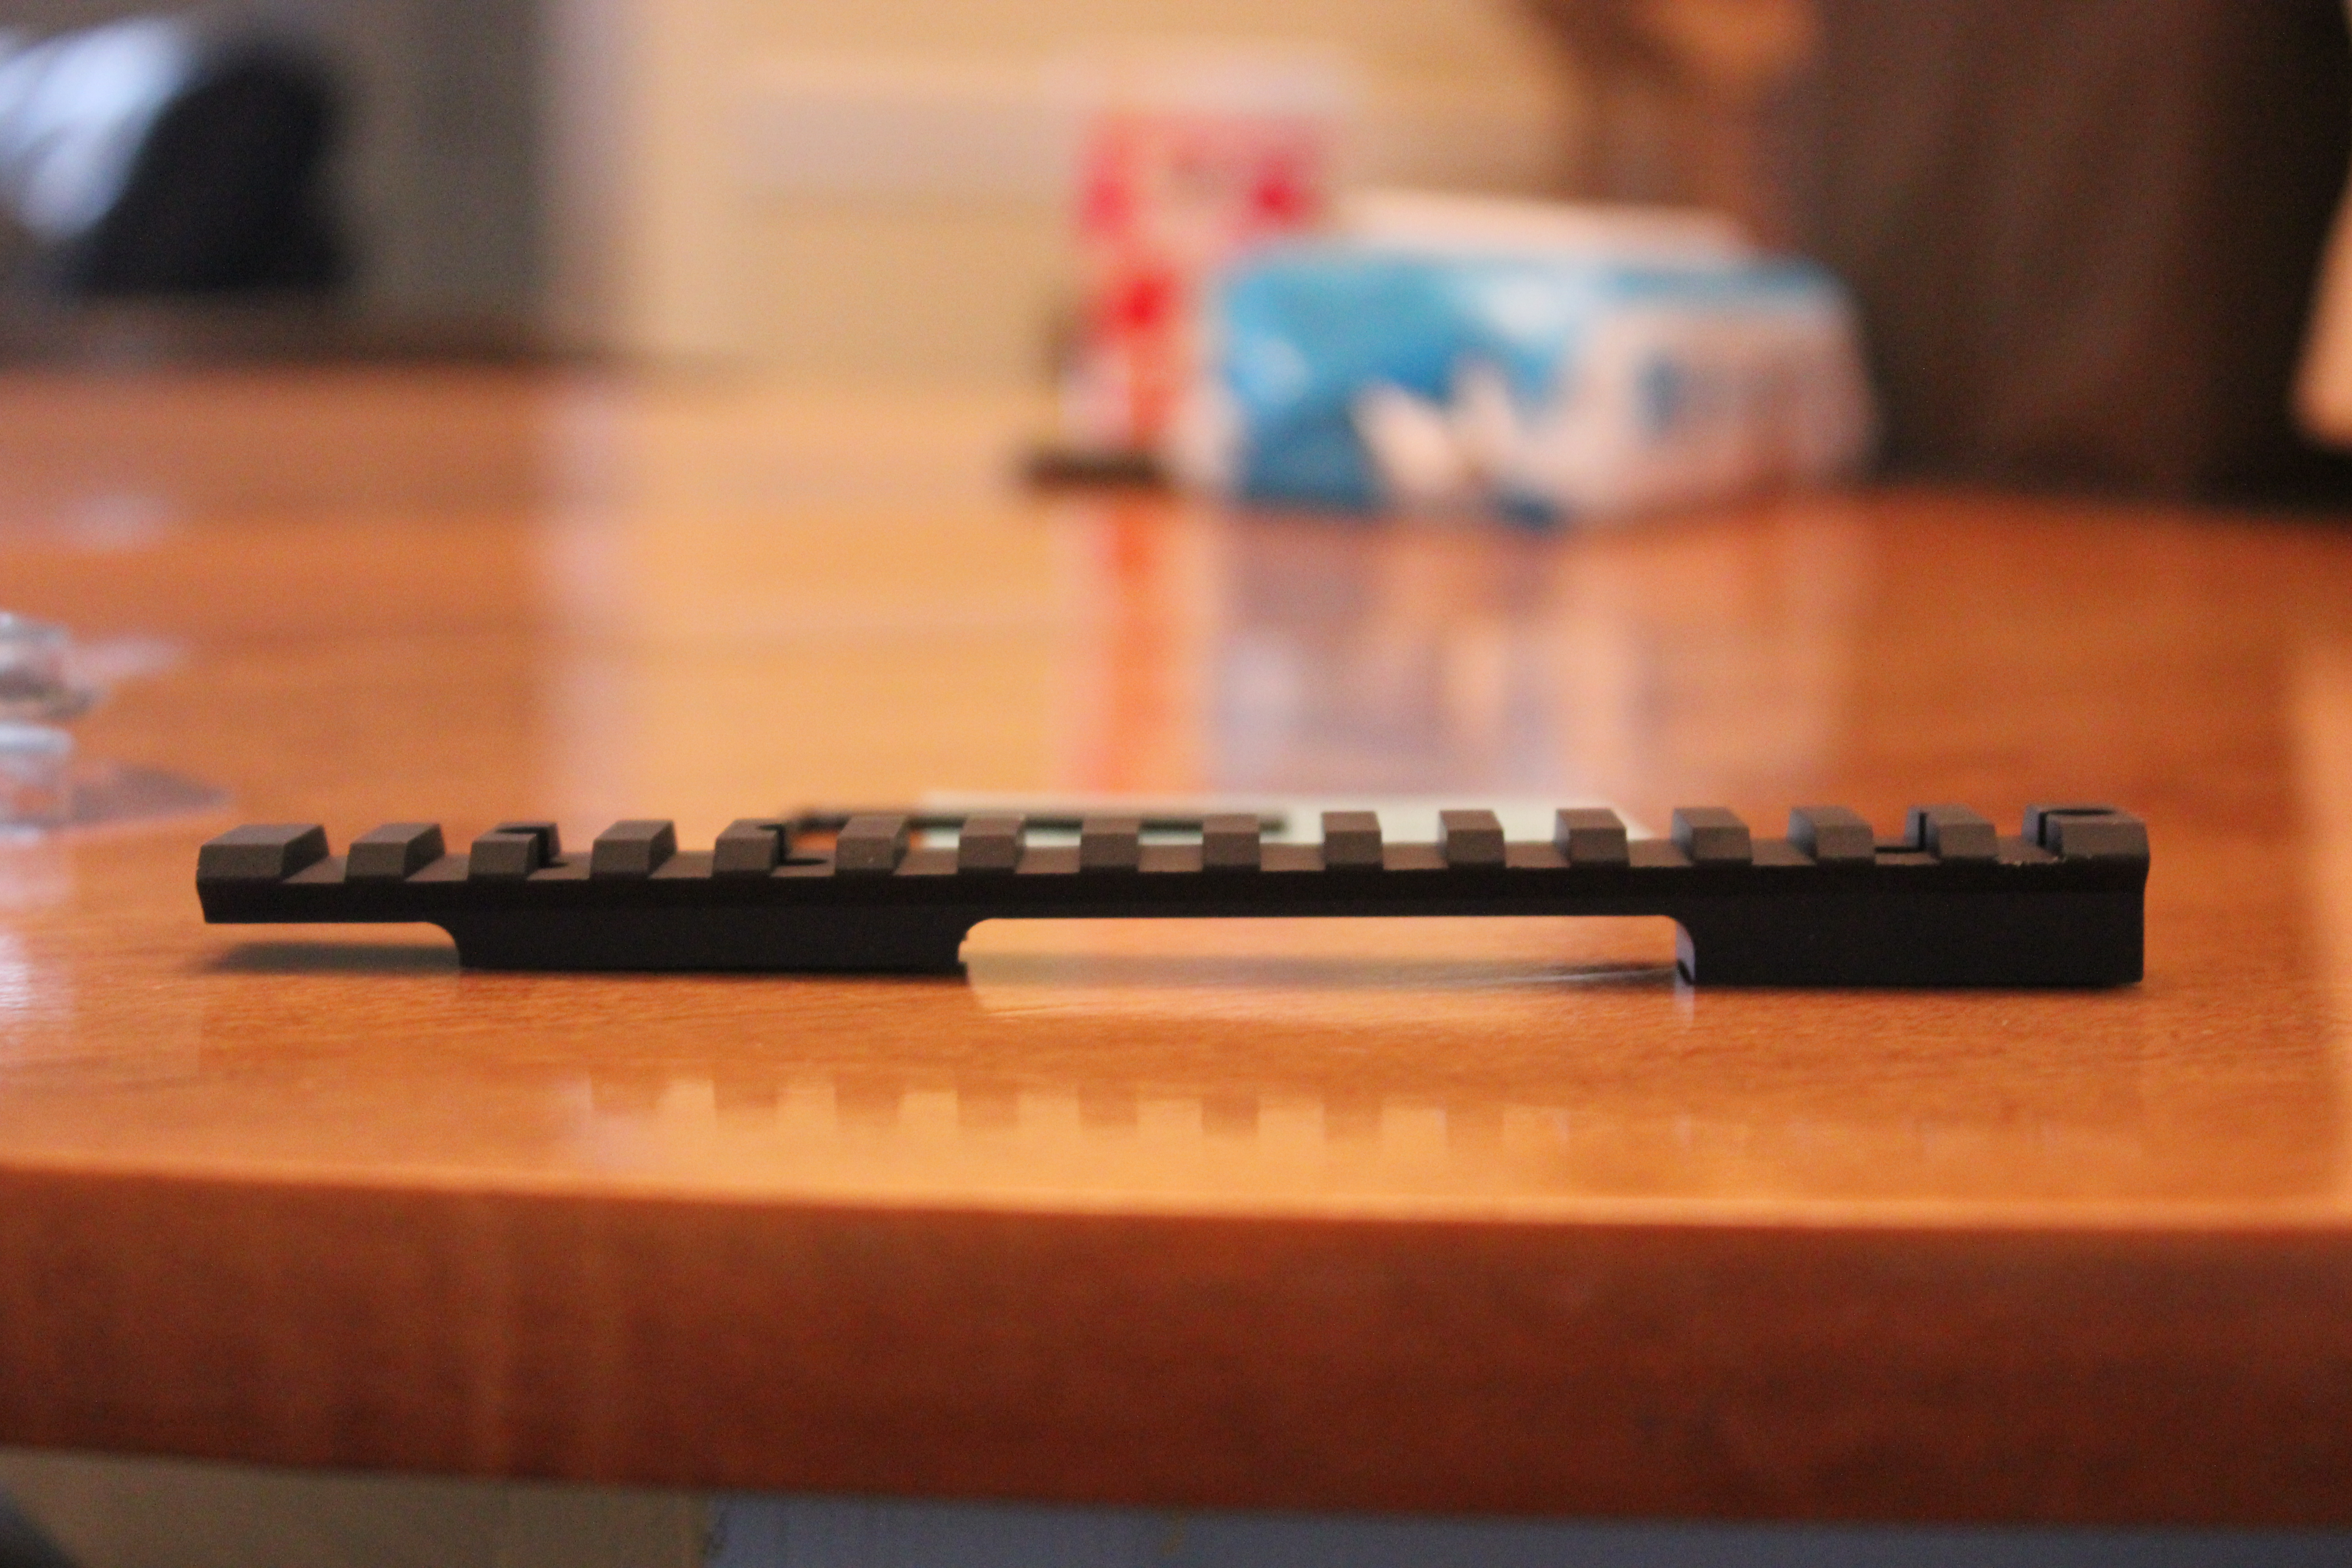
    The first thing I did was get an EGW HD 20 MOA scope base. The HD model is steel instead of aluminium.

    IMG_3980

    IMG_3984

    IMG_4052_2

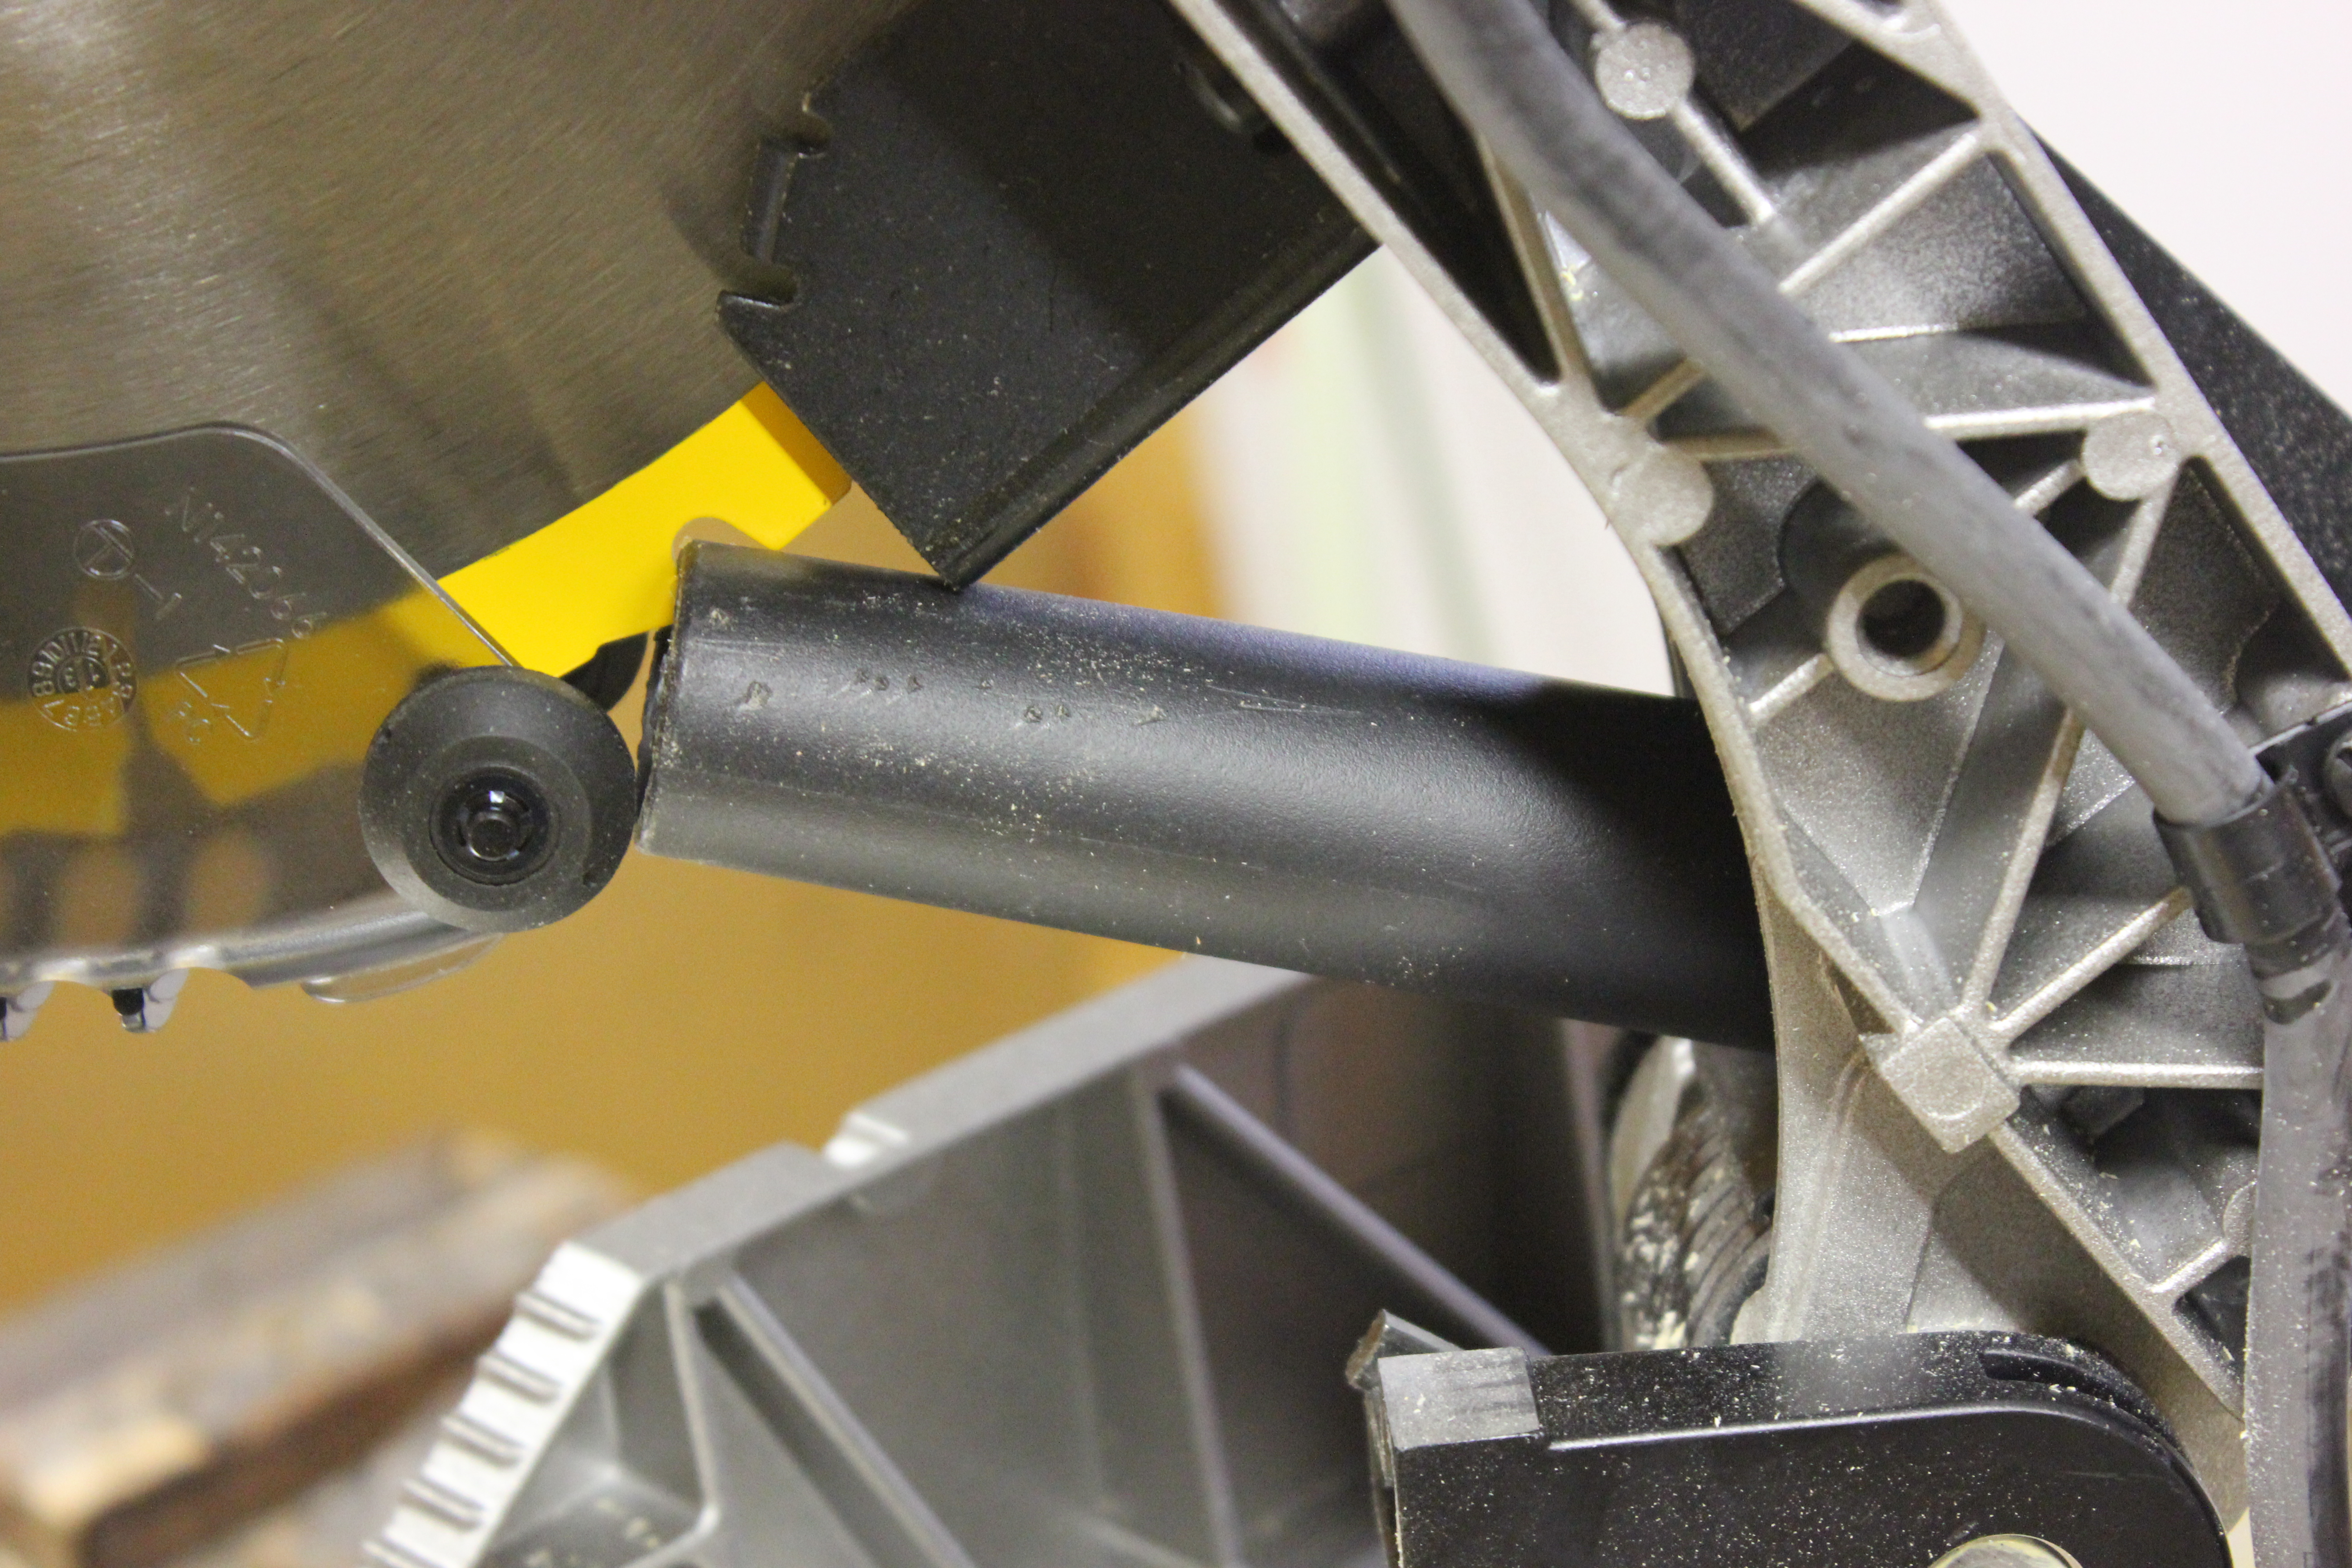
    Next up was the YHM Muzzle Brake that fits my suppressor:
    IMG_4051

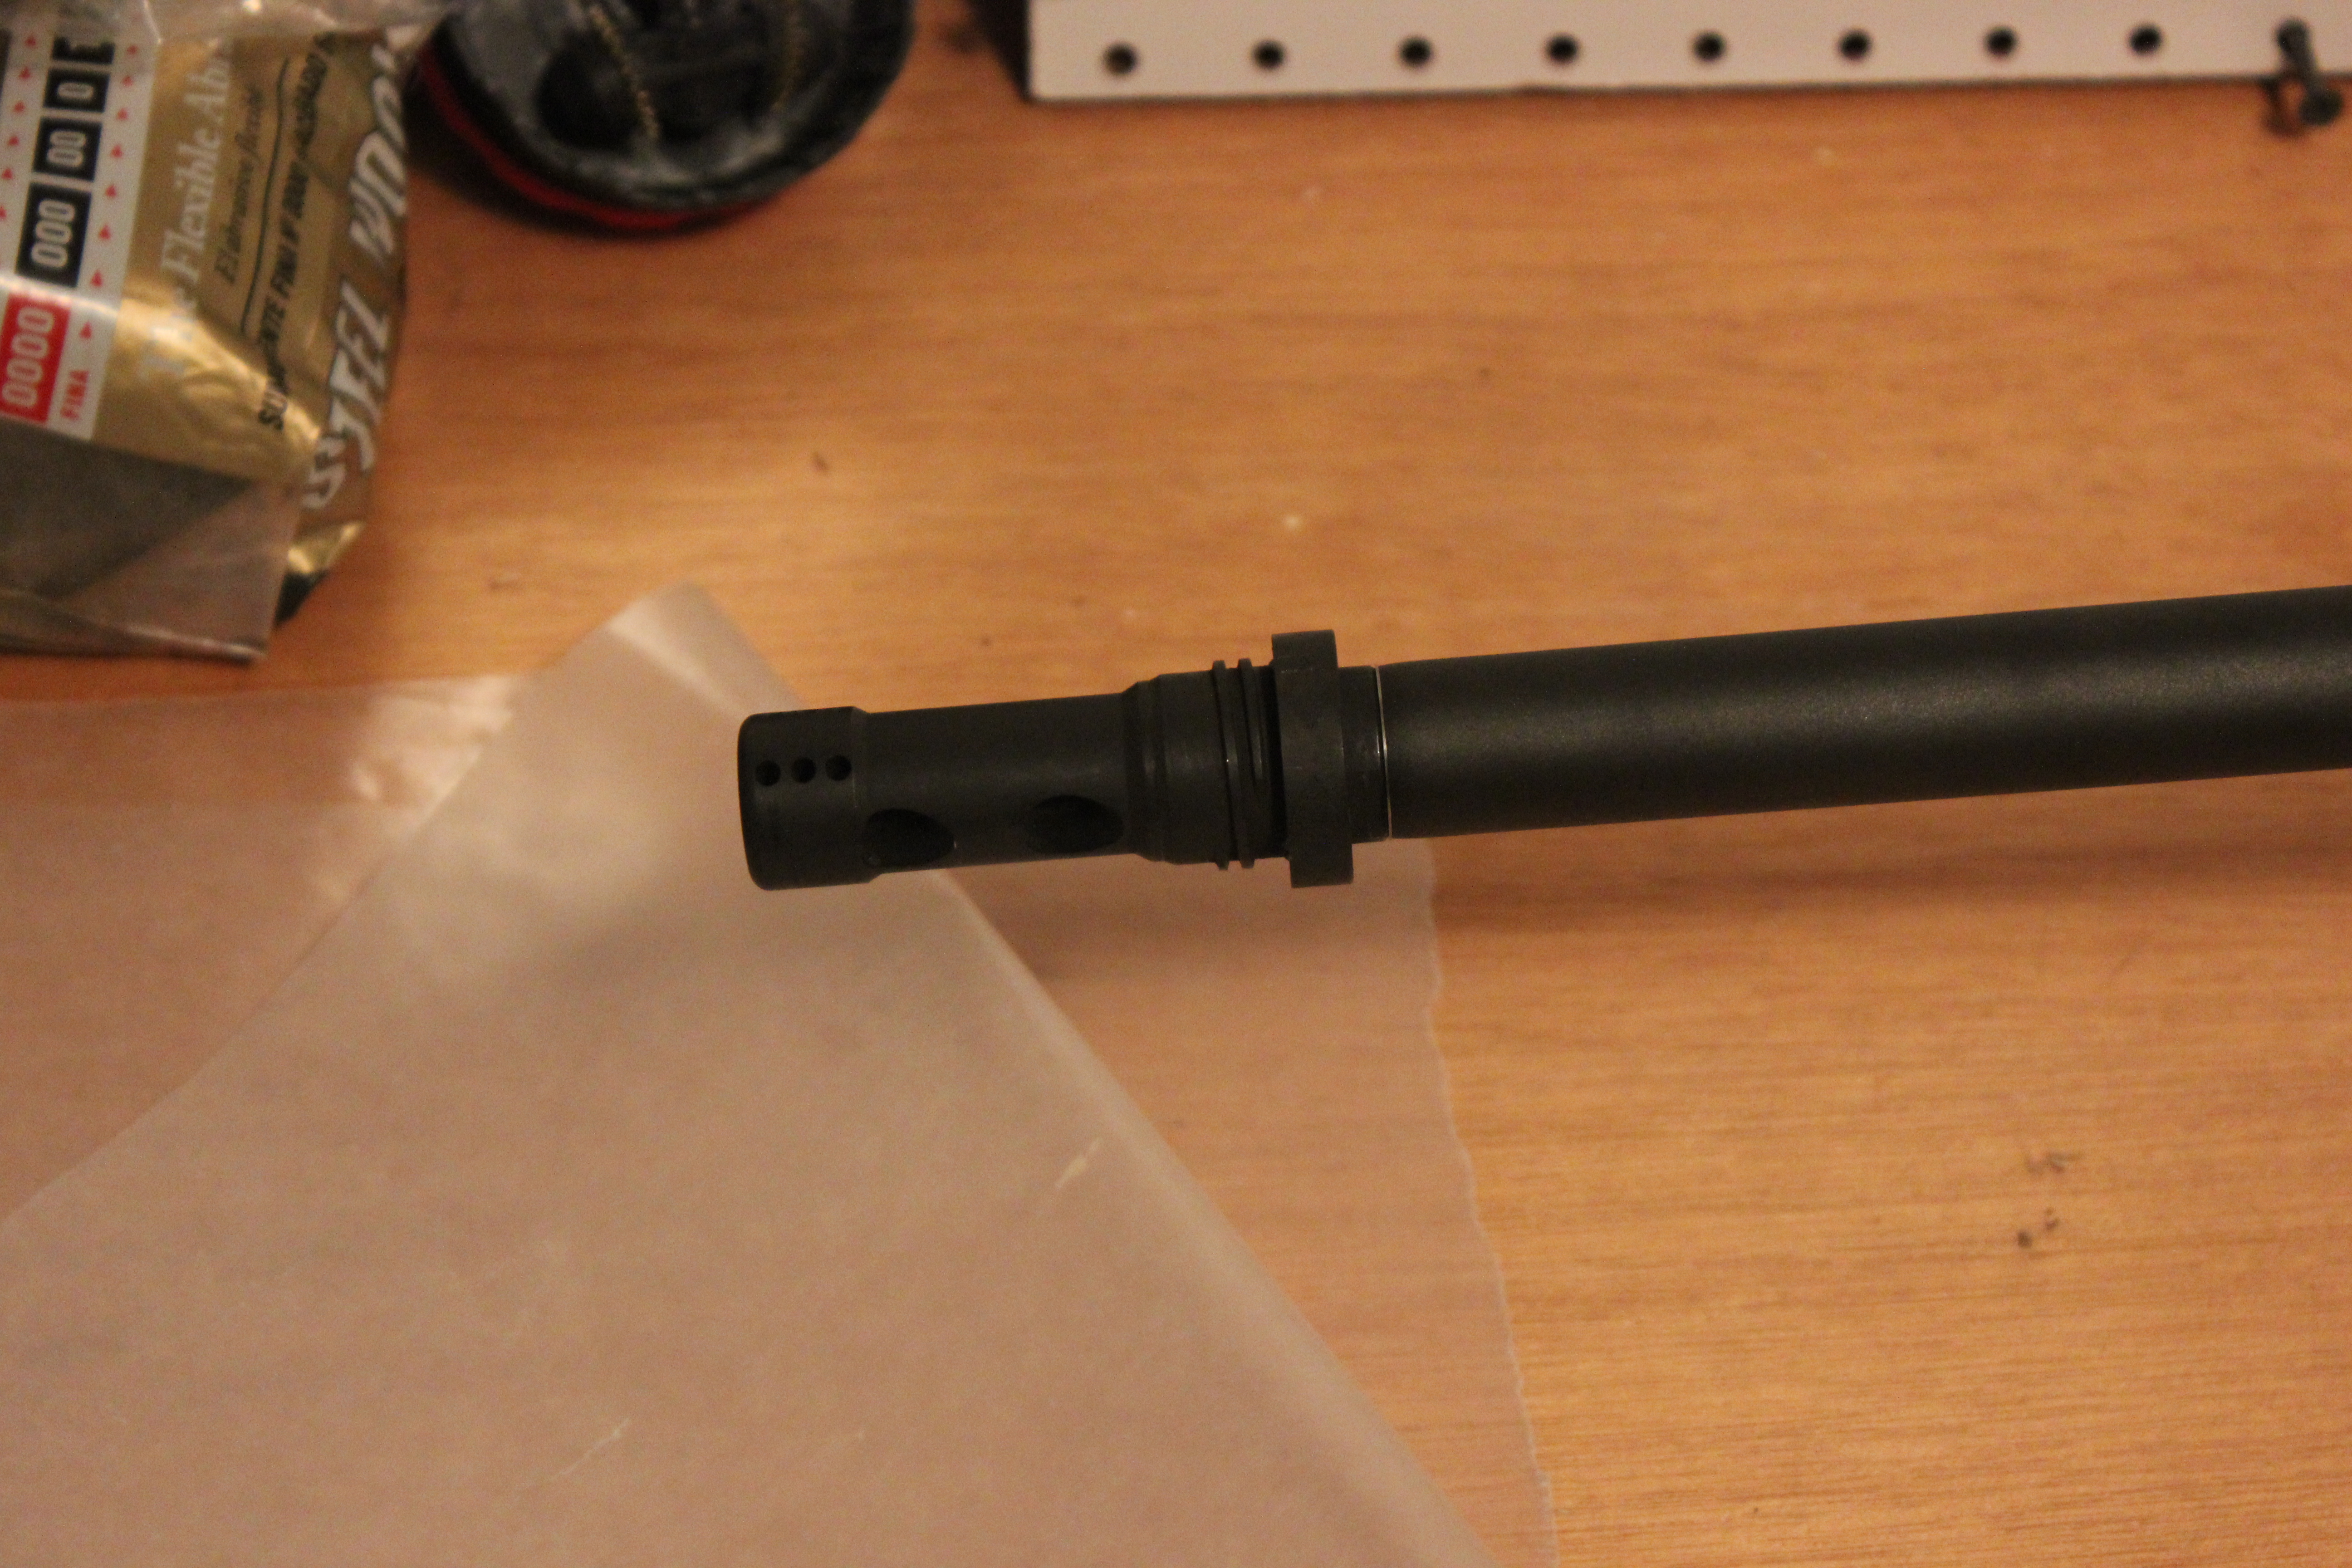
    Fun Fact: I called three gunsmiths to try to have one install this for me. Each one said a version of “Really? Any idiot can install these. Why would you pay me do to this?” (Hint: Because YHM says to have a qualified gunsmith do the install)

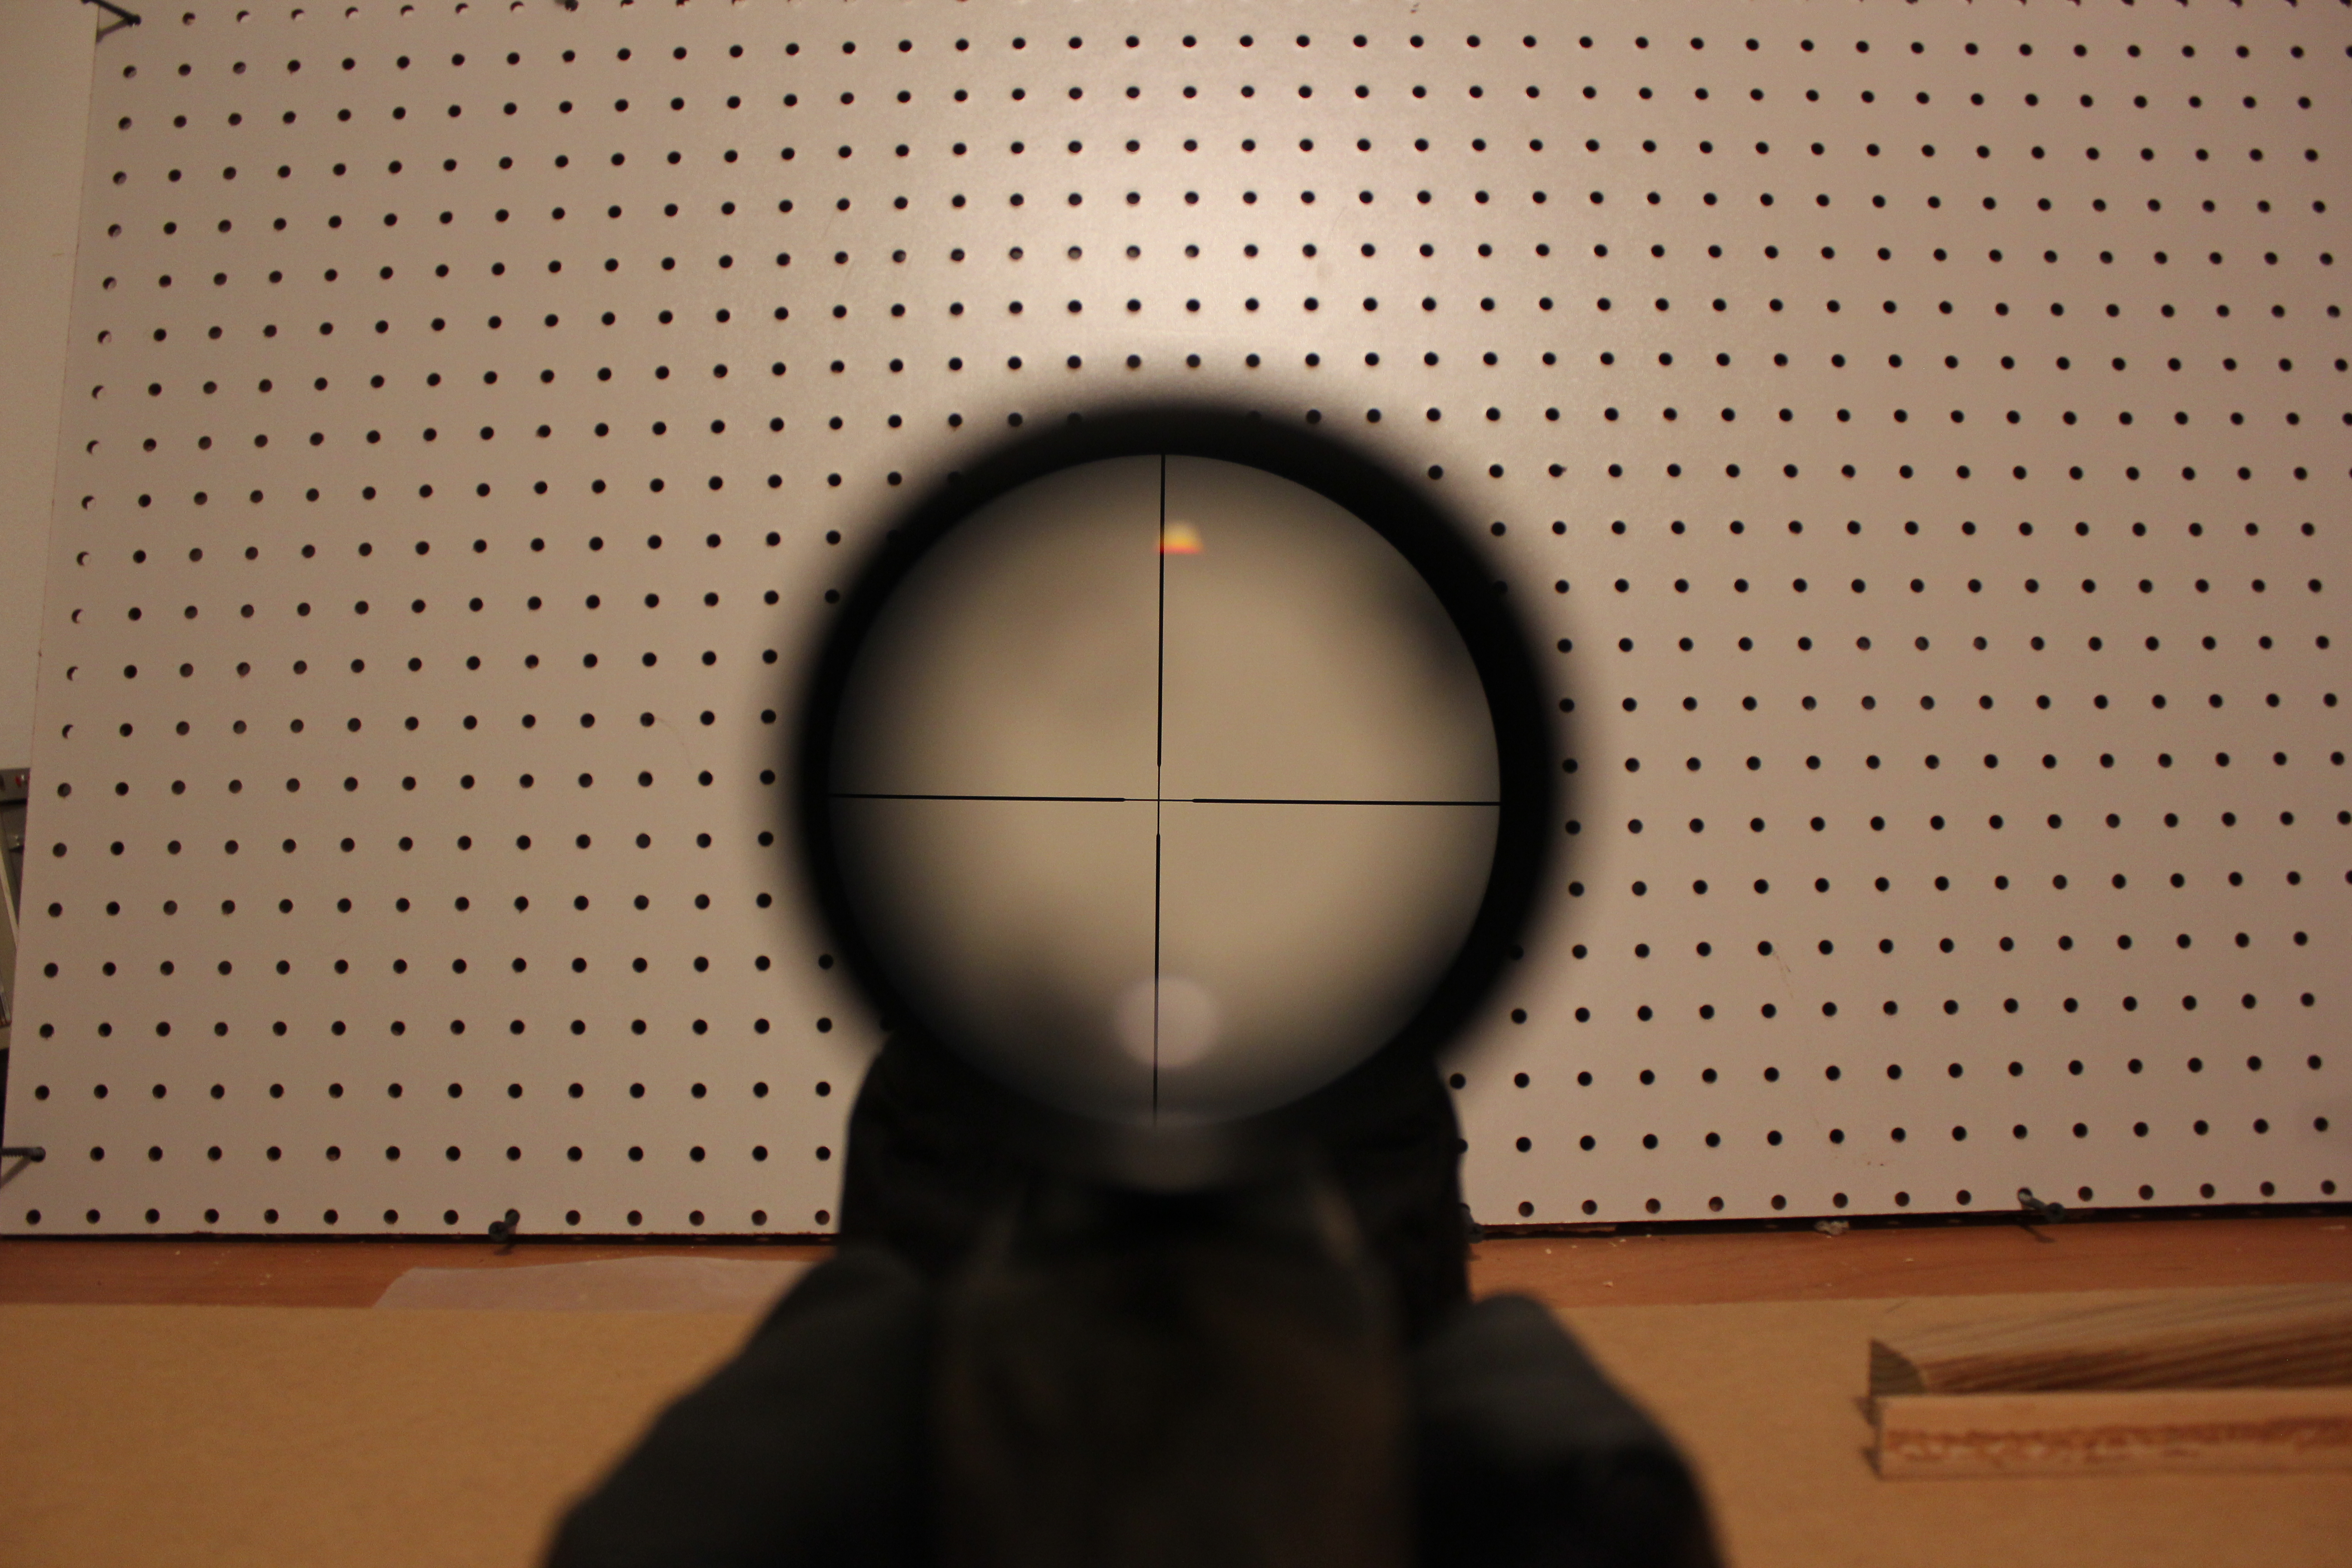
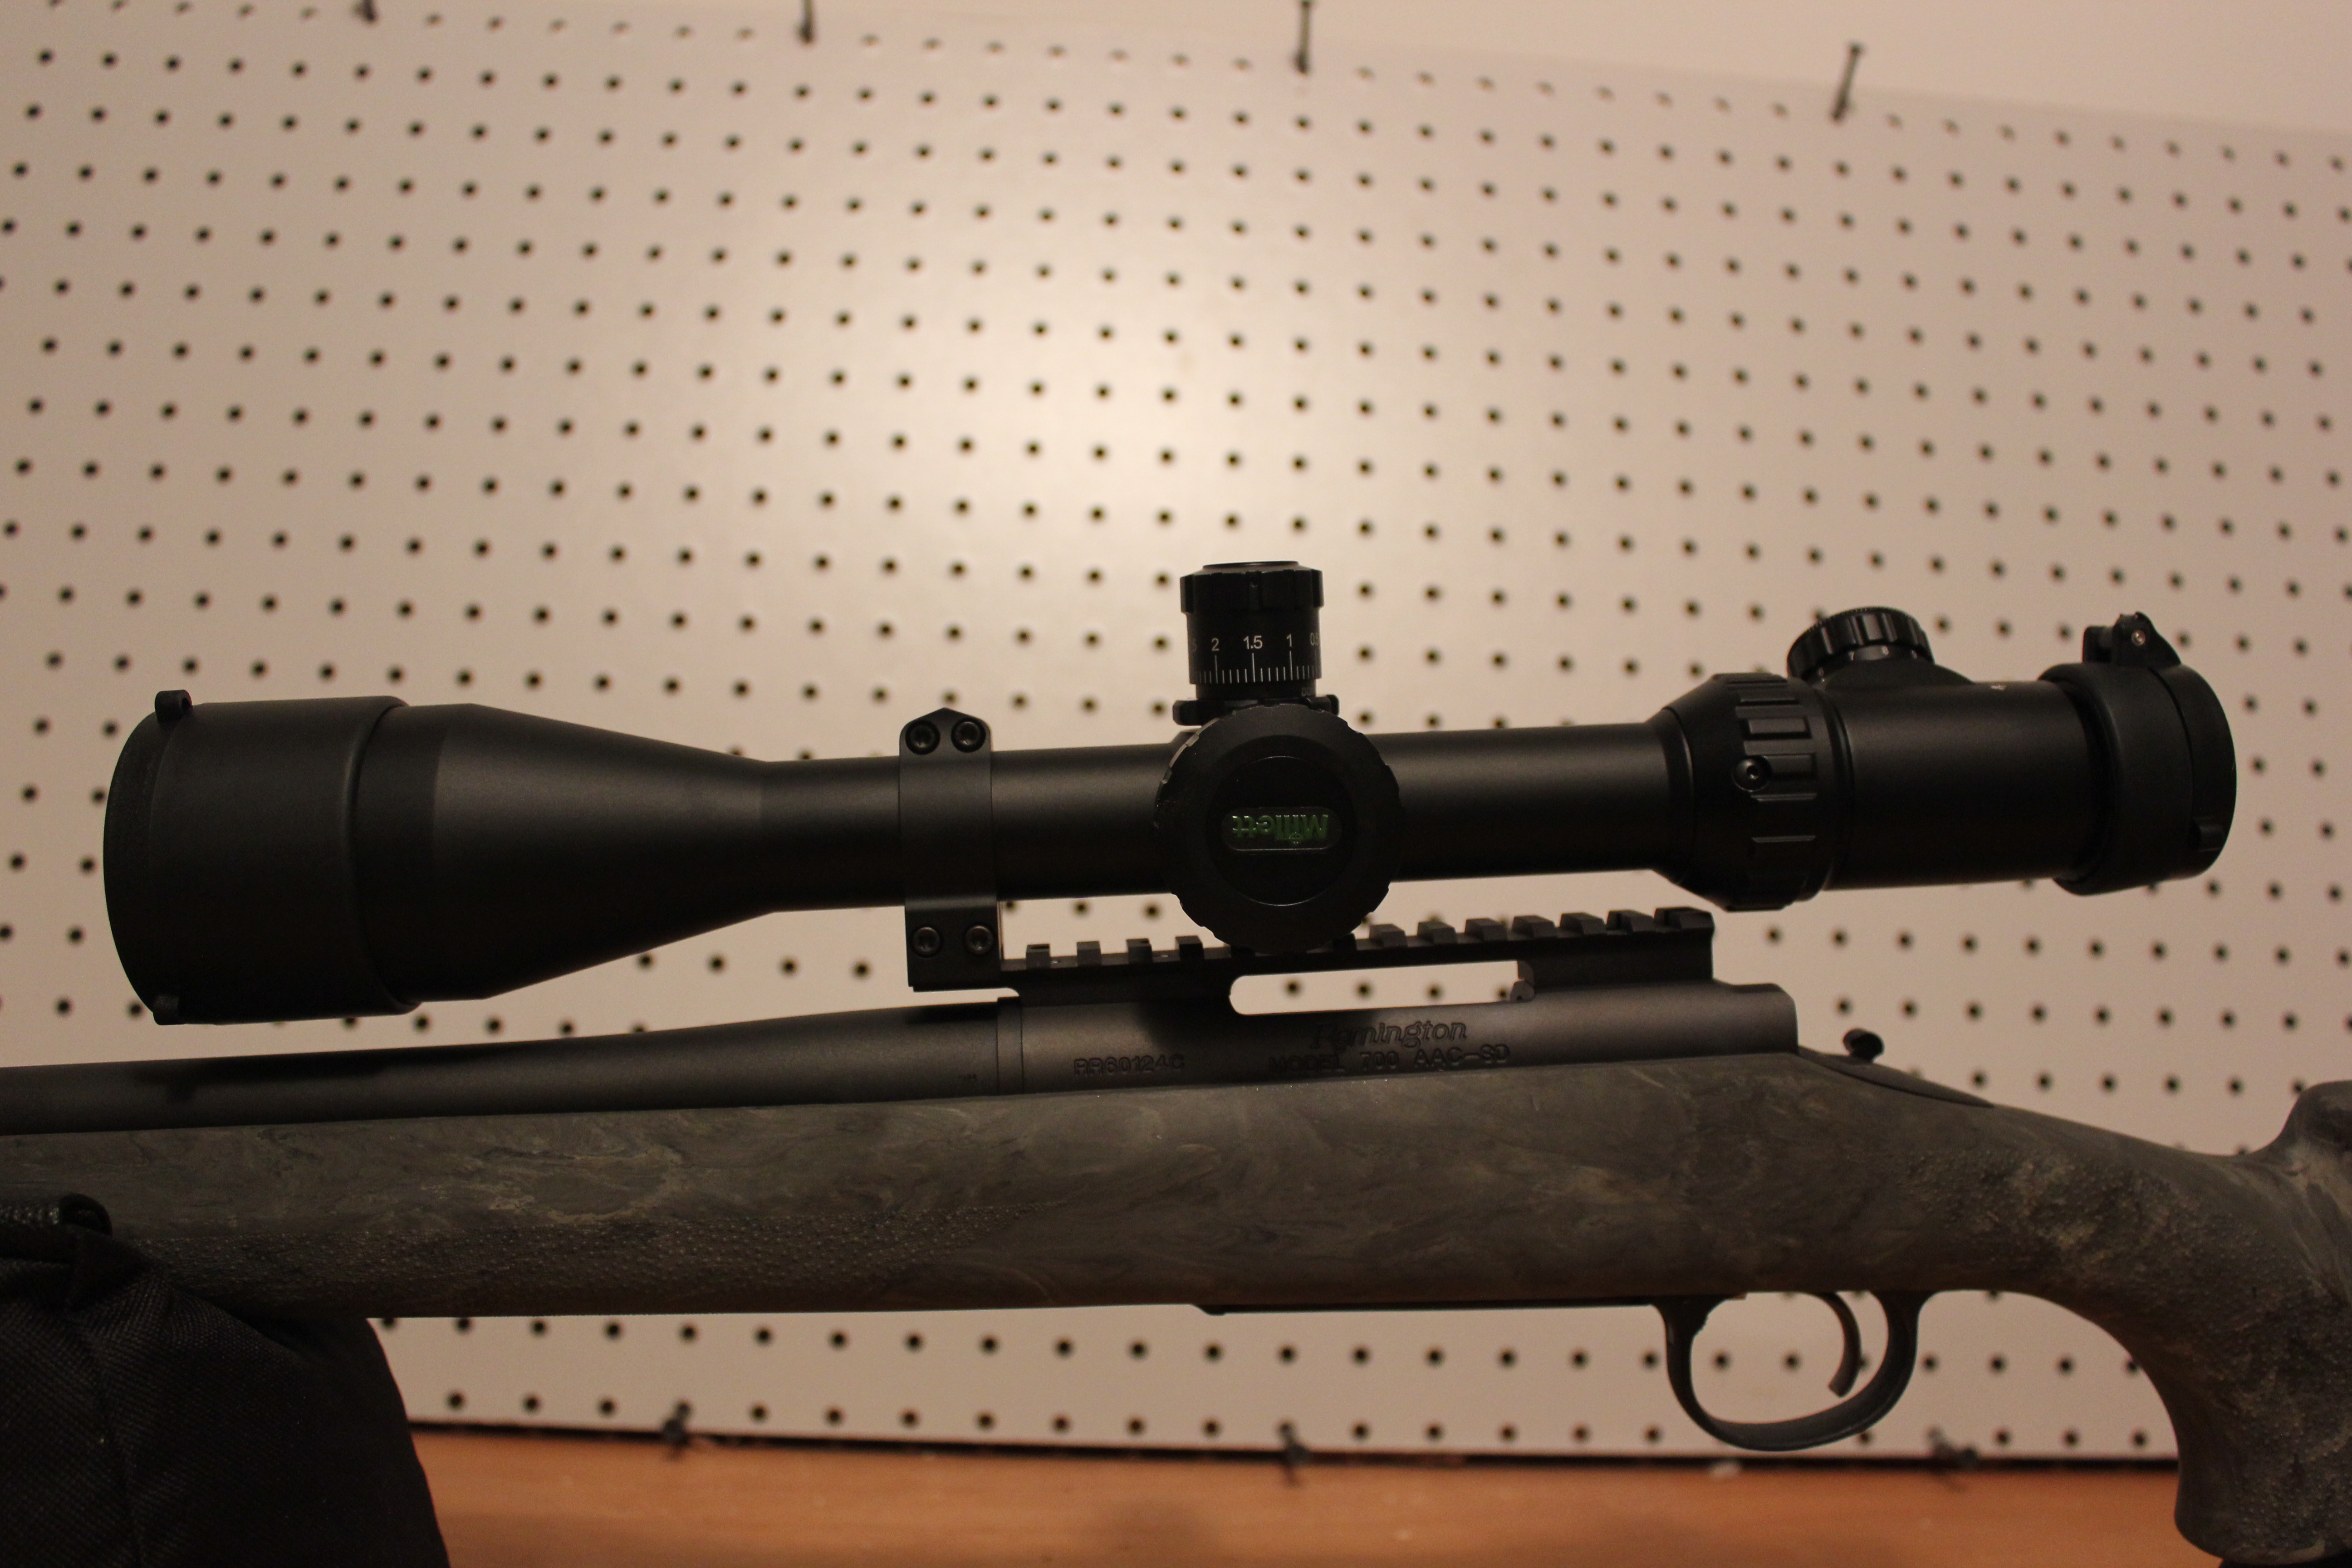
    Then came the scope and rings. My original plan was to get something in the $600 range for the scope, and about $100 for the rings. The money didn’t end up working out, so I got a Millett TRS-1. I got the .1 mil version, because FarmDad told me not to get a mildot scope with MOA adjustments, because it’ll mess with you. The scope gets “good for the money” reviews pretty much everywhere. It’s got fanciness like locking target turrets and a side parallax knob, and comes with a sunshade, flip open caps, and an illuminated mildotbar (not to be confused with mildot, which I did confuse it with). I’ll do a more in-depth review of the scope later but the short version is that about 10 minutes after I took it out of the box I decided I that while I won’t be returning this one, I likely wouldn’t buy it again.

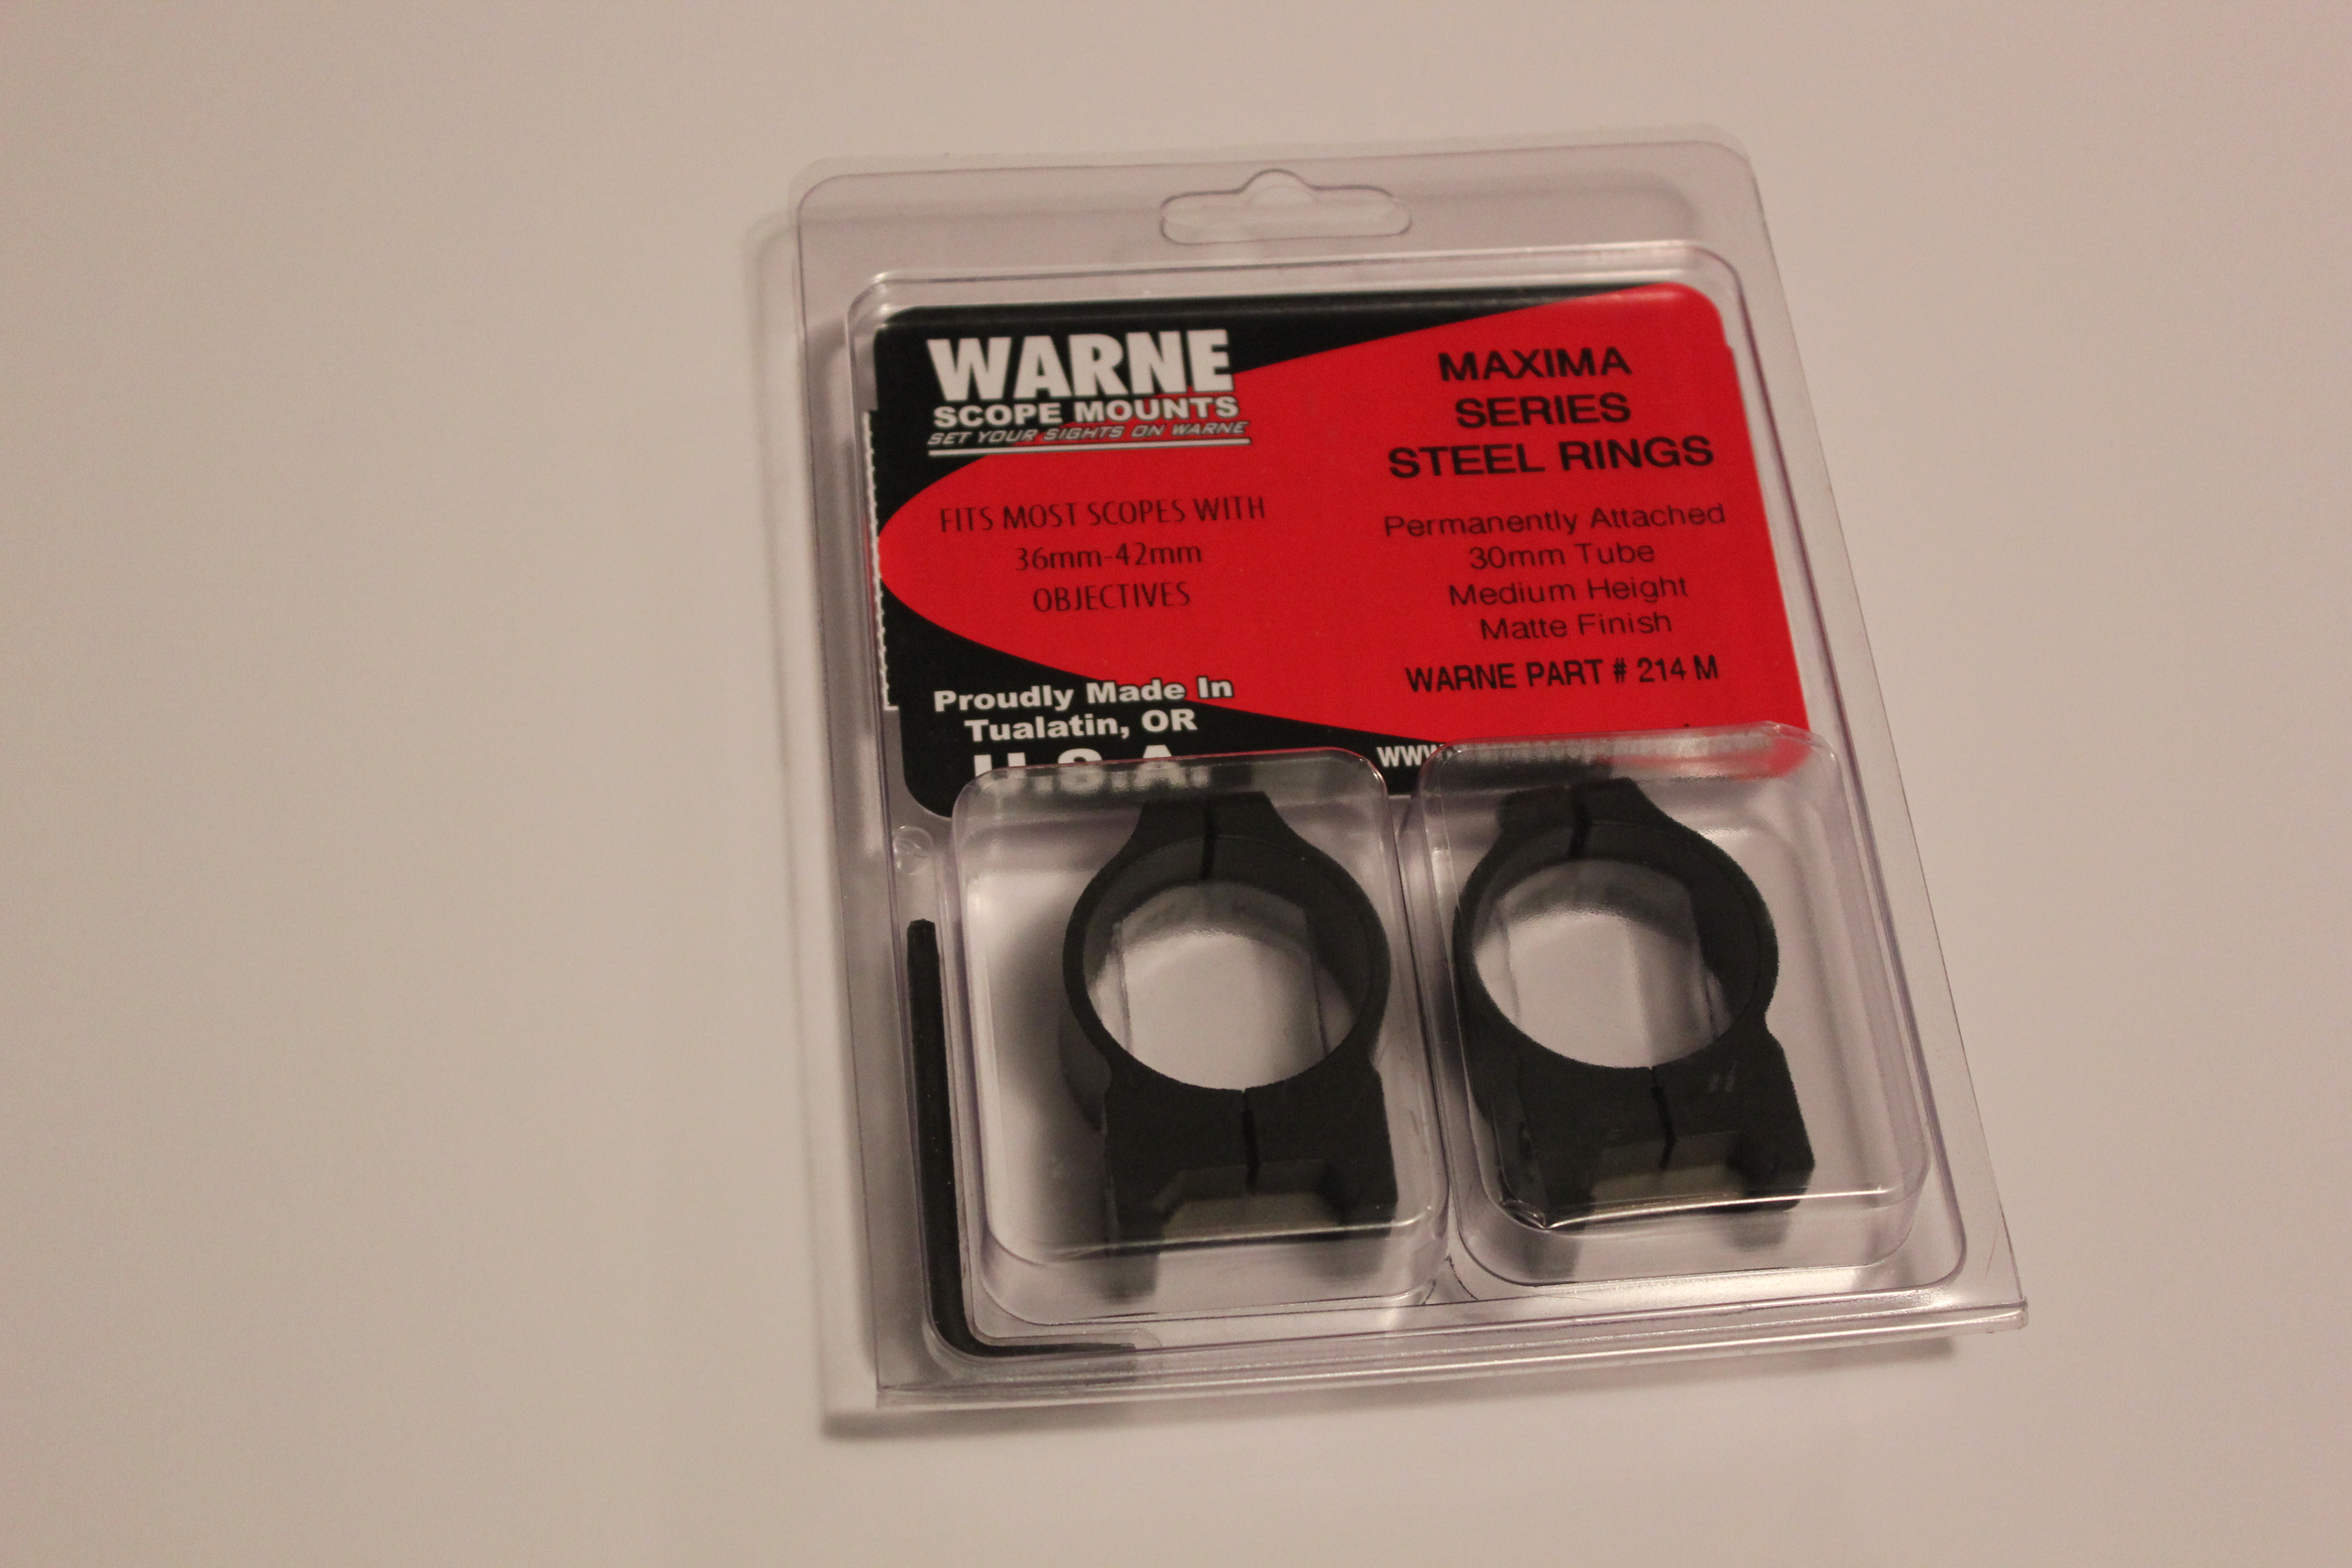
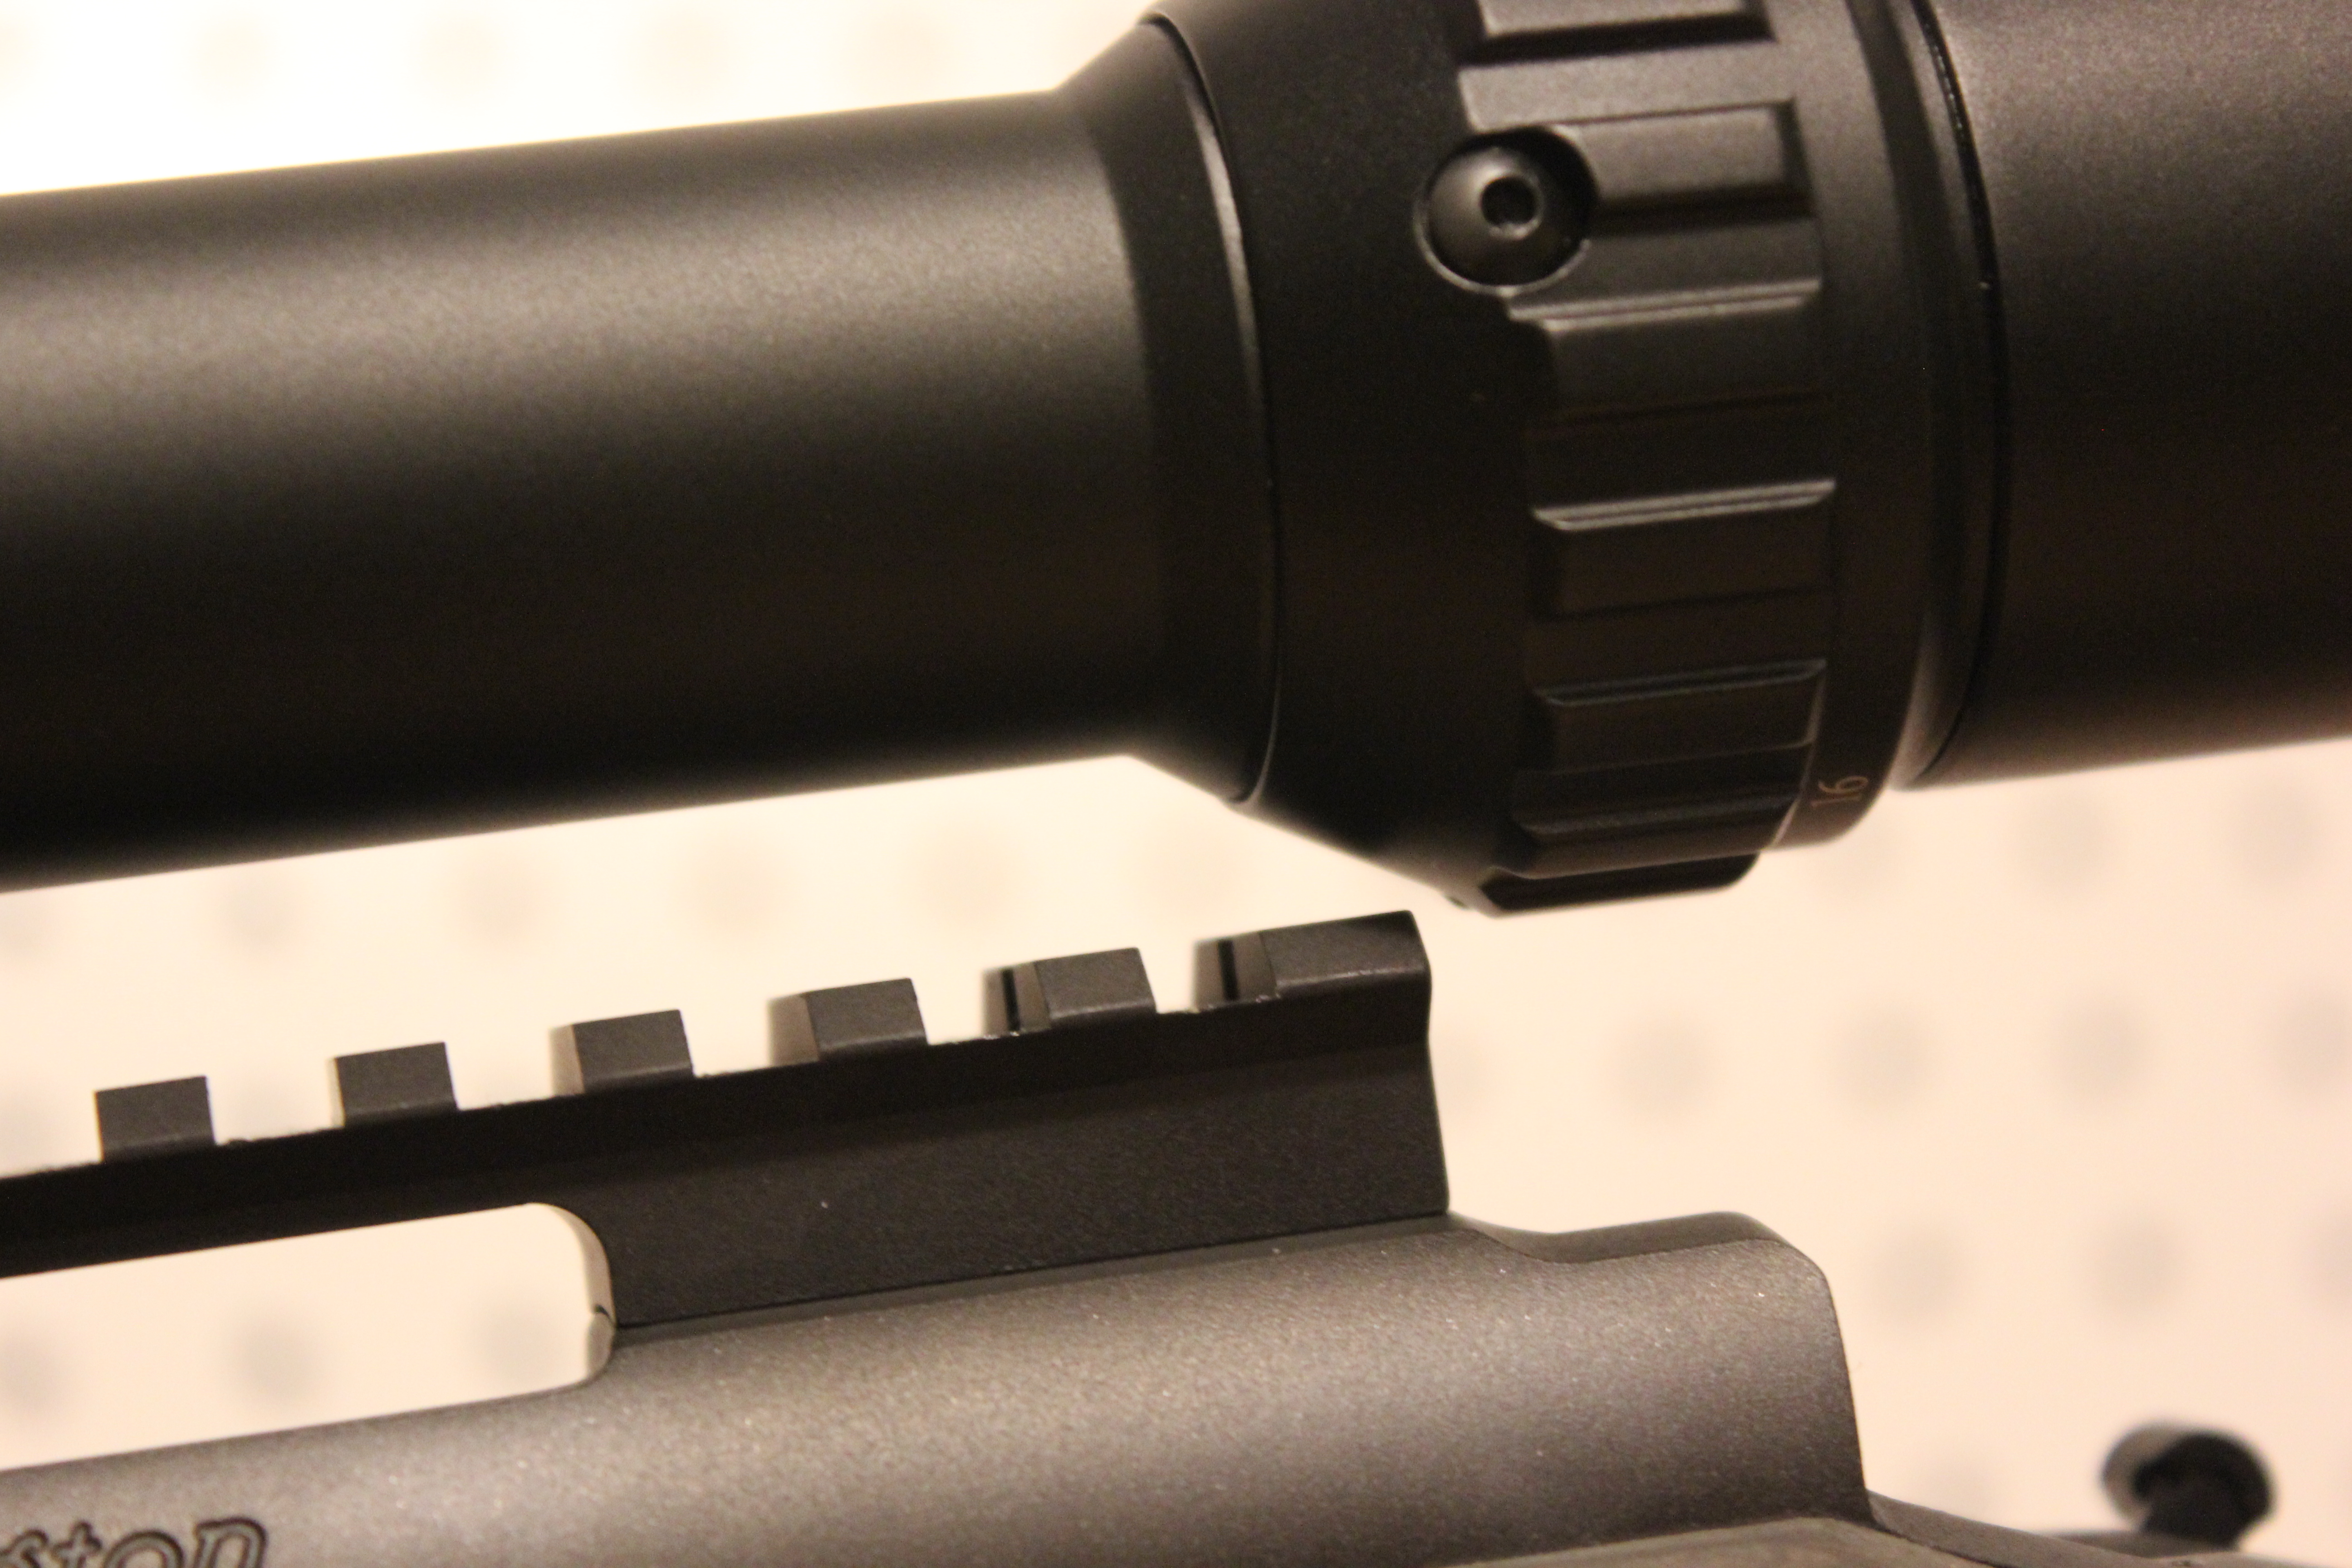
    For the rings…. well, due to the aforementioned budgetary problems, I wasn’t going to have rings by the time the ARFCOM shoot was scheduled so my friend James lent me some Warne 214M rings:
    IMG_4029

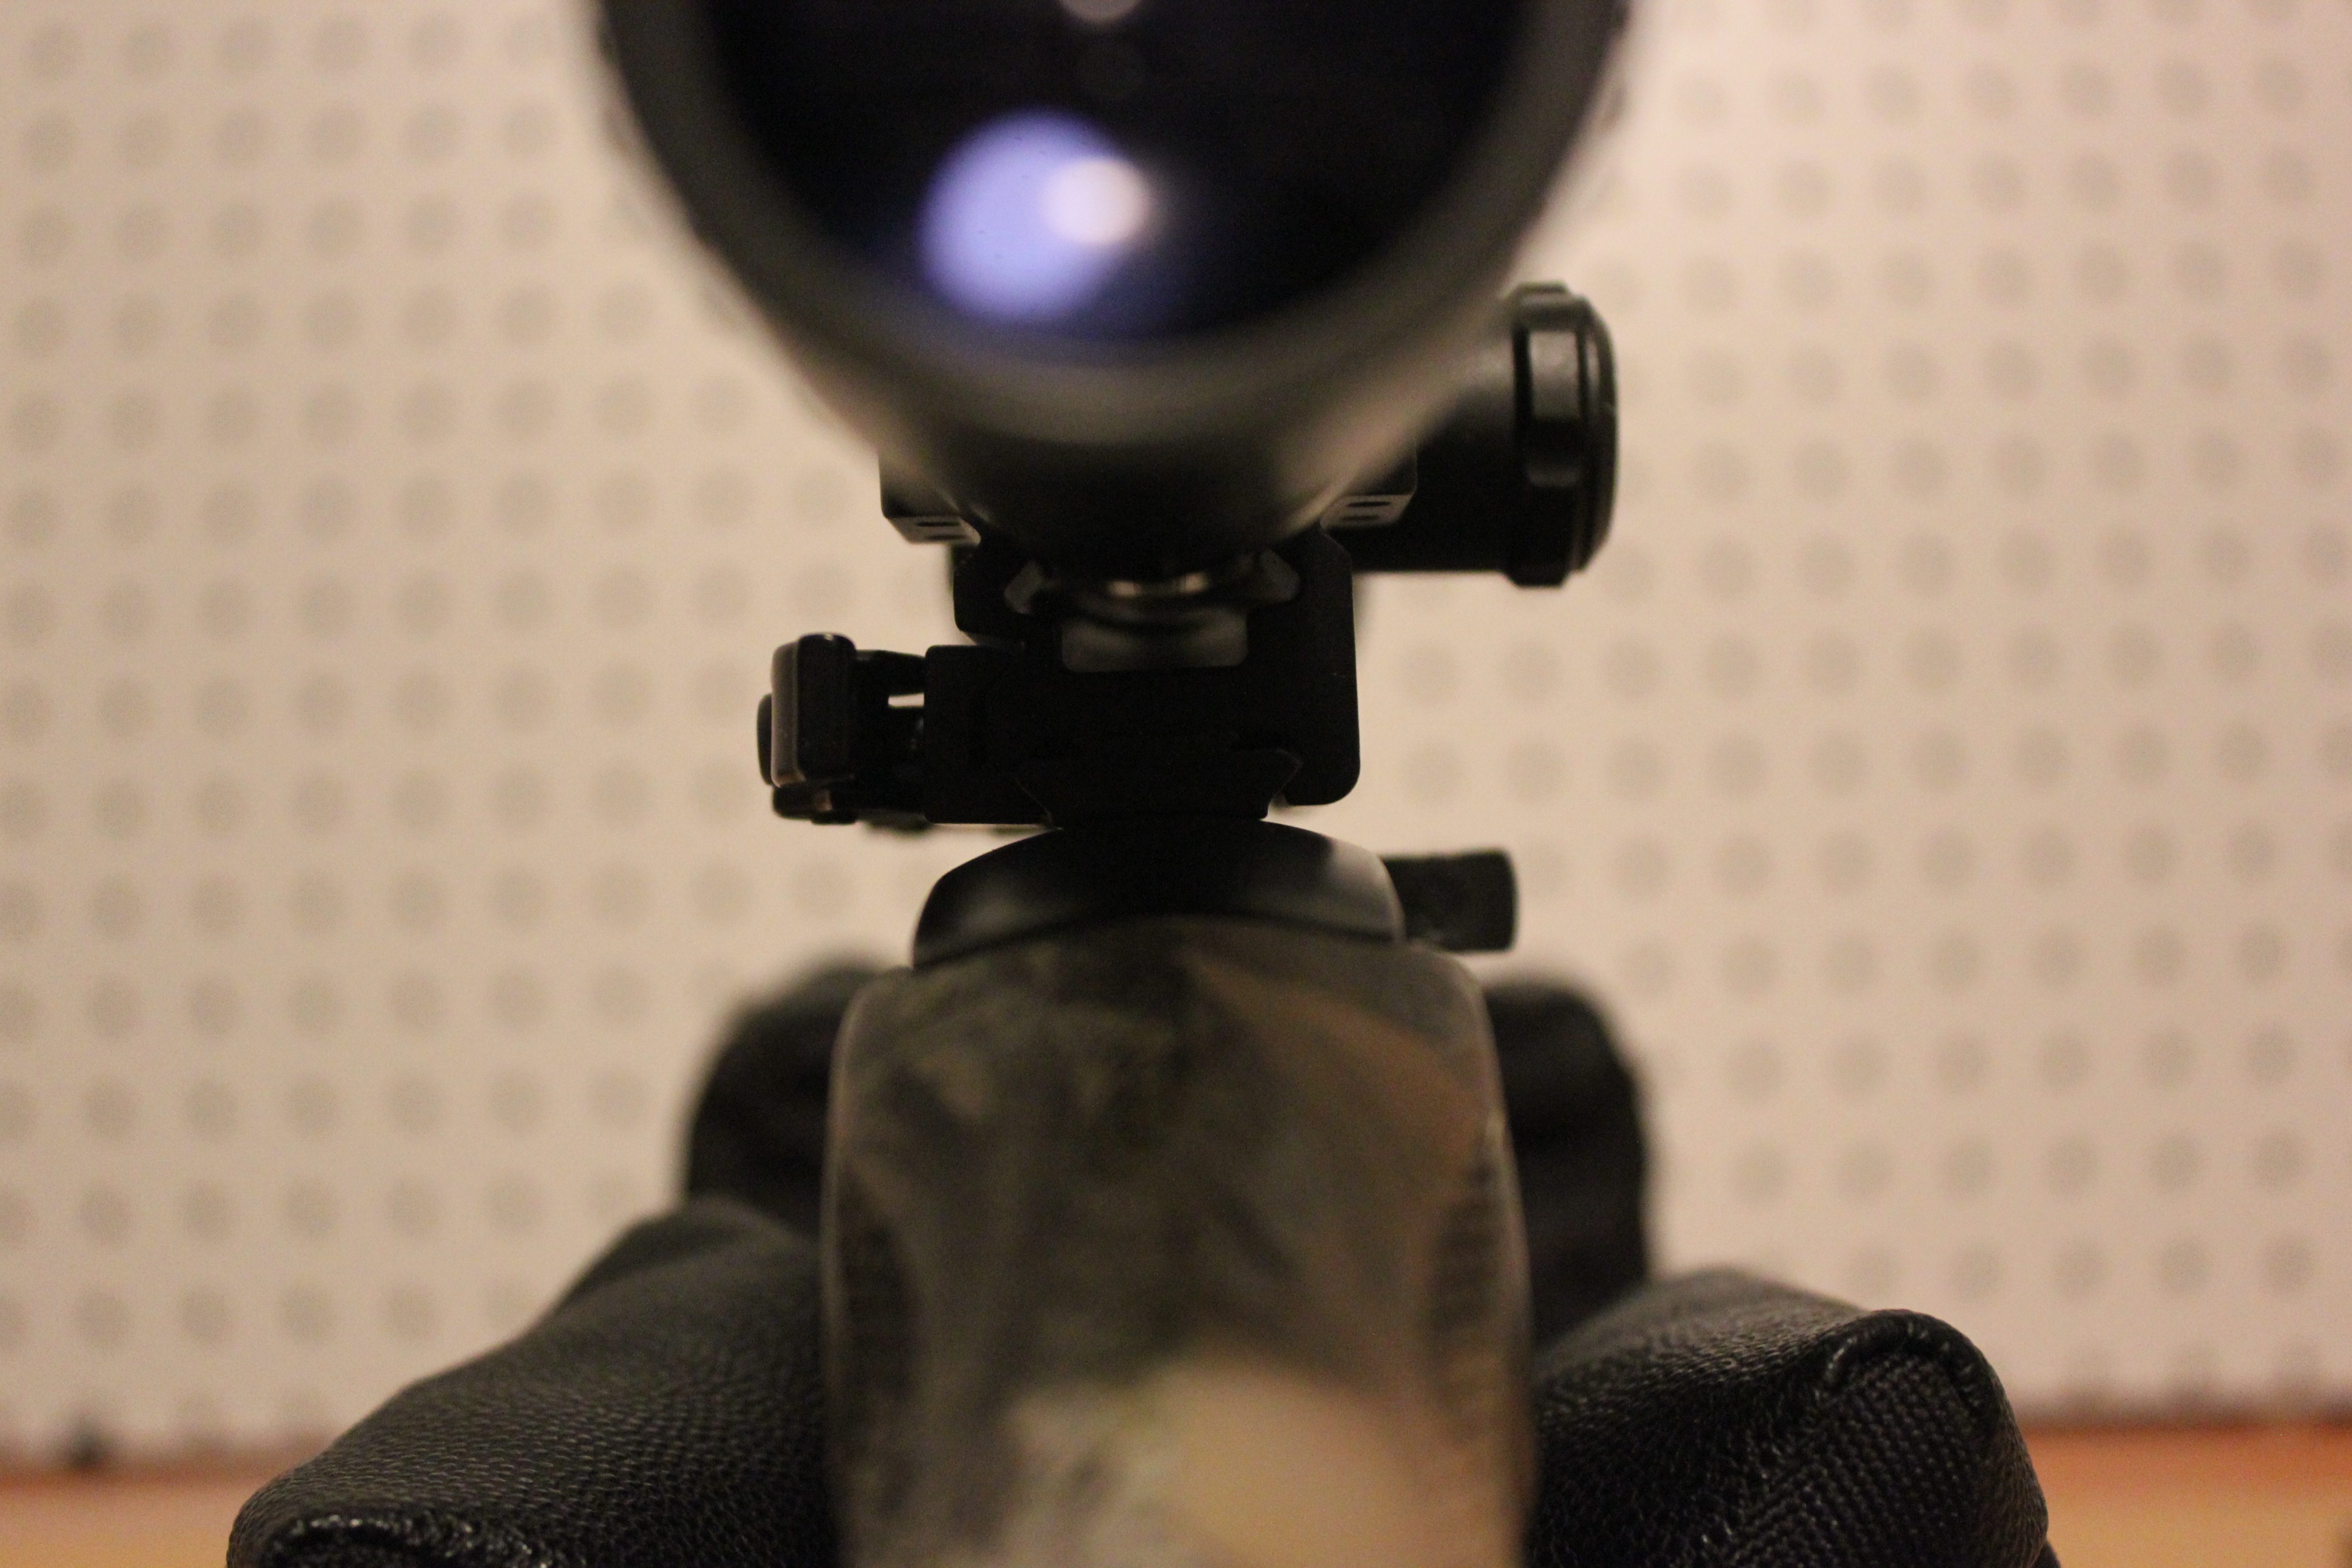
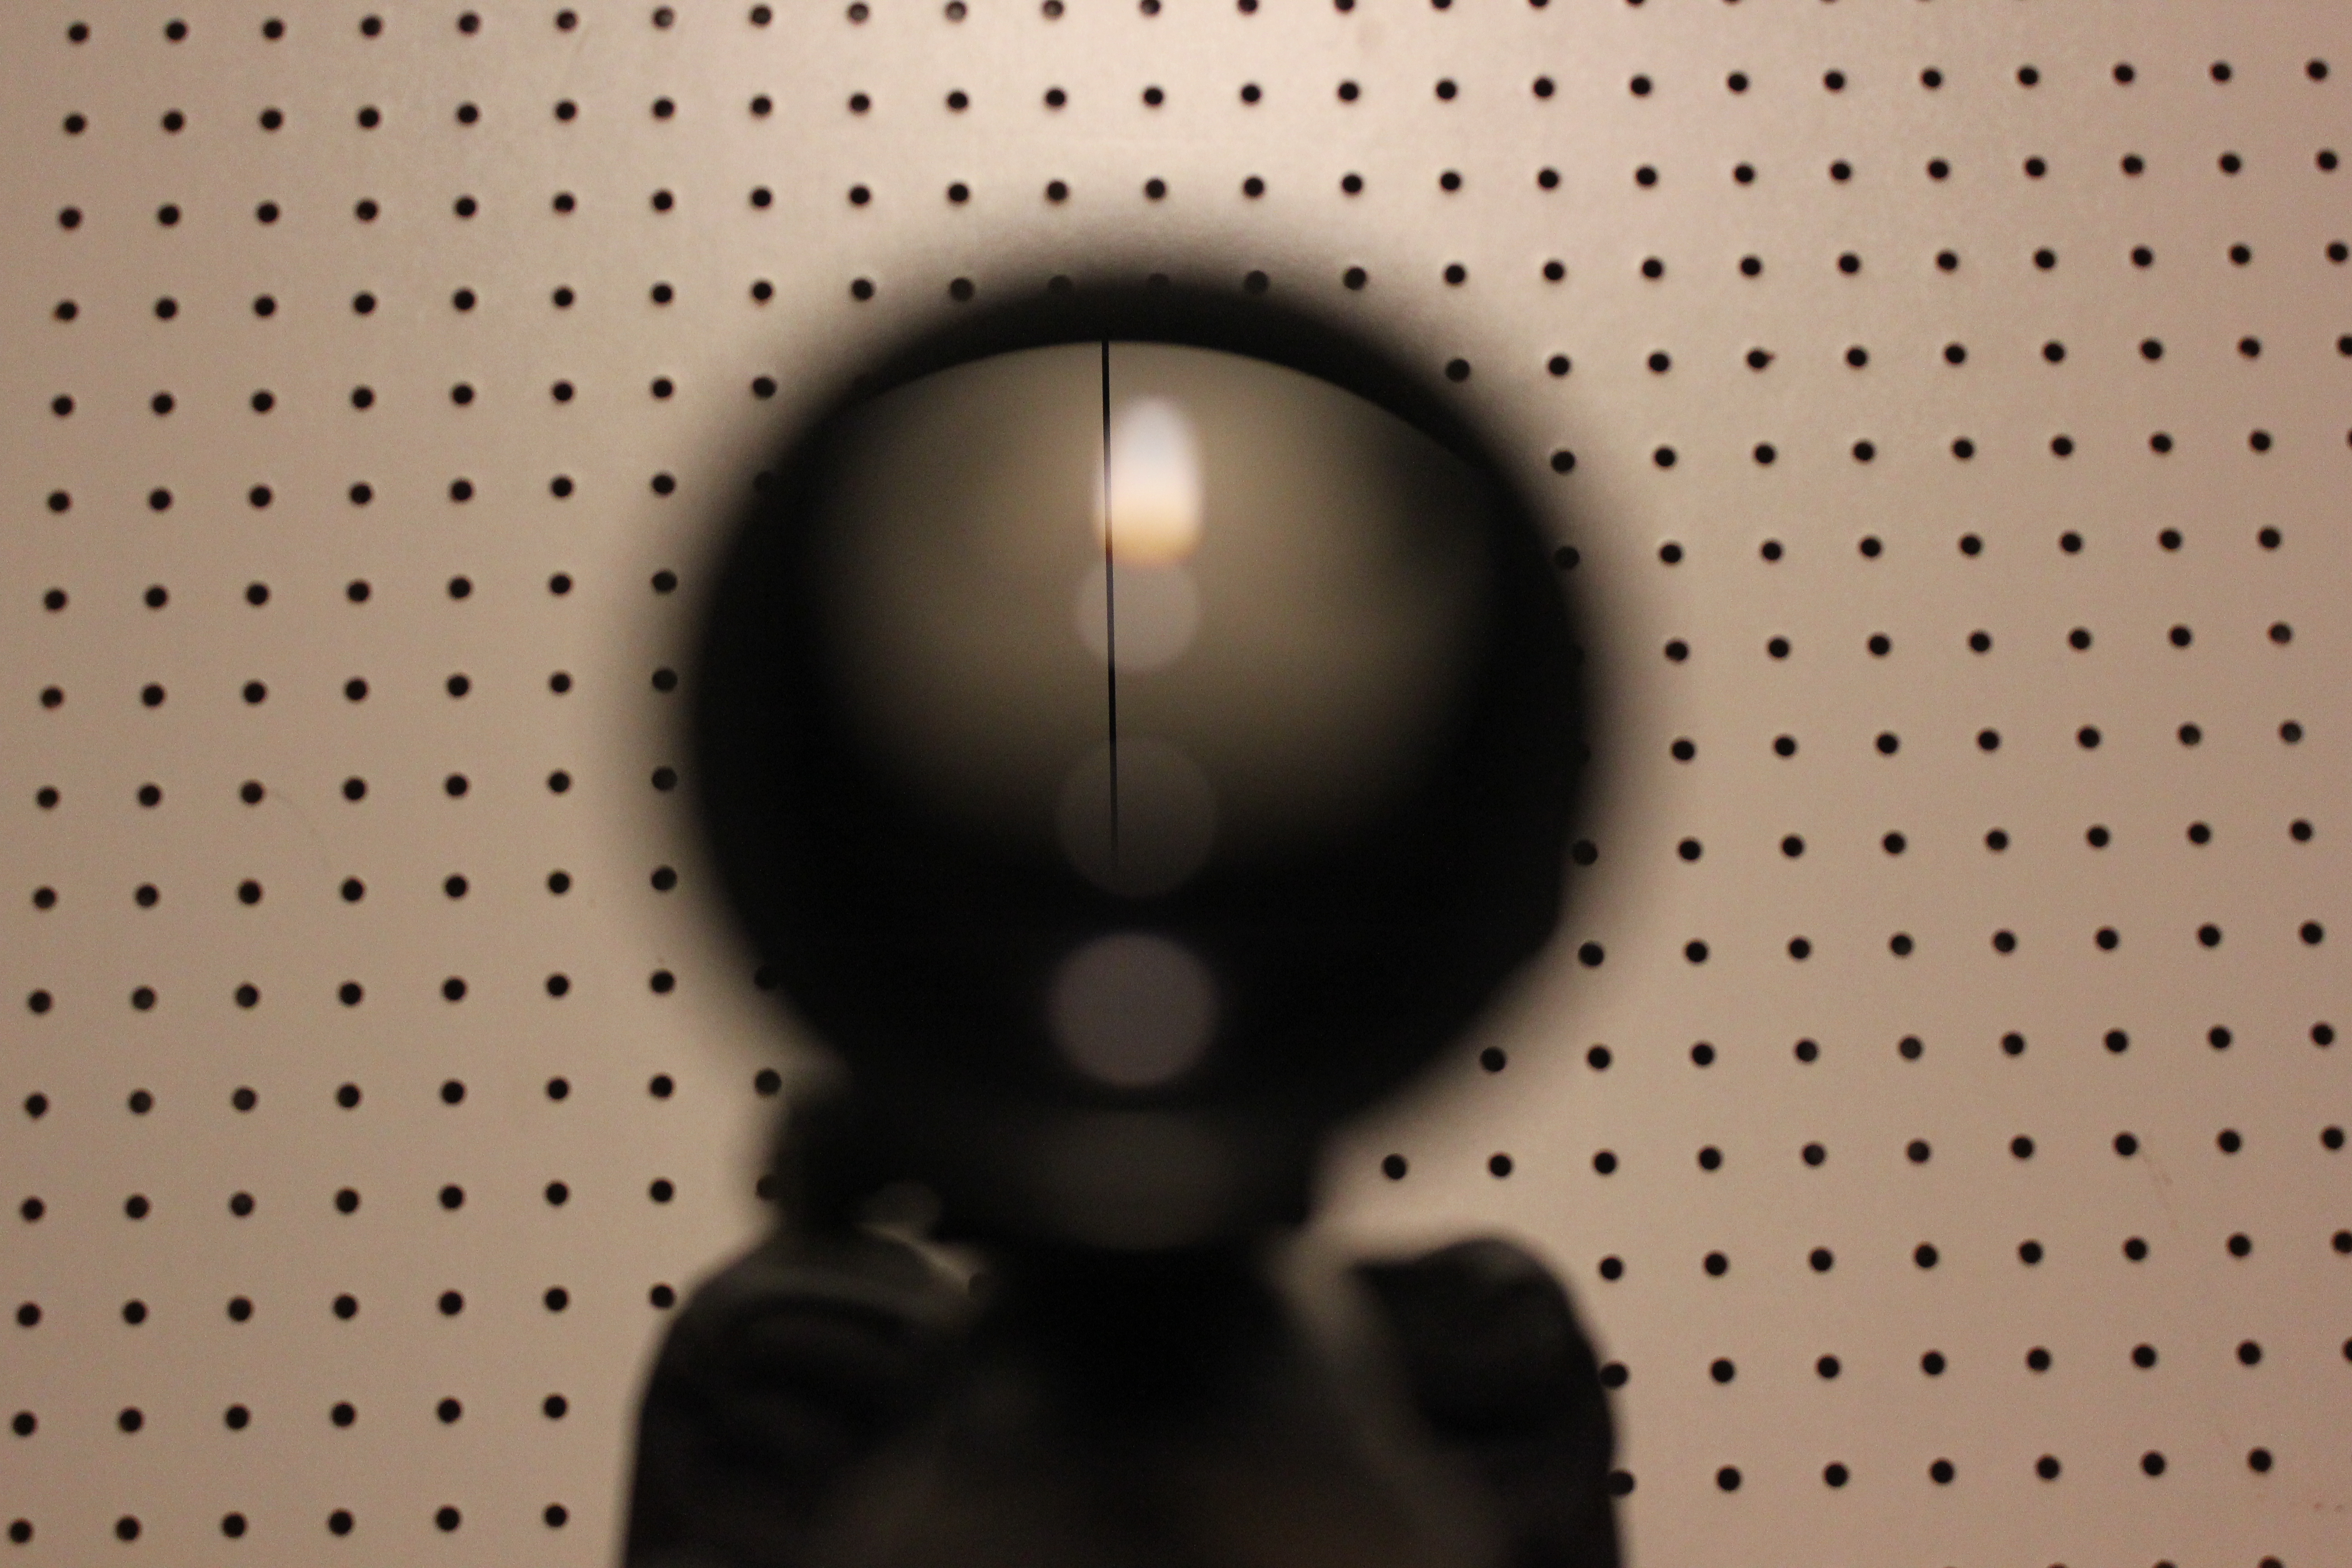
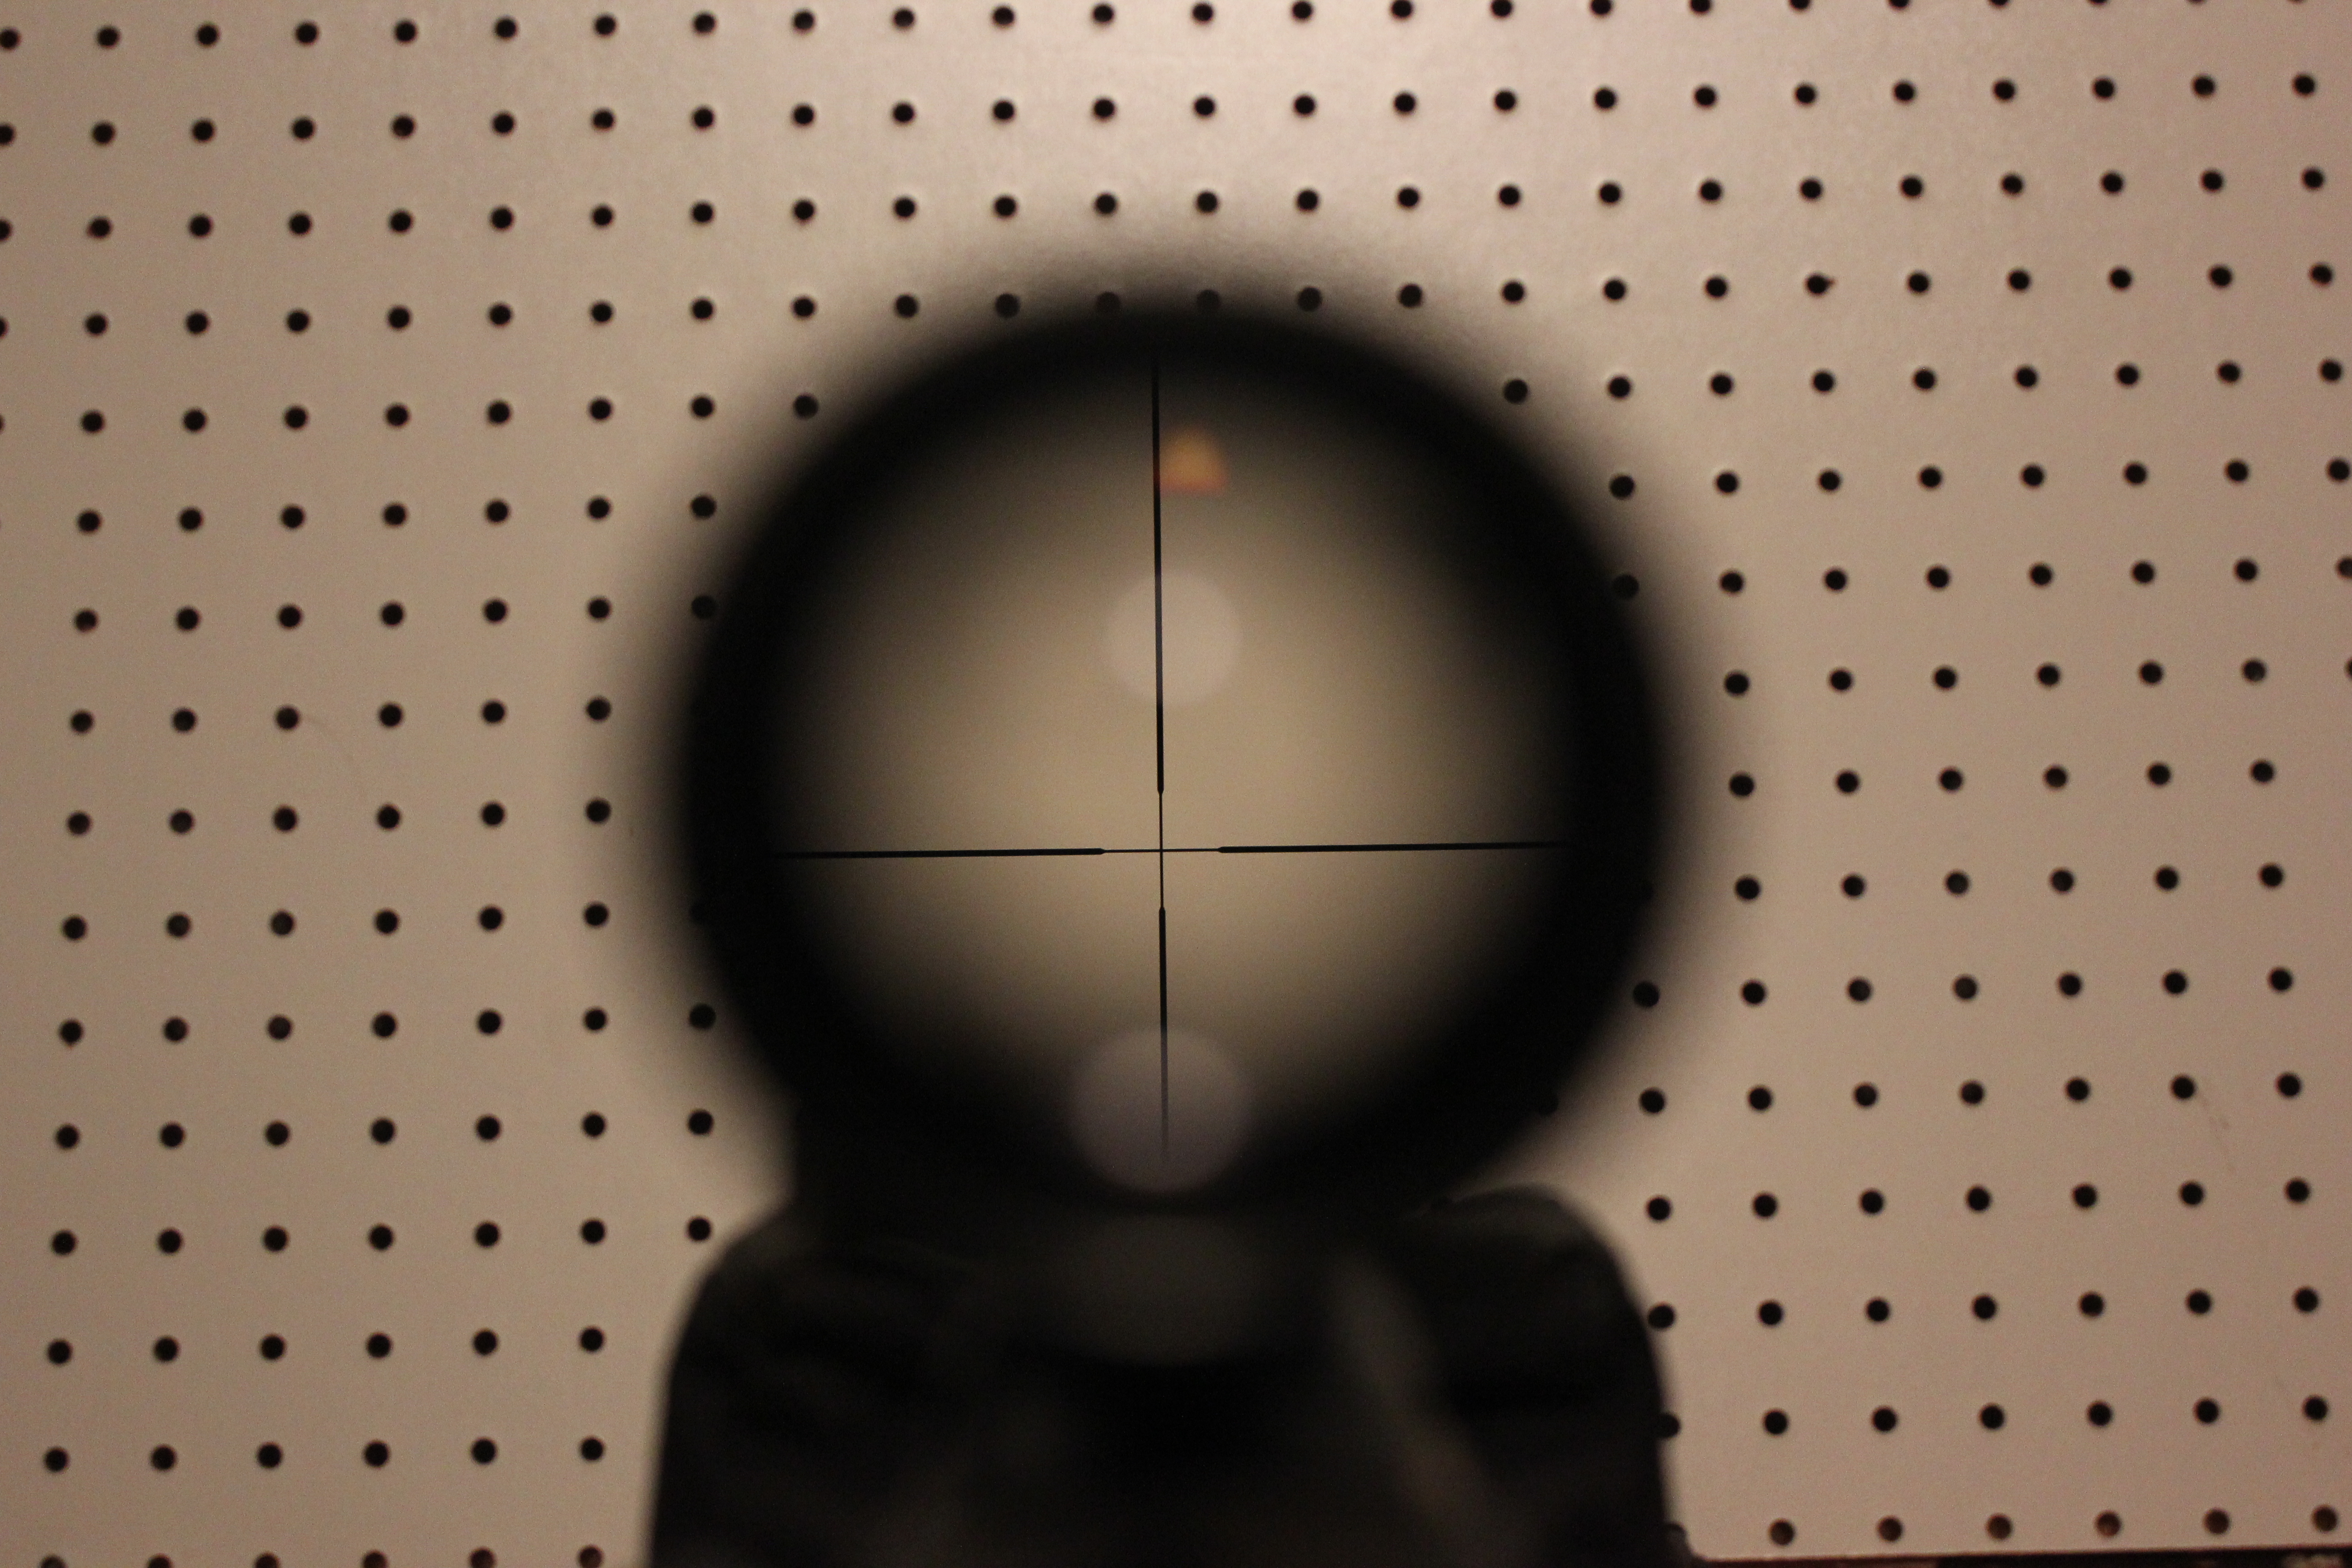
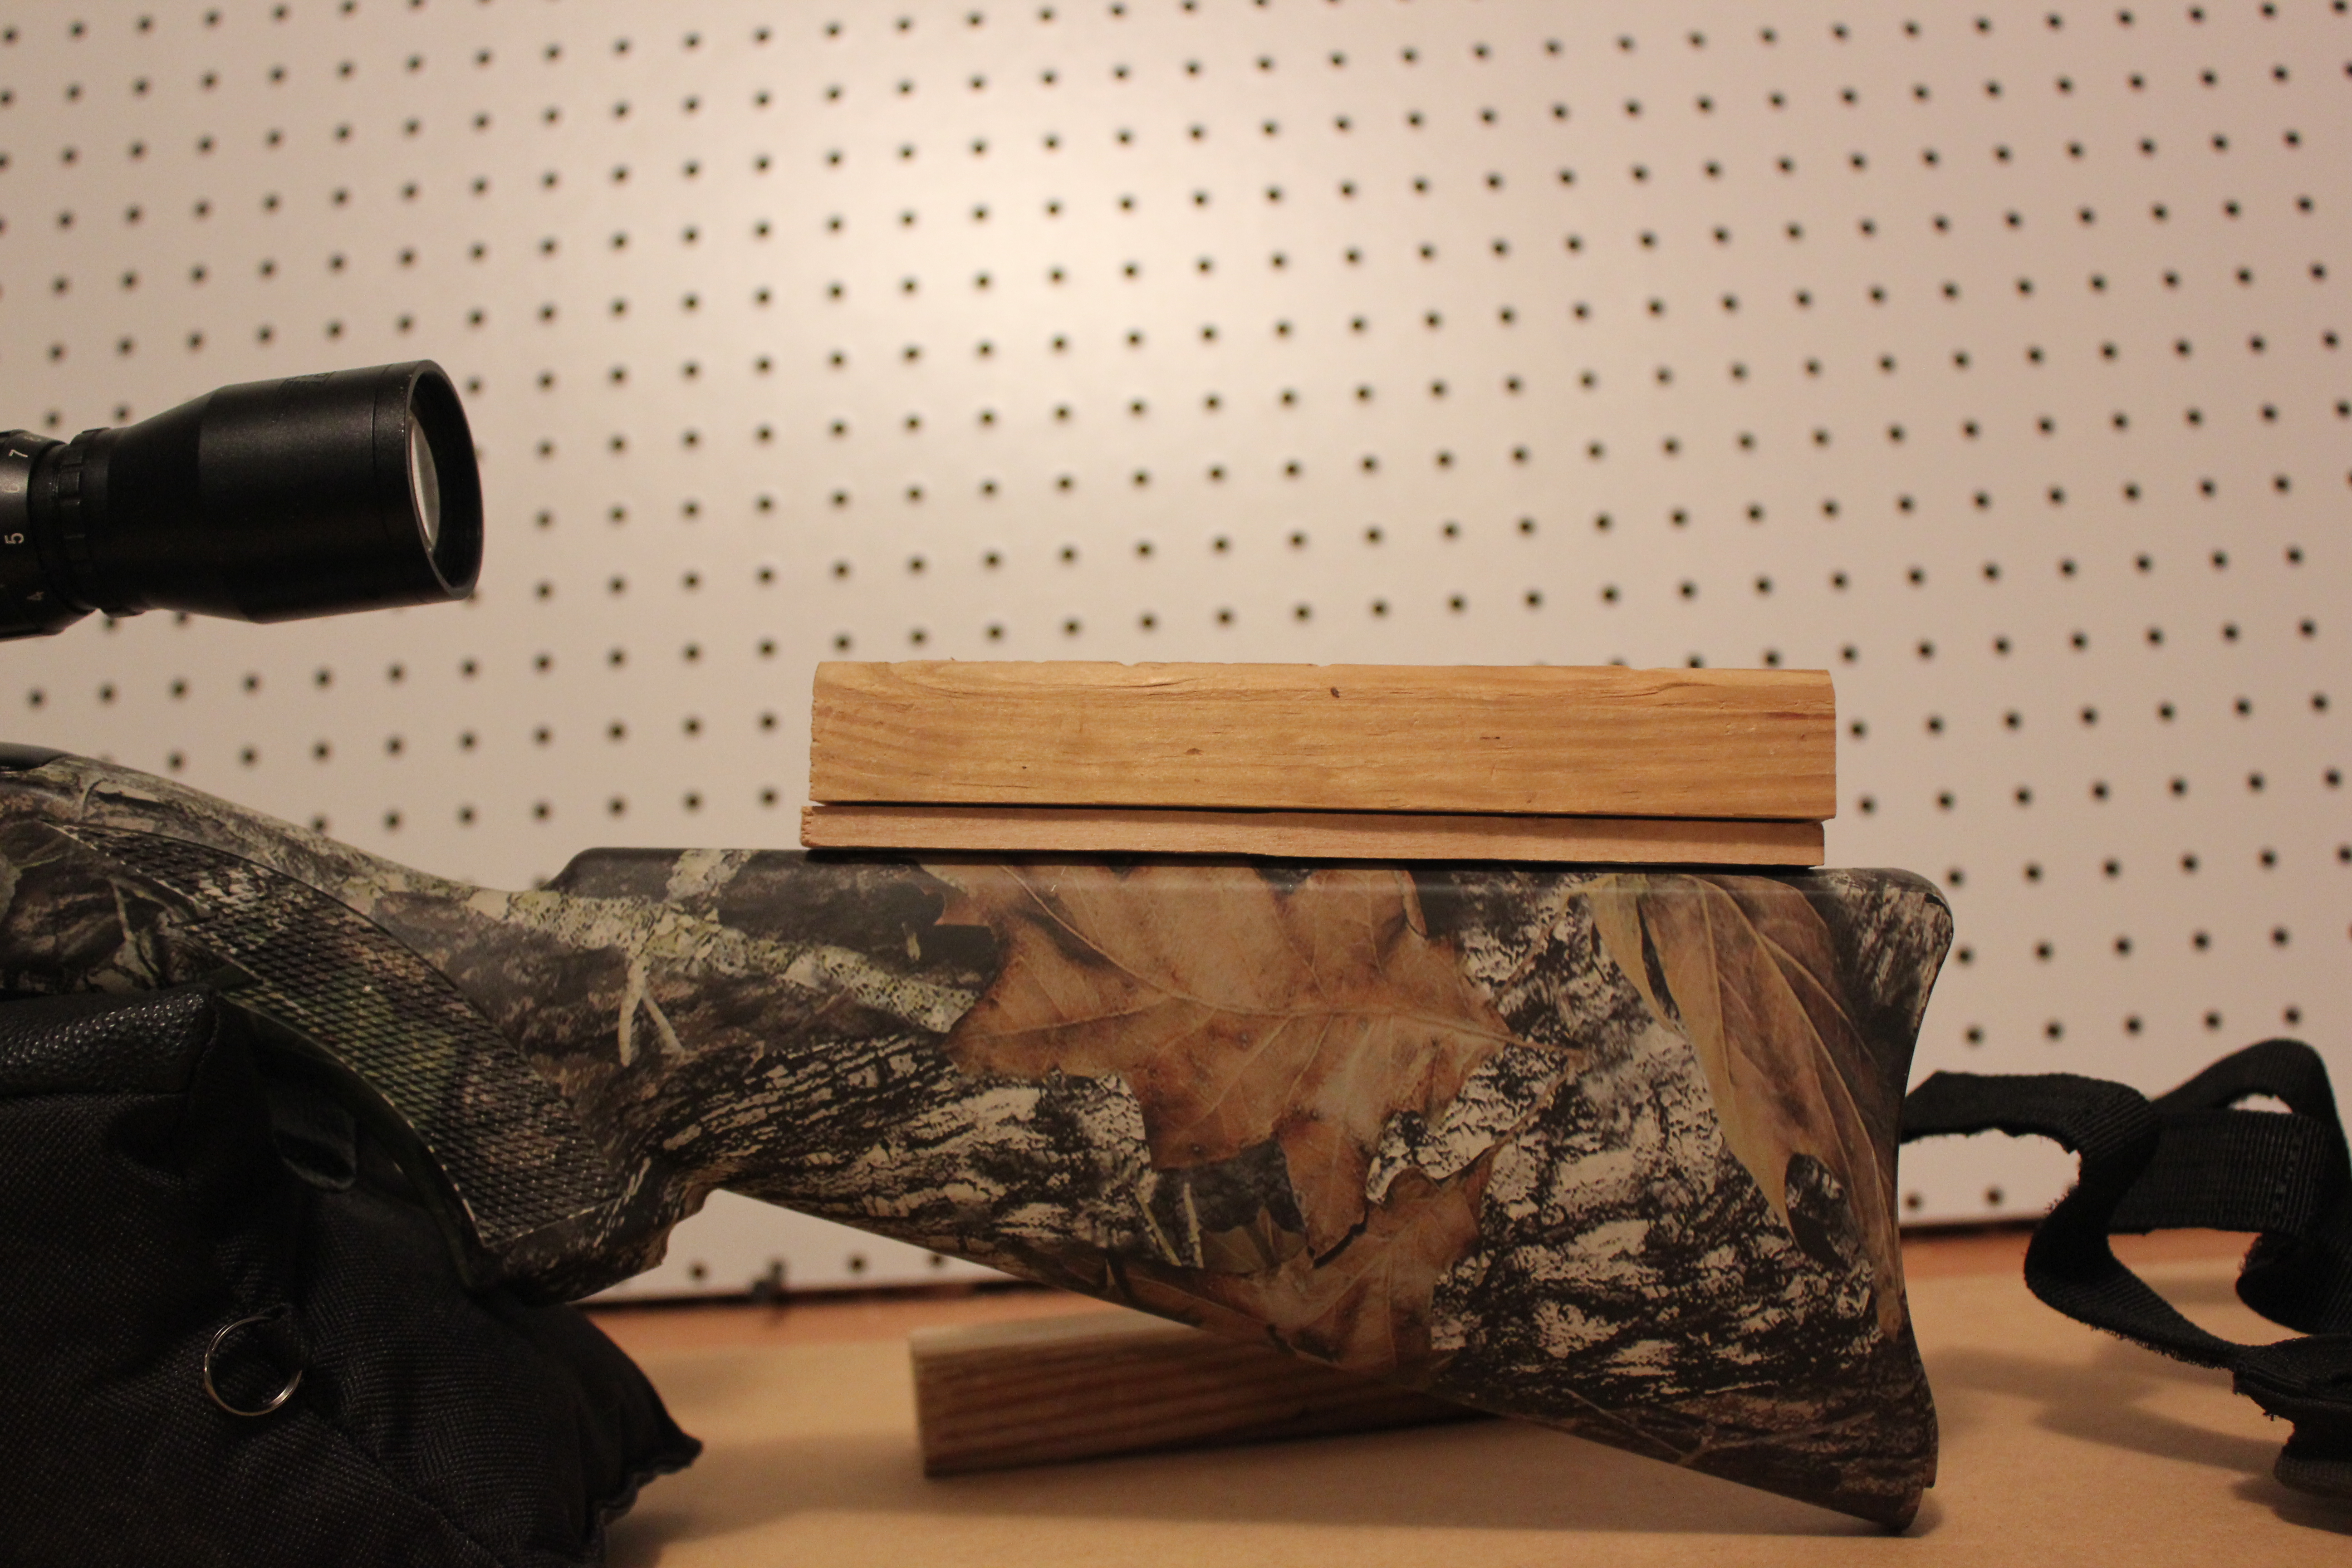
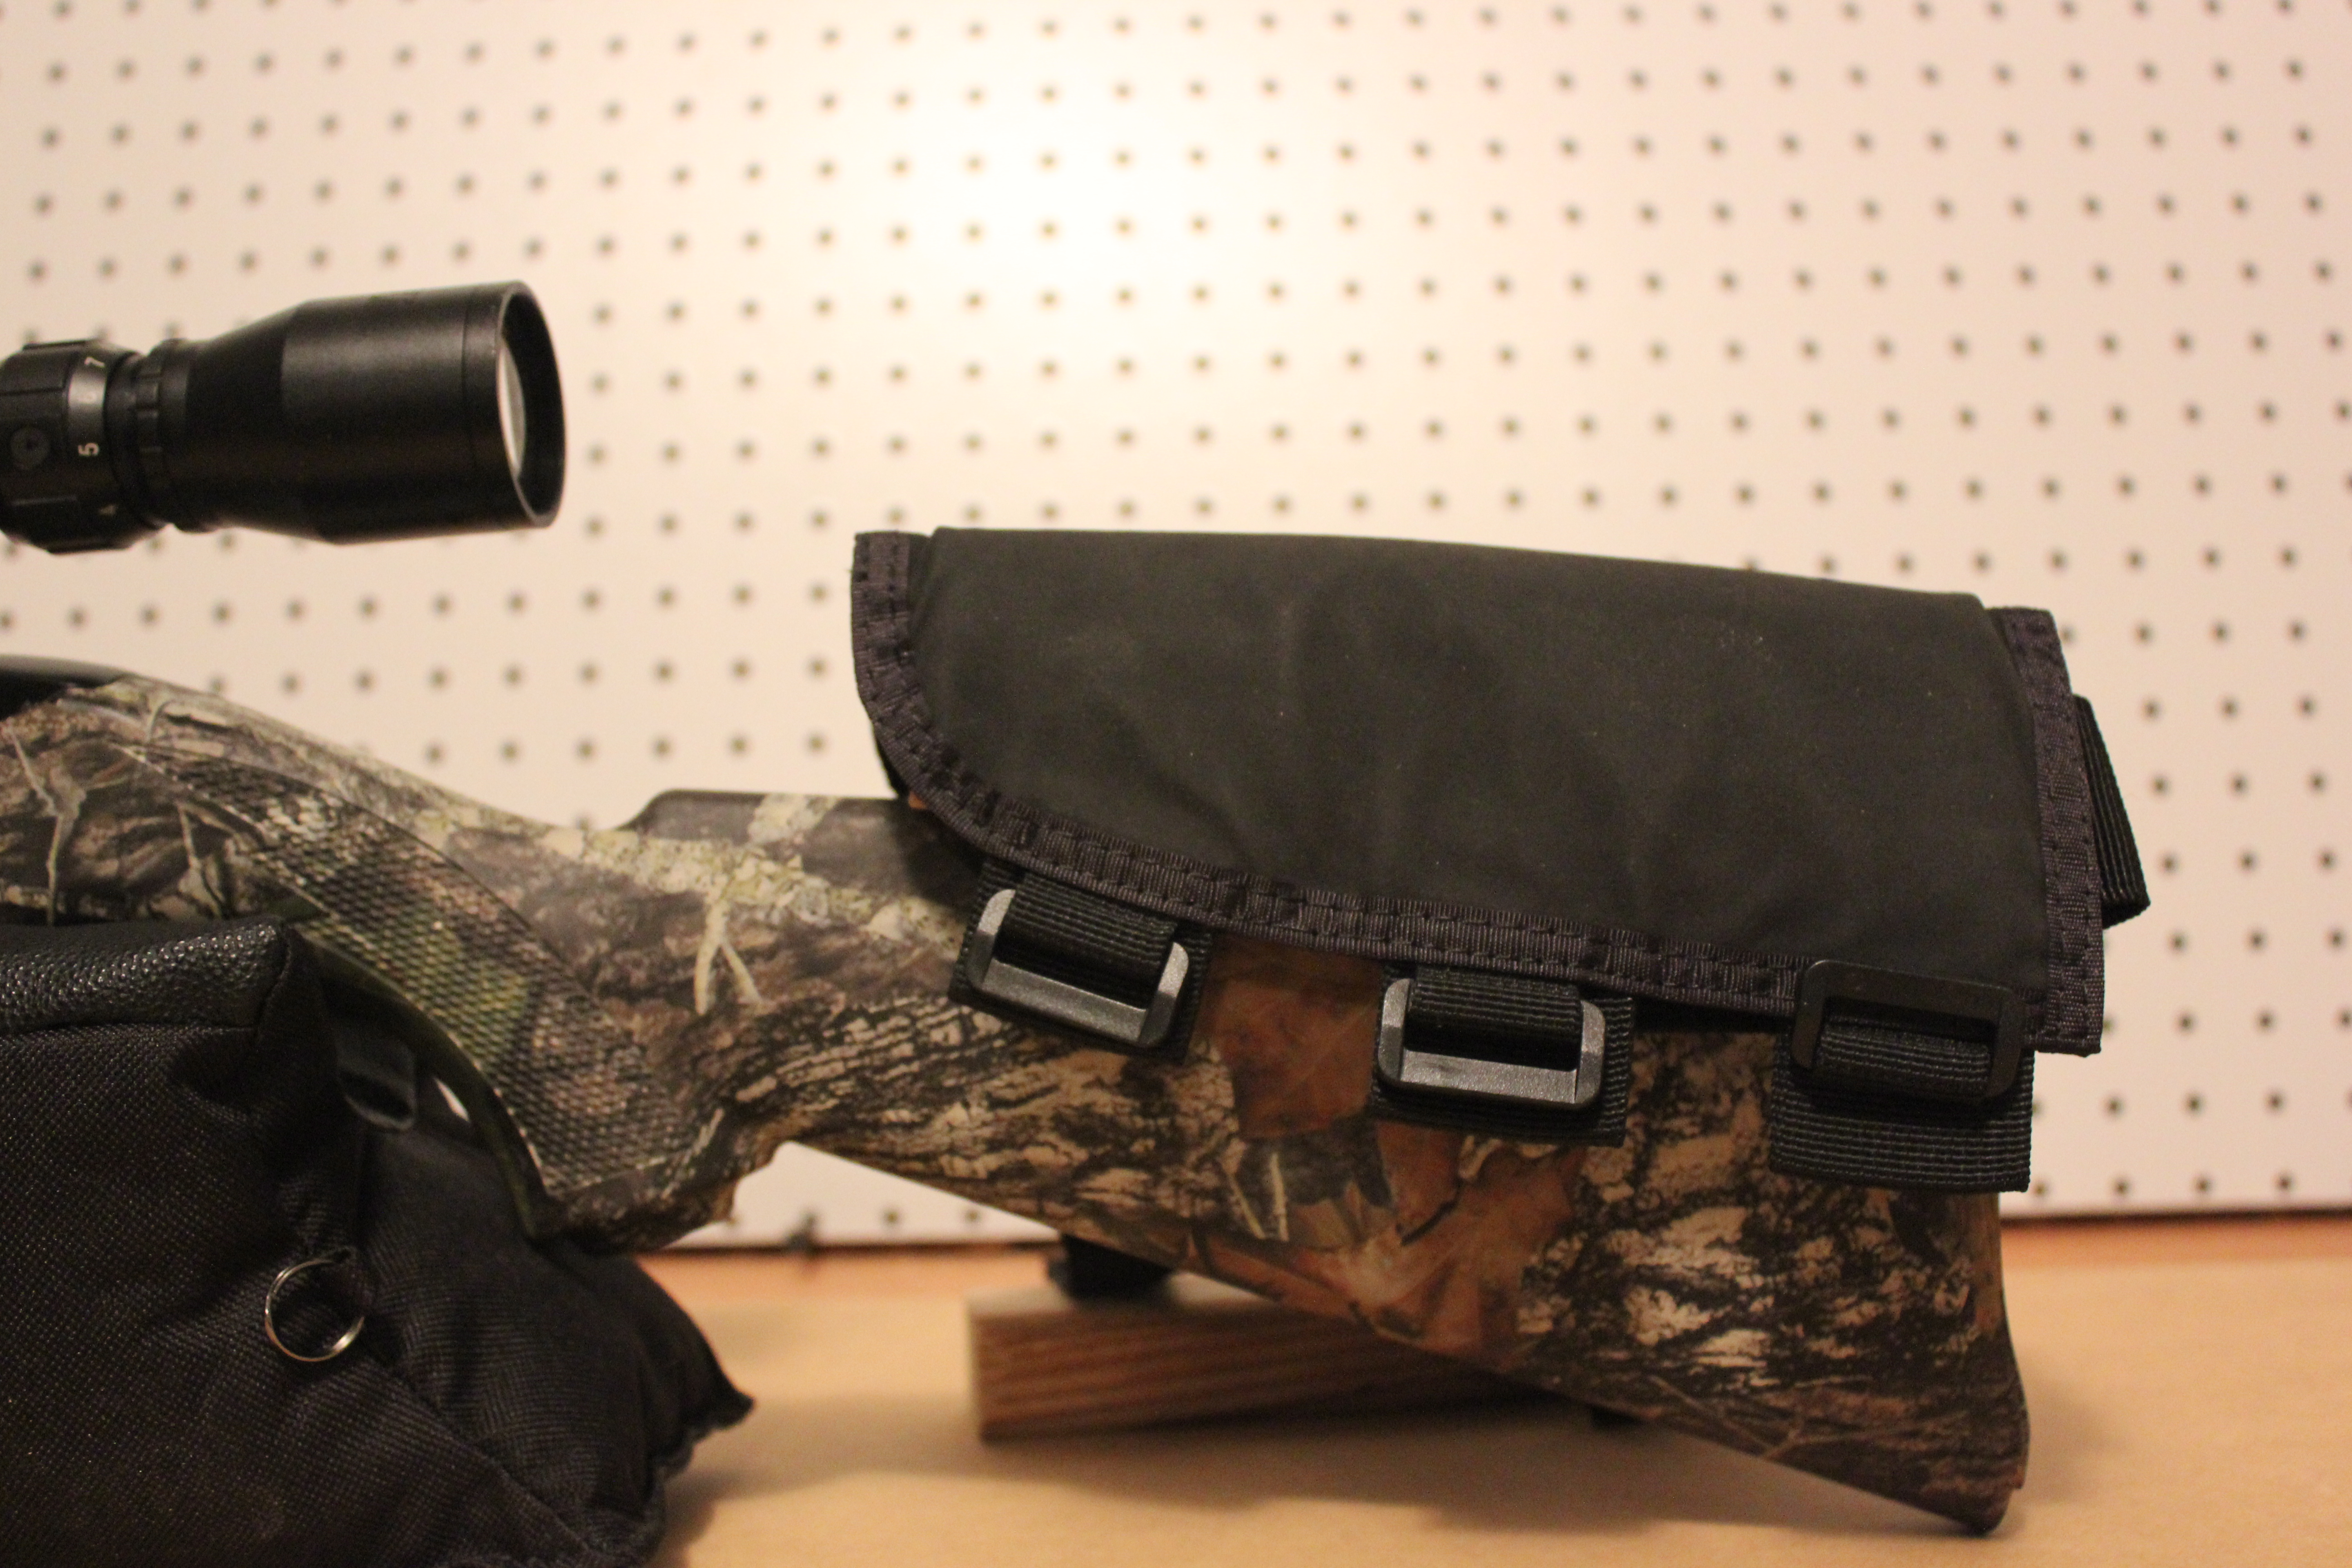
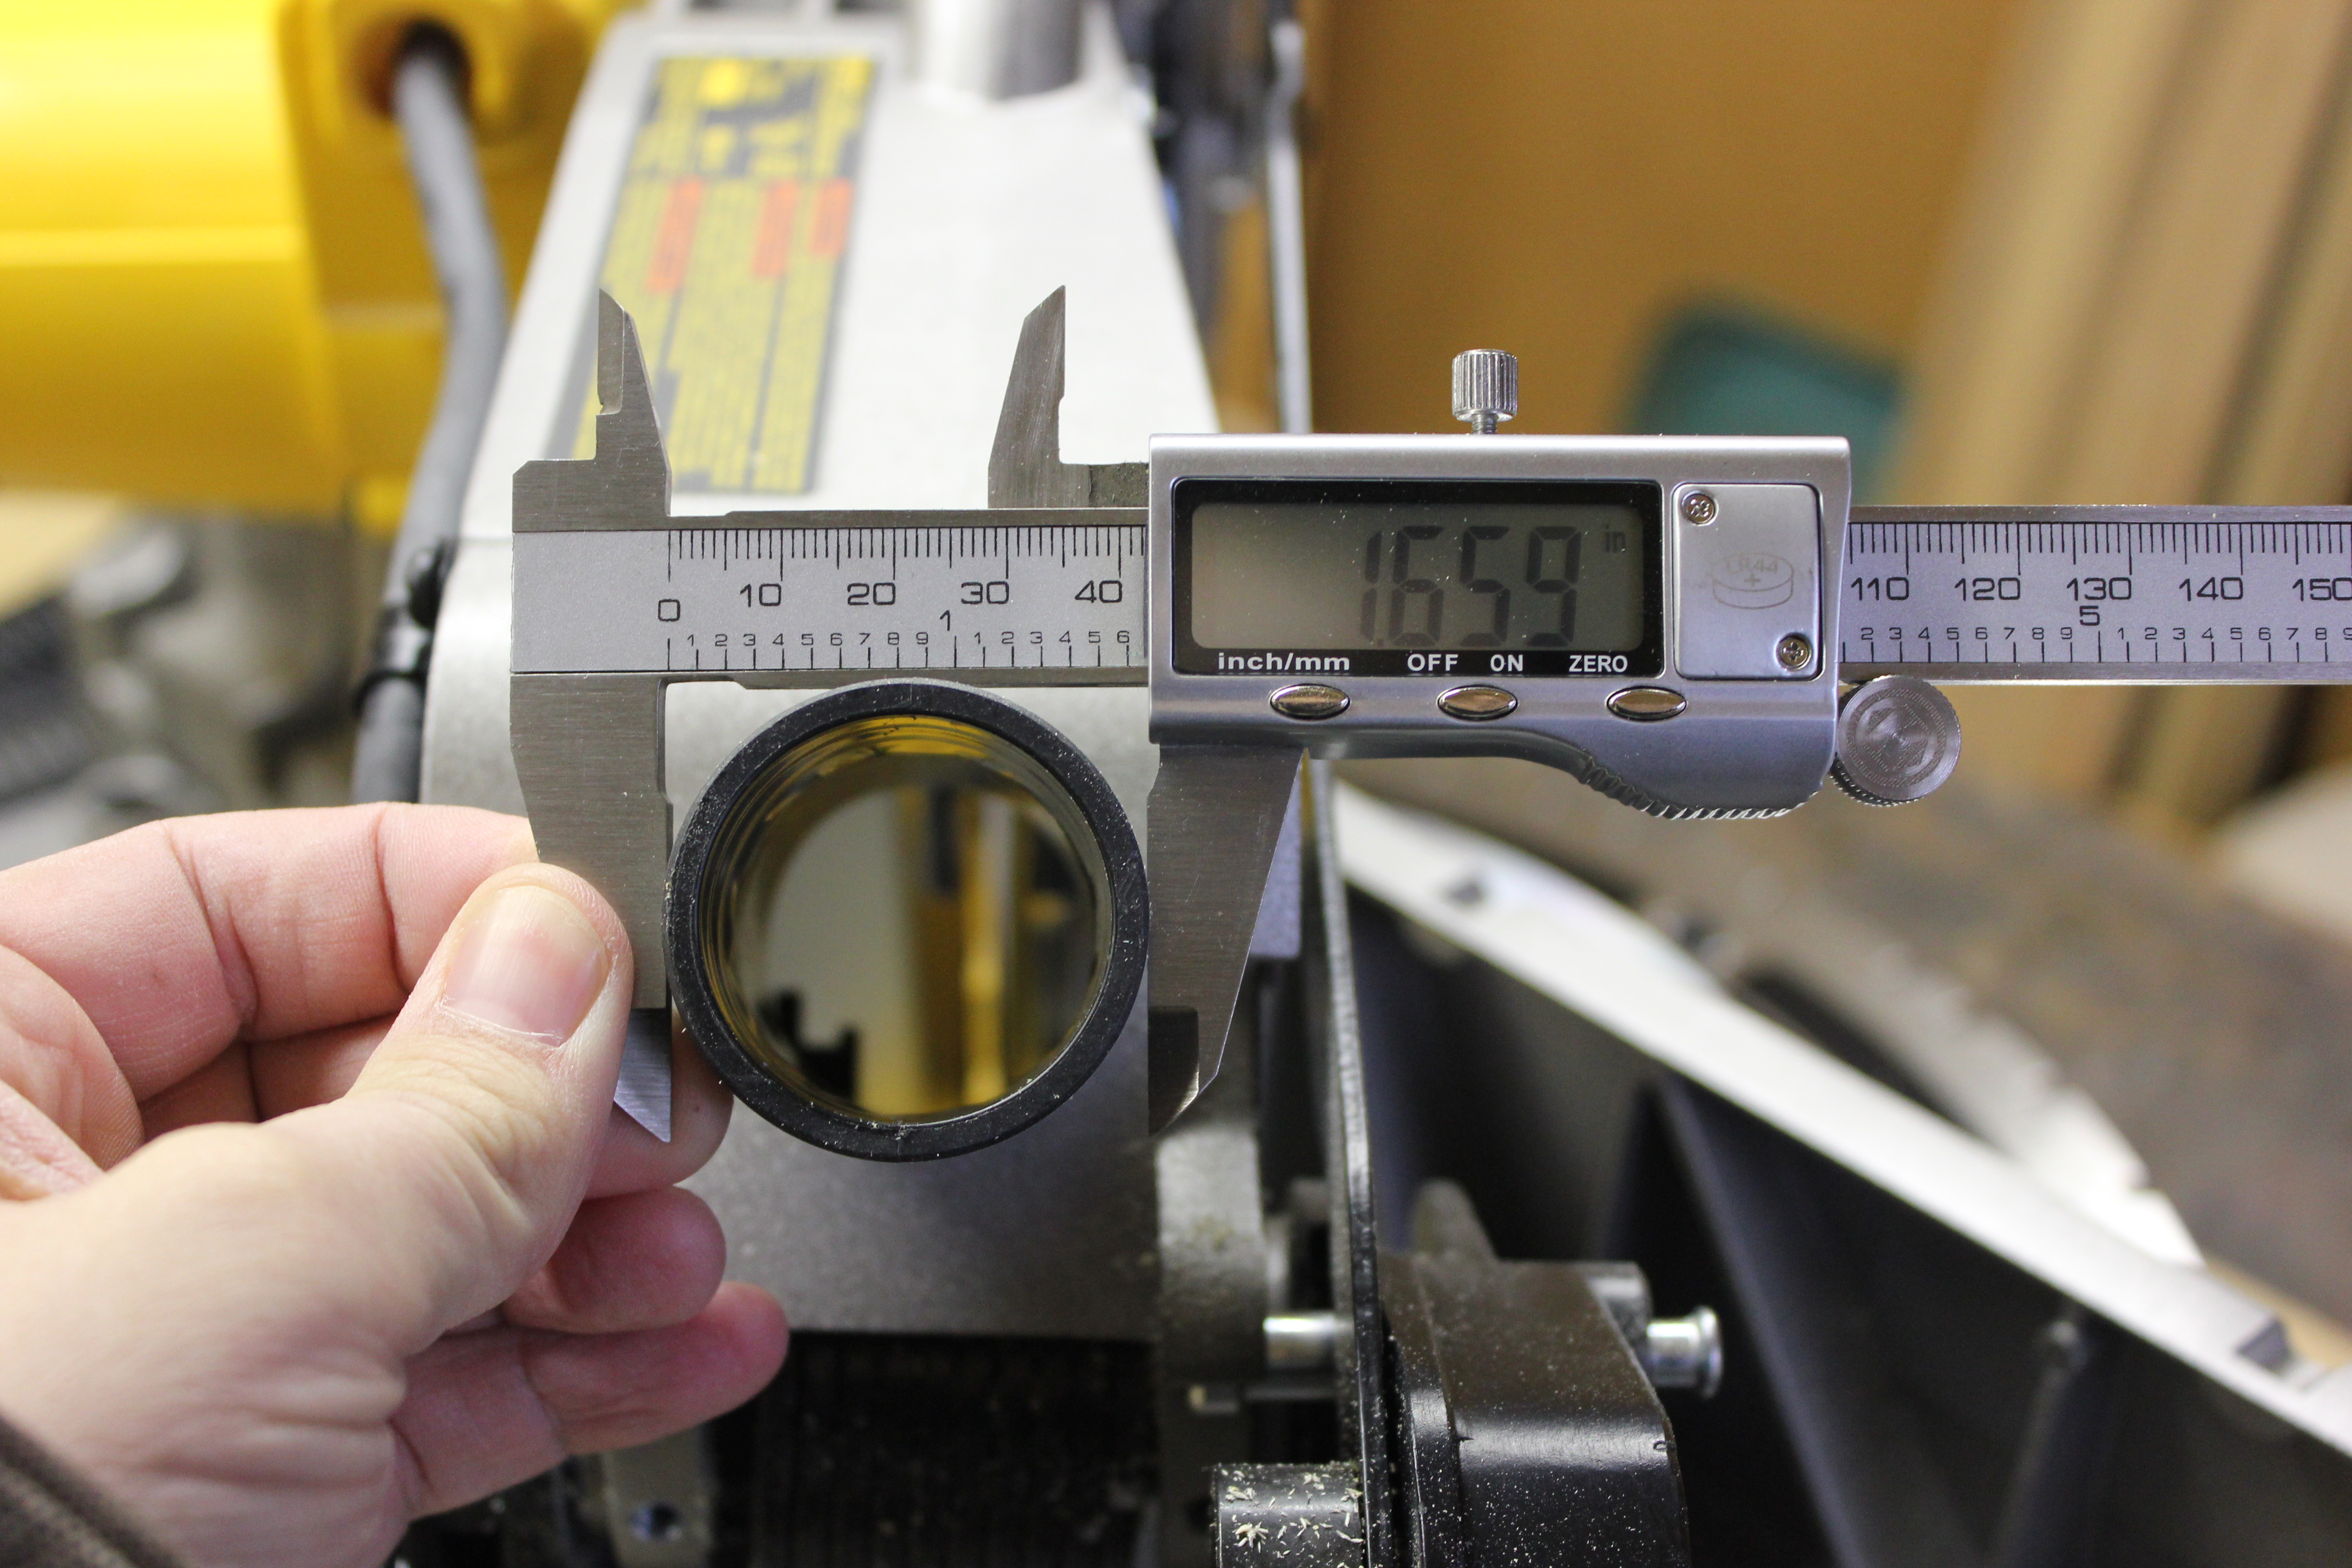
    Now, when mounting a scope the idea is to get it as low as possible. With a 50mm objective that’s still going to be pretty high. The idea was to take the Warne rings, mount the scope, take some measurements, and then order some lower rings. When I mounted it all up, I got this:

    IMG_4053

    Ignore that there’s only one ring.

    IMG_4055

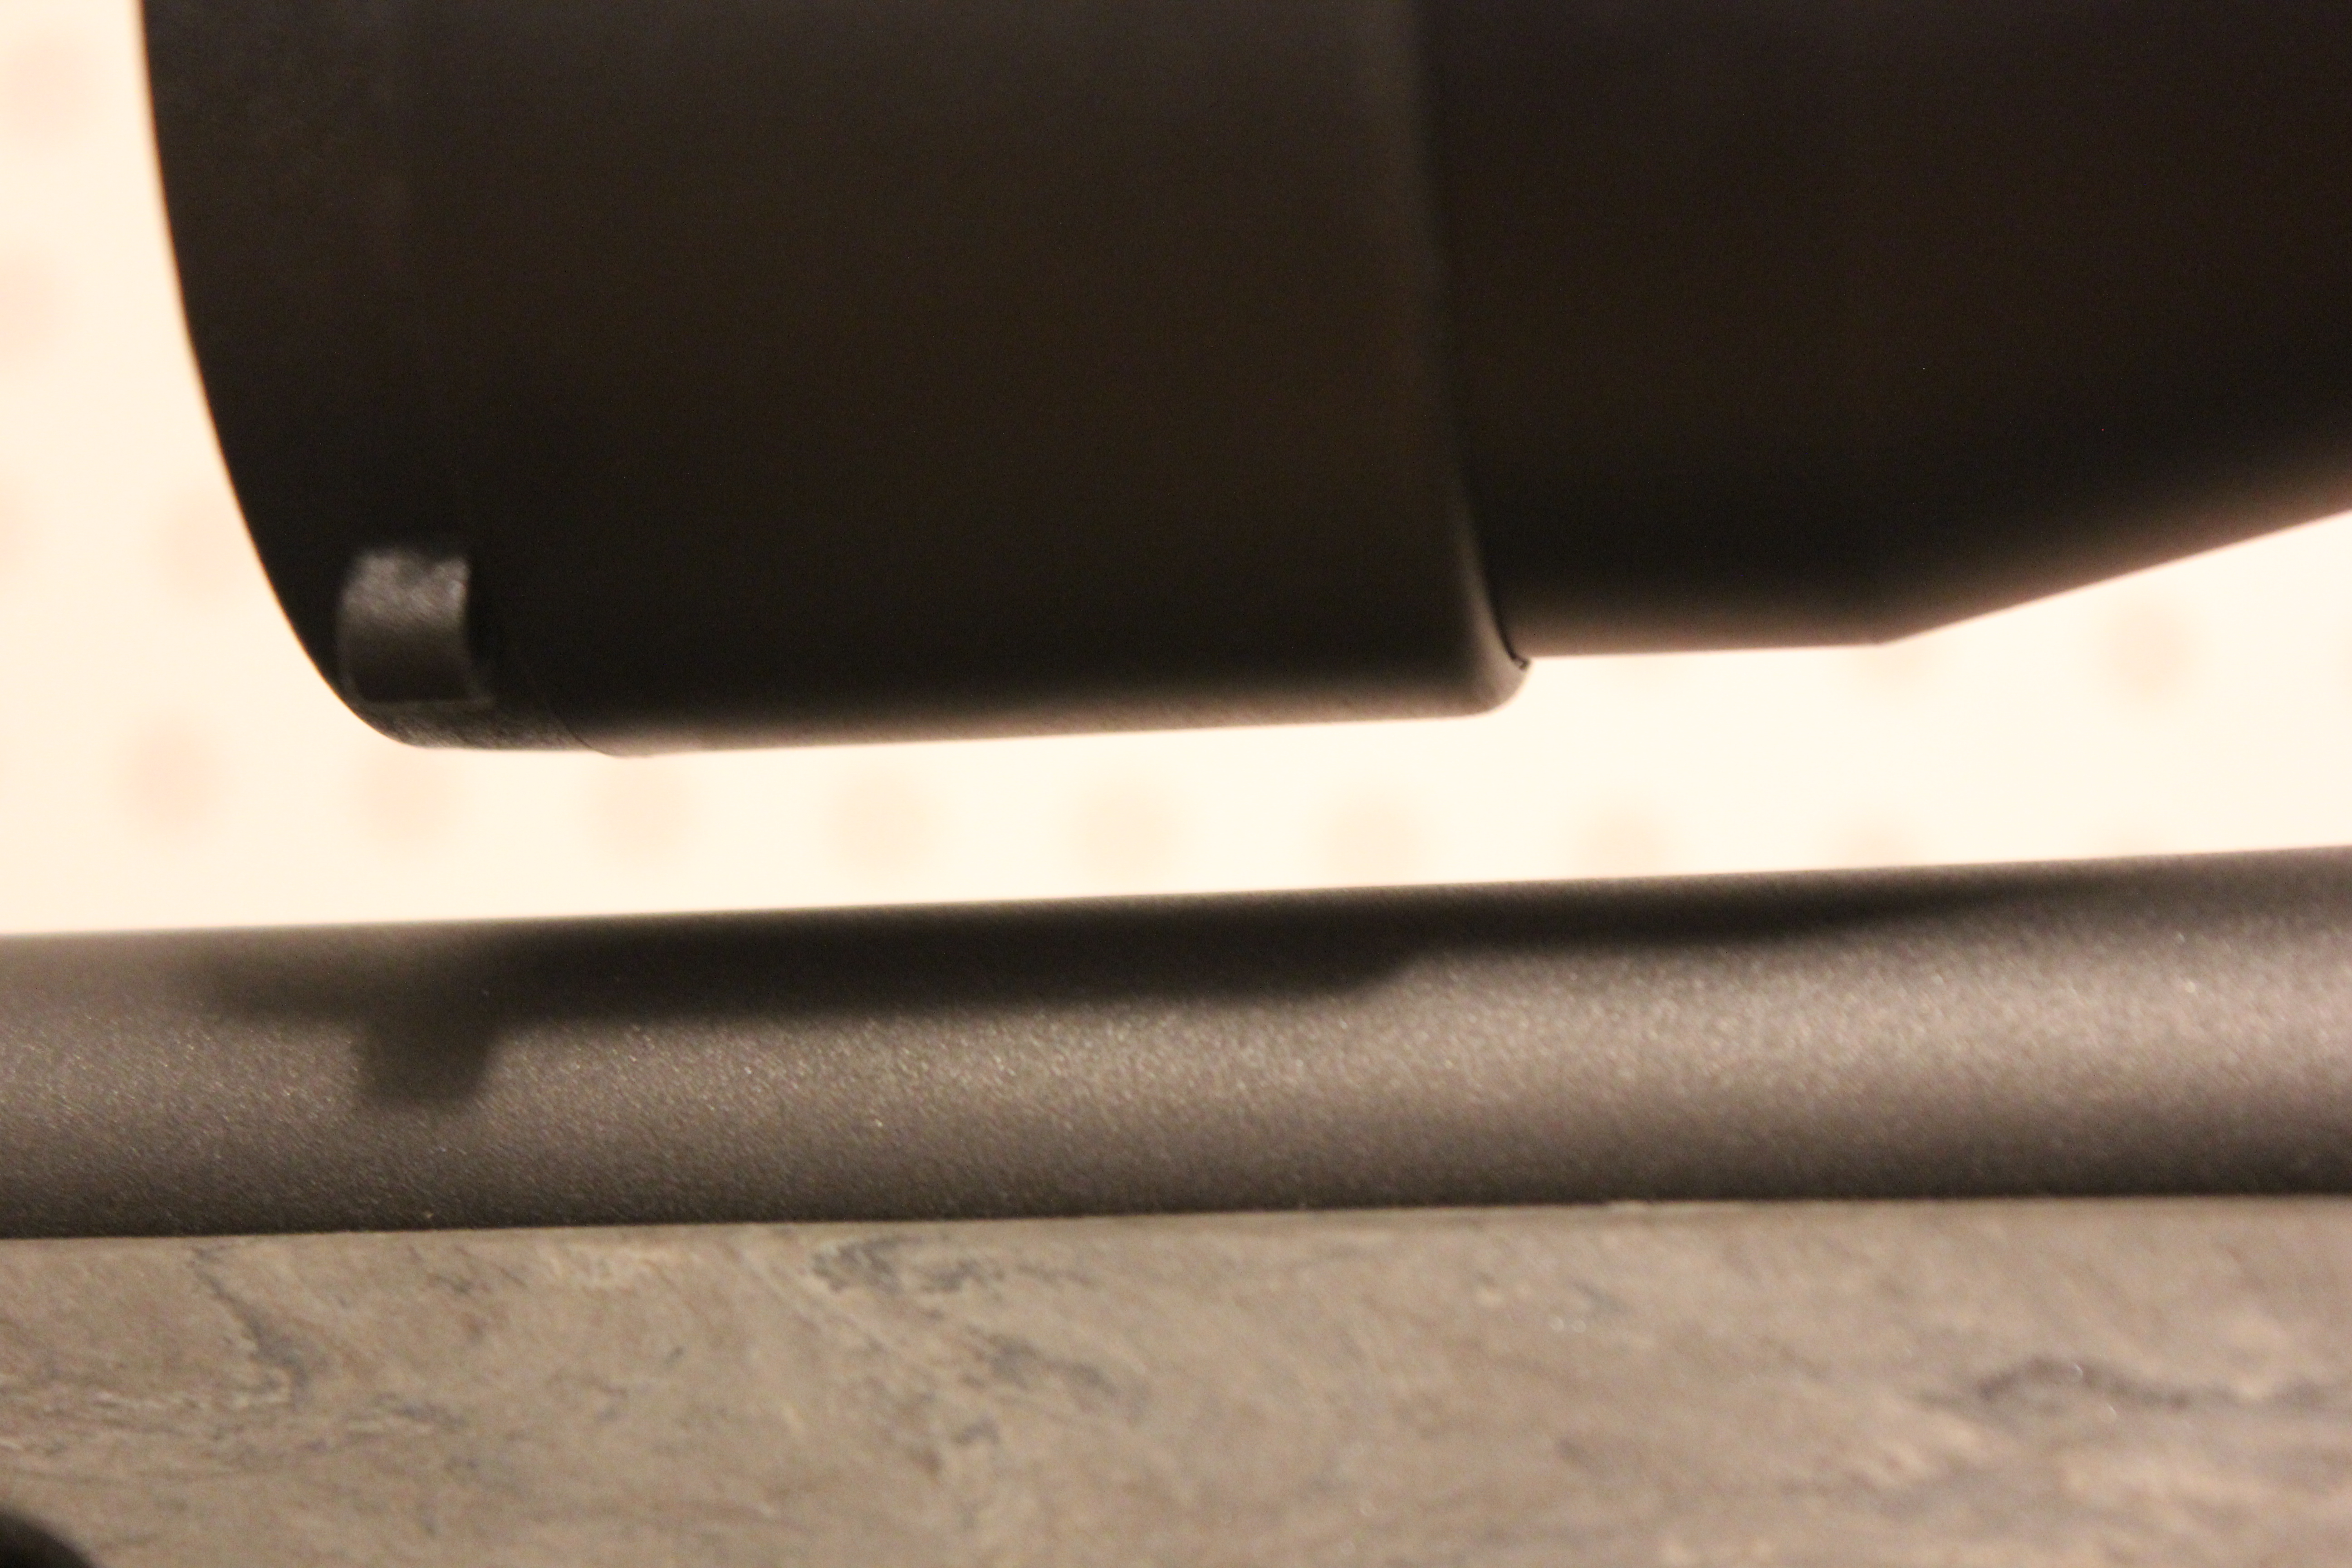
    The distance between the bell and the barrel is about 6mm.

    IMG_4054

    But the distance between the rail and the magnification ring is, well, the ring actually sits lower than the rail. That means that this is as far forward as the scope can go with these rings. I didn’t think that was going to be a problem based on some measurements I took, but the first time I fired the gun i got scope to the forehead. More on that at a later date.

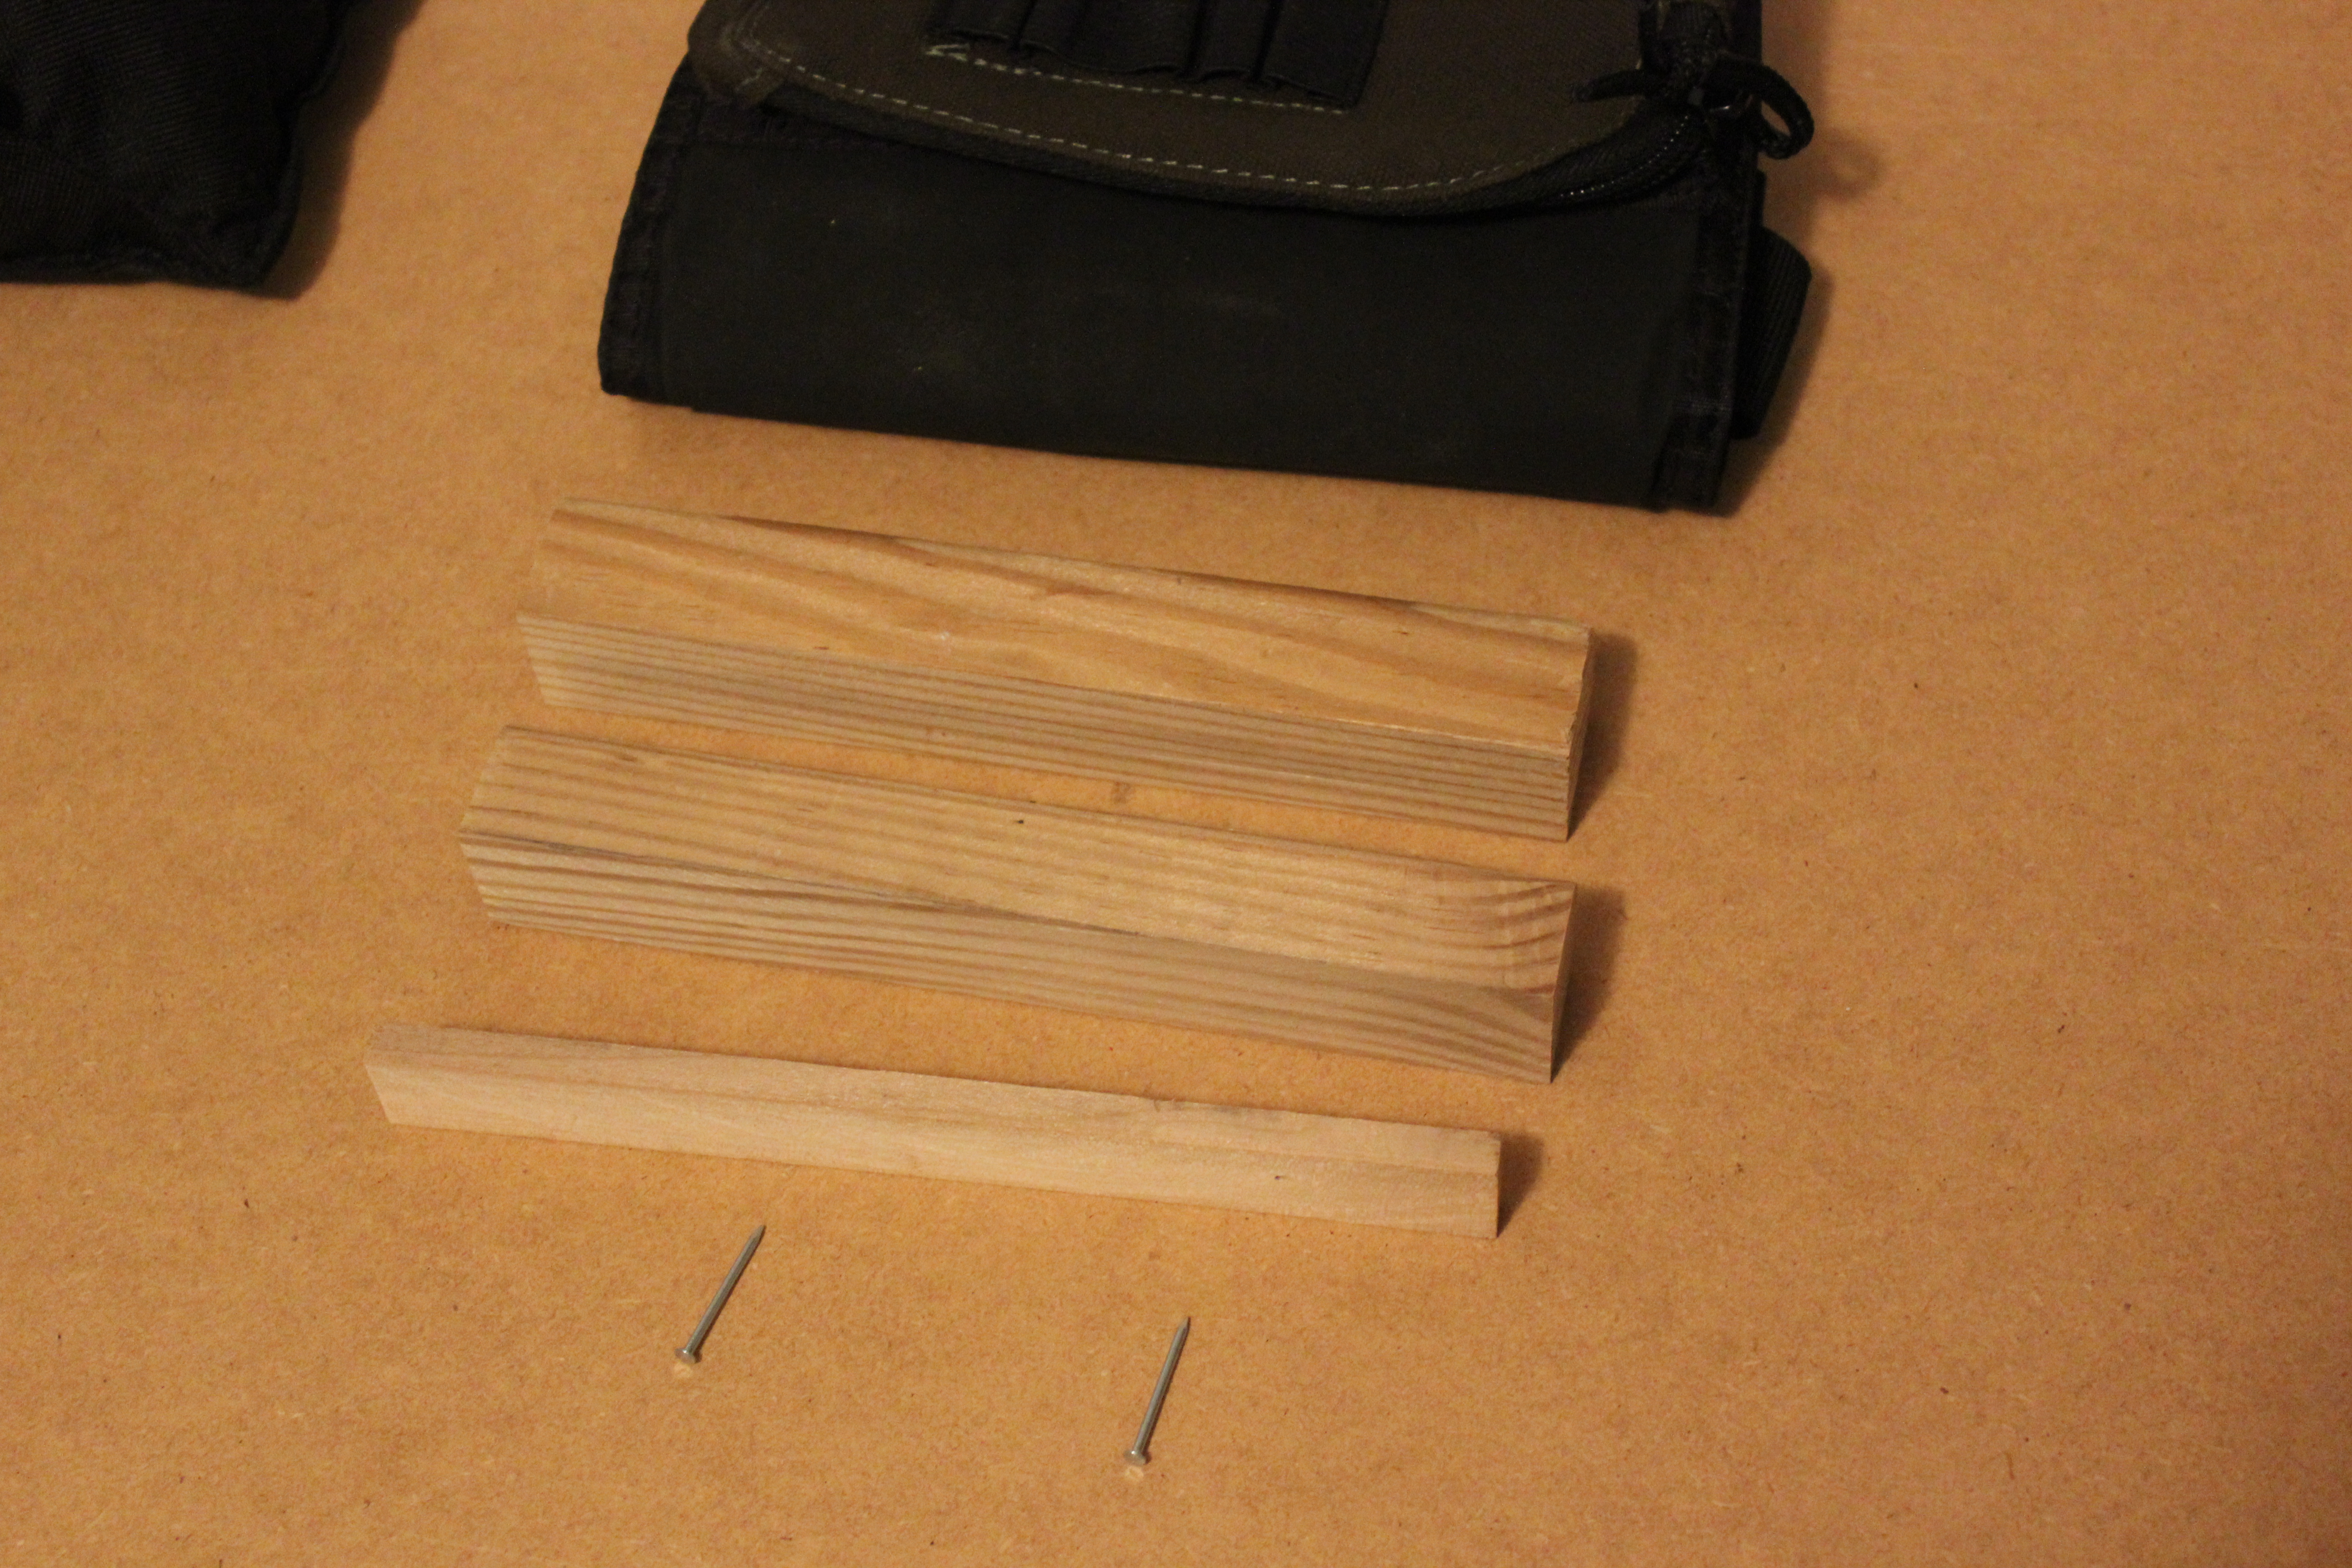
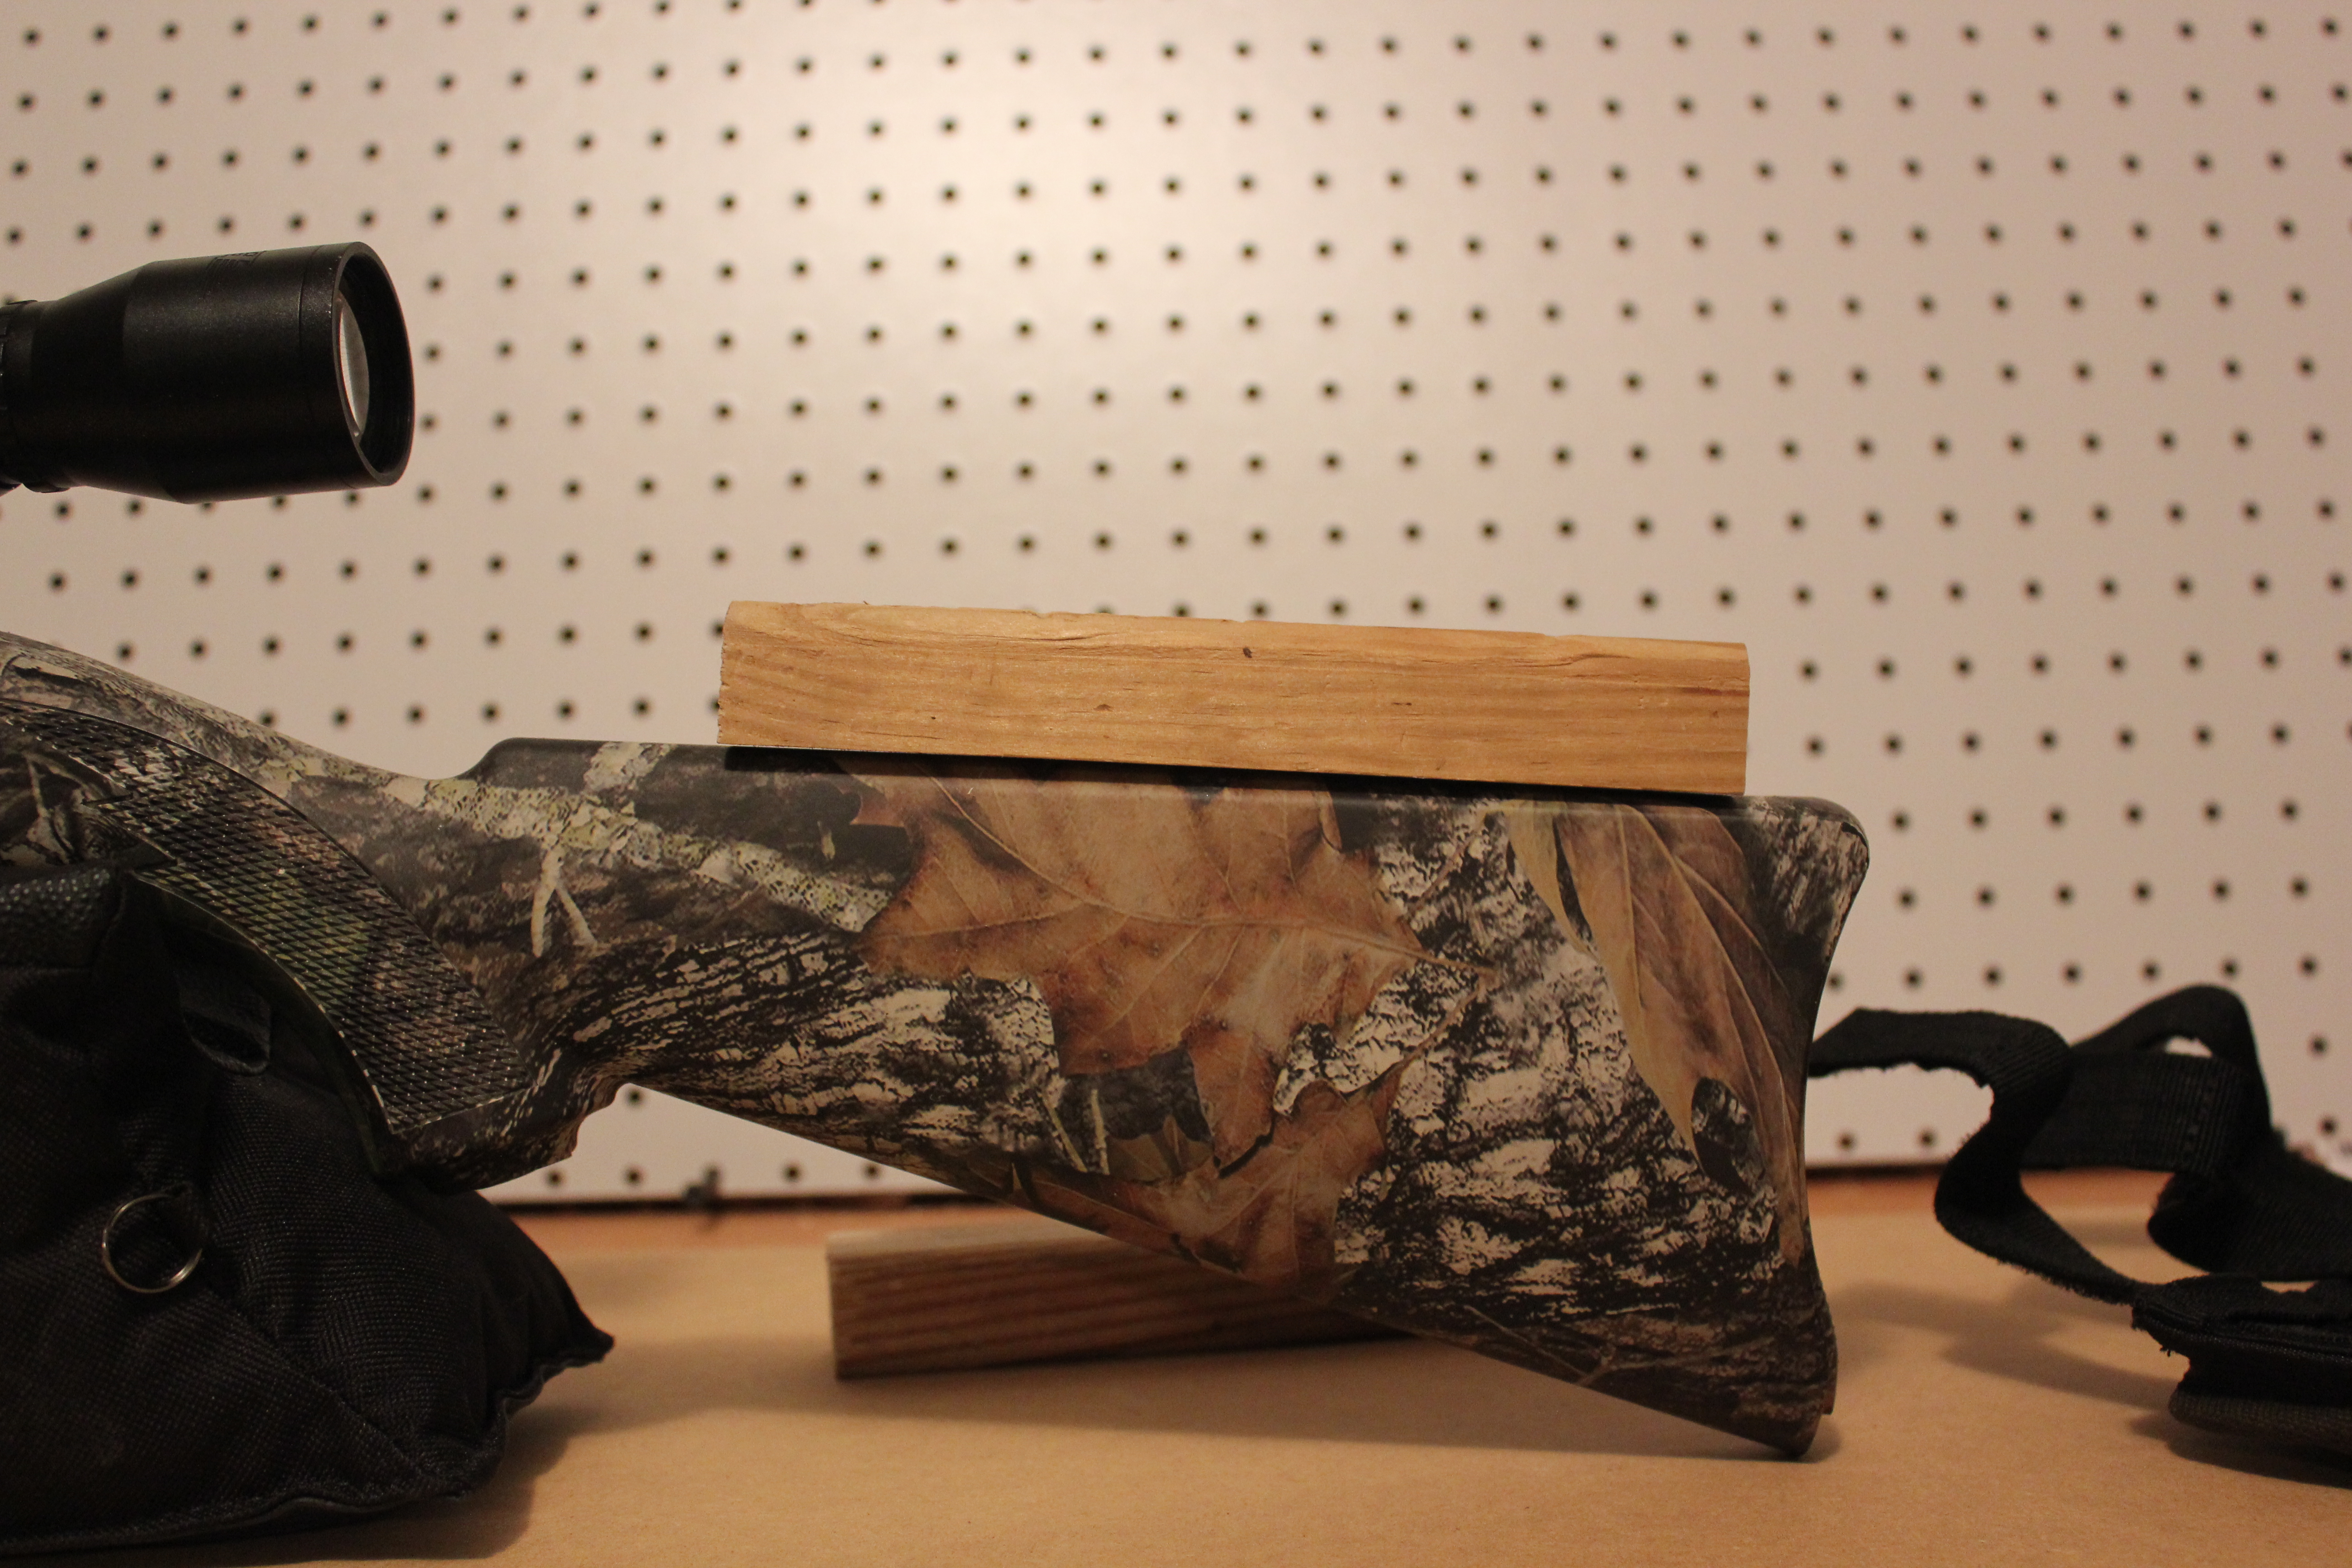
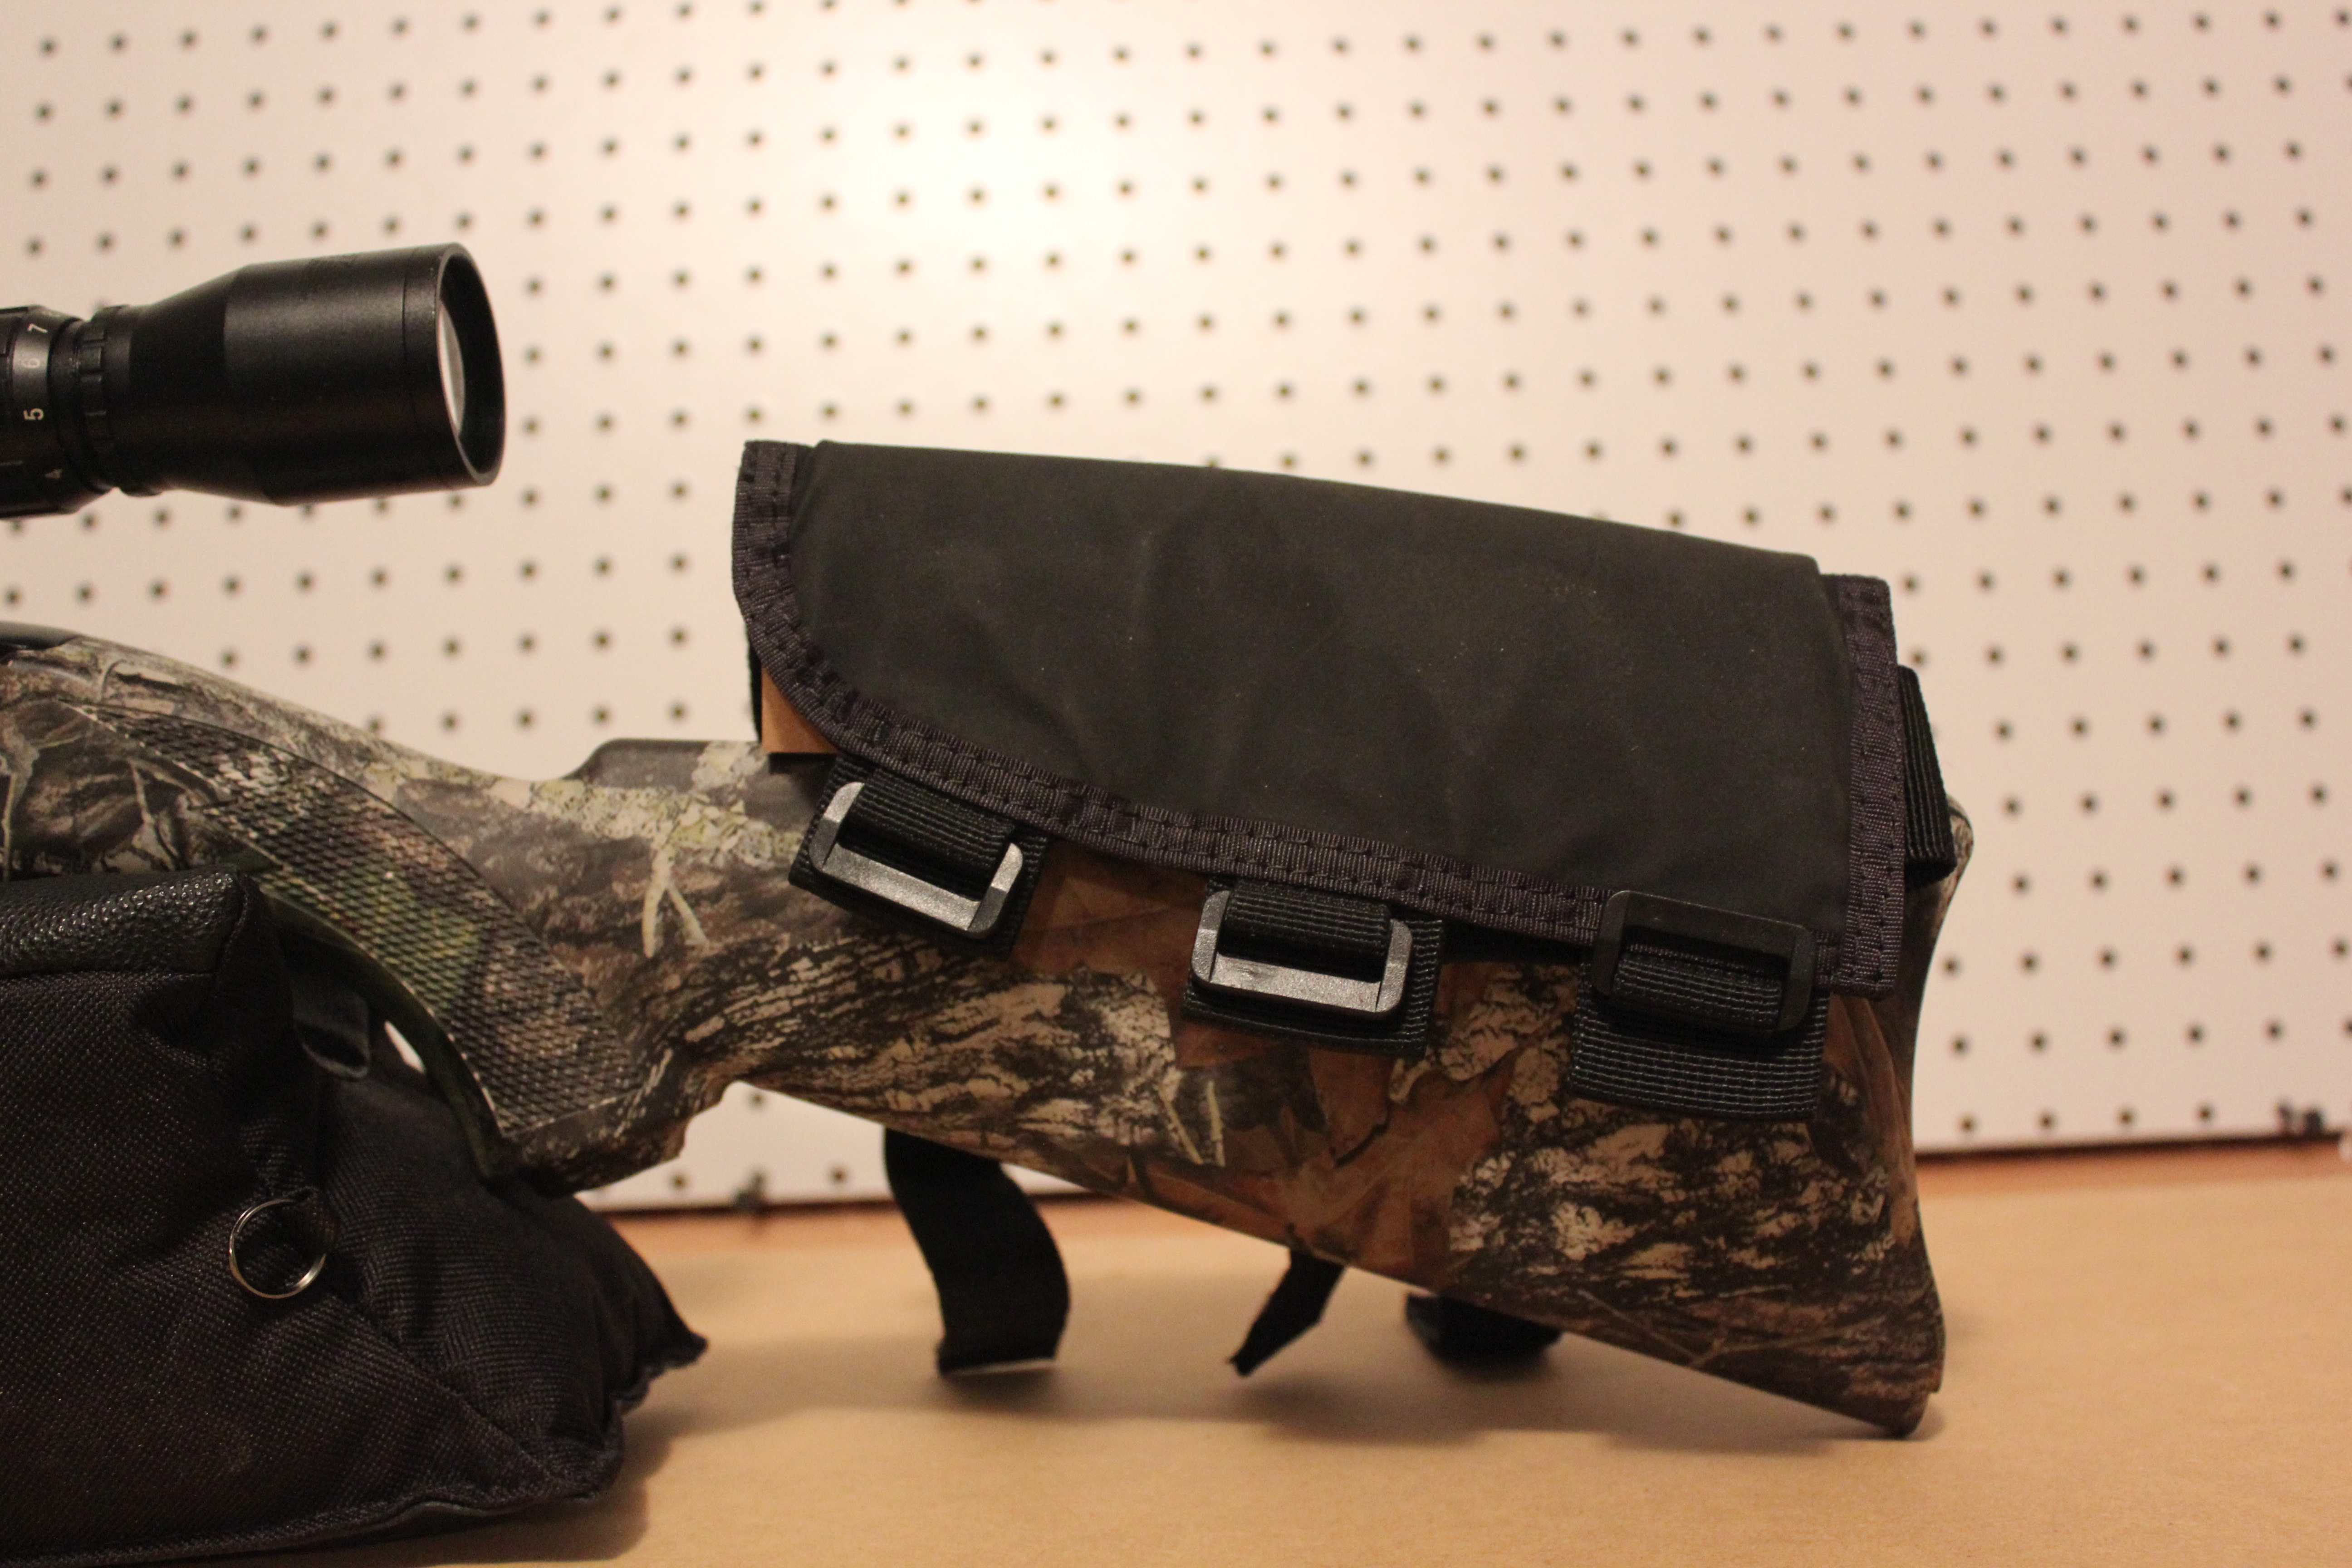
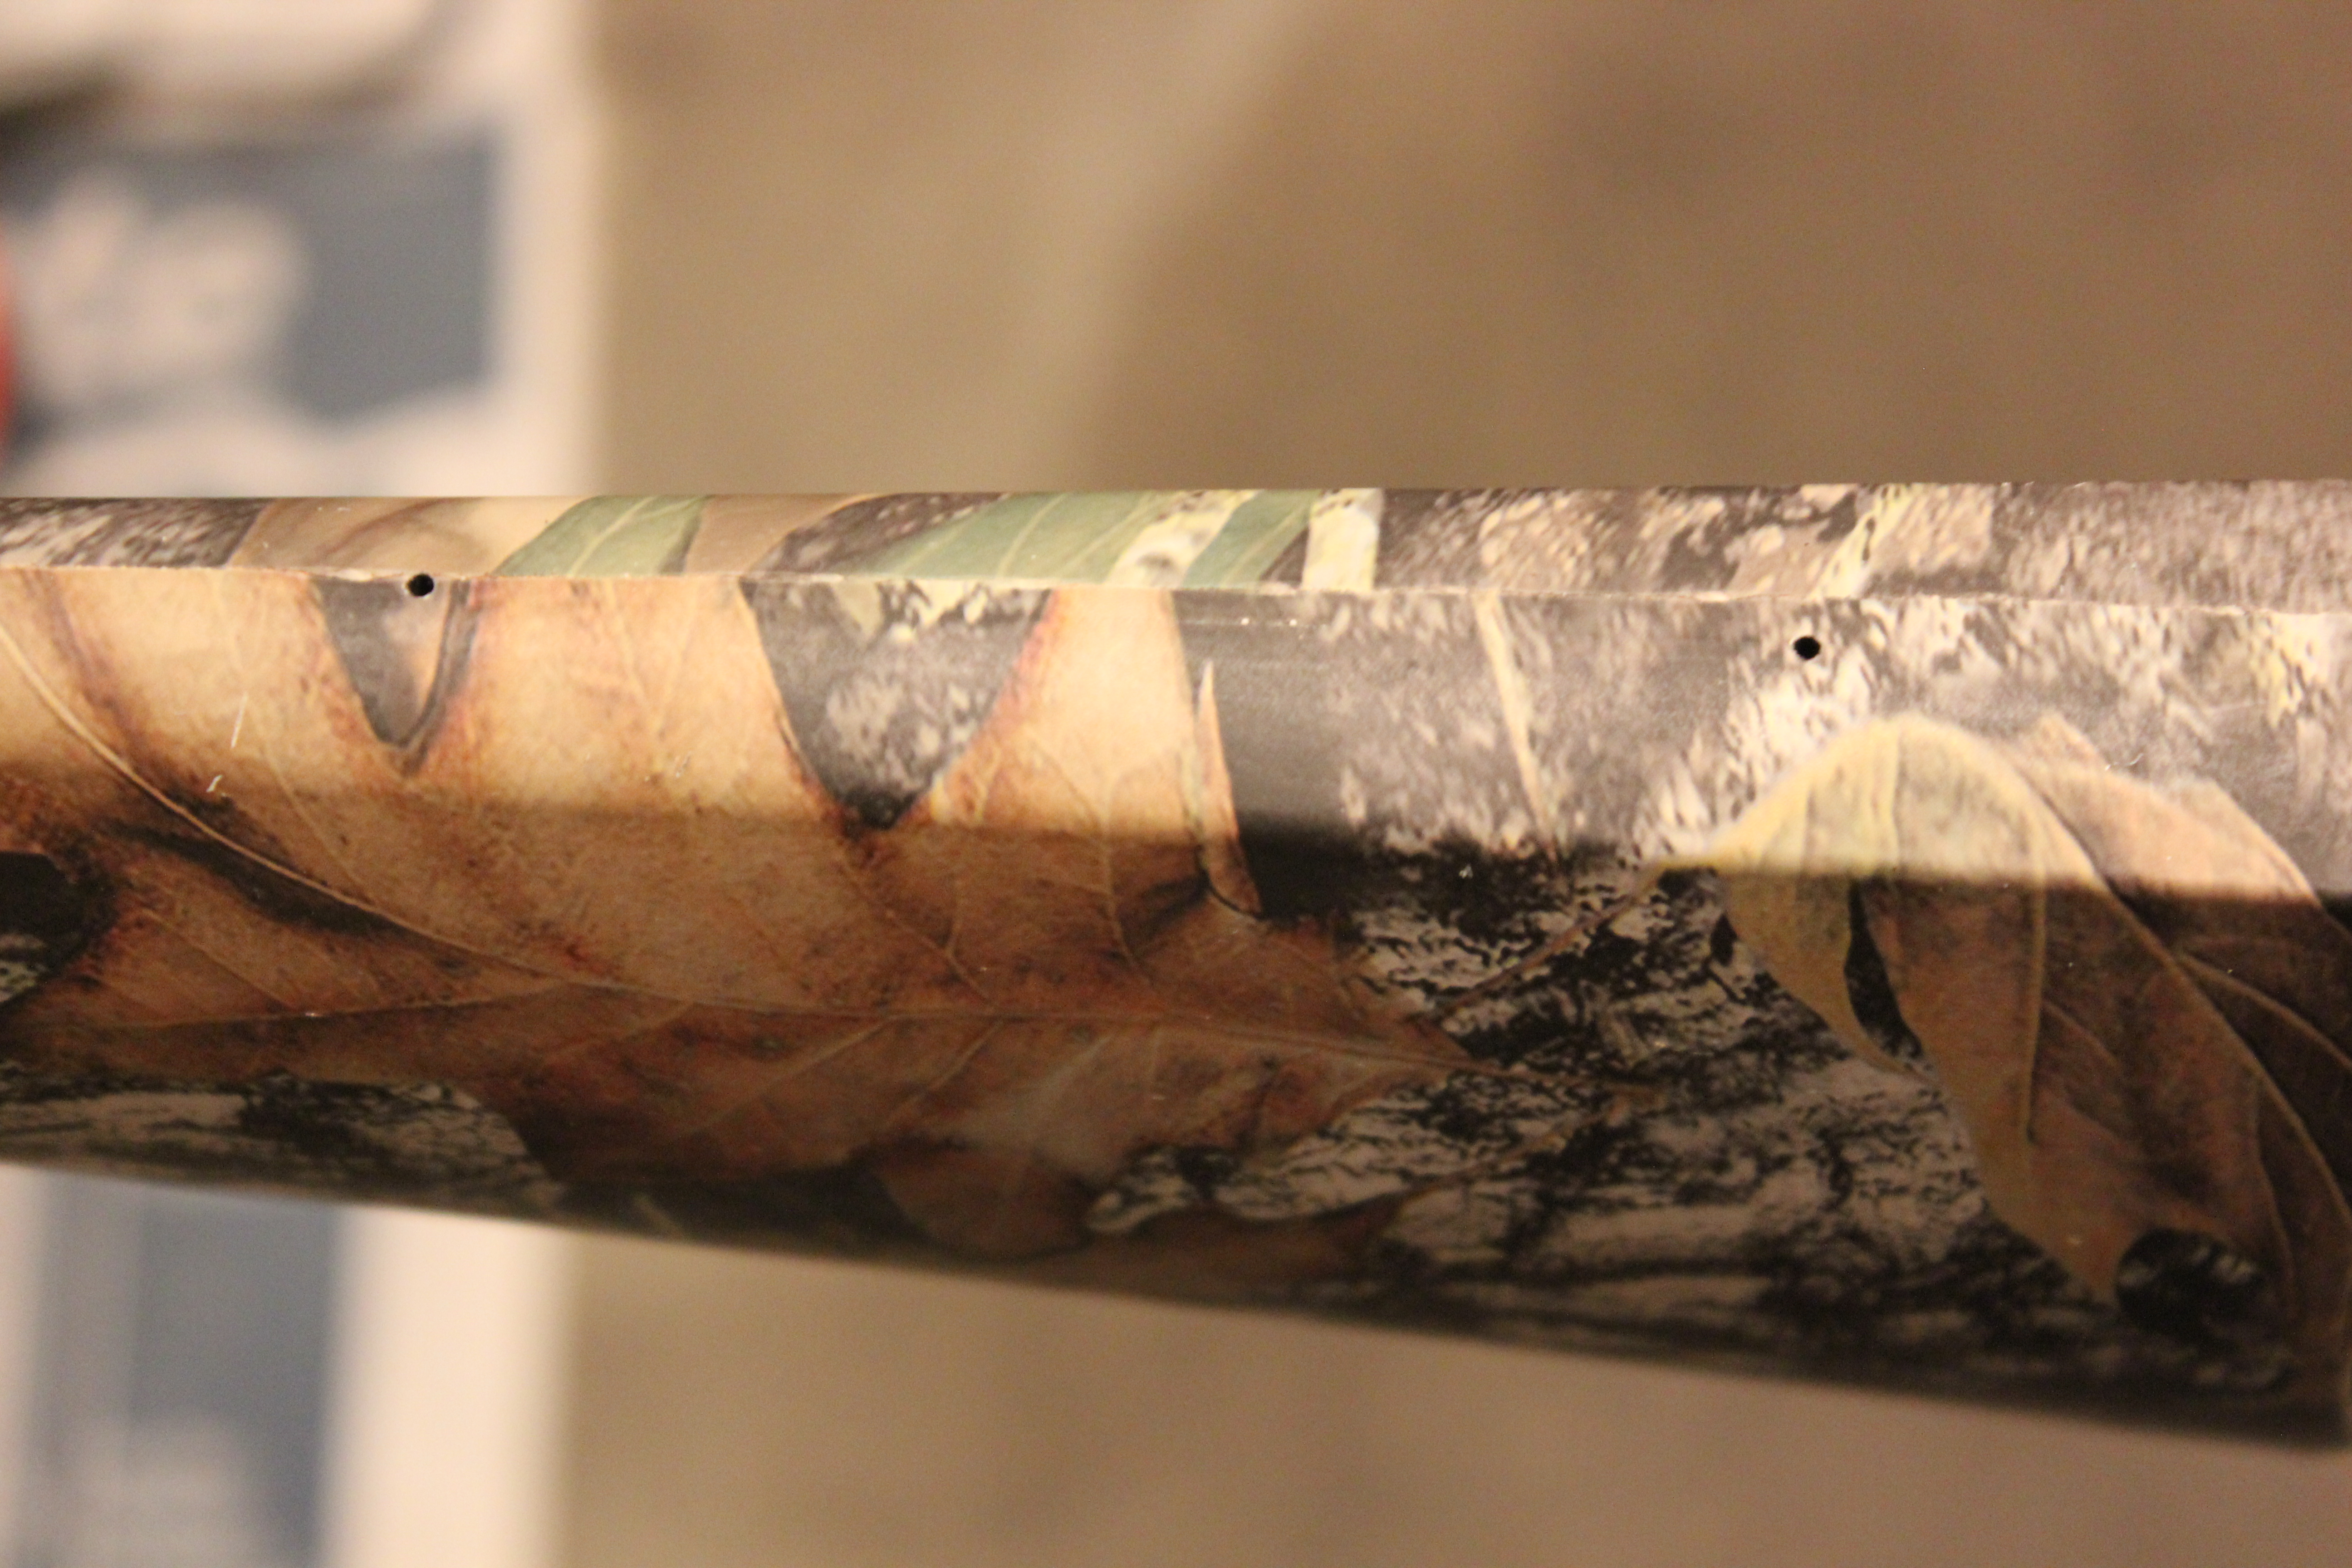
    After I got the scope loosely mounted, I did the same procedure to raise the comb that I did on my 10/22 (using another Allen Company Buttstock Shell Holder and Pouch), minus drilling holes in the stock. Not doing that ended up biting me at the ARFCOM shoot. After that I tightened down the scope mounts, added the rail from the cheap chinese bipod I bought last summer, and packed everything up to go shoot it:

    IMG_4057

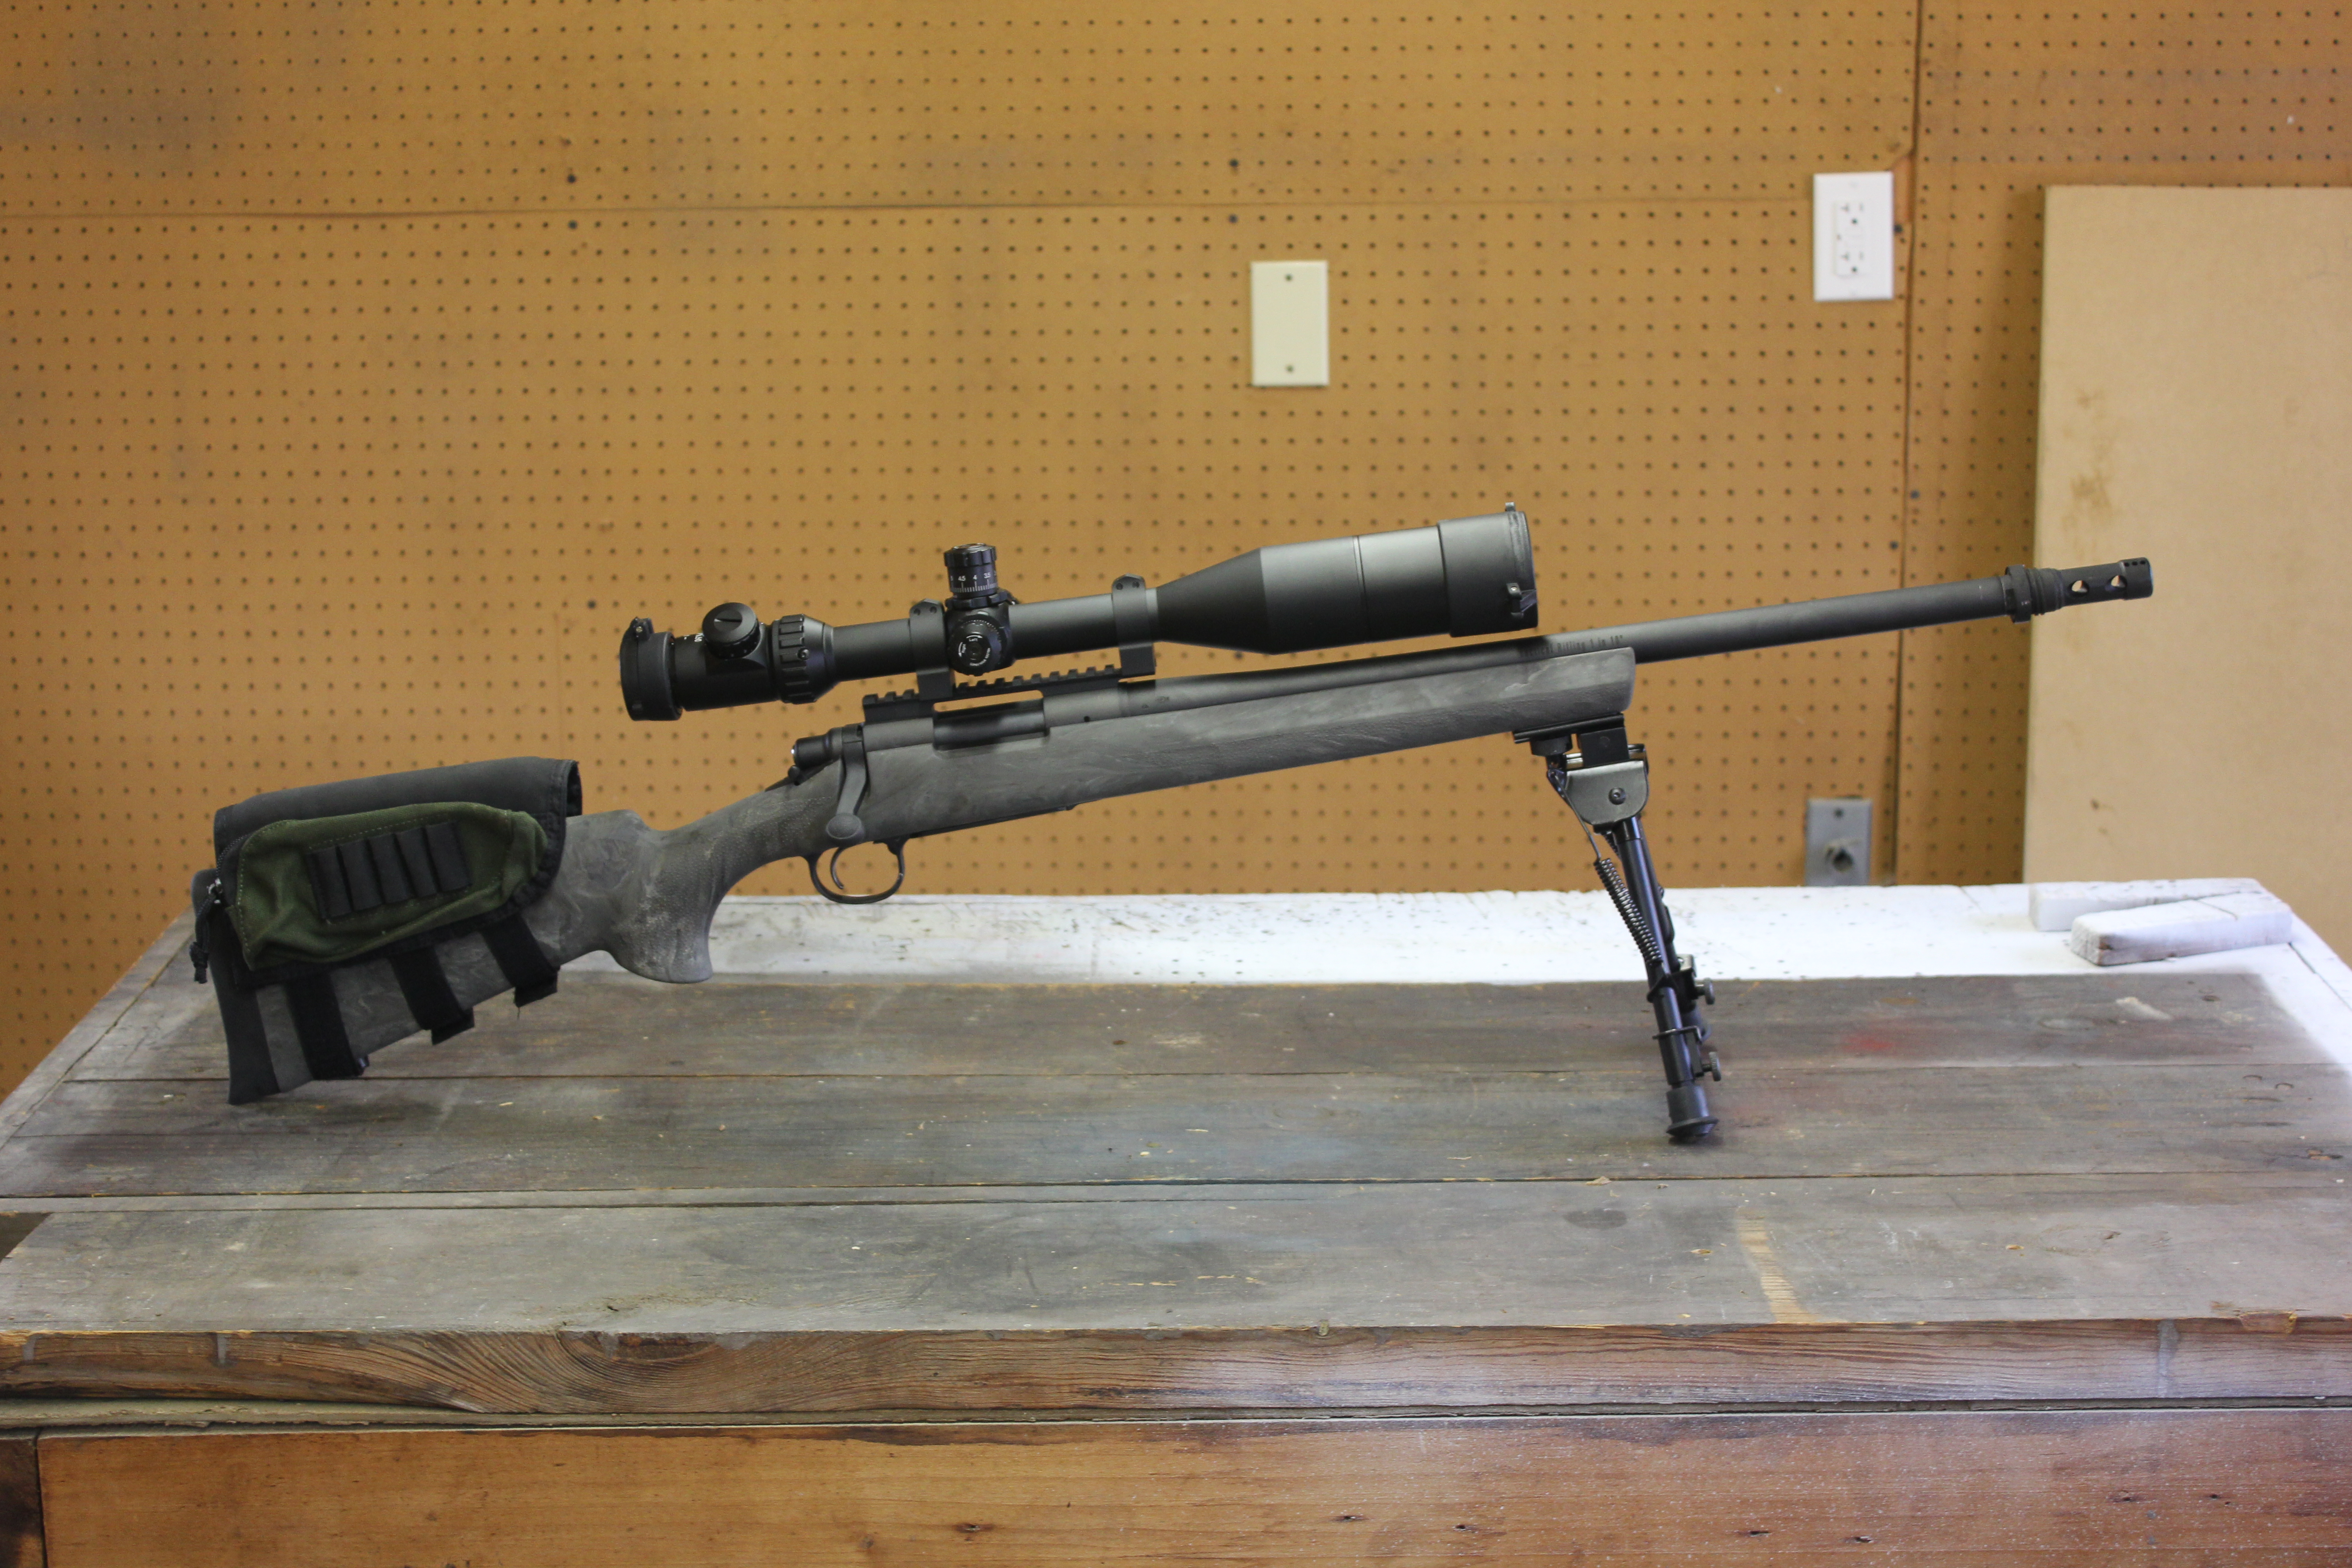
    Wait. Something’s missing:
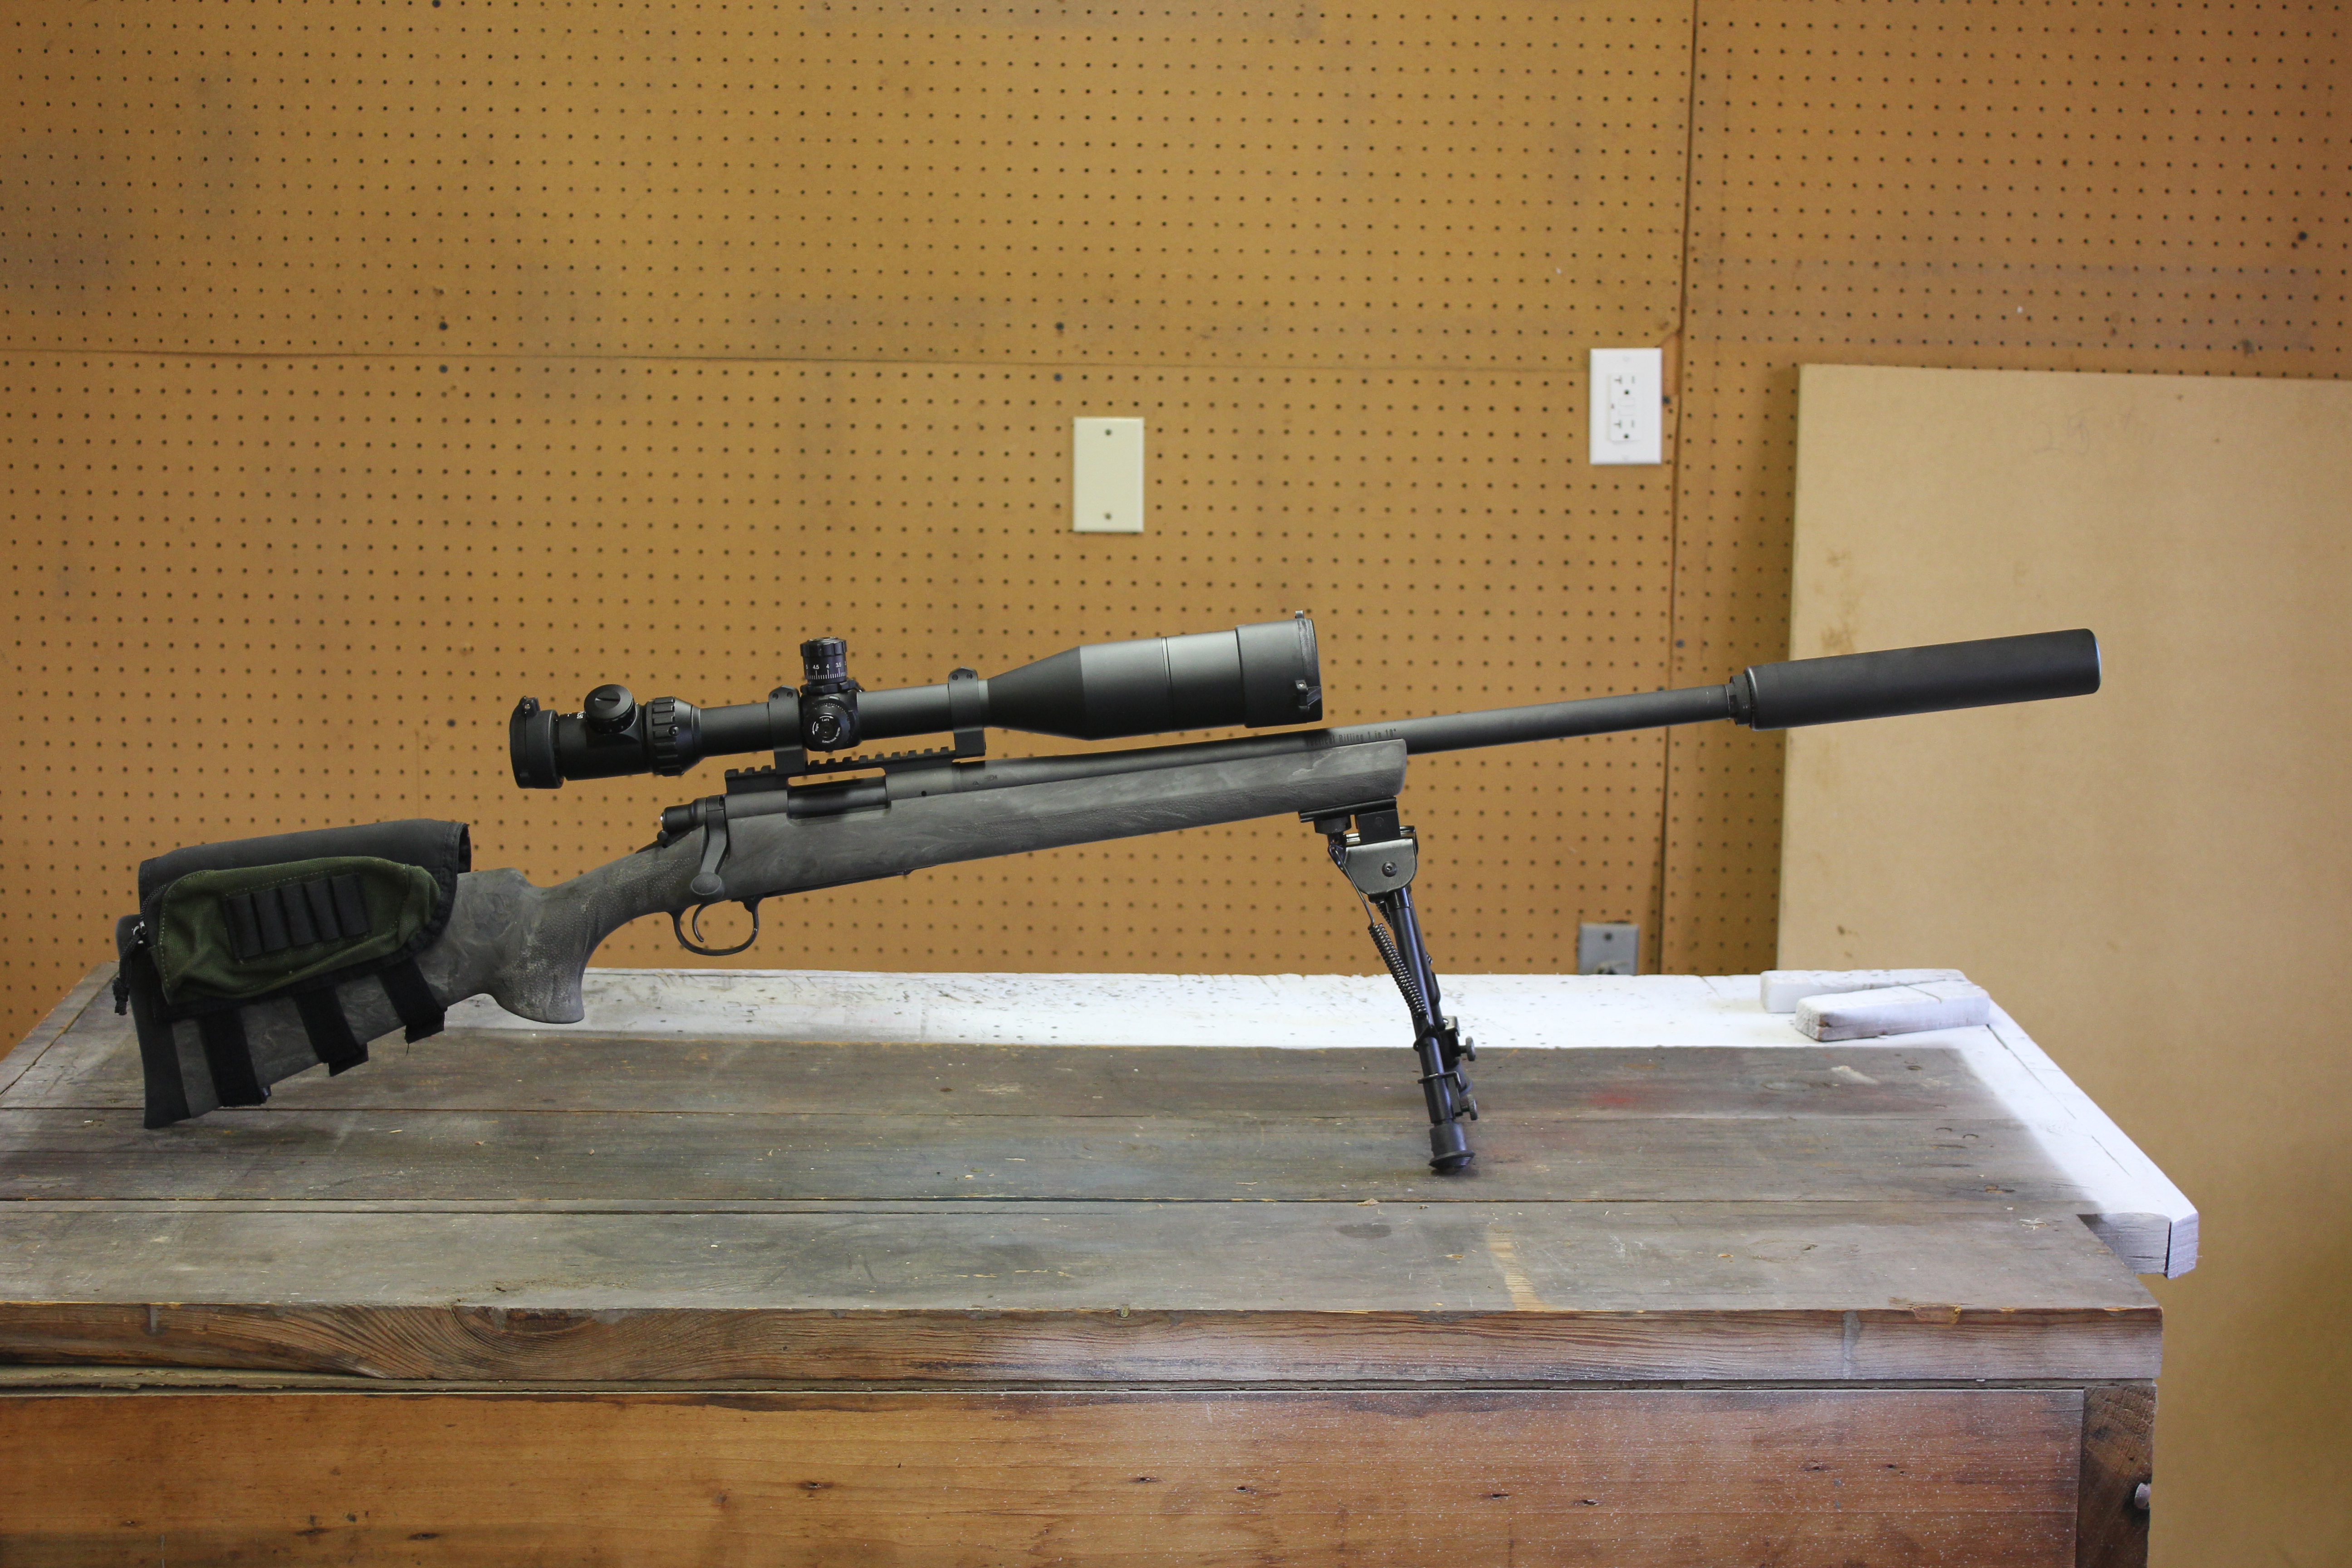
    IMG_4056

    Ah. That’s better.

    I titled this post “finished” because as we all know a rifle is never, ever, actually complete. It’s a continuous improvement process. Because of the dismal performance last weekend (which, again, I’ll post more on later) at least one part between the barrel and my eyes is probably going to need to be replaced. That bipod is completely temporary until I get a Harris HBLS. The screws aren’t torqued to spec. The rail isn’t bedded. I need a better stock but that’s not happening until I can outshoot the rifle. I’d like a scope level. But all those things can wait for now.

  • Dear Al Gore

    image

    Please take shit with you when you leave to go back to one of your 6 houses that aren’t in Nashville.

    Seriously, it’s freaking late March and it’s snowing like it’s January.

  • I am so sunburned…

    but this was totally worth it.

    AAR with pictures and a couple of videos to come later this week. Spoiler: My most recent purchase did not do so well. Kinda embarrassing, actually.

    Me? Oh I was fine hittin 8″ steel plates at 650yds. With someone else’s .308.

  • Remember when µTorrent was, um, µ?

    µTorrent 3.2.3, running for 10 days:
    ut3.2.3

    µTorrent 3.4, running for 12 hours:
    ut3.4

    Way to go, guys.

  • This will be one to watch

    This morning I saw a headline that said “Teen shot and killed near school.” I remember it because 1) it apparently happened on a Saturday and 2) it said near school, not at school.

    Since we seem to have a functional Illegal Moms Against Gun Ownership (or whatever they call themselves now) chapter, I expected that one to show up on their list of school shootings. Because, as you may know, they include “drug deals gone wrong at 2 am 3 miles from an elementary school” in the same category as Columbine.

    Well, it seems that this may have been a robbery gone wrong.

    For the robber.

    I’ll reserve judgement for now but this will be one to watch since it may involve “stand your ground.”

  • Raising the comb on a 10/22 takedown

    So a while back, I was watching this video of Ryan Cleckner setting up a scope on a Remington 700:

    I thought that was a neat trick with the wood cheek riser. It stuck with me. When I threw together the “assassins kit in pretty much every action movie in the 80s” as commenter Michael put it, I noticed that the while the iron sights on the 10/22 are naturally where my eyes sit when I have a good cheek weld, the scope is…well it’s a little high.

    IMG_4008

    Okay so maybe it’s a lot high. I don’t know what the hell I’m doing as far as precision rifle shooting (yeah yeah it’s a .22lr–but fundamentals are fundamentals) so I’ve been trying to educate myself. In the Magpul Precision Rifle, the instructor says that the pressure your cheek puts on the stock of the rifle is “about like you’d do if you were going to sleep.” I had to move up enough to get my eye lined up with the scope that my chin was barely on the stock. That can’t be good for consistency.

    I may not know what I’m doing, but Ryan Cleckner does. So I copied him. I bought an Allen Company Buttstock Shell Holder and Pouch because it looks a whole helluva lot like the one he uses.

    And then I pretty much did exactly what he described:

    IMG_3996
    First I started off with a couple of pieces of 1″ thick (actual) decking that were seven or so inches long and a wood shim. I didn’t want to carve on something all day.

    Then I put the pieces on the stock by sliding them underneath the pouch. I didn’t really get a good picture of that but you get the idea:
    IMG_4002

    IMG_4001

    The short piece of decking was a little too short:
    IMG_4009

    And the longer one was just a wee bit too short:
    IMG_4010

    But the combo of the short decking and the shim was about as perfect as can be:
    IMG_4003

    IMG_4011

    And with the pad on, you can see how closely it lines up:
    IMG_4004

    So with that all figured out, it was time to…*dramatic pause*…drill into the stock of my brand new gun.

    First I put pilot holes in the shim where I was going to eventually put the nails.
    IMG_4012

    Then, I taped the shim in place on the stock:
    IMG_4013
    And then drilled the holes.

    IMG_4014

    Now the above picture is a little deceiving. The line down the top of the stock is not actually a centerline. It’s just where the paint dip stopped..

    With the holes drilled, i put the nails back in and glued the two pieces together. Elmer’s wood glue, clamped overnight, because an old carpenter told me to do that and old dudes know stuff so i listen to them:
    IMG_4015

    IMG_4016

    IMG_4017

    After that? Press it in and cinch down the pouch. Easy Peasy!

    I’ll do the same thing on my 700 after I get my scope mounted.

  • Bleg: Workshop Edition

    image

    This is the workshop that came with the house we bought last year.

    Is there any reason why I shouldn’t put plywood over the insulation on the ceiling and replace the hanging 8ft fluorescent fixtures with ceiling mounted 4ft ones?

  • Dust Collection for a Dewalt Miter Saw

    I picked up a Dewalt DW715 12-Inch Compound Miter saw during a Black Friday sale. I’ve been doing some furniture building and figured it would come in handy.

    It's so pretty...
    It’s so pretty…

    See that little bag on the back? That’s ostensibly for dust collection. I may have been expecting too much out of it, but after my first dozen or so cuts on a set of 2x4s I went to empty the bag and there wasn’t anything in it. There was plenty of dust in the air and around the saw, though. So I decided to just hook up my shop vac to the dust port. Should be easy, right?

    I did a little bit of Googling and found a woodworkers’ forum where someone said the dust collection port was 1.5″, so a 1.5″ vacuum hose should work. Well my shop vac has a 2.5″ hose so I just bought this without really paying attention to the description. Key bit: Use 1 1/2-inch hose with 2 1/2-inch accessories.

    Not exactly what I was looking for...
    Not exactly what I was looking for…

    So I go to the home improvement store and pick up a Shop-vac 2-1/2″ to 1-1/4″ Conversion Unit. You might notice that it’s a 1.25″ adapter, not a 1.5″ adapter. Apparently, those are not made, but I figure it may fit the inside diameter of the Dewalt port. While I’m there, I also pick up a Shop-vac Universal Tool Adapter, because, hey, “Universal.”

    So here’s the 1.25″ adapter:

    Hotdog. Hallway. You get the picture.
    Hotdog. Hallway. You get the picture.

    Yeah….that’s not gonna work.

    And here’s the “Universal” adapter:

    Universal....between shop-vac brand accessories.
    Universal….between shop-vac brand accessories.

    Same problem, but different.

    So now I’m getting a little bit frustrated. The next time I go to the store (we were doing a bathroom remodel so I was at Lowe’s or Home Depot like every 6 hours for a month), I pick up a 1.5-Inch Contractor Hose I’ll spare you the suspense and tell you now–that didn’t work either. The inside diameter of the hose was not large enough to fit over the dust port, and the outside diameter of the hose was too large to reliably use a coupler.

    At this point I’m just trying shit. Clearly it’s not a 1.5″ port. Or 1.5″ hoses aren’t 1.5″ ID or OD.

    I go order a 1.25-Inch hose. The wand on the end is comically large, but it fits. Sort of:

    Do you see the problem?
    Do you see the problem?

    The dust port is actually in the arm of the saw, so it rotates. When the saw is all the way up, the wand can fall back. When you go to use the saw again, this can happen:

    That would make for an exciting time.
    That would make for an exciting time.

    So now I do what I should have done in the beginning:

    Did I say inch and a half? I meant inch and twenty-one thirty-seconds. My bad.
    Did I say inch and a half? I meant inch and twenty-one thirty-seconds. My bad.

    And the inside diameter:

    Or maybe I meant inch and three eighths.
    Or maybe I meant inch and three eighths.

    I take my calipers to the store, go to the plumbing aisle, discover that 1.5″ PVC Pipe fittings have an inside diameter of about 1.66″ to accommodate wall thickness. I buy a 1.25″ Schedule 40 male adapter, a 1.5″ x 1.25″ male adapter, and a 1.25″ slip coupler. I figure I can use one of my hoses with the male adapters, and just use some 1.25″ PVC pipe if I really need to.

    Well. It turns out…

    If you take the wand off the 1.25-Inch hose, the end of the hose fits perfectly in the 1.25″ slip coupler.*

    This is not the wand you're looking for.
    This is not the wand you’re looking for.

    The corrugated end even fits over the ridge in the middle to keep it in place!

    Tab A
    Tab A
    Slot B
    Slot B

    And voila!

    Friction, baby!
    Friction, baby!
    All Done!
    All Done!

    And the good news, of course, is that I’ll never need another adapter again. I already have them all.

    Gotta catch em all

    *The original version of this post incorrectly stated that a 1.5″ coupler was used. This is what I get for hitting publish before checking my receipts.

  • Tactical Princess

    image

    With her flowery pillow.