Lokidude over at Erin’s new side project Blue Collar Prepping has a pretty good basic run down on keeping knives sharp. It’s best to sharpen your knives long before you think they need it, but, unless you’re obsessive about it, this doesn’t always happen. This is especially true of kitchen knives, which probably see more “hard core” work than 90% of the EDC or pocket knives out there.
My mom has a few hand made kitchen knives that were either given to her by or inherited from her parents. Like many hand made knives on the market, these were made from old saw blades which, while are excellent at taking and keeping an edge, are prone to rusting. She also has a few higher end factory made knives, whose metal has similar properties.
For those that don’t know, for a knife to have good edge retention, you need a harder steel. Generally, this is done by having a higher carbon content, which is also means that the metal is more prone to corrosion/rust. Chromium and other softer metals can be added to add resistance, but makes for a softer steel. So, you have the choice of good corrosion resistance, but soft steel that doesn’t hold an edge well (most of your cheaper knives) or knives that hold their edge well, but will corrode easily. This is a gross oversimplification, but generally works.
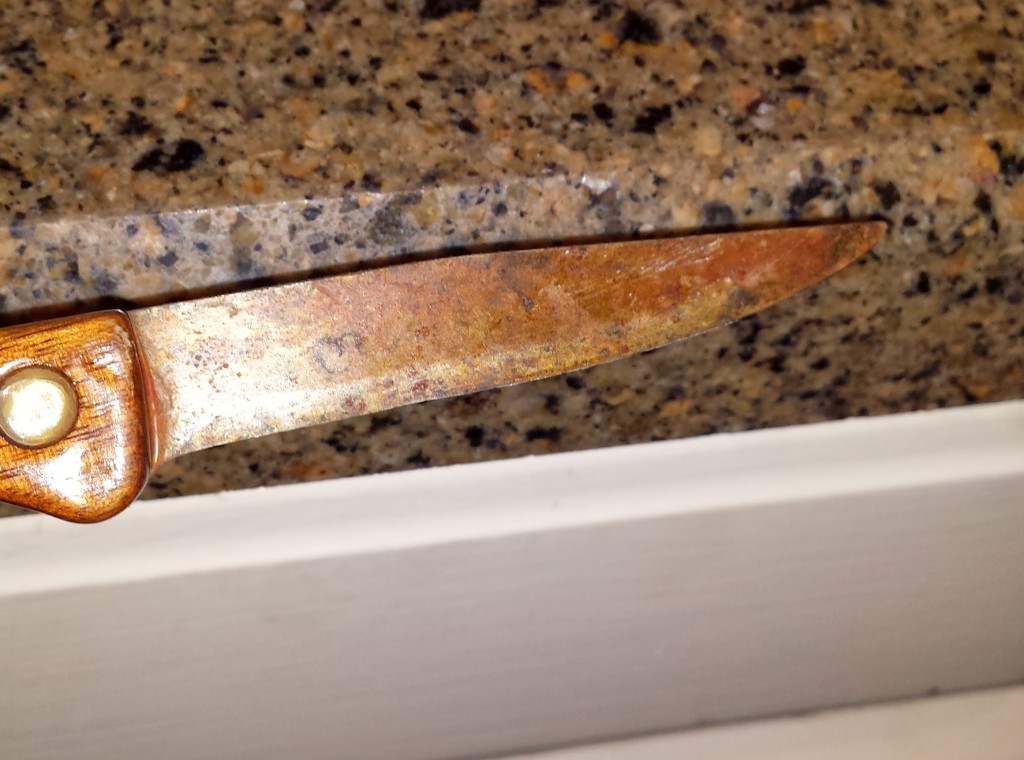
This is one of my mom’s hand made knives. You can probably tell me how much she was taking care of her knives. At least I don’t think she threw them in the dishwasher.
To make it worse, she, like many people, kept her kitchen knives lose in a drawer next to her silverware so they rattled together when you opened or closed the drawer. There’s very little that will cause a knife to get duller faster than to do this. So, first thing to do was get her a knife block.
You can get a traditional knife block that has holes cut for the various knives. While these make look great, they only really work if you have knives of the shape and size of the holes that were cut. You can also get drawer dividers that are designed to hold kitchen knives. The problem with them is that people like my mom will be tempted to throw other stuff on top of them… which defeats the point. We went with this block, which is full of plastic rods that make way for the knives, but hold them firm. The design does a good job of holding a couple or many knives, and you don’t have to find a slot the proper size.
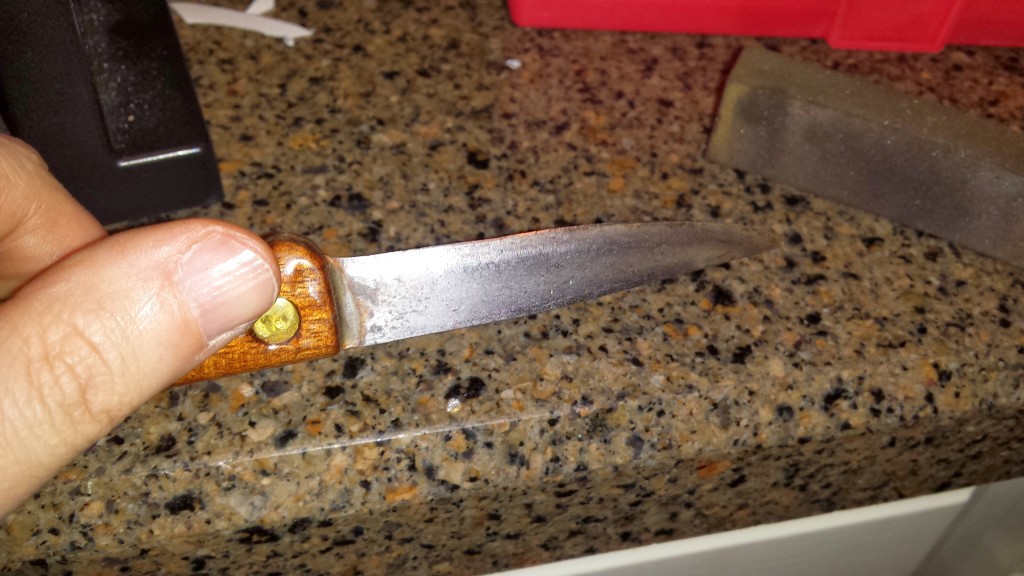
Now that a proper home for the knives has been found, it’s time to recondition the knives back to usable condition. The first thing to tackle is the rust. Fortunately, with my mom’s knives, even though there was a lot of it, it was almost completely surface rust. I’ve used a paper towel and some rubbing compound from an auto shop before, but the best thing I’ve found to deal with it is a rust eraser like this one. Unfortunately, unlike the knife block which can be found pretty much anywhere that sells kitchen supplies, I’ve pretty much only seen these things sold at the odd gun show or, oddly enough, Lodge cast iron cooking ware outlets. They’re basically sticks of rubber impregnated with a rubbing compound. After maybe a minute of solid polishing using it on the same knife in the picture above, I had this result:
Is it perfectly polished? nope, but it’s gone from something my mom was asking if she should just throw out to something that’s usable. Well, it’s still needing to be sharpened unless you’re ok with it only cutting brie.
How to sharpen a knife would take an entire post on it’s own, so I’ll just hit the high points. As a knife geek, I’ve got a lot of sharpening equipment, but I pretty much used two things to sharpen these knives to near razor sharp. Bouncing around a drawer and the rusting did a number on the edges, so first thing to do is get rid of the nicks on the blade. This pretty much requires a steel to do. My sister gave me this sharpener for Christmas. While it’s nice that you can adjust the angles, it has the same issue that most of these style sharpeners have. It has the carbide, which is great for initial edge shaping, and fine ceramic, which is great for final honing, but nothing in between. I used this to reset the edge and smooth out the nicks.
After that, I used a tri-stone set up to put a proper edge on the knife. Free hand sharpening may seem intimidating at first, but it’s given me the best results and isn’t that difficult as long as you’re patient and practice a bit.
After sharpening, the last thing is oiling the knife to prevent further corrosion. For things like kitchen knives, I prefer either olive oil or mineral oil. Both are food grade safe, and will last a fairly long time. Olive oil is a great choice since it’s a fairly common staple of kitchens already, and therefor will be handy when it comes time to re-apply.


I love my rust eraser. 🙂 Thanks for the link love!