UPDATE 7/1/2012: Several people have emailed in and said that instead of making a cable, you can use an iGO Charger A00 Tip with either the USB to iGo Charging Cable
if you already have a spare usb power port or the Mobility iGo Auto Charger
if you only need to power the receiver.
UPDATE 1/24/2014: If you’re thinking about buying the F8Z492-P for in-car use, I have two alternatives to suggest. First, this product from Belkin appears to be their answer to folks that bought the F8Z492-P and got upset that it wasn’t really meant for in-car use. It’s a little pricey, so the other option I have for you is the Kinivo BTC450
. I don’t have either because I’ve changed cars twice since originally writing this post and no longer have the need for a device such as this.
ORIGINAL POST:
As I mentioned in my Christmas Bounty post, I got a Belkin F8Z492-P Bluetooth Music Receiver as a gift.
Now, seeing as this is the marketing photo:
I falsely assumed that it was rechargeable. Otherwise, how would the power light be on with only the audio cable attached, like the picture shows? As it turns out, this device is designed to connect to a home stereo and get power from the included 5v 180ma power supply.
That pretty much defeats the purpose of me getting this, since I don’t have/want to run a power inverter just to run bluetooth audio. So I decided to get around that problem.
At first I went into my box o’ junk and found an adjustable DC power converter. That device is kind of like this one, but older. It has a 6v and a 4.5v setting, but not a 5v setting. I tend to prefer to undervoltage by 10% rather than overvoltage by 20%, so I set it to 4.5v and plugged in the proper tip.
ZAP! Blew the 1A fuse on the converter. Well, crap. Back to the drawing board.
I thought about buying a 5V Voltage Regulator and wiring that directly to a switched 12v source, like tapping in to the windshield wiper fuse or something. Then I remembered that I have two USB ports on my USB car charger (like this one
), and I’m only using one of them.
USB spec is 5vdc @ 500ma. PERFECT! Now I just need a cable. Which I don’t have.
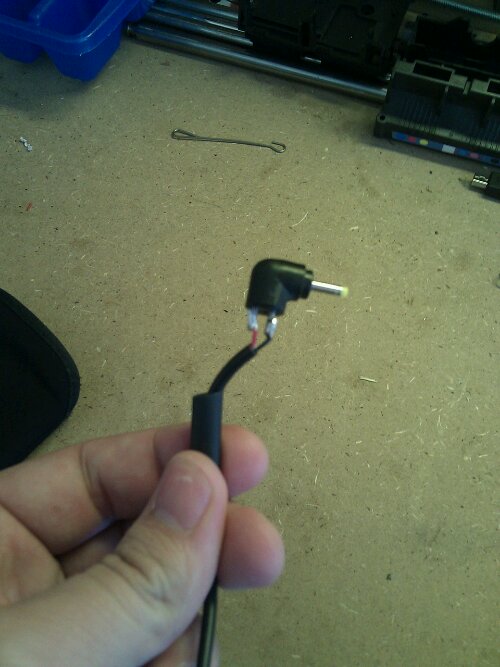
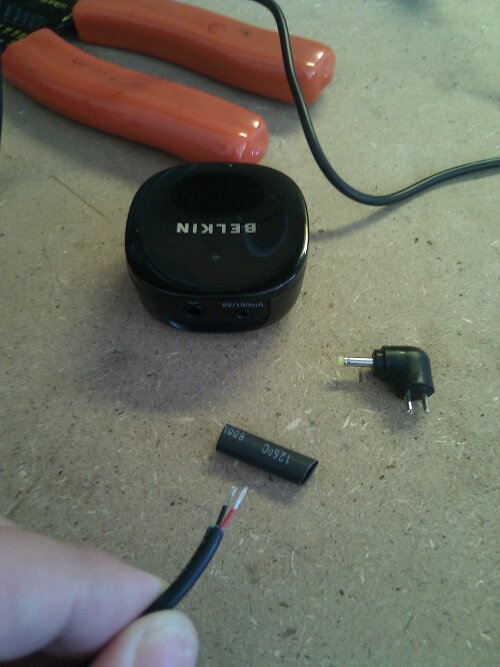
So I made one. I took a standard USB cable and cut off the end. There are four wires, but we only need the power ones (Black = negative, Red = positive). So I took my stripped cable and my barrel connecter, along with some heat shrink tubing:
Soldered the wires to the connector, after slipping the heat shrink tubing onto the cable:

And voila! I tested the cable and it worked! Then I slipped the heat shrink tubing over the exposed wires and got after it with a lighter. That should keep it from shorting. Works like a champ!


Hi,
Is the barrel connector you used a 0.7mm one?. And the plus is on the inside of the barrel, right?
Thanks!
Nice work 🙂 Did you check polarity after using another power?
I have think do the same, for car use 😉
I have a 5.0V-1A output USB plug in. is the 1A too much? do I need to find a 500mA?
That will be fine. I use a 2000ma adapter with mine now.
When I hooked min up, the blue light on the Belkin receiver comes on but then goes off right away. What am I doing wrong?
I believe that means it’s in pairing mode. It won’t light up solid until it’s actually paired with a device.
Using your device, search for available bluetooth devices and try to pair with the thing that says “Belkin XXXX” where the Xs are the device-specific name. Once you’re paired, it’ll light up.
I think.
I can’t find the manual online, but that’s my recollection.
Now, if the problem is that it did that once and now it doesn’t light up at all, ever, you may have exceeded the power limits on your power supply and blown a fuse in the power supply. Ask me how I know 😀
Well, there is a MUCH simpler way to do this… I just took the connector from the adapter that was included and an old USB cable got the ol’ pen out and fused them like a bloody transformer scene and it works perfectly 😀
But then you lose the ability to use the wall unit.